Homemade Donuts

DSC_3208

Homemade Donuts

  • Servings: 6-8
  • Difficulty: moderate
  • Print

Ingredients:

  • 5 cups of flour
  • 1 1/2 tsp of salt
  • 4 tsp of instant rapid rise yeast
  • 1/4 cup of sugar
  • 1 tsp of freshly ground nutmeg(optional) do not use regular ground nutmeg if you must then just use 1/4 tsp
  • 2 cups of scalded milk
  • 5 tbsp of vegetable shortening

Directions:

Combine dry ingredients together. Whisk to incorporate.

In a small saucepan combine your milk and vegetable shortening and bring to a simmer (scald). Once your vegetable shortening has melted, turn off the heat. Let the milk cool down to lukewarm. Make sure your milk mixture is not to hot or you will kill the yeast and the dough will not rise. (around 100 degrees F)

Pour the wet ingredients into the dry ingredients and mix with a dough hook for 10 minutes or so. This is a very wet dough but the dough should clear the sides of your mixer. If the dough does not clear the sides of the bowl and is still very wet then keep adding more flour 1/4 cup at a time, until you get the right consistency. If you do not have a mixer and are kneading by hand this high hydration dough needs to be mixed by the stretch and fold method. You can watch Peter Reinhardt explain this technique. Use pam instead of olive oil as Peter does since we are making a dessert dough olive oil will be …well just weird 🙂 That all said and done this dough is not an 80 %  hydration dough and it is not quite regular bread dough (60%). Without doing the baker’s math right now I am going to guess-timate it to be around 68%  It should feel slightly tacky when you are done with the kneading.

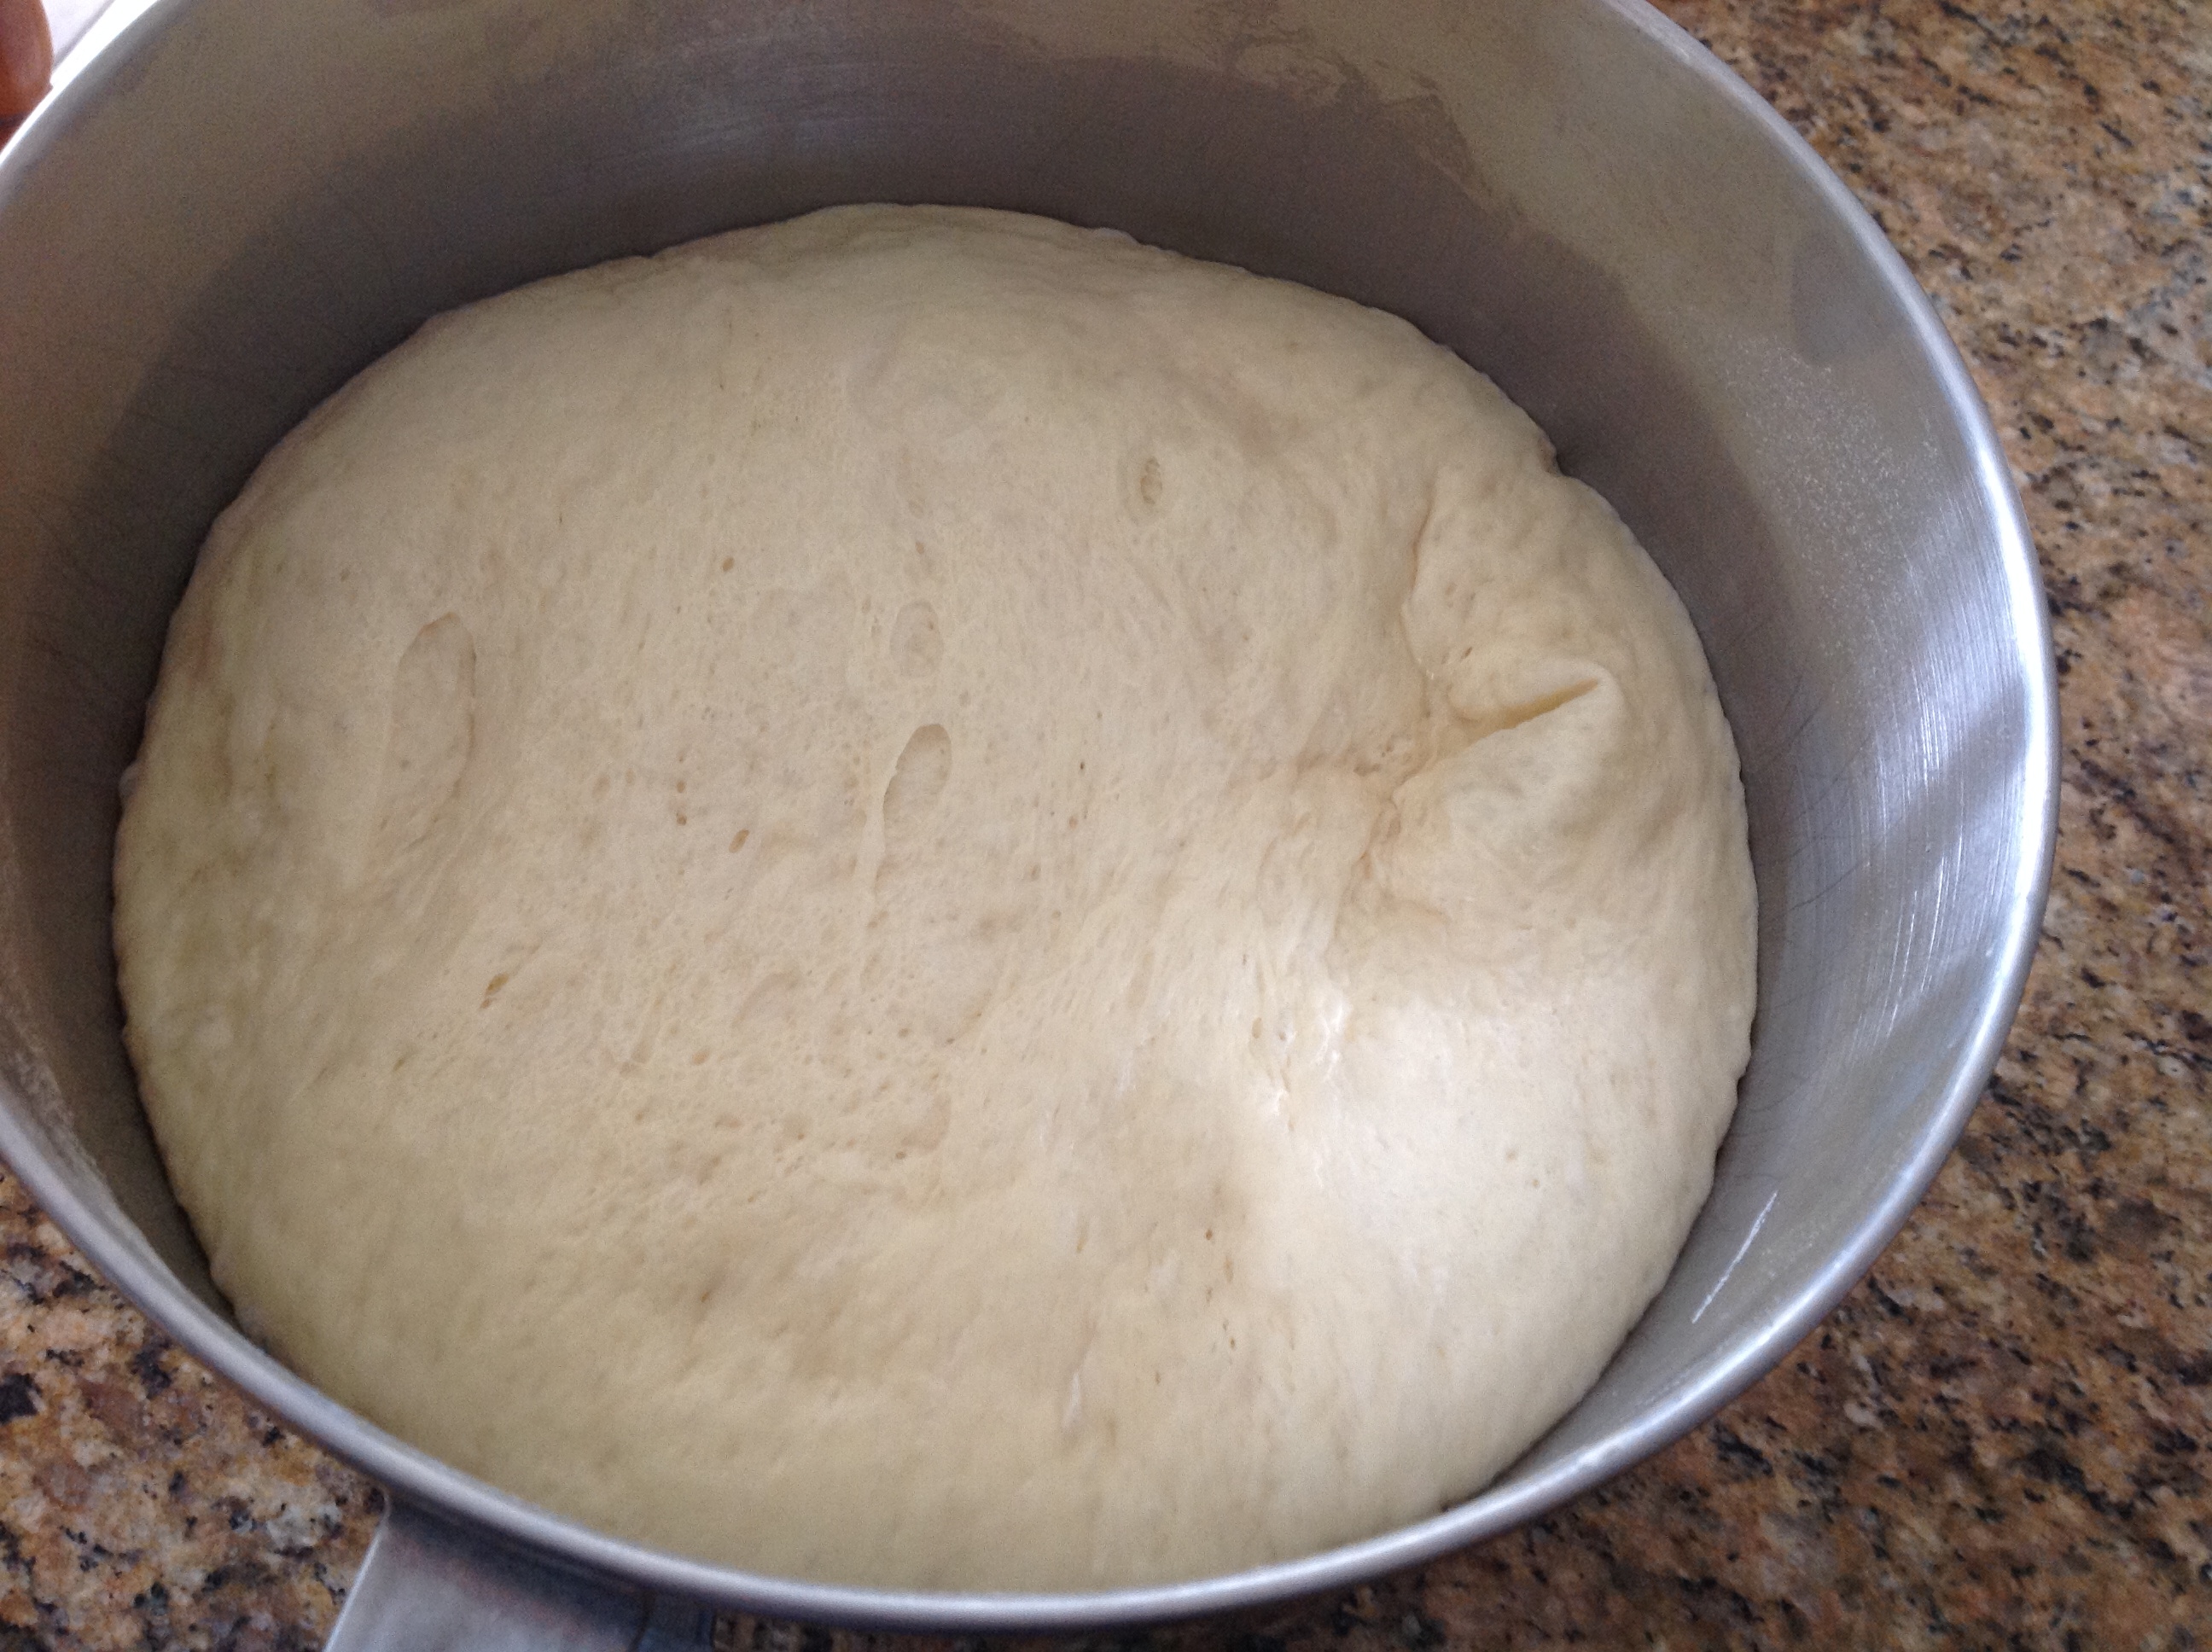
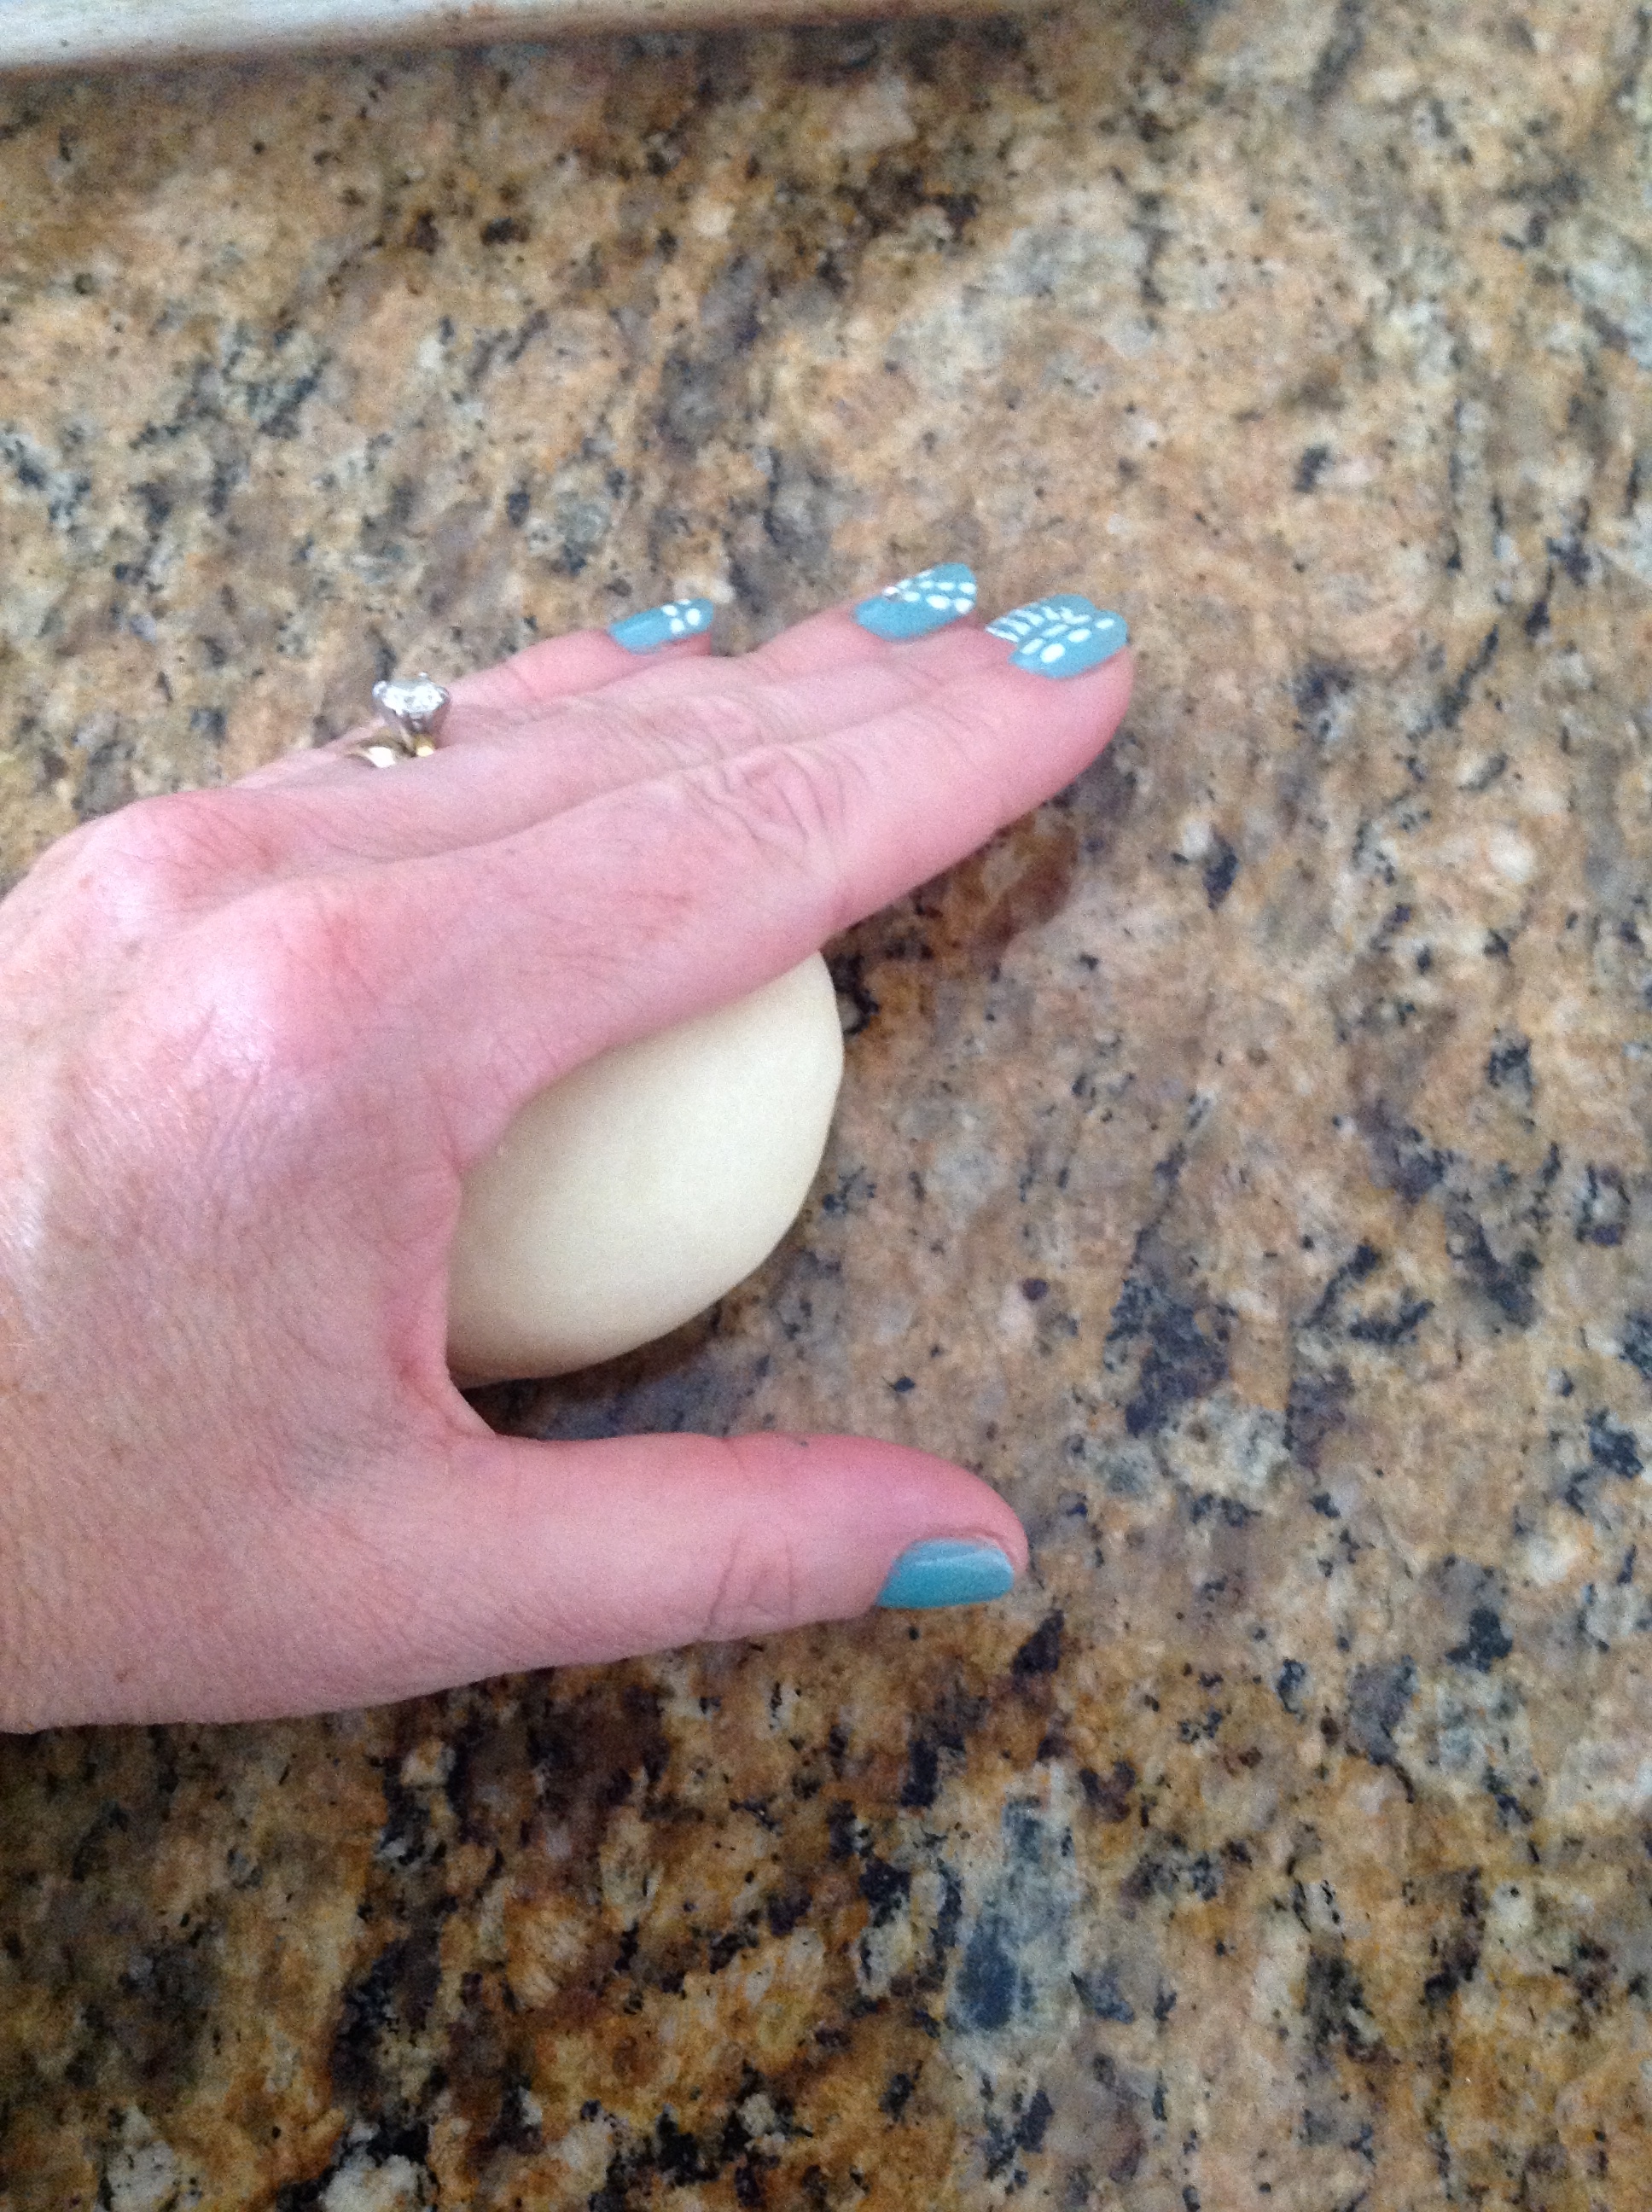
Alright leave the dough rise for an hour in a greased bowl and cover the dough. I put plastic wrap right over my dough loosely then a tea towel on top of the bowl. The reason I do this is to prevent any of the dough from loosing moisture and developing a skin on top. After an hour take your dough and roll it out into a big rectangle approx 1/2 inch thick. Use two different size cookie cutters and start cutting out your donuts and holes 🙂

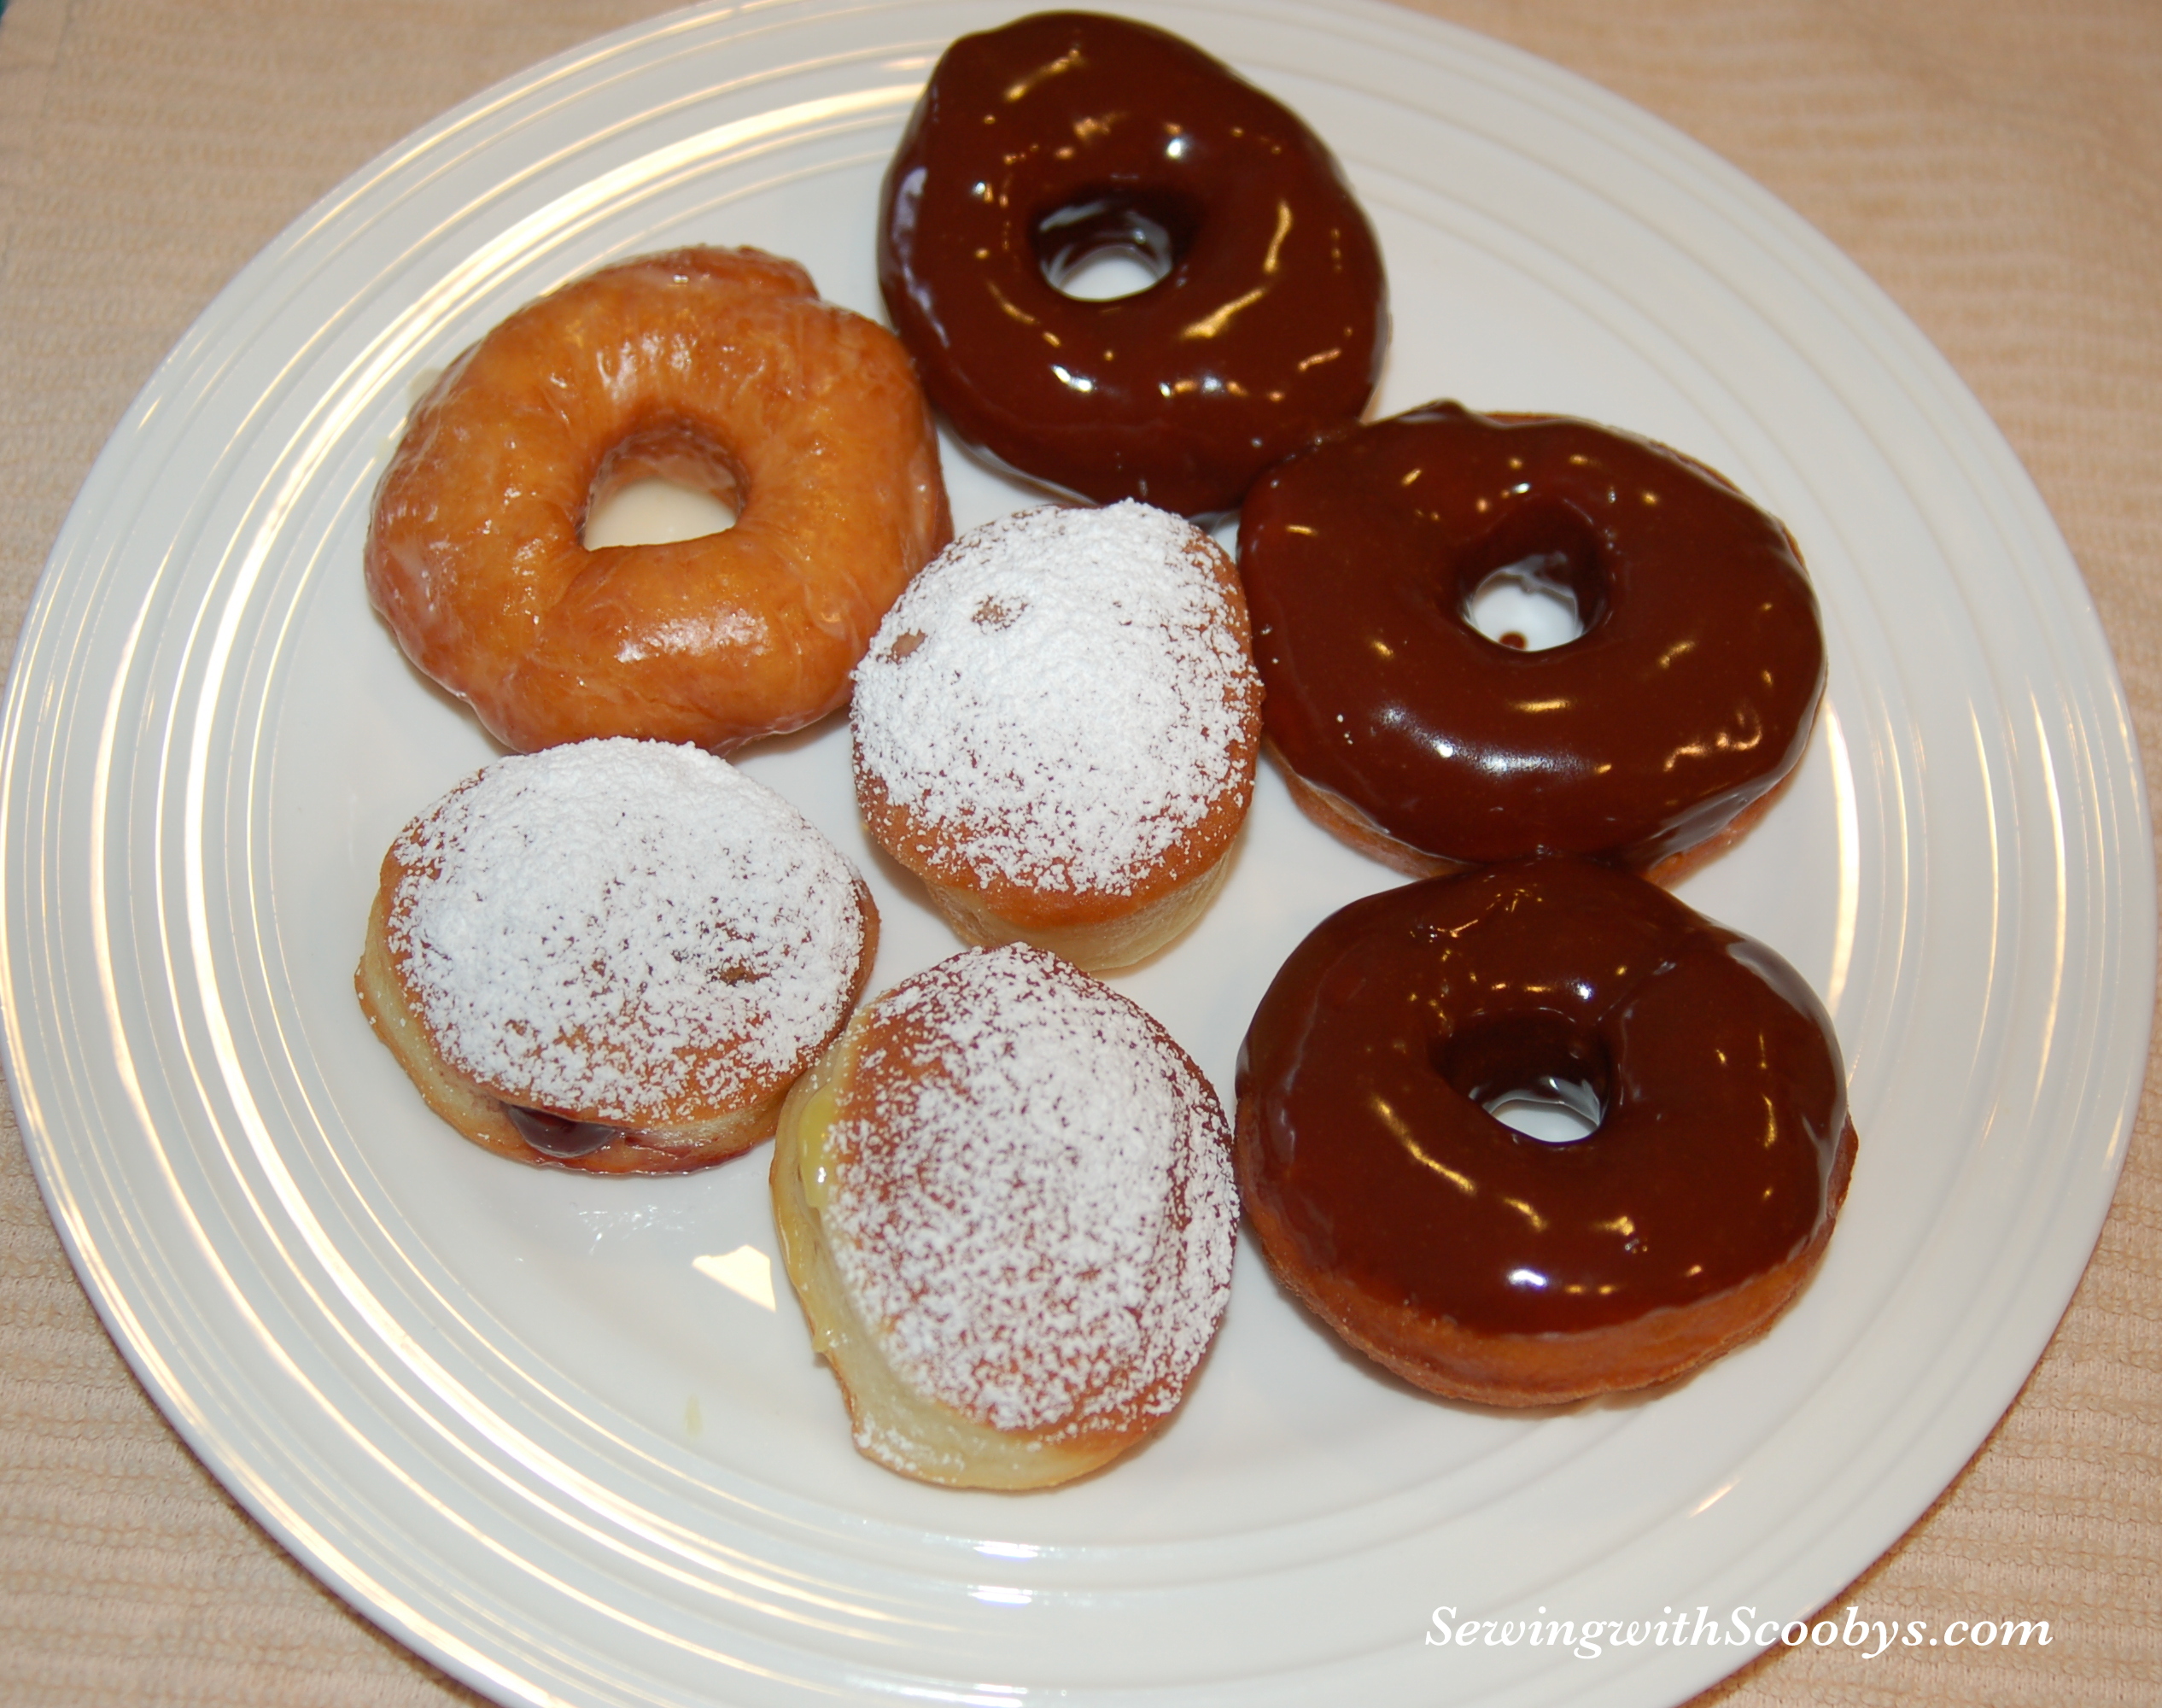
I also fried the donut holes and sprinkled them with powdered sugar when they come out. Yum. As you can see I also left some whole and piped in some jelly and lemon curd then dusted those with icing sugar as well.

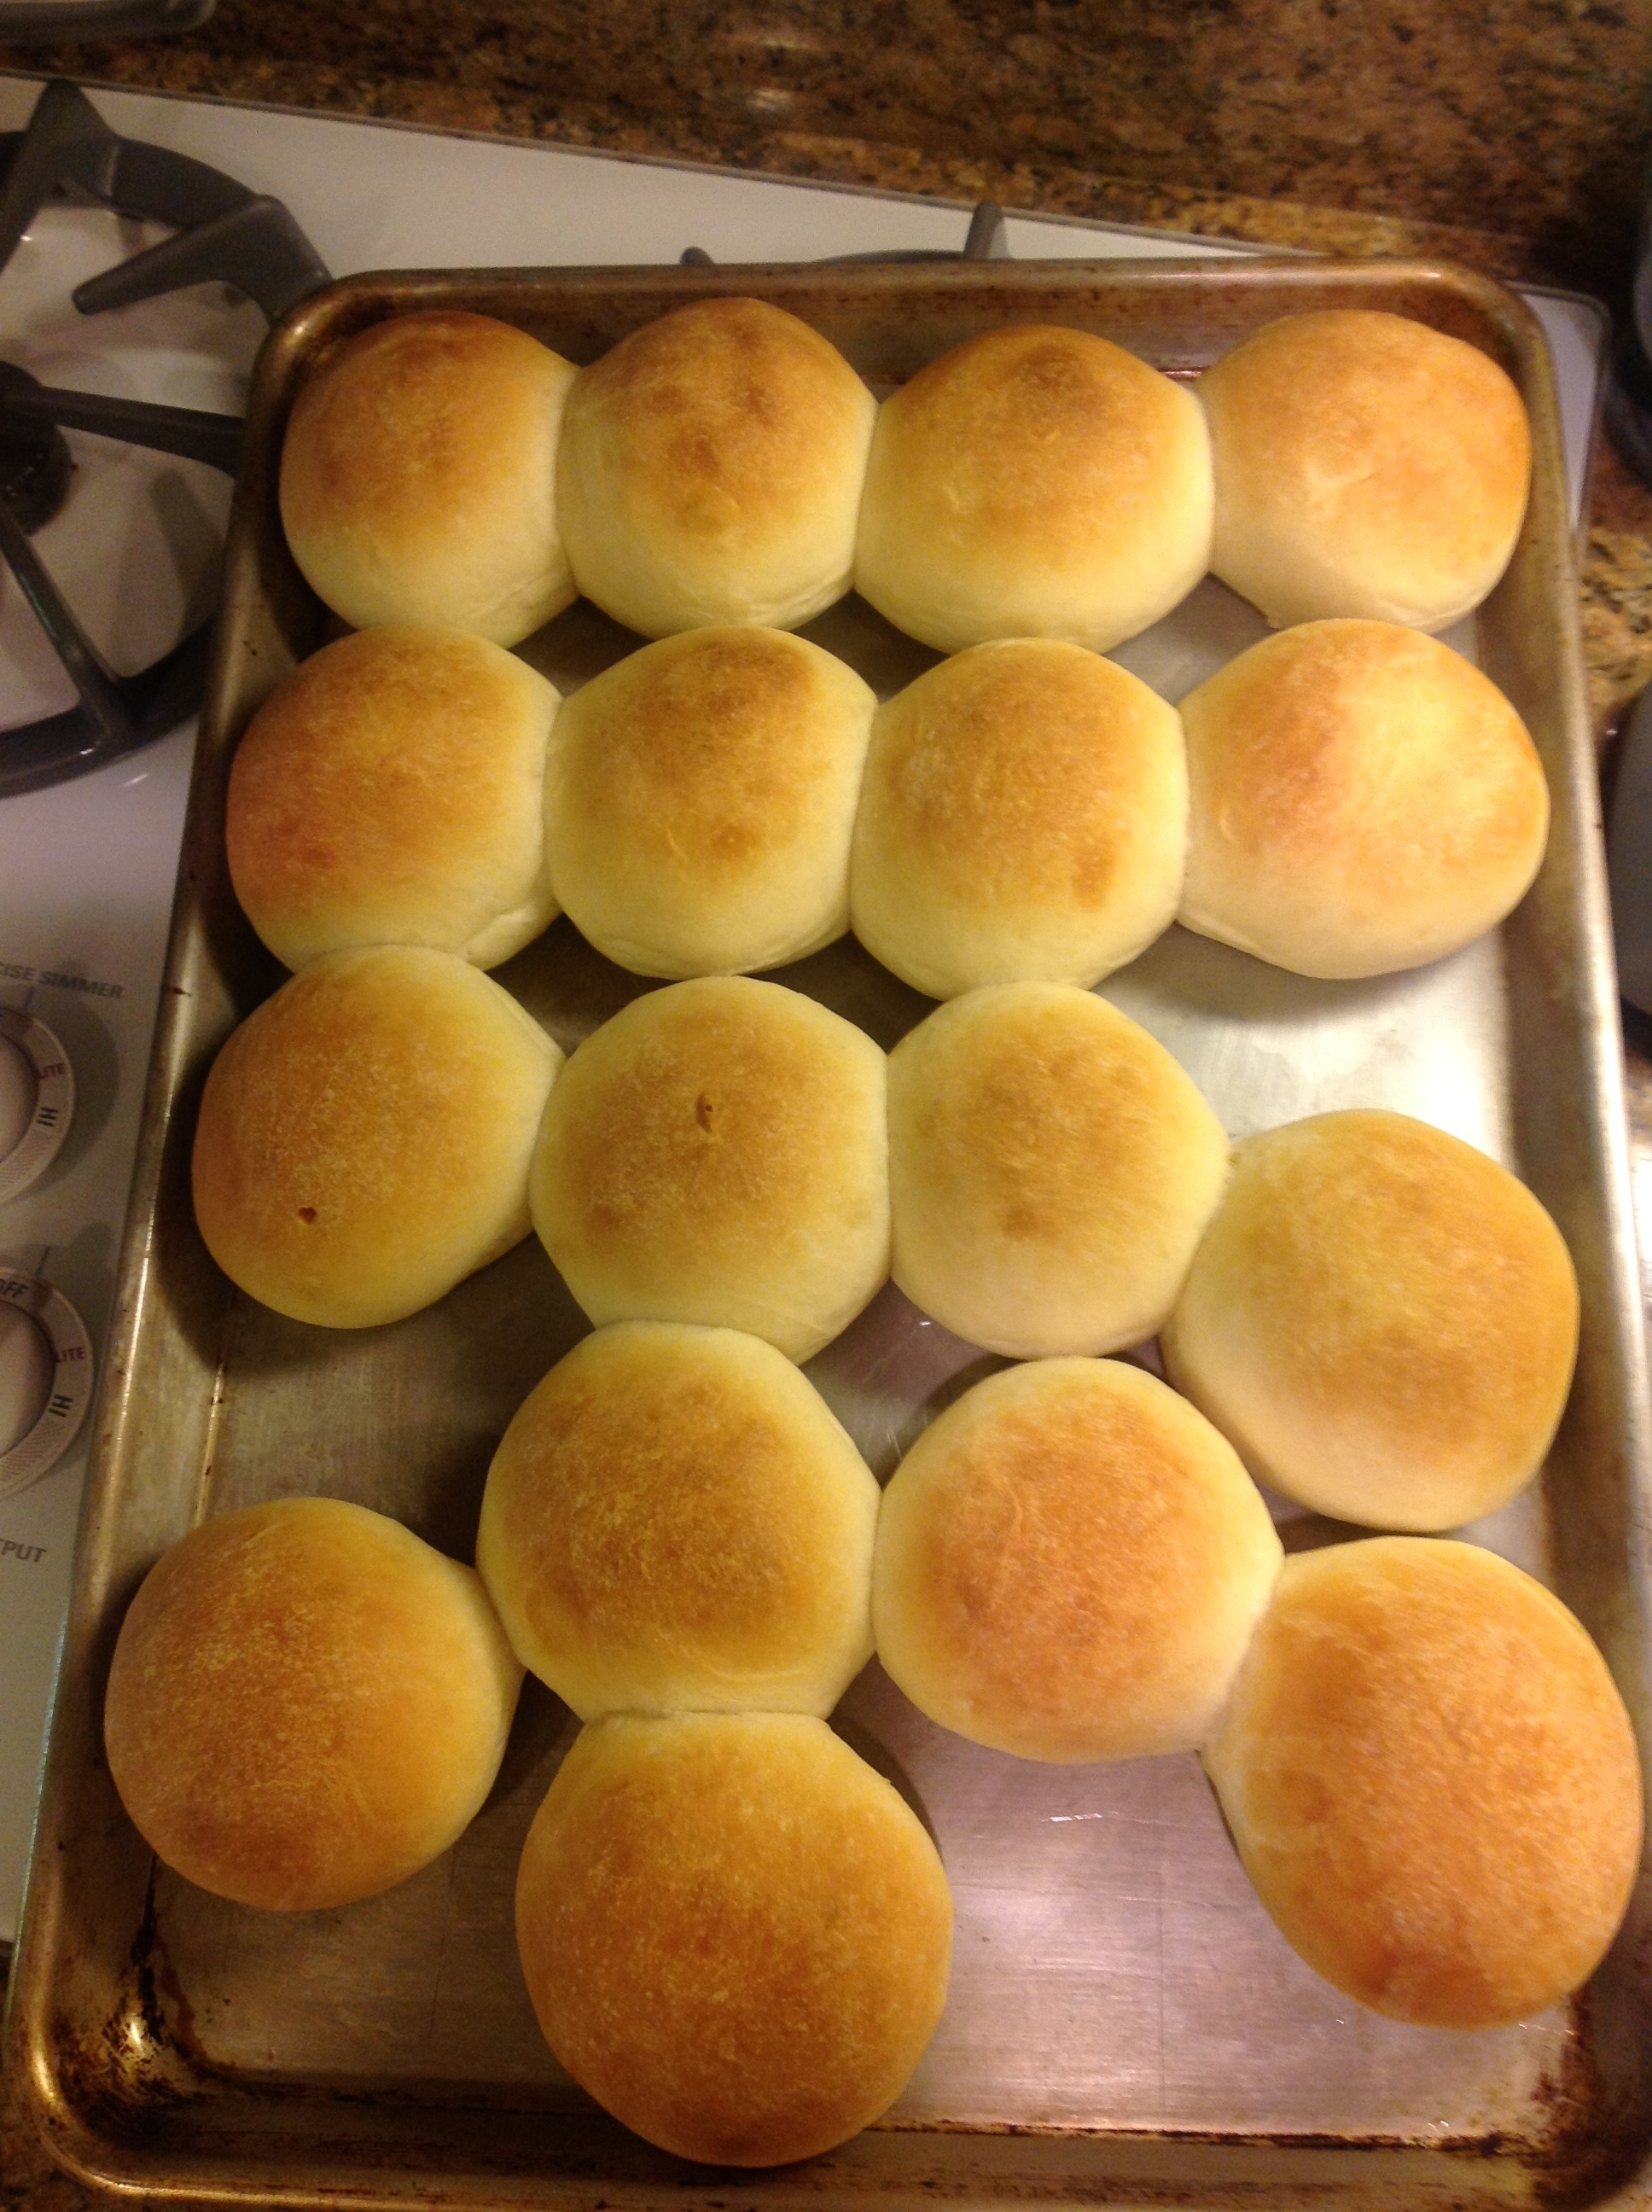
Ok once all your donuts are cut out let them rise again till double in size.

In the meantime take out your fryer if you have one or else put vegetable oil in a heavy large pot, (dutch ovens work great). When you are ready to start cooking heat your oil to 375 degrees F.

Place 4 donuts (or however many will fit without overcrowding) If you overcrowd the donuts in the hot oil this will bring the temperature down drastically and your dough will absorb the oil and become greasy and heavy YUCK. So just a few at a time. The donuts will cook 1 min per side. Then let them cool on a wire rack.

The next step is the best step. Dip your donuts in whatever concoction suits your fancy or sprinkle with sugar, coconut etc. AND EAT!! YUM

I just used a little milk, icing sugar and few drops of vanilla extract to make my glaze. The chocolate glaze started off like the clear + chocolate chips and a pat of butter whisked over a double broiler until silky and shiny.

Homemade Buns

IMG_0494

Tips To Make Better Buns!

There are a few things you need to know to make better, homemade, melt in your mouth buns! I will share with you what I have learned in my bread baking adventures.

First off enriched doughs make better, soft, squishy buns than lean doughs. What does that mean you ask? A lean dough is just flour, water, yeast and salt. This will yield a crusty bread, so for all you baguette lovers I will eventually do a recipe on that in the future. A lean dough is all about the gorgeous exterior crust as the focus although the crumb is open and soft.  In an enriched dough there is additives to your basic flour, yeast and salt in order to soften the crumb and crust. Sugar will soften the dough but the additive of your fats will by far improve the texture of your crust and crumb. Adding milk, sugar and butter to the flour makes a big difference.

Secondly kneading your dough enough to produce a windowpane. We want to make sure we develop the gluten in our dough so that we get good structure and rise.

Thirdly if you are not pressed for time I would ferment the dough slowly AKA (Put it in the fridge). The dough will take longer to rise in colder temperatures, the slower fermentation will develop more complex flavors when you are ready to bake it. I make my dough in the mornings and then throw it in the fridge till late afternoon when I then take it out and let it get to room temperature and finish its rise.

IMG_0483

Fourthly weighing your dough will ensure an equal cooking in the oven. I usually make 2 ounce buns. Once all pieces are equal size I then go to shaping them.

IMG_0485

Fifthly lets talk about surface tension. What is surface tension? This is the shaping stage, whether you are shaping loafs, boule, baguette, buns etc. Having the dough shaped tightly that puts tension on the dough will produce up to a 25% better oven spring. Oven spring is how much our dough rises up in the oven. Up I say 🙂 Not out, not to the side but springing up producing a nicer more open crumb structure and lighter fluffier bread.

IMG_0487 IMG_0488

Ok see the not so smooth ball first picture? I take this and make a “c” with my hand and in small circular movements I apply downward pressure to the ball and this will form a nice tight firm ball.

Sixthly Do not over proof!! Your bread will fall during cooking and you will lose your 25% oven spring yielding a squat loaf.

Seventhly brush some melted butter on the risen buns before popping them in the oven, this really helps to brown the buns and the more golden caramelization we can get out of those starches the more flavor we add!

IMG_0489

Ok so here is my recipe:

Homemade buns

  • Servings: 6-8
  • Difficulty: medium
  • Print

Ingredients:

  • 4 3/4 cups of flour
  • 1 1/2 tsp of salt
  • 2 tsp of instant yeast
  • 2 tbsp of sugar
  • 1 large egg beaten
  • 1/4 cup of butter
  • 1 1/2 cups of milk

Directions:

Take all dry ingredients and whisk together. Add your wet ingredients and knead dough till window pane test is achieved. Spray a bowl with Pam and place dough in the bowl, spray the dough with Pam and place plastic wrap directly on your dough ball. Cover the bowl with a tea towel and place it in the  fridge to ferment slowly.

Two hours before baking time. Take out of fridge and allow the dough to come to room temperature and finish its initial rise. This will take about 30-45 minutes.  Divide dough evenly for buns and shape as described above. Place on sheet pan to rise, spray once again with Pam and place plastic wrap directly on dough cover with tea towel once more and allow for the final rise. Aprox 30-45 minutes

Turn on the stove to 400 degrees F  Once your buns have risen brush the tops with some melted butter and place in the preheated oven and set timer for 15 minutes.  If you are using only 2 ounces of dough per bun like I do then they do not take long to cook! Once golden brown remove from oven and allow to cool on wire rack. Enjoy!