I have been working on this pattern the last few days and I want to share my experience with you.
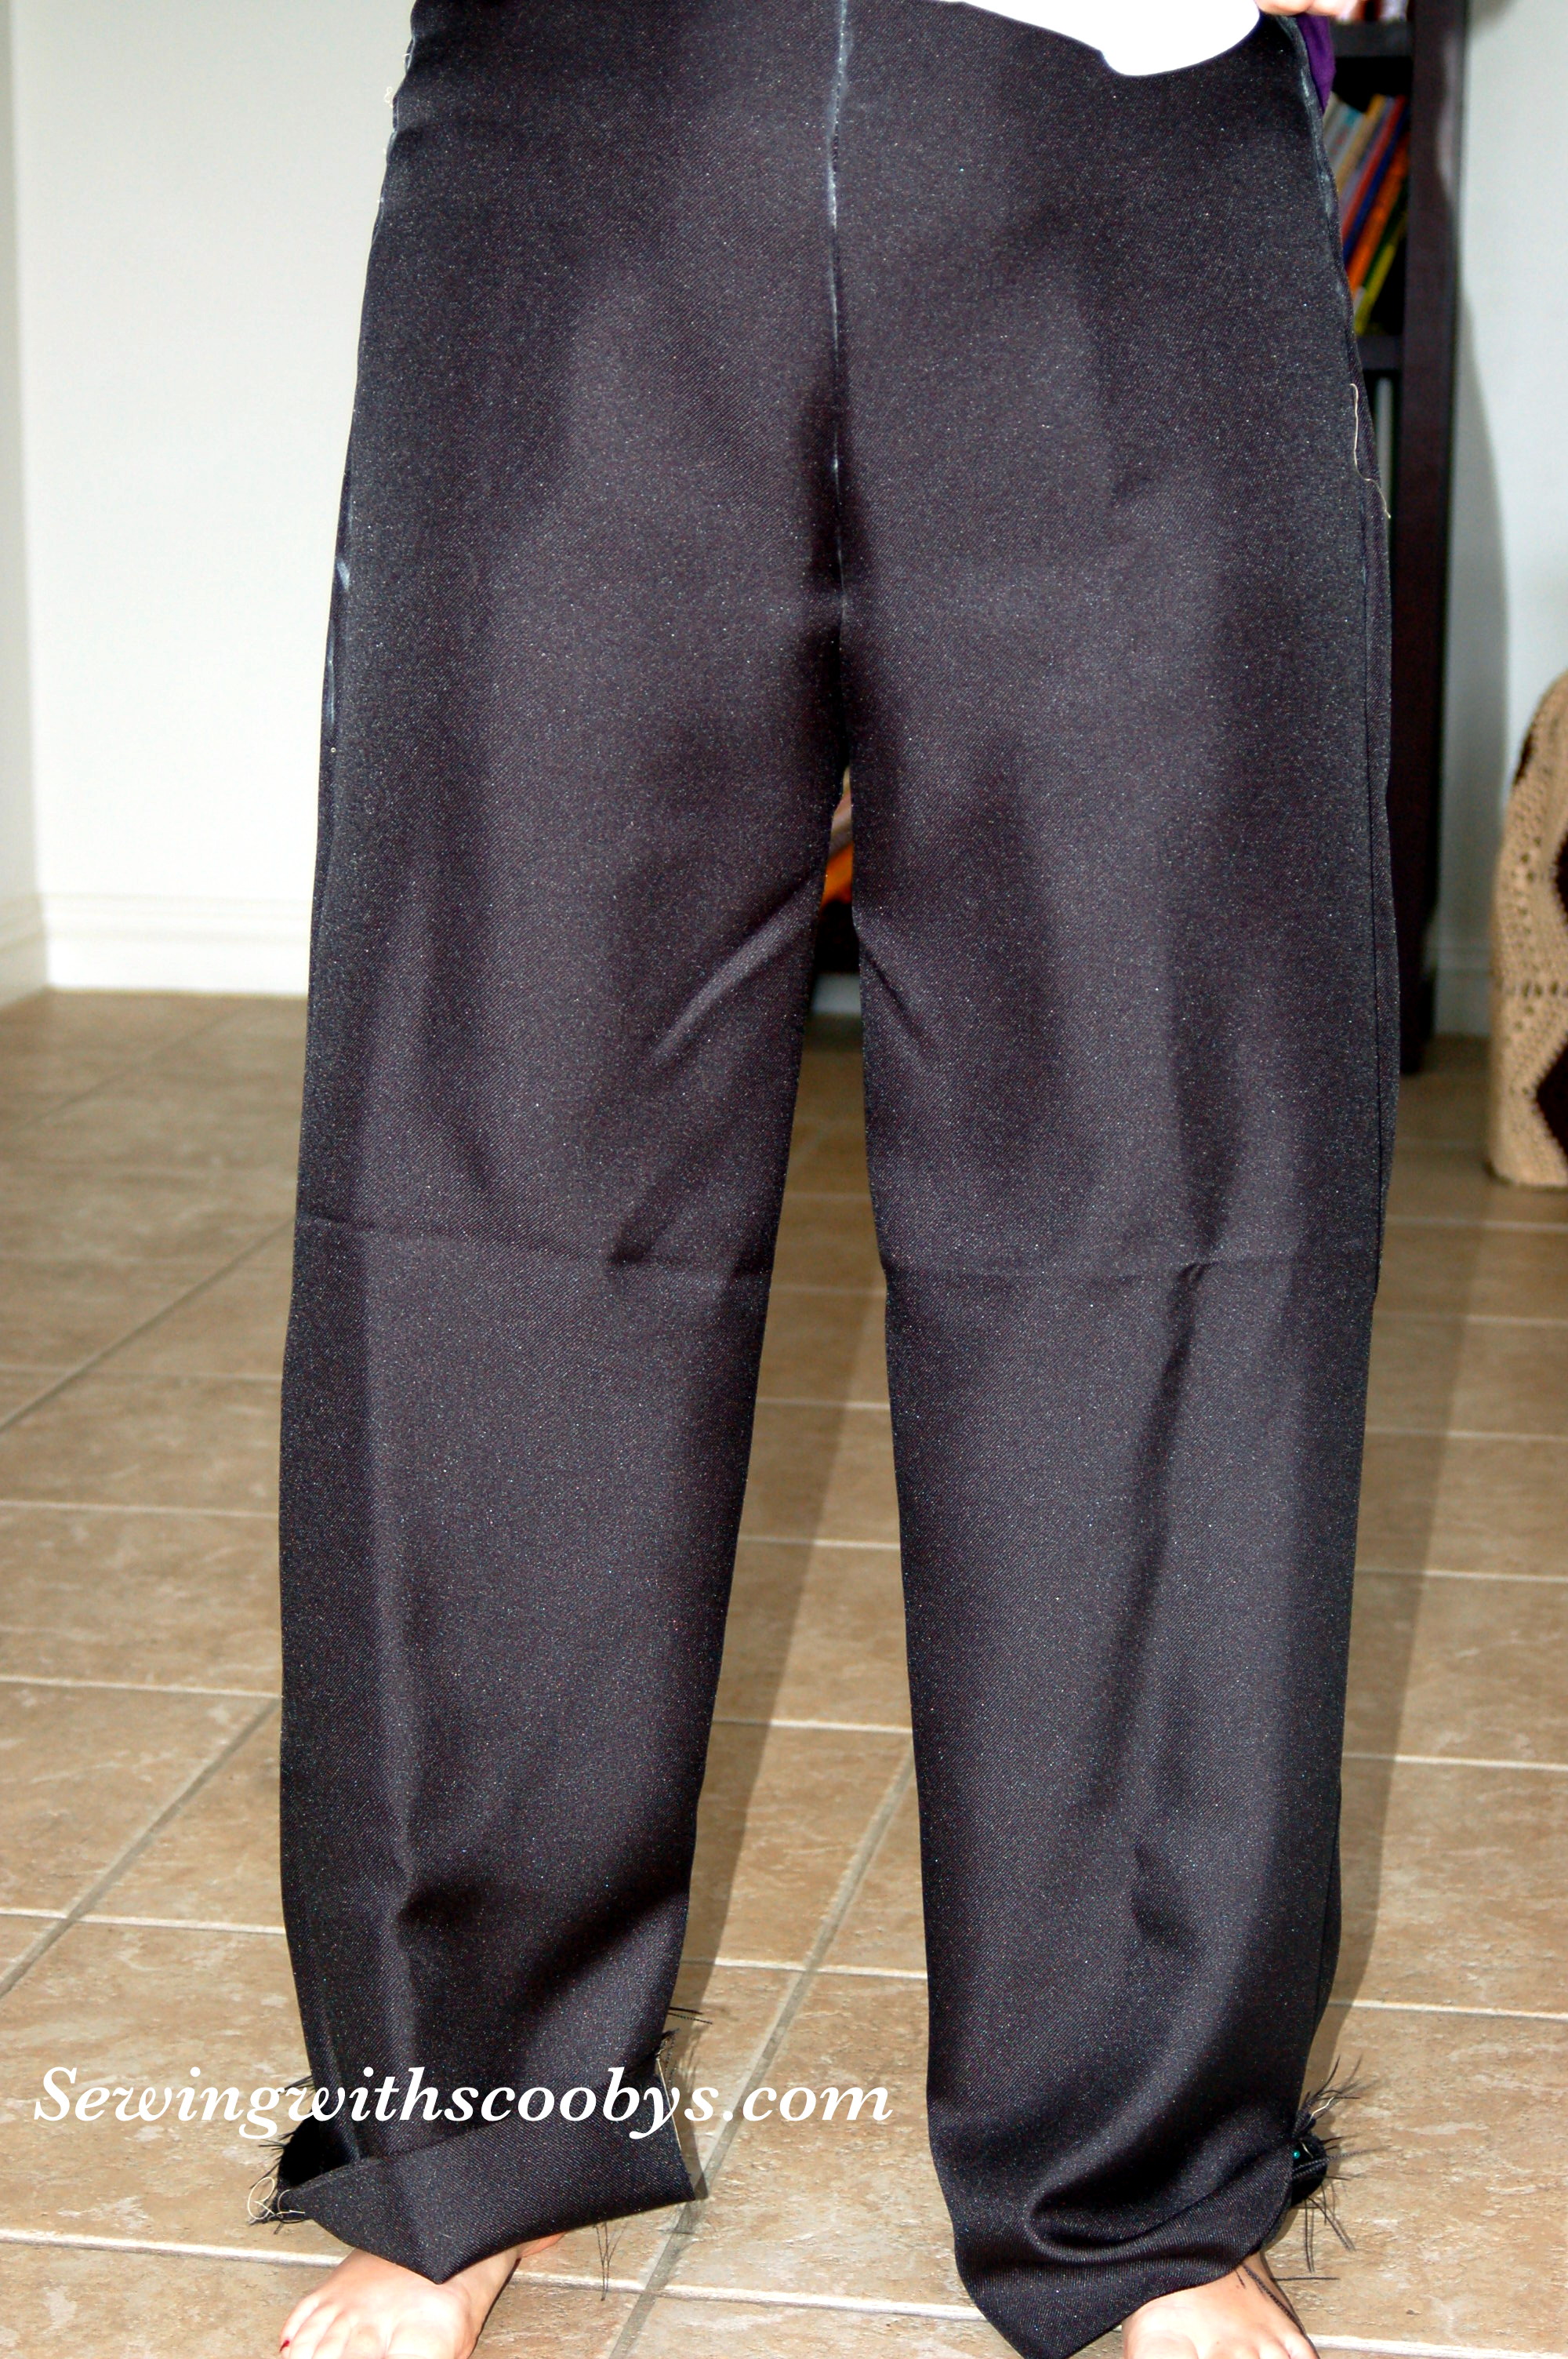
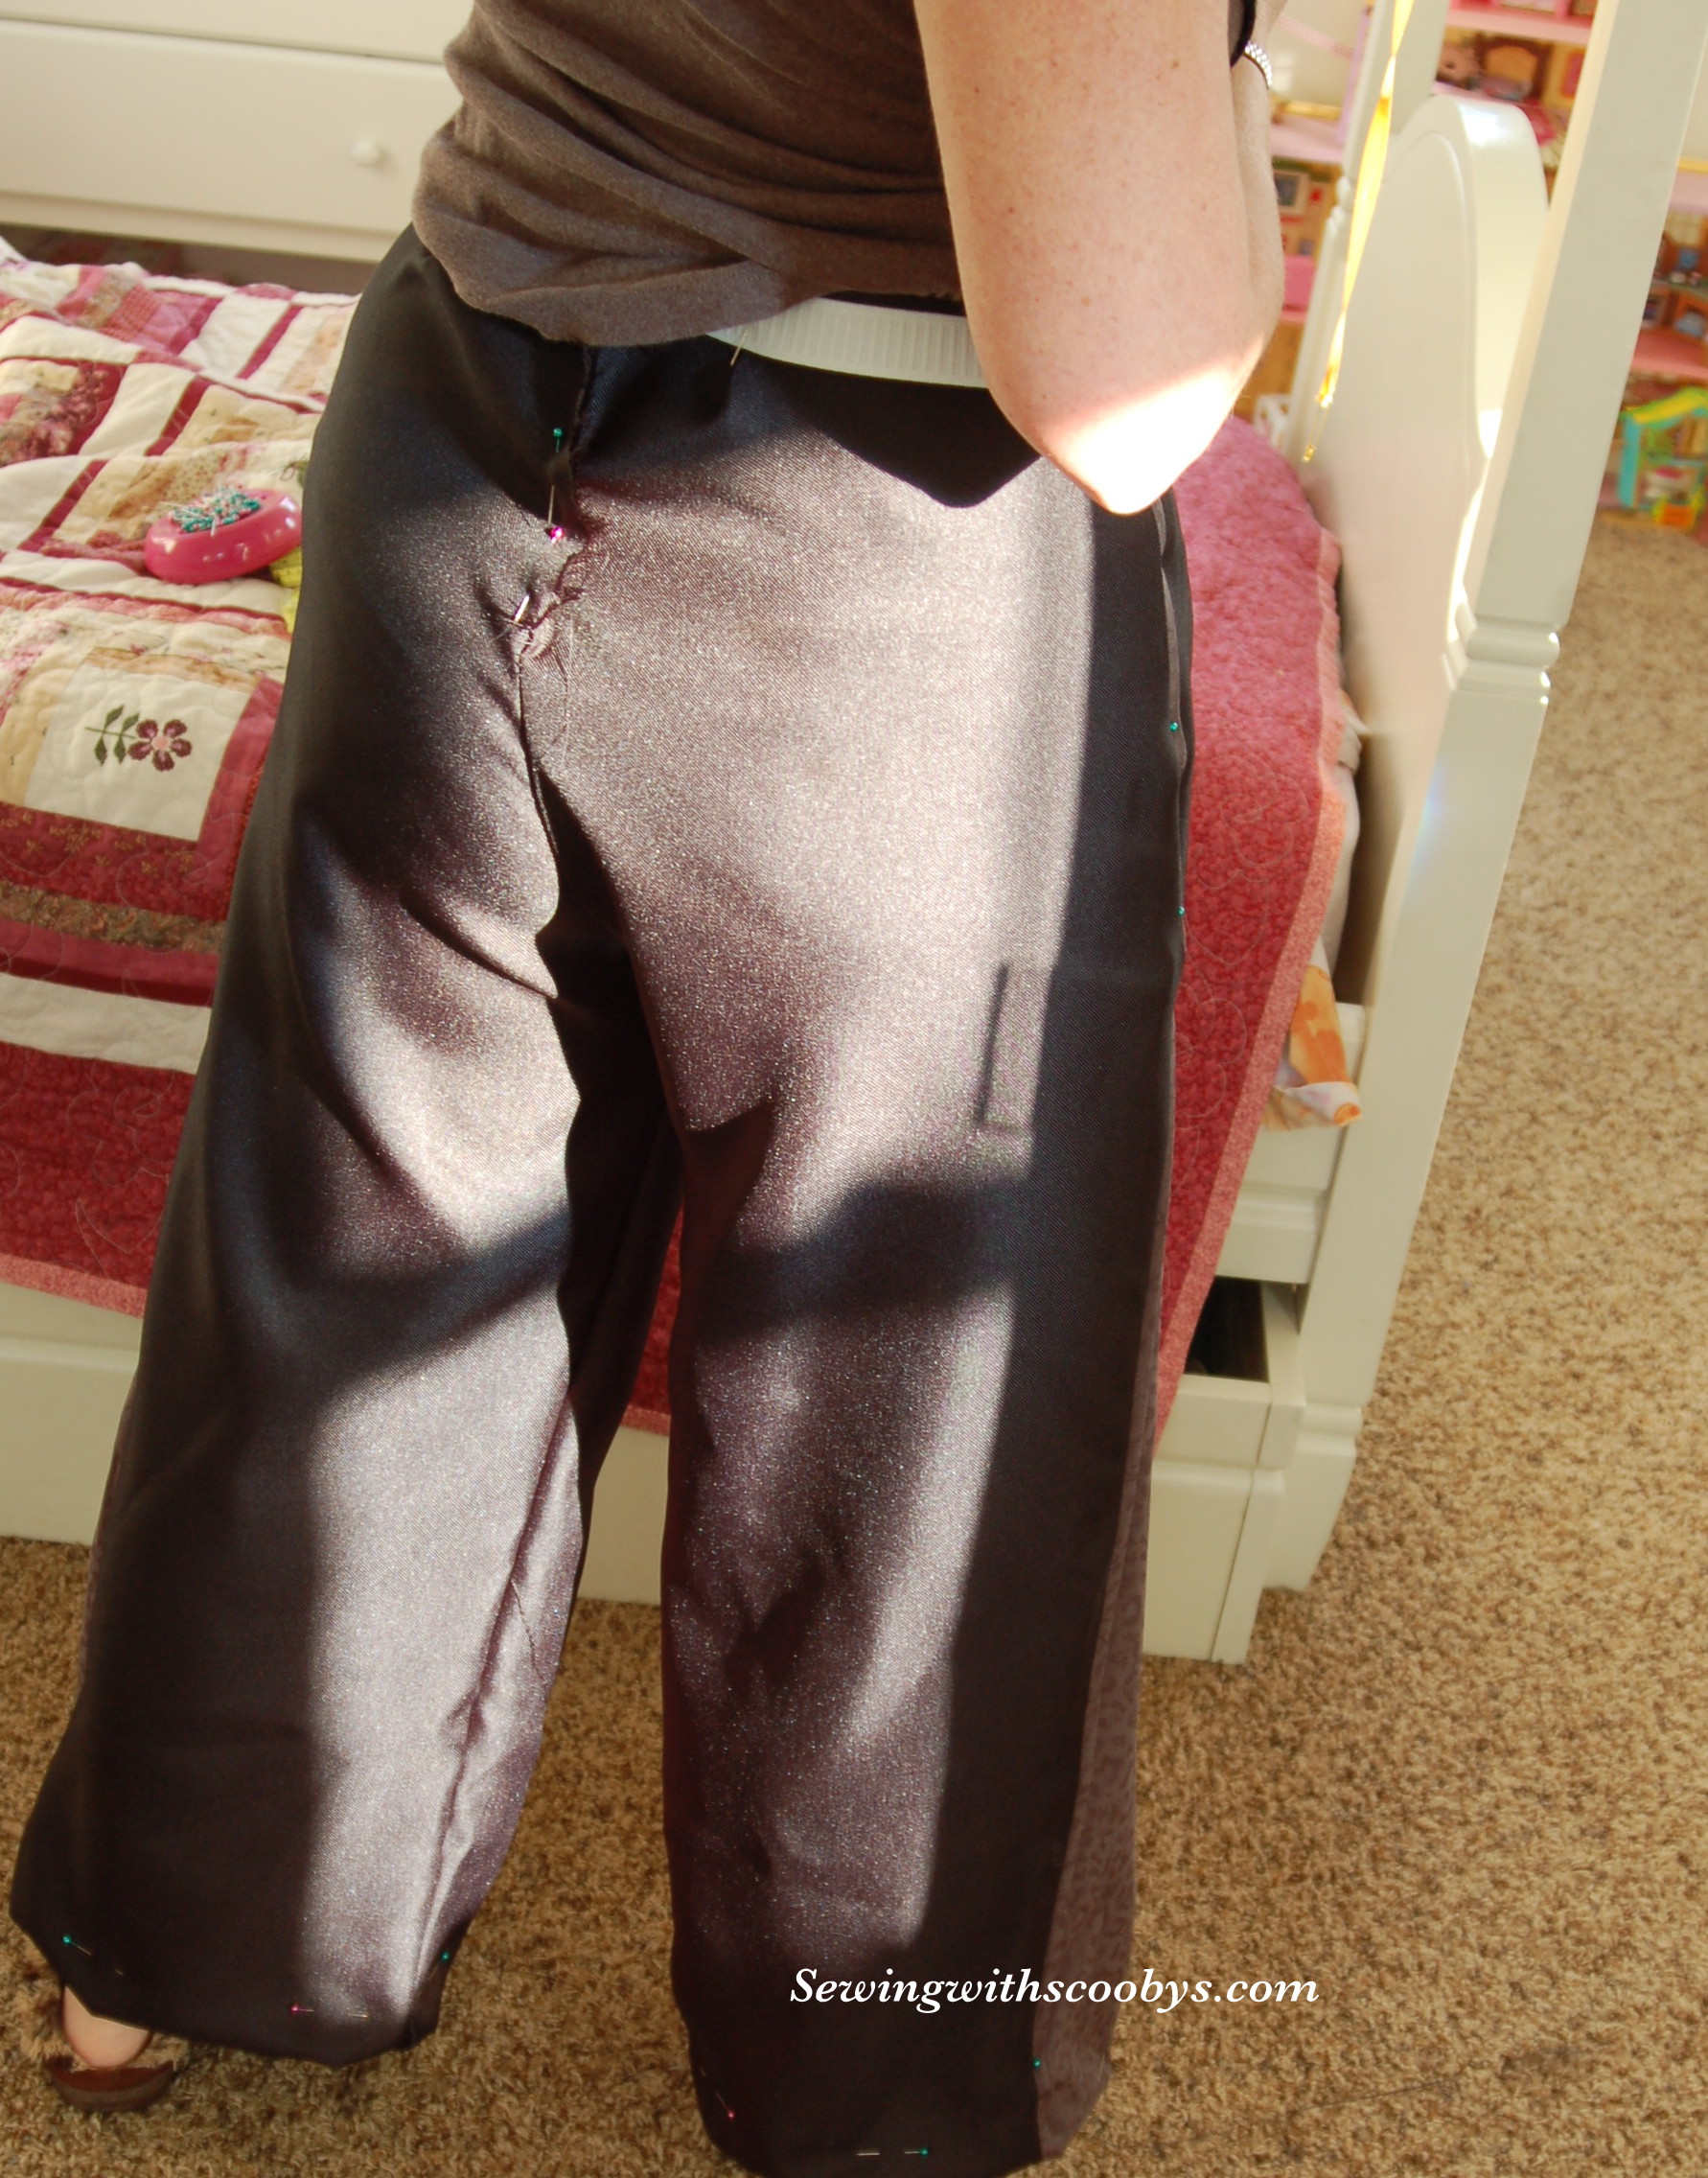
After the tissue fitting and cutting out the fashion fabric, I basted it together to check the fit. Here are some pics of that. Some of the drag lines I have are simply because of my hem dragging on my feet and the floor.
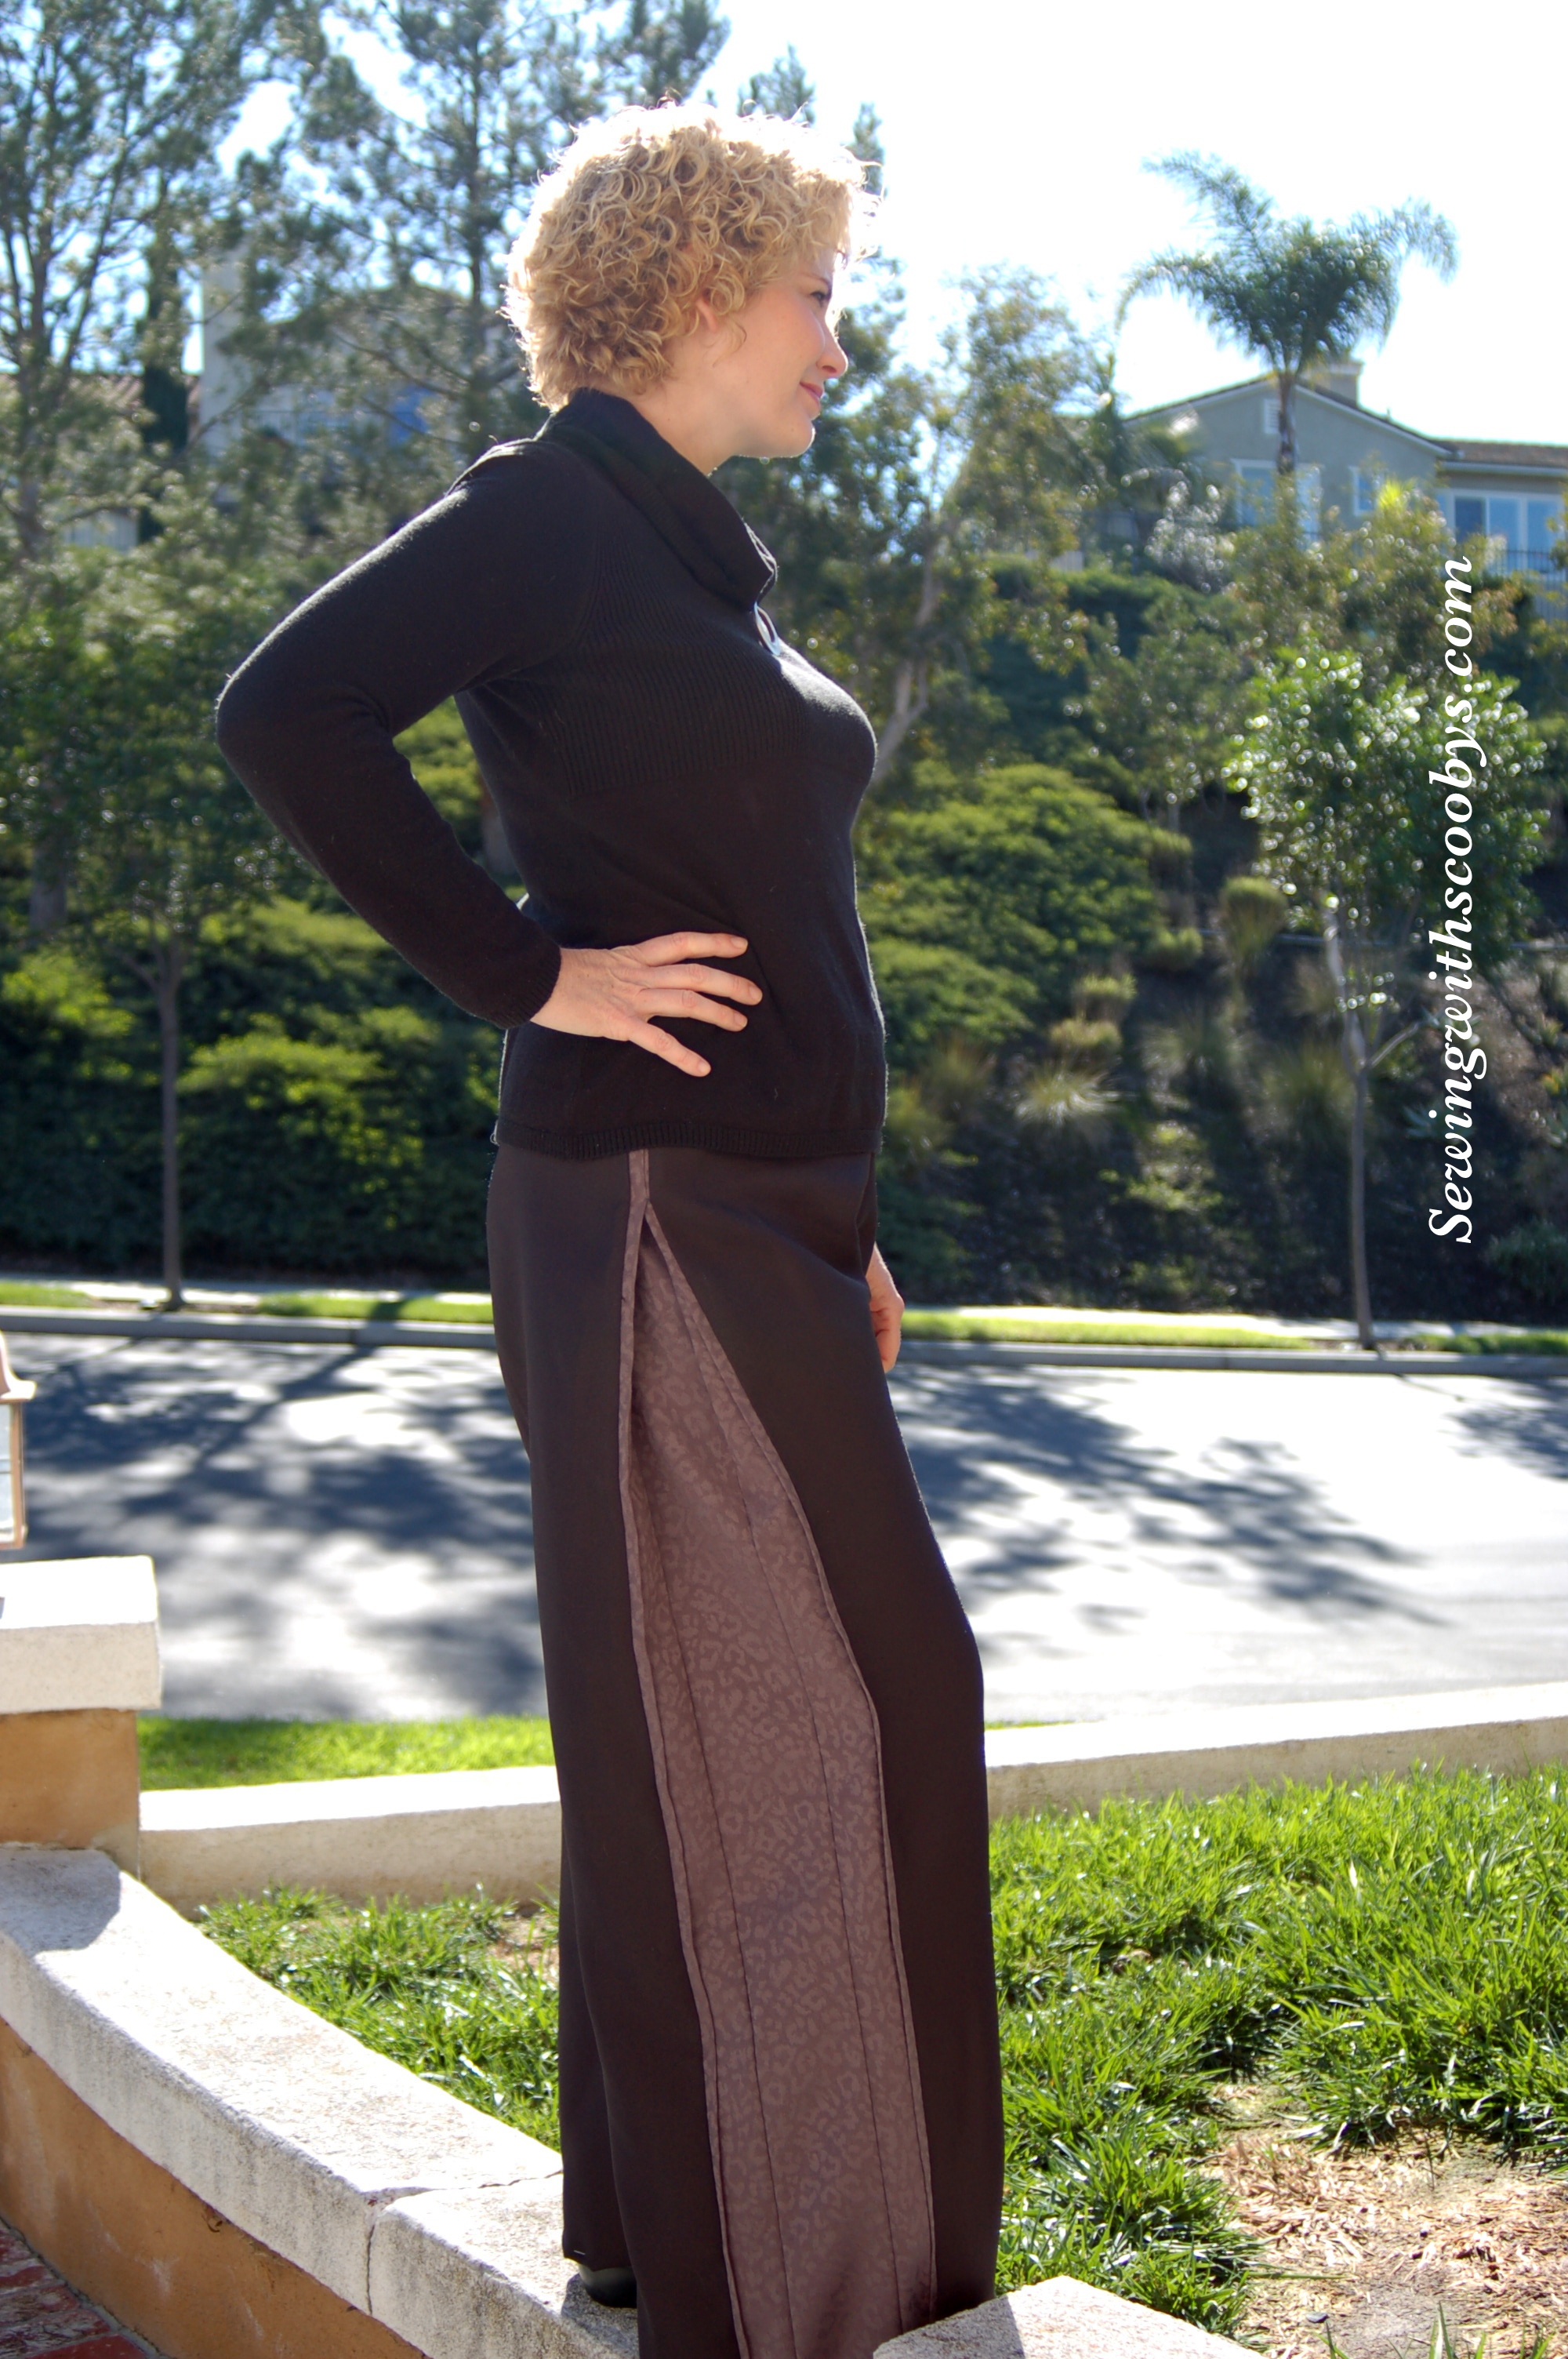
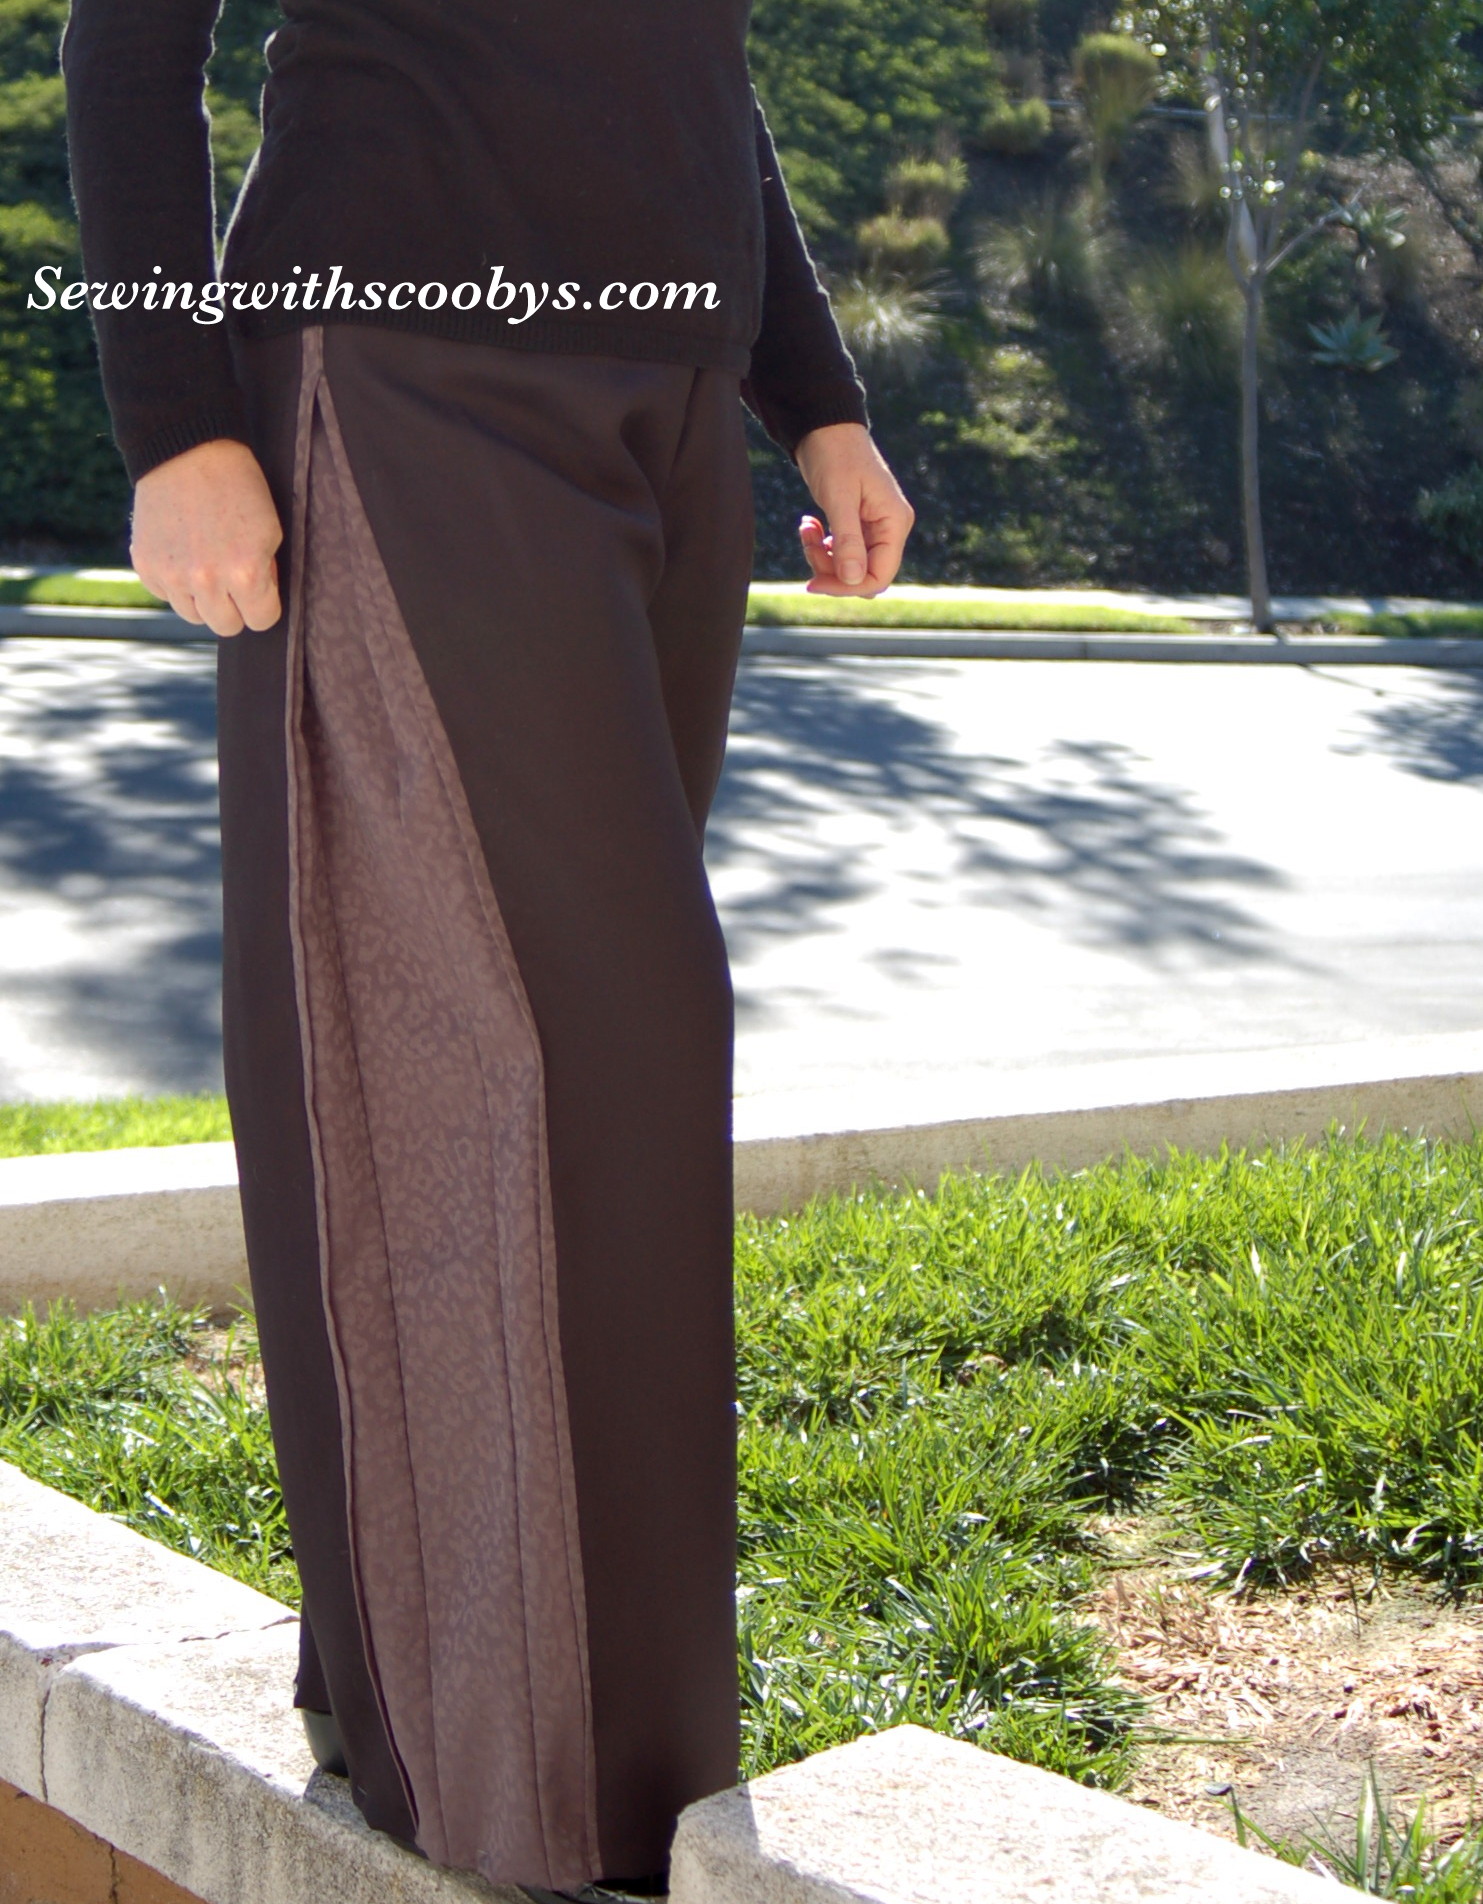
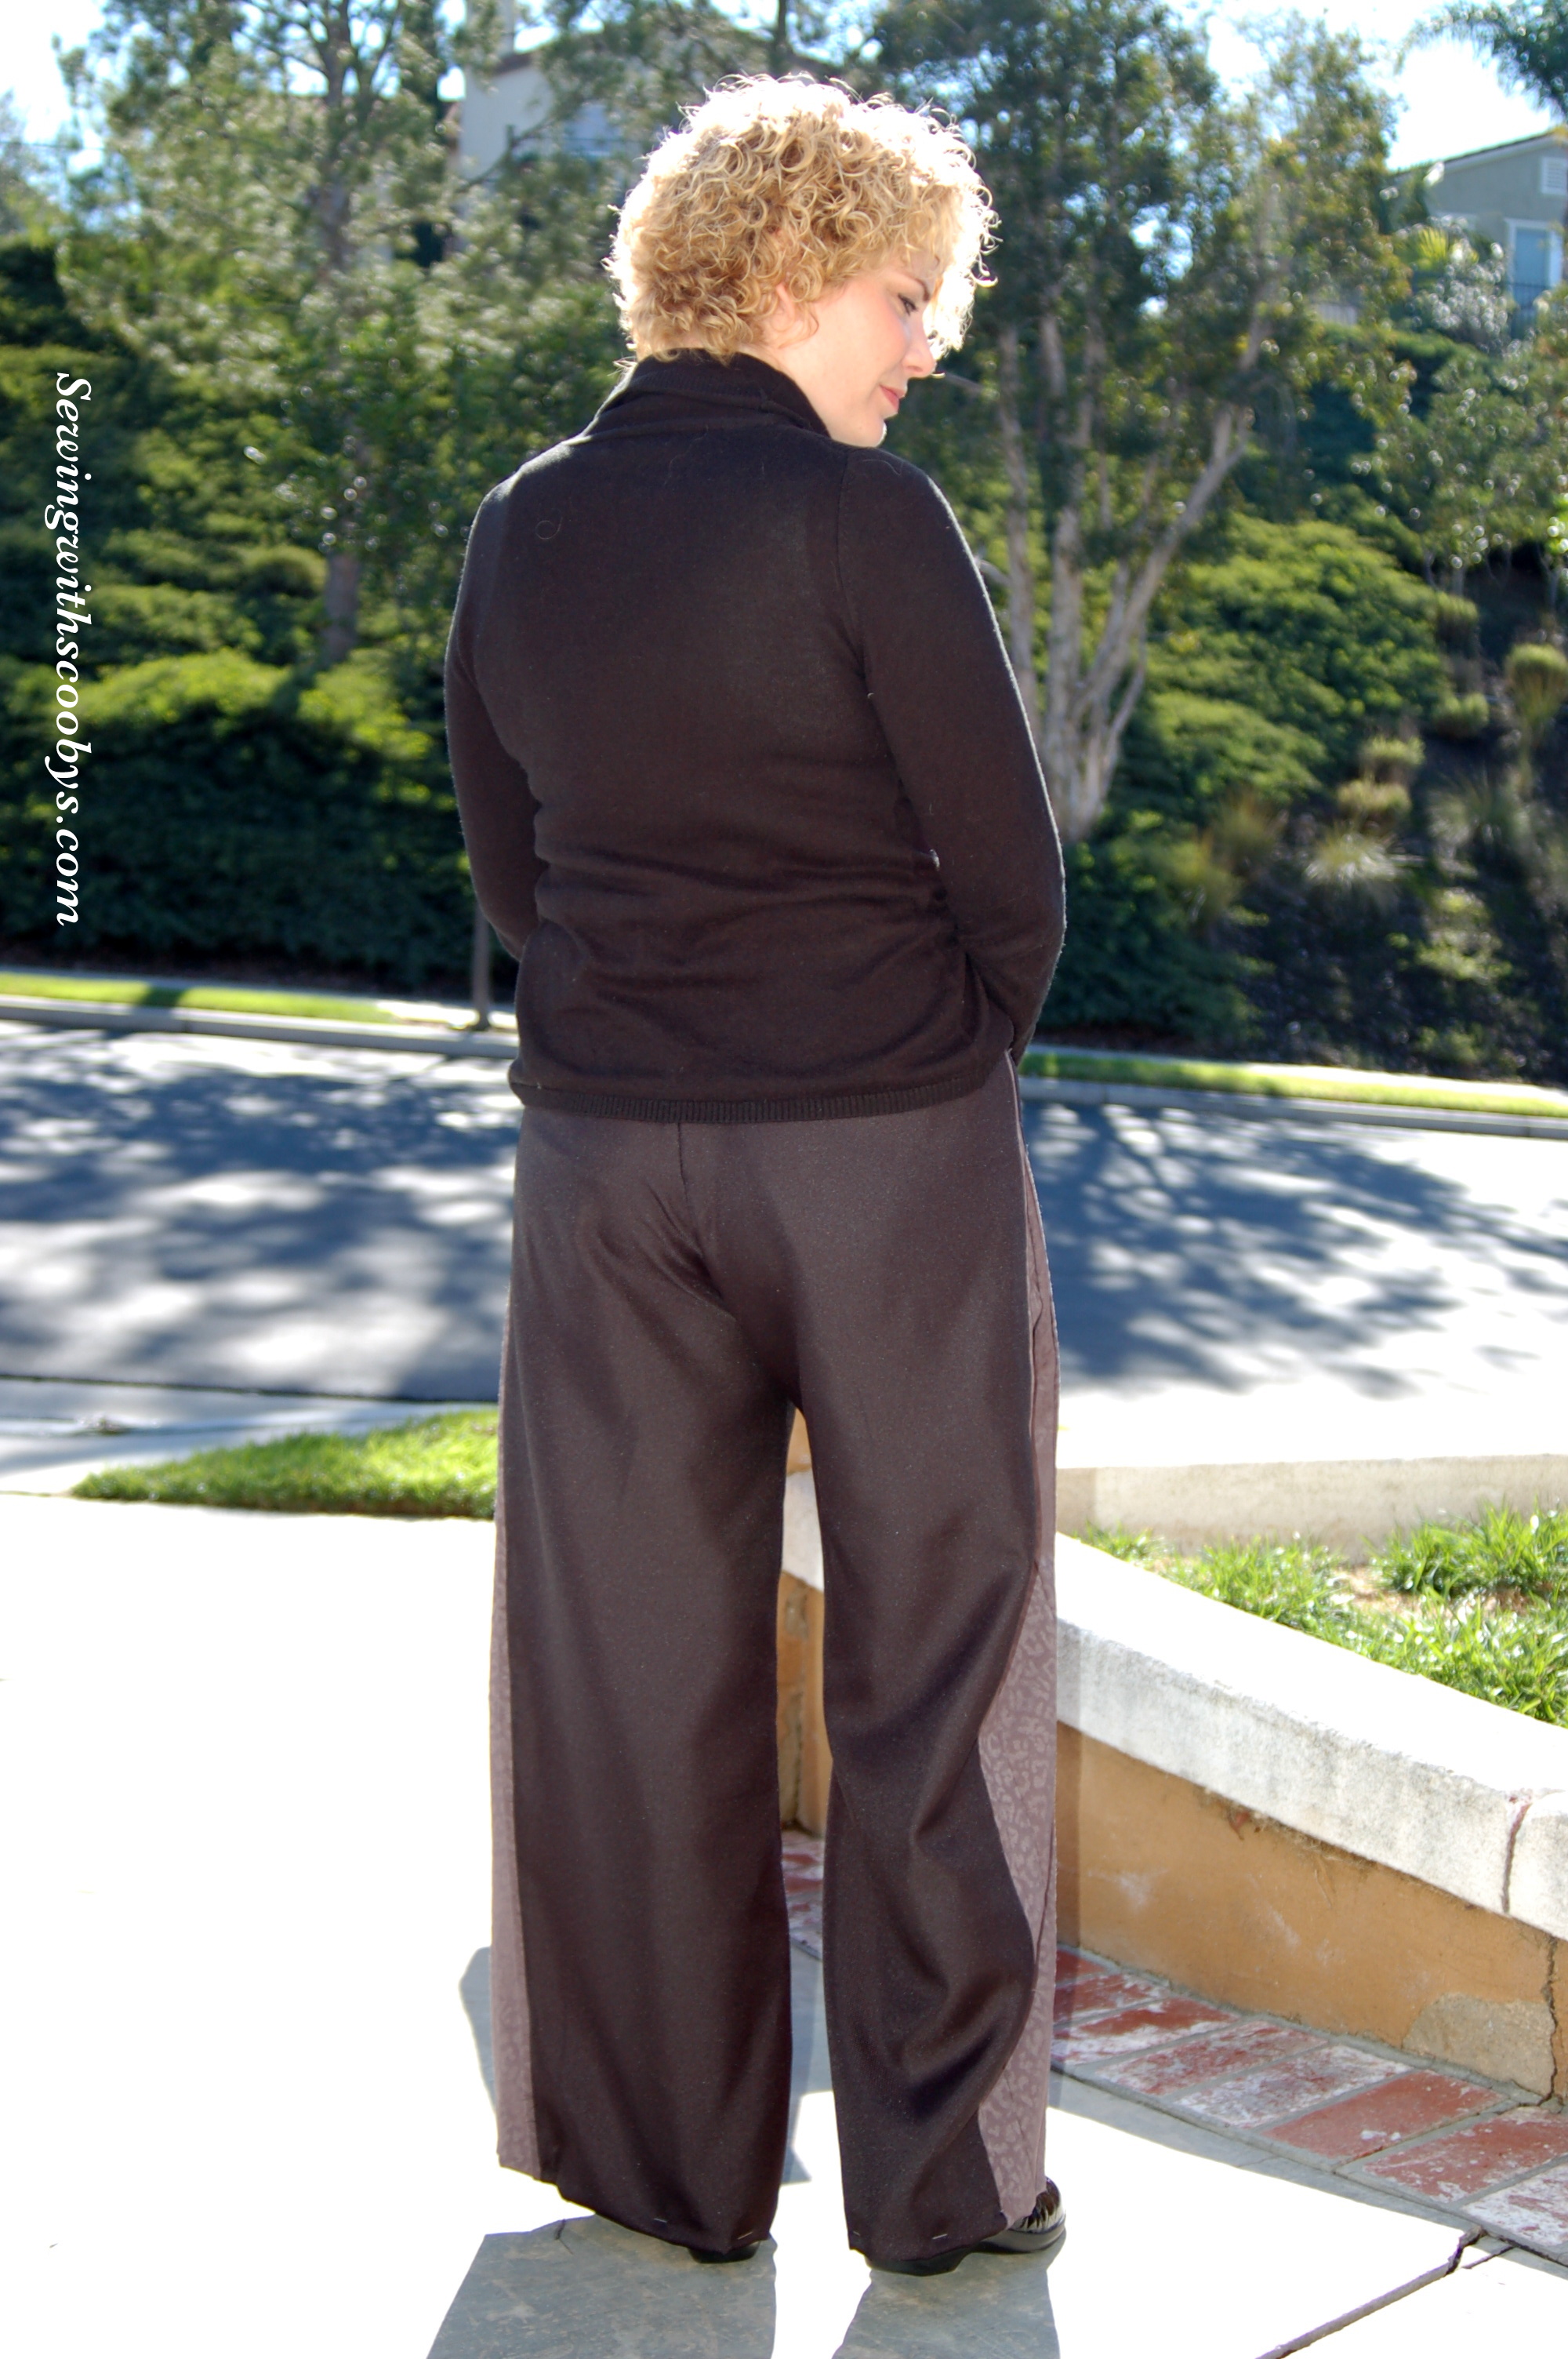
I am pretty happy with the fit. As you can see I chalked my seam lines.


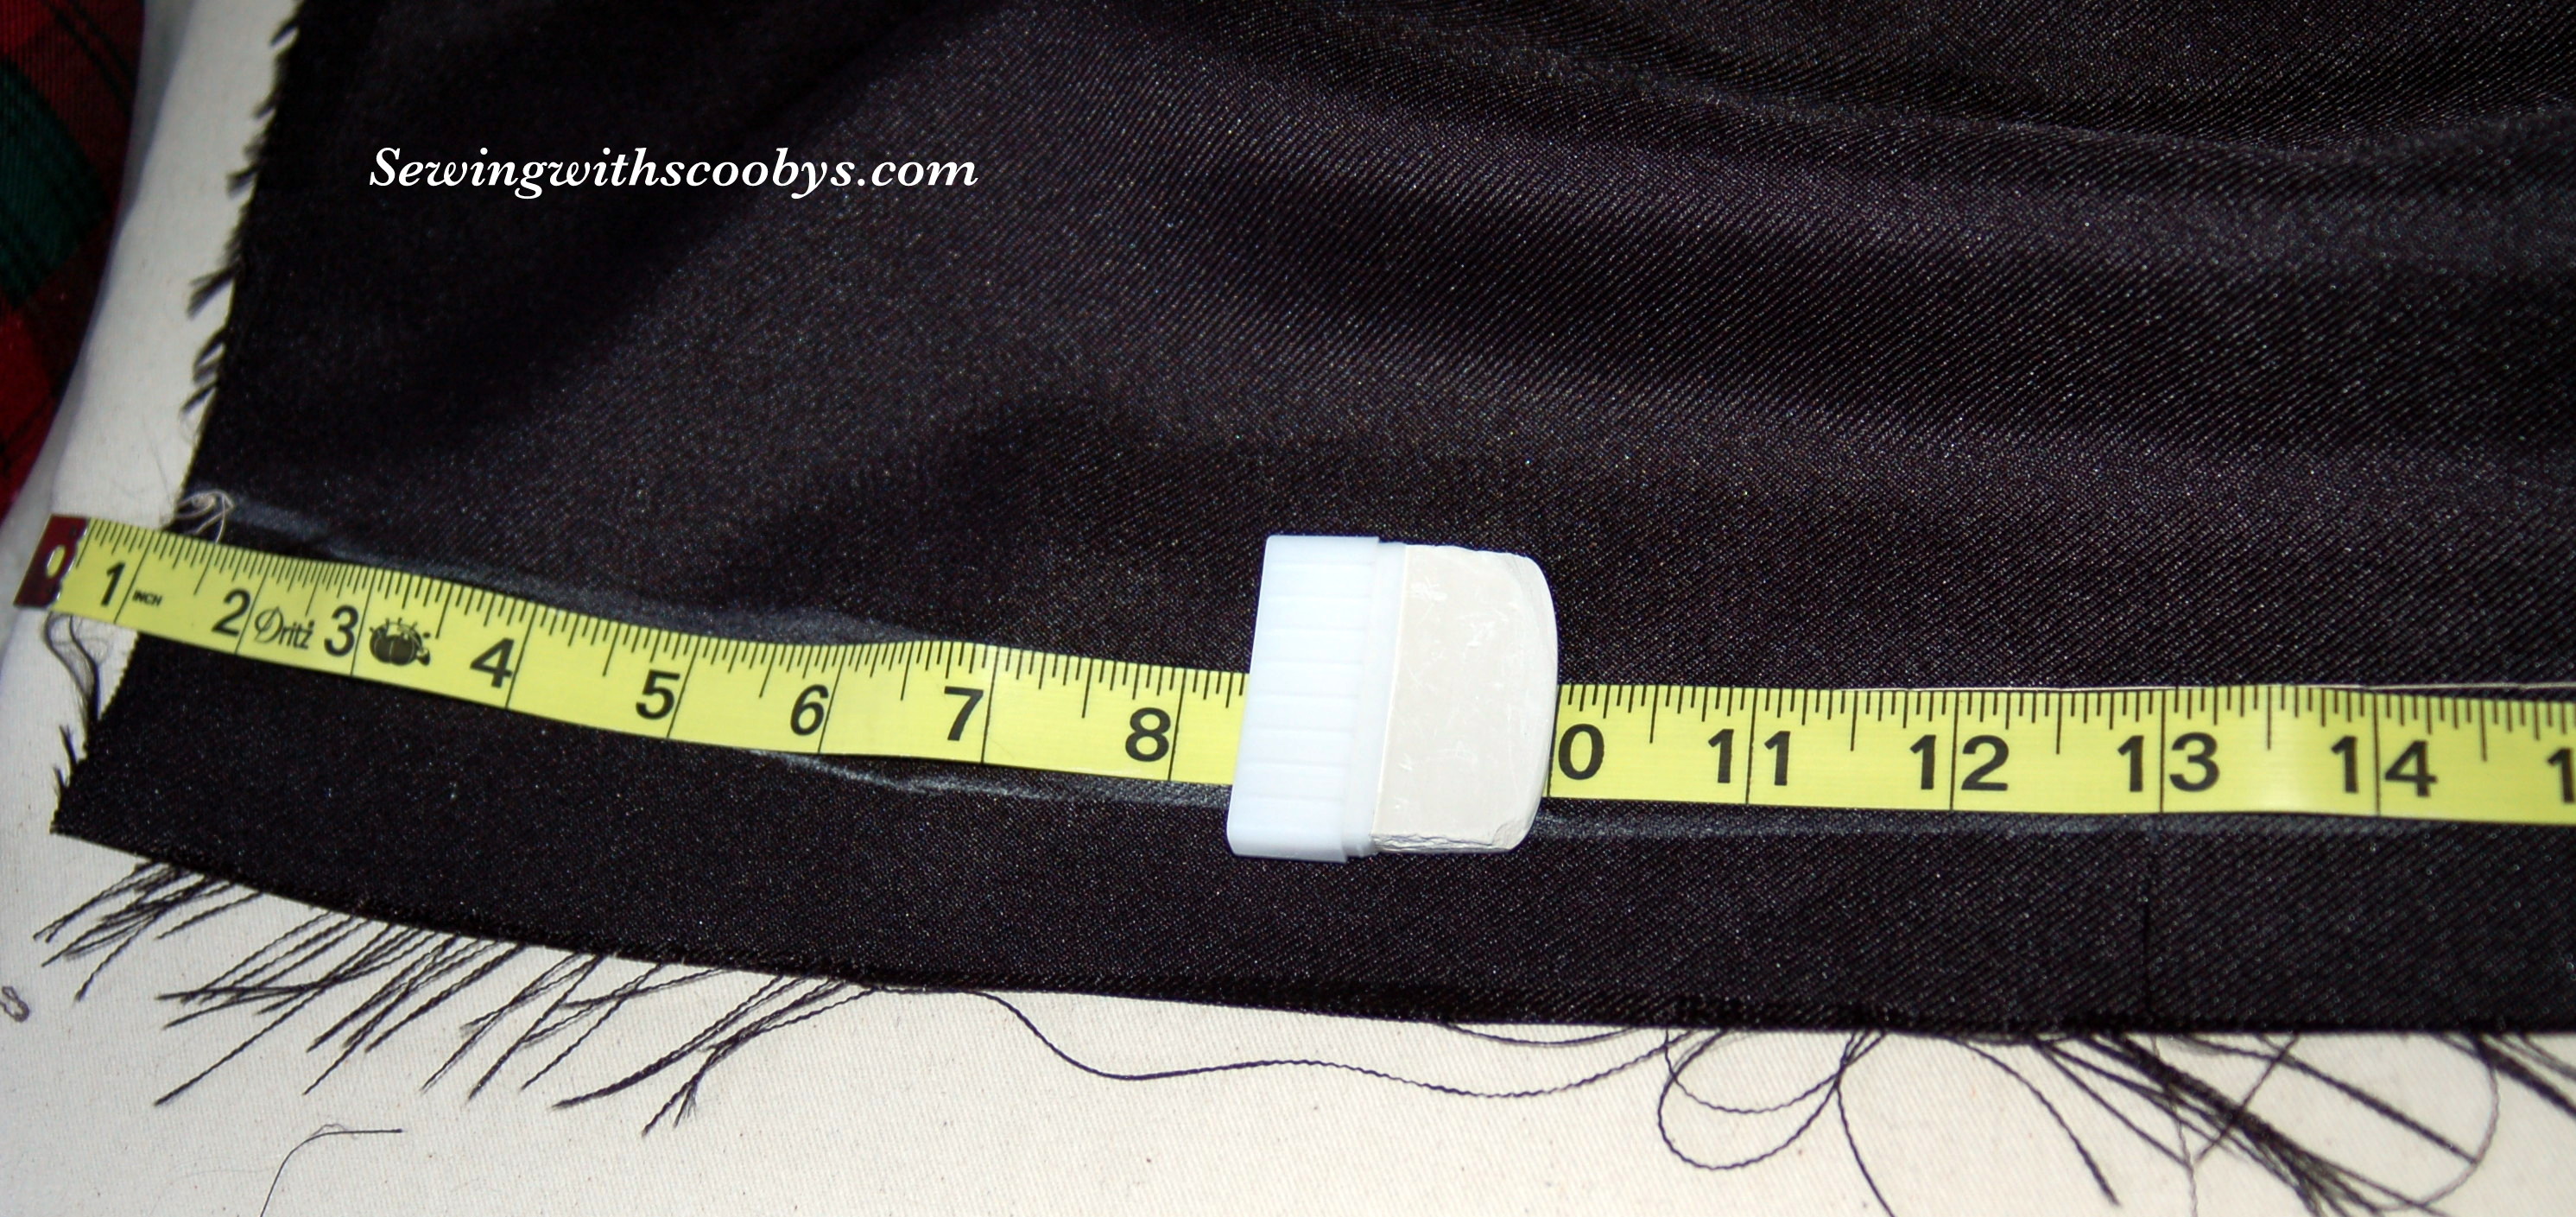
I recently found out that traditional measuring tapes have an exact width of 5/8 ” How did I not know this??? This makes it so easy to chalk my seam allowance and get rid of the “fit insurance”(AKA bat wings from my previous post). For those of you that might not know this, fit insurance is when you give yourself an extra 1″ on the side seams (total of 1 5/8”) seam allowance incase you need some extra material during the fitting process.

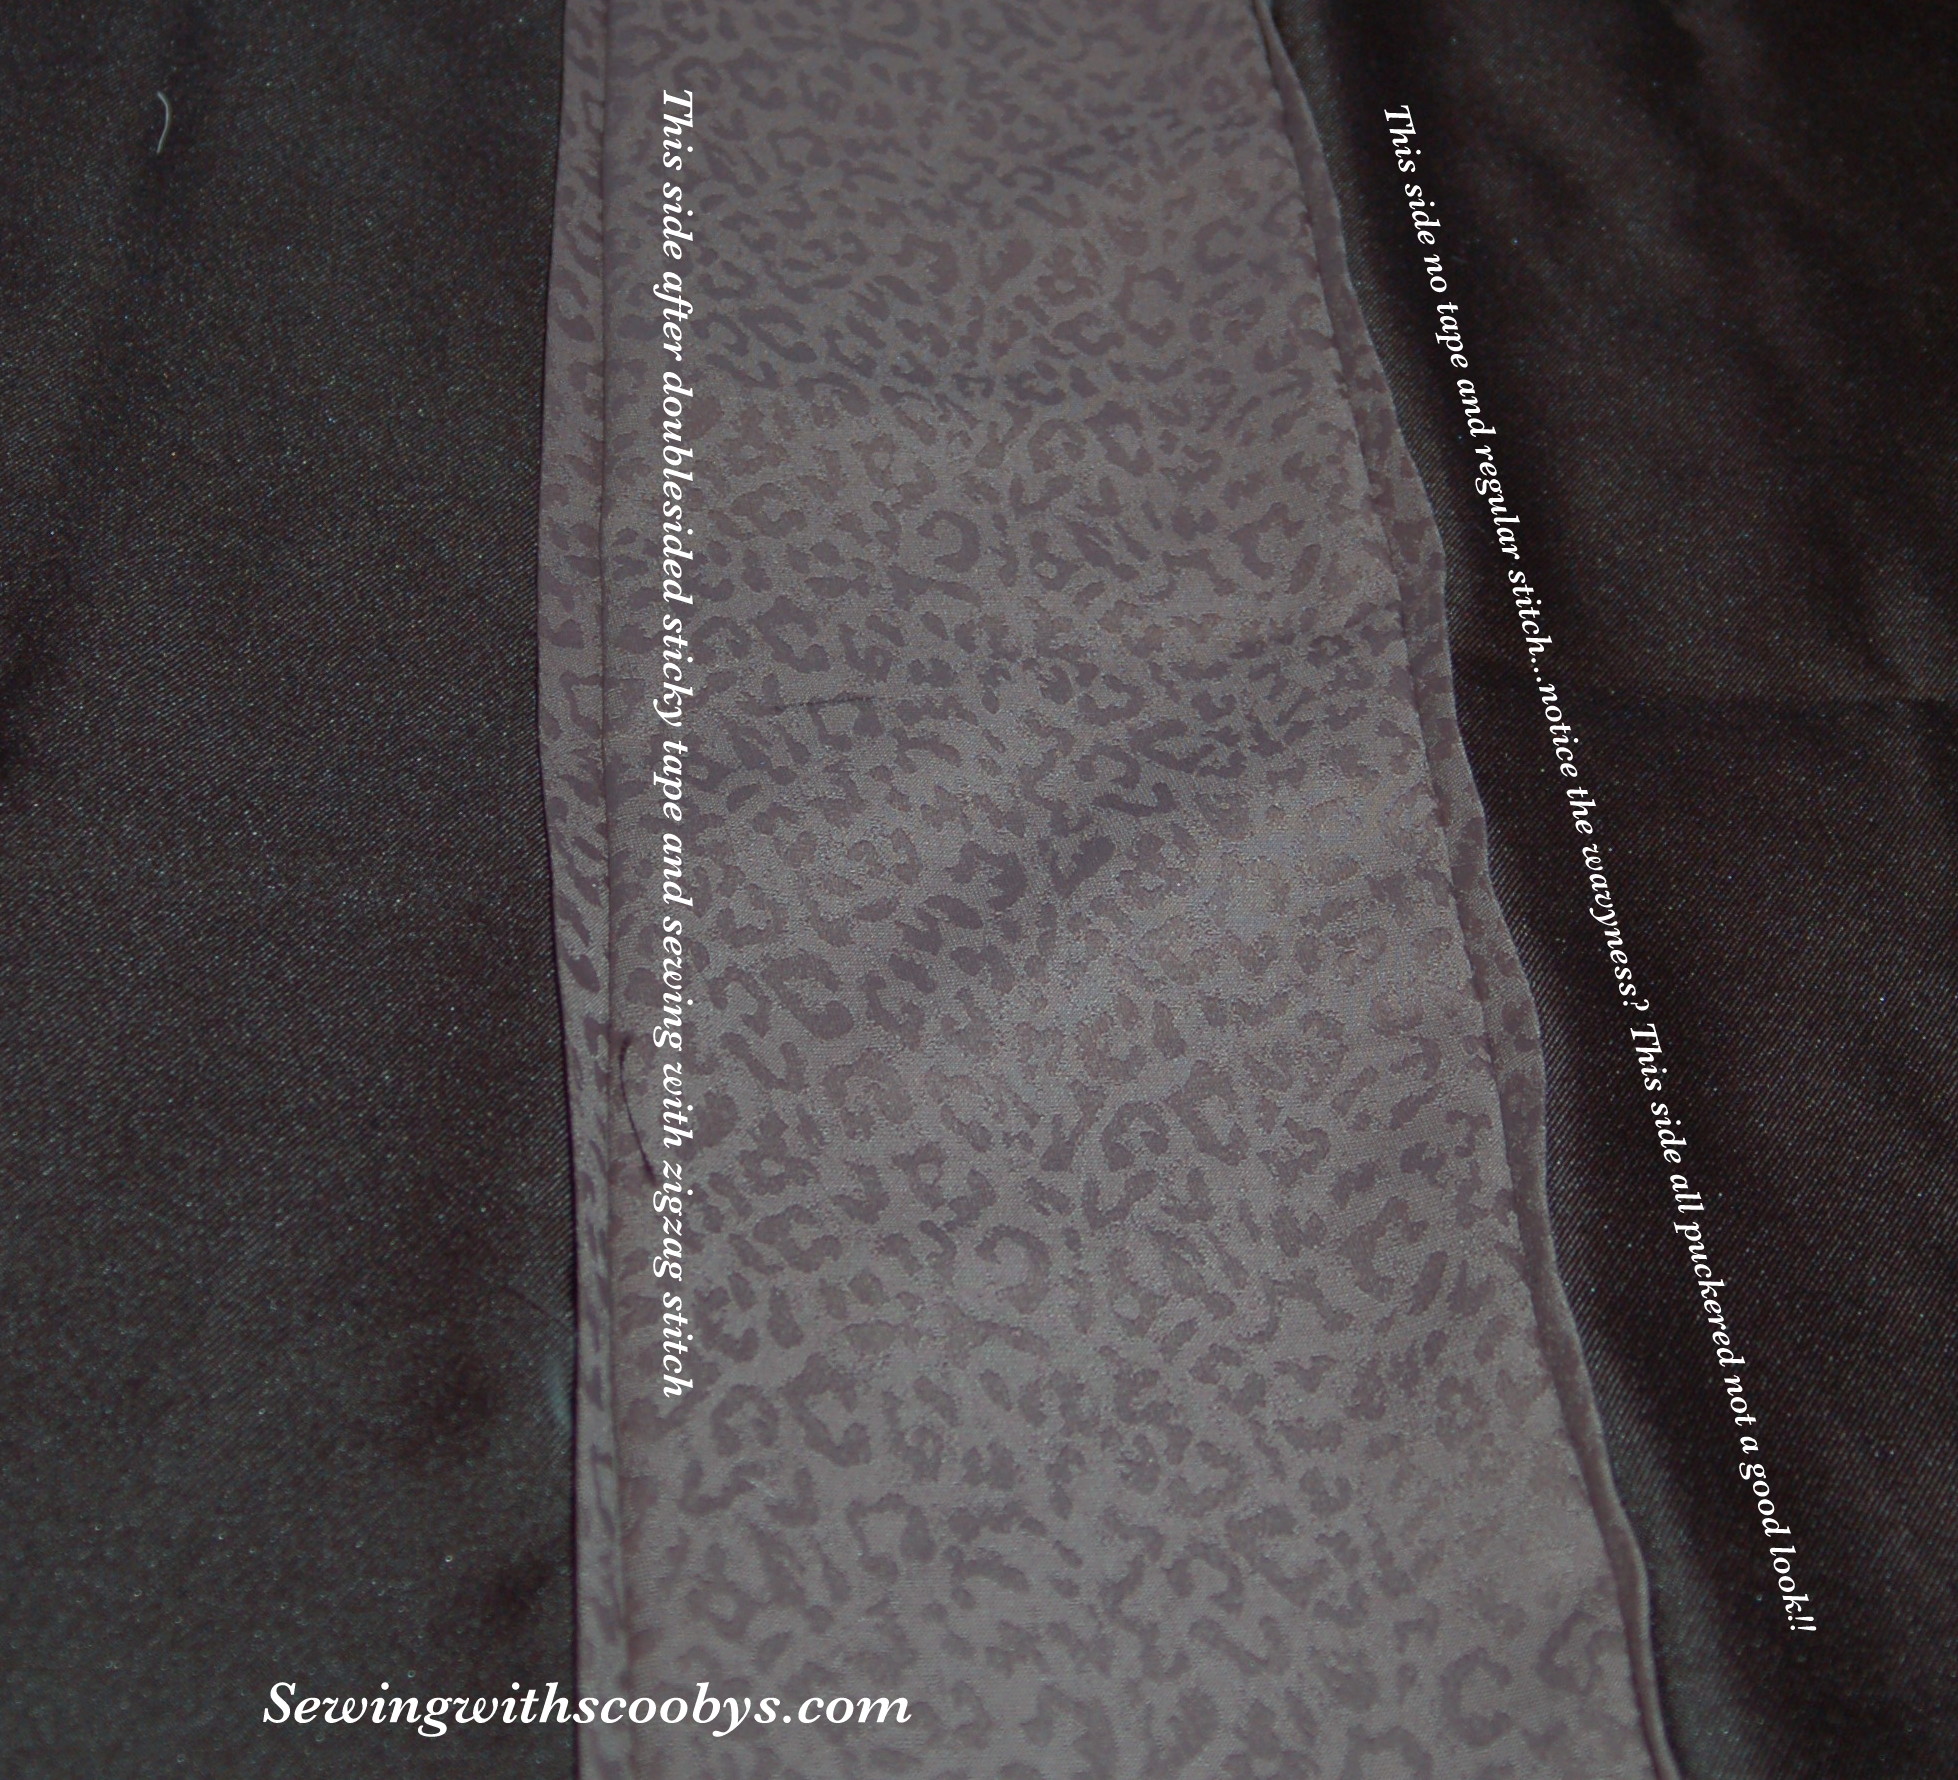
Ok so my next task was to work on the wide pleats for the side seam. Sandra Betzina recommended a zig zag stitch to help with the drape….hmm didn’t see the point of that so I did not heed to the warning and sewed this up like I normally would.
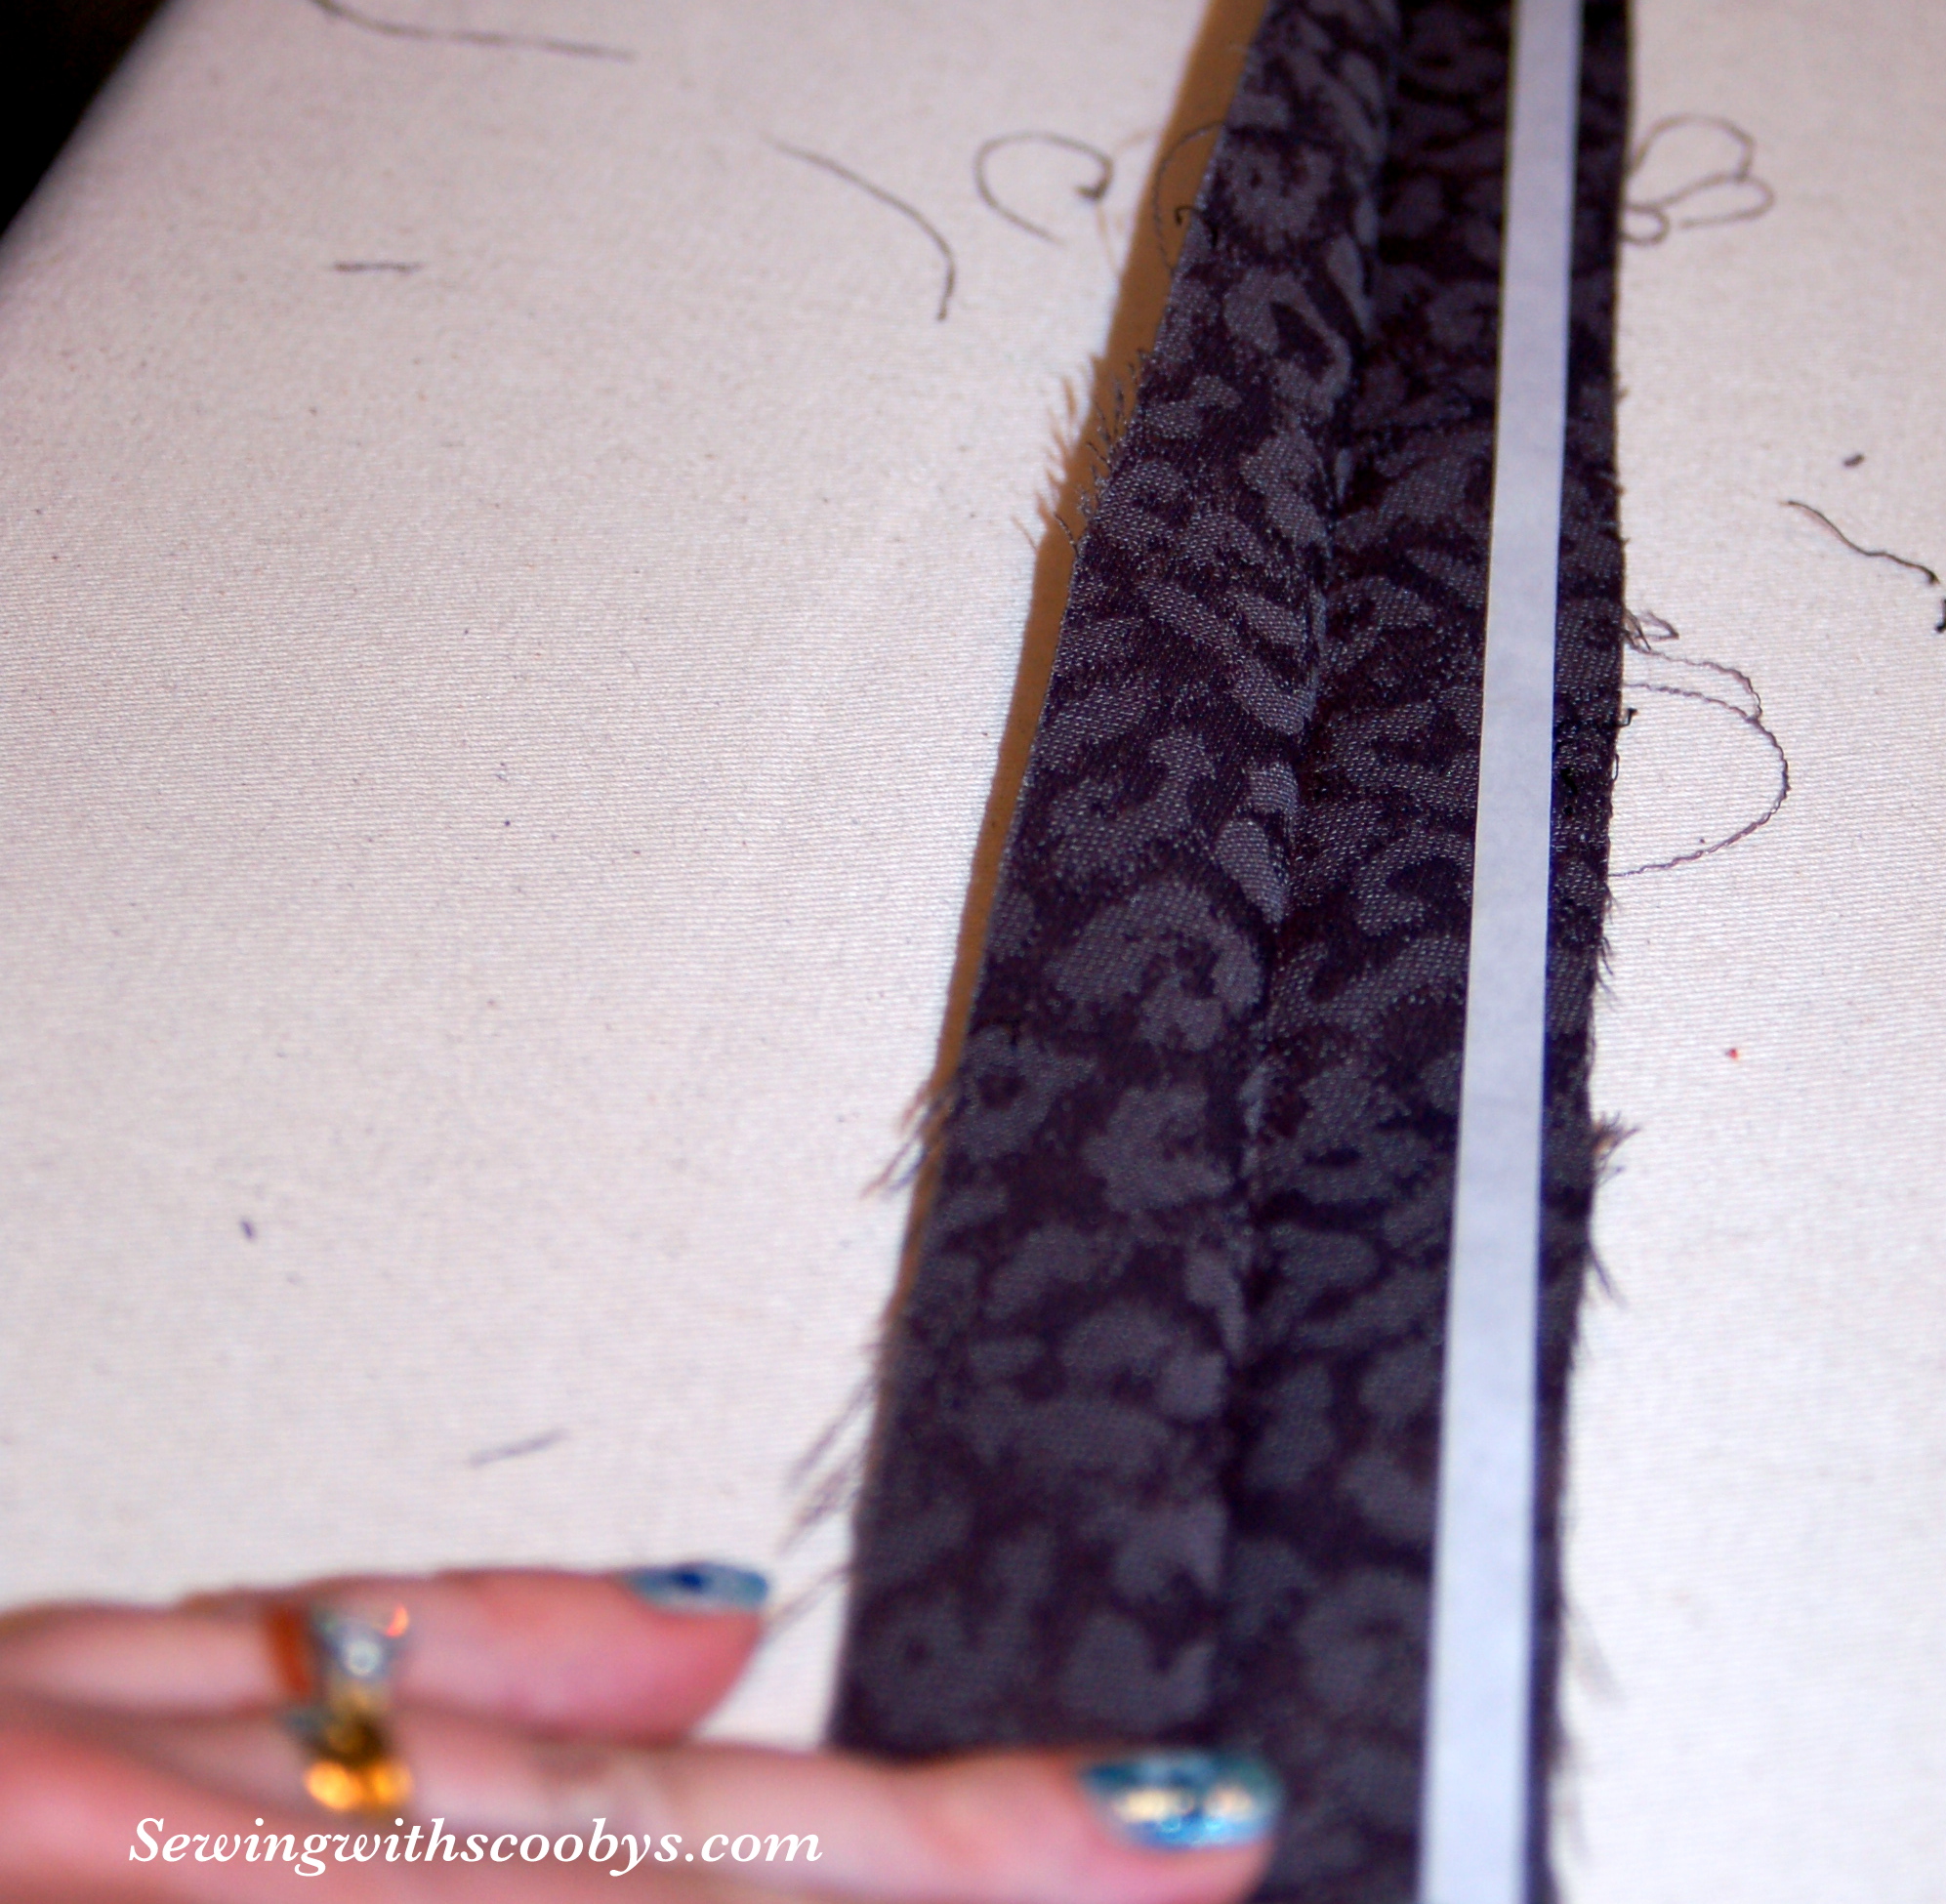
The fabric I am using has a sheen to it and very slippery during constructing these pleats. I used “the trim” (more on that later) and tried to initially based them together 4 thicknesses together slipping and sliding AHHHHH! I stopped and went to get myself some double-sided sticky tape for basting (also recommended in this pattern!)


Notice I used the double-sided sticky tape through all thickness of the trim and the pleat!
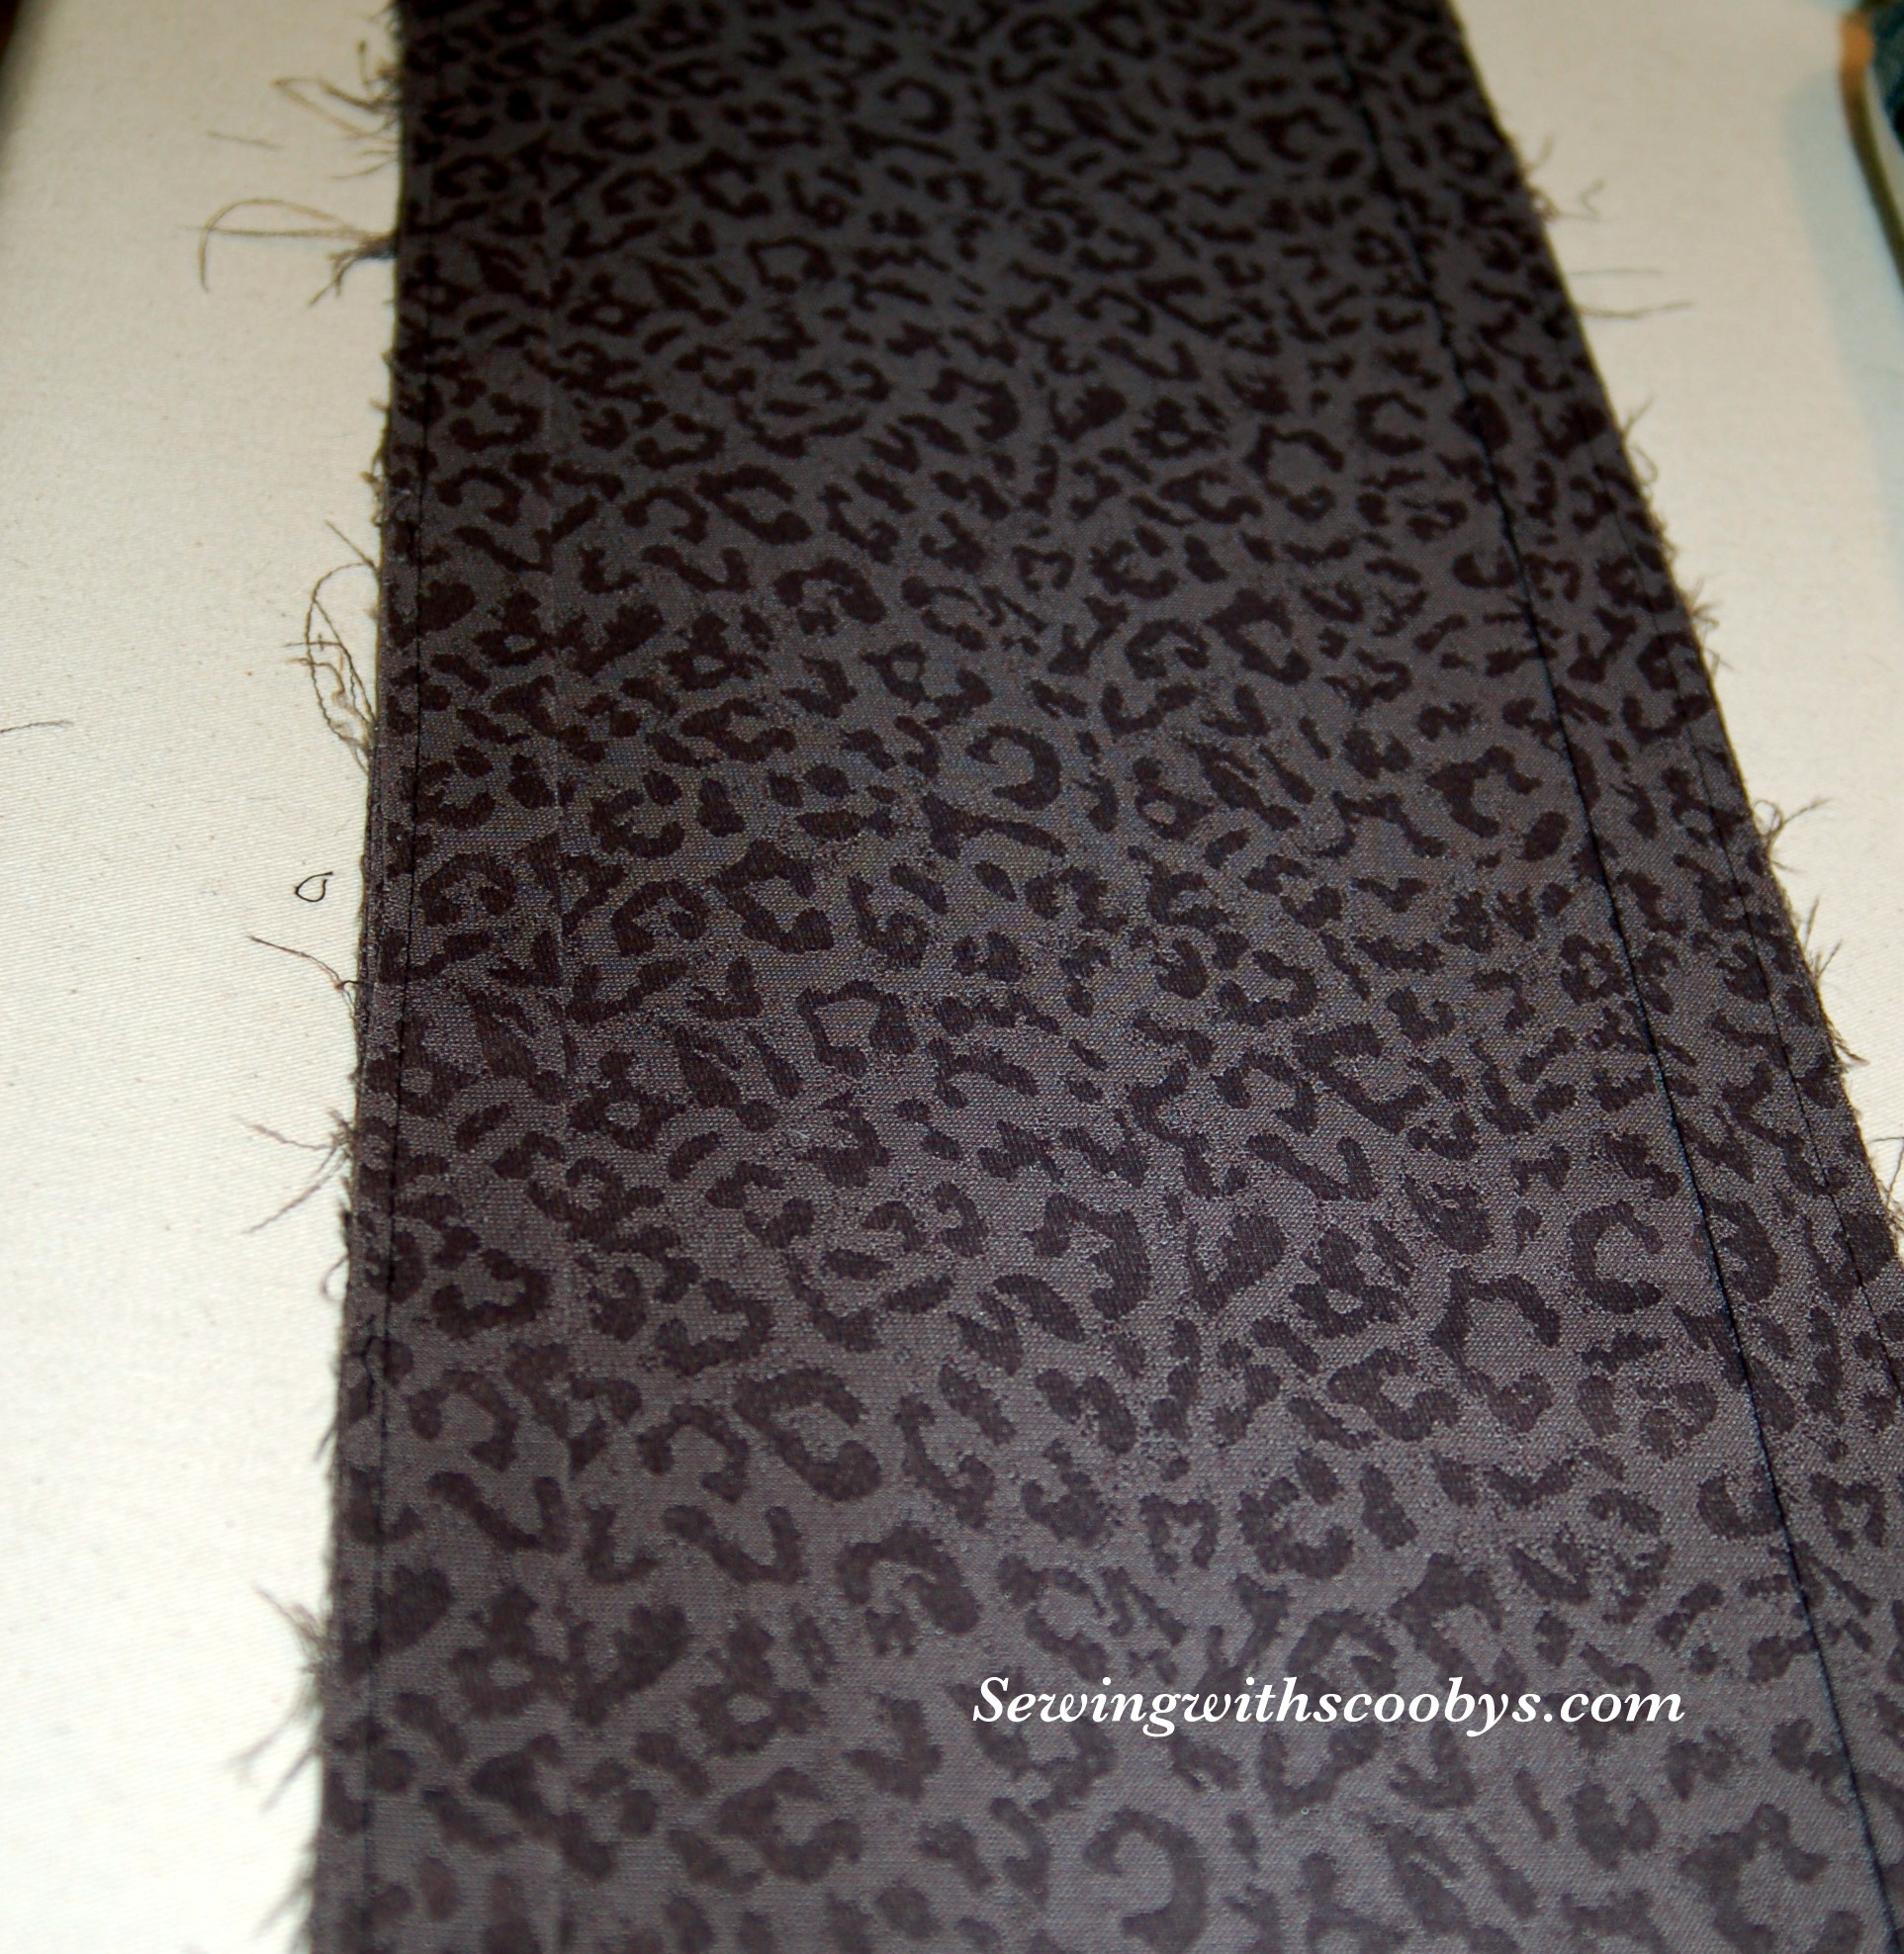
Here is a good picture of the difference the tape and the zigzag stitch made. My settings were 1.0 and a length of 2.5.

Post correction pleats are all basted together with no puckers. Huge difference it lies completely flat!

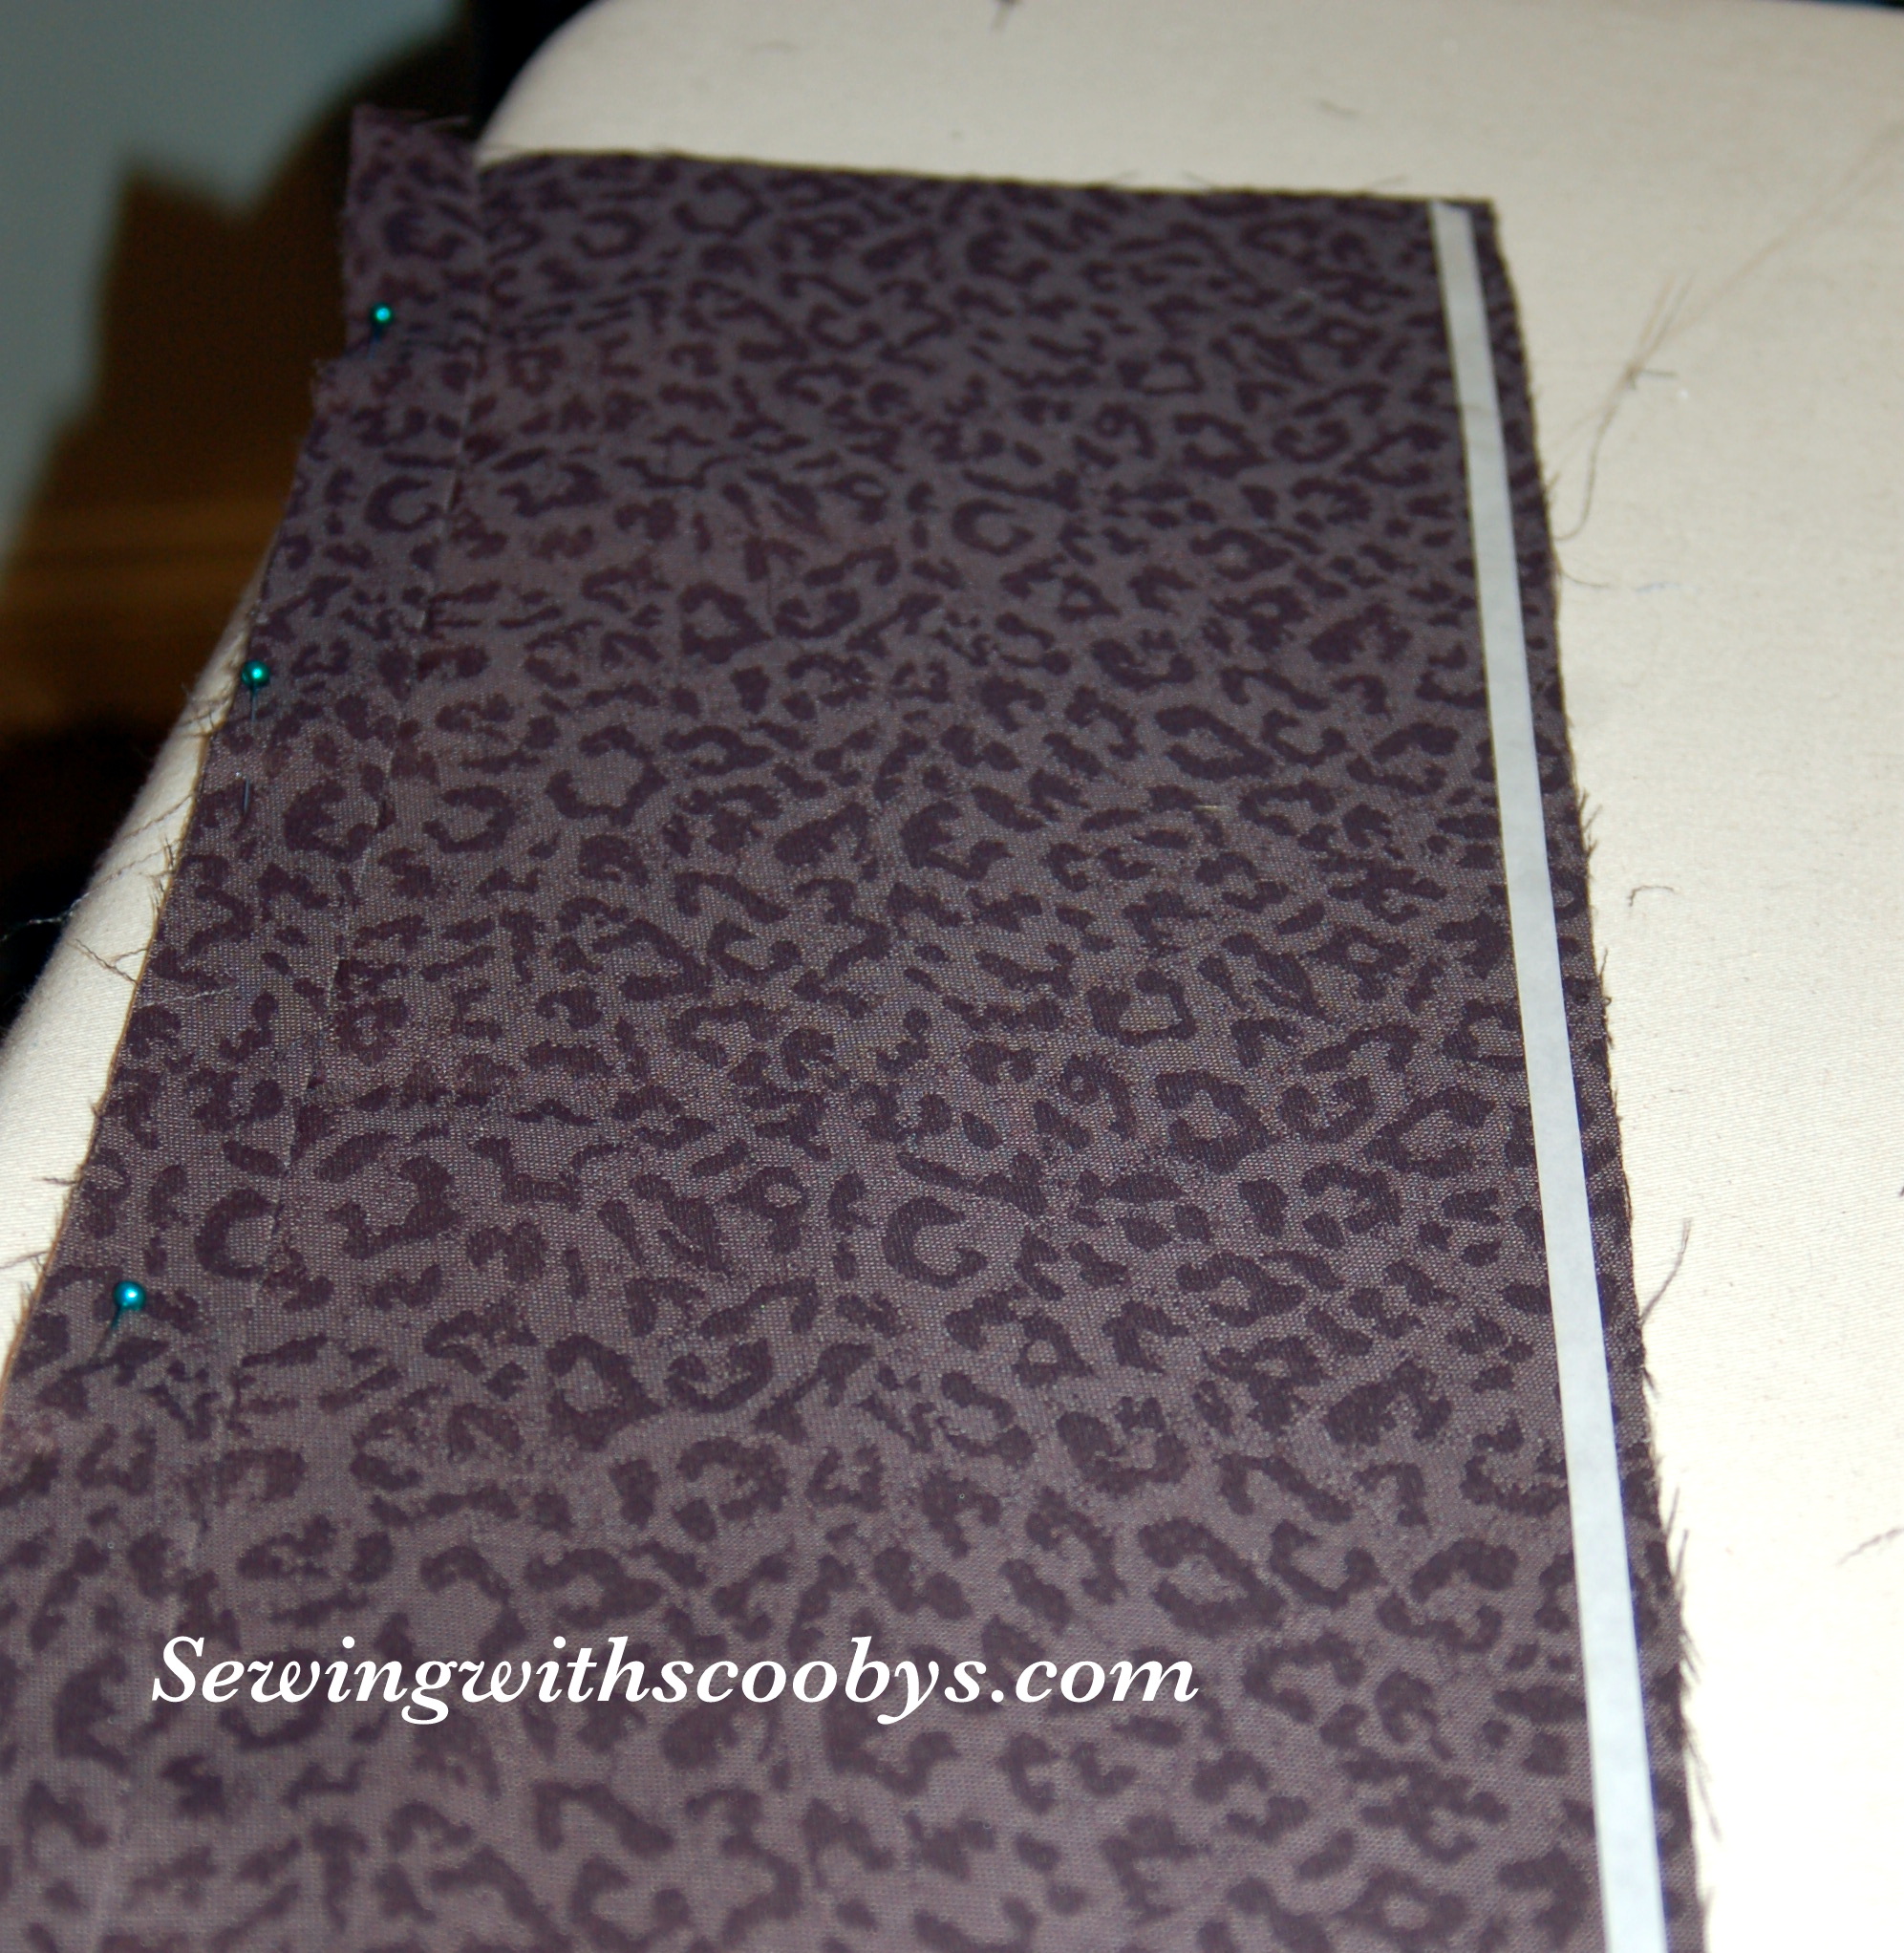
I chalked my guidelines where my folds will be:

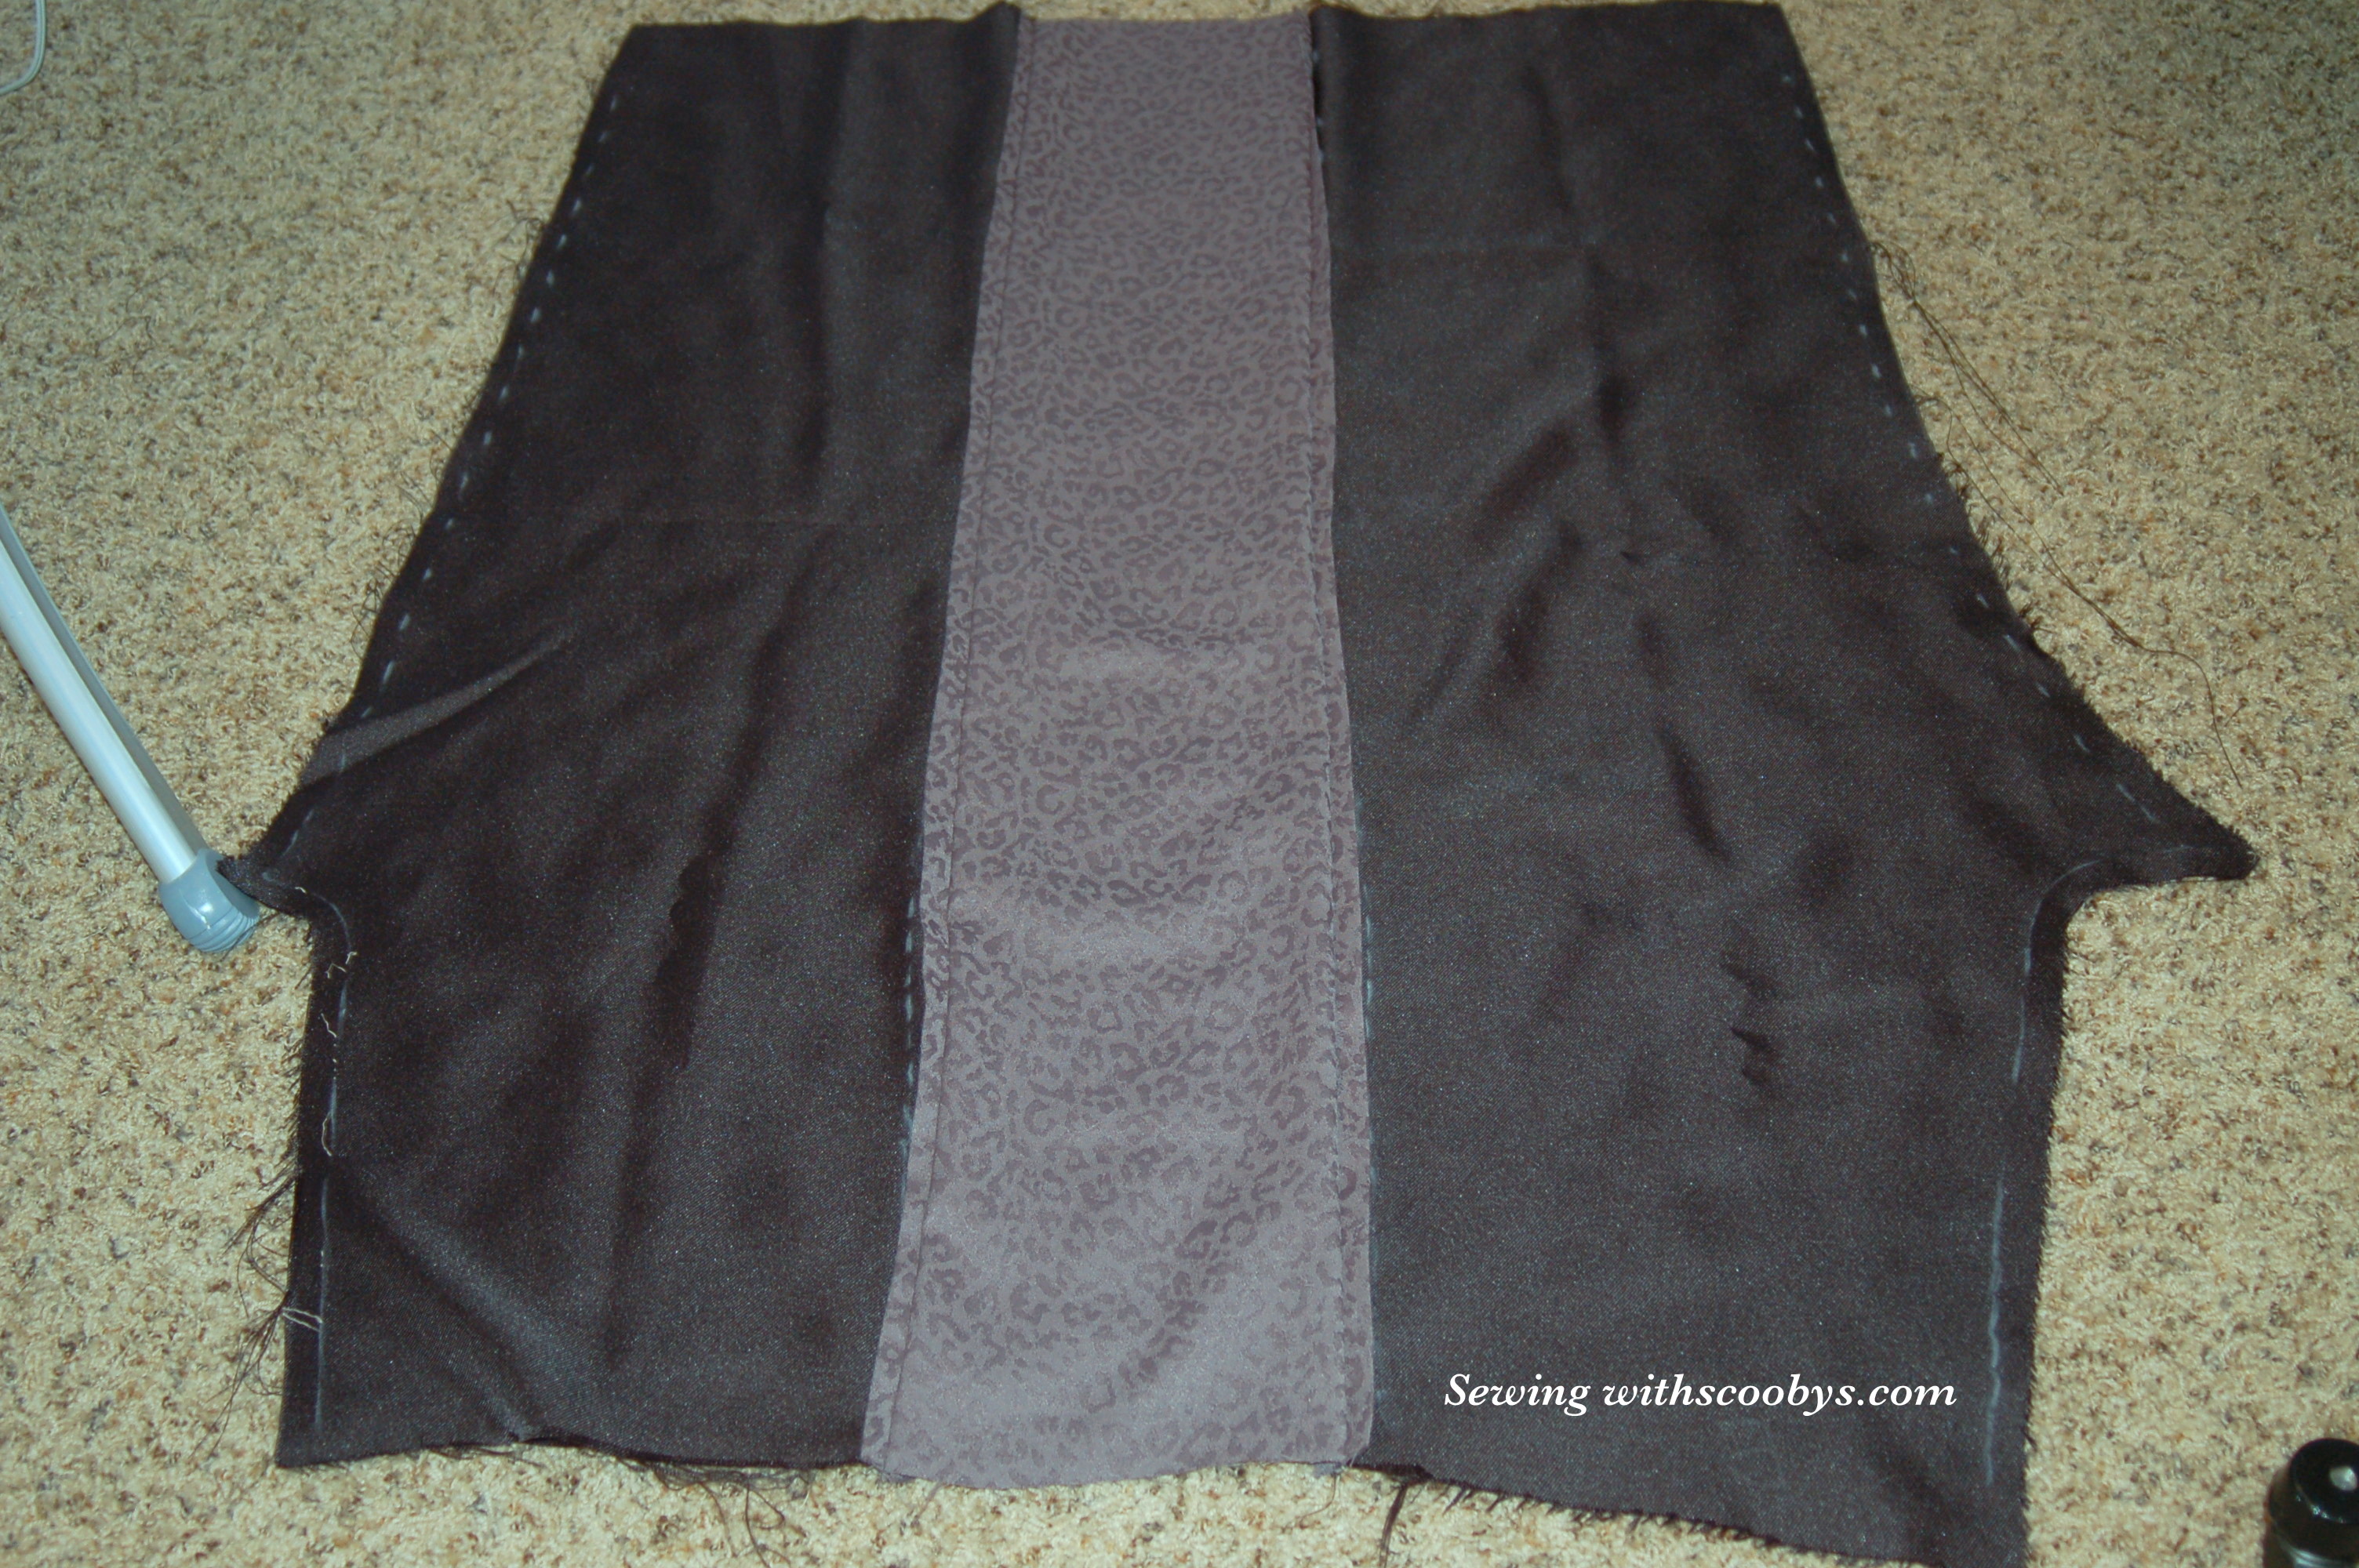
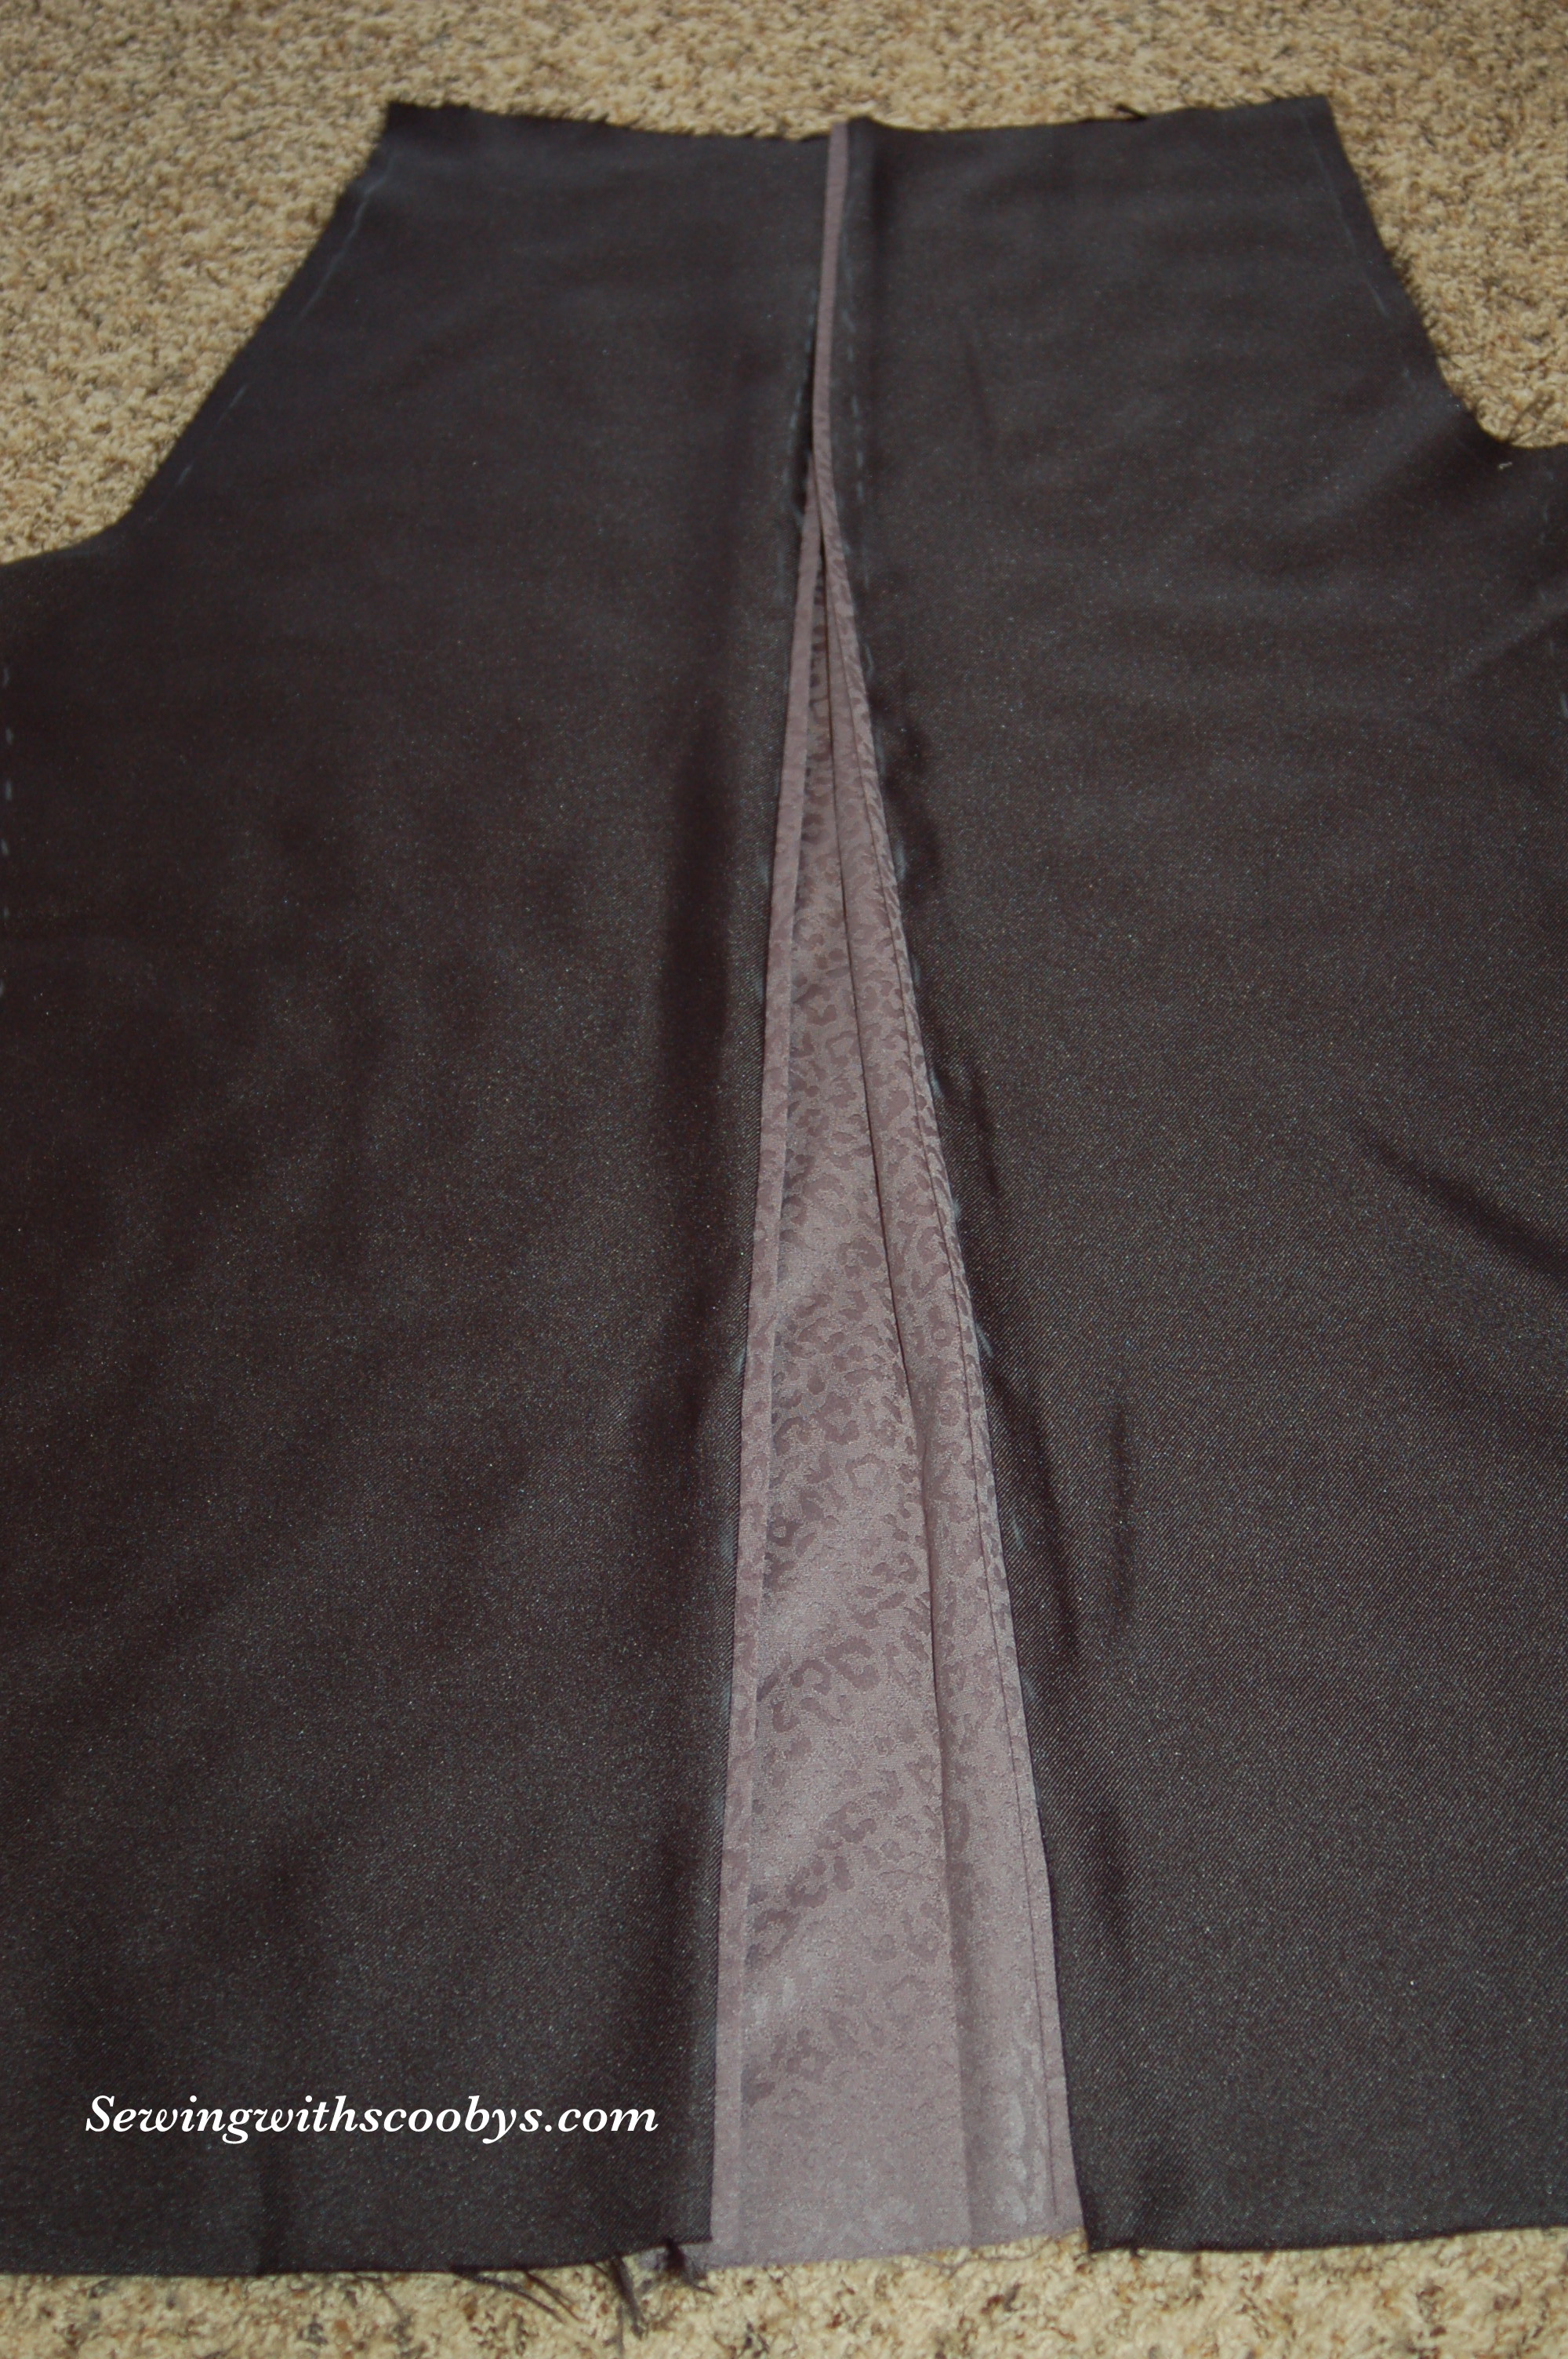
Here is the panels inserted between the front and back sections:


I must stop and tell you this important tip about this pattern. It has the pleat section as well as “TRIM” pieces. If you want the trim to show all the way up to the waist band then by all means use those pieces. If you want the pleat to disappear at the hip where the frog closures will go (as in the picture on the front of the pattern) then DON’T use the TRIM.
I made this mistake and everything is serged together already so guess what….yup I am sticking to the trim 🙂 It actually looks nice and gives you the illusion of longer legs. I’m short so that works for me!!
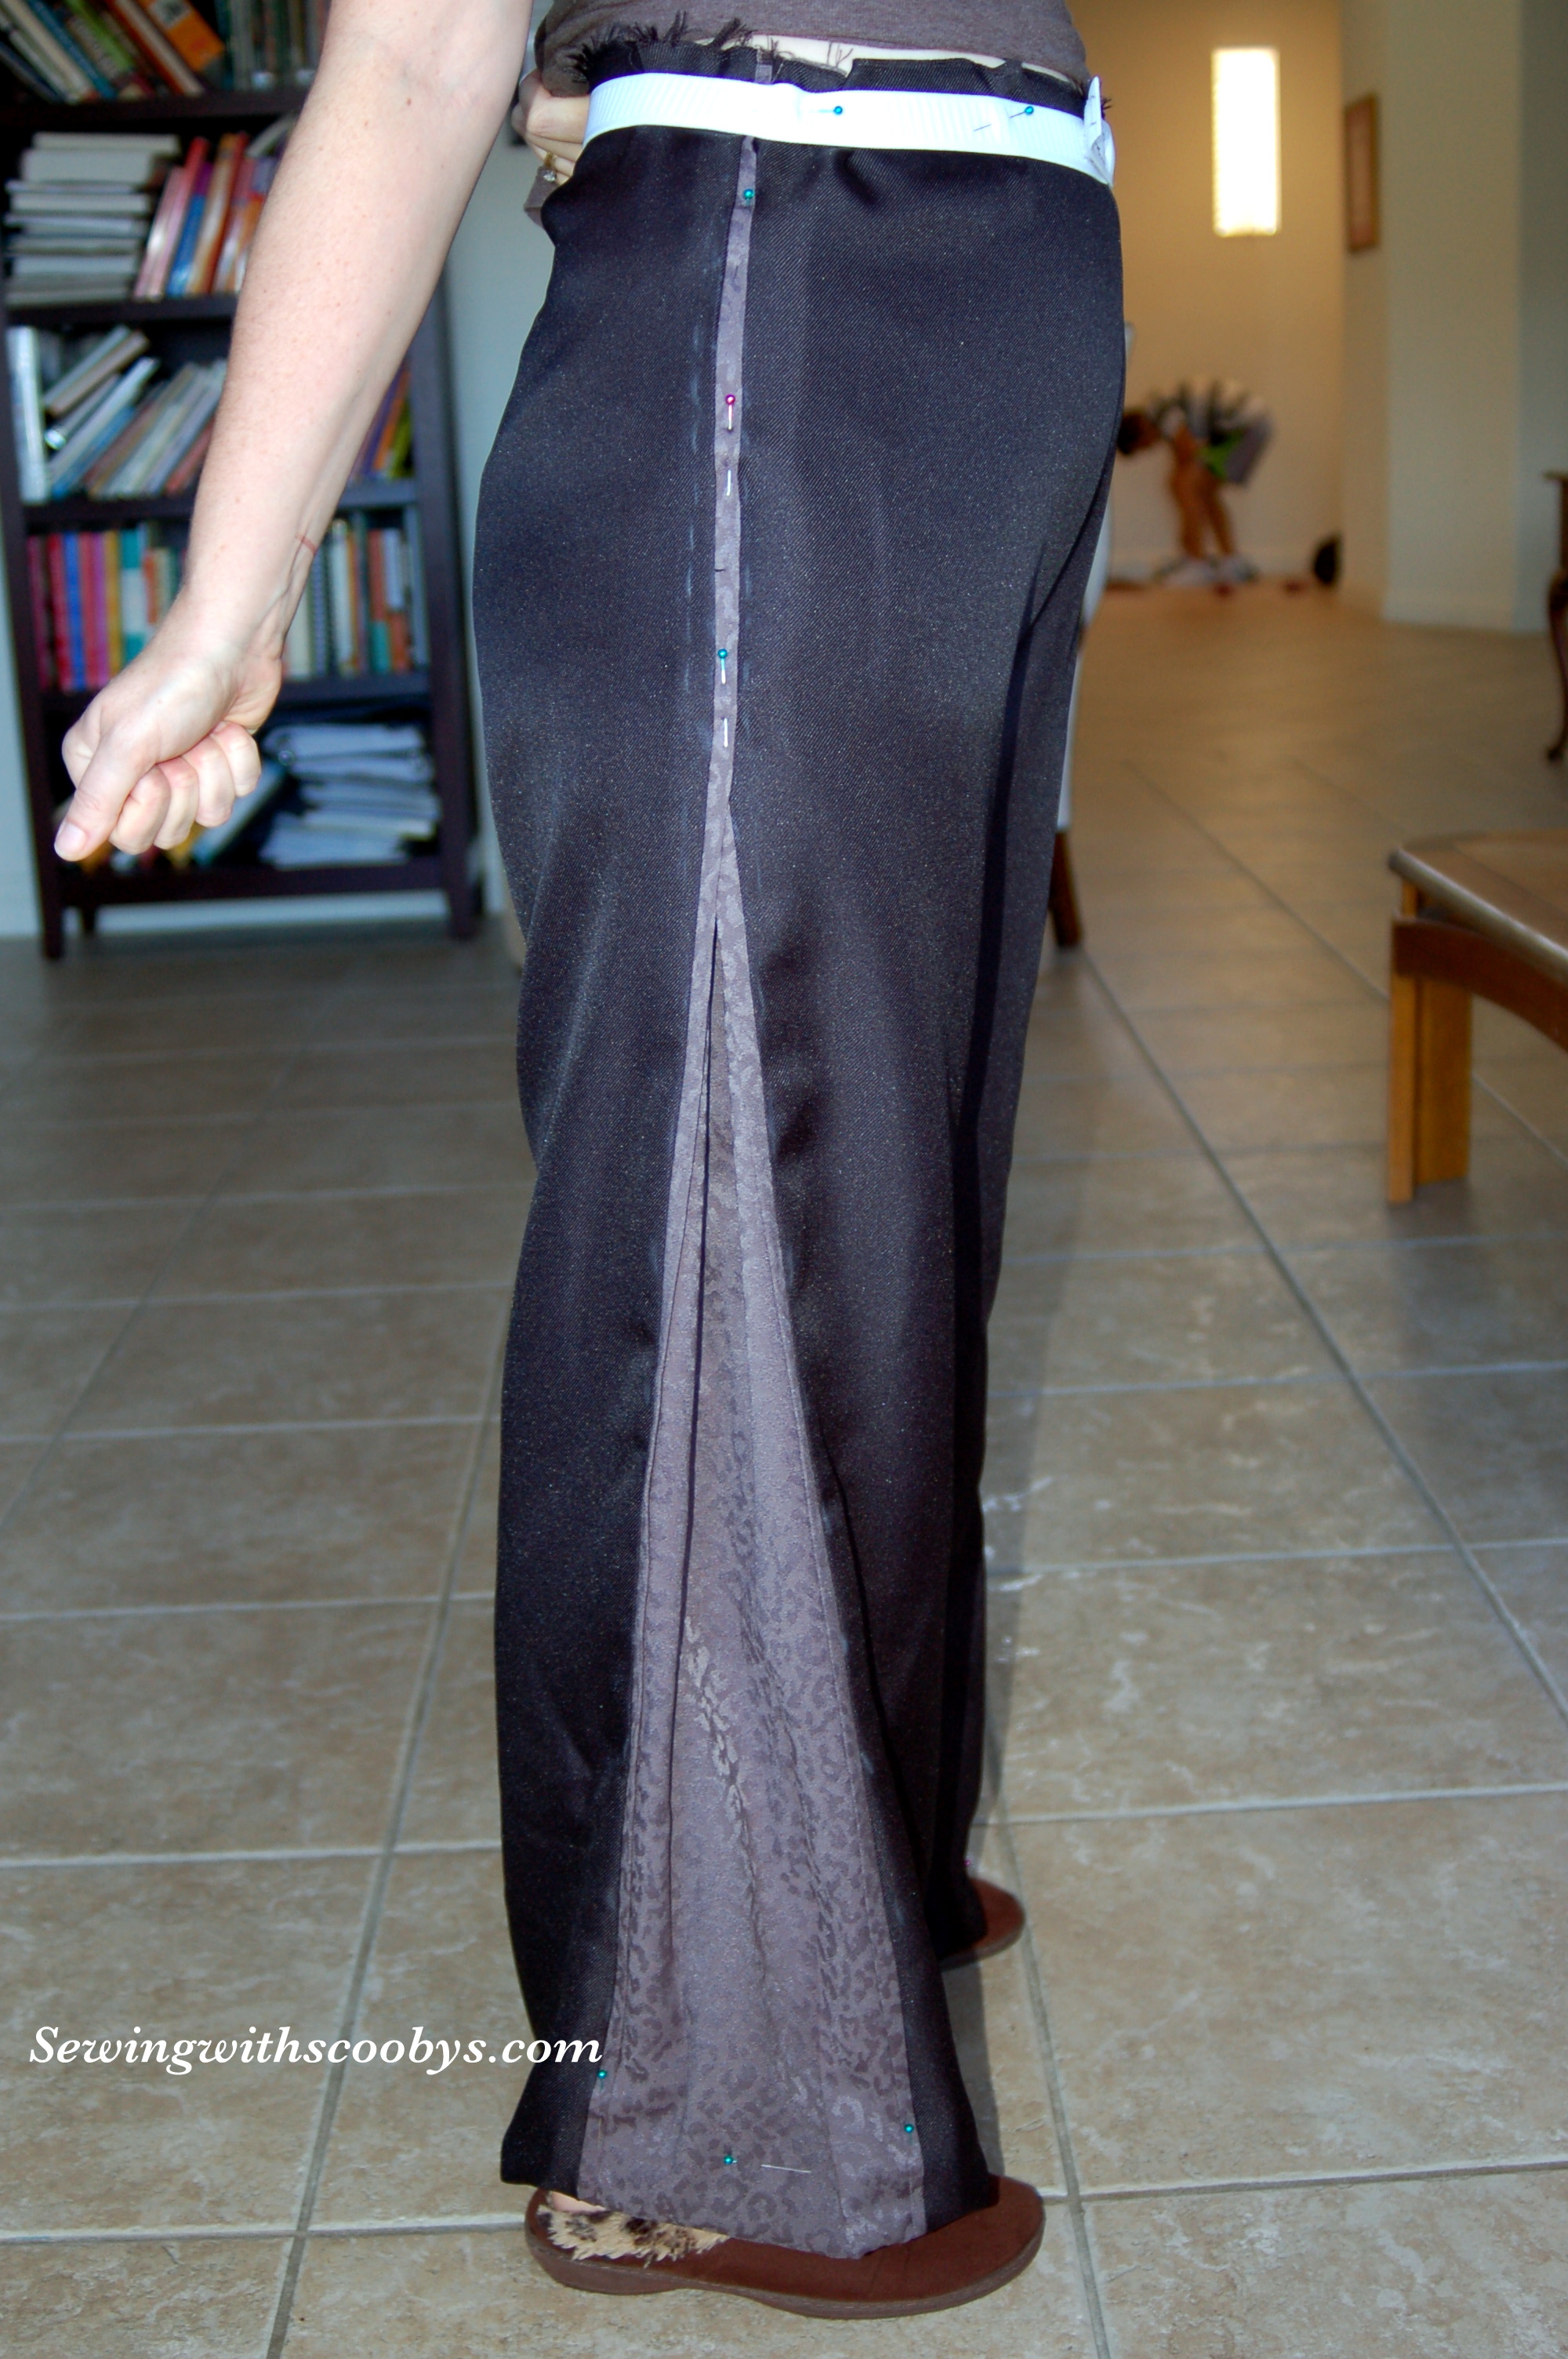
Here is my fitting with the pleats (AKA vents) in:


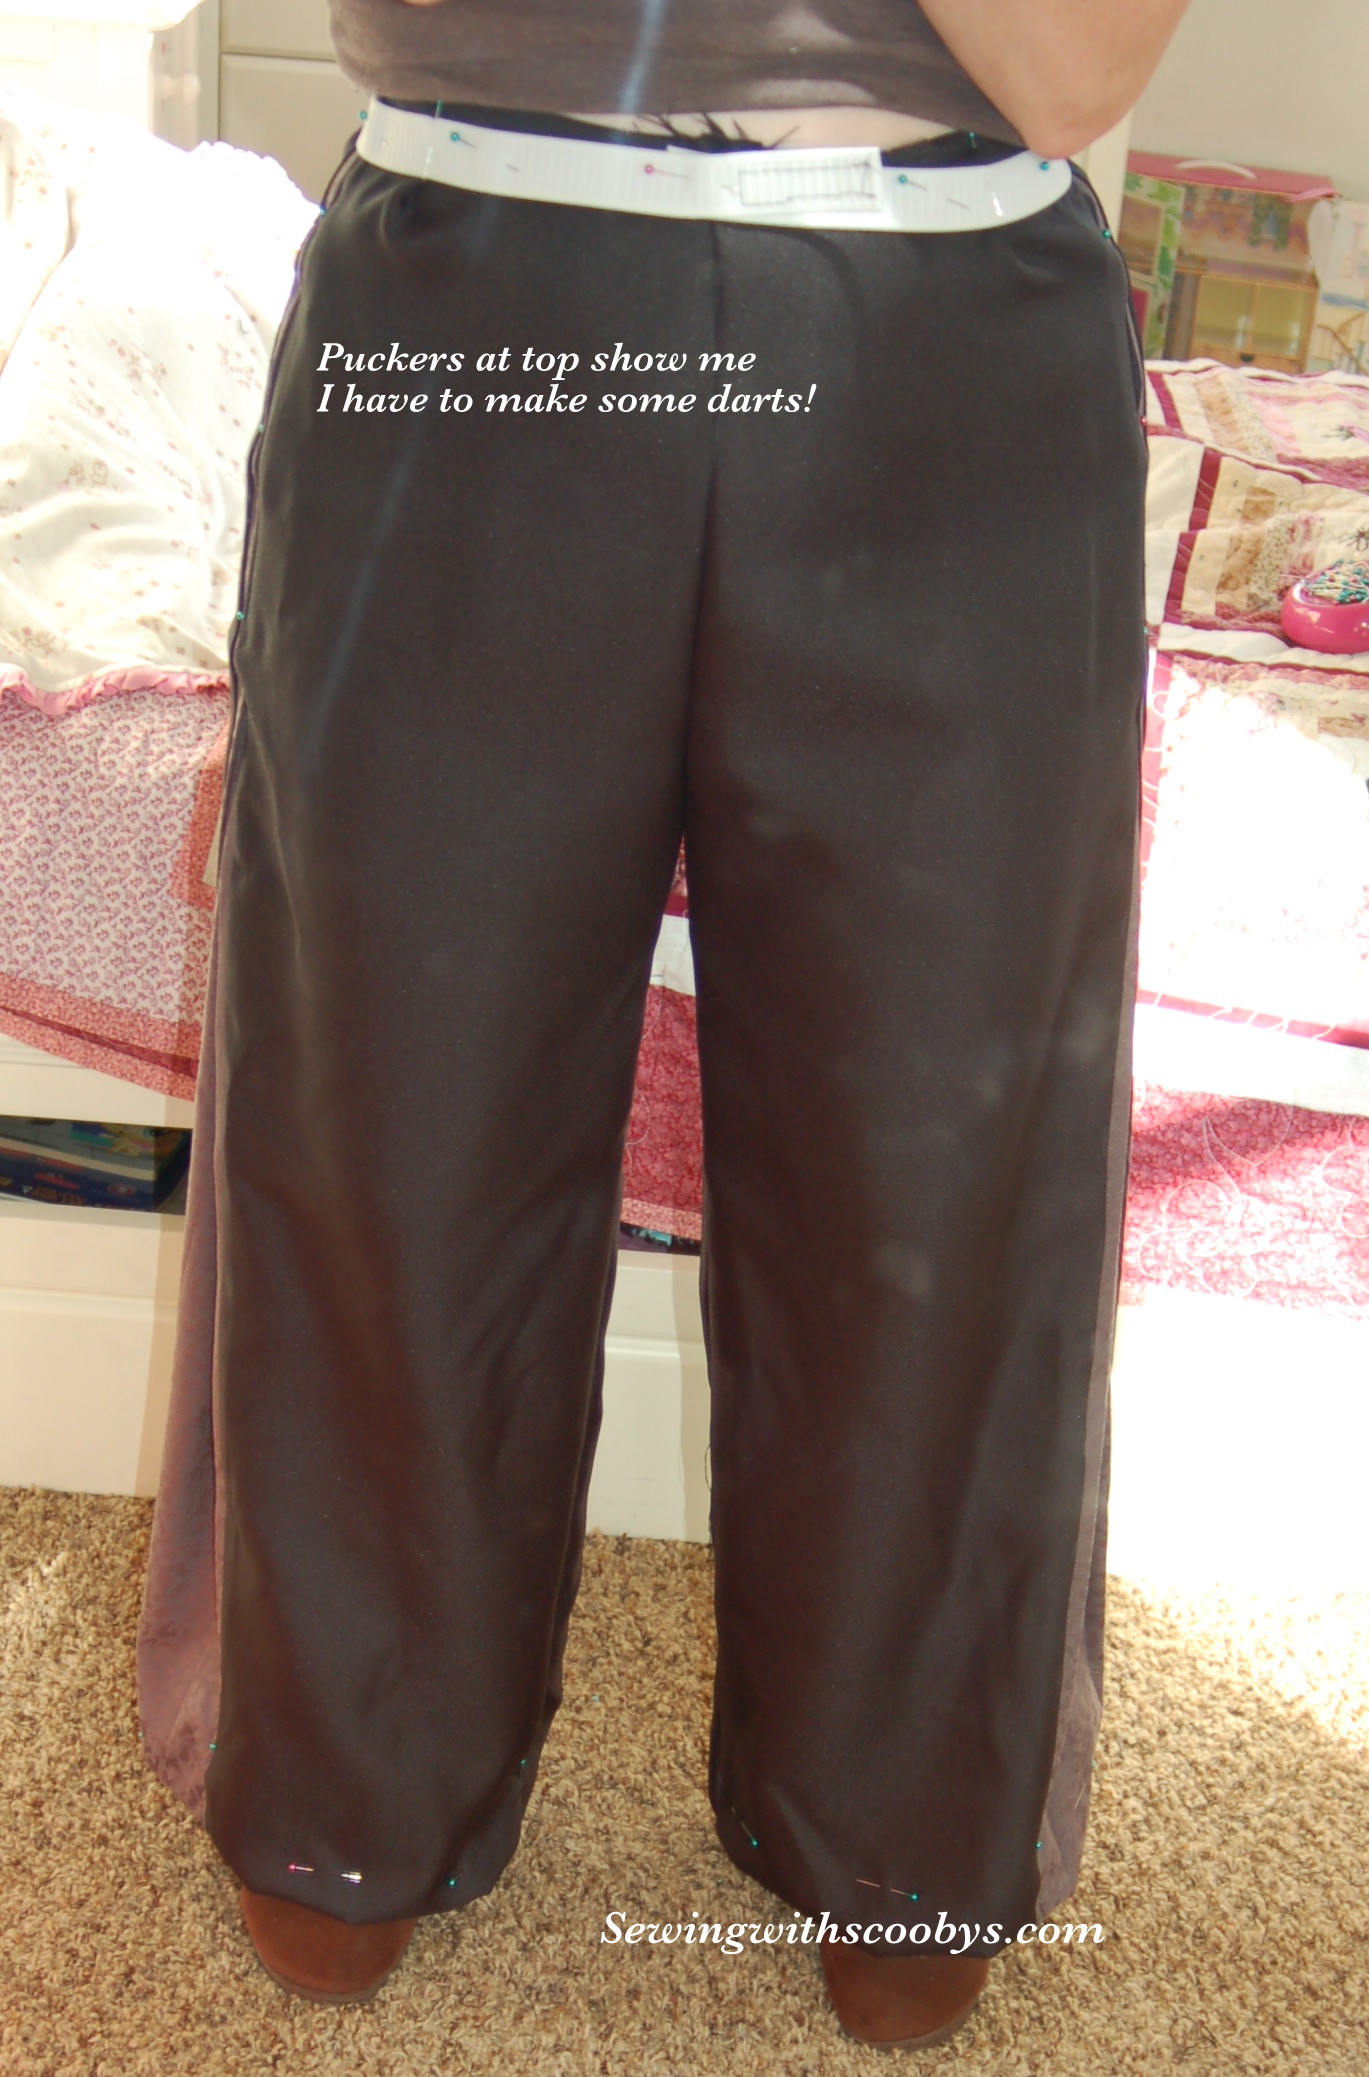
I am quite happy with the fit but I will have to add some darts front and back because it is still quite loose at the waist. I did not want to fool too much with the side seams because they need to be fairly straight for the design element of the pleats.
My next step is to put my darts in place, attach my invisible zip and then try them on again to see if the waist area fits better.
My fashion fabric does not hold a crease well and I may have to go in and do a small stitch on the fold of the pleats to hold its shape better.