my 4 year old, Abby, sporting a pair of Halloween-themed loopy bows
NOTE: This tutorial creates one pair of 2.75″ loopy bows. If larger bows are desired, cut individual ribbon lengths longer ( for example, 3″ ribbon pieces for a finished bow measuring 3″ wide) Also, this pair of loopy bows is size appropriate for a toddler/preschooler. If you’d like a fuller, more dense bow, add more ribbon lengths per color. Experiment and you’ll find the right size and fullness for your intended head of hair.
Experience Level: experience? what’s that?
Sewing Scooby Rating:
Not applicable; essentially you can indulge in scooby snacks like it’s New Year’s Eve while doing this project. Well, almost…there is a lighter involved, so don’t singe any fingers or bangs.
 …….. 🙂
Applications:
Use a loopy bow on a hair clip, party favors, attach it to a wrapped gift as a present topper, thread a piece of string through it and voila!, instant Christmas tree ornament or wine bottle decor
So. Let’s Get Loopy…
This tutorial is easy, requires no talent, and is quick. Right up my alley.


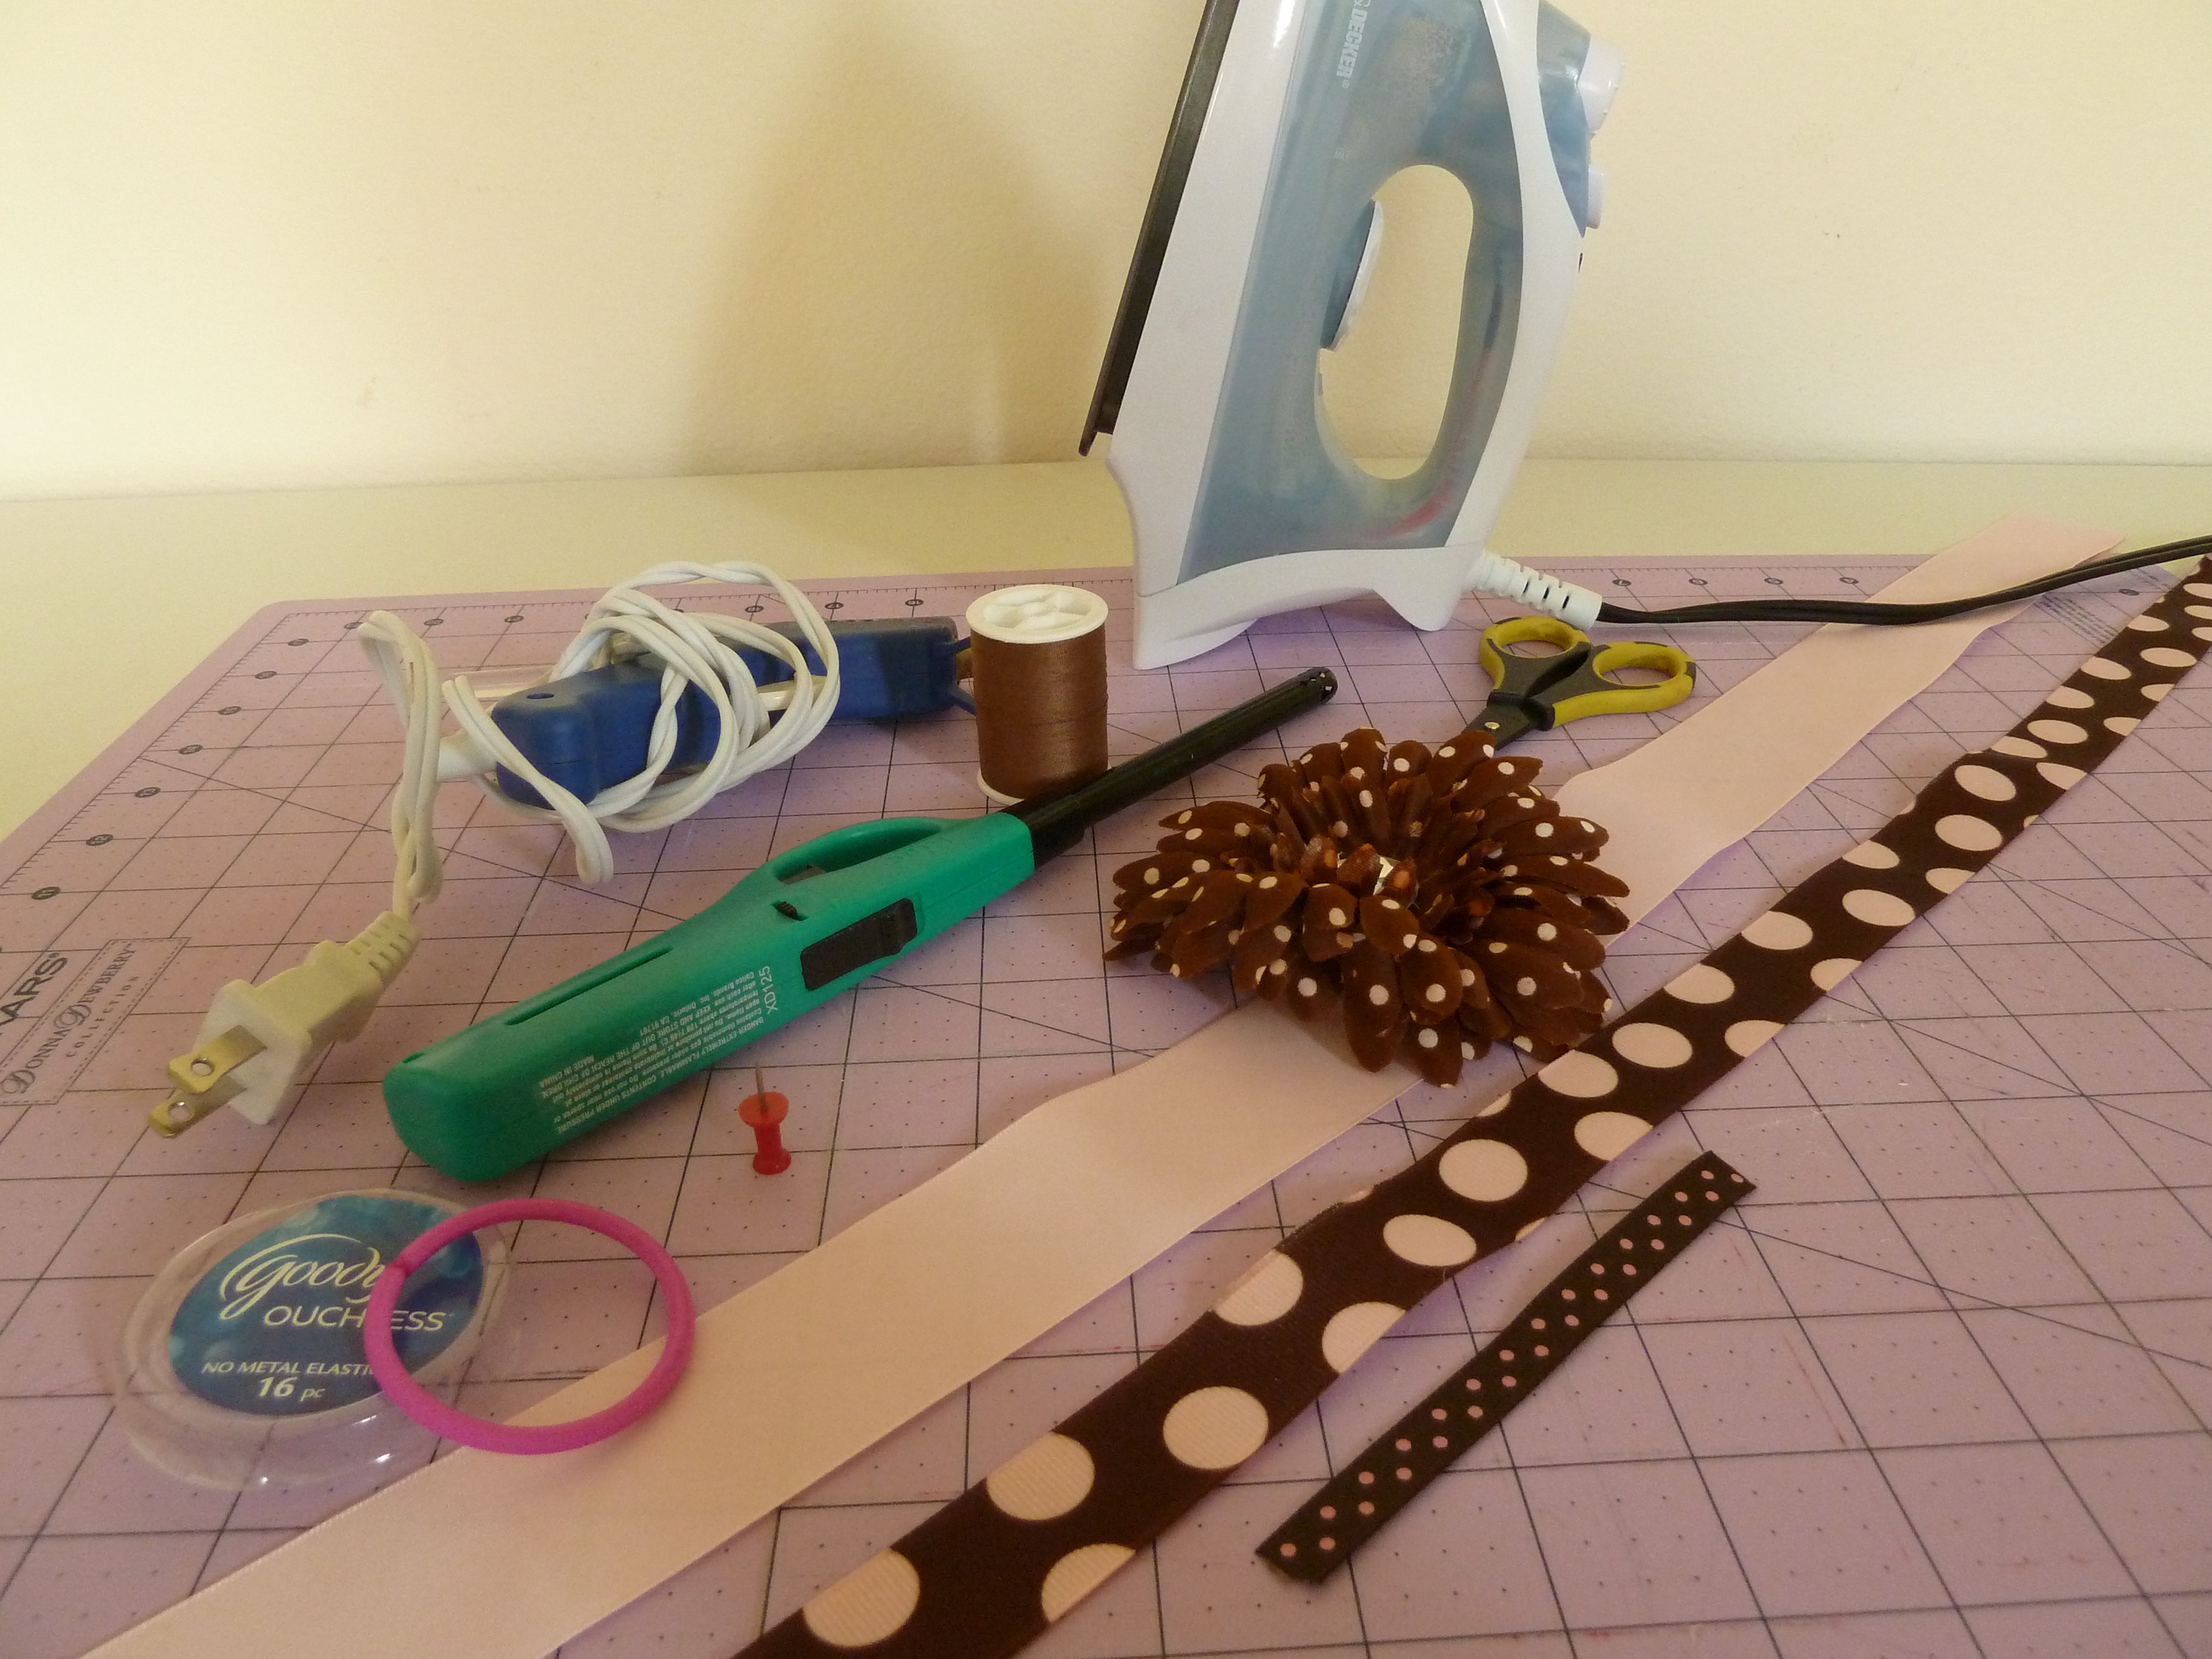
THINGS YOU’LL NEED:
- SIX 22″ lengths of 3/8″ ribbon of your choice (grosgrain, velvet, or polyester work very well…use a mix for extra texture and variety). Use color combos for any holiday/ season, school spirit colors, a girl’s favorite colors…there’s no right or wrong here.
- Ruler
- Scissors
- Thread or elastic thread (I prefer elastic thread for this project because of its “give”)
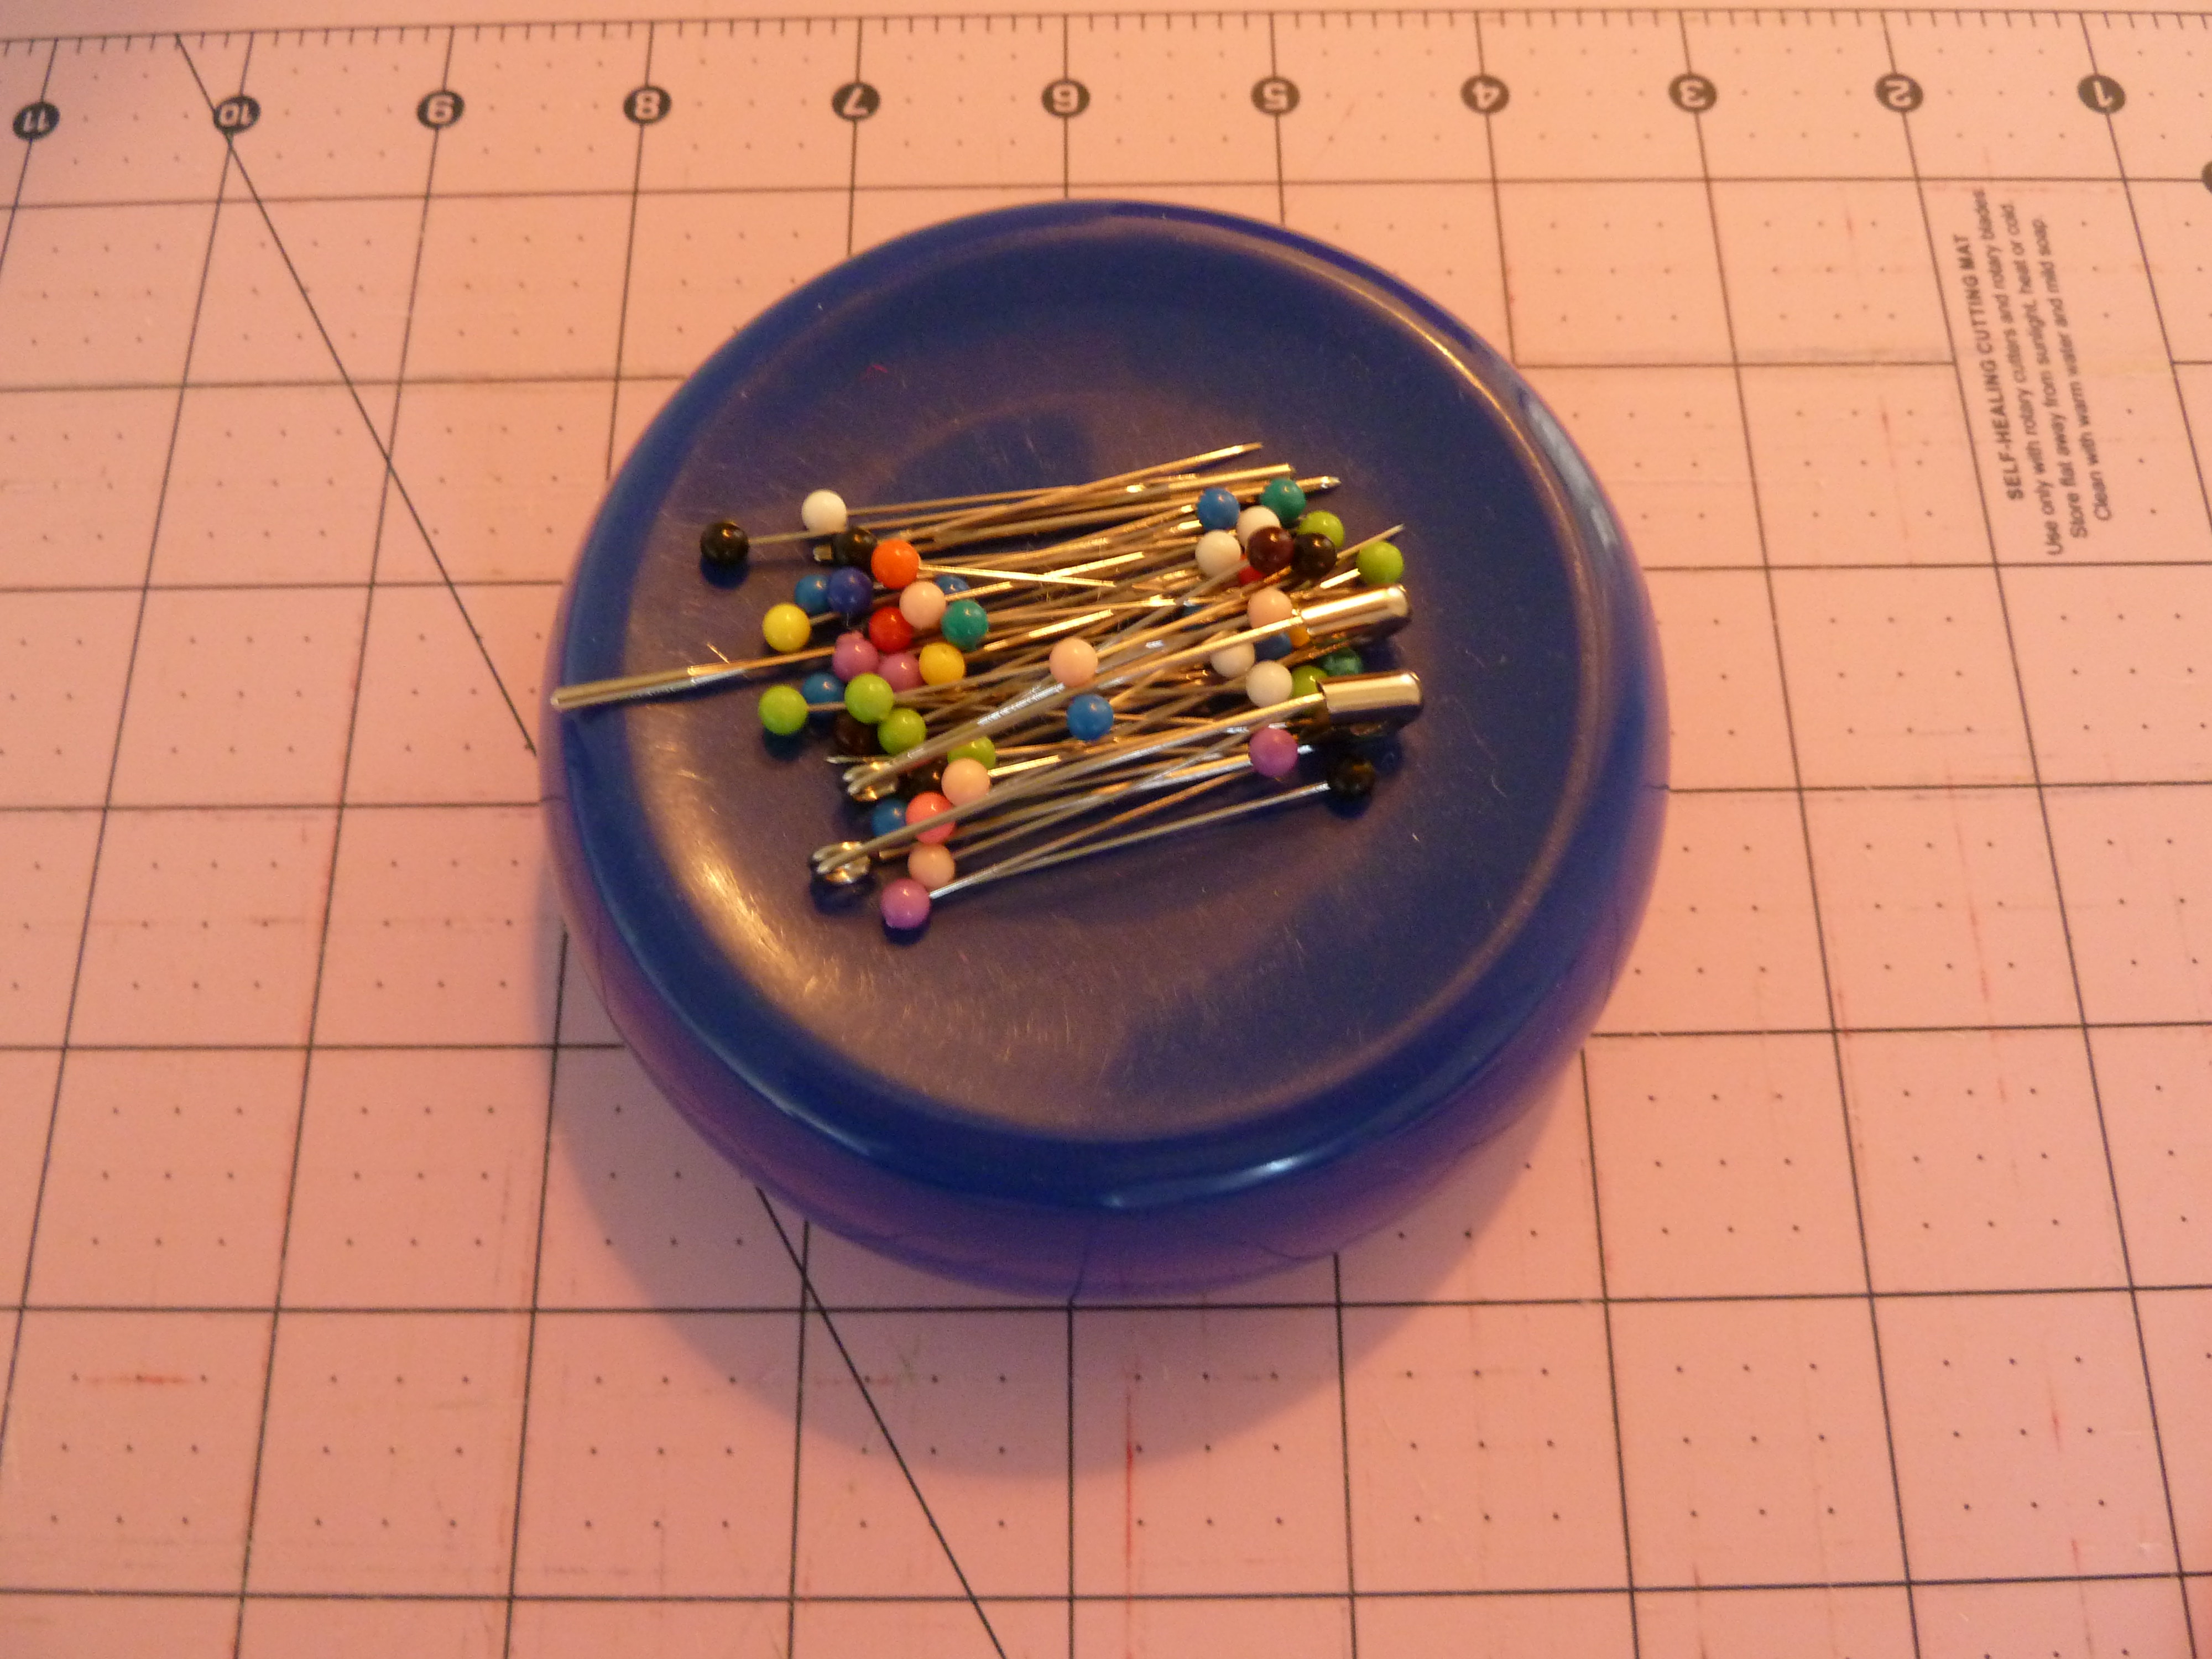
- LONG sewing needle
- Hot glue gun with glue stick
- Lighter
- Laundry spray starch
- Small or large alligator clip (can be found at craft stores, online, Wal-Mart)
- 4.5″ length of ribbon to line small alligator clip, or 5.5″ length of ribbon to line large alligator clip
- OPTIONAL: 1″ square or circle of felt in coordinating color to aid in attaching bow to clip
After choosing your 6 ribbon colors and cutting your 22″ lengths of each color, make your 2.75″ ribbons pieces. The easy-peasy way is to fold one 22″ length of ribbon in half, and make a cut. Take those two pieces of 11″ ribbon lengths, fold them in half, and cut them…you now have 4 pieces of ribbon.
Keep going with that “fold in half and cut” game until you have 8 pieces of ribbon, each measuring 2.75″ . Repeat this with all 6 colors of ribbon lengths.
You’ll end up with a pile of ribbon pieces that look something like this:

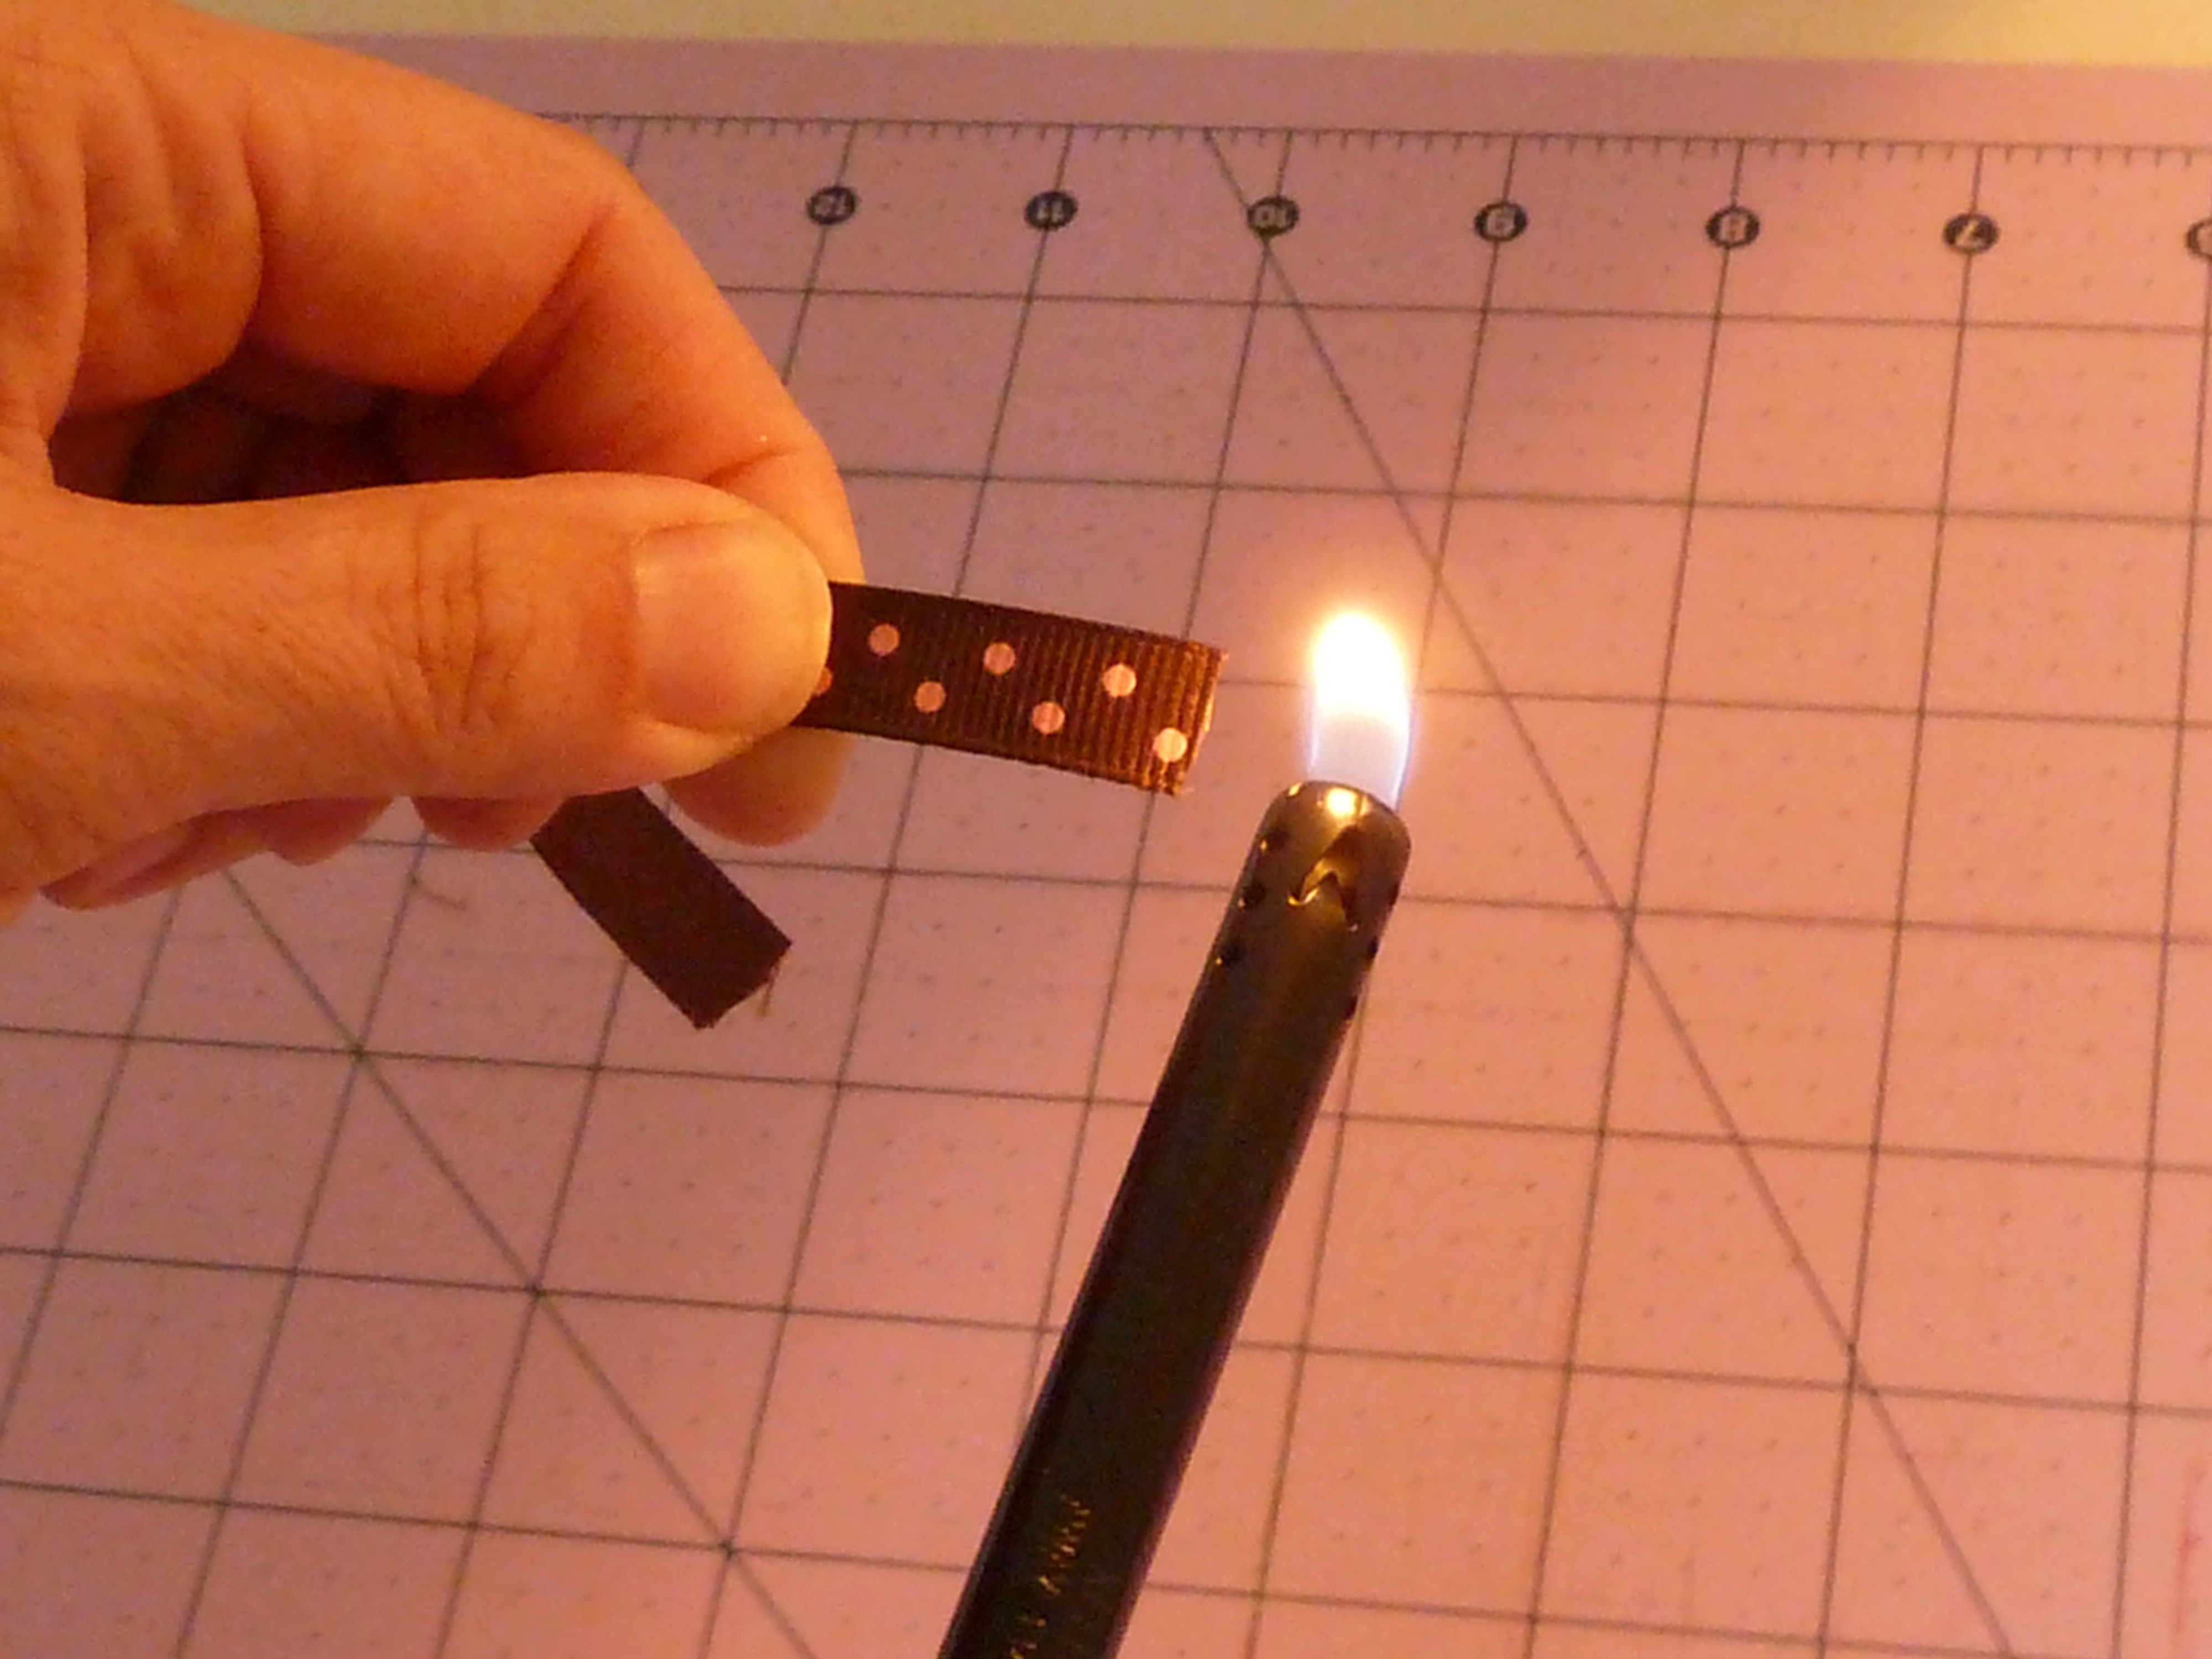
1. Using a long lighter (or wood burning tool if you have one and are comfortable using it), heat seal all the ends of the ribbons to prevent fraying.
This is the most time-consuming and tedious part of the whole process. To heat seal the ribbon ends, lightly run the flame CLOSE TO but not AGAINST the ribbon. Do not char your ribbon ends or eyebrows; neither will be very attractive or smell good.

2. Once you’ve made your way through the annoying task of heat sealing all your ribbon ends, pour yourself some refreshing scooby snack of your choice. I usually opt for decided on a beer. For a change.

3. Set up your assembly line: choose your order for colors, but don’t stress about the line-up. Remember, the nature of the loopy bow is one of jumbled, controlled chaos. You’re setting up 2 rows; each row has 6 color piles. Each color pile contains 4 ribbon lengths. Phew; that’s as much math as we need for this tutorial.

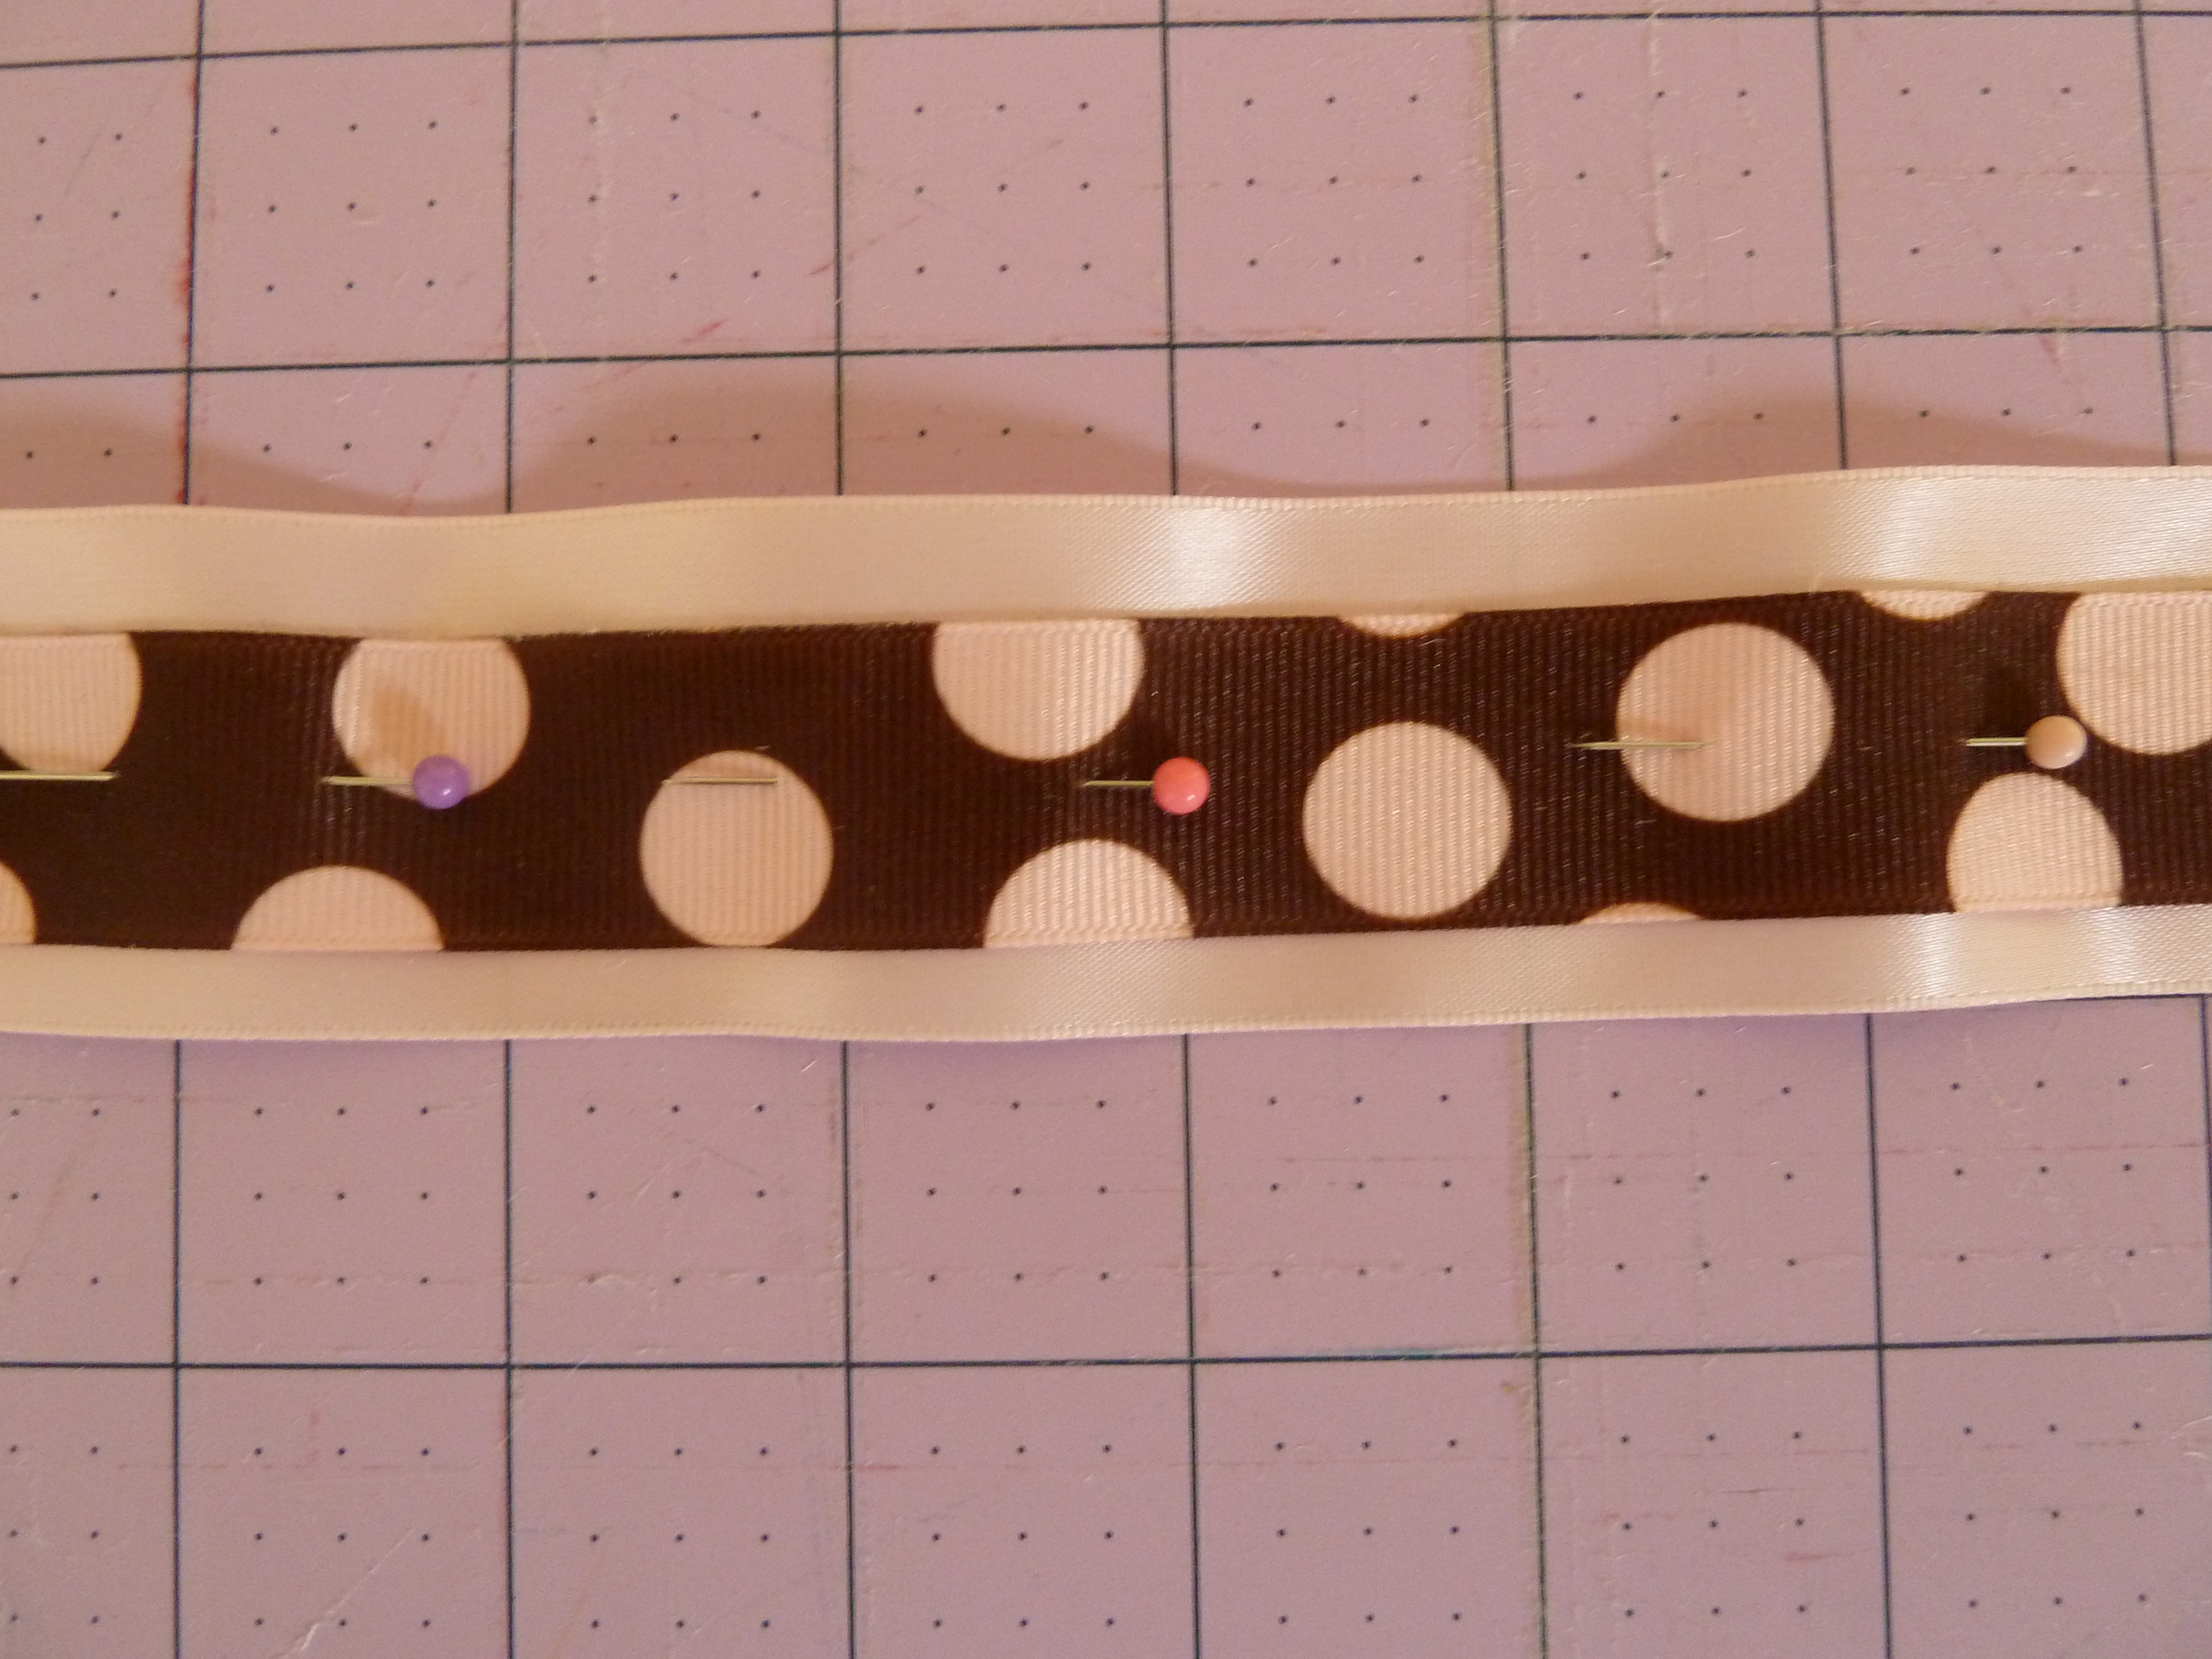
4. Thread your long sewing needle and pierce one end of one ribbon length. Get close to the edge of the ribbon without being in danger of having it rip through the ribbon. In other words, allow yourself a modest seam allowance.
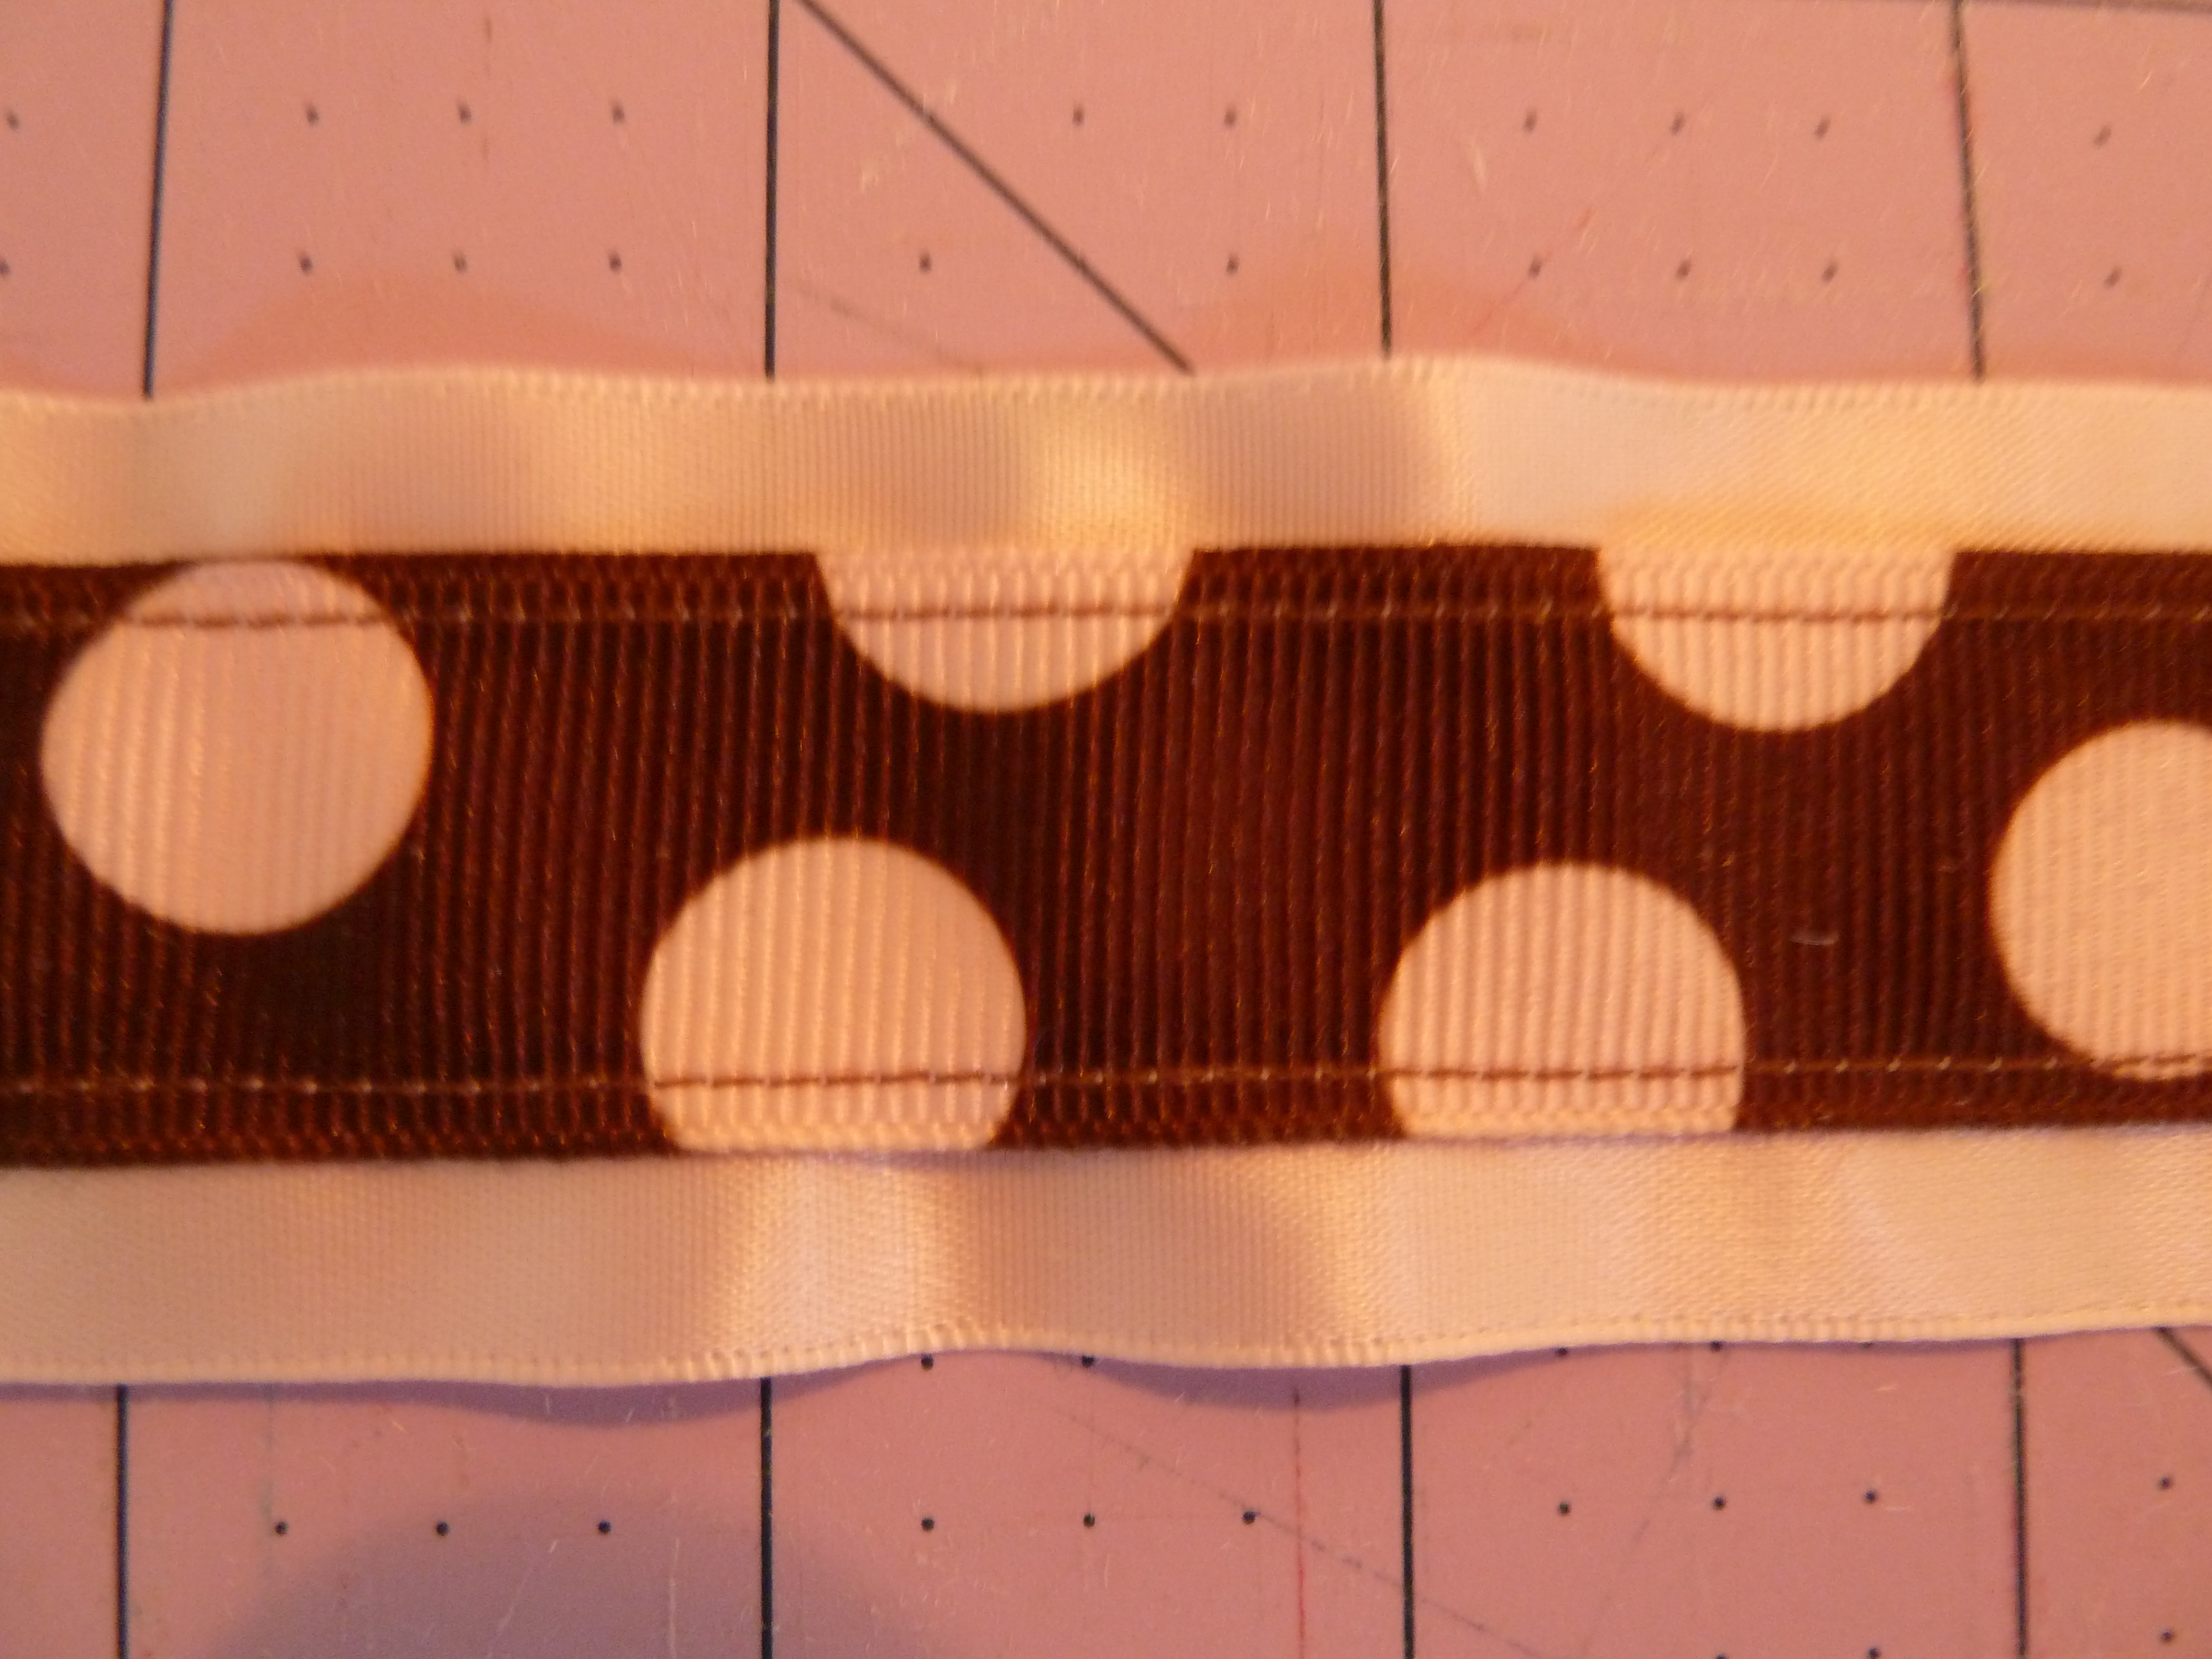
But WATCH OUT! WHOA! Make sure that if you’re using a ribbon with a pattern/ print, that it shows in the finished product. For instance, if you have a ribbon piece with polka dots on one side only, make sure that the polka dots face YOU or DOWN as you pierce it with the needle. When you create your loop, the polka dots will show right side out. There’s a pic of that coming up, so scroll down a bit if you want a visual.

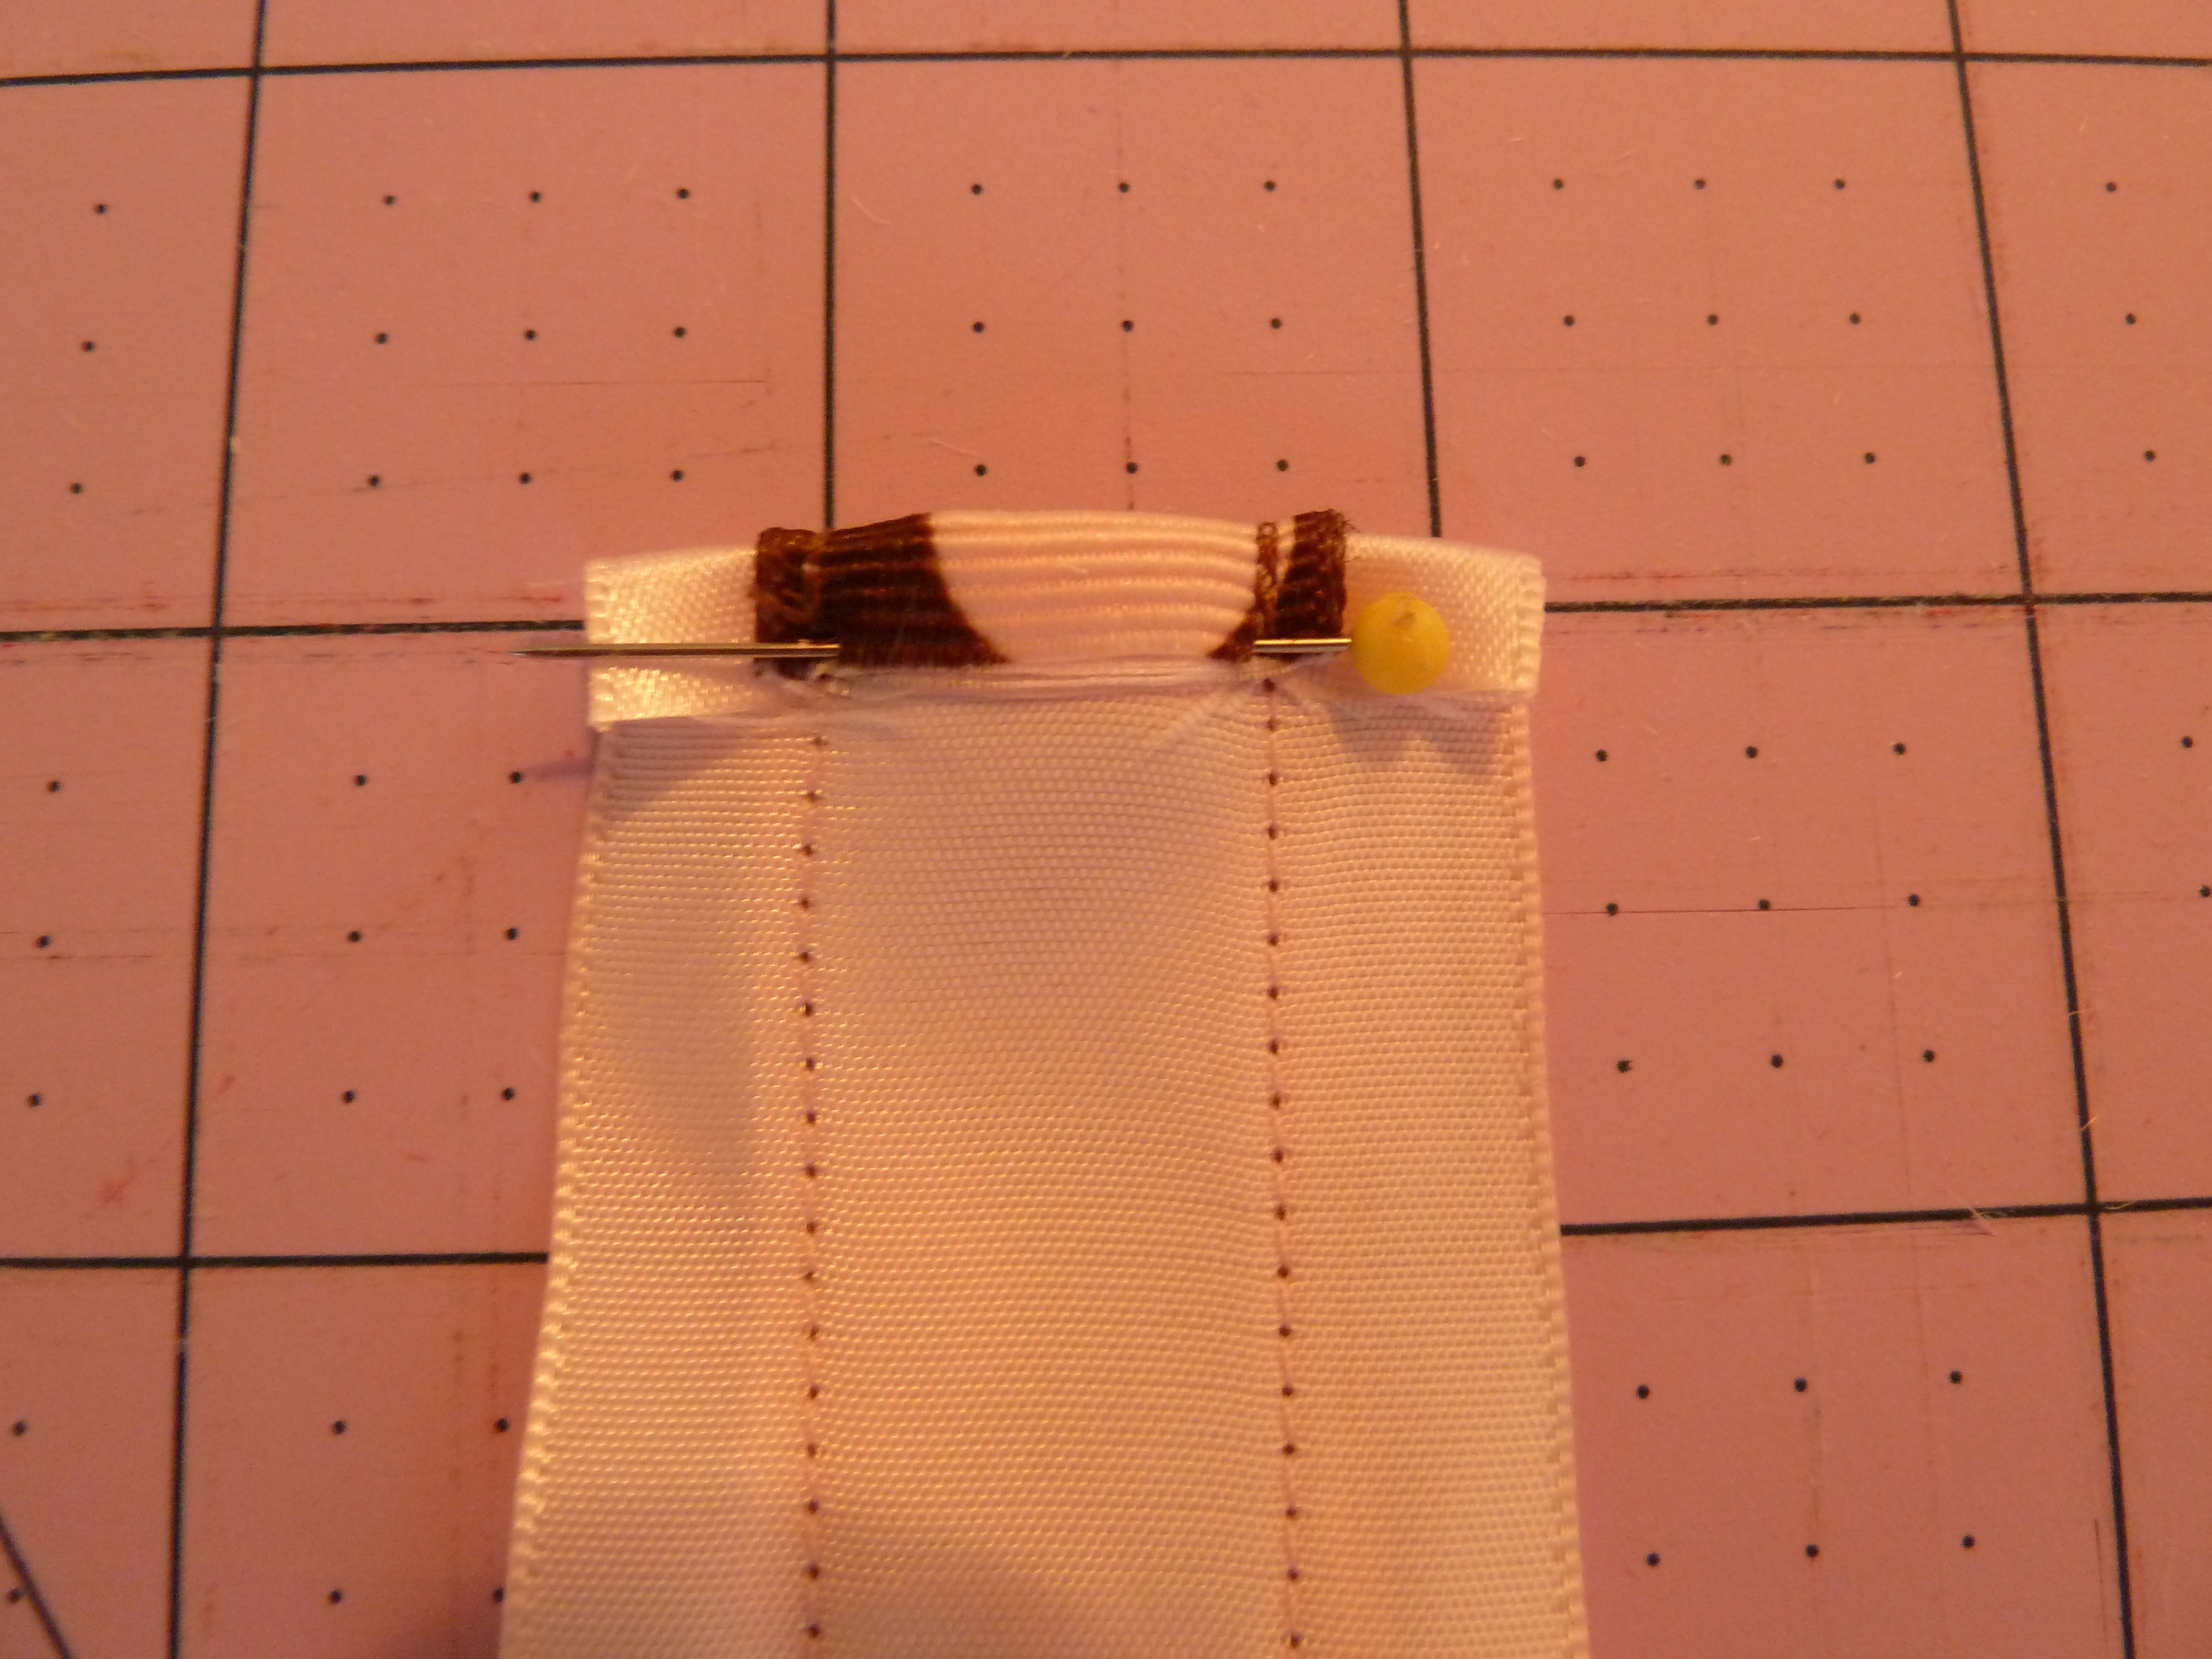
5. This is the super exciting part. Better take a sip of your scooby snack to celebrate…now take the open, non-attached ribbon end and create a loop by piercing the needle (which already has one end of the ribbon on it) through it. You now have one loop on your needle. Hooray!
Repeat this with your next color (#2 in your line-up), and your next (#3 in your line-up), and your next…well, you get the picture. Don’t worry if they start to fall out of a perfect stack on your needle. Again, they all get jumbled up intentionally in the end. Once you finish one row of your six colors–one of each–start from the first color pile and repeat until all piles of your colors are gone.


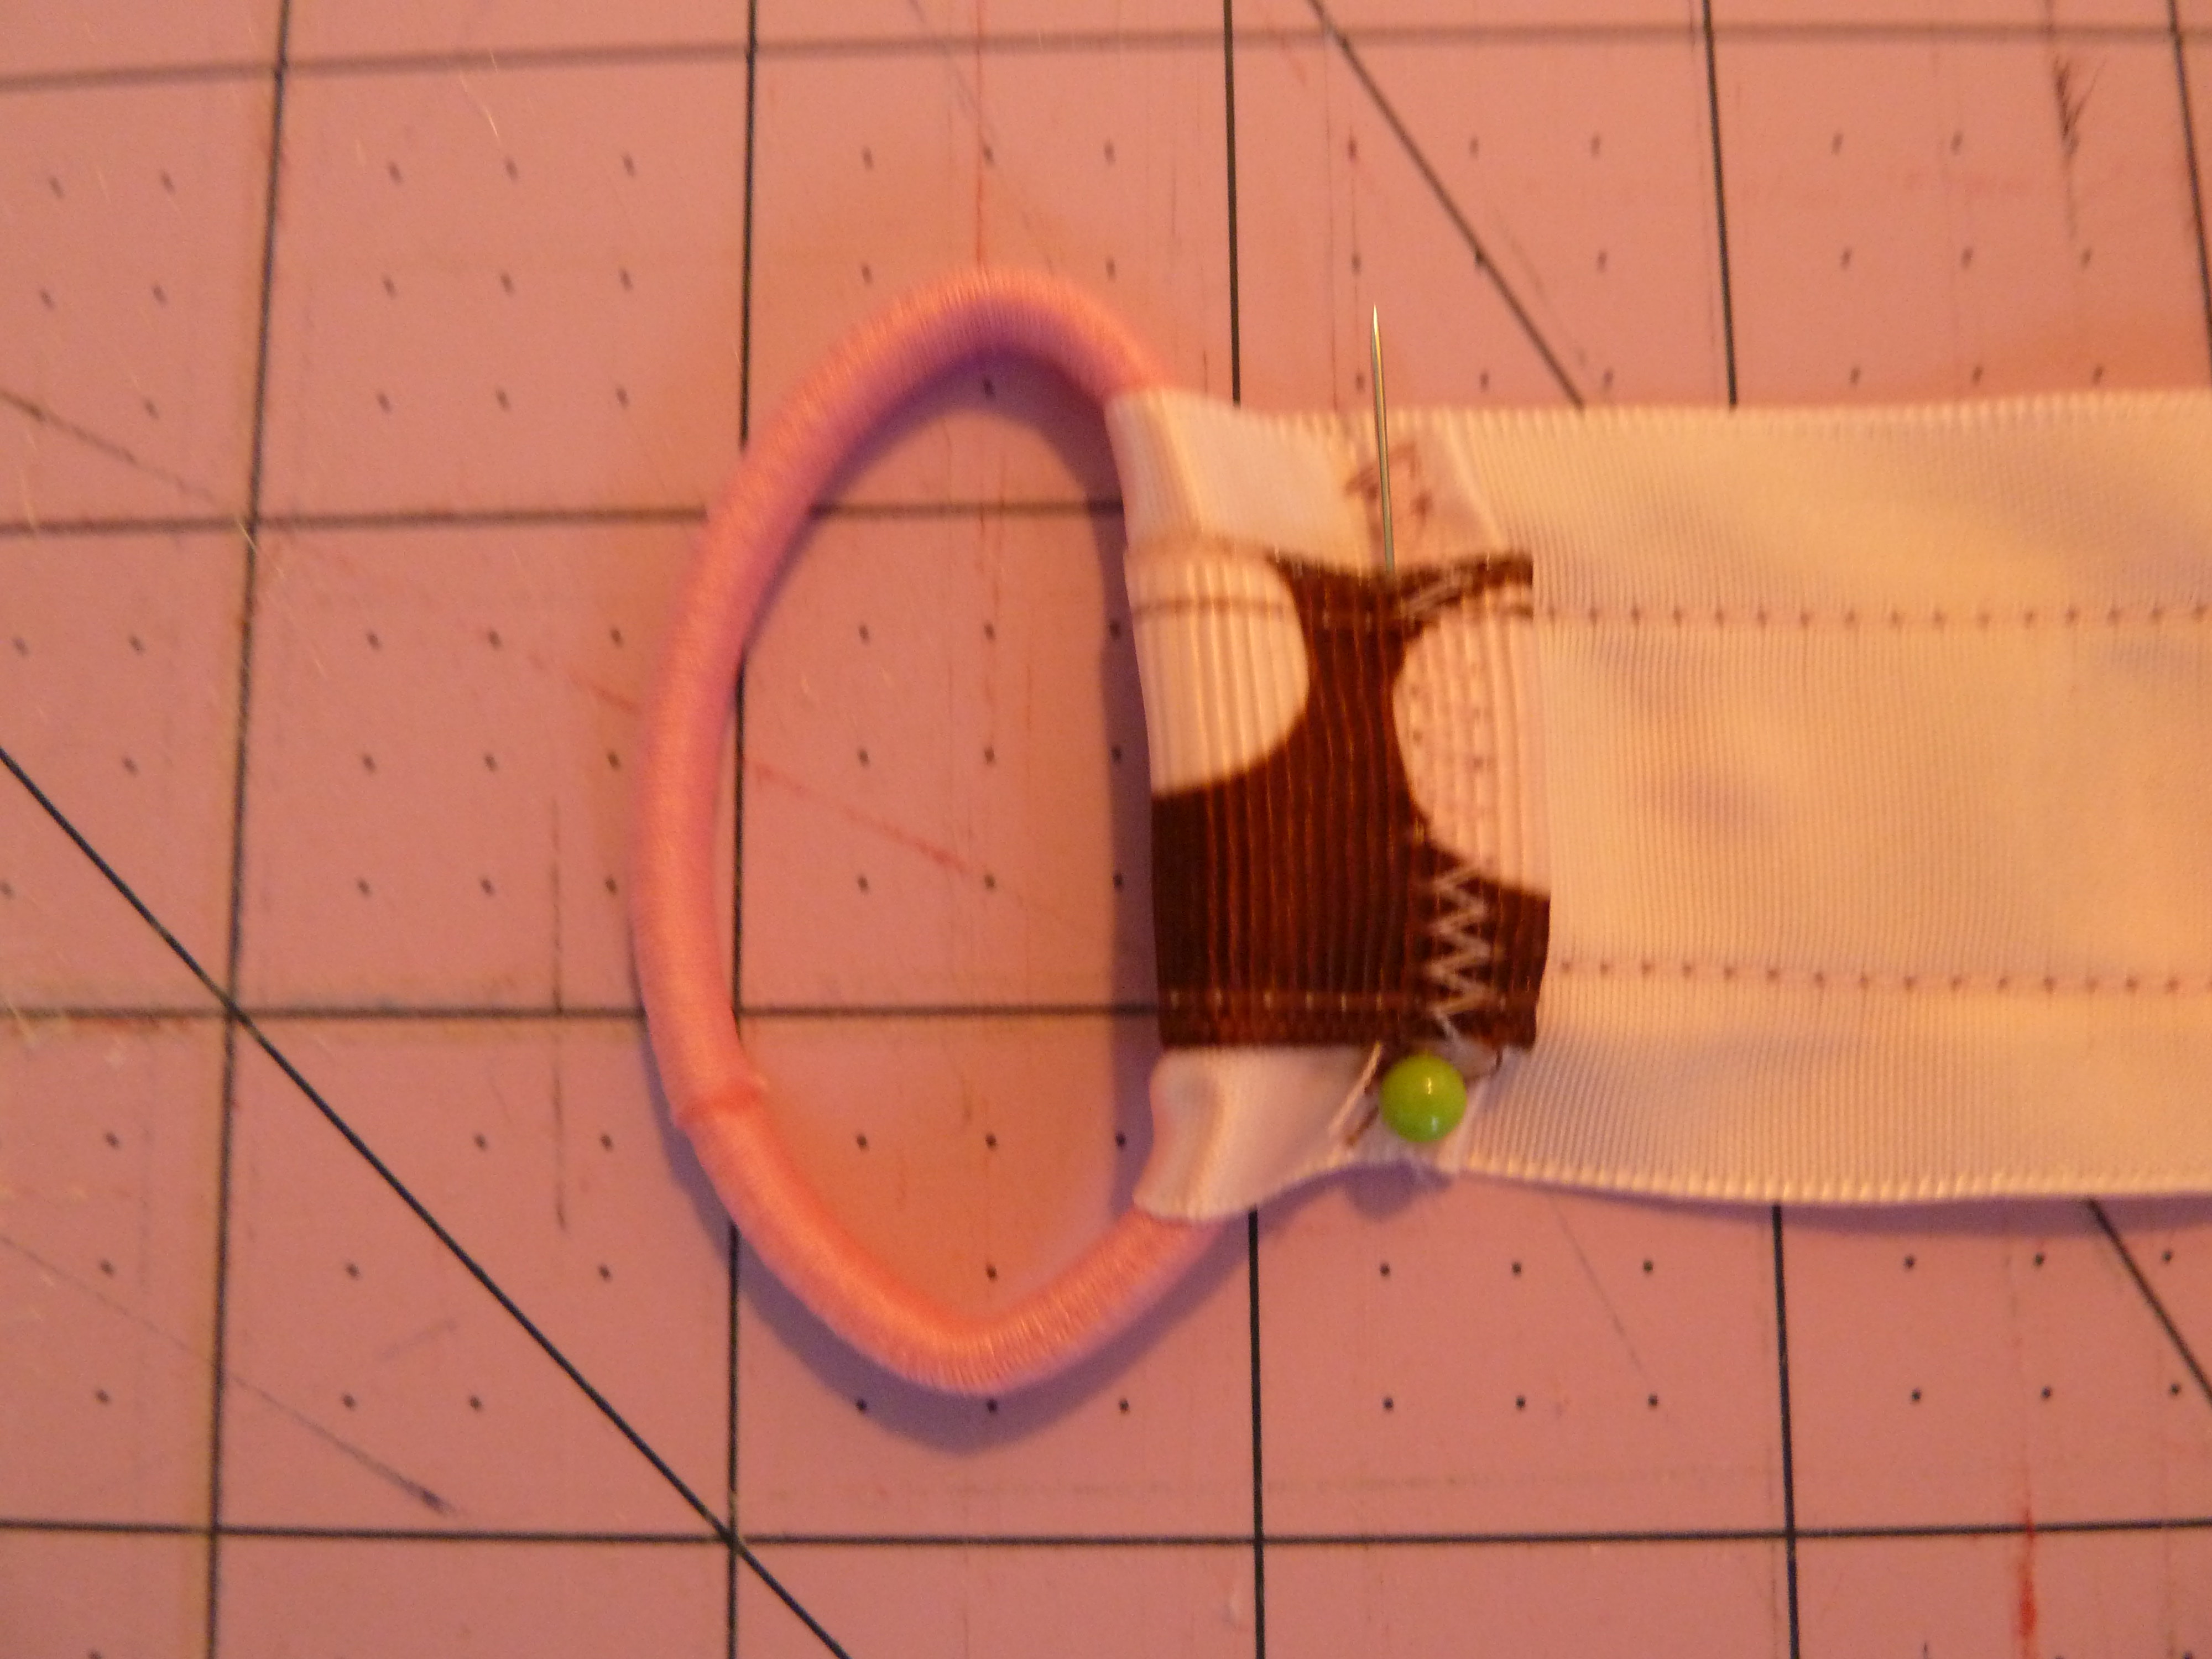
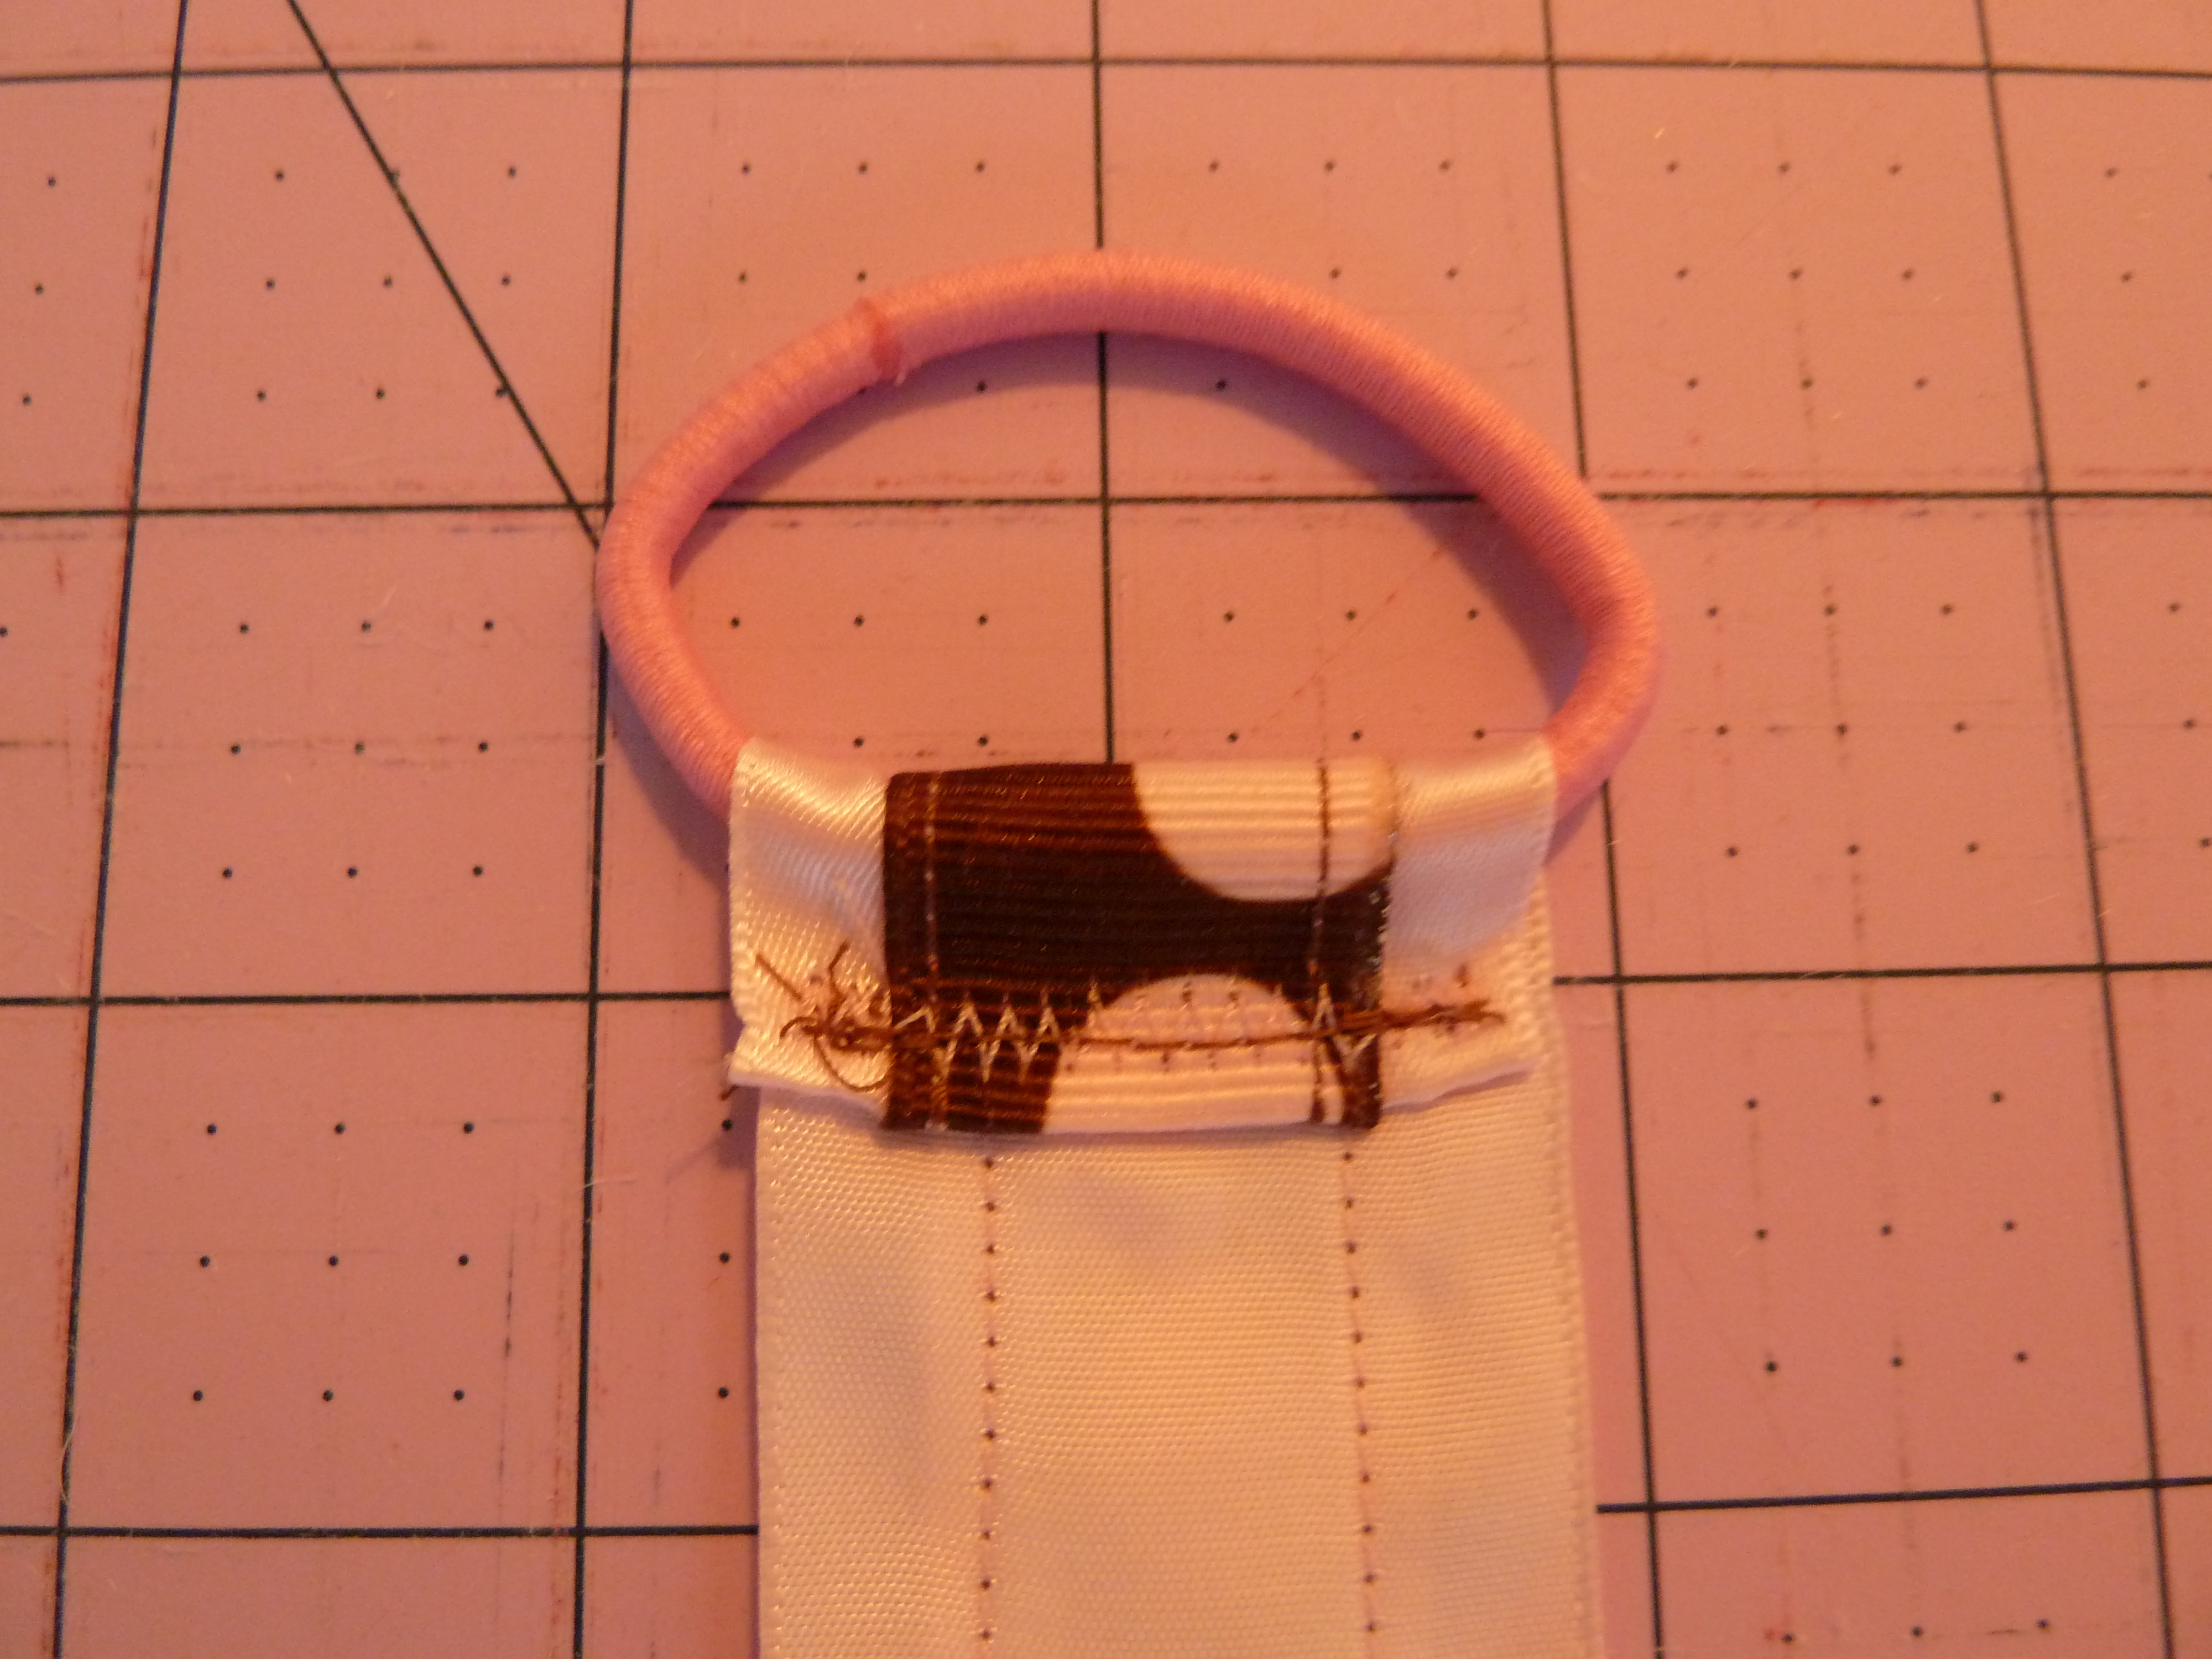
6. When all 24 ribbon pieces have been put on the needle, push them all the way down the needle and onto the thread. Allow yourself some slack, so don’t push the loops all the way against the knot in your thread. Now with excess thread on each side of your loopy bundle, tie the two ends of thread into a double knot. Aw, let’s live a little and make it a triple knot.
It looks something like this: 
7. Flip your loopy bow right side up, fluff it a bit, and separate or arrange the pieces until you get it just the way you want it. See how easy that was? And it went so quickly, I barely touched my beer.
8. If desired, spray your loopy bow with laundry spray starch to help it maintain its shape. (I literally drench mine, then let them dry overnight). If you prefer a softer, less sculpted feel to your bow, skip this step.
Don’t you just feel loopy with satisfaction and a sense of accomplishment? Me, too! But wait, there’s more…
ATTACHING THE LOOPY BOW TO HAIR CLIP
Great. We’re almost there and here’s the last piece of our loopy puzzle. Get your glue gun (heated up with glue stick in place), your pre-cut ribbon, and your alligator clip. Remember that if you’re using a small alligator clip, your ribbon piece will be 4.5″ long and 5.5″ long for a large alligator clip.
1. Heat seal both ends of your ribbon, just as you did above.
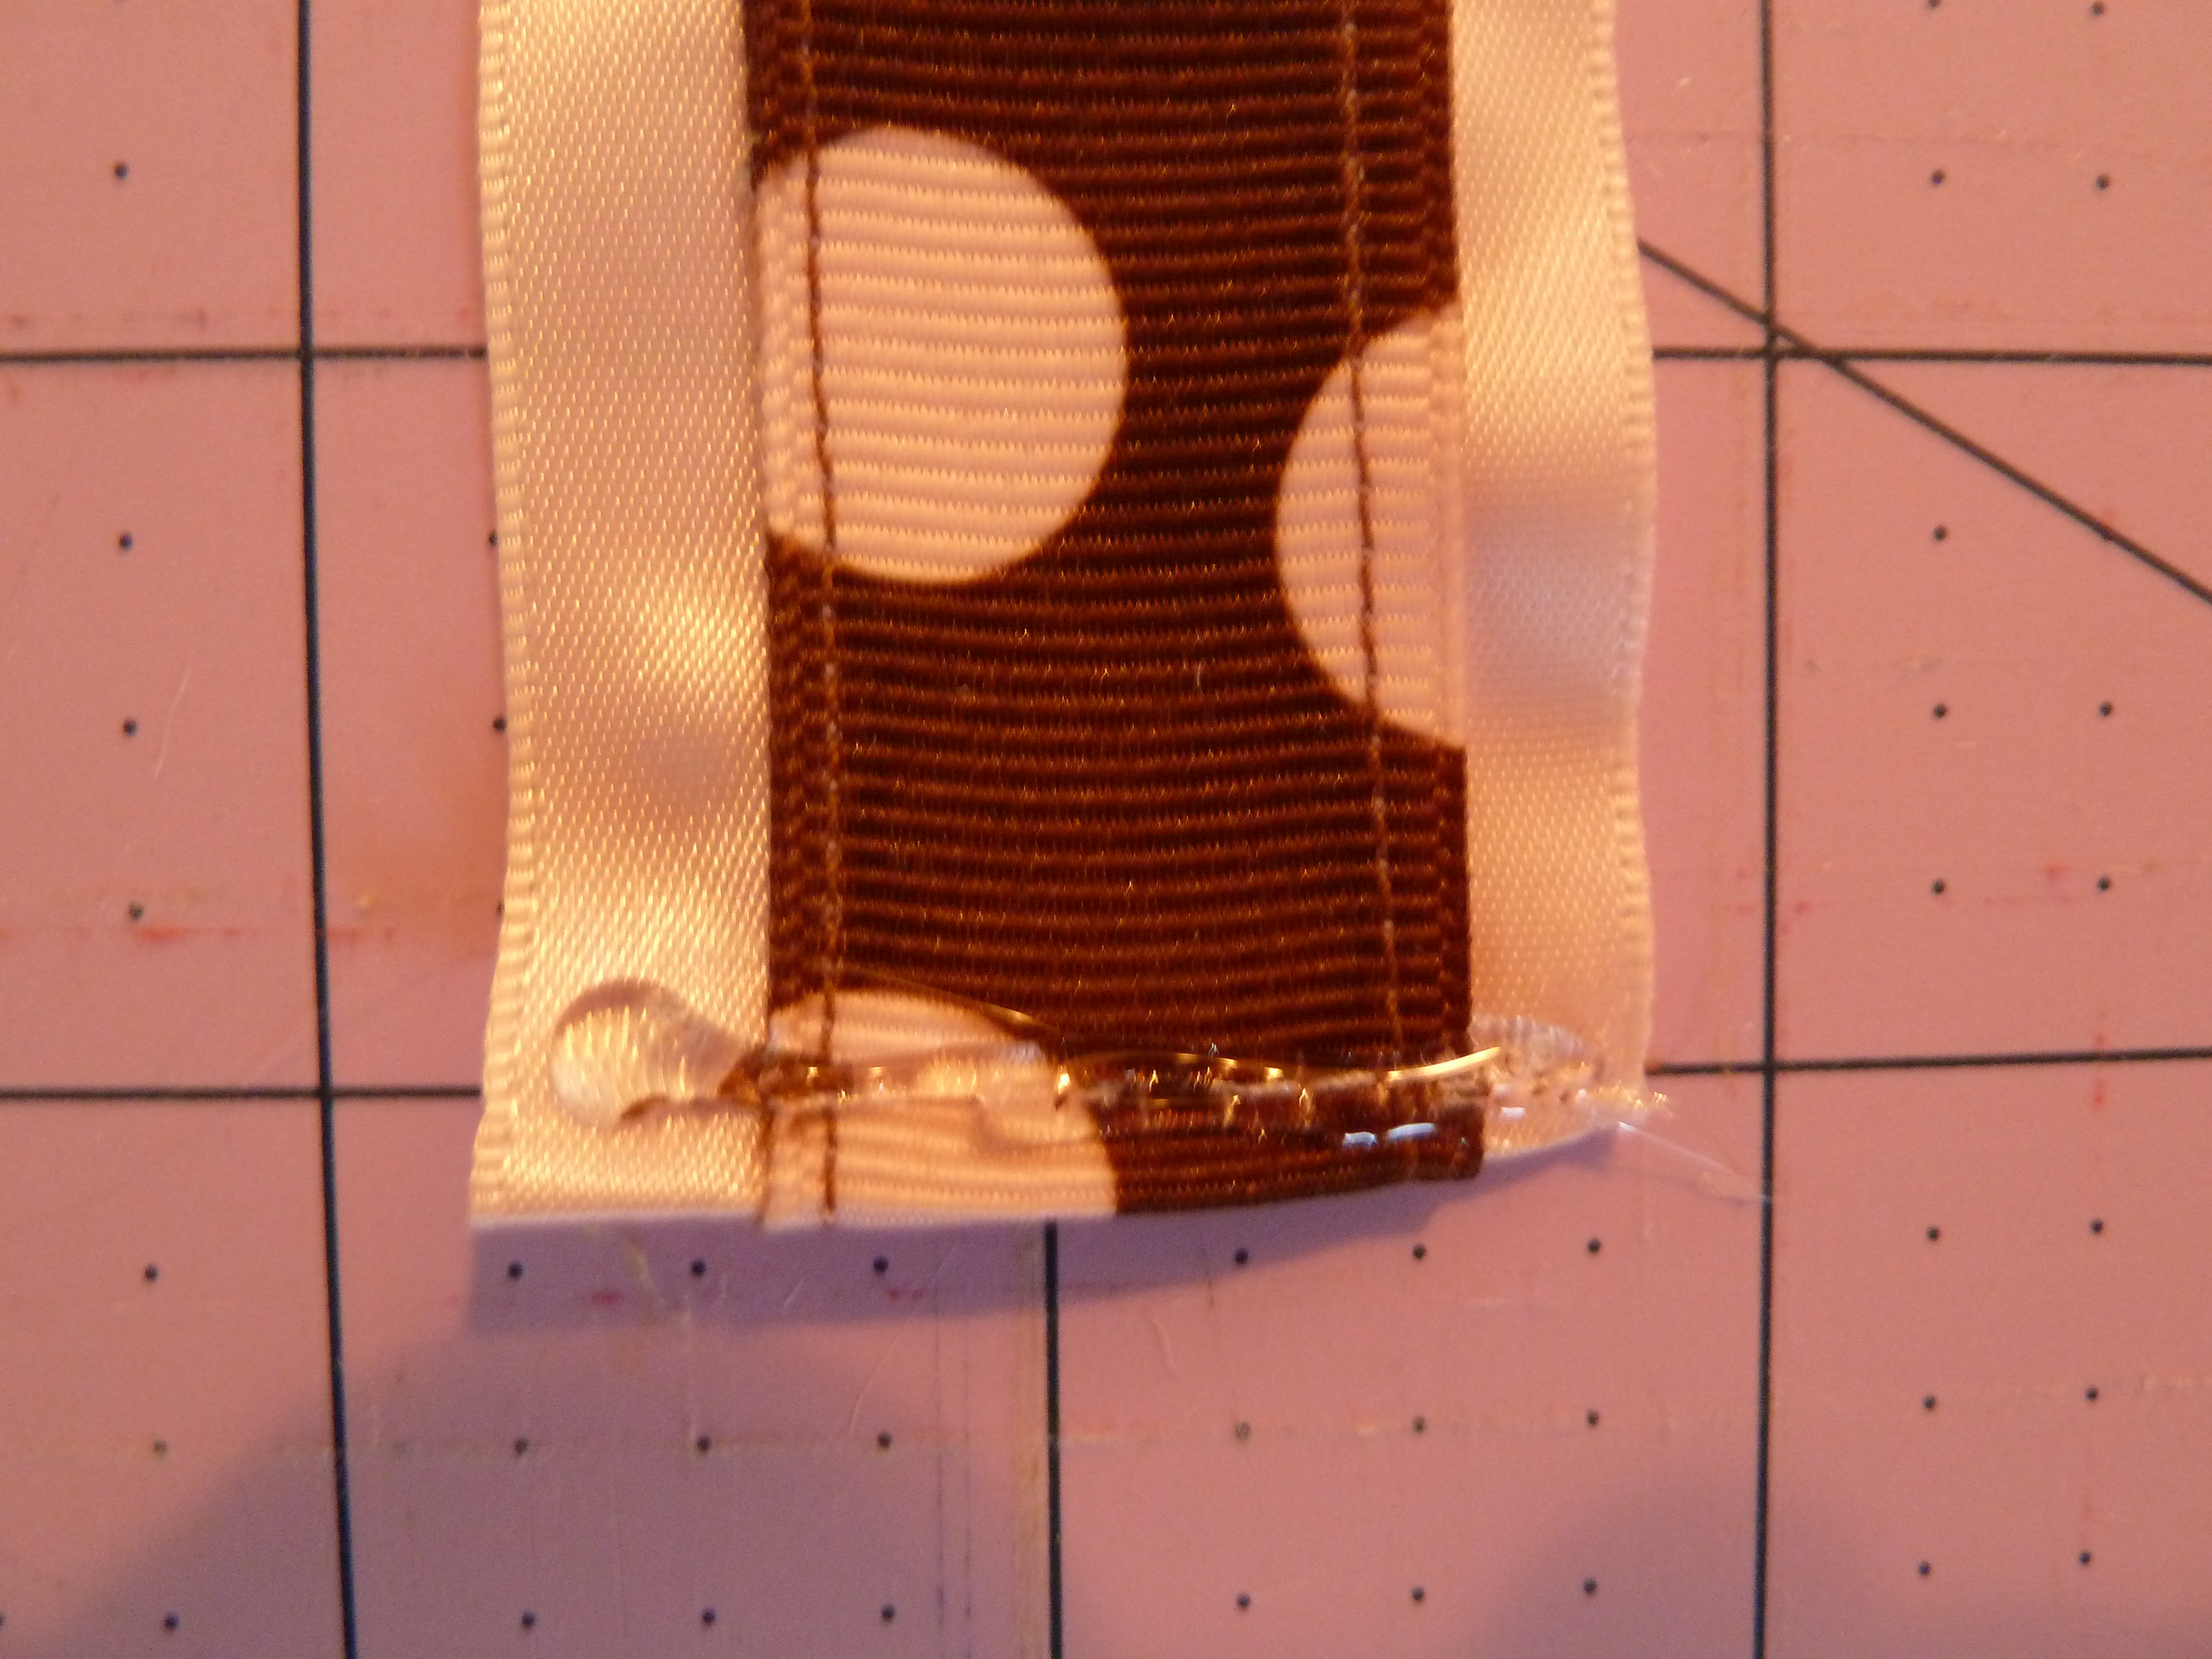
2. Line the INSIDE of your hair clip with glue. Waste no time as you place the ribbon against the glue line, putting the end of ribbon flush with the end of the clip.

My finger is on the TOP of the clip; notice the base has a slight incline.

It’s hard to see since the hot glue is clear, but the glue is on the INSIDE/ UNDERSIDE part of the TOP prong.

Once the inside/ underside of top prong is lined with glue, quickly but carefully place your ribbon along the glue line and press in place to dry for about 30 seconds. MAKE SURE THE END OF RIBBON LINES UP AGAINST THE BASE OF CLIP AS MUCH AS POSSIBLE.
3. Now put a thin line of glue on the TOP of the top prong of your clip. Once you do this, you’ll have the top prong completely lined with the ribbon.

Now the glue line is on the TOP of the TOP prong of clip.

This shows the clip upside down…the entire TOP prong is lined with ribbon now.
4. Use a couple drops of glue on the side of the clip (the part where the two prongs are joined together) and again, wasting no time so the glue doesn’t dry, press the ribbon against it, conforming to the metal curves.

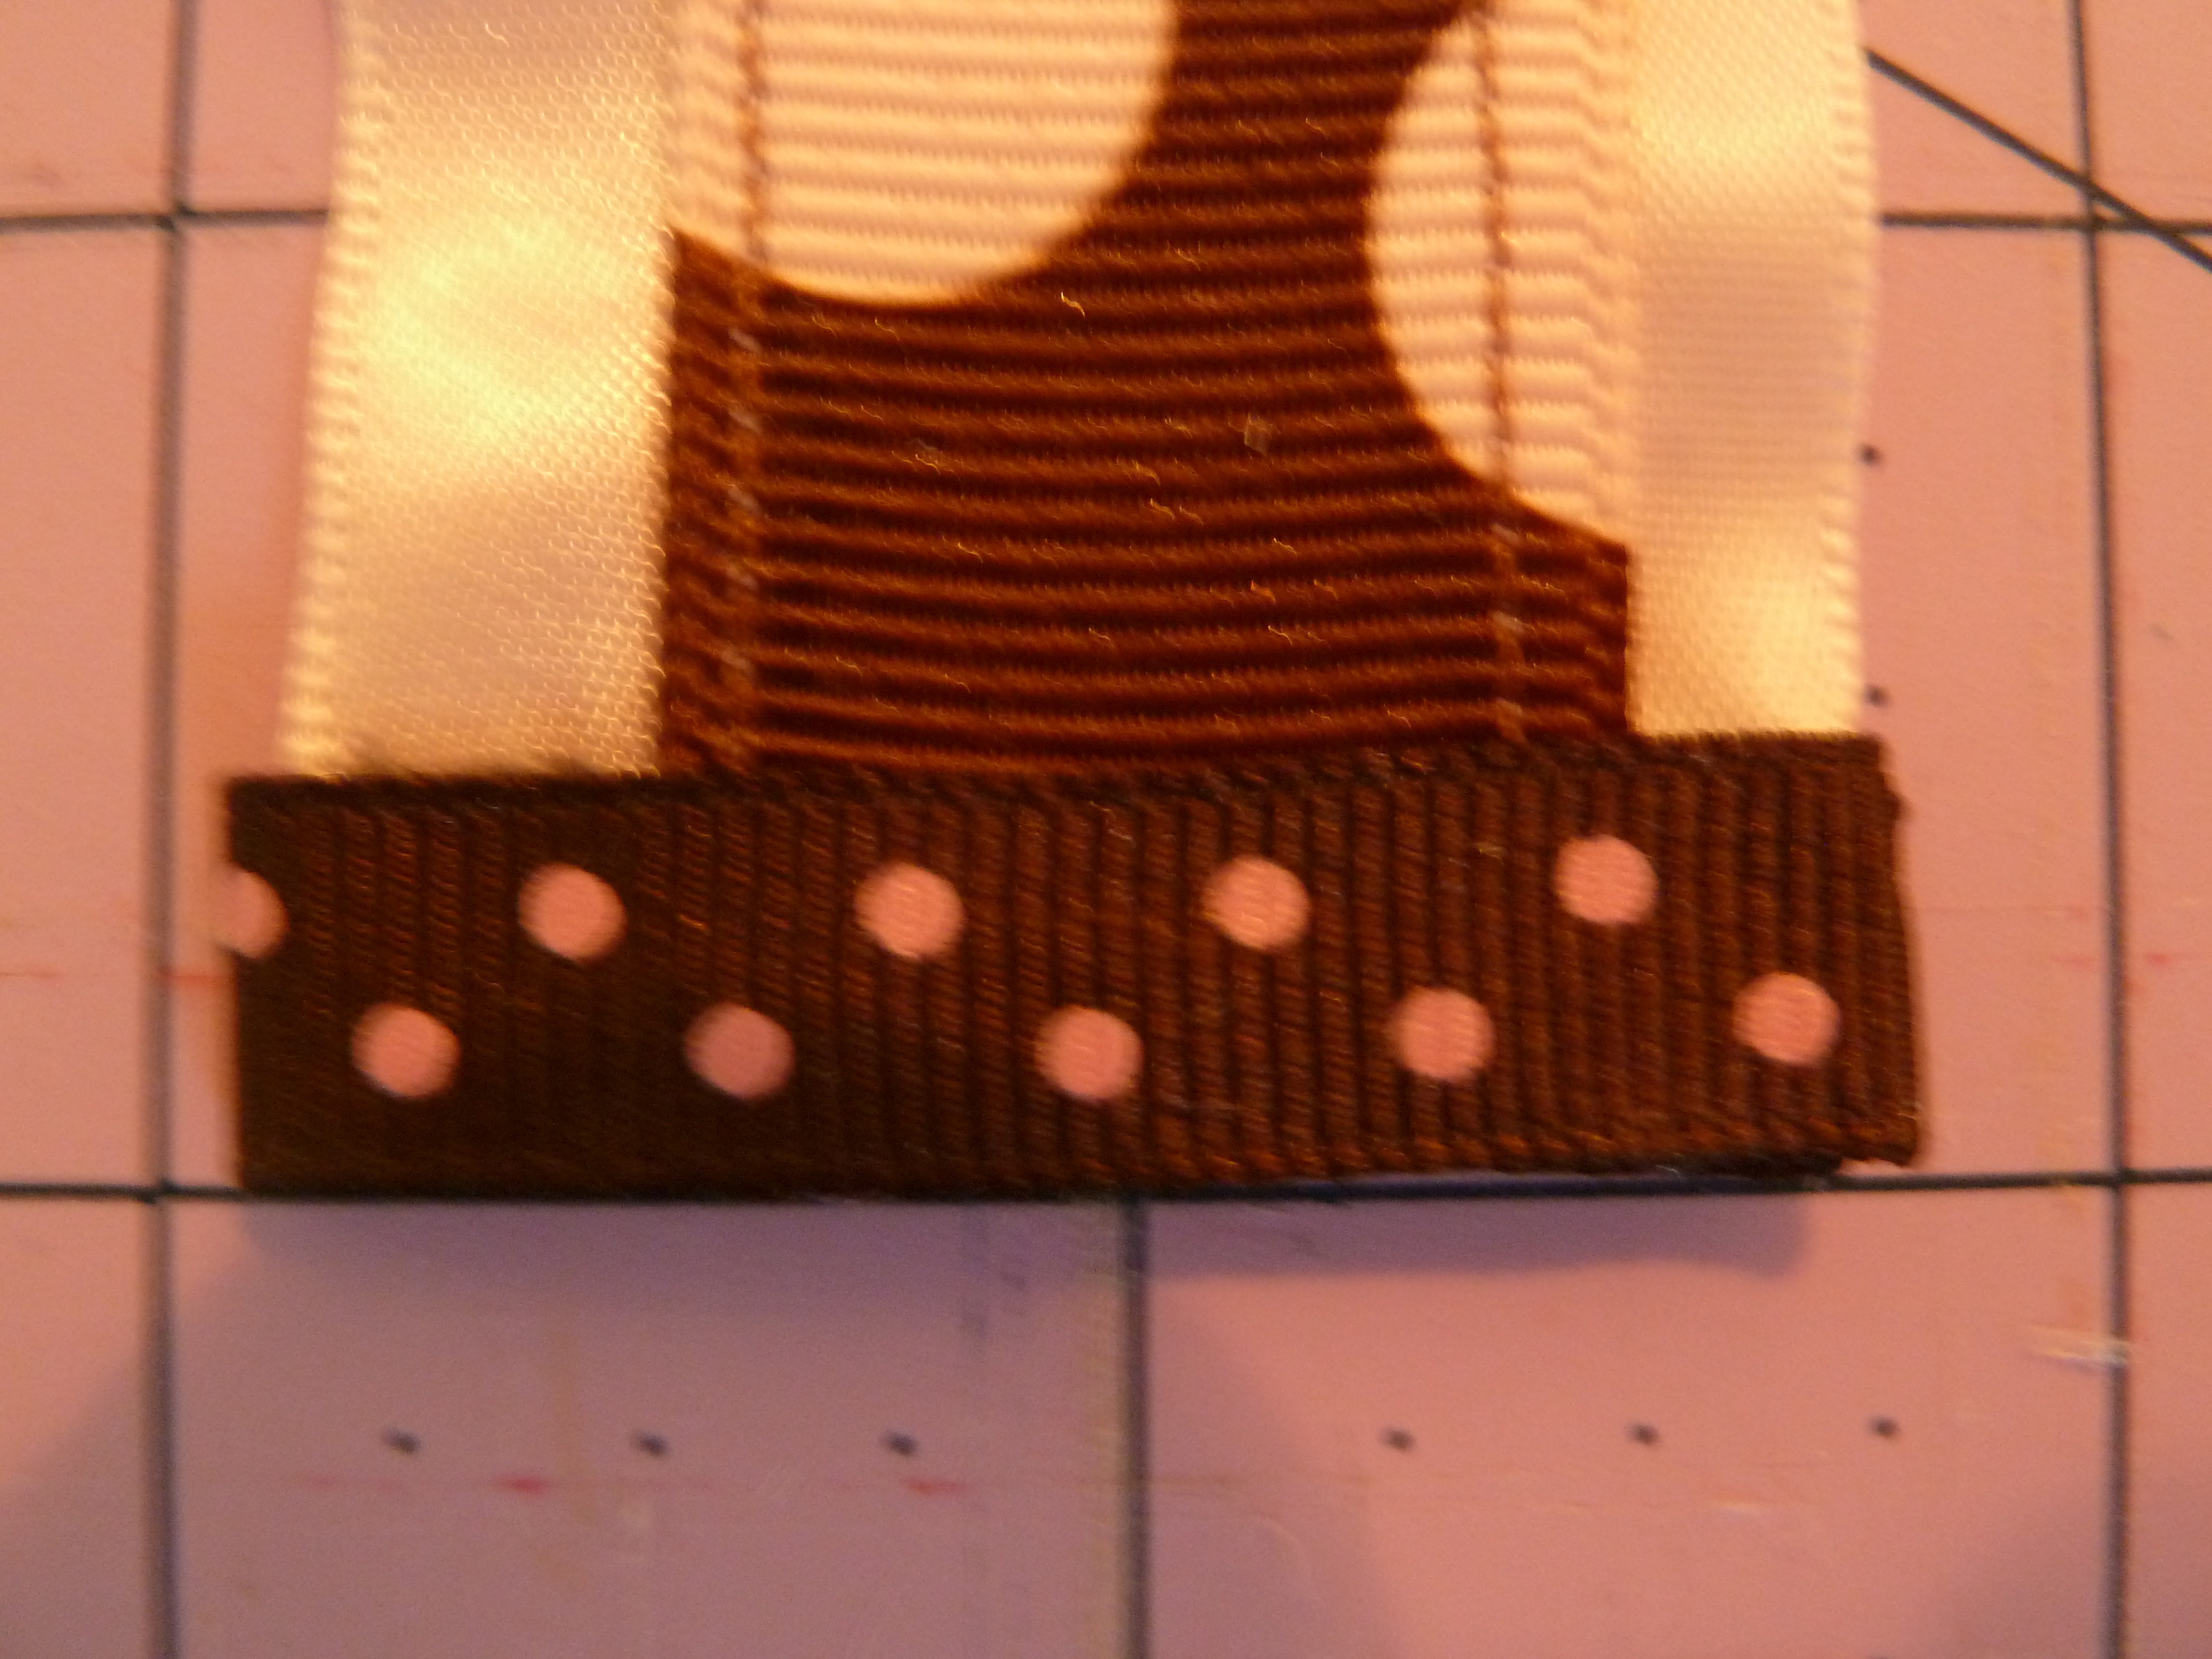
5. You now have enough ribbon to partially line the second prong. You don’t want to line the whole thing, as it has a better hold in hair without the full lining. Your finished clip looks like this:

This is what your clip looks like when done. This view is the BOTTOM of clip.
6. You have two choices here: either place hot glue on top of your clip (along almost the whole length of the clip) and attach the loopy bow. Press down to set. YOU’RE DONE!
OR…the more secure method is to take a circle or square piece of color coordinated felt (about 1″); attach the felt with hot glue to the underside of the loopy bow. Then draw a hot glue line almost completely along the top of the clip and attach the loopy bow to the clip. And, you’re DONE! I prefer this method for extra security and ease of mounting the bow to the clip, but either works.

If using a felt circle, place a dime sized glue drop on underside of bow, then attach circle. Press firmly for 30 seconds to set.


Line top of clip with glue, then attach bow (with or without felt circle on it. The felt circle makes it a little easier).

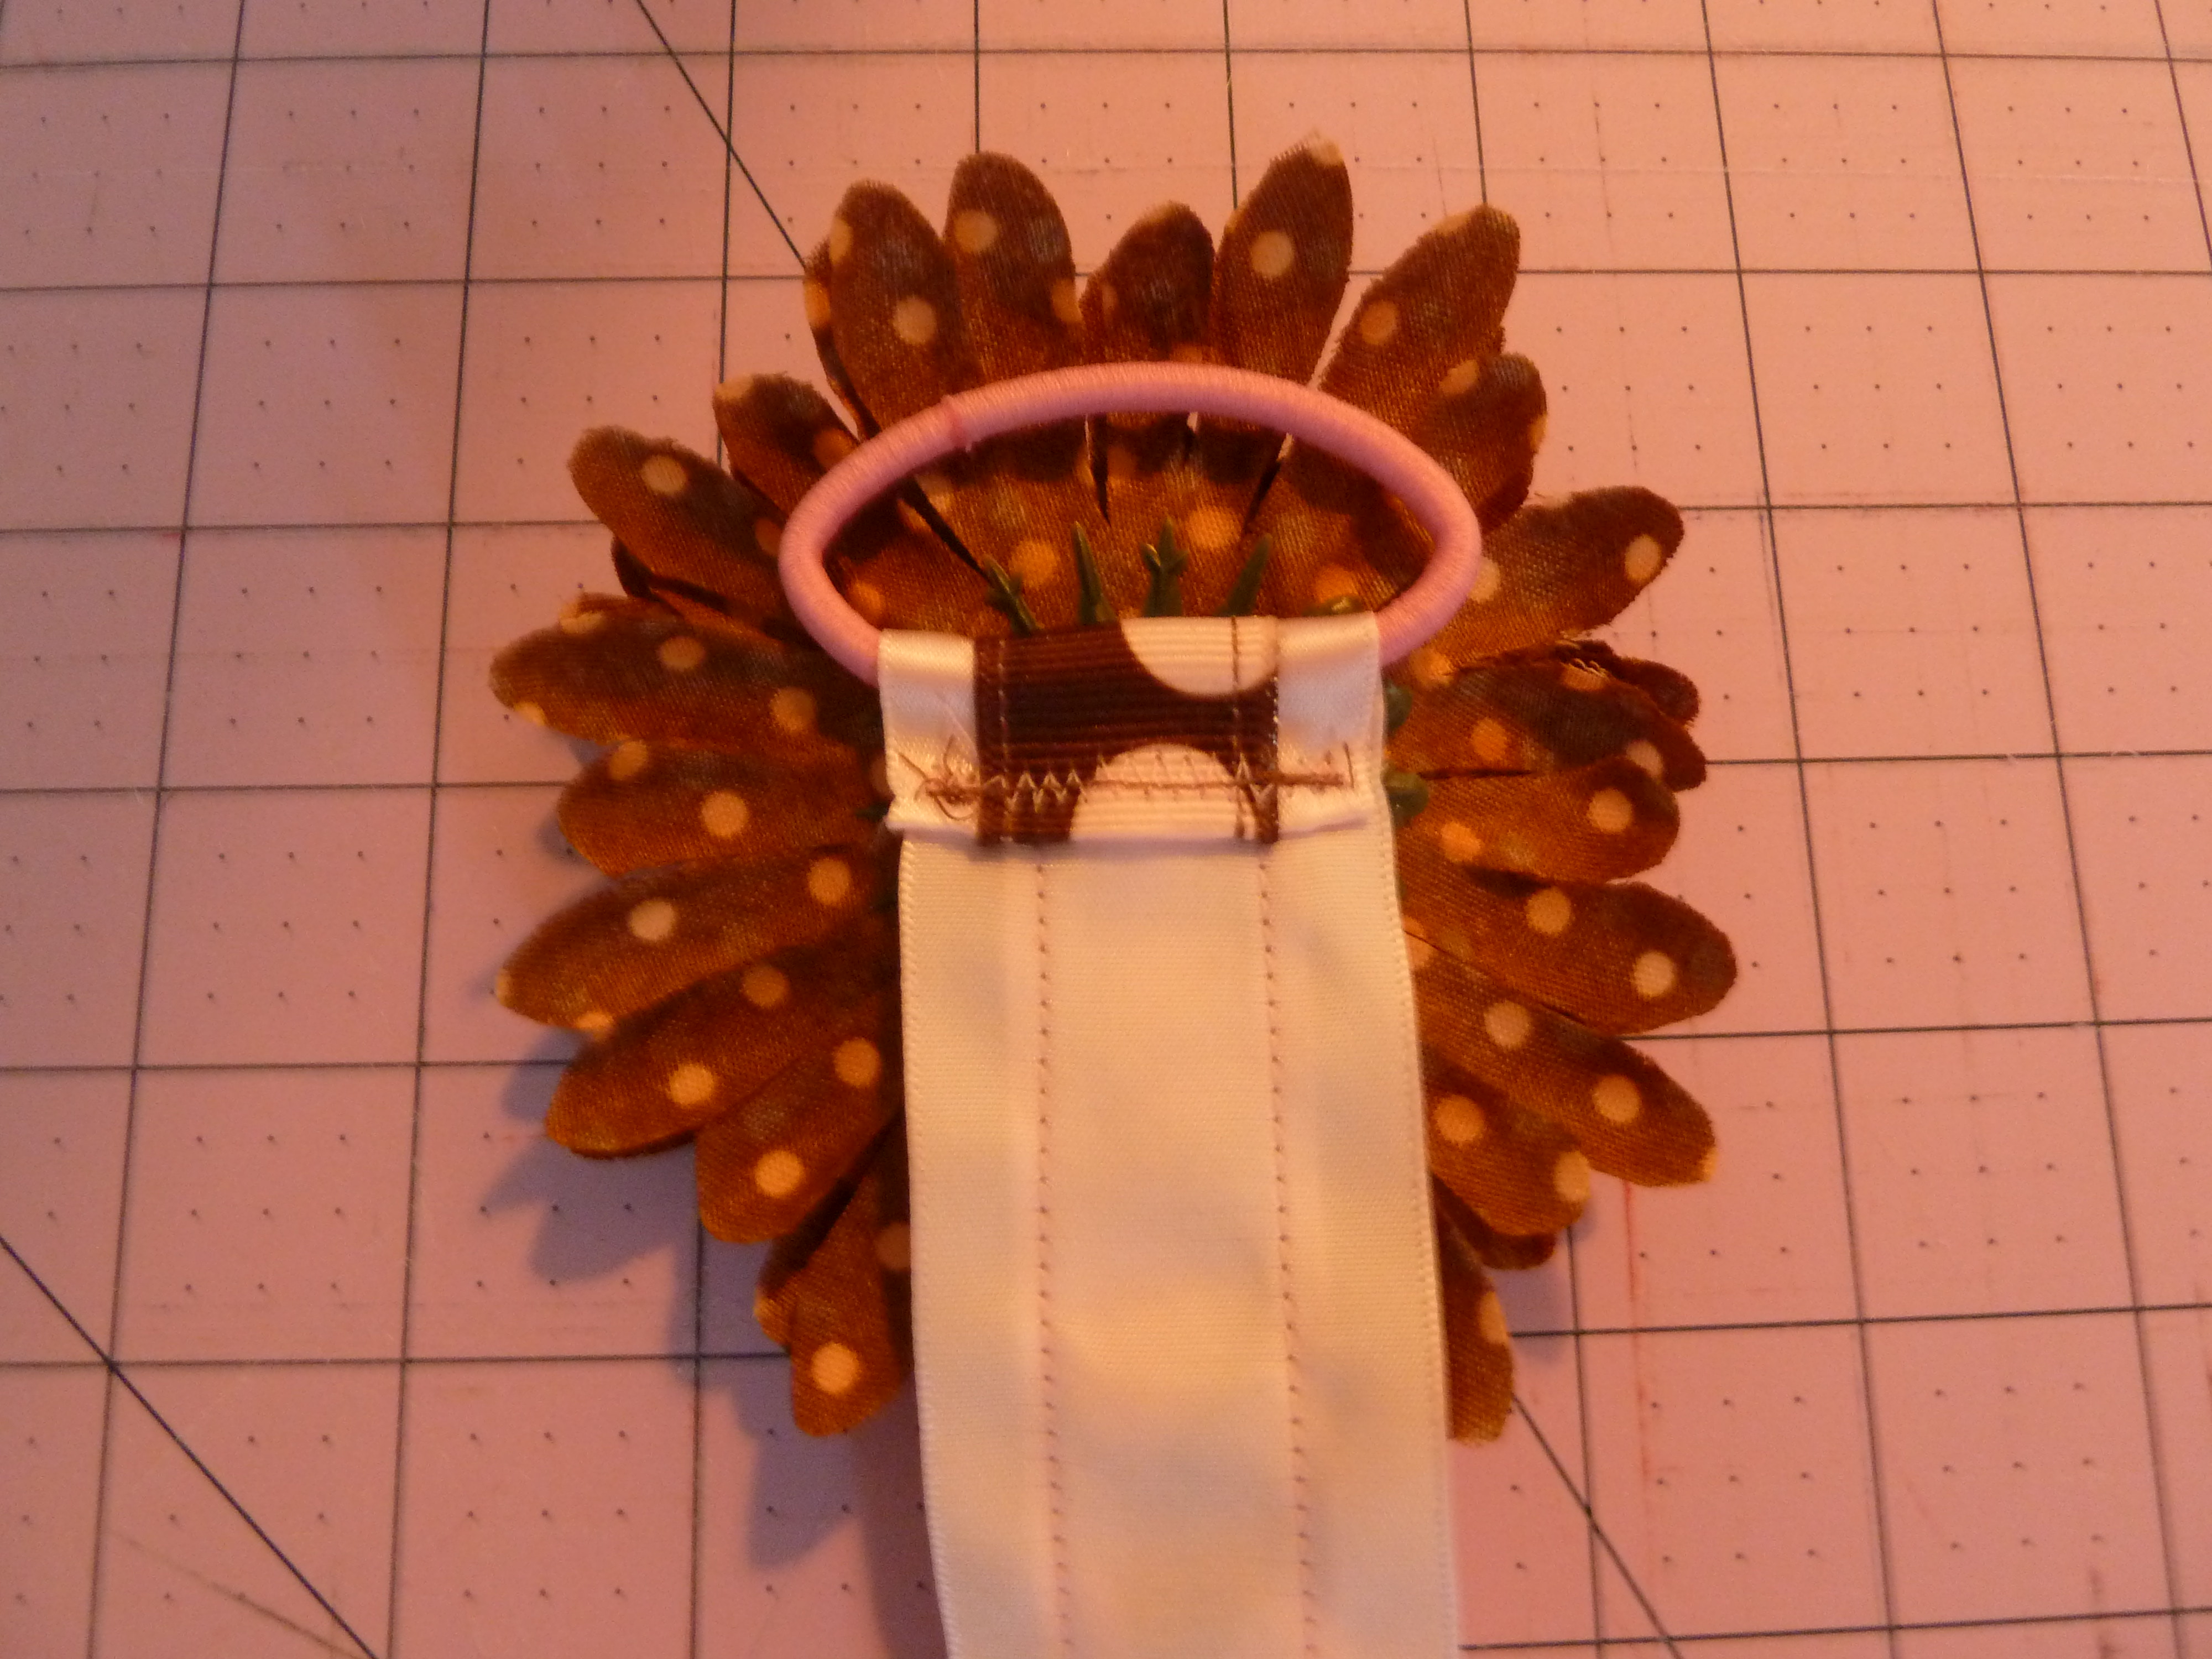
Bow now glued onto clip. The felt circle is hidden, facing wearer’s head.

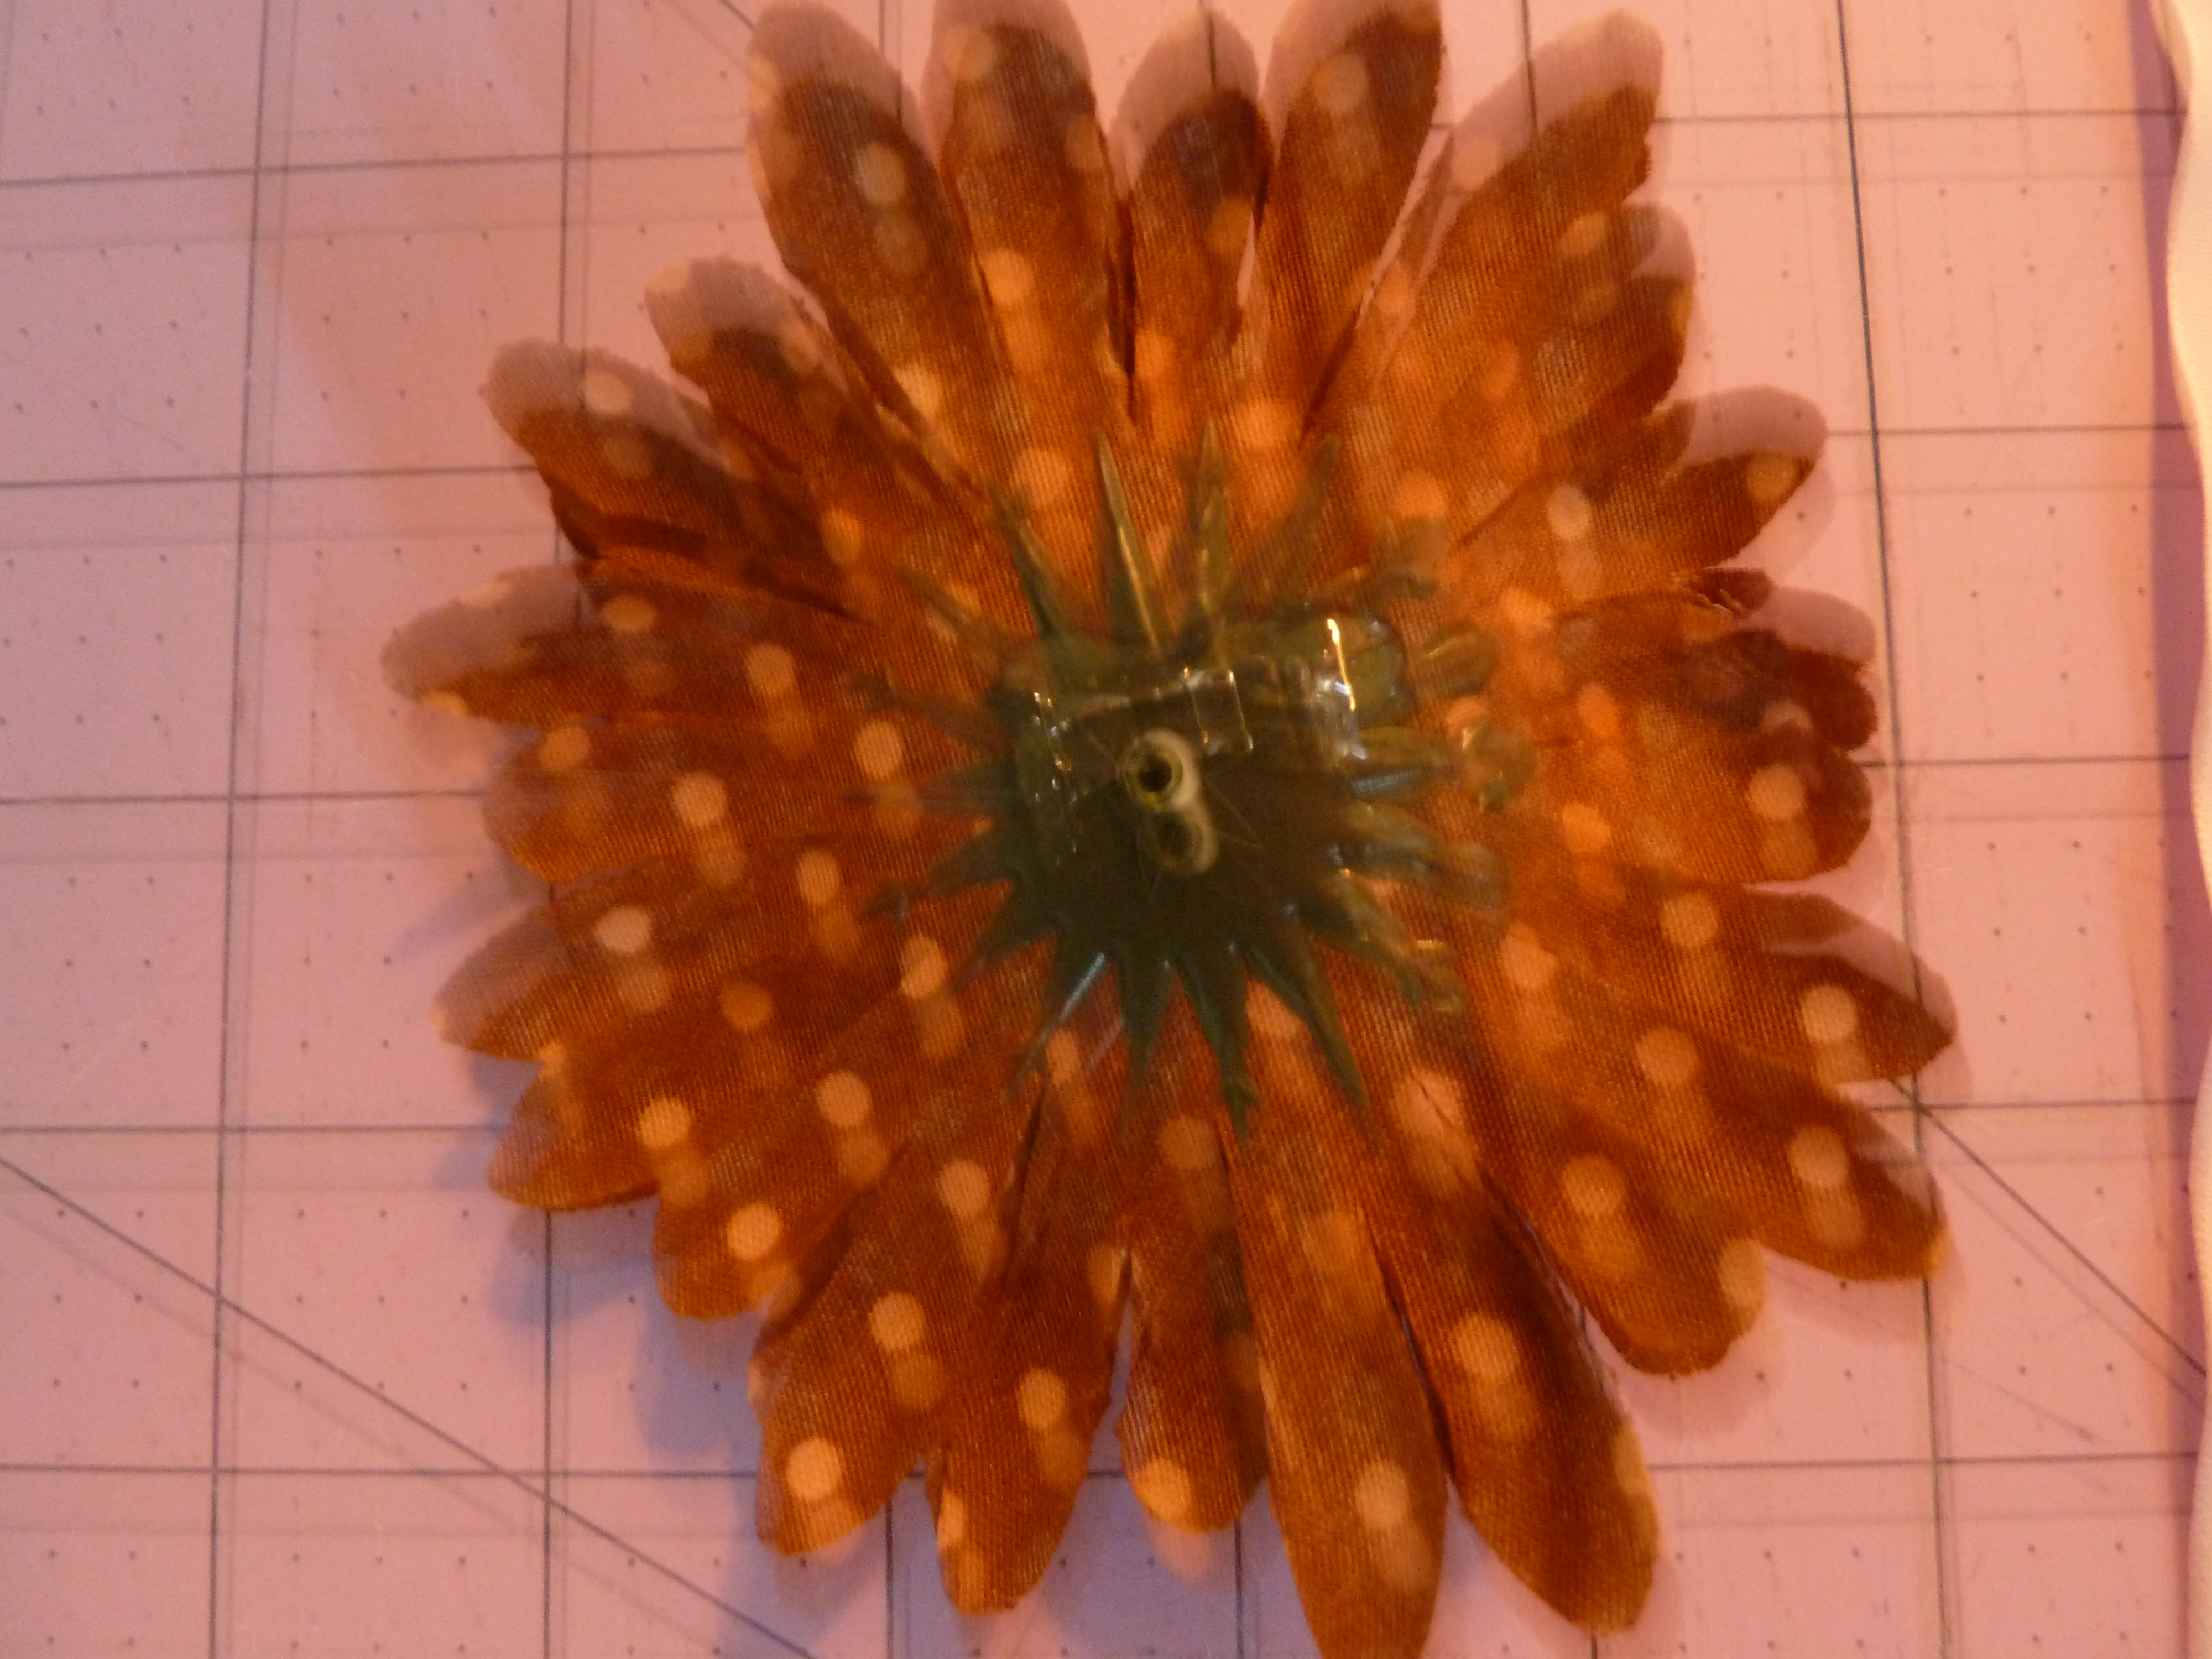
Underside view of whole bow on clip.
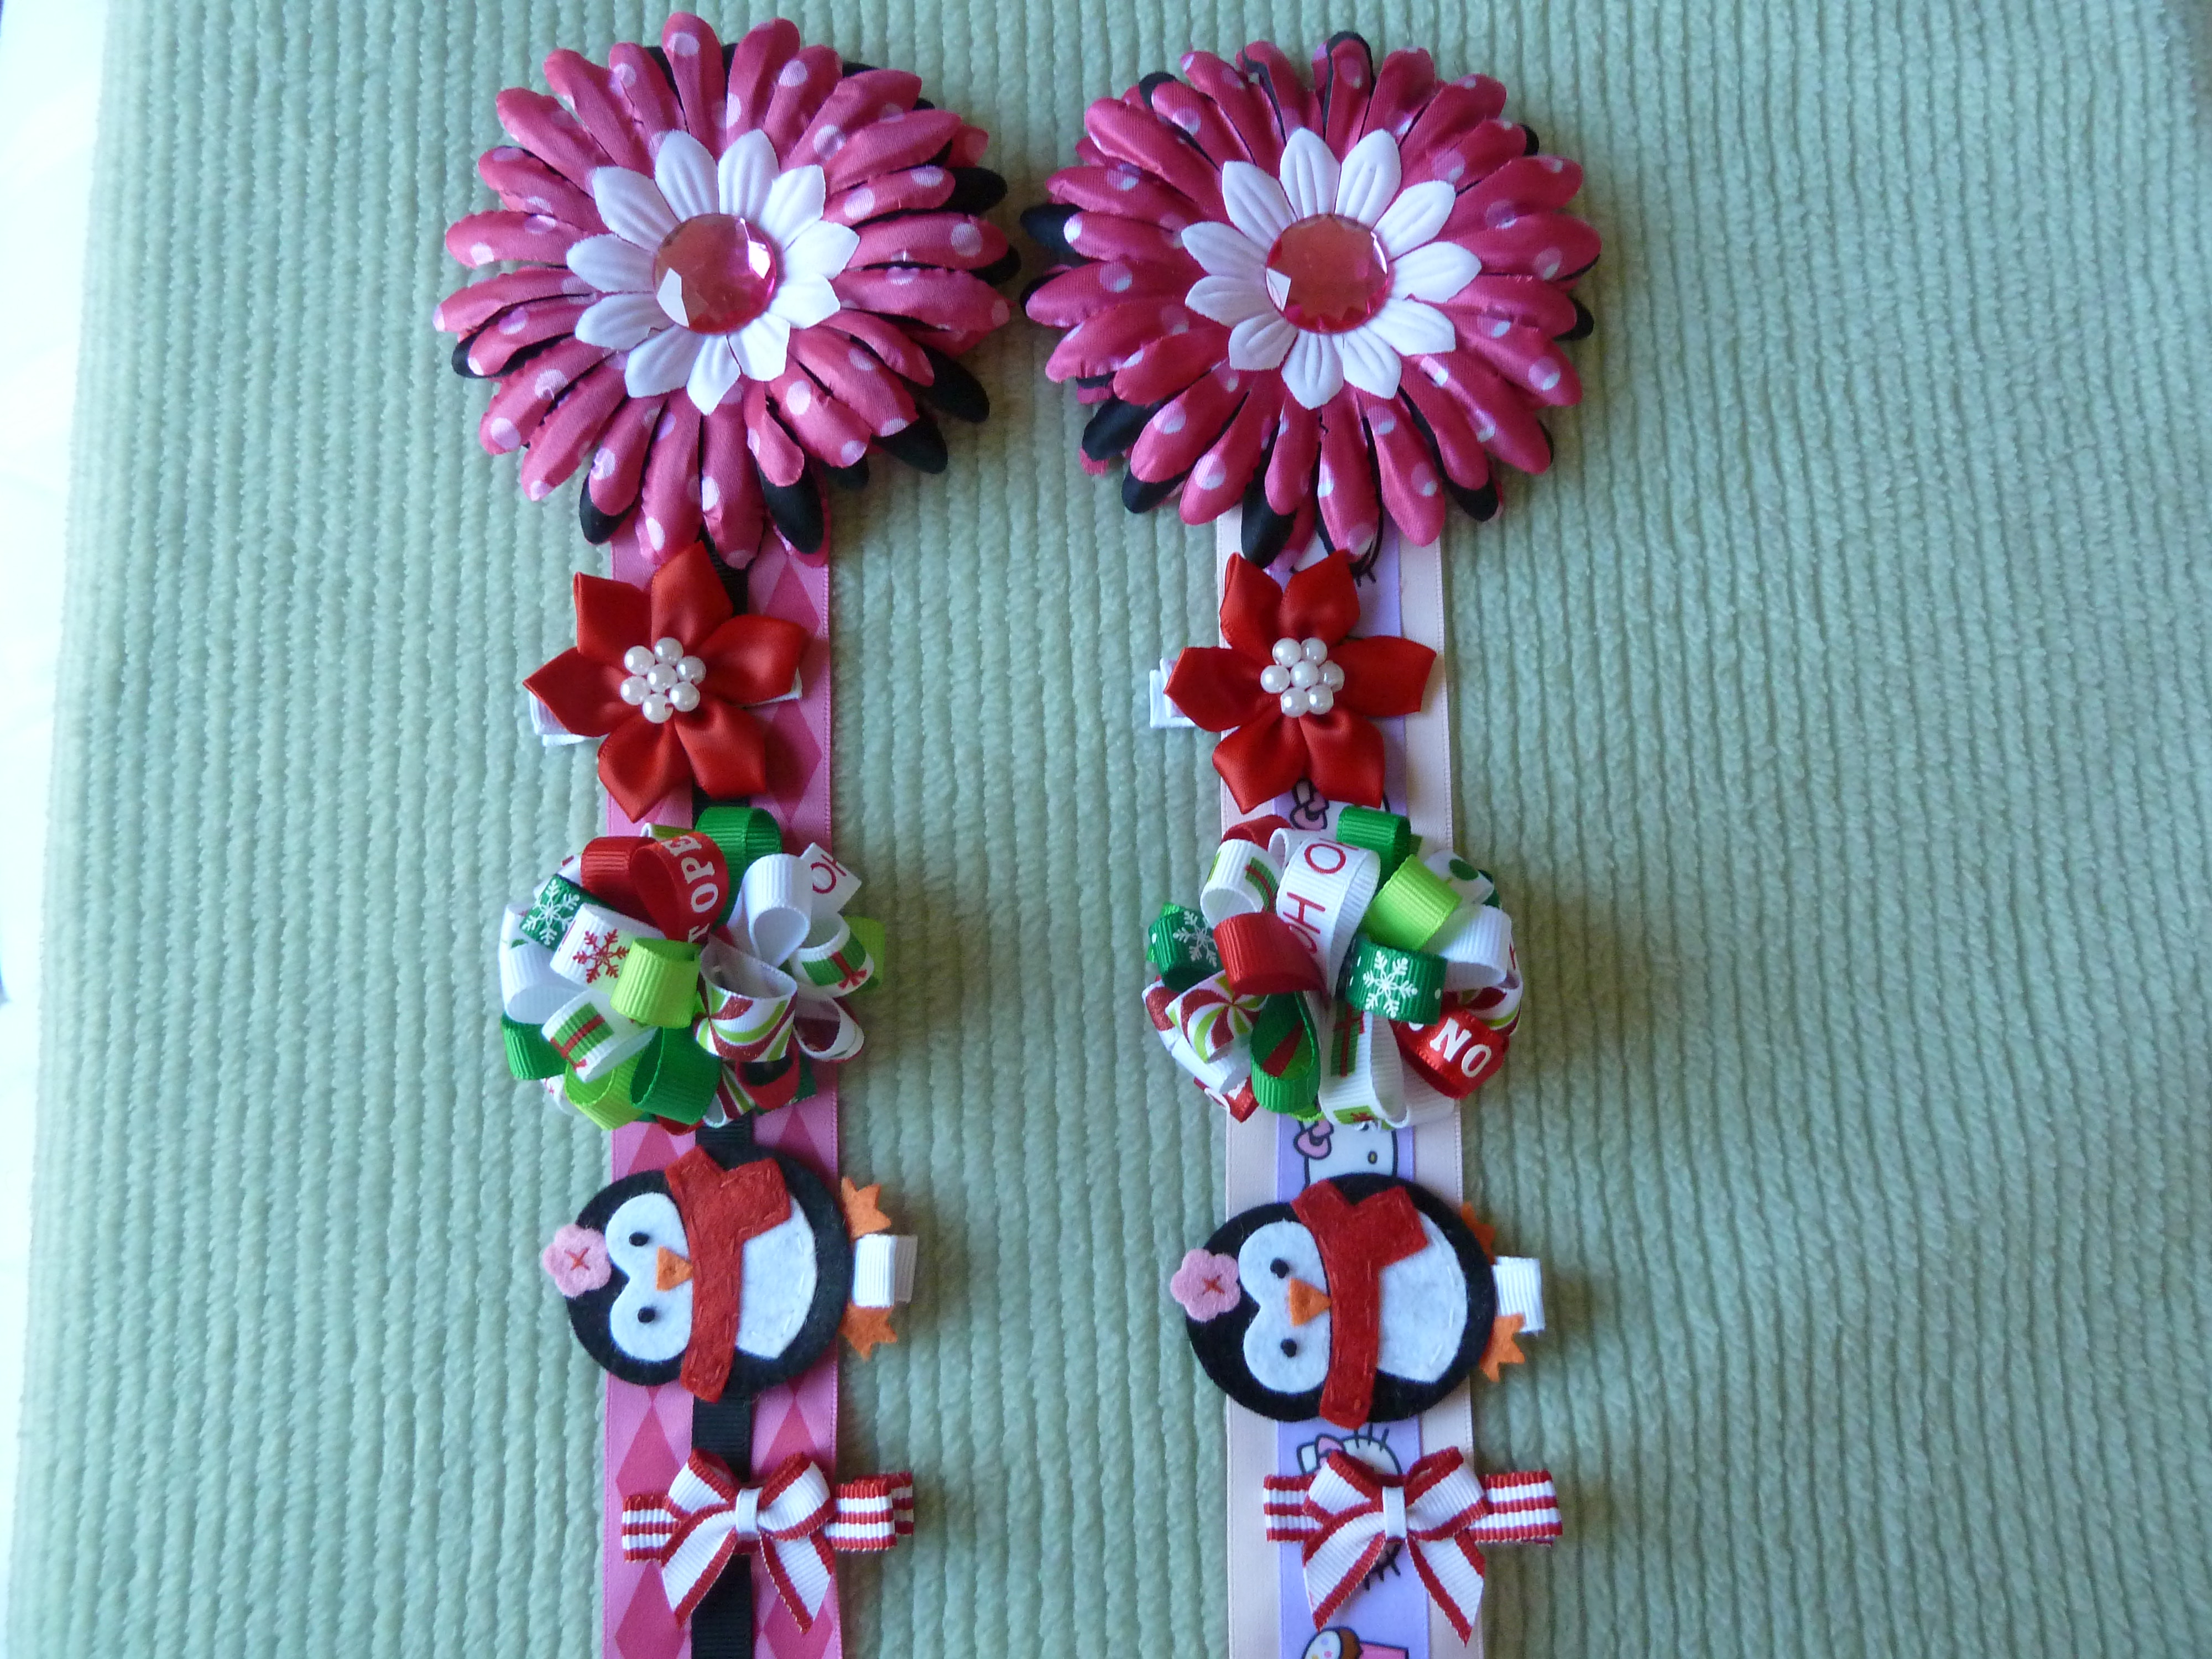
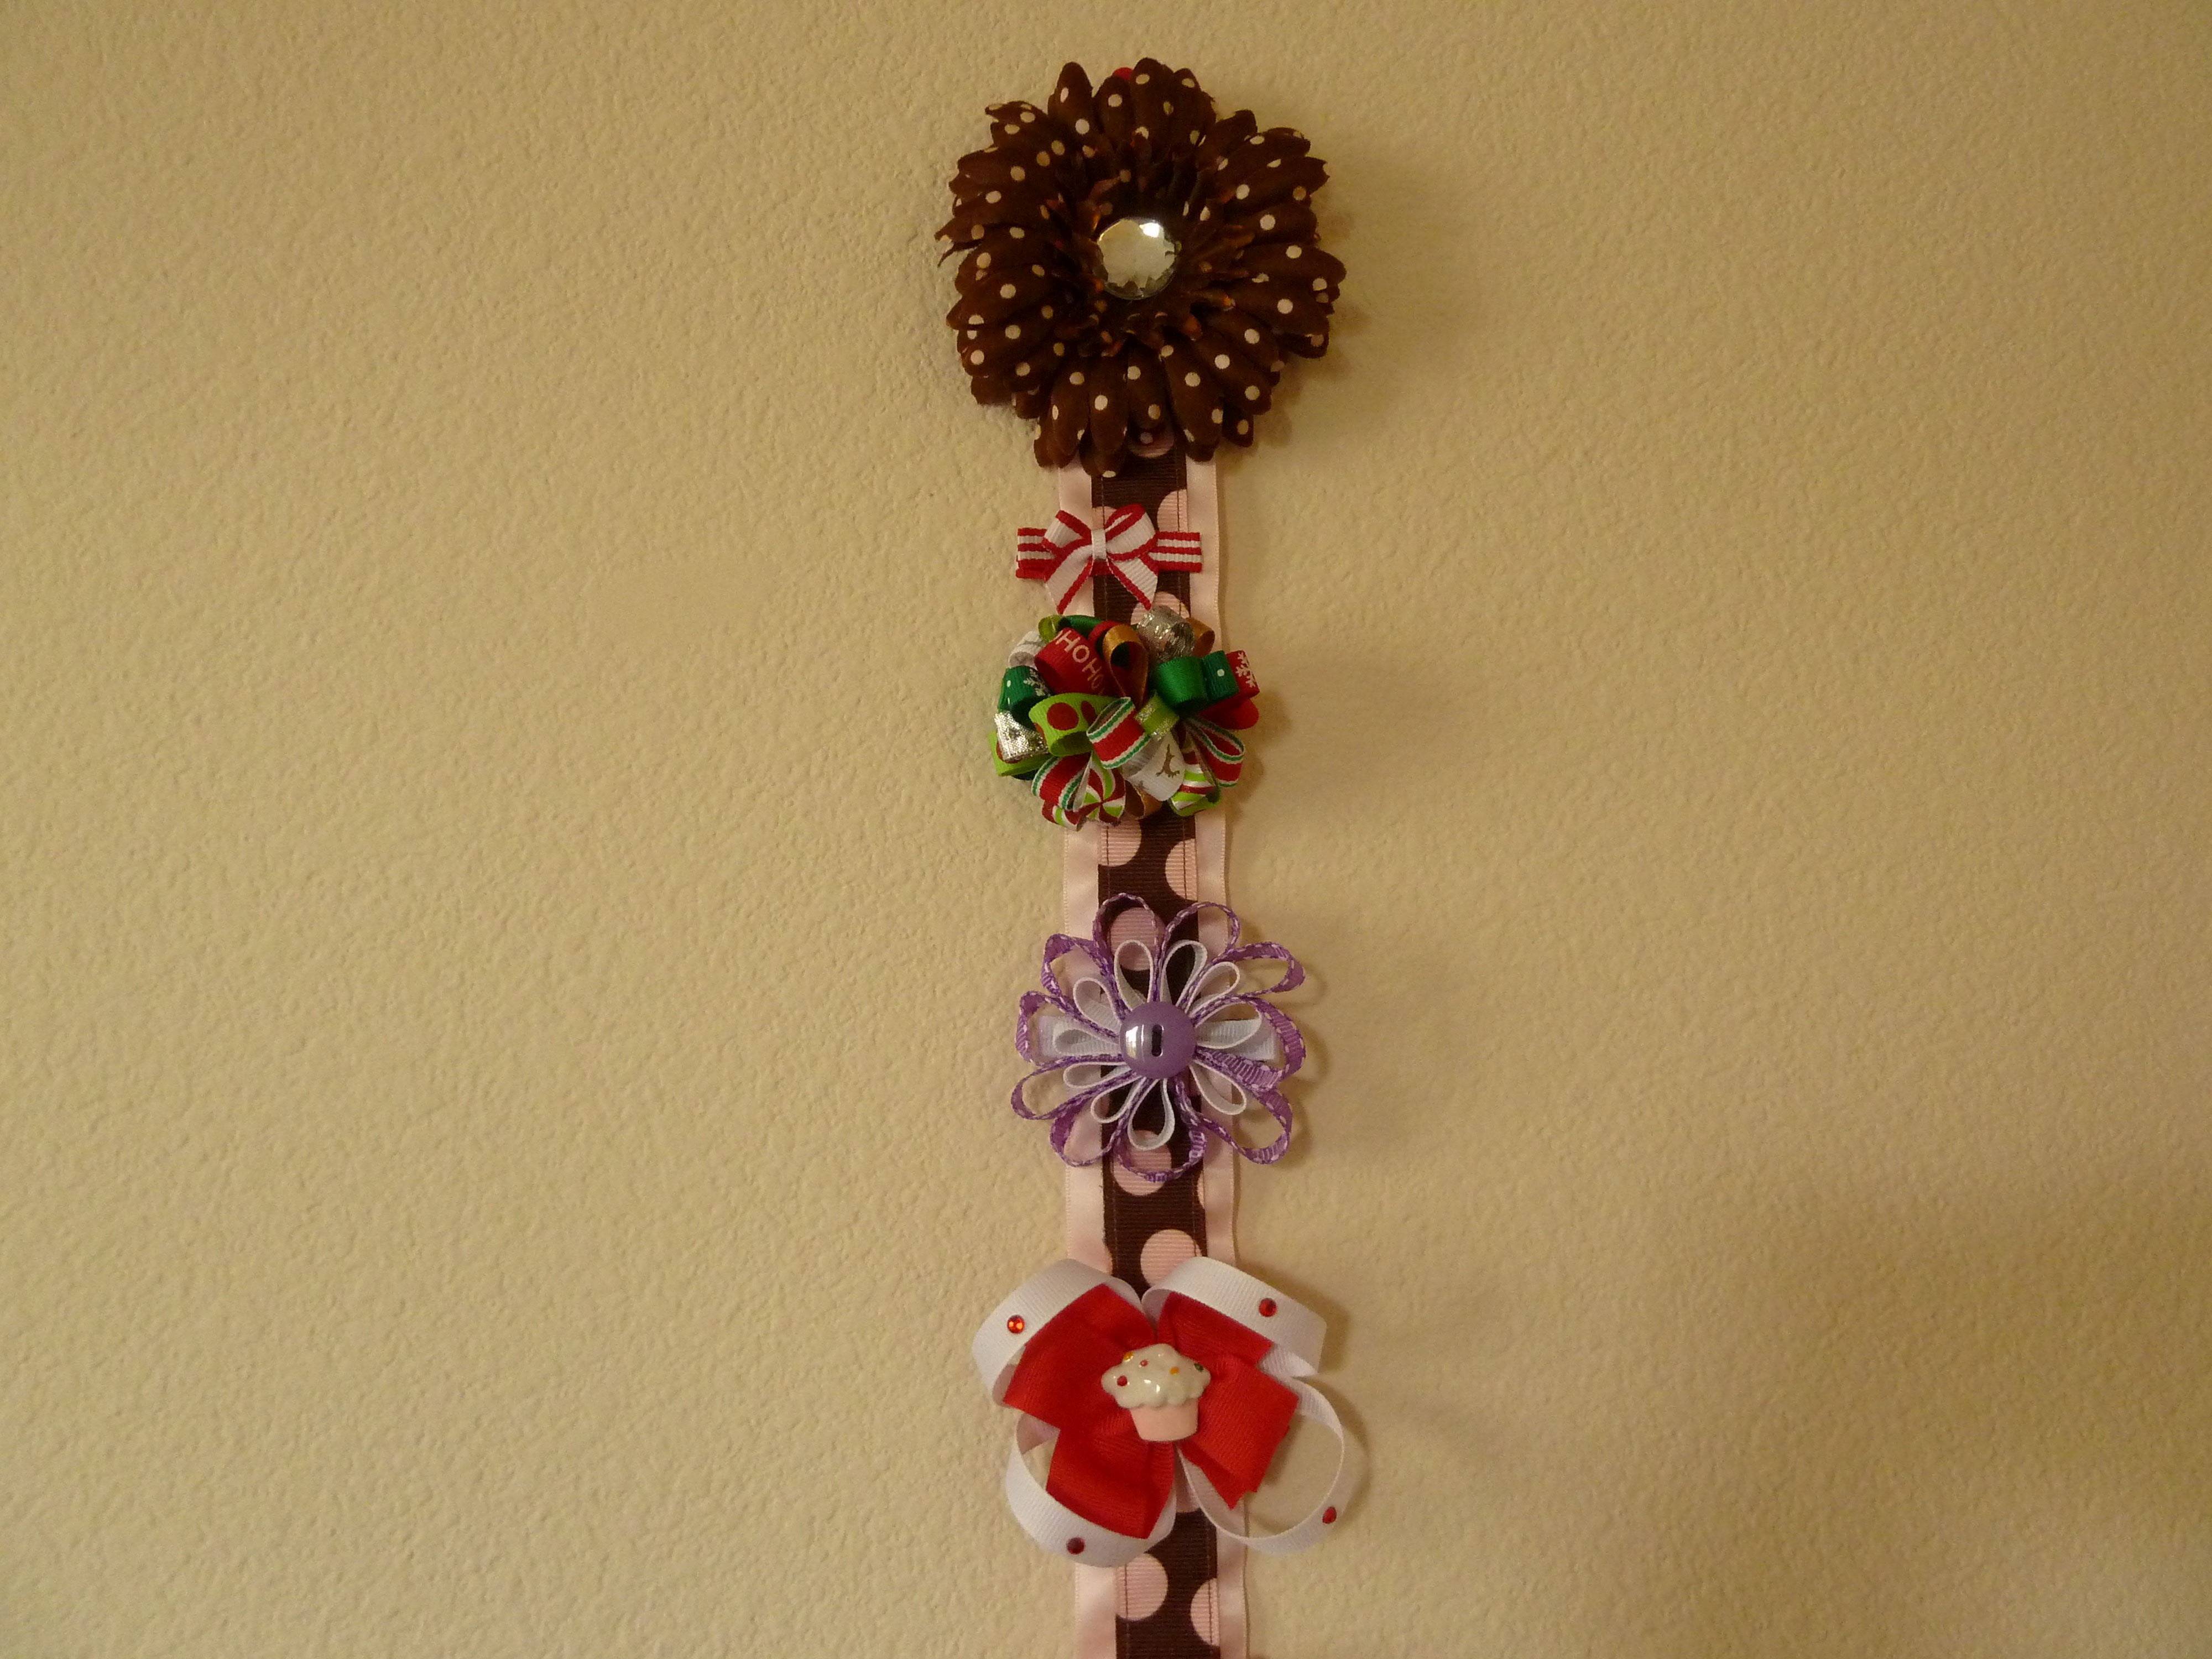
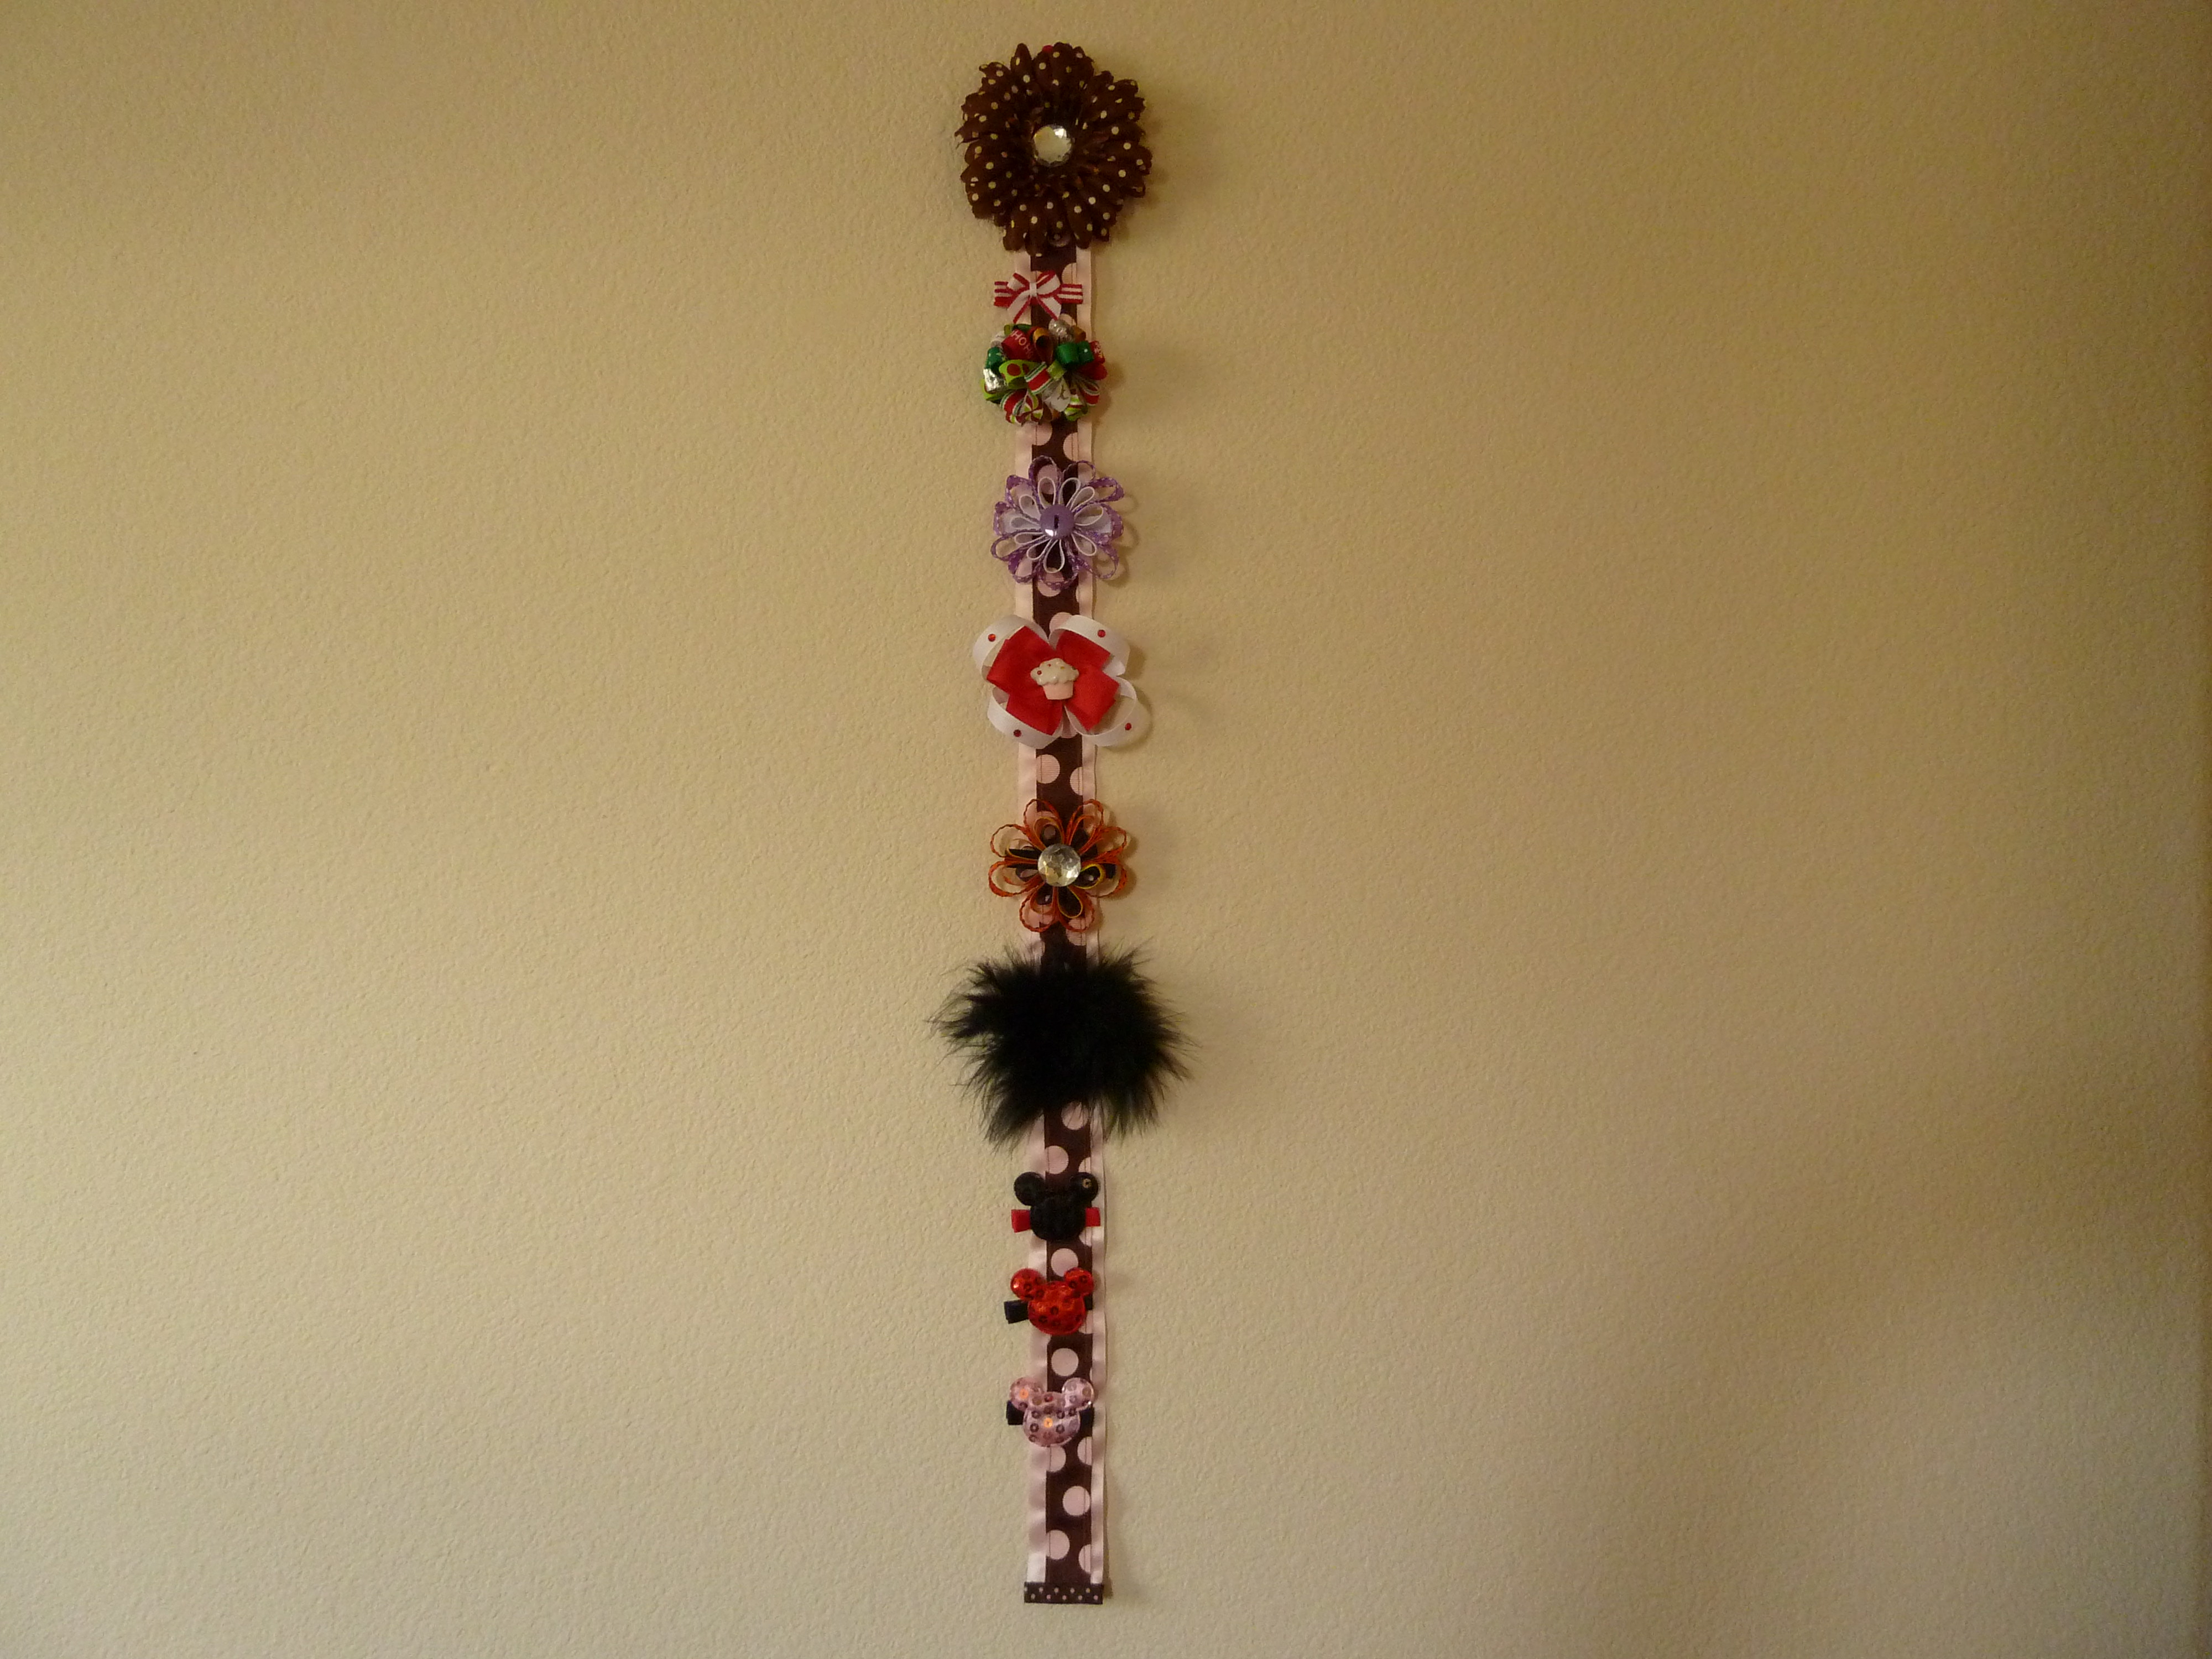
All considered, pretty easy, right? Here are a few pics of bows of various sizes, color combinations, and materials. (The second pic is a Christmas loopy bow in red and green velvet measuring 3″). If you’d like to see additional loopy bow ideas, please visit my etsy store, Born To Wear Bows. at https://www.etsy.com/shop/BornToWearBows?ref=si_shop


Happy bow making!