My kids love Orange Chicken from Chinese restaurants and a lot of the time this chicken is deep-fried and overly saccharin missing the clean taste of its prized title “ORANGE” ! With an improved orange chicken I also make a very super easy, fool-proof yummy oven fried rice, and stir fryed veggies. The stir fry veggies is “the cheater method” because I buy the veggies in bulk at Costco. Nonetheless these veggies are delicious and I don’t have to spend an hour Julienning them!
Orange Chicken
Ingredients:
- 6 boneless, skinless chicken
- 3/4 cup of orange juice
- zest of one orange
- 1/3 cup of brown sugar
- 1/2 tsp red pepper flakes
- 3/4 cup of chicken stock
- flour for dredging the chicken pieces in (I add salt and pepper to the flour)
- 1/4 cup of soy sauce
- 1/4 cup of rice wine vinegar
- 1/2 tsp ginger
- 1 clove of garlic minced
- 1 tbsp of corn starch
- 2 tbsp of sesame seeds

Directions:
First off I put a few pieces of the chicken breasts in a gallon size zip lock bag so I can pound the heck out of these bad boys! DO NOT SKIP THIS STEP!! There is a reason behind my violence. The chicken breasts here in the USA are ginormous compared to the breasts I used to buy in Canada. This does not mean that Canadians are allowed to skip this step either! The pounding of the chicken thins it out and makes it uniformly thick for pan frying. So grab what ever you have to abuse your meat. Grab a hammer from the garage if you have too. Get your work out on! It relieves stress and it’s liberating to some degree lol.


This is your workout phase! Slam on those suckers!!

Ok I guess I got carried away!! lol 😉
Next we are going to make the orange concoction for our chicken so it has some time to develop all the flavors.
Mix together your orange juice, zest, soy sauce, rice wine vinegar, brown sugar, ginger, garlic, red pepper flakes, and sesame seeds in a bowl.

Now I prepare a plate of flour for dredging and I add a bit salt and pepper. Oh ya looking at these photos it seems like I also added some onion powder and garlic powder. Adding these to the flour starts the process of adding flavor to the chicken right away. Just mix the flour mixture up a bit with your hands or a spoon.

I cut these giants in thirds to prepare for cooking 🙂

Now dredge them in the flour mixture and heat a skillet on med-high heat with a bit of vegetable oil in the pan. You will cook them till you get some nice color on both sides. I cook them probably 3 minutes per side. You will have to do this in batches.
Tip: Once you drop the chickens in your pan leave them alone for the few minutes they are cooking! If you move them around and peek they will not get the great color on them and less color = less flavor. So step away from the stove! (For 3-4 minutes anyway;)

Once all your chicken is cooked use the drippings to your advantage to add more flavor to your dish. I took a shallot and minced it finely, then added it to my hot pan and scraped the fond off the bottom of my skillet! That is great flavor right there 🙂

You will then add all your chicken back to the skillet and pour in your orange concoction we made earlier. Let this simmer for 10 minutes and at the very end mix your cornstarch with a bit of water to make a sleury and add to the gently boiling mixture. This will thicken your sauce up quite nicely.

Oven Fried Rice

Ingredients:
- 1 1/2 cups of white rice
- 1/2 cups of water
- 4 tbsp of soy sauce
- 4 tbsp of vegetable oil
- 1 package of dried onion soup mix
Directions:
Mix all ingredients in a casserole dish and cover. Place in a 325 degree F oven for 1 hour


To make this more like chinese fried rice you can add 1/4 bag of frozen corn and peas to the mixture and even add 2 eggs whisked half way through cooking. Just add the eggs and stir it will start to scramble amongst the hot liquids and rice. My kids are über picky so I can’t get to fancy 😉
Done! Bob’s your uncle! Let’s move on to the stir fry shall we?

I add a bit of vegetable oil to a deep skillet and turn on high heat. Add the amount you would like to make and sauté till warmed through. I also add a bit of Teriyaki sauce to the pan.


One Chinese inspired dinner done!

WTH!!

Absolute disastrous kitchen AKA my sous chef (my dad) is gone back to Canada! 🙂 I miss them already!
Orange Chicken
Ingredients:
- 6 boneless, skinless chicken
- 3/4 cup of orange juice
- zest of one orange
- 1/3 cup of brown sugar
- 1/2 tsp red pepper flakes
- 3/4 cup of chicken stock
- flour for dredging the chicken pieces in (I add salt and pepper to the flour)
- 1/4 cup of soy sauce
- 1/4 cup of rice wine vinegar
- 1/2 tsp ginger
- 1 clove of garlic minced
- 1 tbsp of corn starch
- 2 tbsp of sesame seeds
Pound out your chicken breasts flat 5/8 of an inch or so would work.
Next make the orange concoction for the chicken so it has some time to develop all the flavors.
Mix together your orange juice, zest, soy sauce, rice wine vinegar, brown sugar, ginger, garlic, red pepper flakes, and sesame seeds in a bowl.
Pour some flour out on a plate add salt and pepper to taste. Cut your chicken into large pieces.
Now dredge them in the flour mixture and heat a skillet on med-high heat with a bit of vegetable oil in the pan. You will cook them till you get some nice color on both sides. I cook them probably 3 minutes per side. You will have to do this in batches.
Tip: Once you drop the chickens in your pan leave them alone for the few minutes they are cooking! If you move them around and peek they will not get the great color on them and less color = less flavor. So step away from the stove! (For 3-4 minutes anyway;)
Once all your chicken is cooked use the drippings to your advantage to add more flavor to your dish. I took a shallot and minced it finely, then added it to my hot pan and scraped the fond off the bottom of my skillet! That is great flavor right there 🙂
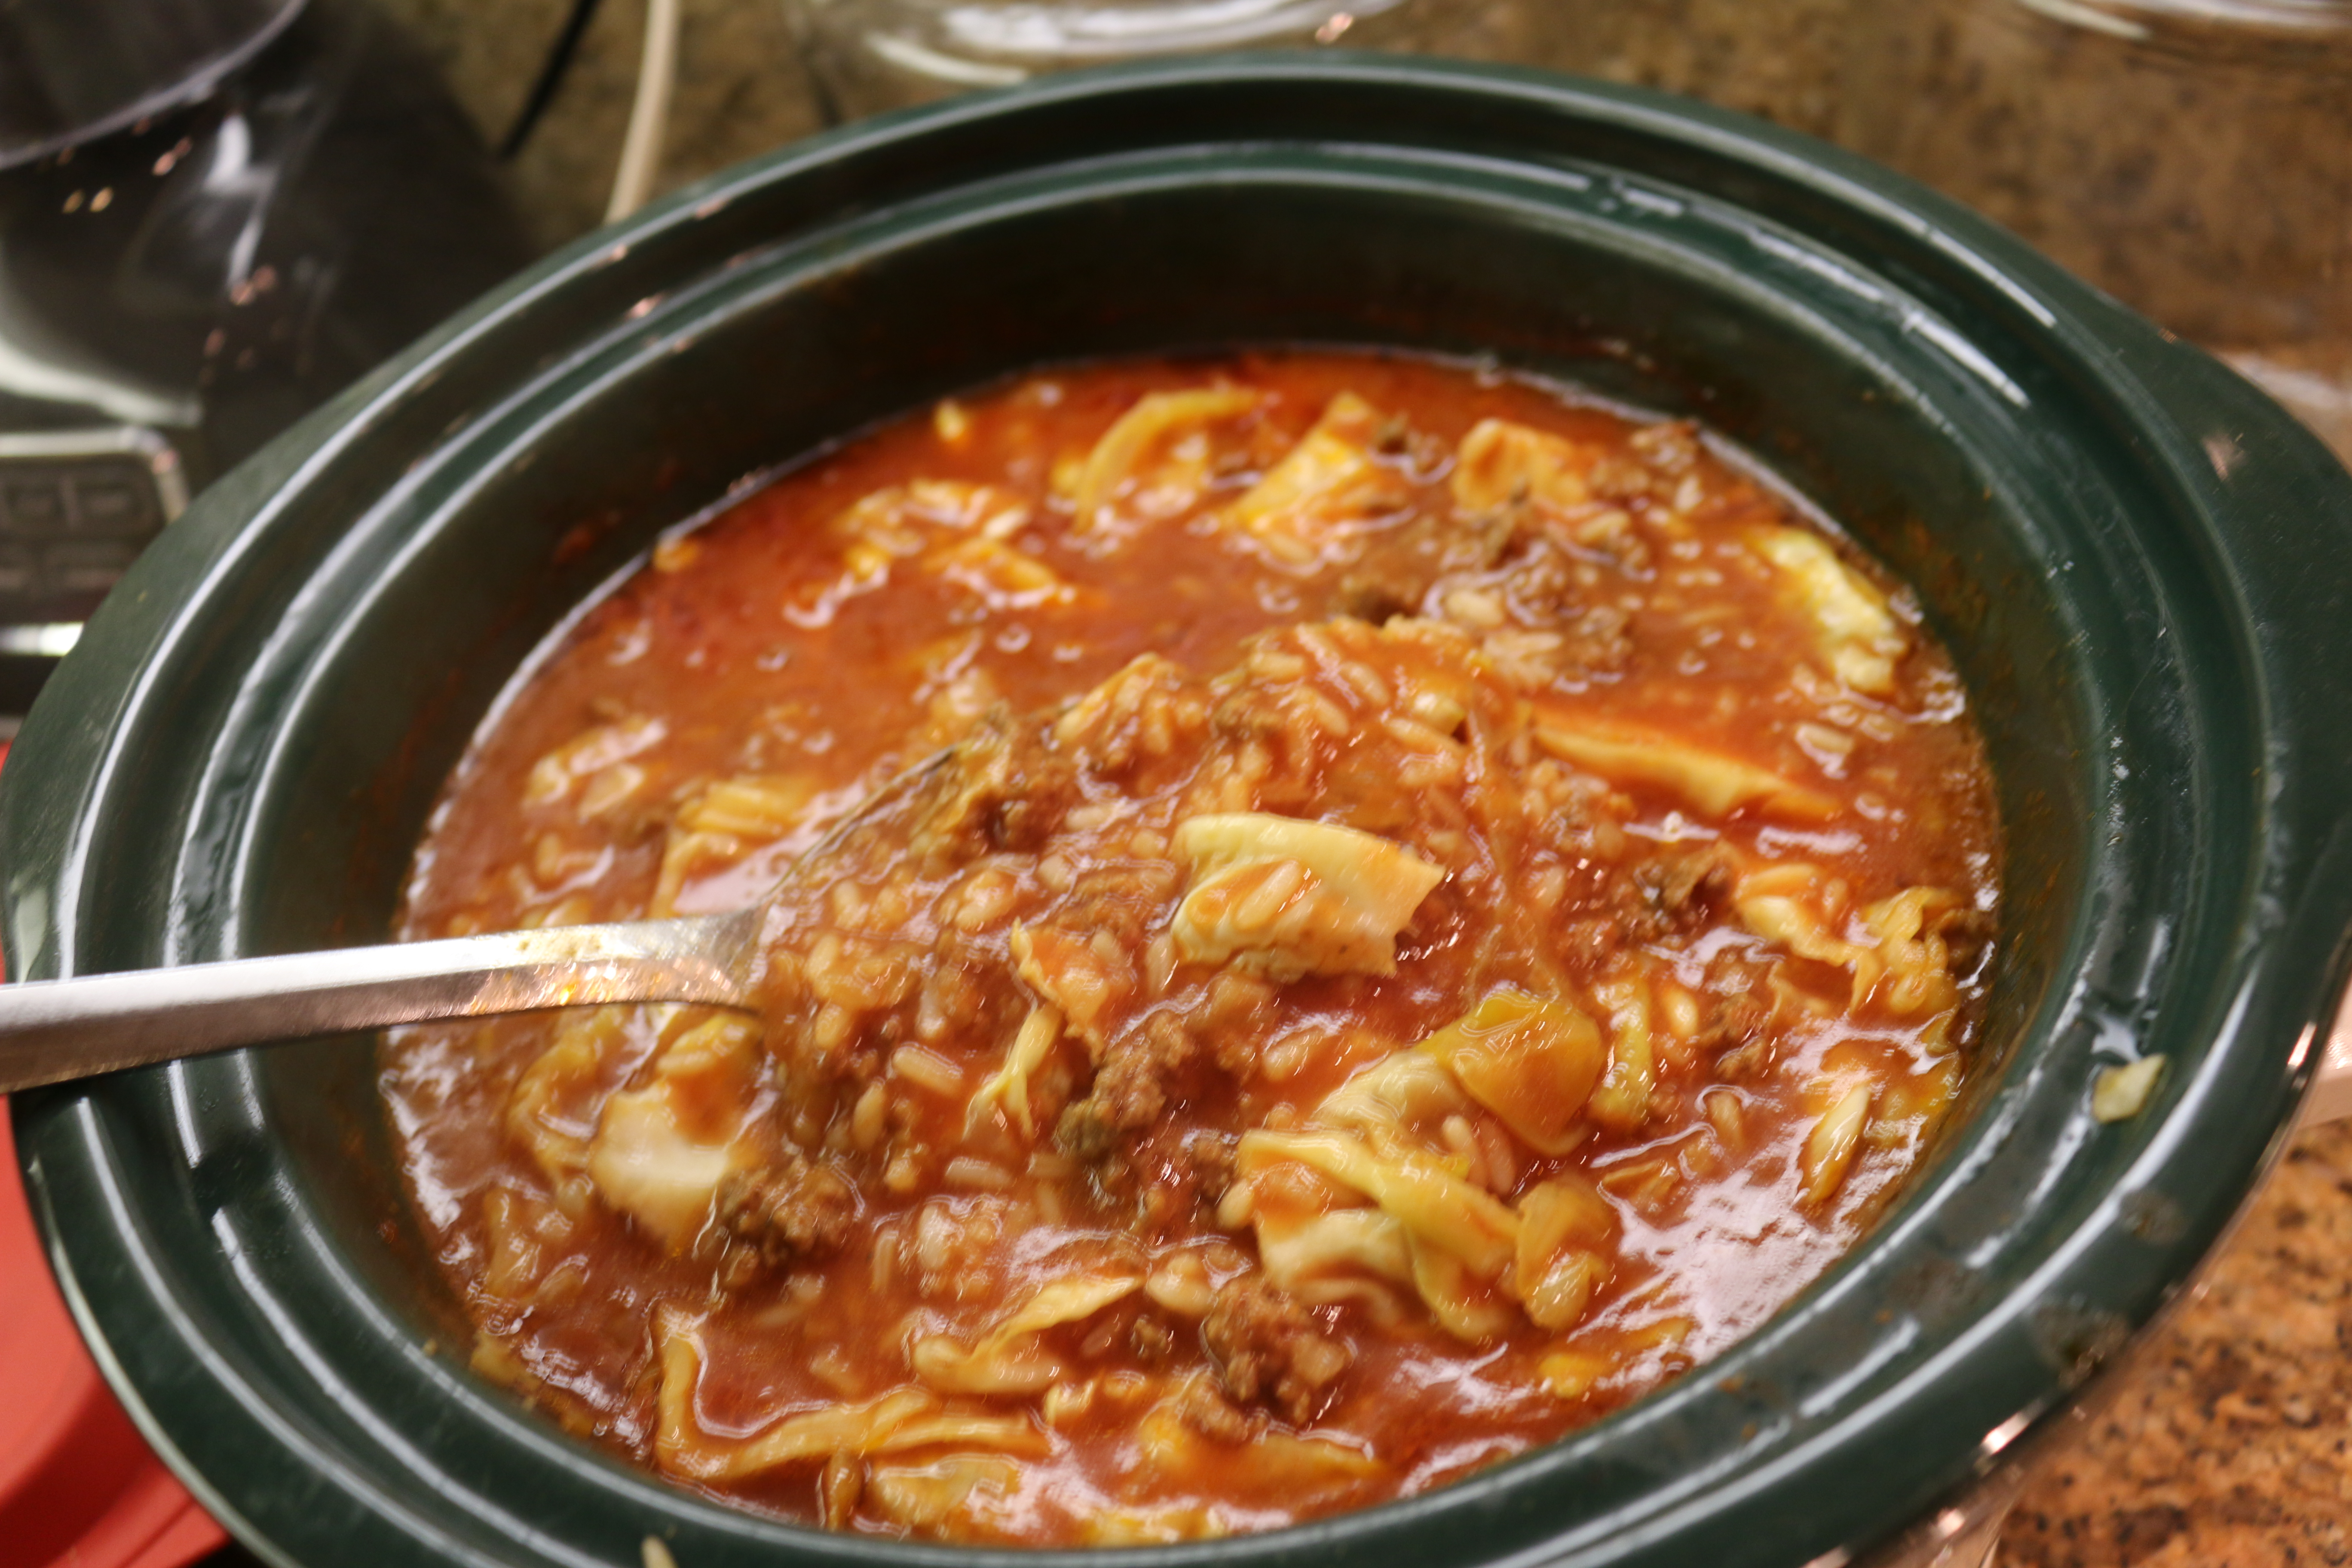
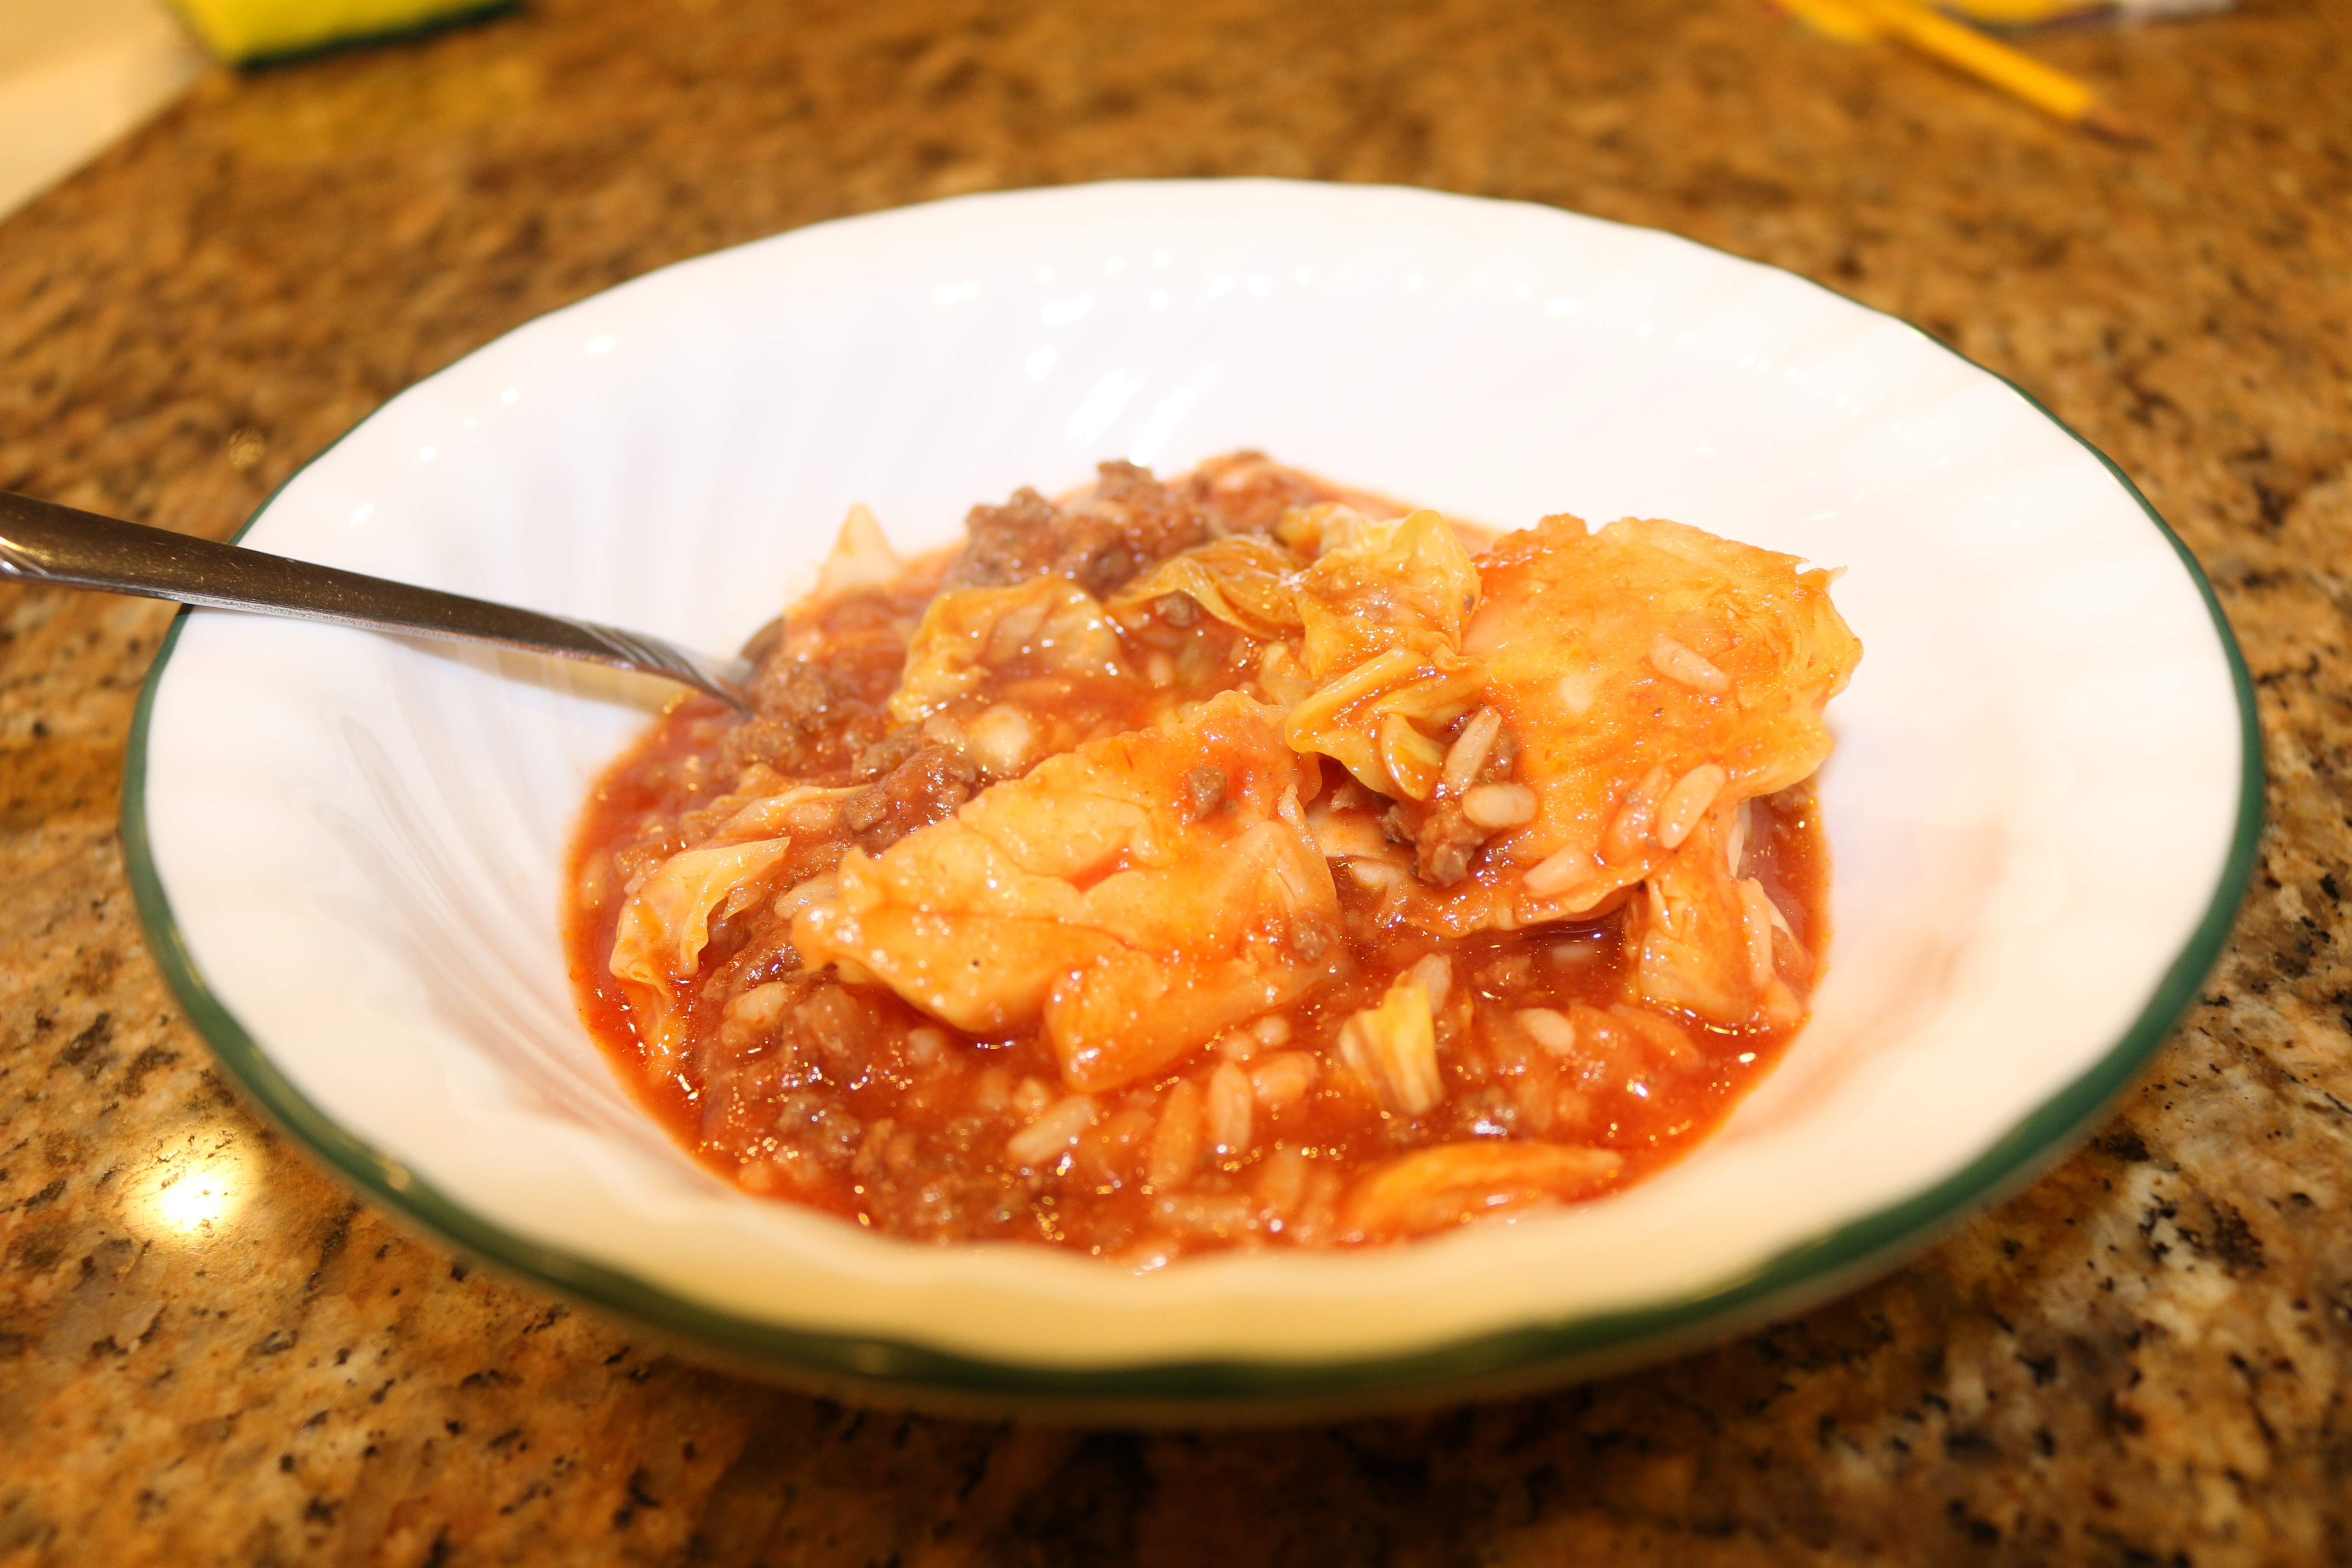
You will then add all your chicken back to the skillet and pour in your orange concoction. Let this simmer for 10 minutes and at the very end mix your cornstarch with a bit of water to make a sleury and add to the gently boiling mixture. This will thicken your sauce up quite nicely.
Serve over rice and enjoy!
Fried Rice
Ingredients:
- 1 1/2 cups of white rice
- 1/2 cups of water
- 4 tbsp of soy sauce
- 4 tbsp of vegetable oil
- 1 package of dried onion soup mix
Directions:
Mix all ingredients in a casserole dish and cover. Place in a 325 degree F oven for 1 hour.
To make this more like chinese fried rice you can add 1/4 bag of frozen corn and peas to the mixture and even add 2 eggs whisked half way through cooking. Just add the eggs and stir it will start to scramble amongst the hot liquids and rice.
Enjoy