Today I am working on a pants pattern that I altered for my daughter Abby. I added some pockets and divided the pants pattern in 3 sections. You can use any basic sloper pants pattern to alter and make it your own fabulous unique creation.


Sewing Scooby Snack Rating: 
There is a lot of top stitching and adding embellishments so one scooby drink only 🙂
Materials:
- pattern for girls pants
- bottom weight material for your pattern as recommended but decrease by aprox 1/2 yard
- add another matching or contrasting fabric 1/2 yard
- embellishments of your choice (ex ribbons, rick rack, iron on’s or patches)
- thread
- machine needles appropriate for your choice of fabric
- sewing machine
- scissors
- measuring tape
- cutting mat and rotary cutter (optional)
- serger (optional)
Directions:
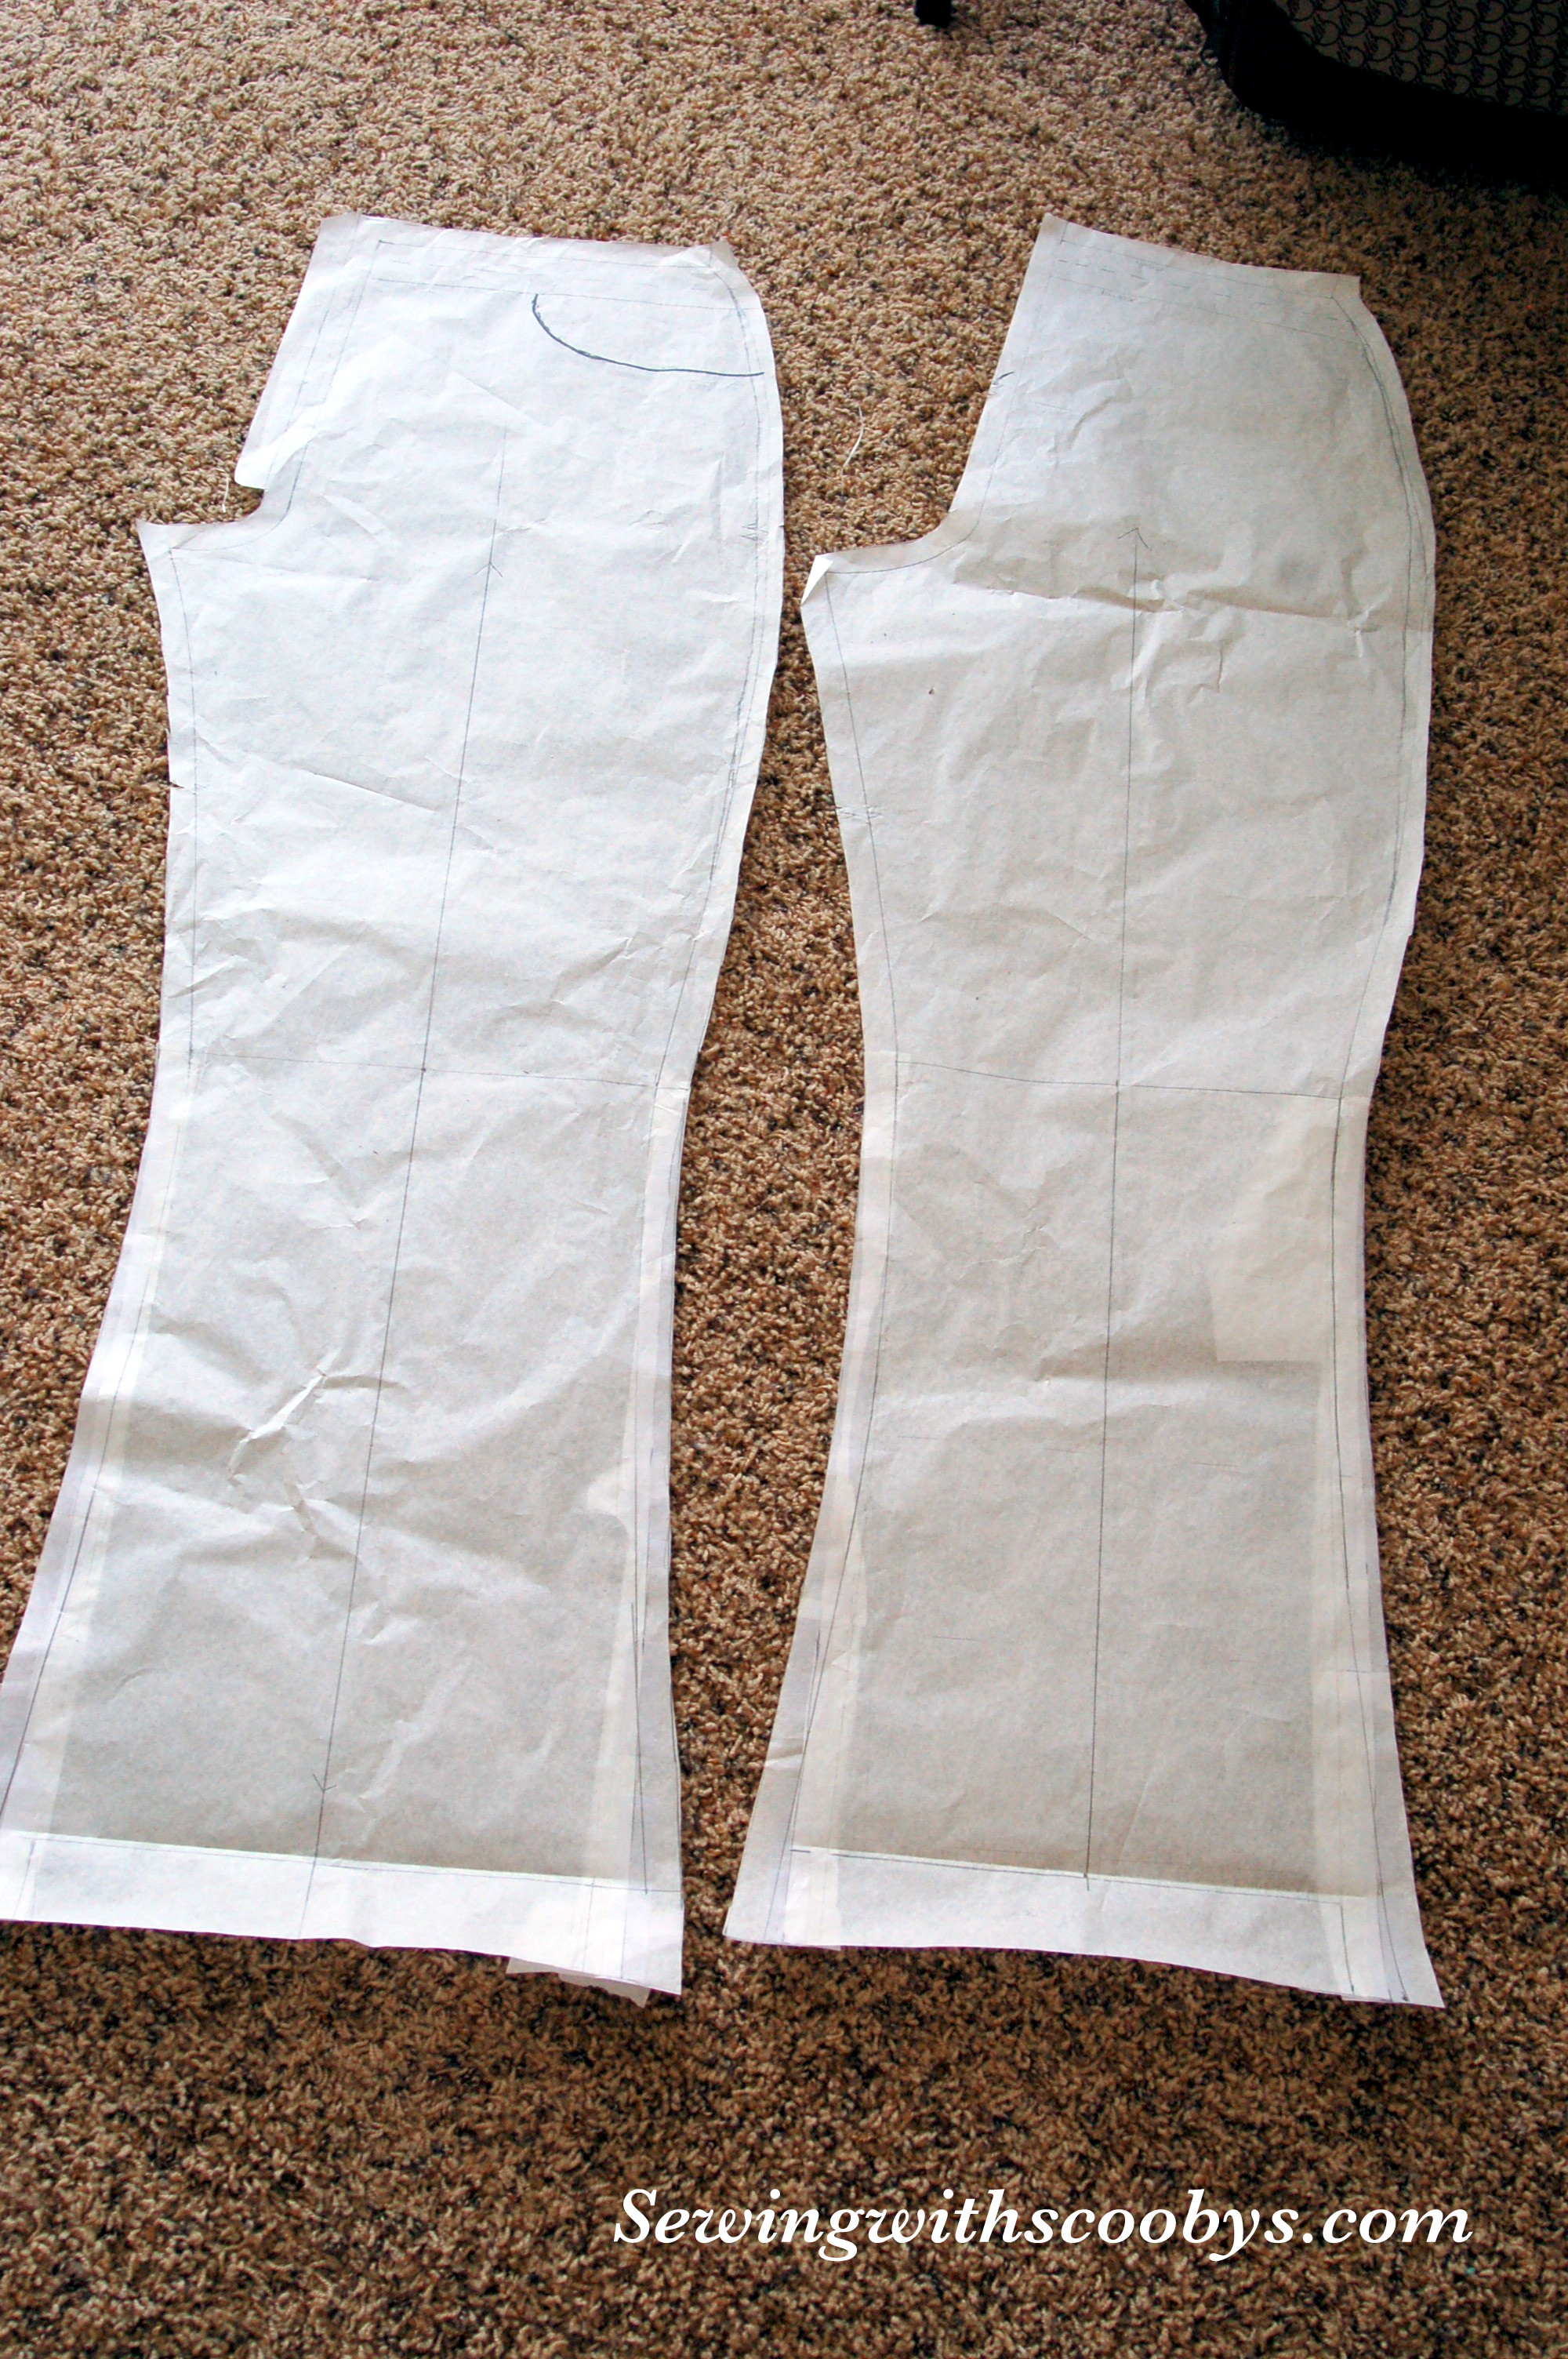
I adjusted my plain pattern and added pockets to the front and back, faux fly as well (why not go crazy), I then measured down and marked my pattern where I wanted the knee pads to go and cut up my pattern in 3 pieces. Upper pants,( front and back) middle is the knee pads,( front and back),and lower pants (front and back). I cut the top and bottom pieces of my pants out of the main fabric I choose. I cut the middle knee pads, pockets and waistband out of the contrasting fabric.

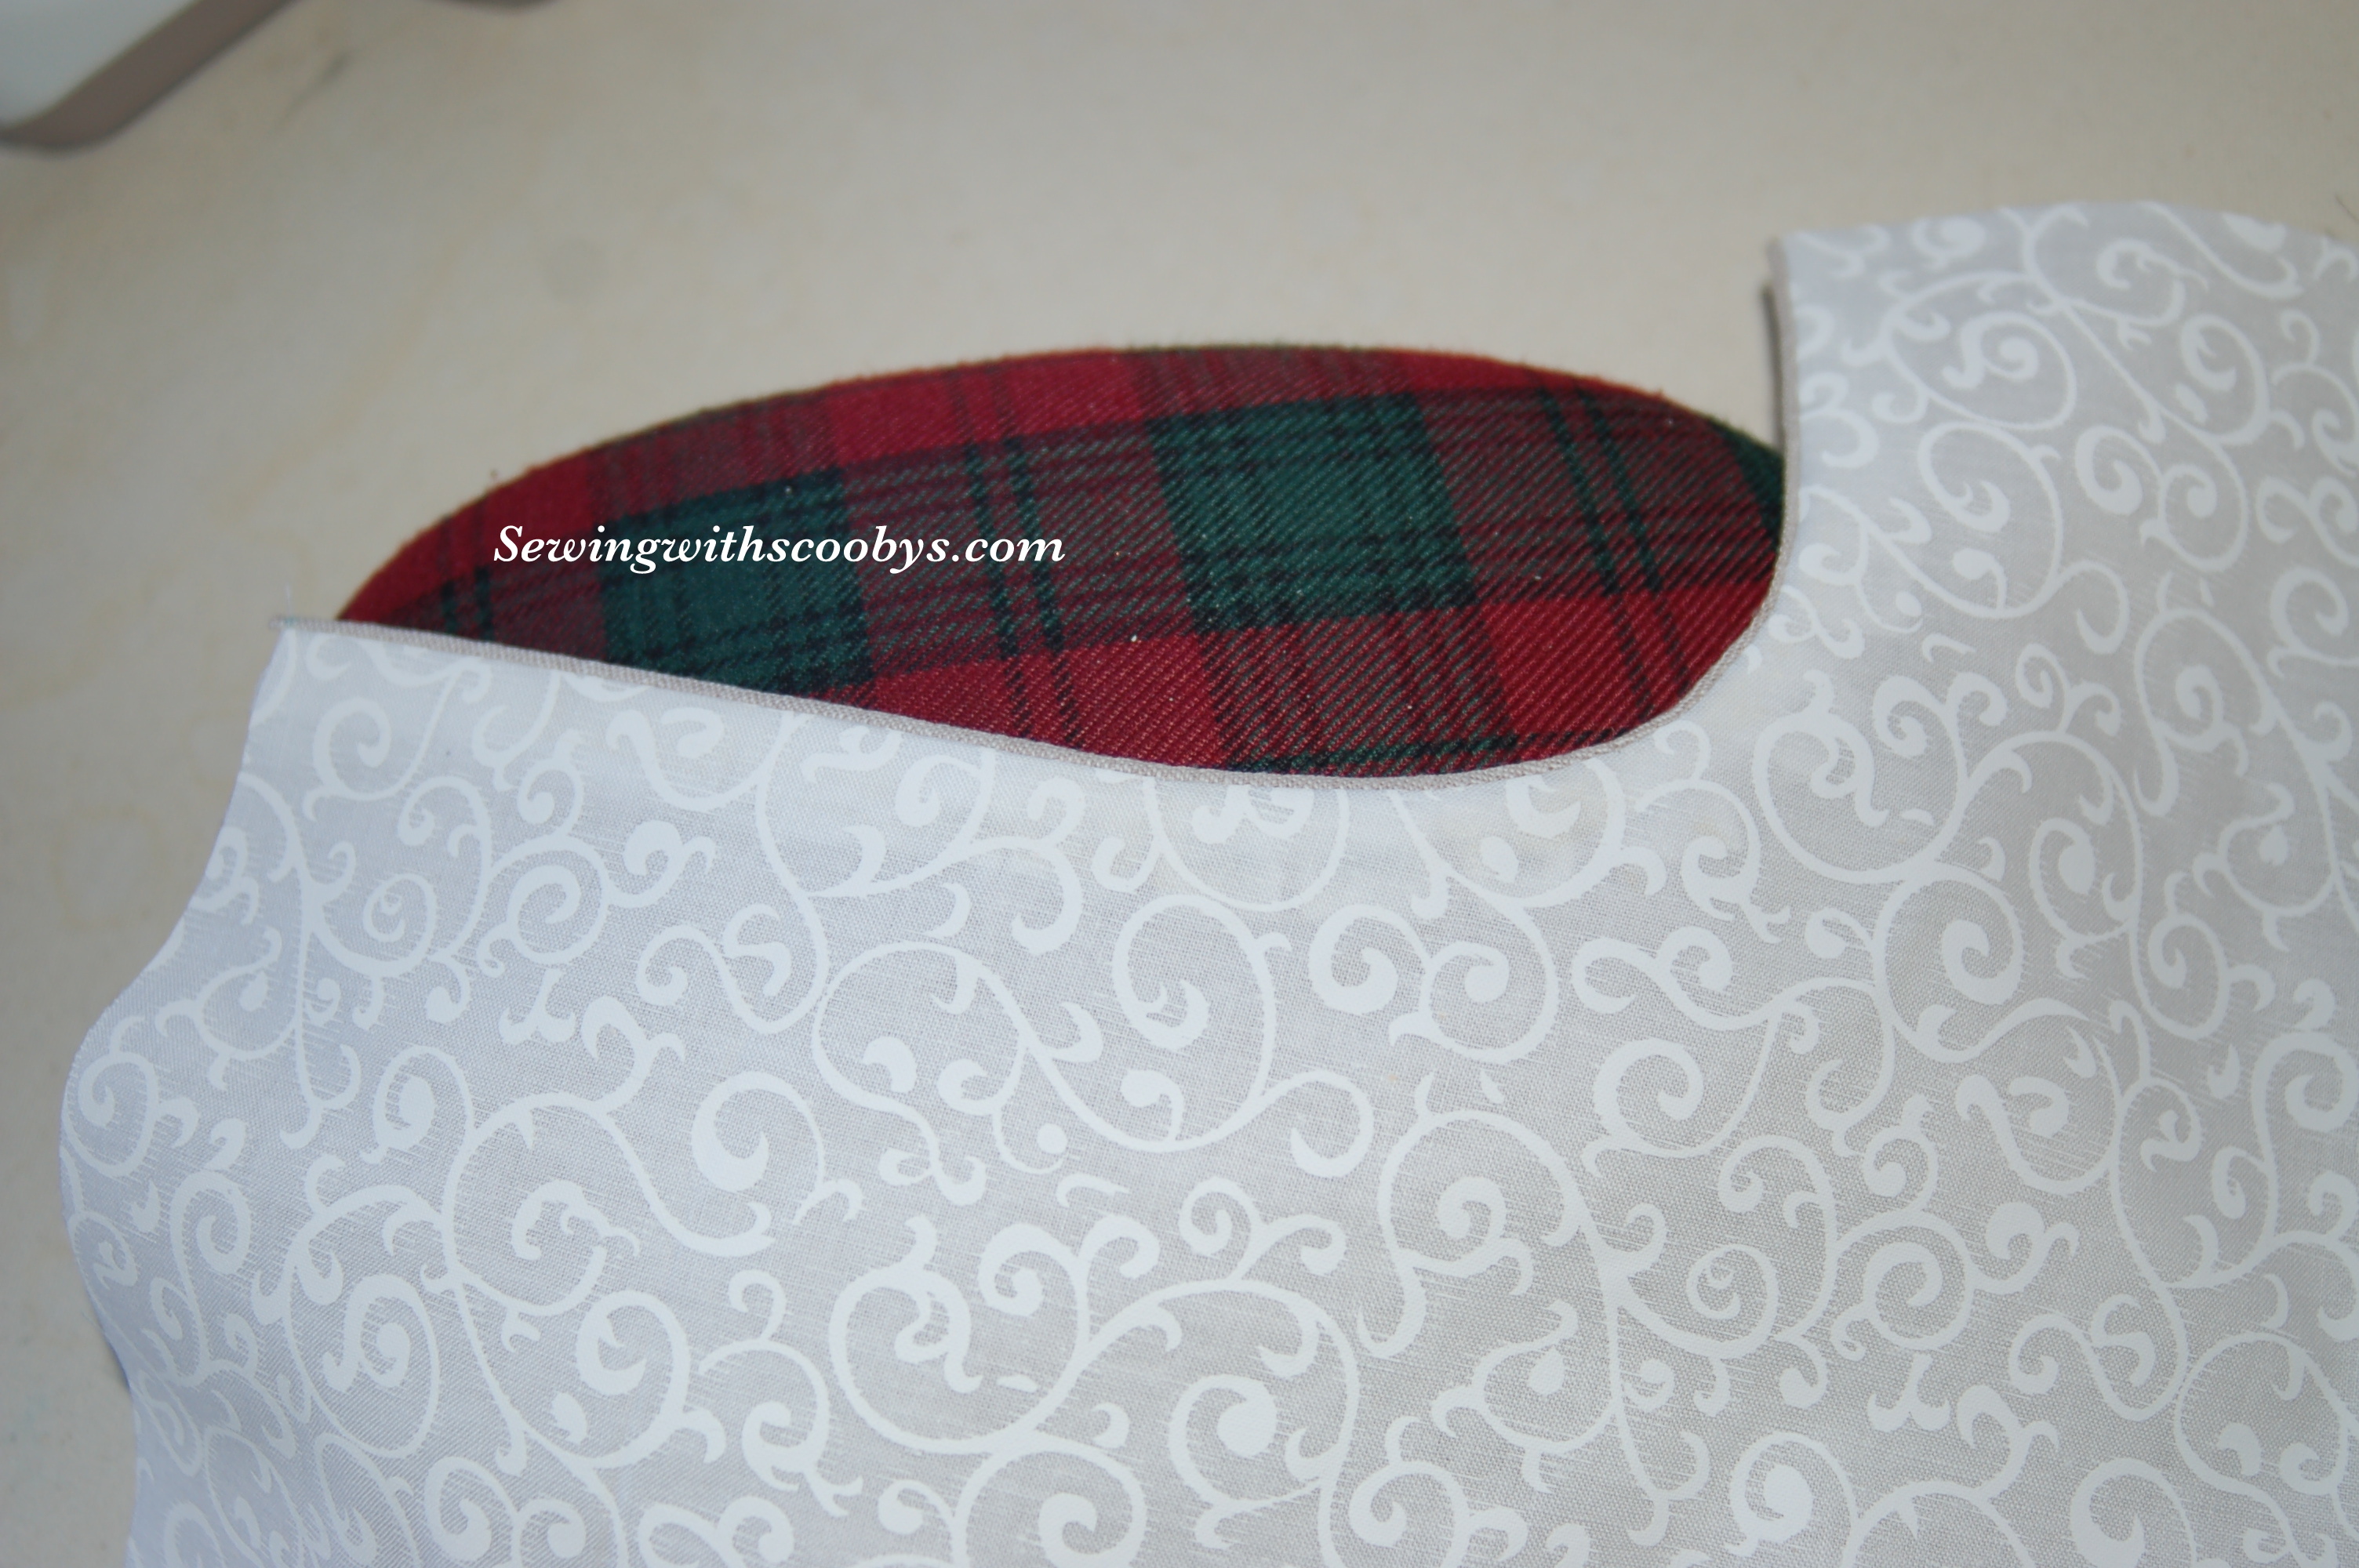
I have my pocket right sides together here to sew in place.
Easy peasy right. Now we are going to piece them back up! I started with my front pocket. Right sides together I sewed my 5/8 inch seam allowance and trimmed my seam allowances and snipped in the curves.

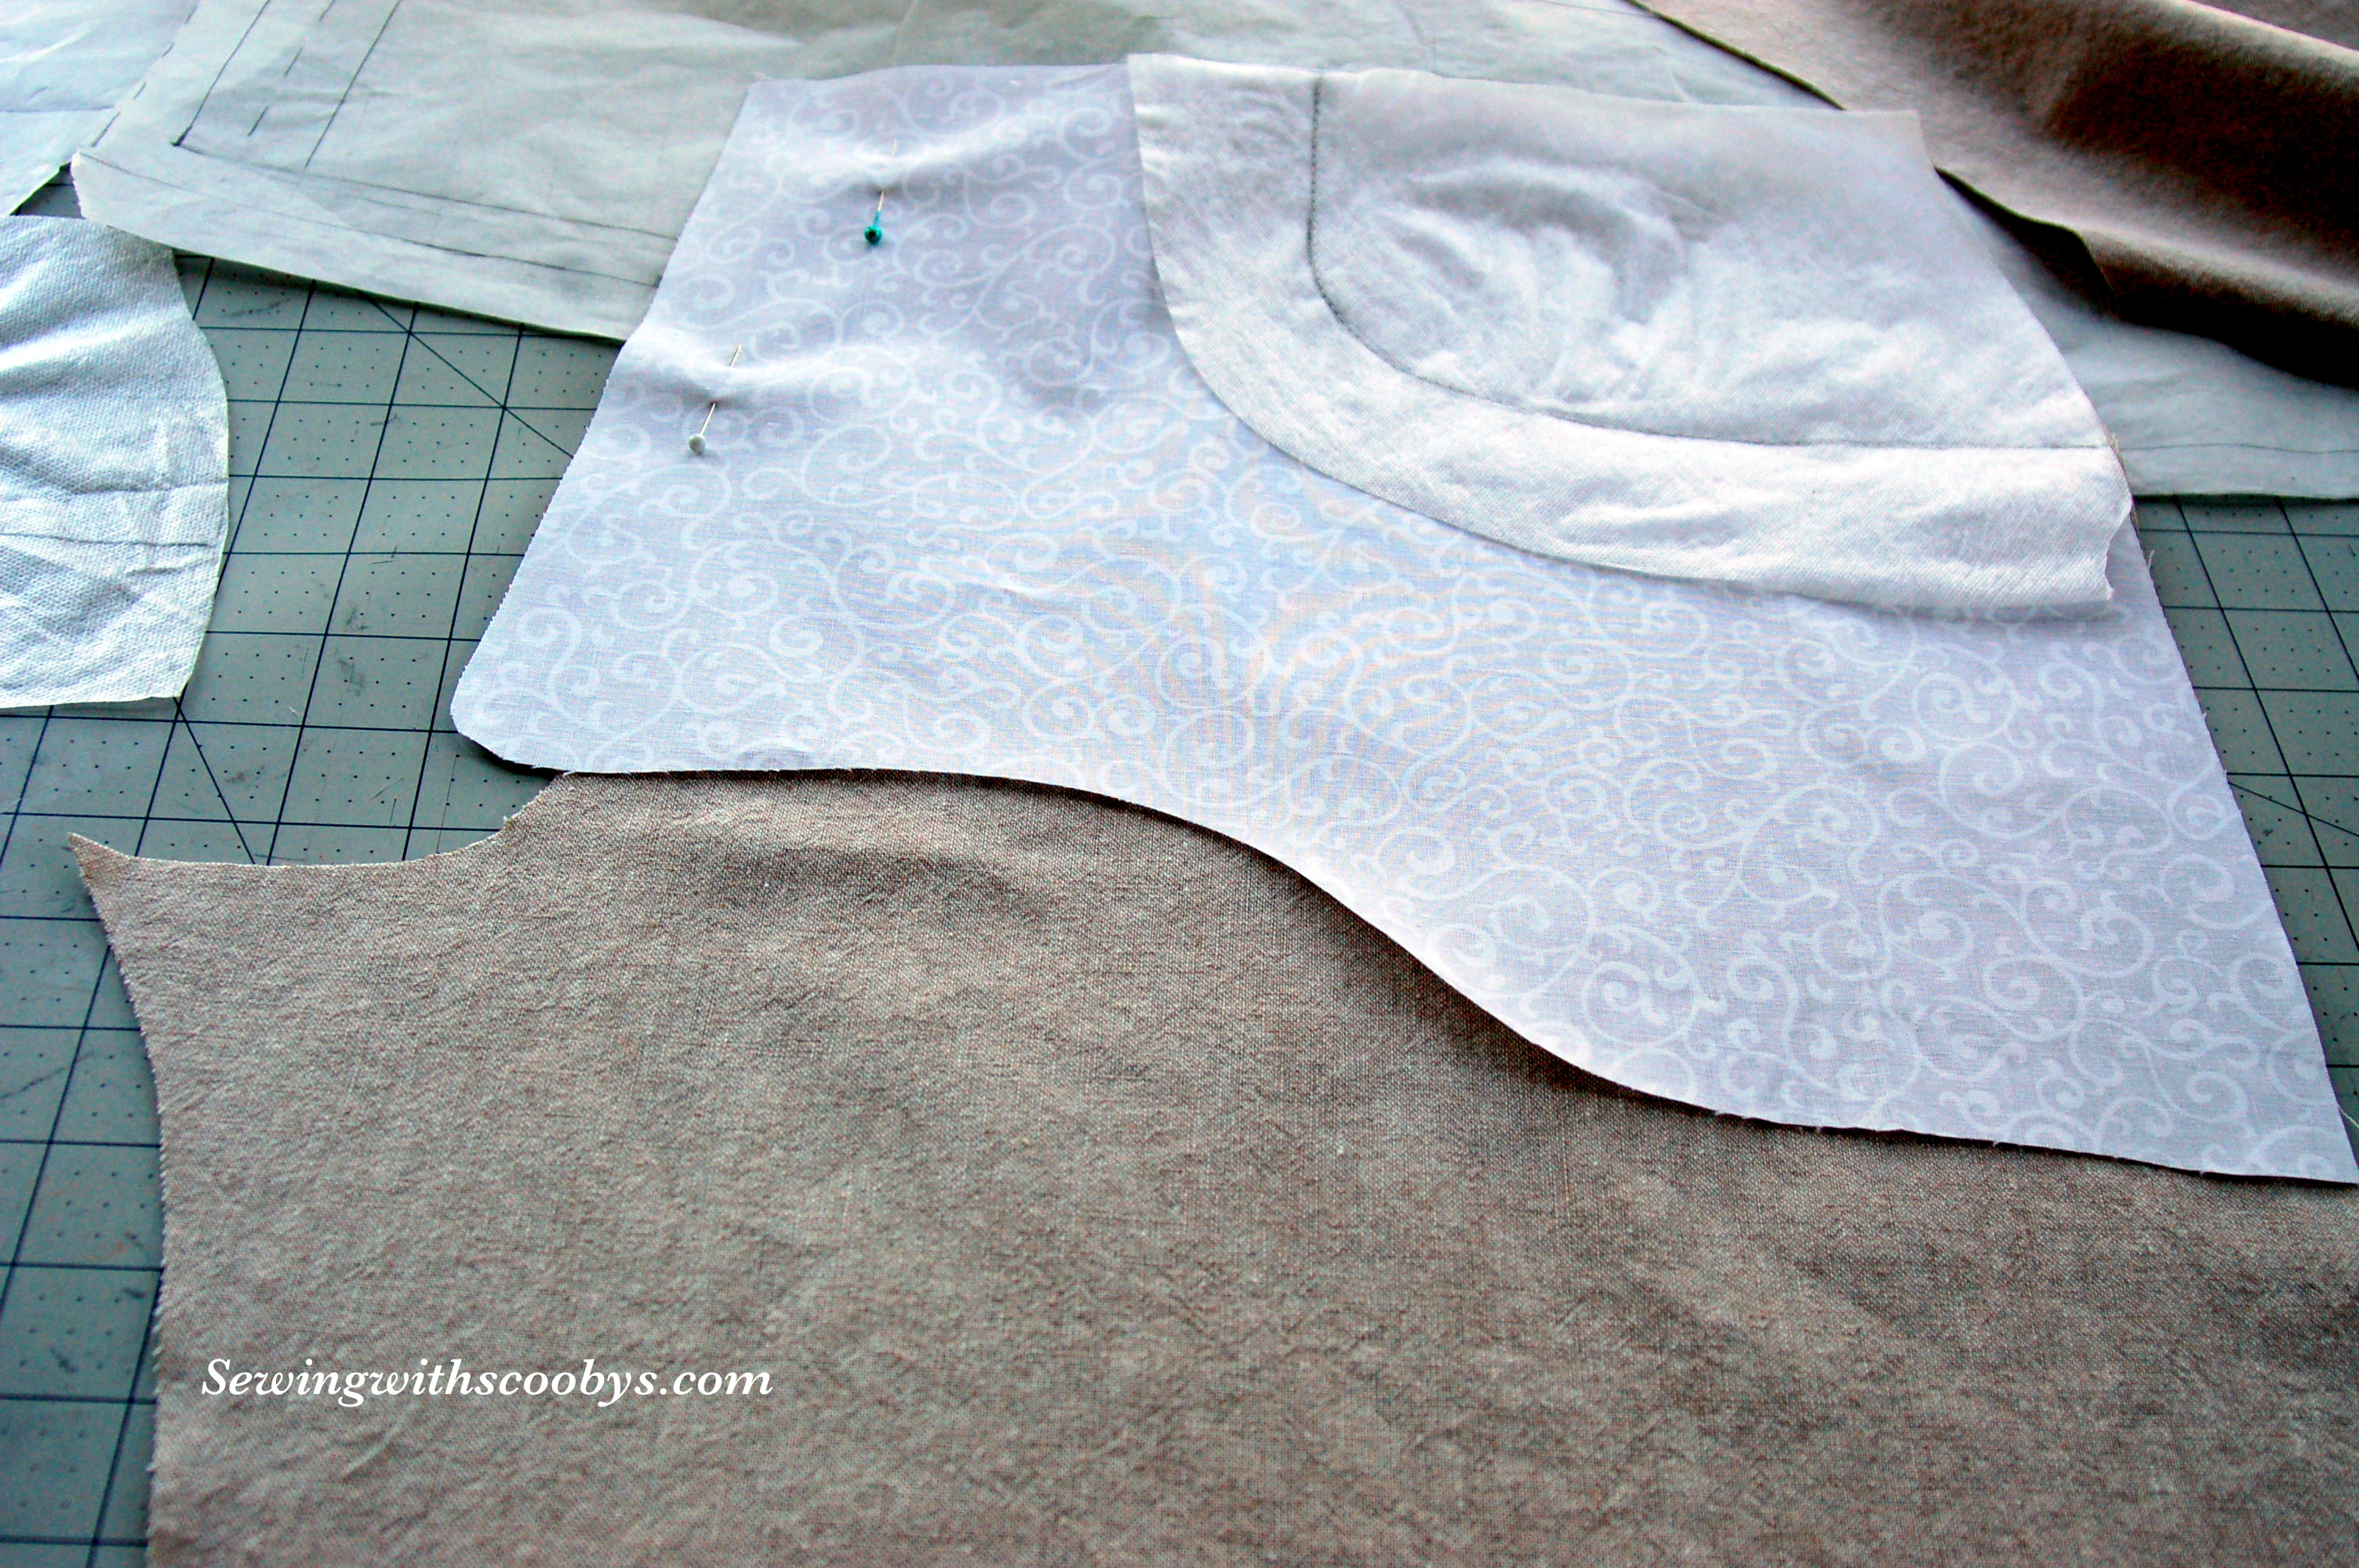
Flip your pocket around press and top stitch like so:

I just layed down my contrasting pocket bag to see what it was going to look like 🙂 We will sew the bag on soon.
Now is when I pull out any sort of ribbons, rick rack etc to embellish the pocket area. Here are some ideas I have:


Tell me what you like? I ended up top stitching the yellow rick rack along the curve of my pocket. I kind of like the horizontal lines right on the bag too but maybe it will look too busy? Here is the pocket top stitched with the creamy yellow rick rack and I have my bag pinned in place to run through the serger.


Alright now we continue down to the knee pads we need to attach. I wondered what it may look like if I rouched the whole pad. I made a swatch:

I found this material too heavy for the rouching to turn out with a nice drape so I decided against this.
Instead I cut some strips of cotton fabric I had lying around to use around the patches:

I think I am going to go with this one I like the red polka dot strip in there as well I think it helps break up the stark contrast a bit.


Alright also I am not happy with the huge area of solid fabric so here is another fun thing to do. Pull out any iron-ons, patches, fabric, appliques or you can also embroider something right on here.


I think I am going to use some scrap fabrics and make some yo-yo’s and sew them on the knee pads 🙂


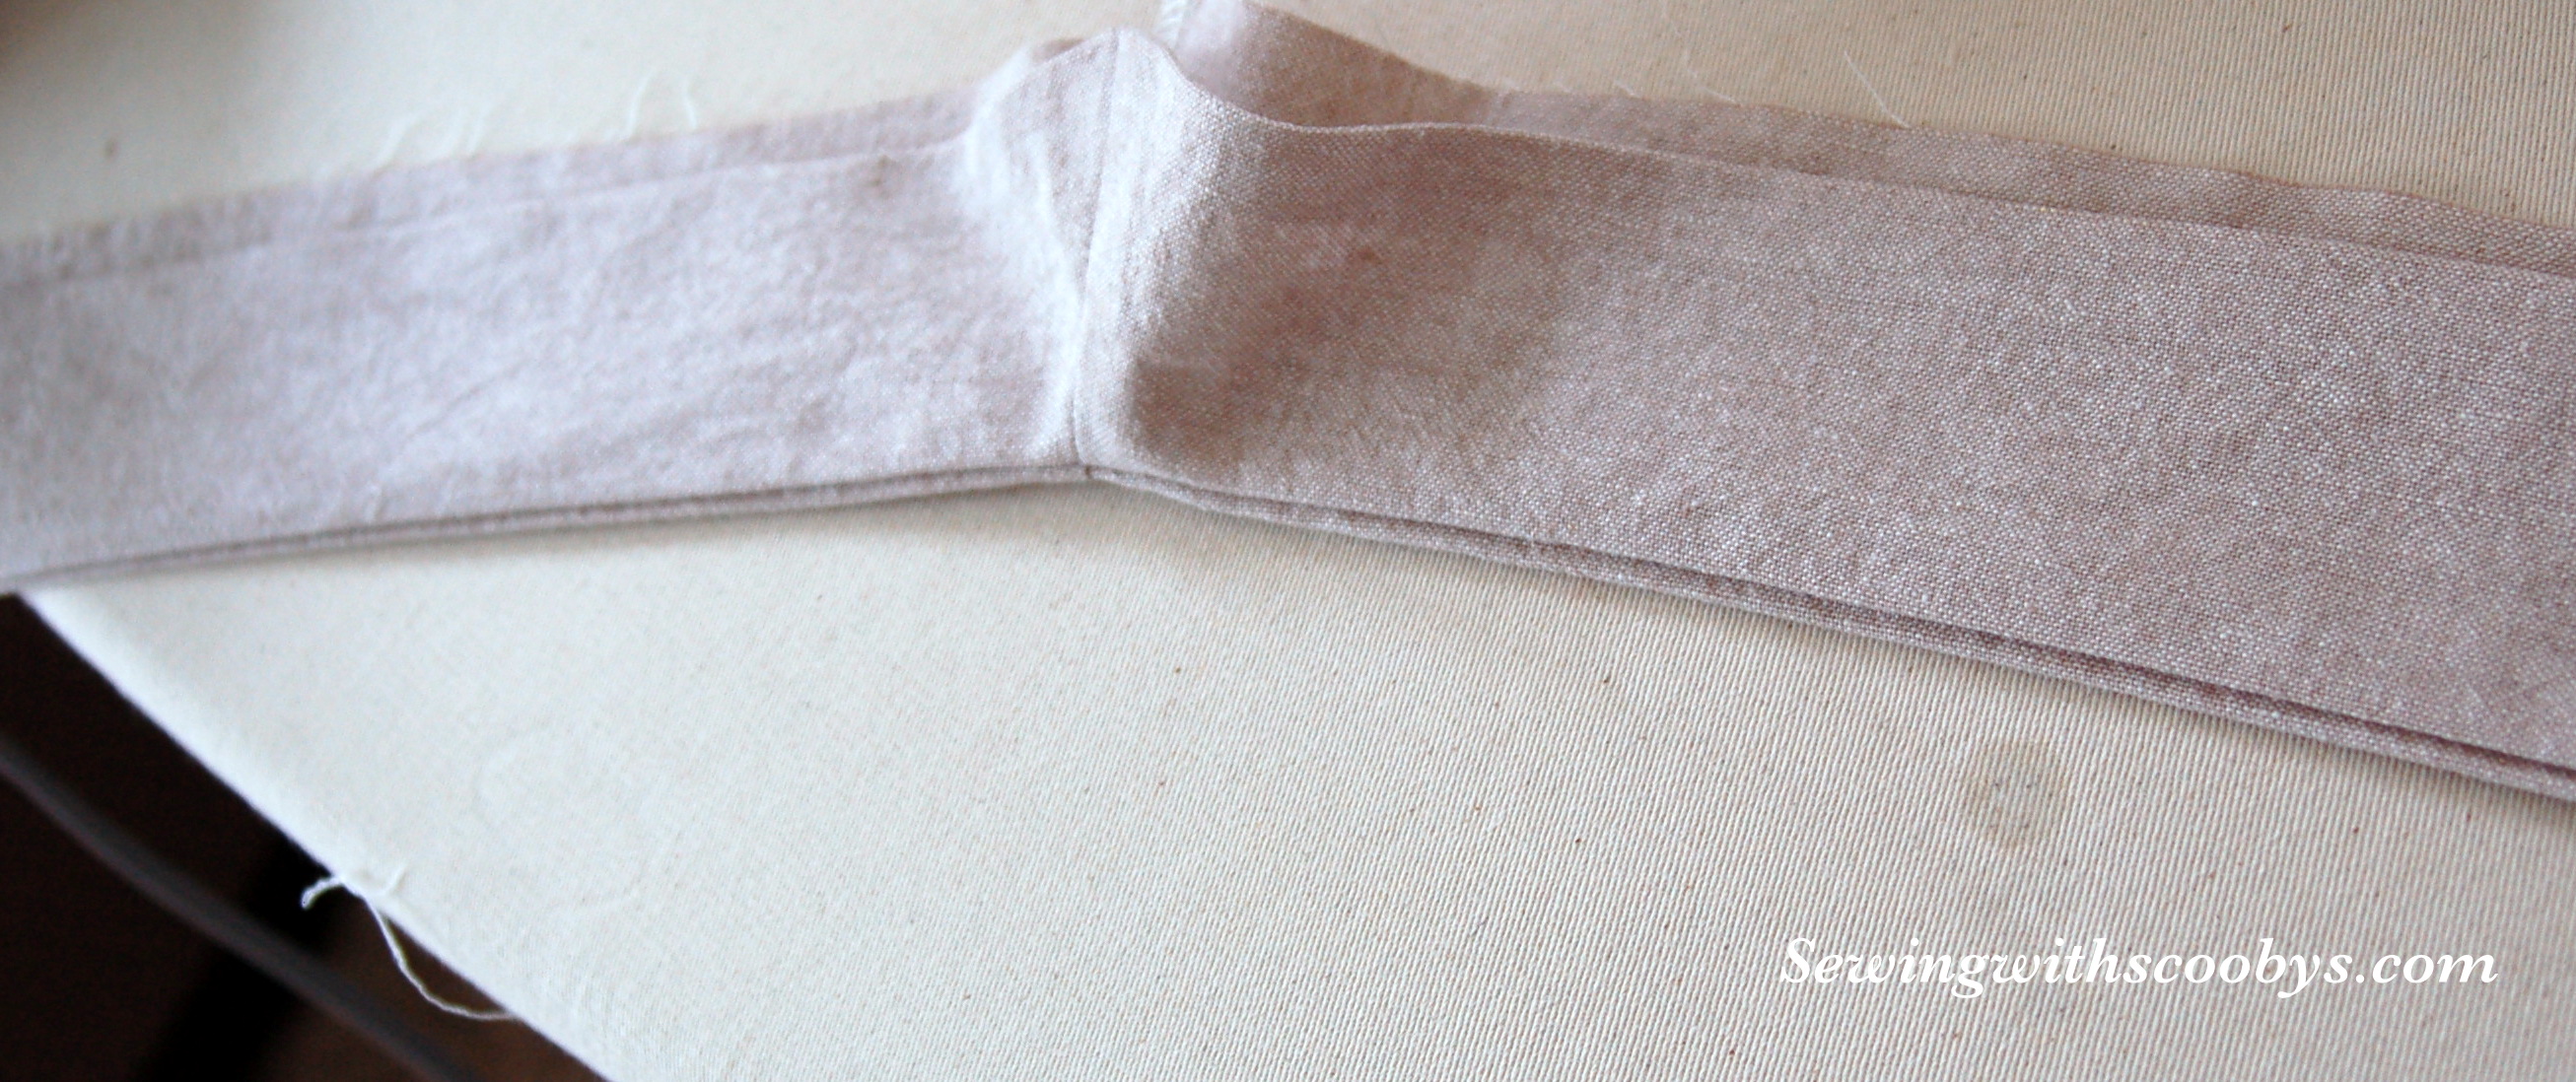
Now add what ever trim you decided to your knee pads. A ruffle would also be very cute here around the knee pads. I also top stitched after pressing my seams and trimming the seam allowances.


So for now I will set aside my fronts of the pants and start piecing together the backs. I don’t use embellishments on the back of the pants usually but you can if you’d like. So the piecing goes very quickly and I top stitch them again where the knee pads are.
I thought of a brilliant idea after I cut up my pants. My daughter is very rough on her clothes and will end up with a hole in these in a short amount of time. I think next time I will leave the pants whole and just use the knee pad area I cut out of the pattern to add the contrast fabric on top of the whole pants. That way if she goes through one layer I still have another layer to bide me time.

Now comes the back pocket 🙂 I have a pretty dusty blue ribbon that matches some of the dots on the pants that I think I will use to embellish the pocket. Again the possibilities are endless!!

I topstitched the back pockets and added my embellishments.

I also like to serge all around so they will not fray inside and be a messy lint fest.

To make sure my pockets are going to be even-Steven I place my other back piece on top right sides together and make sure they are exactly in the same position then I pin it in place.

Now that the backs are all done and our fronts are all done we sew our pieced pants together!! Start by sewing your side seams. Press the seams towards the back of the pants and top stitch if you’d like. I recommend all the top stitching because it looks professional.


My dearest mother taught me a trick to get your seams to match up perfectly this was her quilting trick and I use it all the time not just for quilts but clothes as well. To make sure my lines for the Pieced areas of my pants match up completely I pin right in the seam so it can not budge.
I always baste first too I know it’s amateurish but I am OCD when it comes to seams 🙂 Plus if I’m not happy it does not take long to unpick a small section to readjust a seam. It does however take a lot more effort to unpick a serged seam!!


If you are happy with your seam then serge it or sew it. Press and topstitch.


Now we sew or serge our inseam.

Press your seams to the front use a seam roll it is a fantastic pressing tool and does not cost very much 🙂


I also like to top stitch this side too although it is a bitch a challenge to do so because you are sewing in a cave basically! Since your garment is now in a circle you have to sew through that tunnel! Keep pushing your fabric through and sort of turn your pants inside out as you go.

With right sides together place one pant leg in the other and sew your crotch seam.

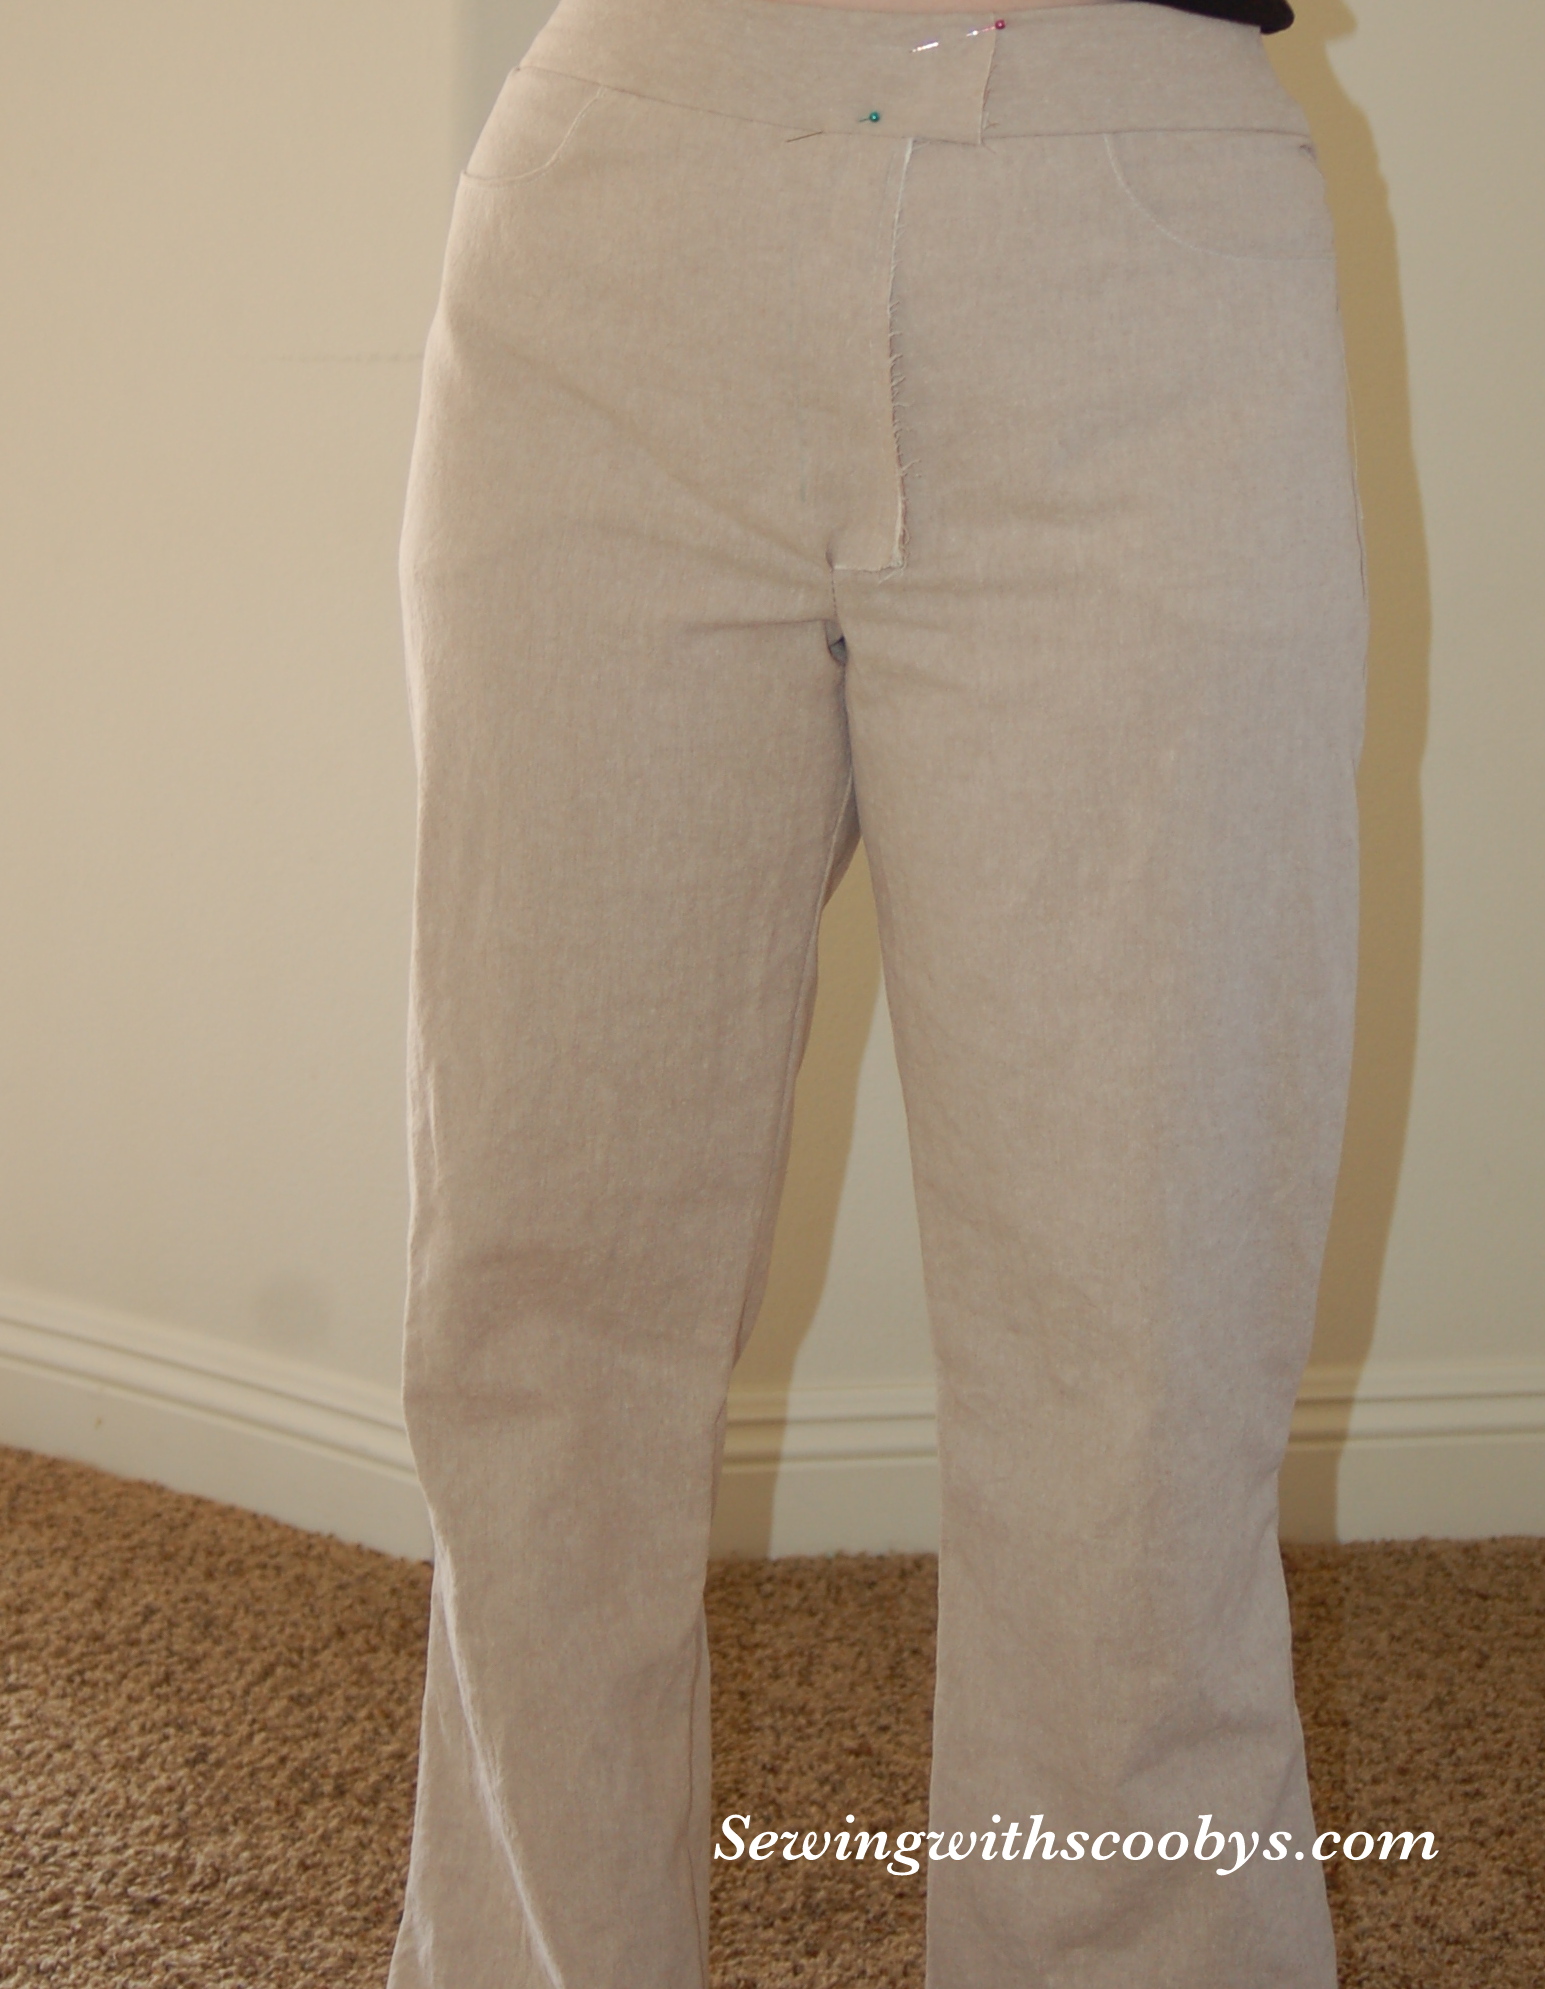
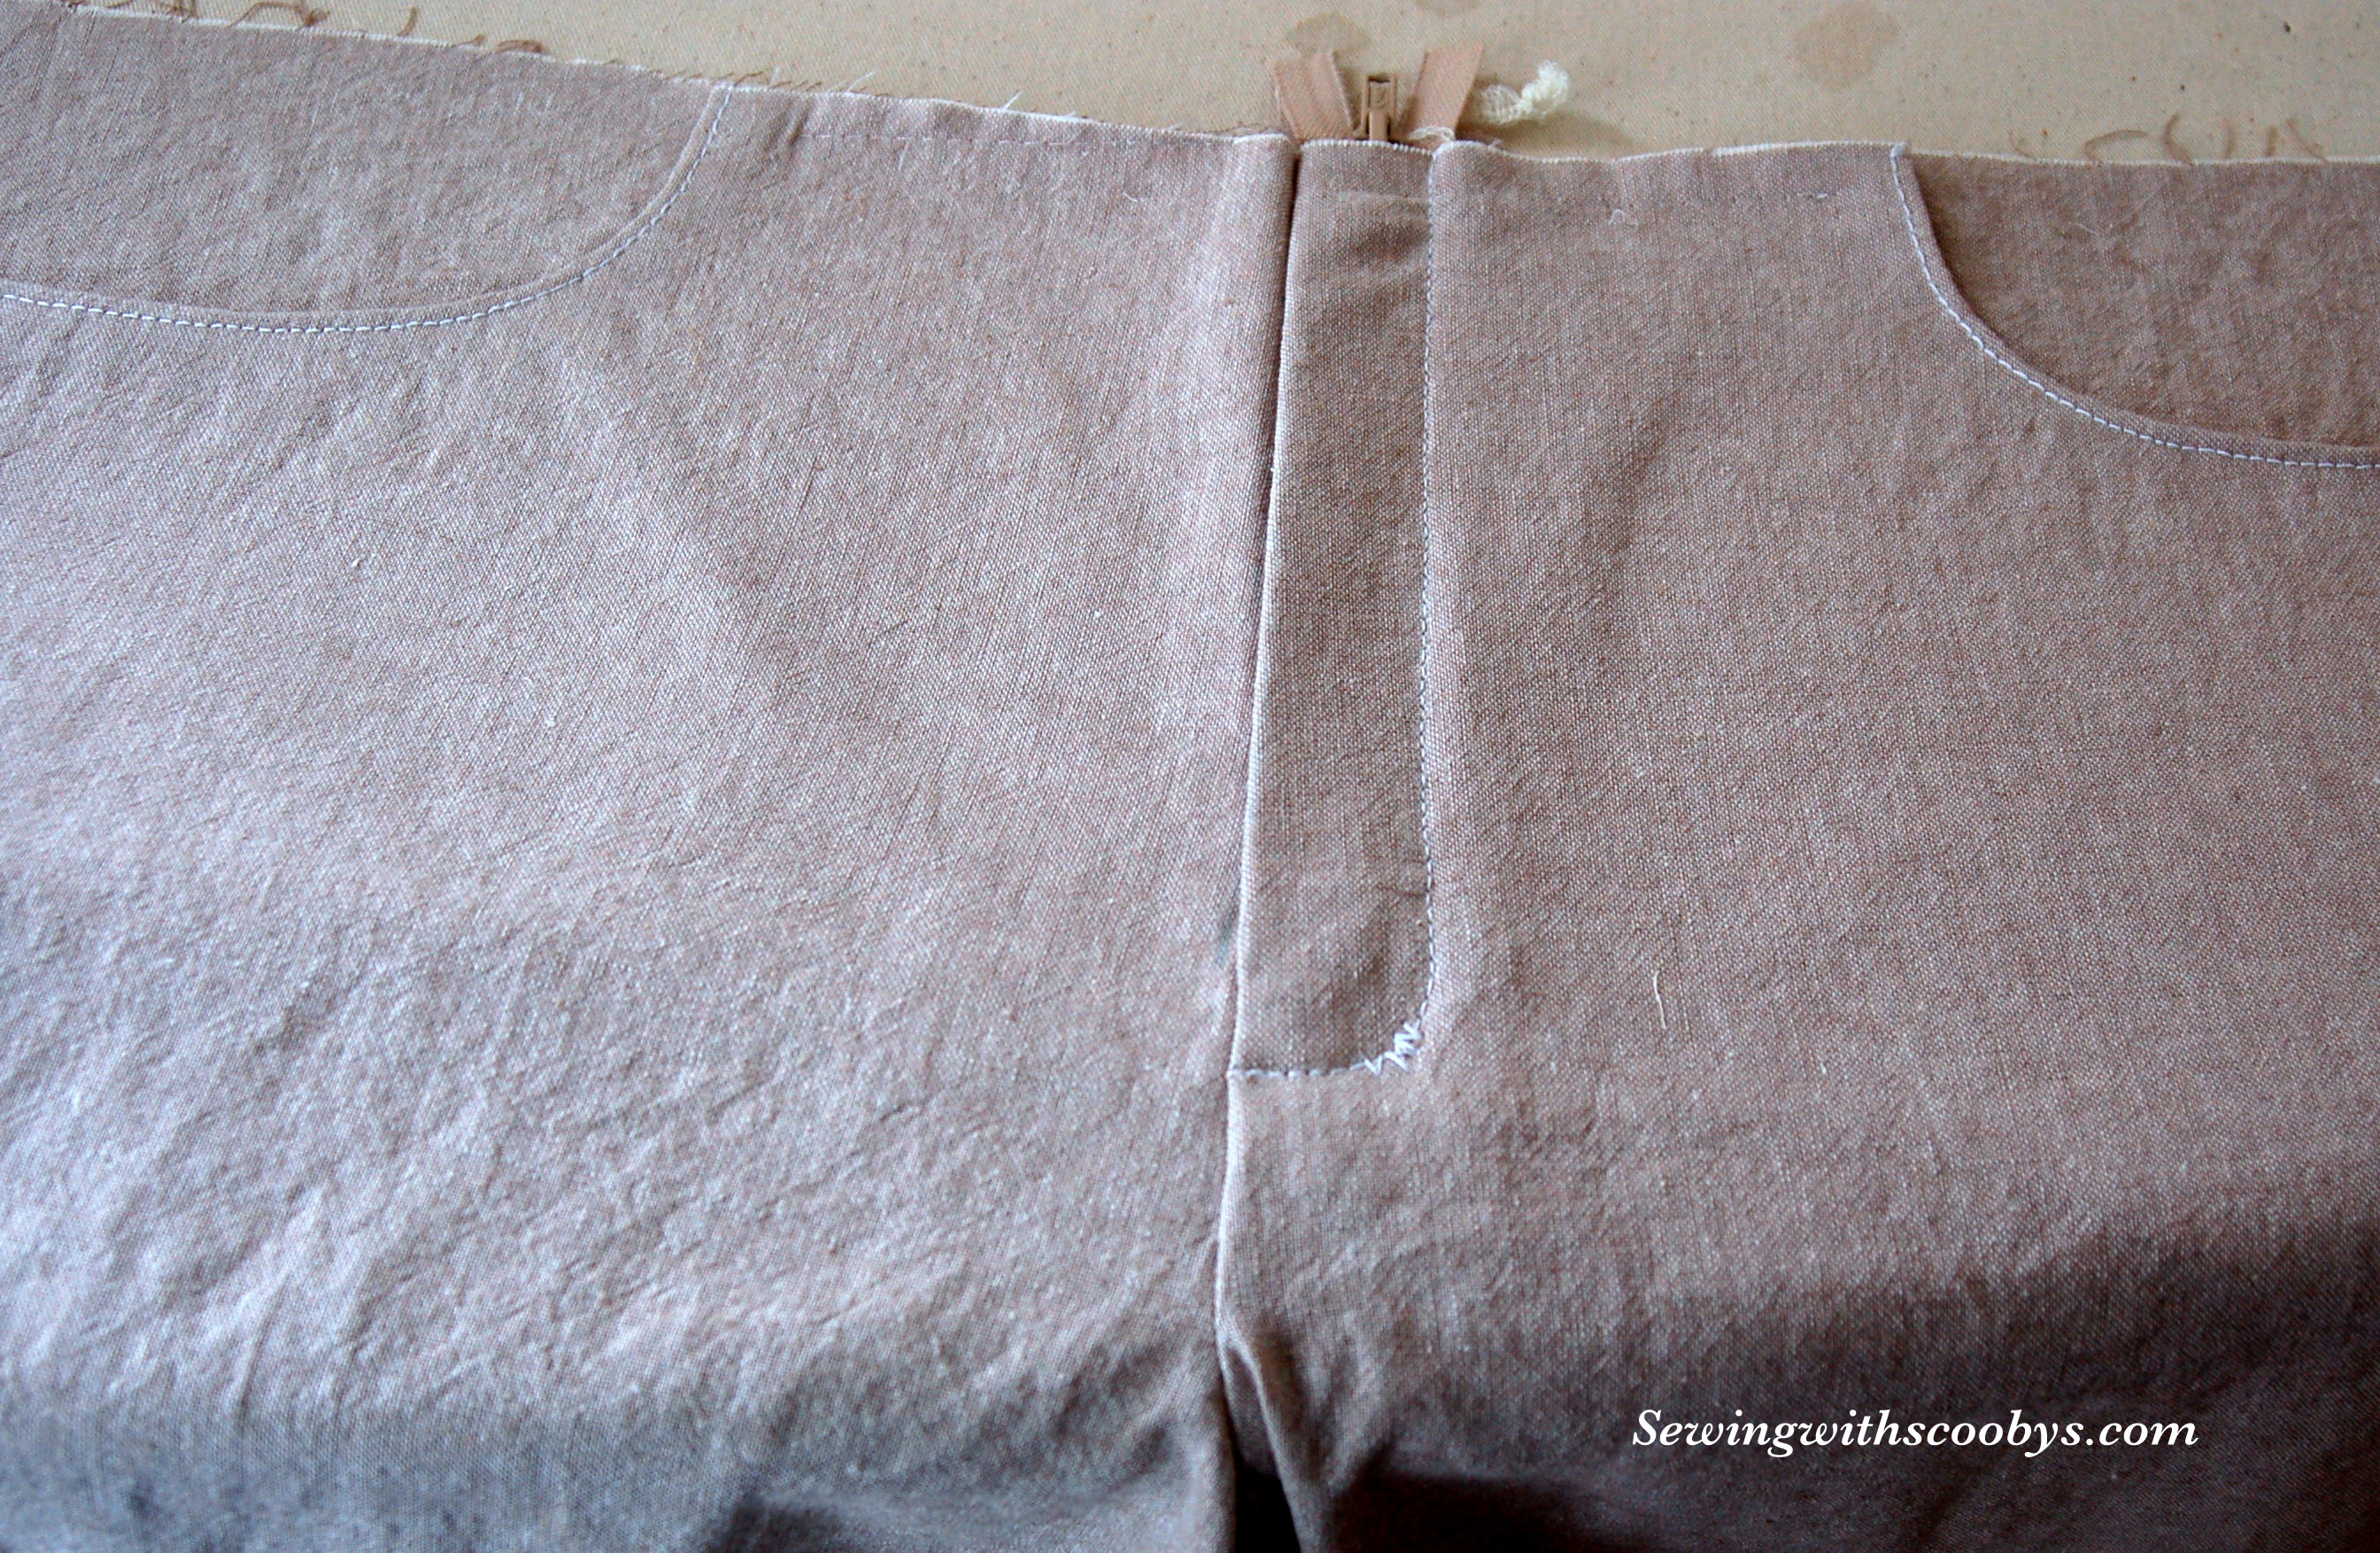
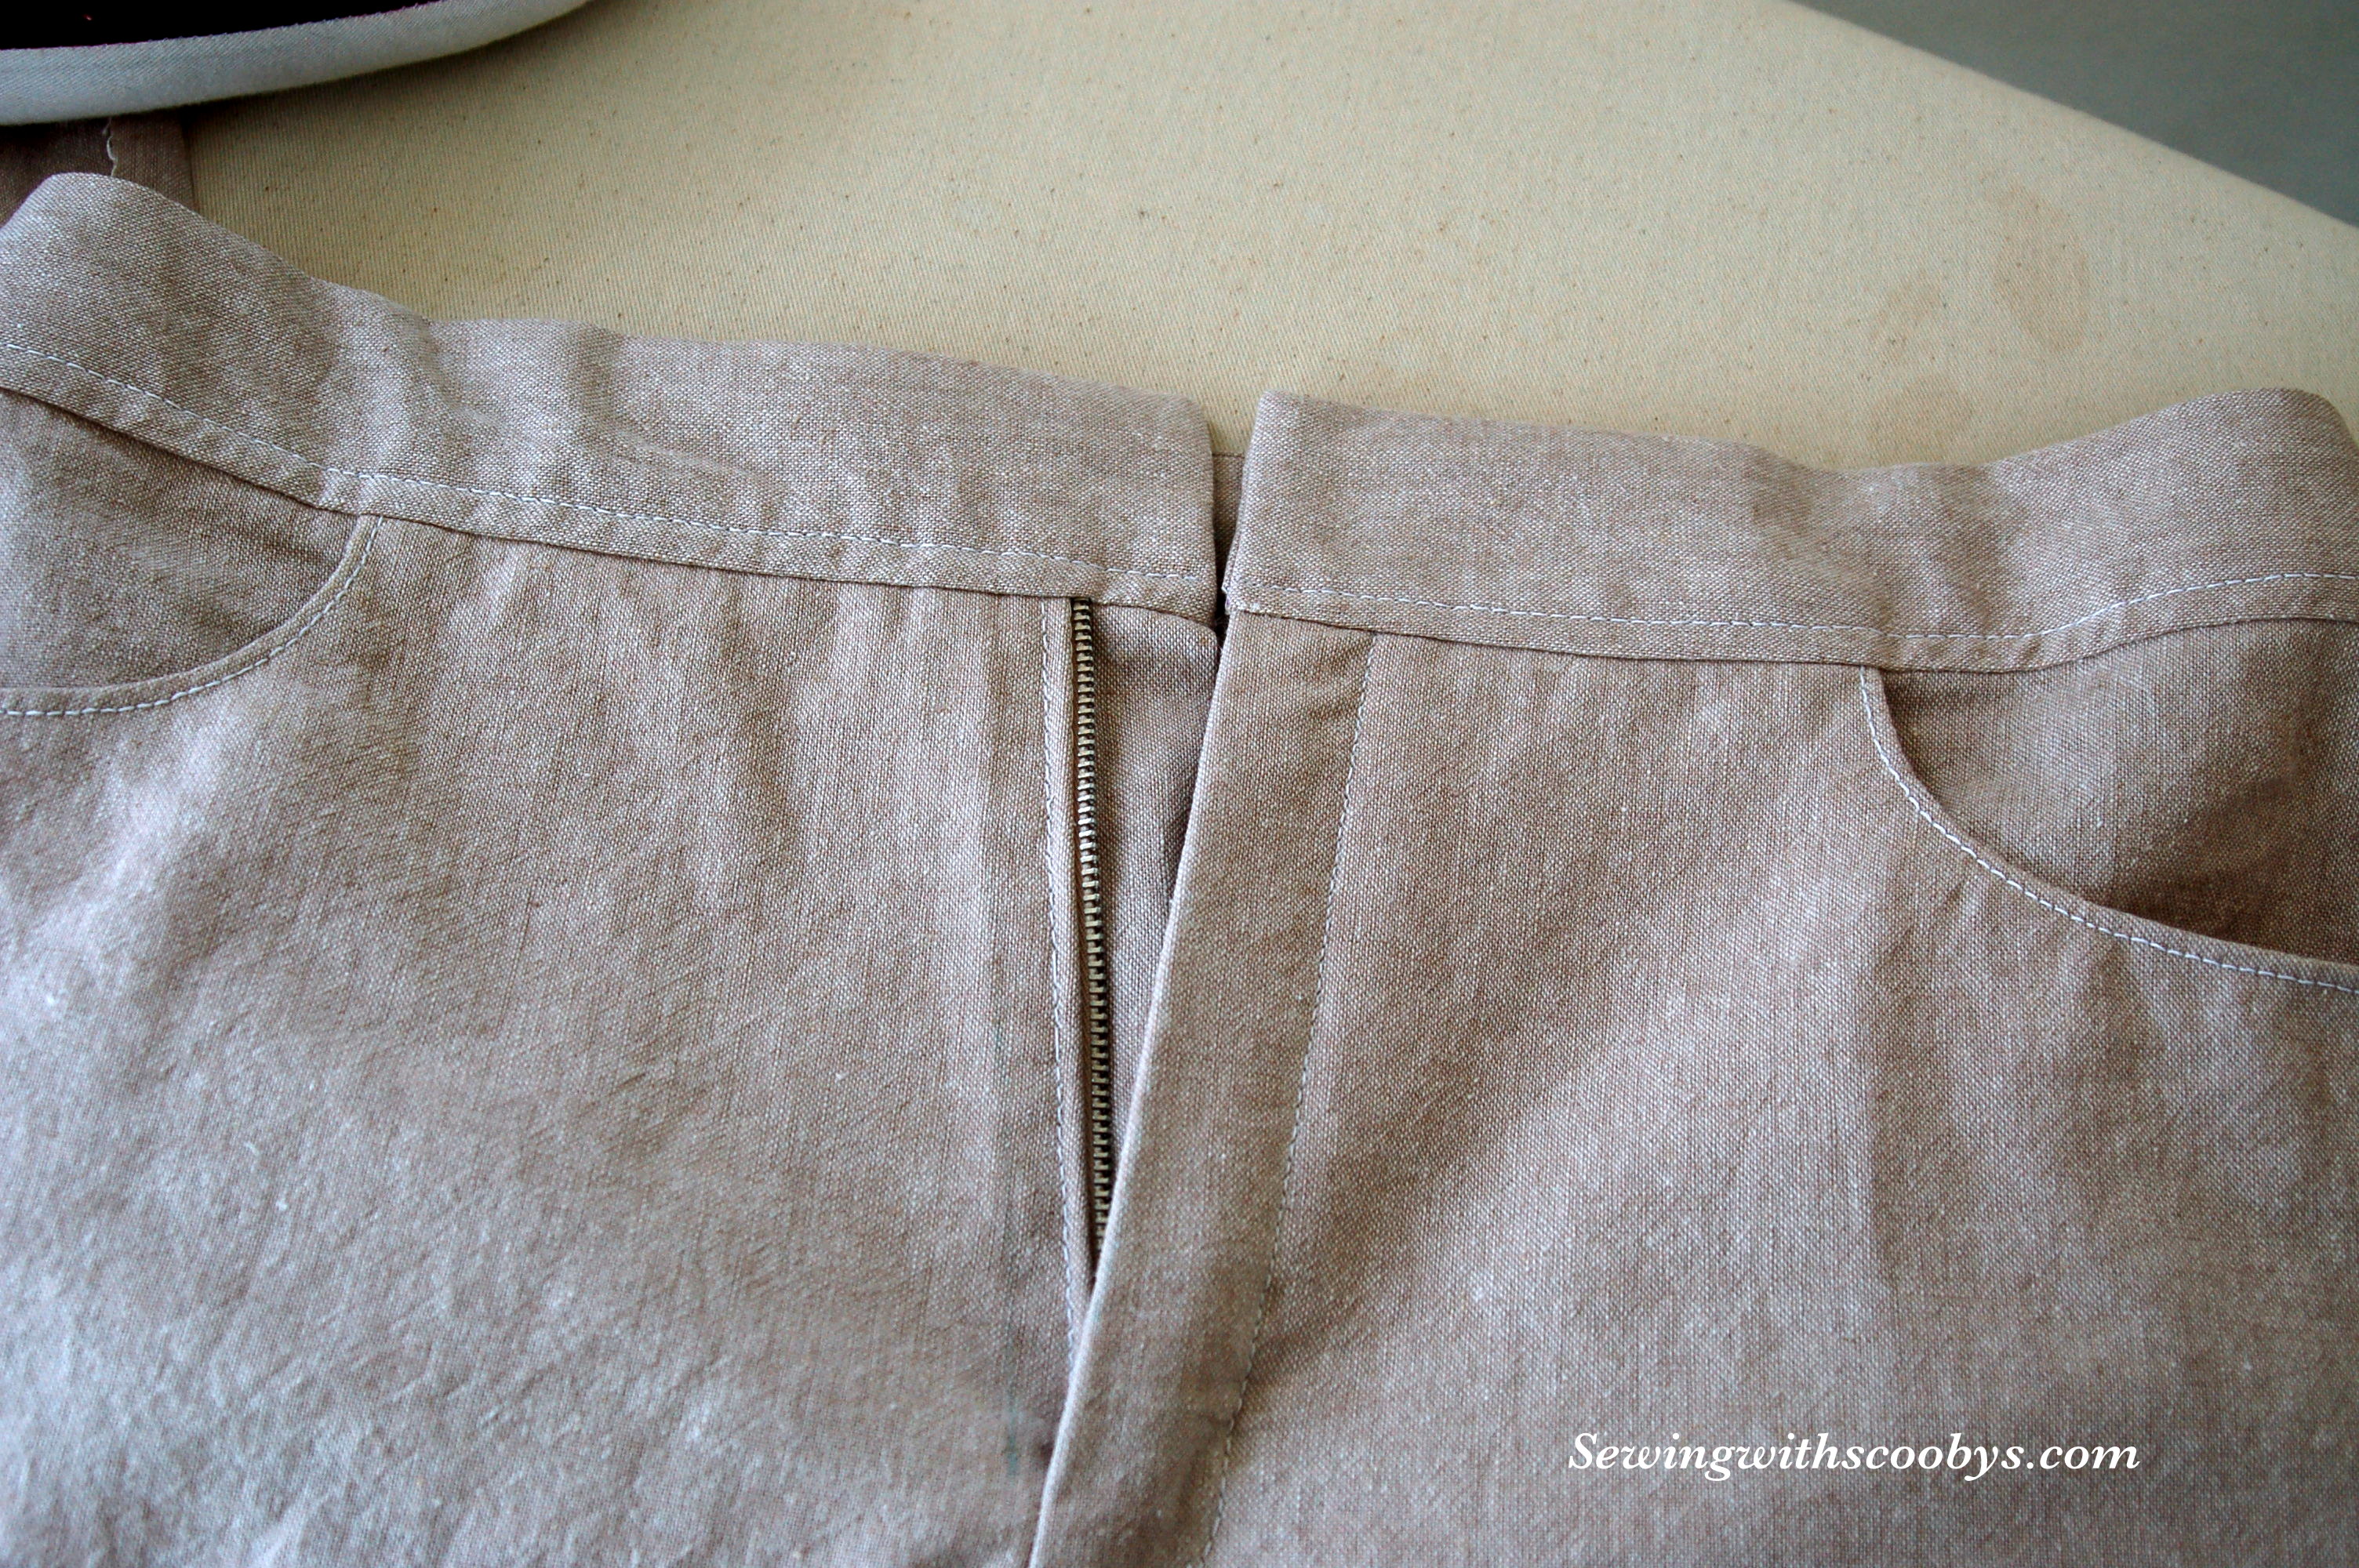
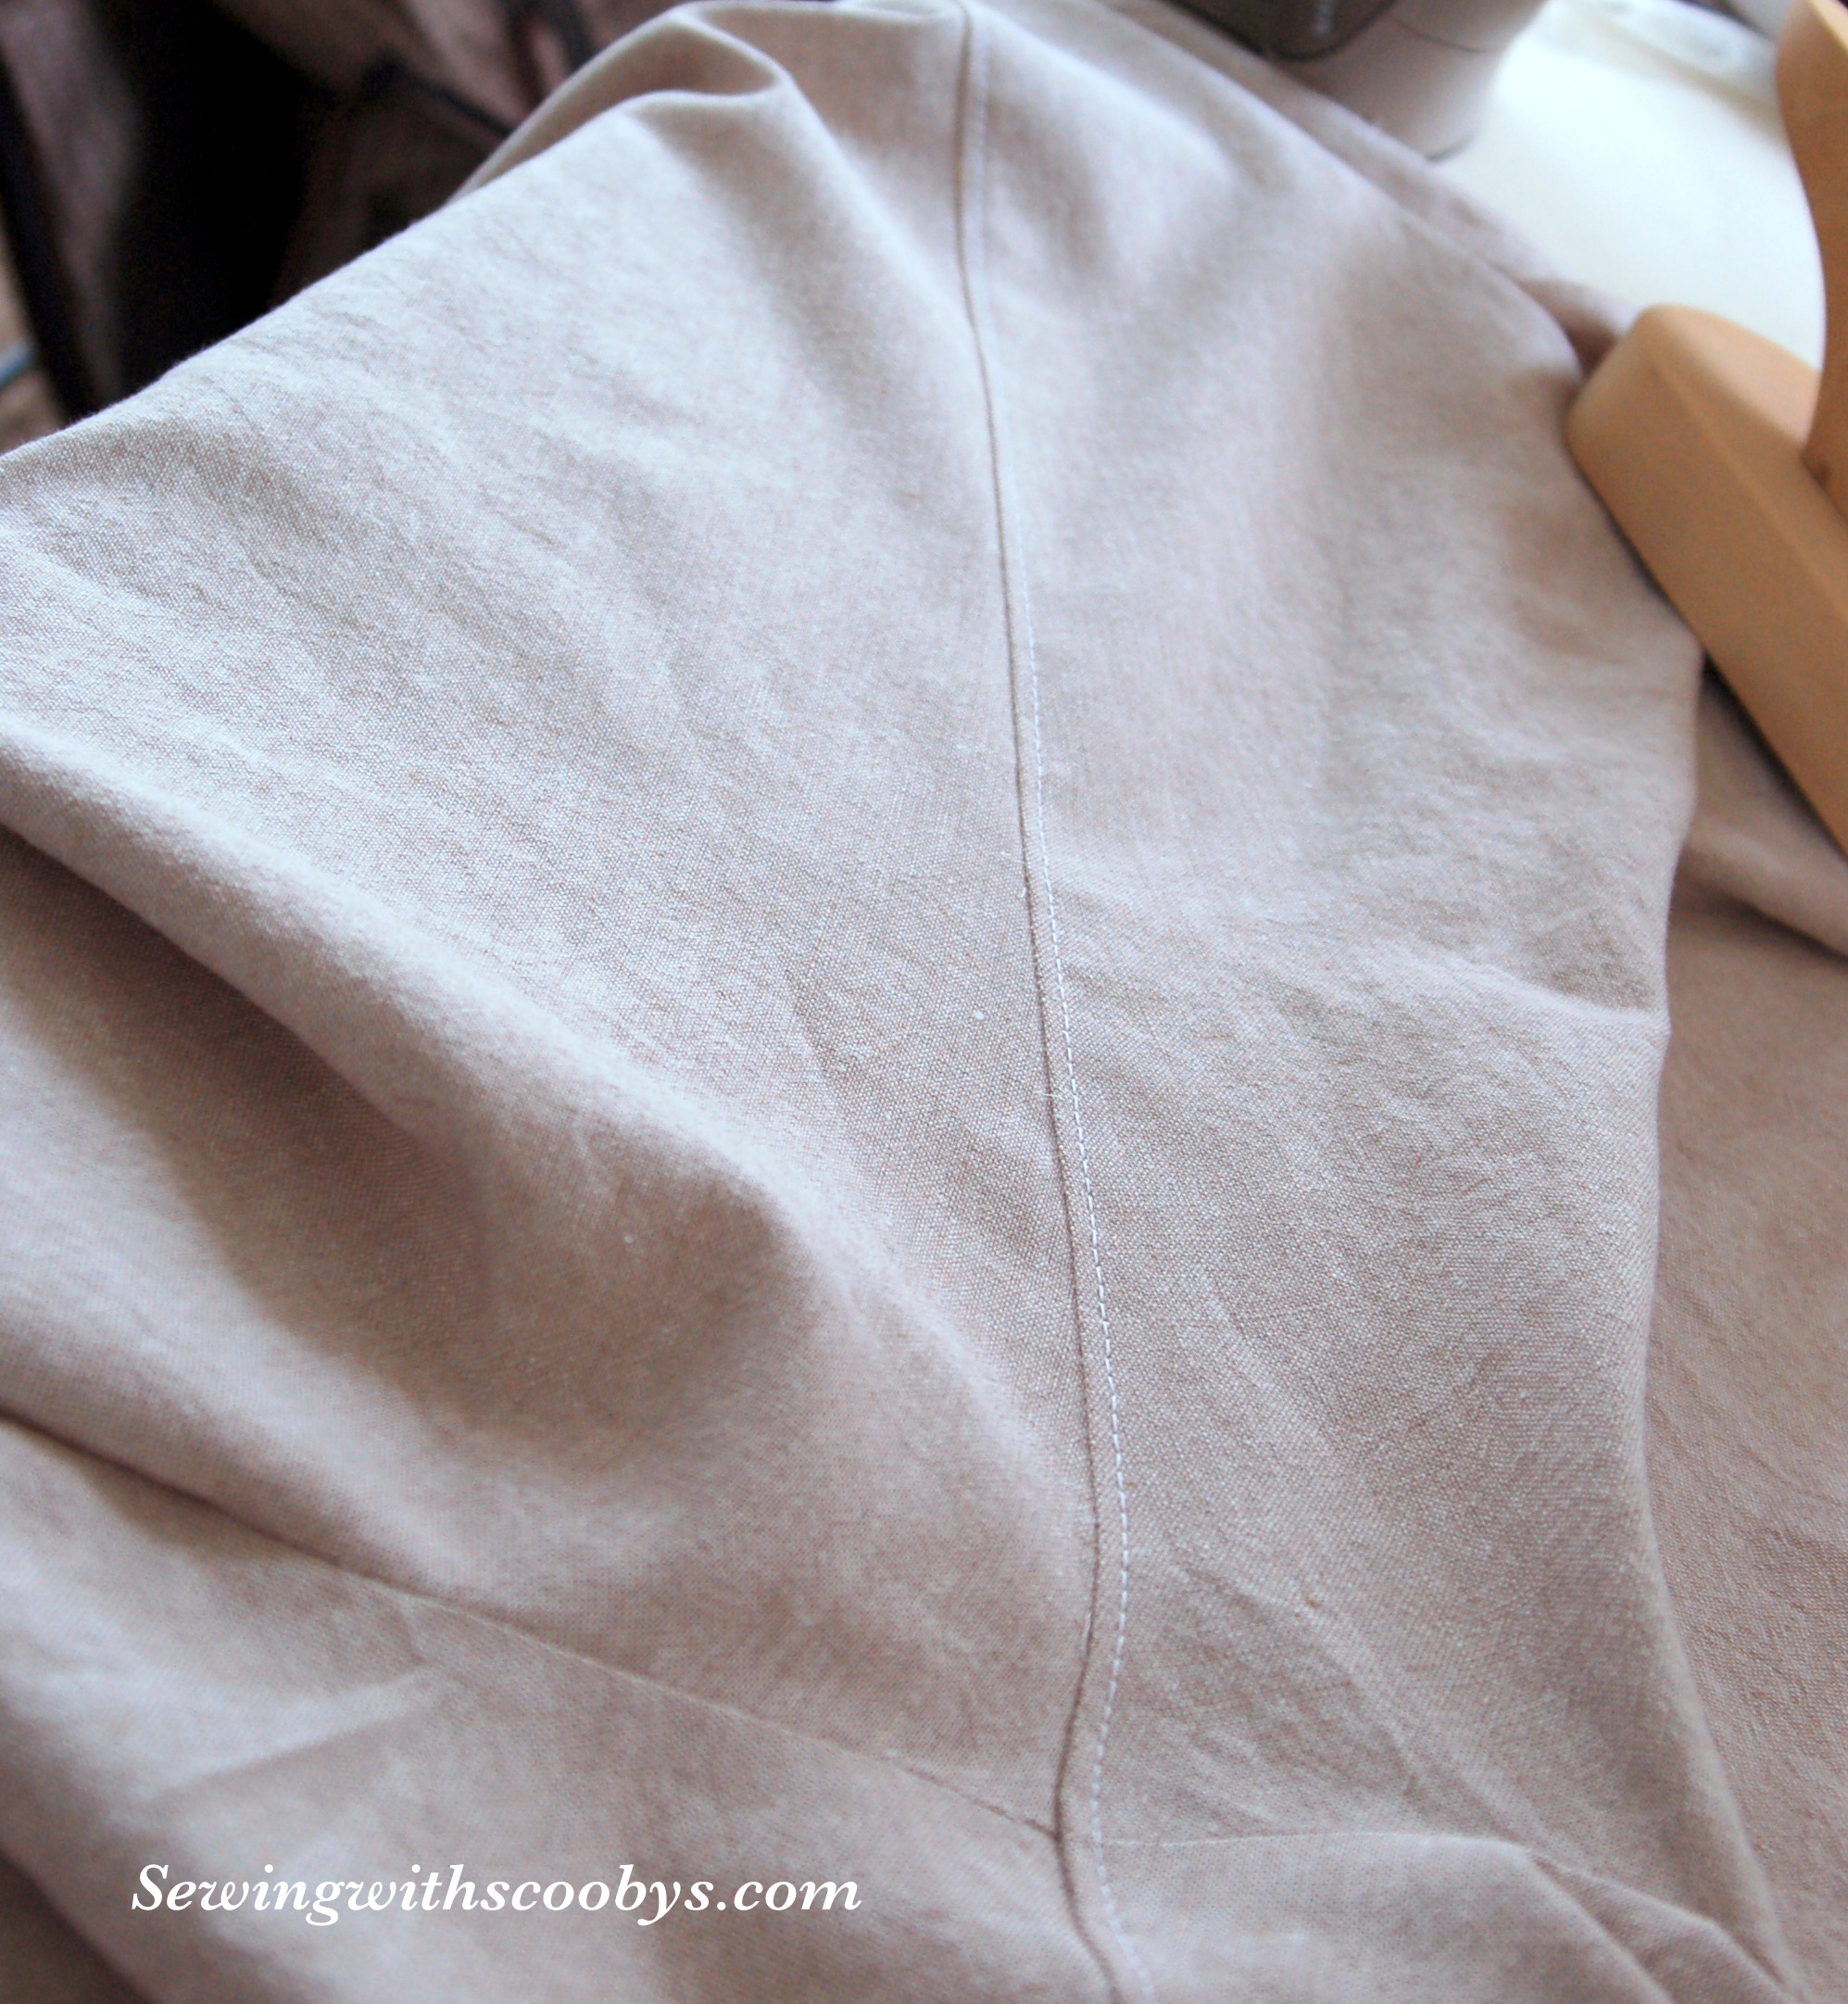
If you have a faux fly like I do, this is what I do. I press the front of my pants and with my chalk and french curve I draw the curve of the fly and top stitch it like so:


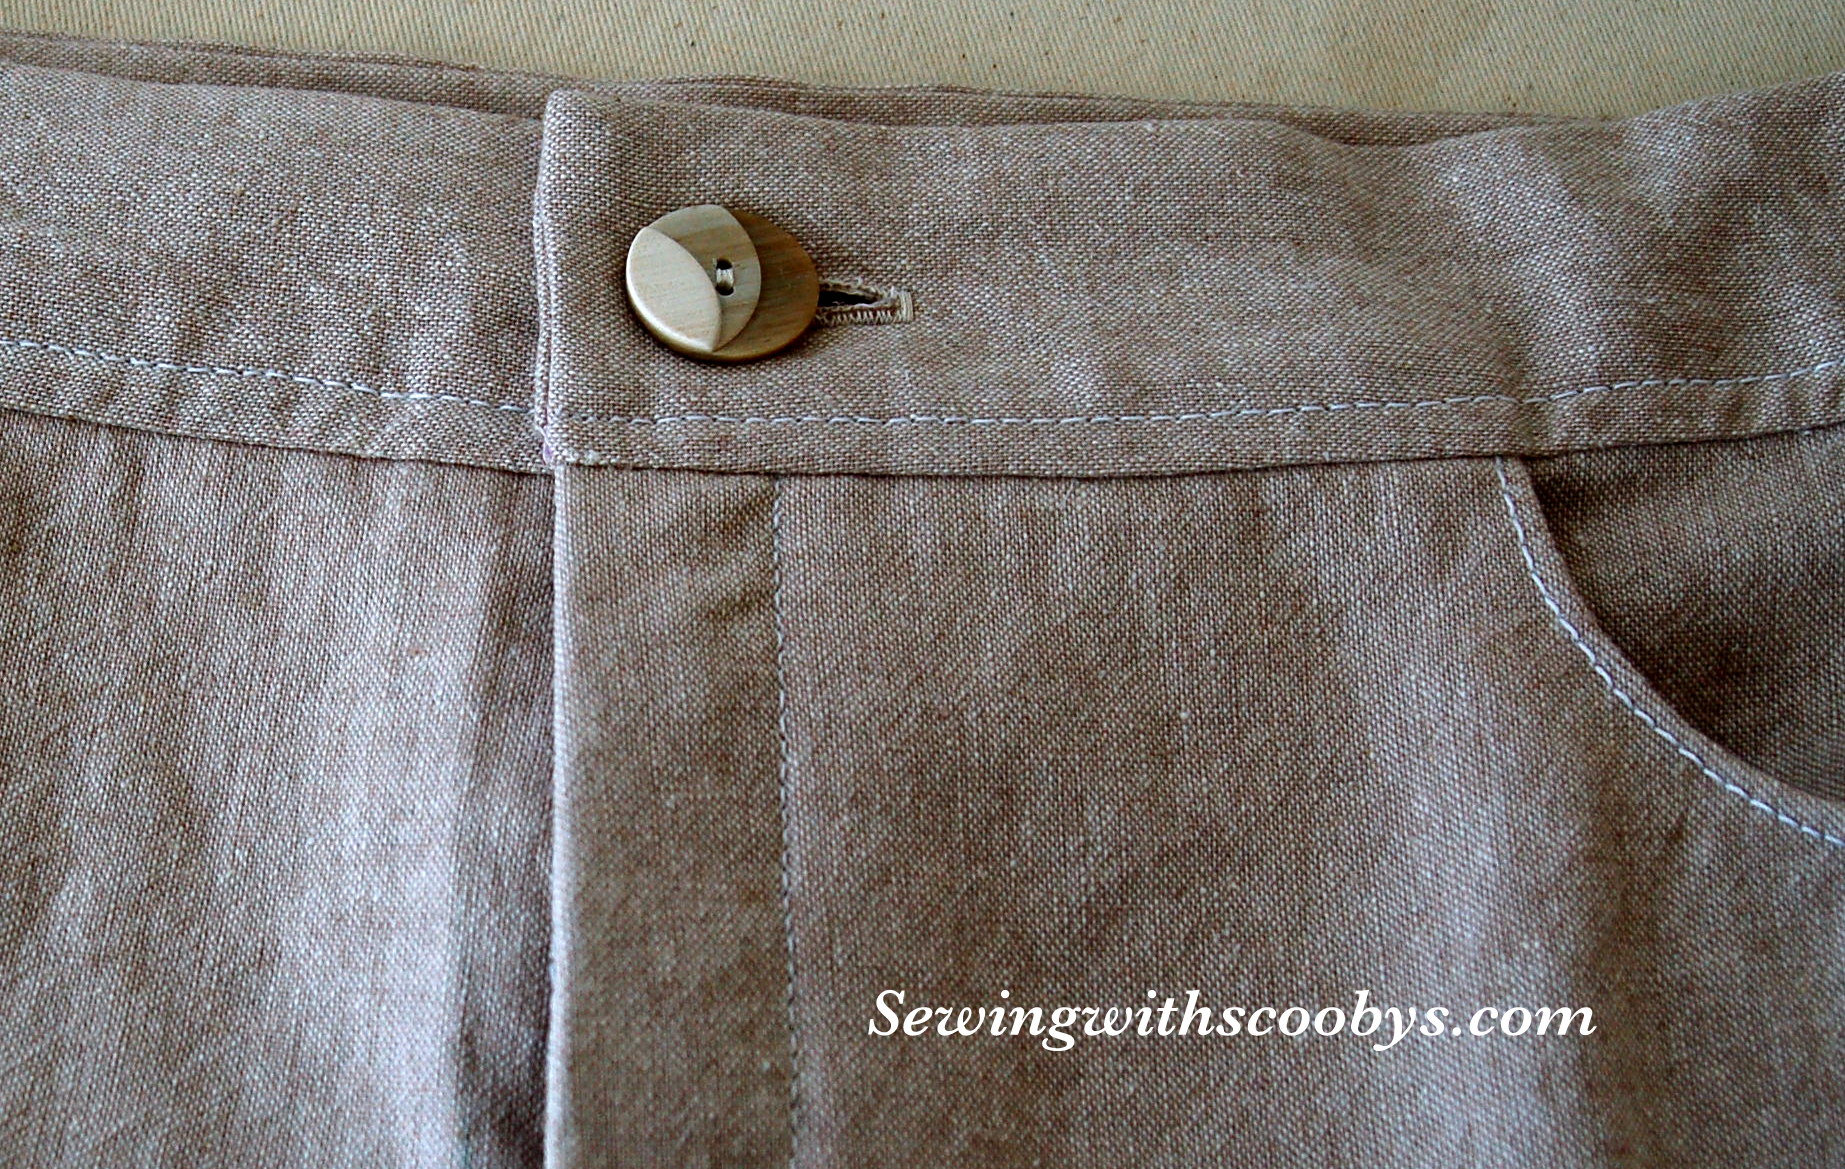
Join your waist band and fold in half wrong sides together and press. With raw edges even and right sides together pin your waistband to your pants:

Sew or serge your band in place. Press your band and topstitch.

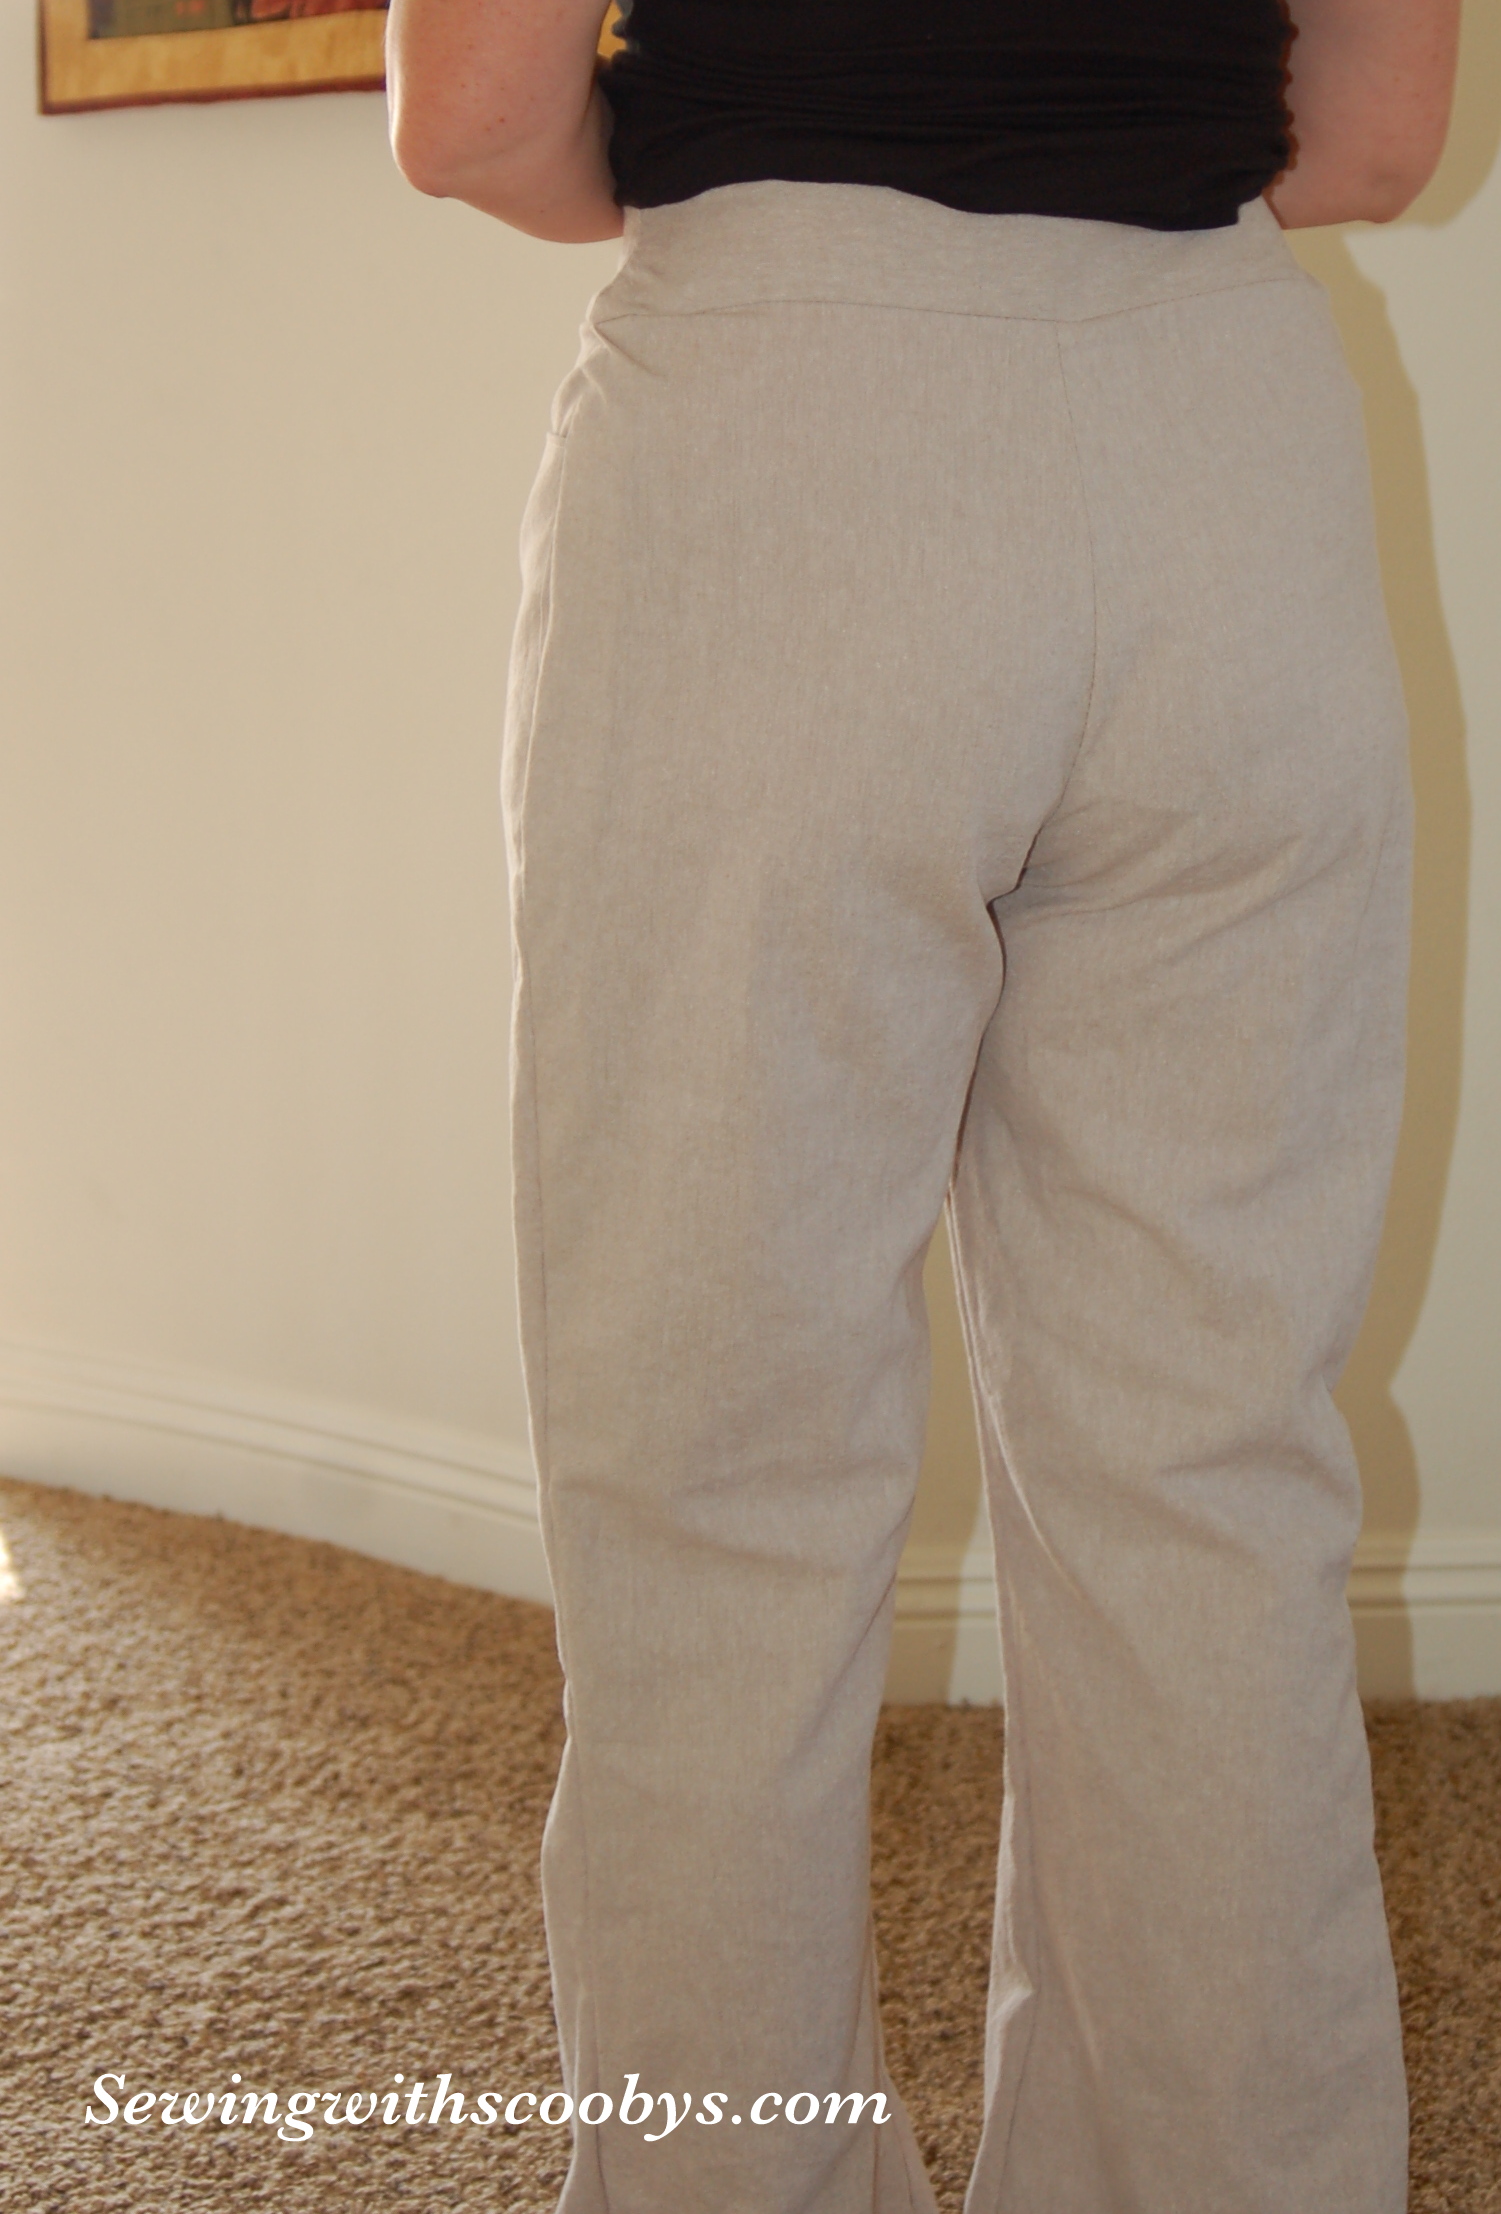
Ok I couldn’t resist trying them on Abby here and checking the progress so far 🙂 Notice how long they are on her so I took my chalk and marked where I want my hem to fall.


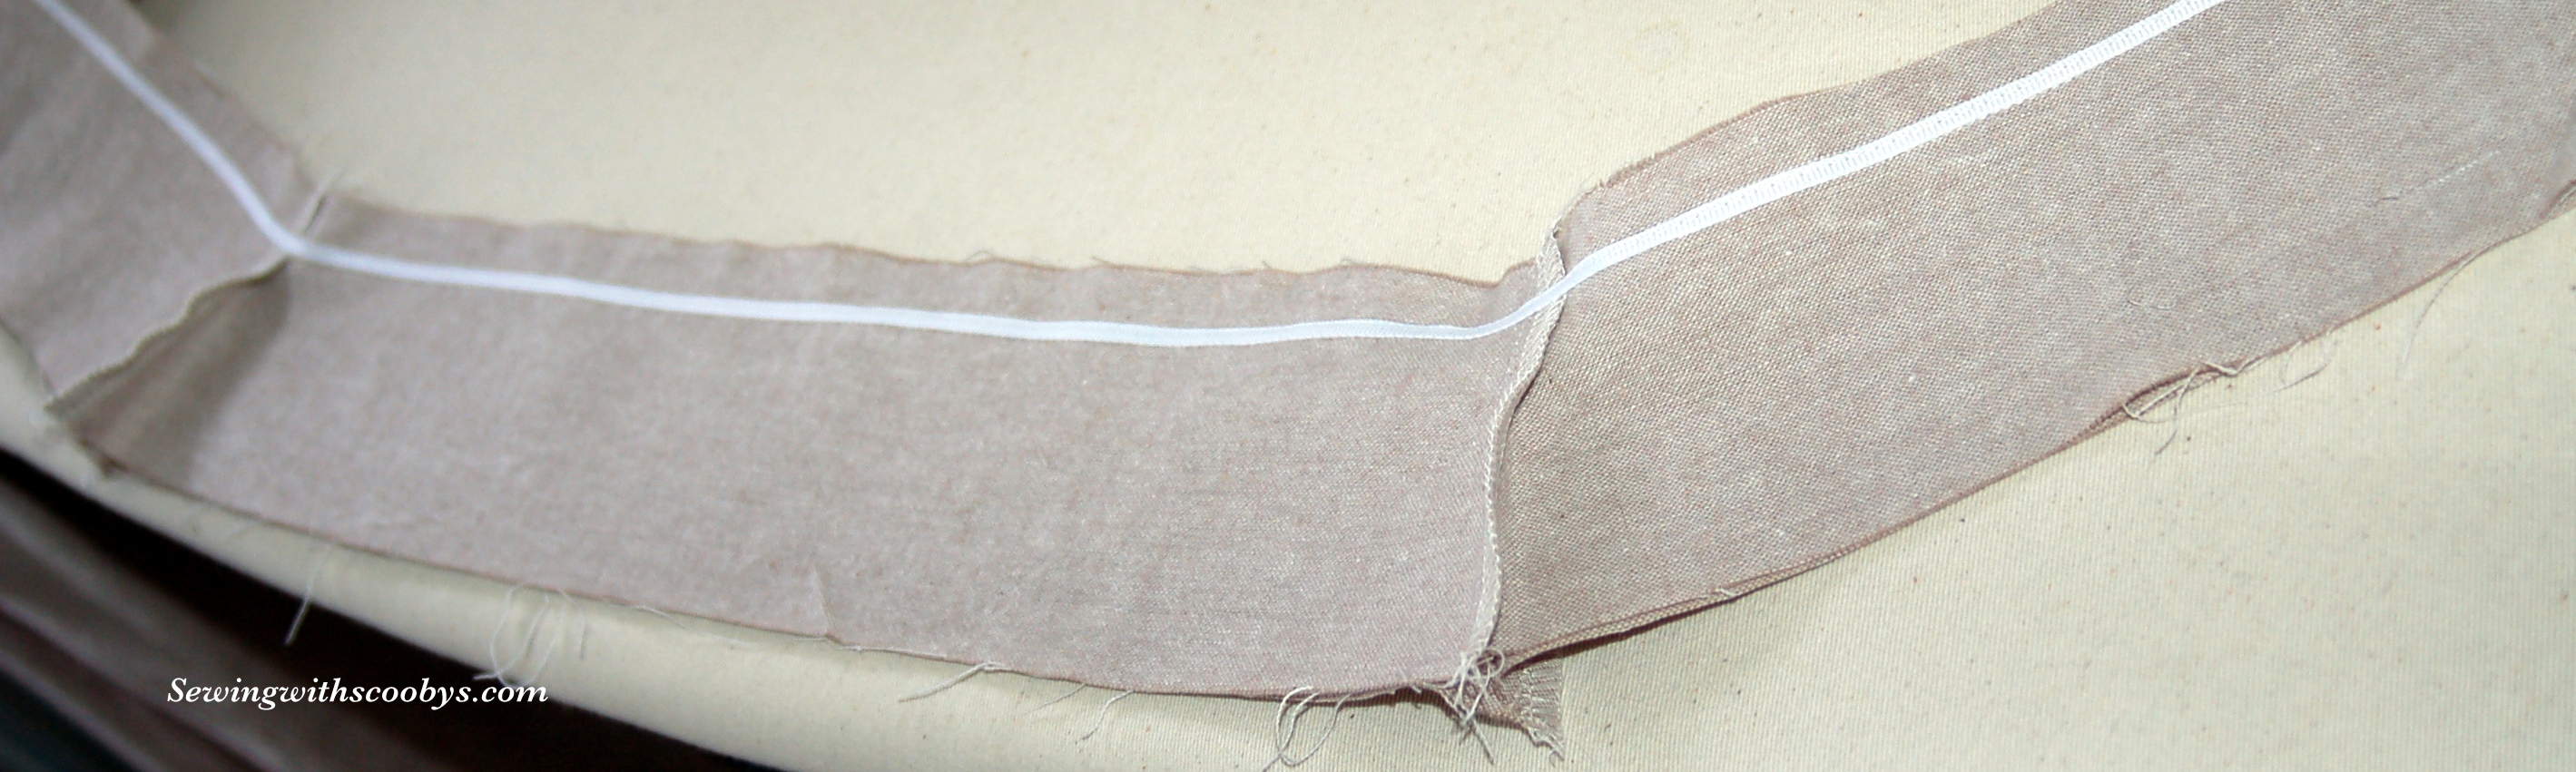
Now we are in the home stretch I unpick the back center seam inside the waist band and insert my elastic with a bobby pin. One word about elastic, bigger is better!! Wait isn’t bigger always better 😉 Any how the thicker the elastic and wider it is the sturdier and less likely to twist in its casing. Also I topstitch on the top of the waistband as well to make the casing more snug so it does not have room to flip on me.


Ok once the elastic is all the way through even out your rouching and sew the two ends of your waist band and that part is done!

I just overlap the ends and sew the elastic, place elastic back through the hole and slip stitch your hole closed.
I cut off the length of the pants to what I wanted. Cutting board, ruler and rotary cutter makes short work of this.


Here is another trick for you. Line up the remenents of the other hem even with your other pant leg and cut!

I then serge the ends of my pant legs.
I wanted to mention as you go through the process of seaming and snipping your serged threads your best friend through this process is “fray check” make sure you dab a bit on all those cut threads so you don’t have to worry about them unravelling.

So Abby wanted ruffles on her pants. So I ruffled two-inch wide strips with my serger.

The raw edge of these ruffles I decided would look nice in a rolled edge. I set up my machine for a rolled hem with some wooly nylon in my upper looper. I just bought this stuff over the summer for the sole purpose of using it for a rolled hem. Now I know why they call it “wooly” nylon


Here is my sample piece 🙂 It has fantastic tension I am so happy with how this looks!

Here is a picture of the trim on both sides.
The only thing left is that I ironed a hem of aprox 3/8 inch on my pants applied the trim all the way around and overlapped ends in the inside side seam. I pinned it well, then topstitched them.


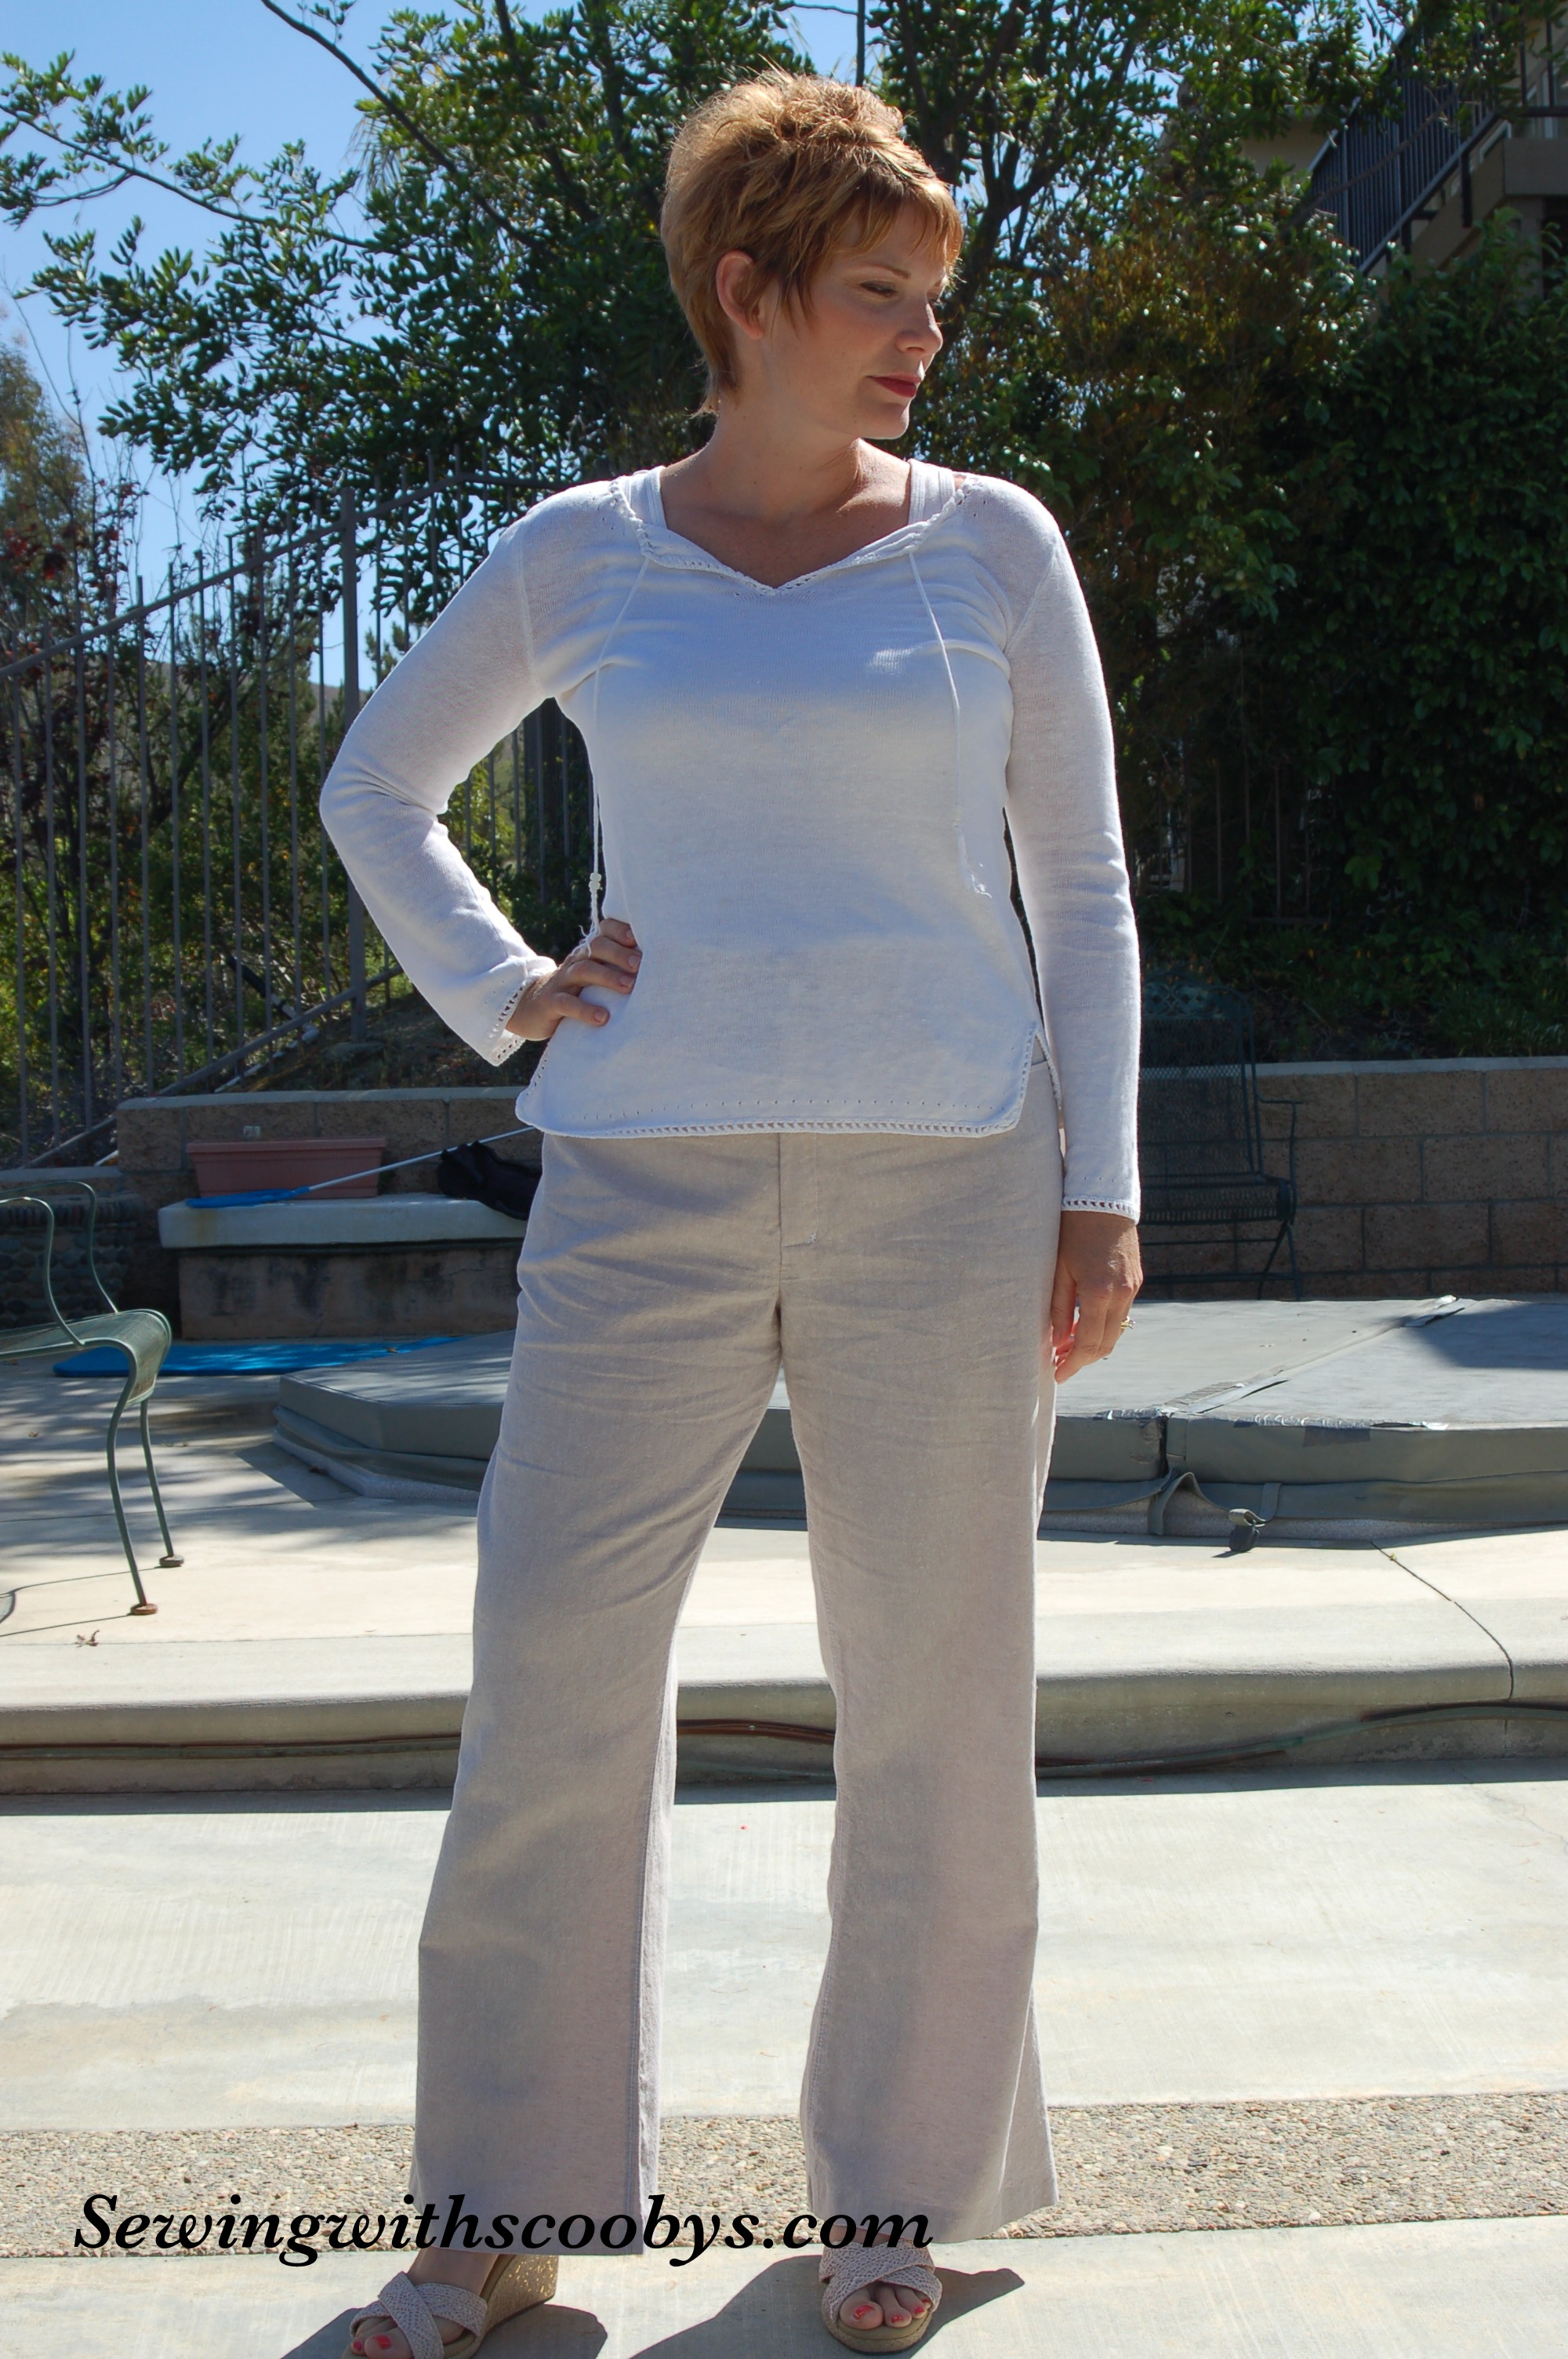
At last je suis tout fini!