Bodacious Booty Skirt Design

IMG_0448

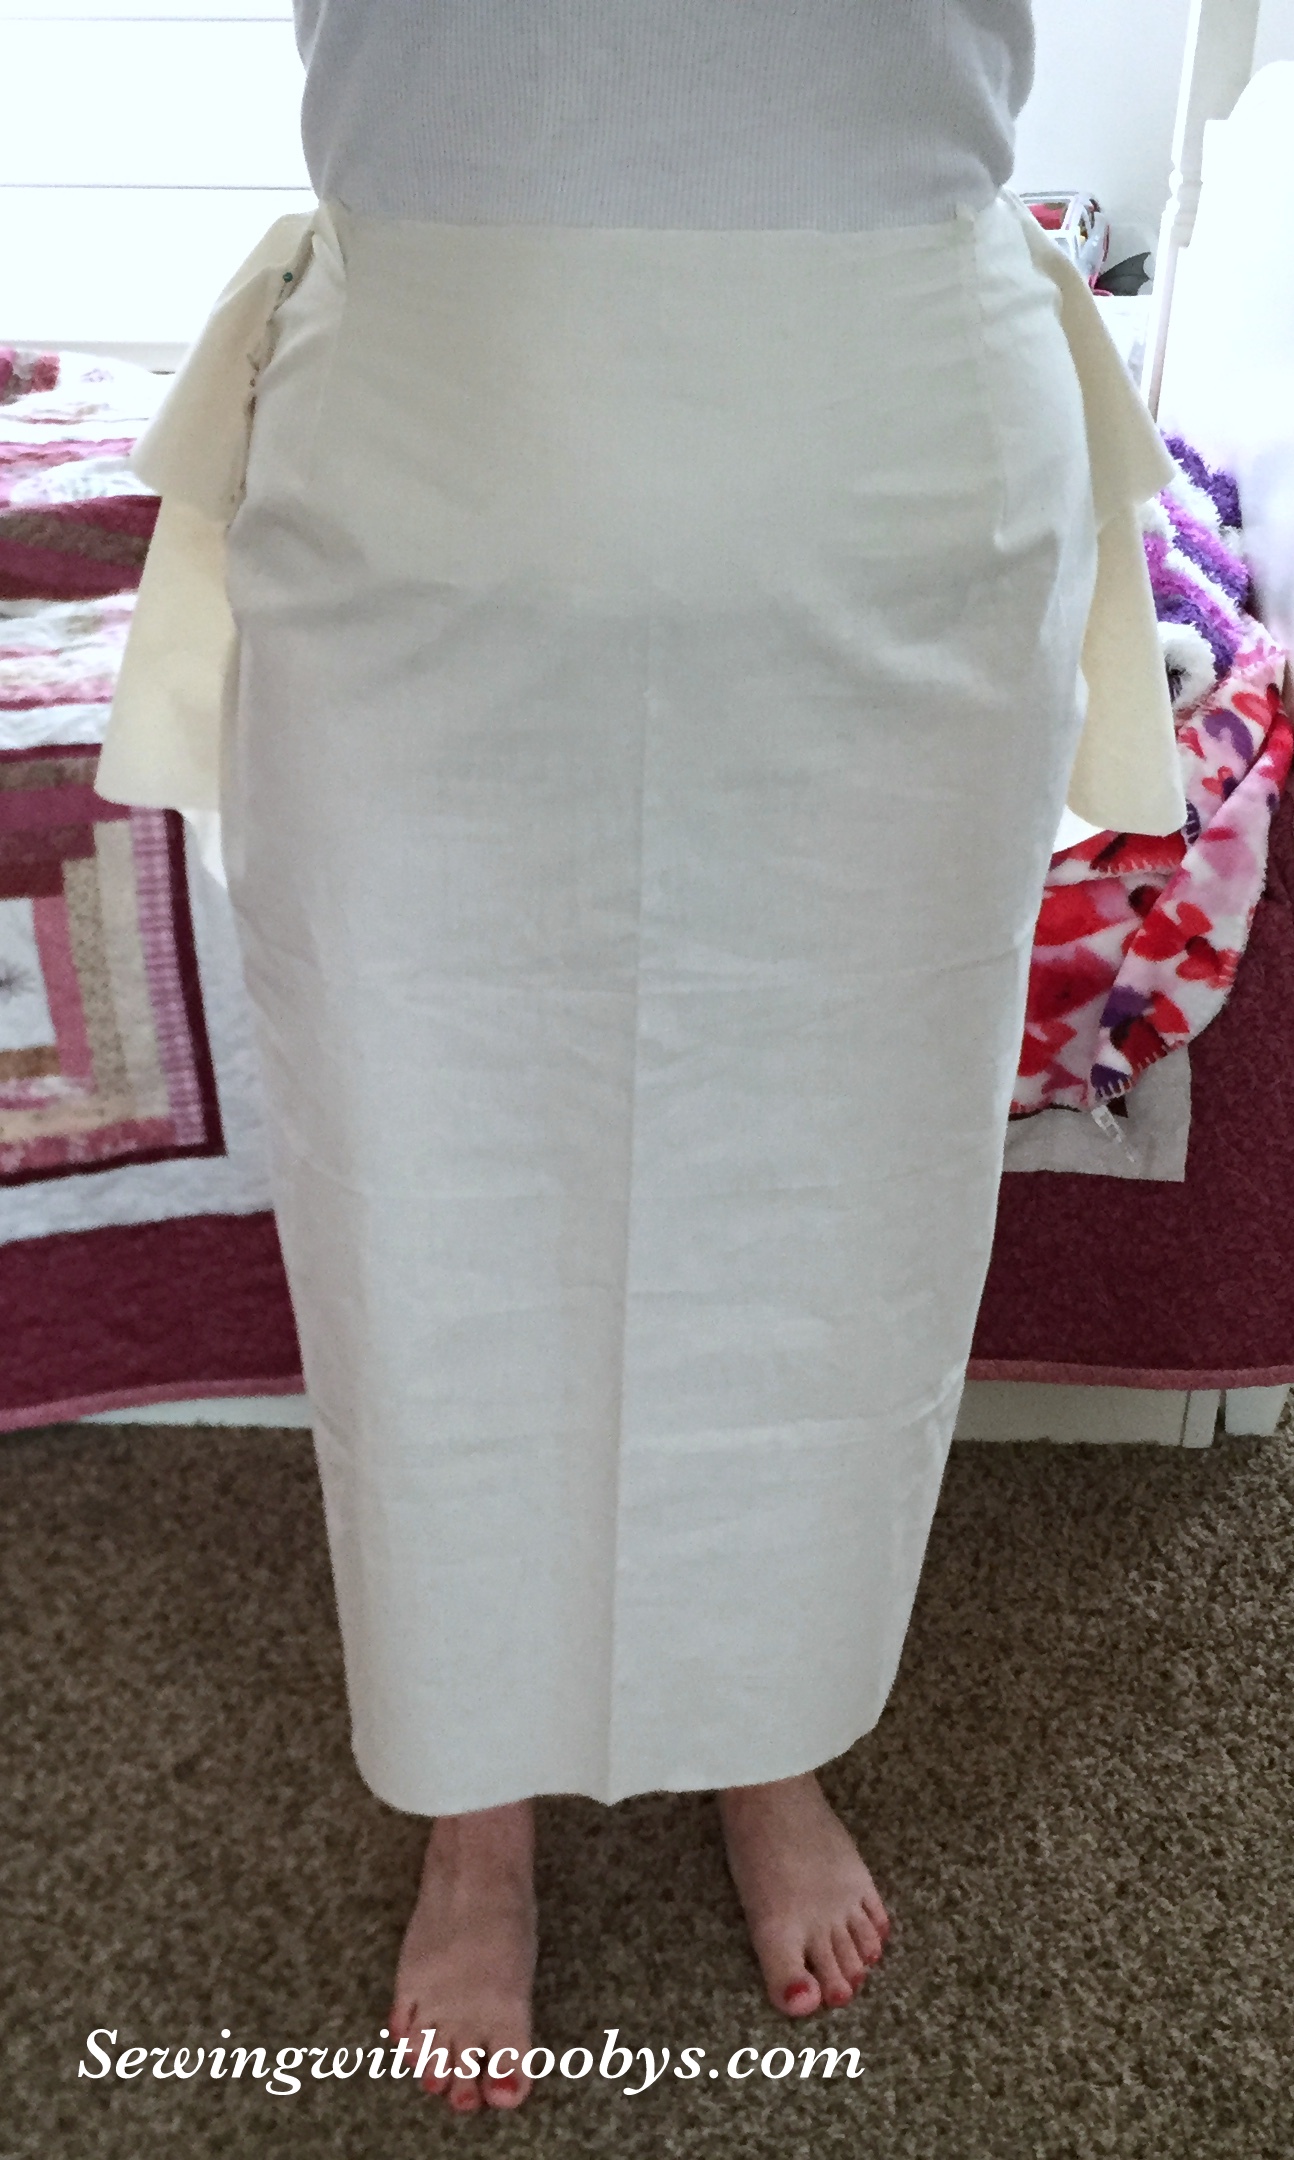
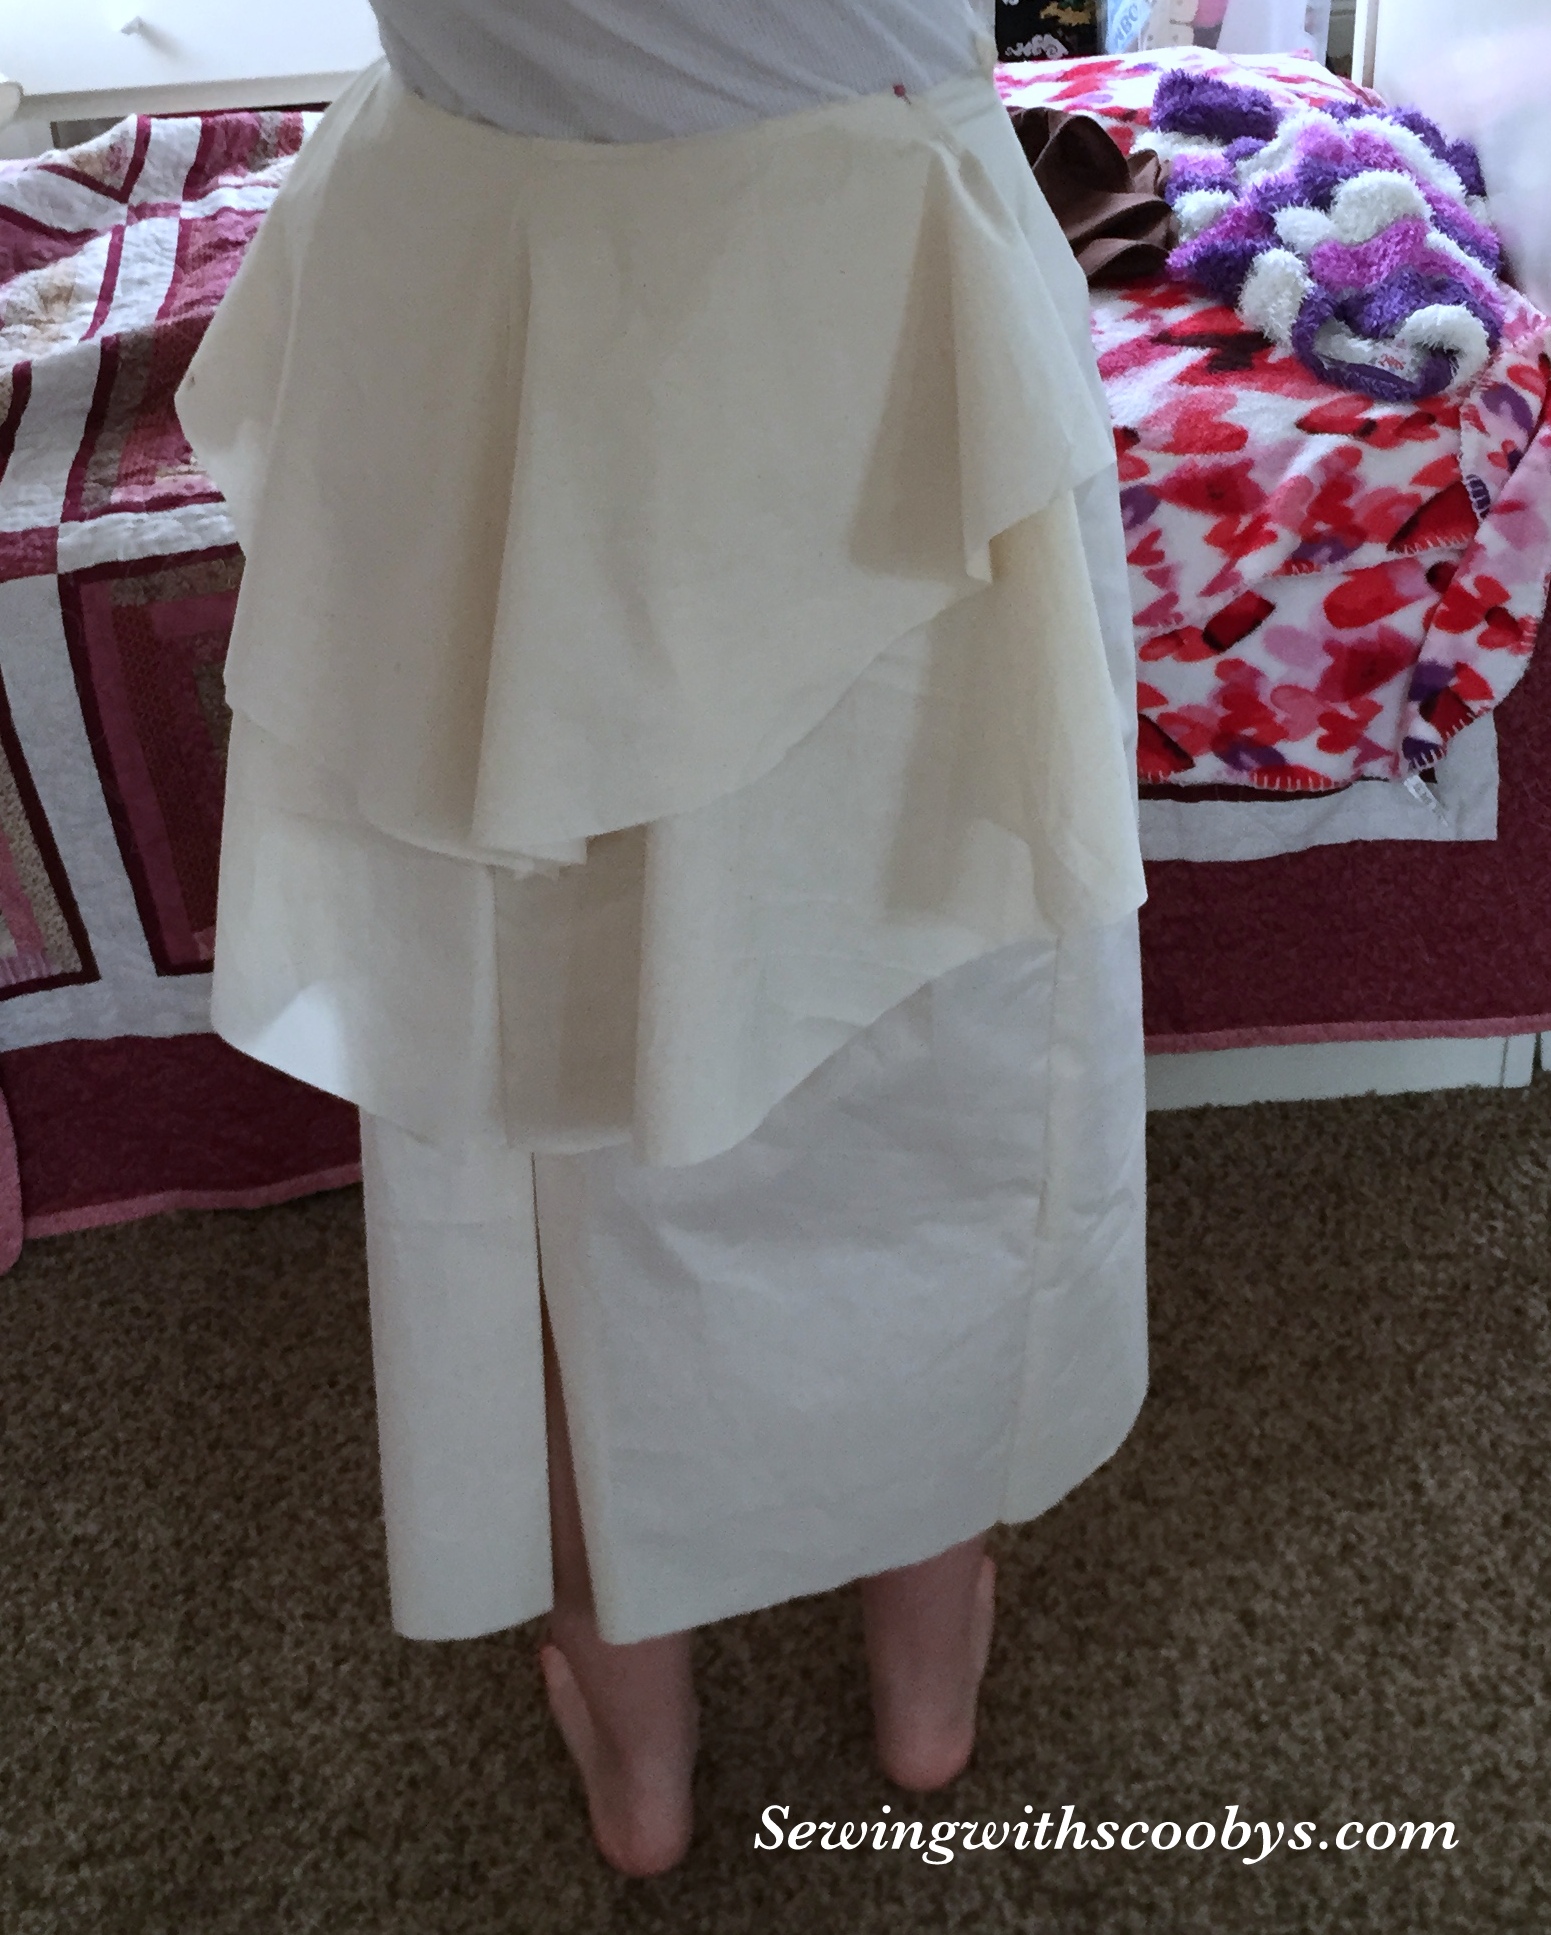
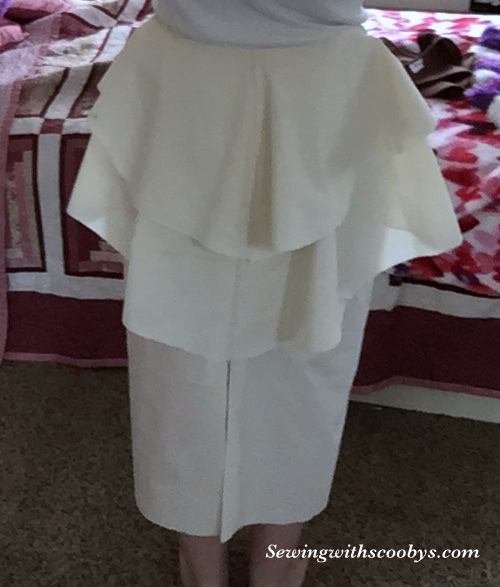
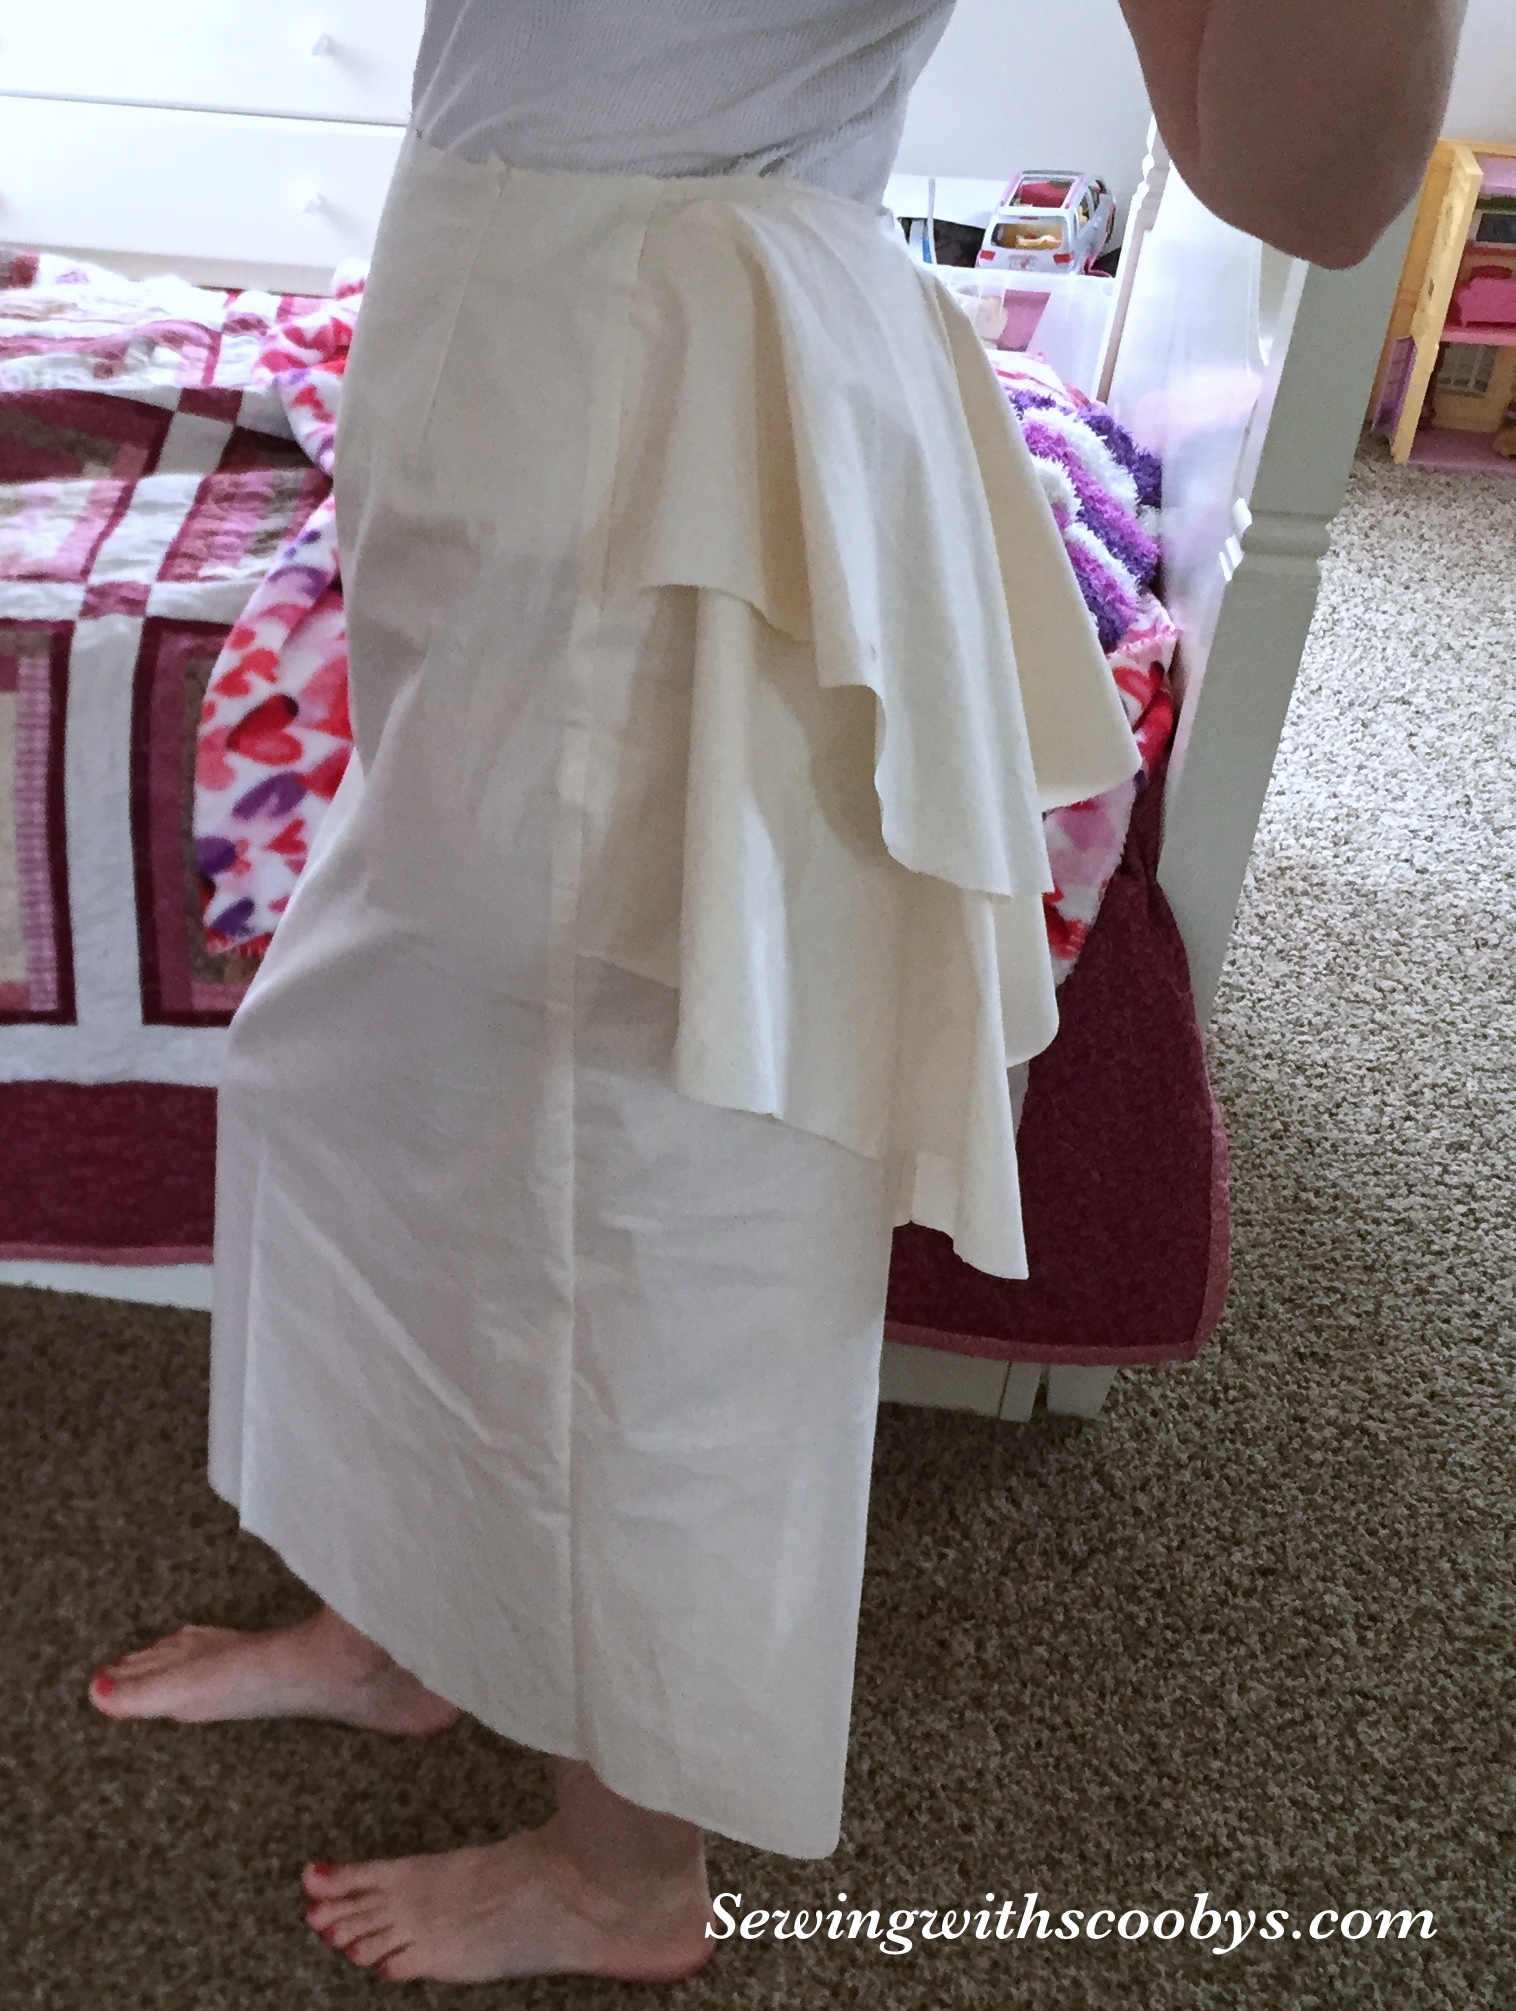
I am having so much fun with skirt drafting designs. I love vintage patterns especially historical dresses that have back bustles. So this is my inspiration with this design I sewed it up in muslin to see if I would like it. The back peplums I could not put on the bias due to lack of muslin so the drape is not as good as it could be plus I couldn’t put them on a fold for the same reason.

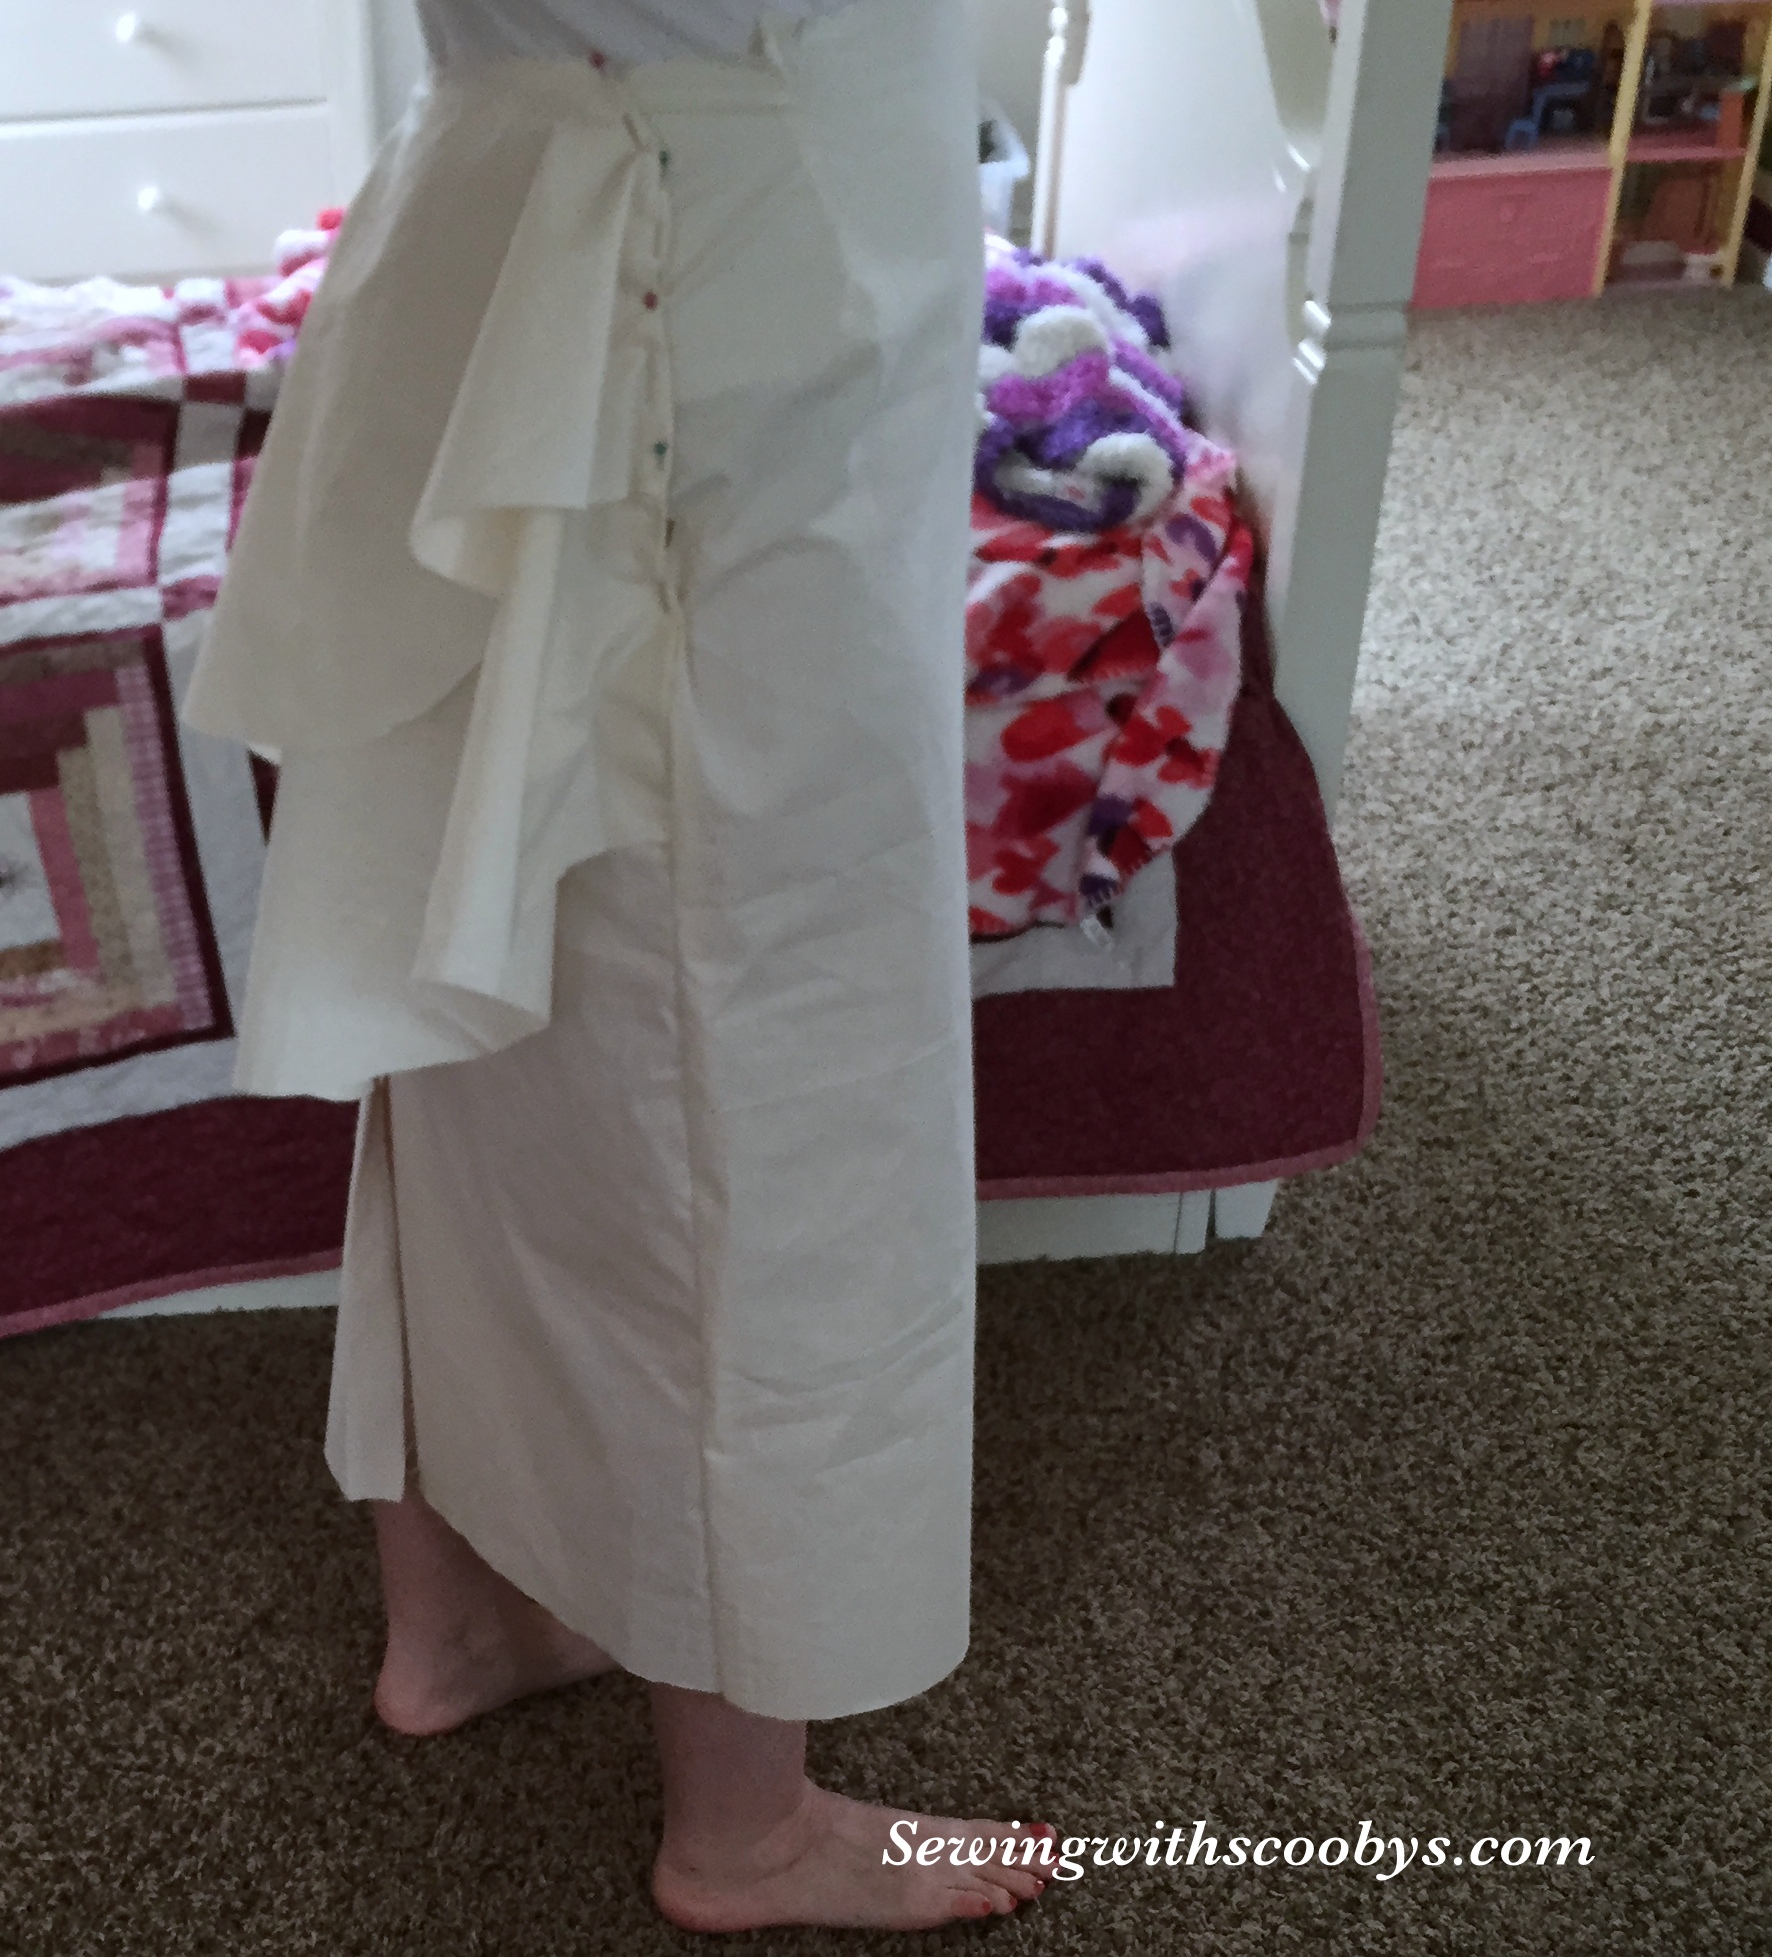
I wanted to have a longer skirt but maybe too long? I will have a side zip in this skirt so I don’t disrupt the back peplums. I still have a back center seam on this dress because I wanted to have a slit since this skirt does taper down and is essentially another pencil skirt. The slit gives much-needed room to walk in this long pencil skirt design.

The peplum design line itself I think I will narrow so it doesn’t fan out so much in the back, I want it to drape down more but again it would have a better drape if it was on bias. I think I am just going to have a facing for this skirt or else it will be just another straight waistband.

IMG_0450 IMG_0451 IMG_0452 IMG_0454 IMG_0448

So what do you guys think? Too corny? Or different and cute? What sort of fabric would you use for this skirt?

Here is a pic of another pattern I drafted that is sort of a mermaid type of design fitted to flared but I need 60 inch fabric for this to work as it needs to go onto the bias and it is also a long skirt.  I also drafted a circle skirt that is mid calf length and also puts me in the same fabric conundrum!!

DSC_4269

Happy Sewing 🙂

Linen Jacket with Flounces

I have been working on the linen jacket that matches the skirt I made. You can see the skirt post here.


I love the way it turned out. I like girly feminine stuff and the flounces on the jacket are so fun, they match the skirt flounce in the back.

The construction of this jacket seemed to take forever I originally wanted to put just the bemberg lining into it but the material is so heavy around the neckline that just the flimsy rayon would not hold the collar in firm place without the interfaced linen facings.

So I thought what the hell, I what the jacket to be smokin’ hot on the inside as well!…… so I put both inside:

DSC_2974DSC_2971 DSC_2970

I under stitched the peplum flaps, and all along the ruffle to ensure this bad girl behaved herself and not flash to the outside lol. . I hand stitched the bottom of the lining along the peplum seam line. I didn’t want any raw edges so I choose the same polka dot fabric I used as a facing for my skirt band and made bias tape. I used the bias tape for a Hong Kong finish.

The biggest issue I had was cutting the fabric flounces …….4 pieces completely identical……..  and sewing them as equally careful…….. so they were mirror images of one another.

Should be a piece of cake right?

Well lets just say this project is challenging and there was no “scooby snack drinking”  going on while I made this.

I quickly realized they were wonky when I pinned them to the front panels of the jacket.  Check this out:


IMG_0199

way off eh? Damn these got scrapped!

I then pinned the hell out of them and cut out 2 pieces at a time using scissors instead of my rotary cutter which I think was moving the fabric around a little too much on that dreaded bias.

Much better:

IMG_0201


A good tip is to also sew each flounce in the same direction this will make a huge difference in getting them to be on the same curve.

I  compared the two flounces to see if I needed to re-sew any curvy areas to get them as perfect as I could 🙂 To get nice clean edges  I trimmed my allowances, clipped my corners and curves. I pressed them flat first, then opened up the seams before turning on my wooden pressing tool.

IMG_0202 IMG_0203

After turning them I ironed them again and got a very nice smooth curve.  What do you think?  It’s as good as it gets because I am not making another set of these lol !

IMG_0209DSC_2972DSC_2973

All in all I did do some alterations, I didn’t want it too tight and overfitted  but now looking back I wish I would have taken a bit more out from under the arms and shorten the back to waist seam line. I still like it and I learned a lot from making my first jacket. Here are a few more pictures my hubby took for me.

DSC_2989

DSC_2990 DSC_2991 DSC_2992

What do you think? Have you ever made jackets before and if so what advice do you have for the next one I make? I really need a sewing buddy that can help me with alterations on myself if I could have seen the back better and pinned out some of that fabric it would have looked nicer.

Thanks for reading and have a great weekend 🙂