Drafting a Cowl

DSC_4292

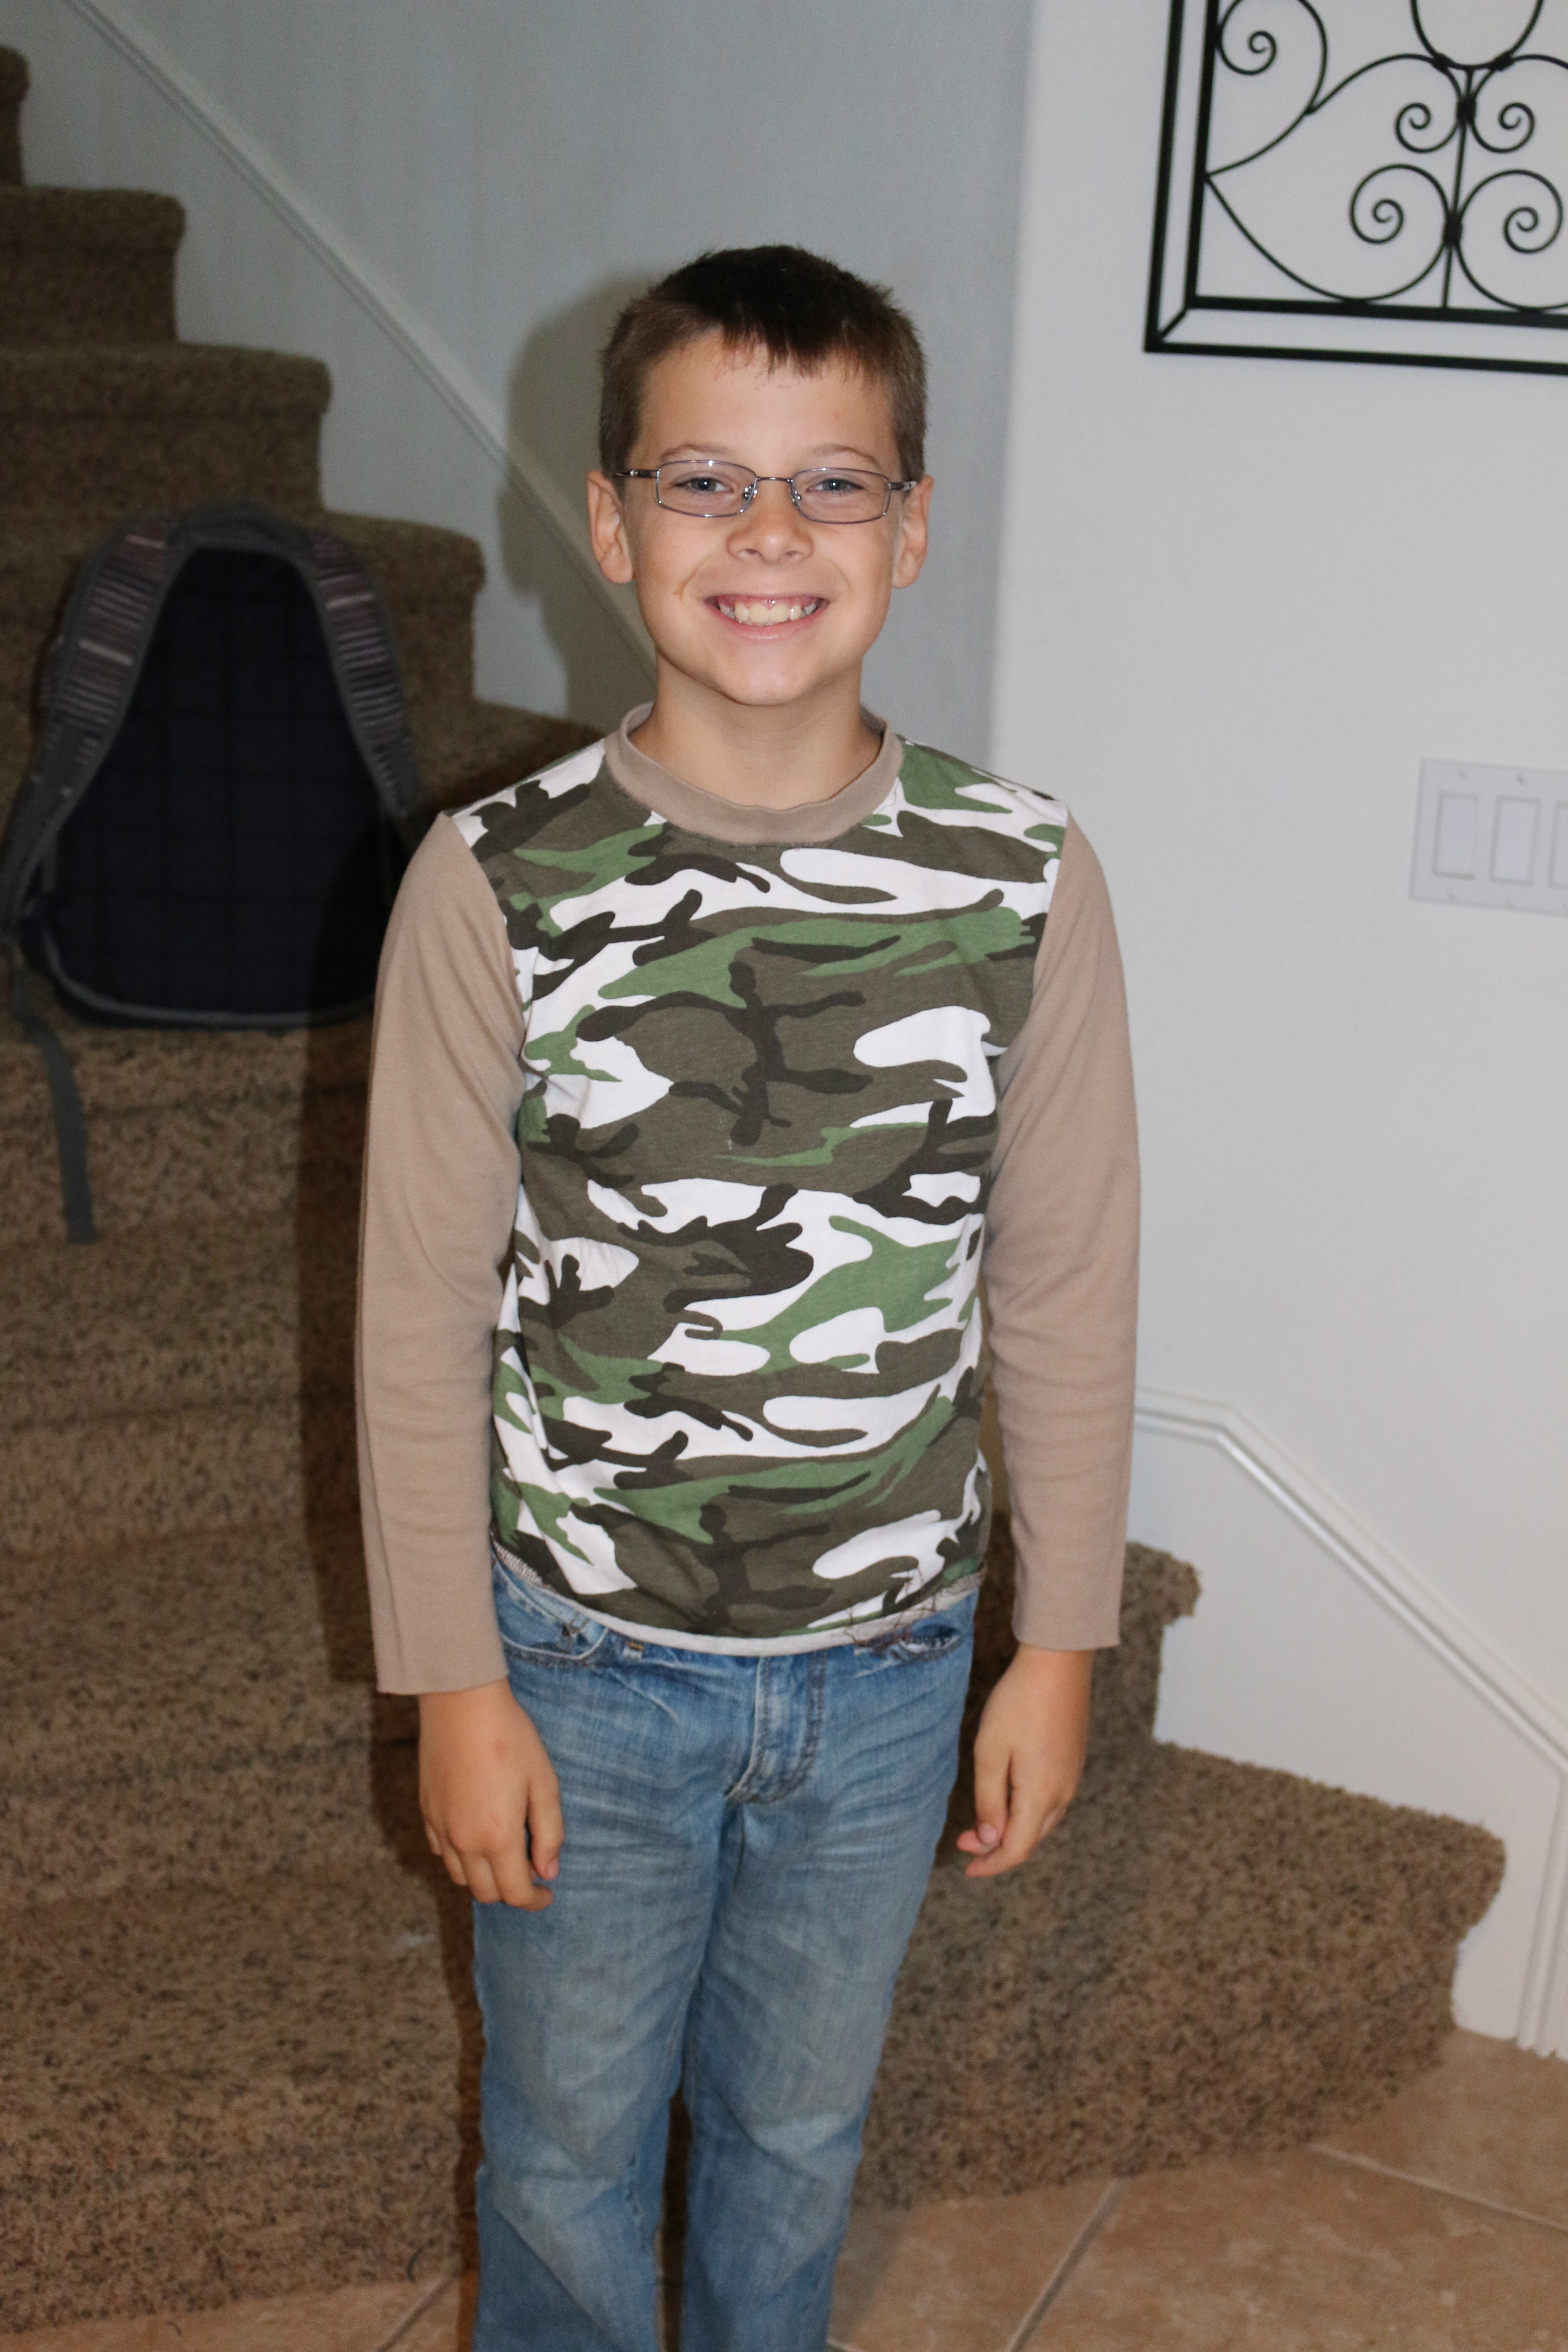
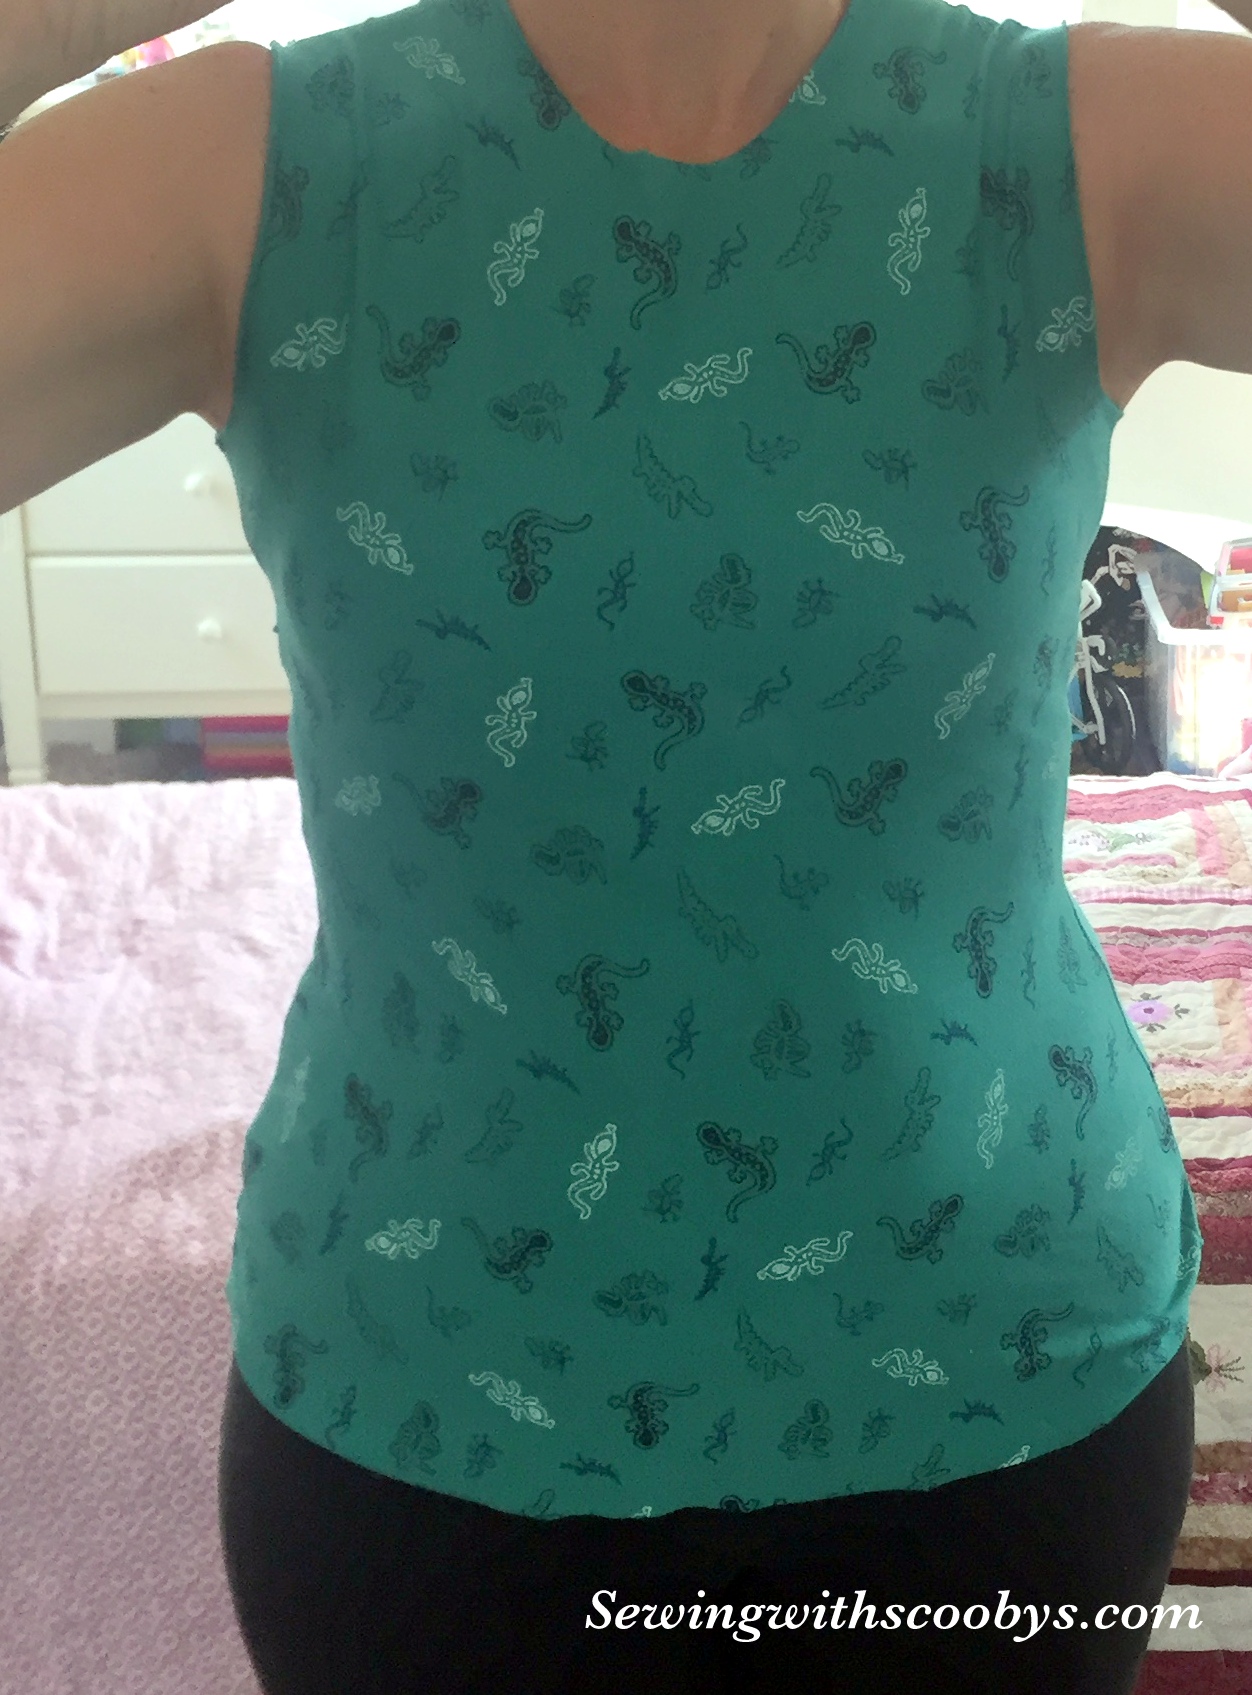
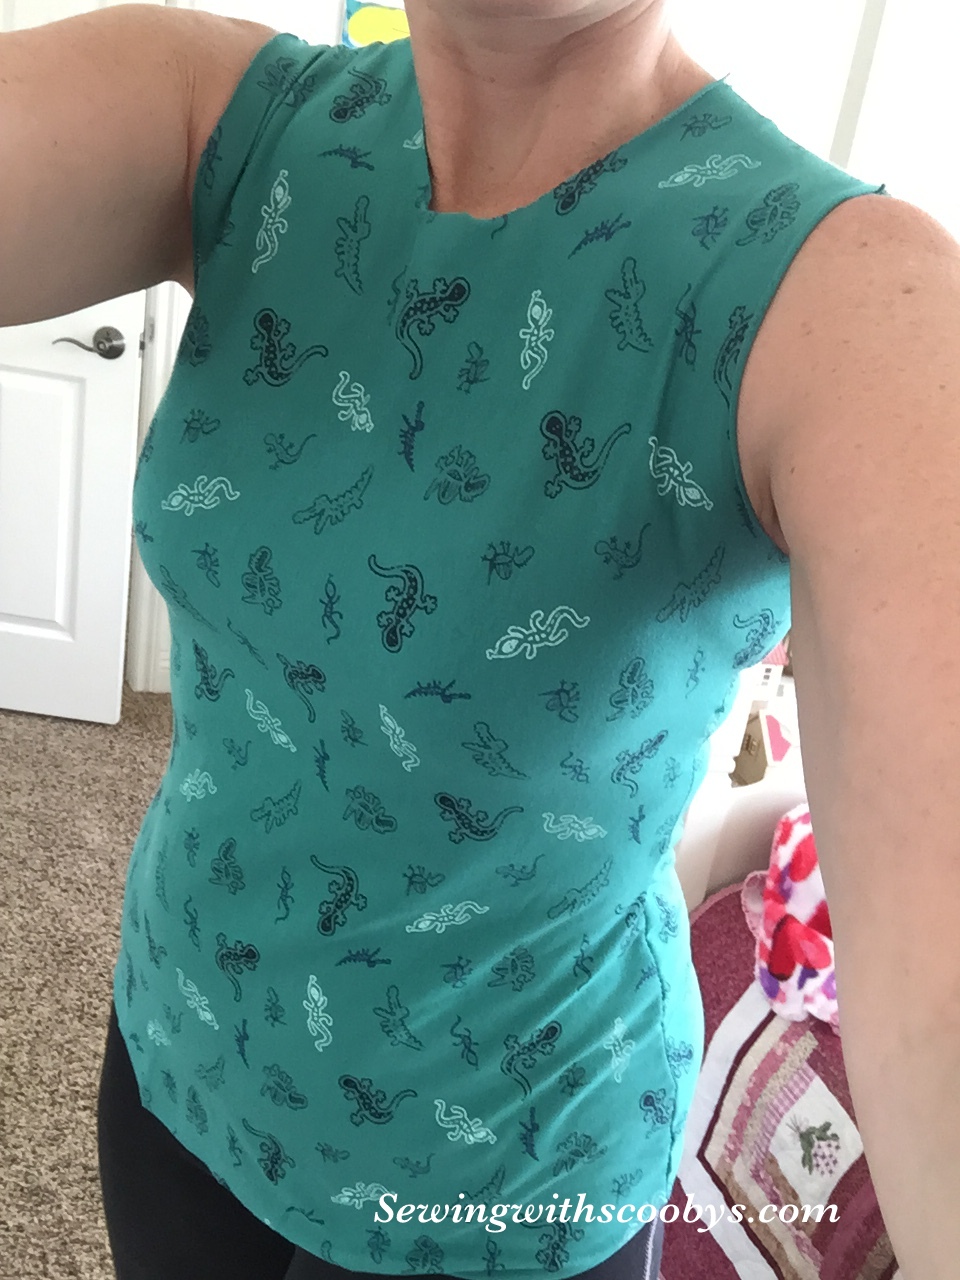
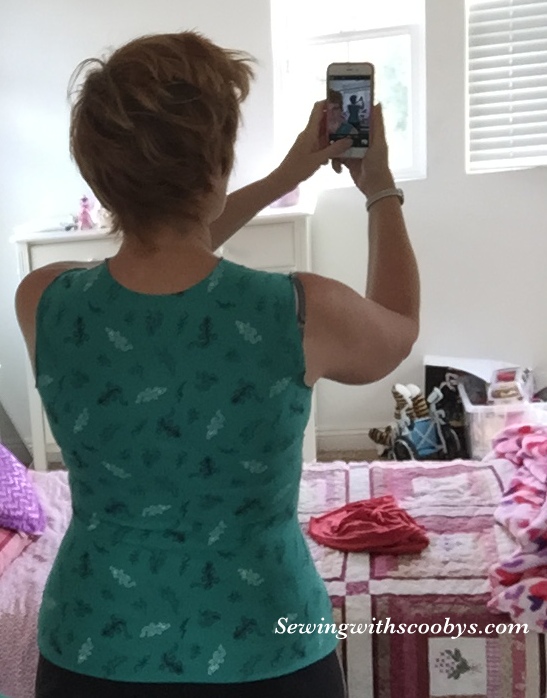
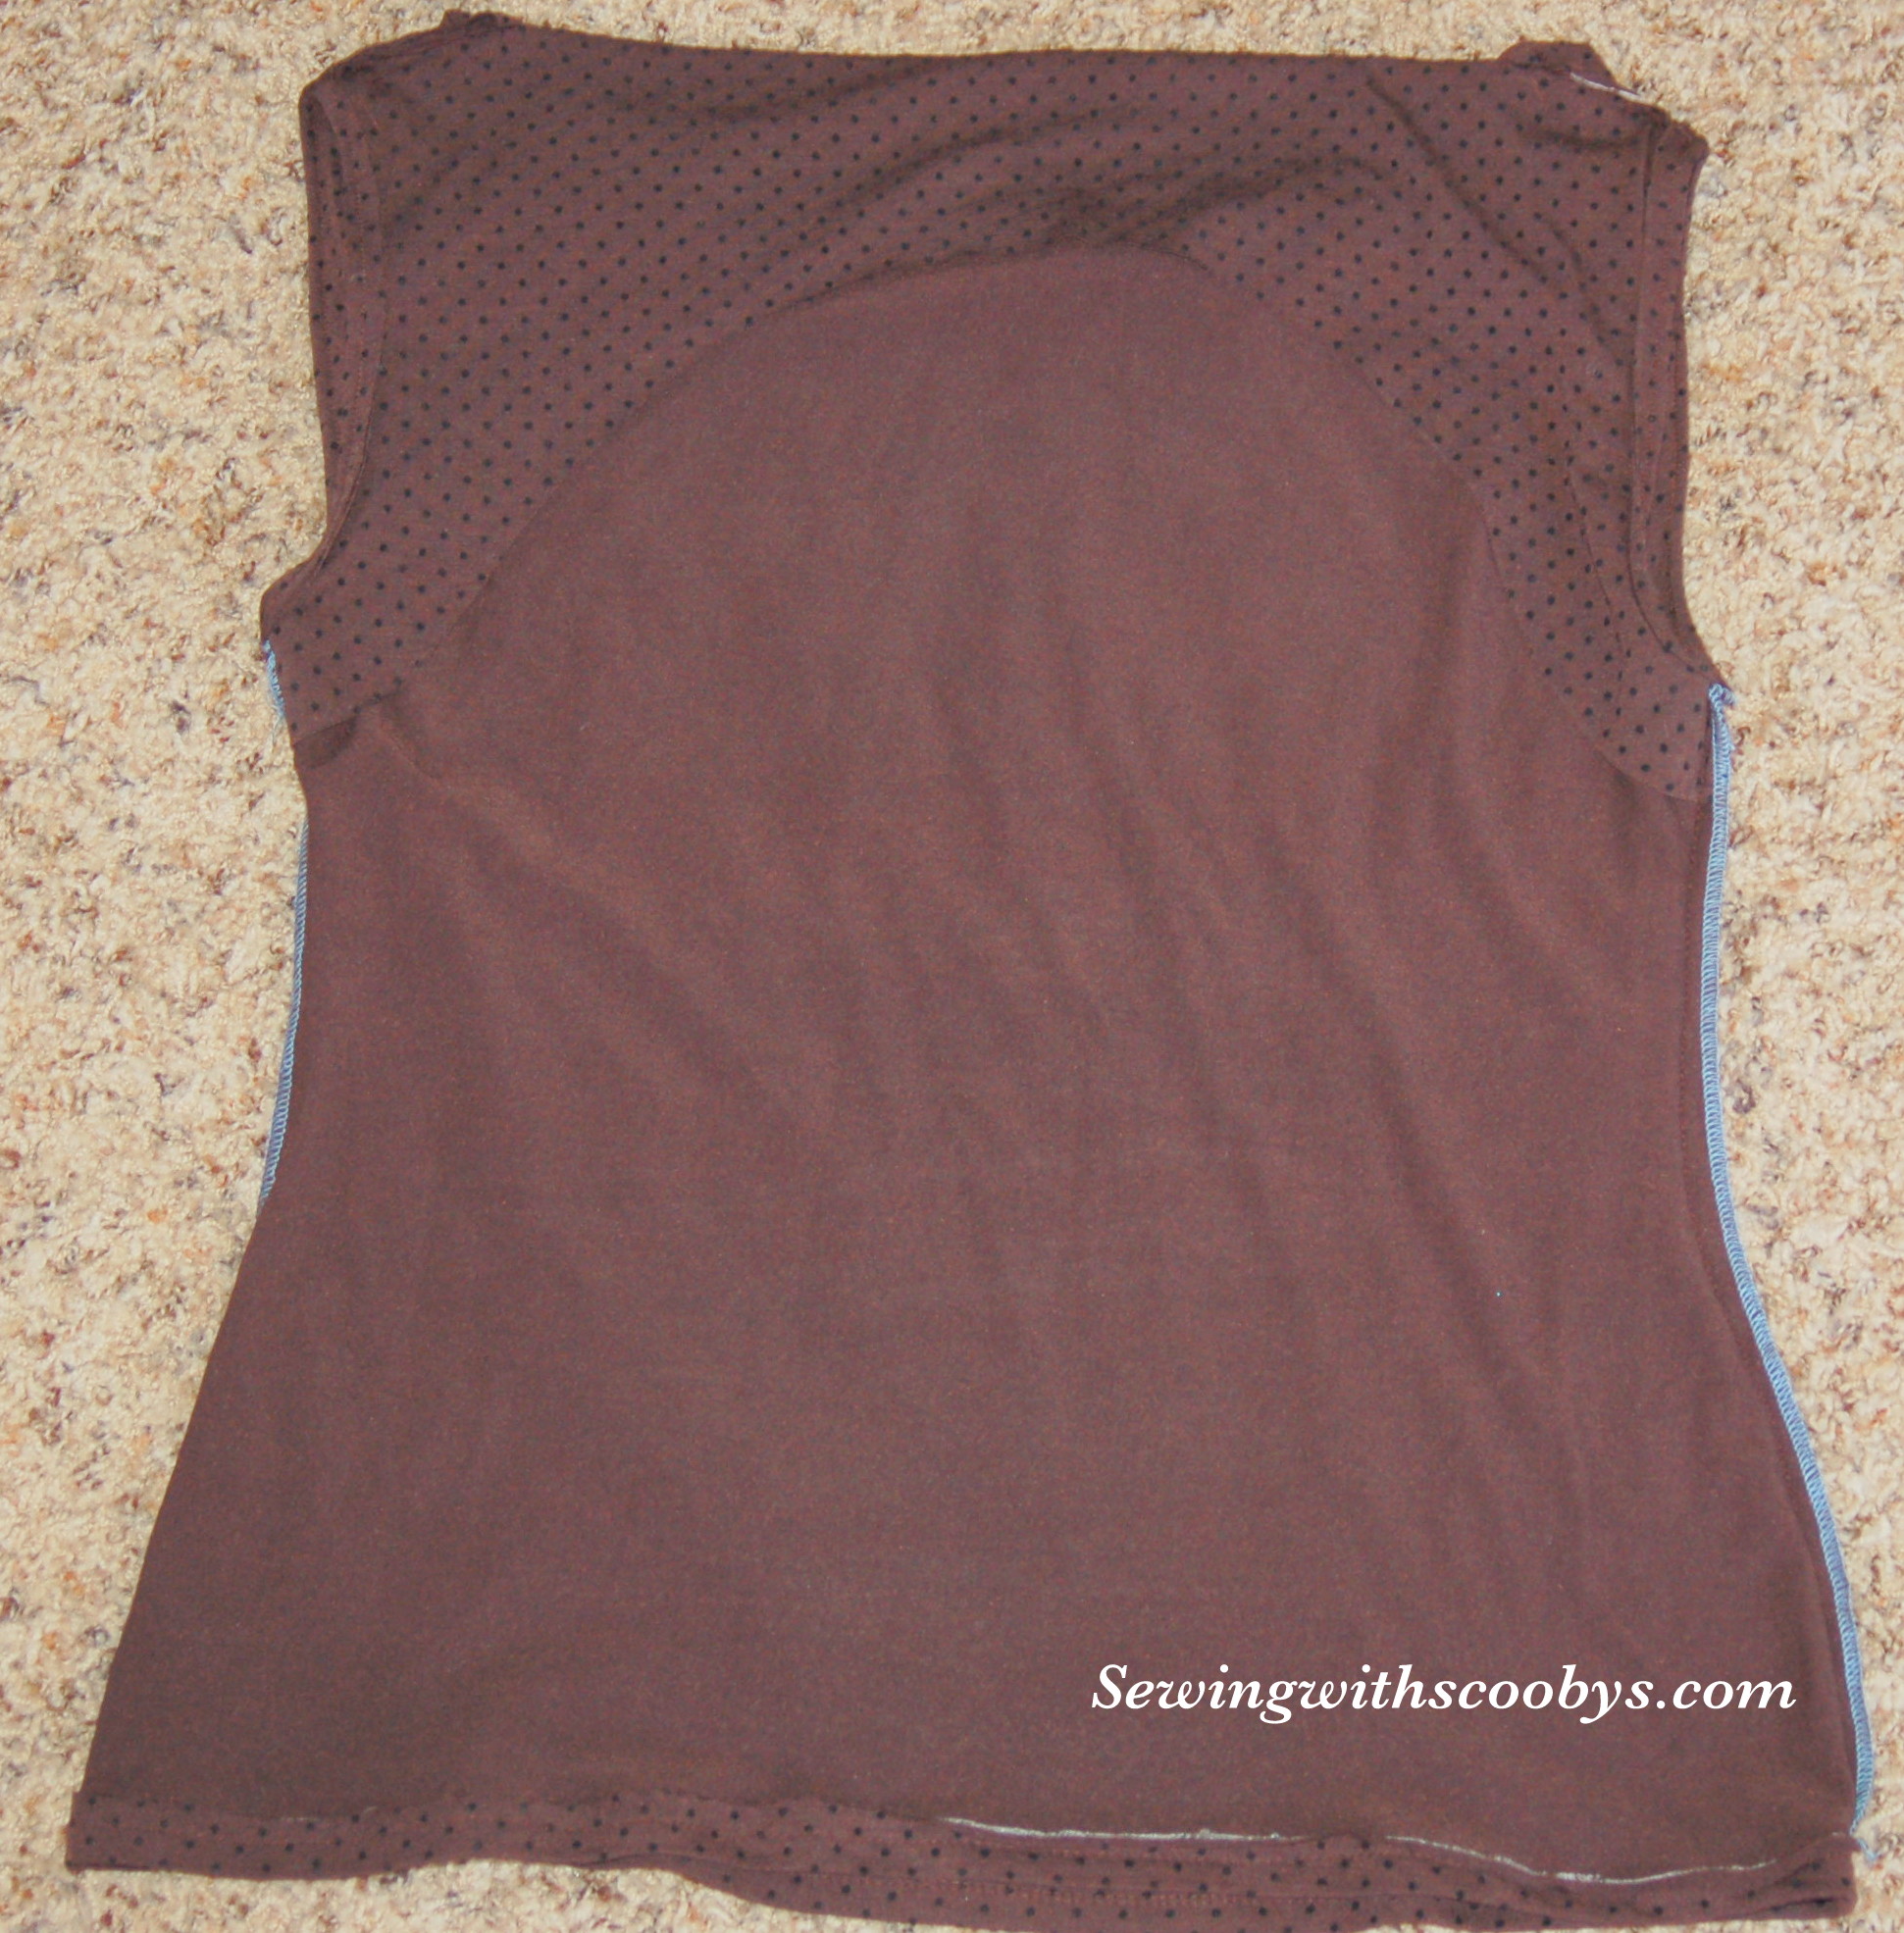
So I have taken my bodice sloper and made a knit sloper from it. I used some old knits to try as a muslin and was happy with the fit of the knit bodice. So I placed that on tag for future t-shirts.

IMG_0482 IMG_0483 IMG_0485

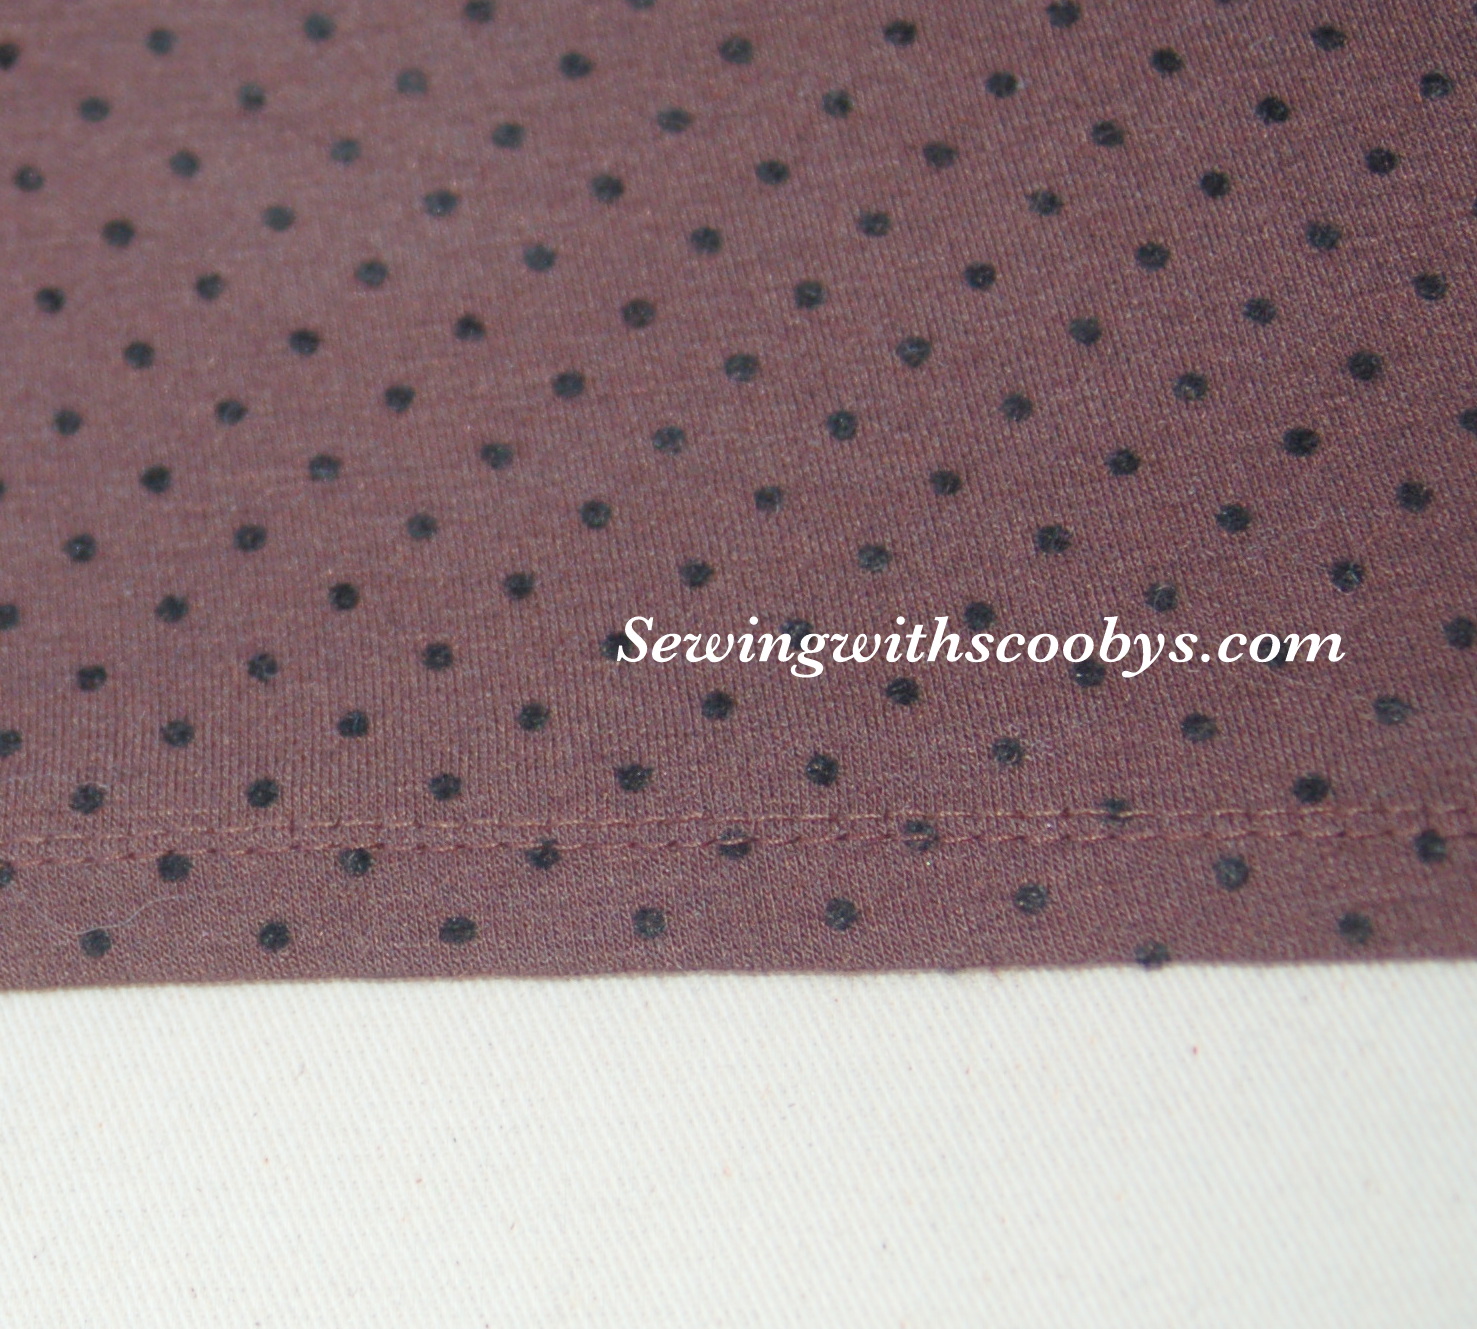
I worked through the lesson for drafting a cowl neck from my bodice sloper.  My first mock-up was pretty good but the shoulder seams were too far back by 1 inch.  I lowered the front shoulder seams and dropped my armhole a bit to make up for the 1 inch I took off in the shoulder and cut the changes straight away from the same mock-up knit fabric that is a lovely polka dot brown.

IMG_0488 IMG_0490

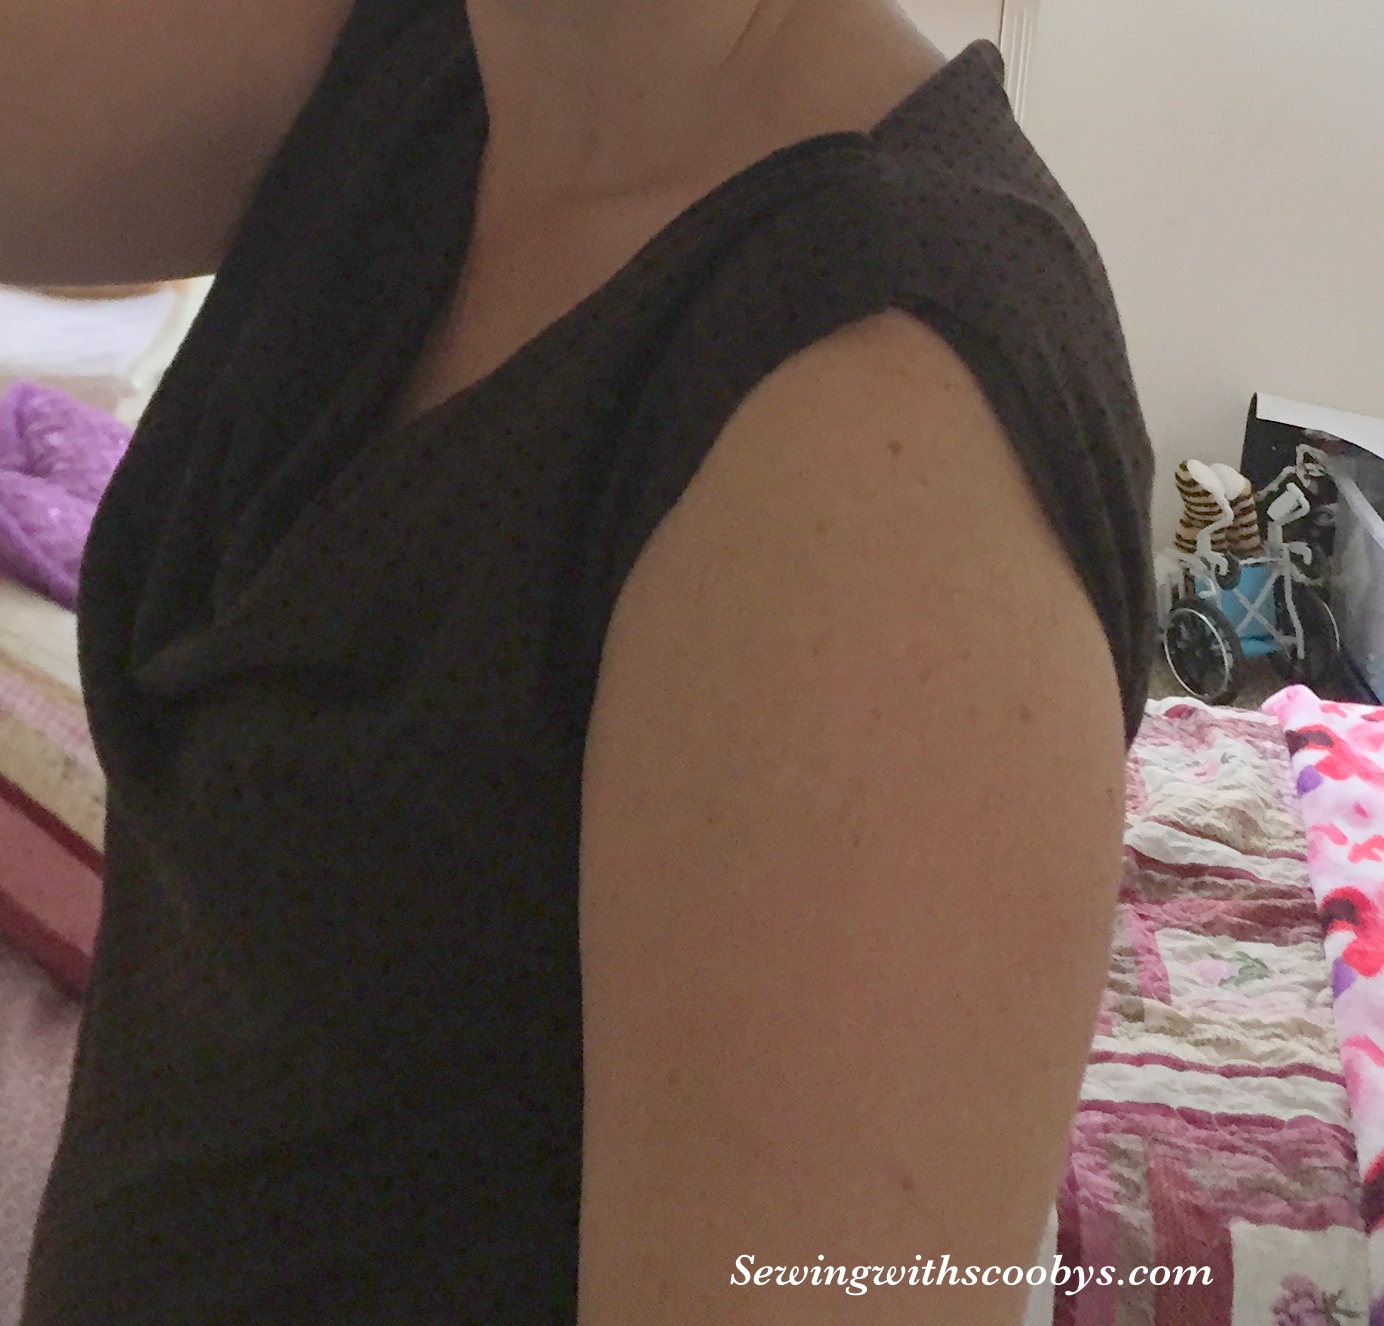
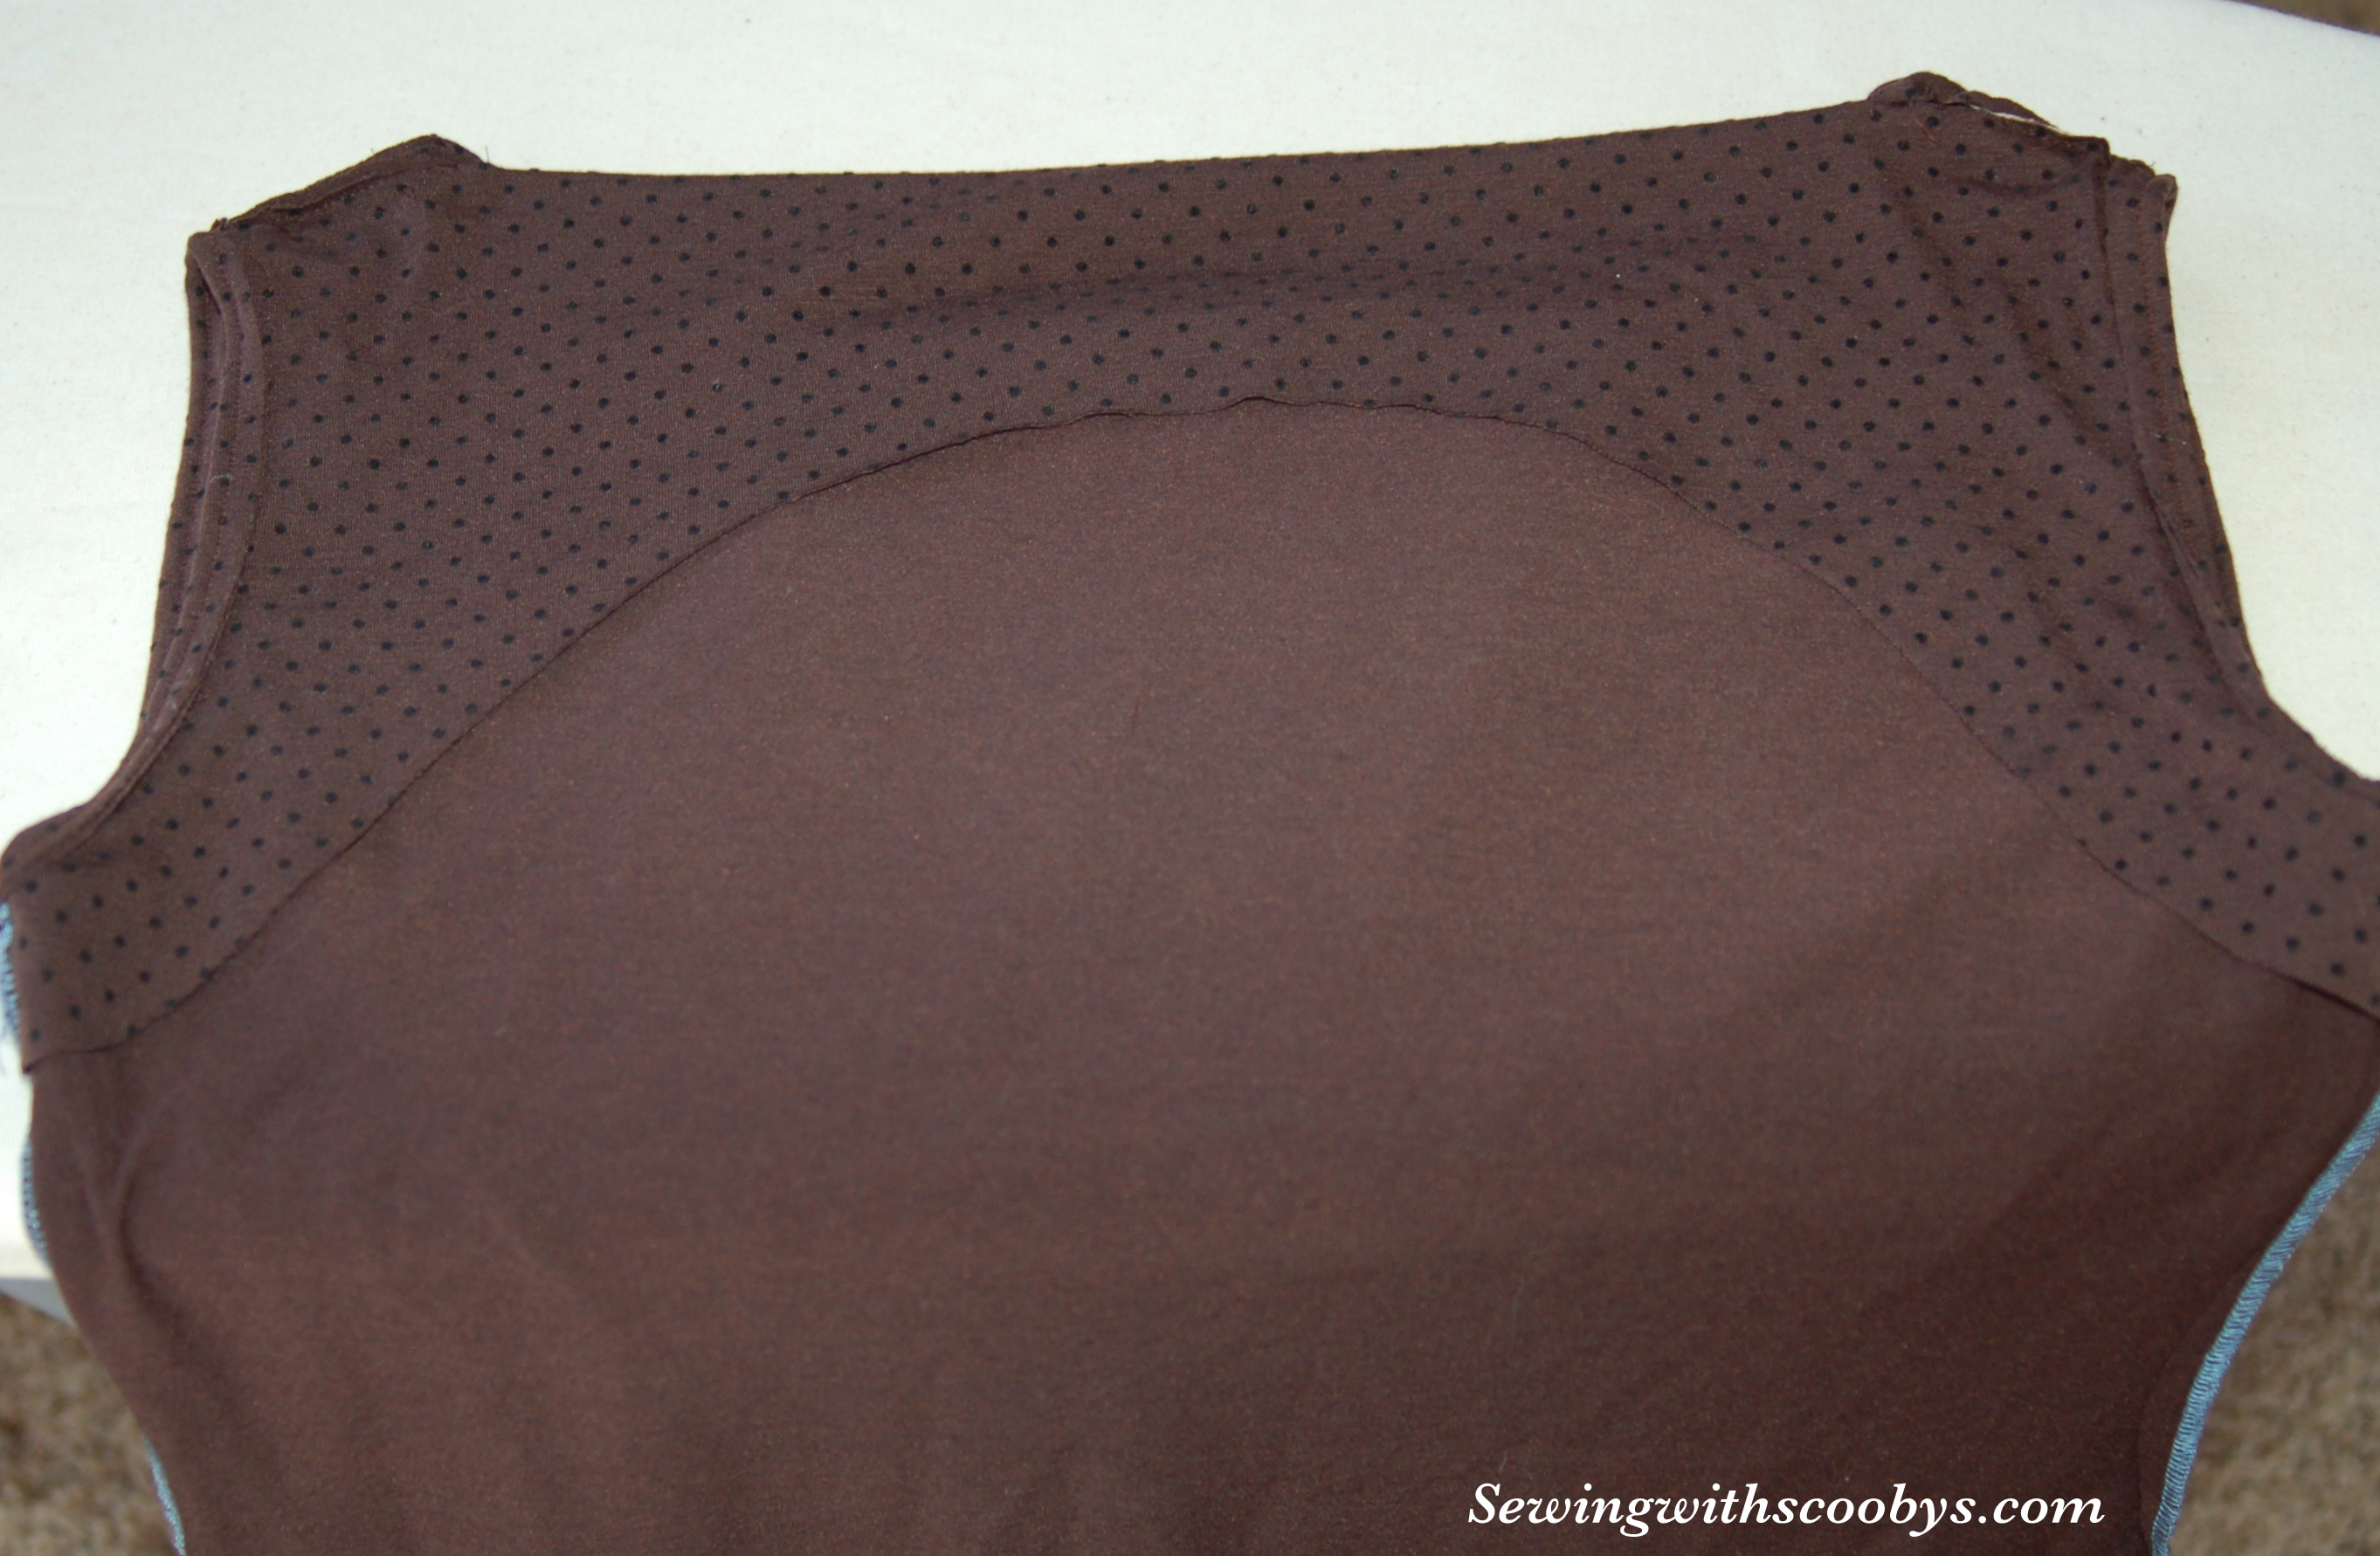
This seemed to work out quite nicely. I proceeded to turn under the armhole edges and sewed them with a small hem using a stretch stitch.

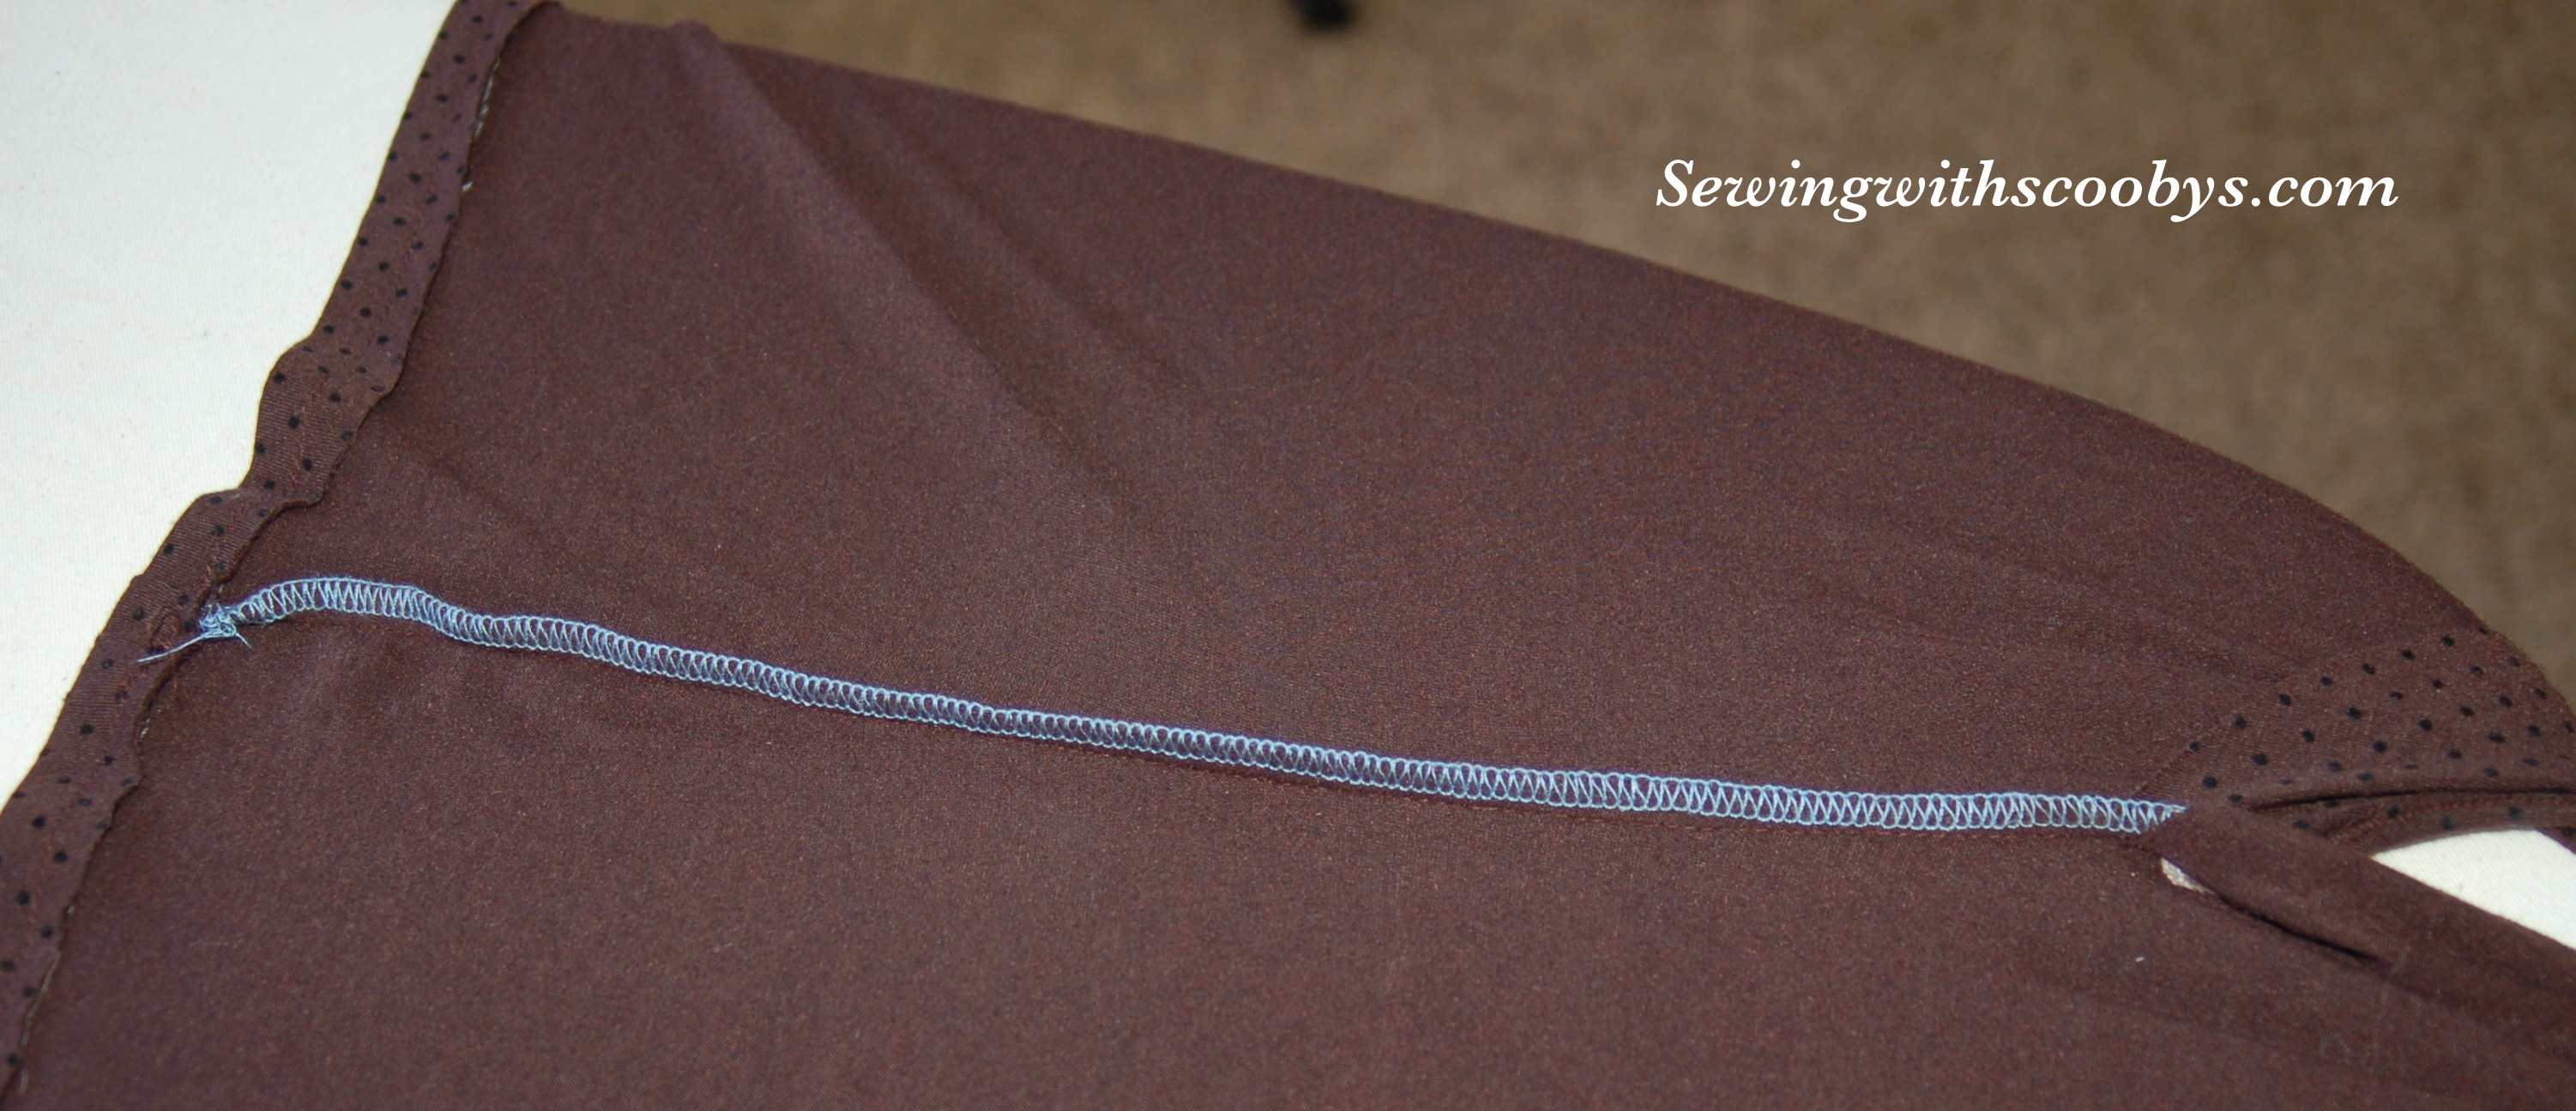
For the hem on the bottom I used some steam a seam to hold the hem in place I turned it up 3/4 inch. I proceeded to try out my twin needle for the first time. I loved the results!

DSC_4294

My Juki can be set up for a coverstitch but it is such a hassle that I would rather use the twin needle.  If I sew lots of knits in the future I think it would be worth investing in a coverstitch machine.  Switching back and forth to serging takes such a long time. I did however serg my side seams in a pretty blue…..because that was the thread still in there from my skirt project 🙂

DSC_4293

Overall I am very pleased with this pattern, there is a facing in the front and back so the neckline is just a soft fold over and it stays tucked in quite well, I made the facing 4 inches long in the front and 3 in the back.  I may try a double cowl for a more dressy top in the future or better yet extend my side seams down and make it a dress 🙂

DSC_4297 DSC_4298


DSC_4292 DSC_4289 DSC_4288 DSC_4287

The next thing I would like to tackle is following along with the course and practicing more dart manipulation but in a woven…..looks like I have to break out the muslin again 😉

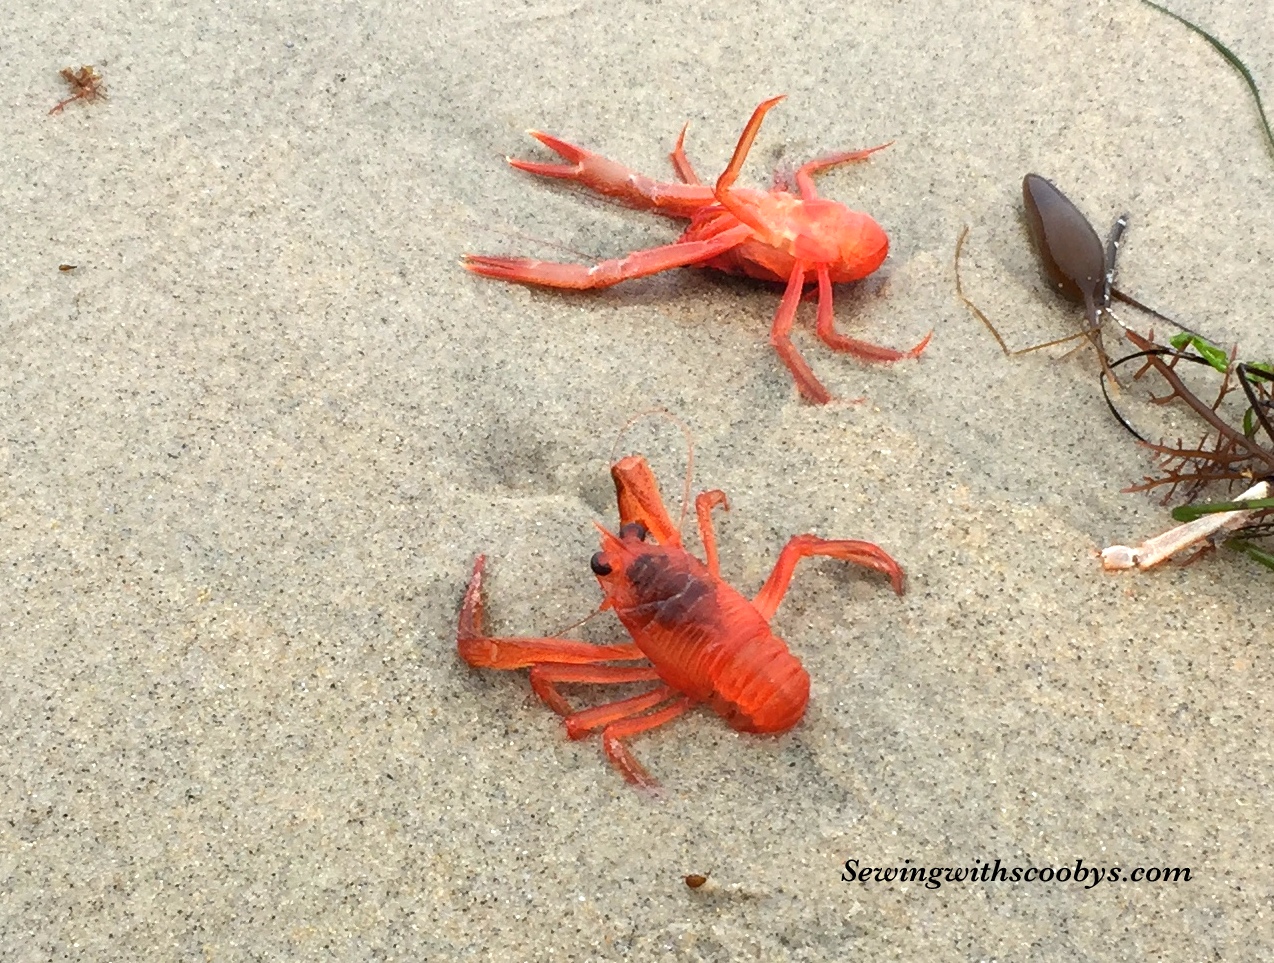
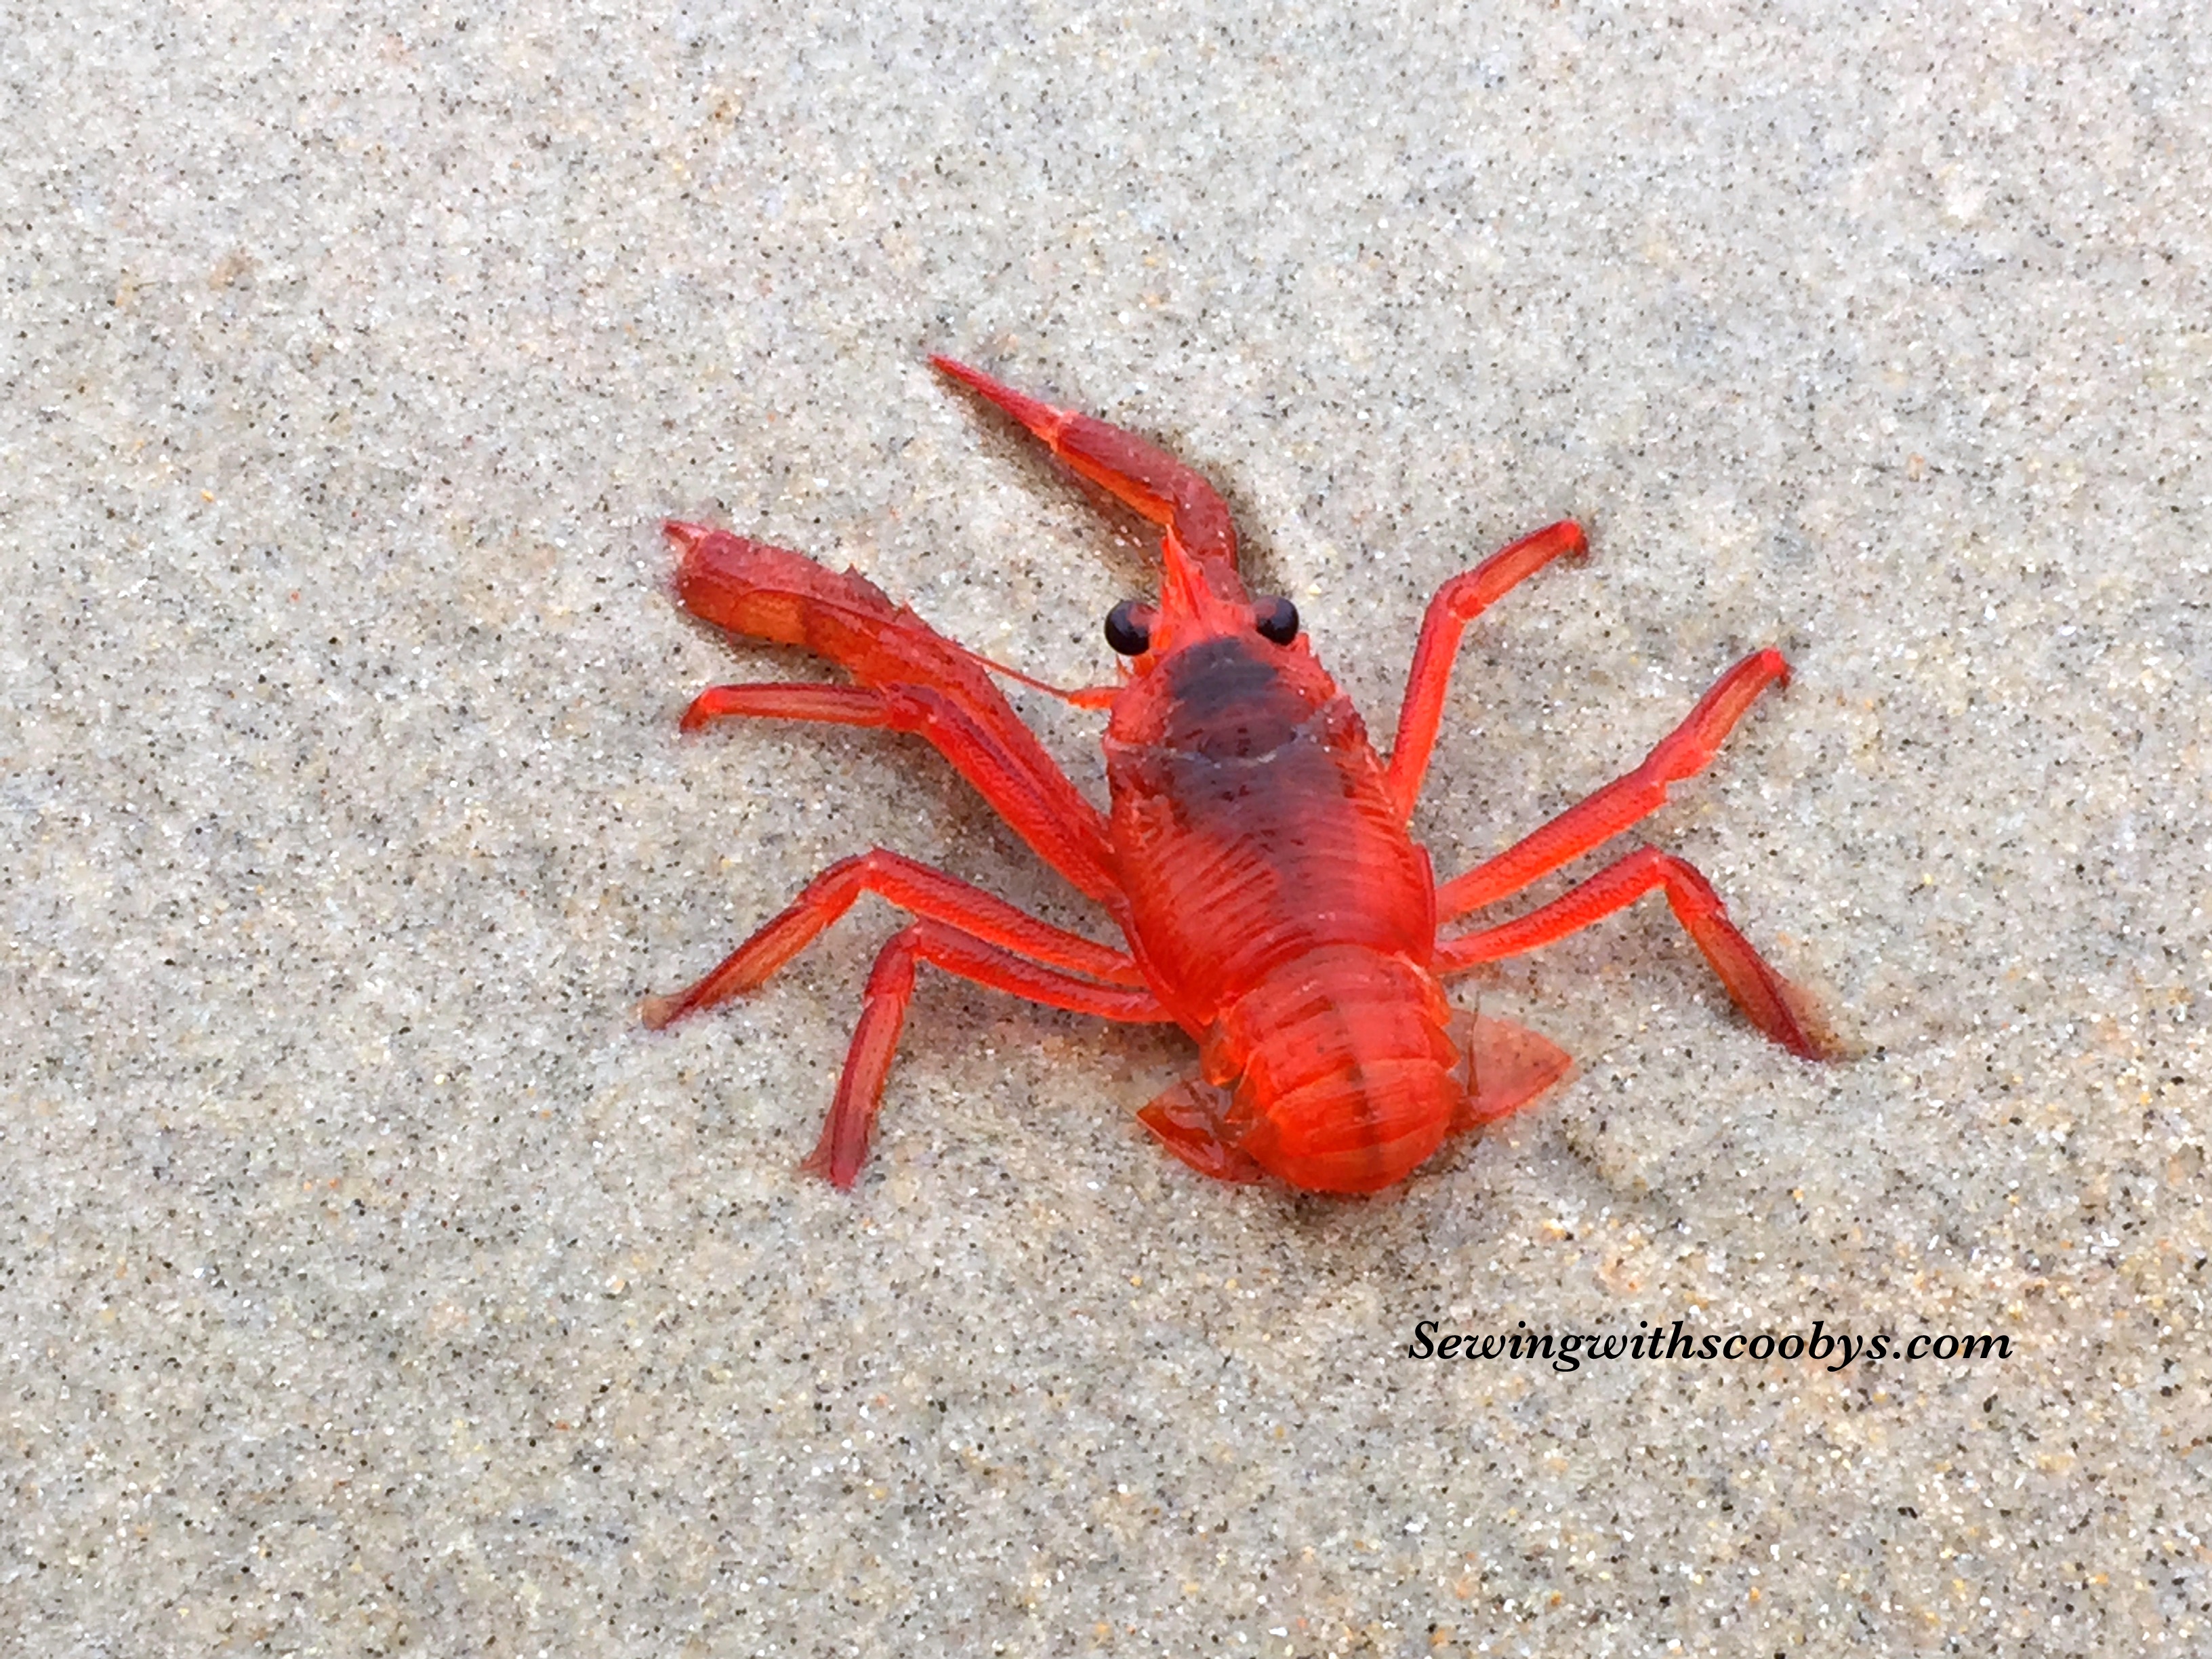
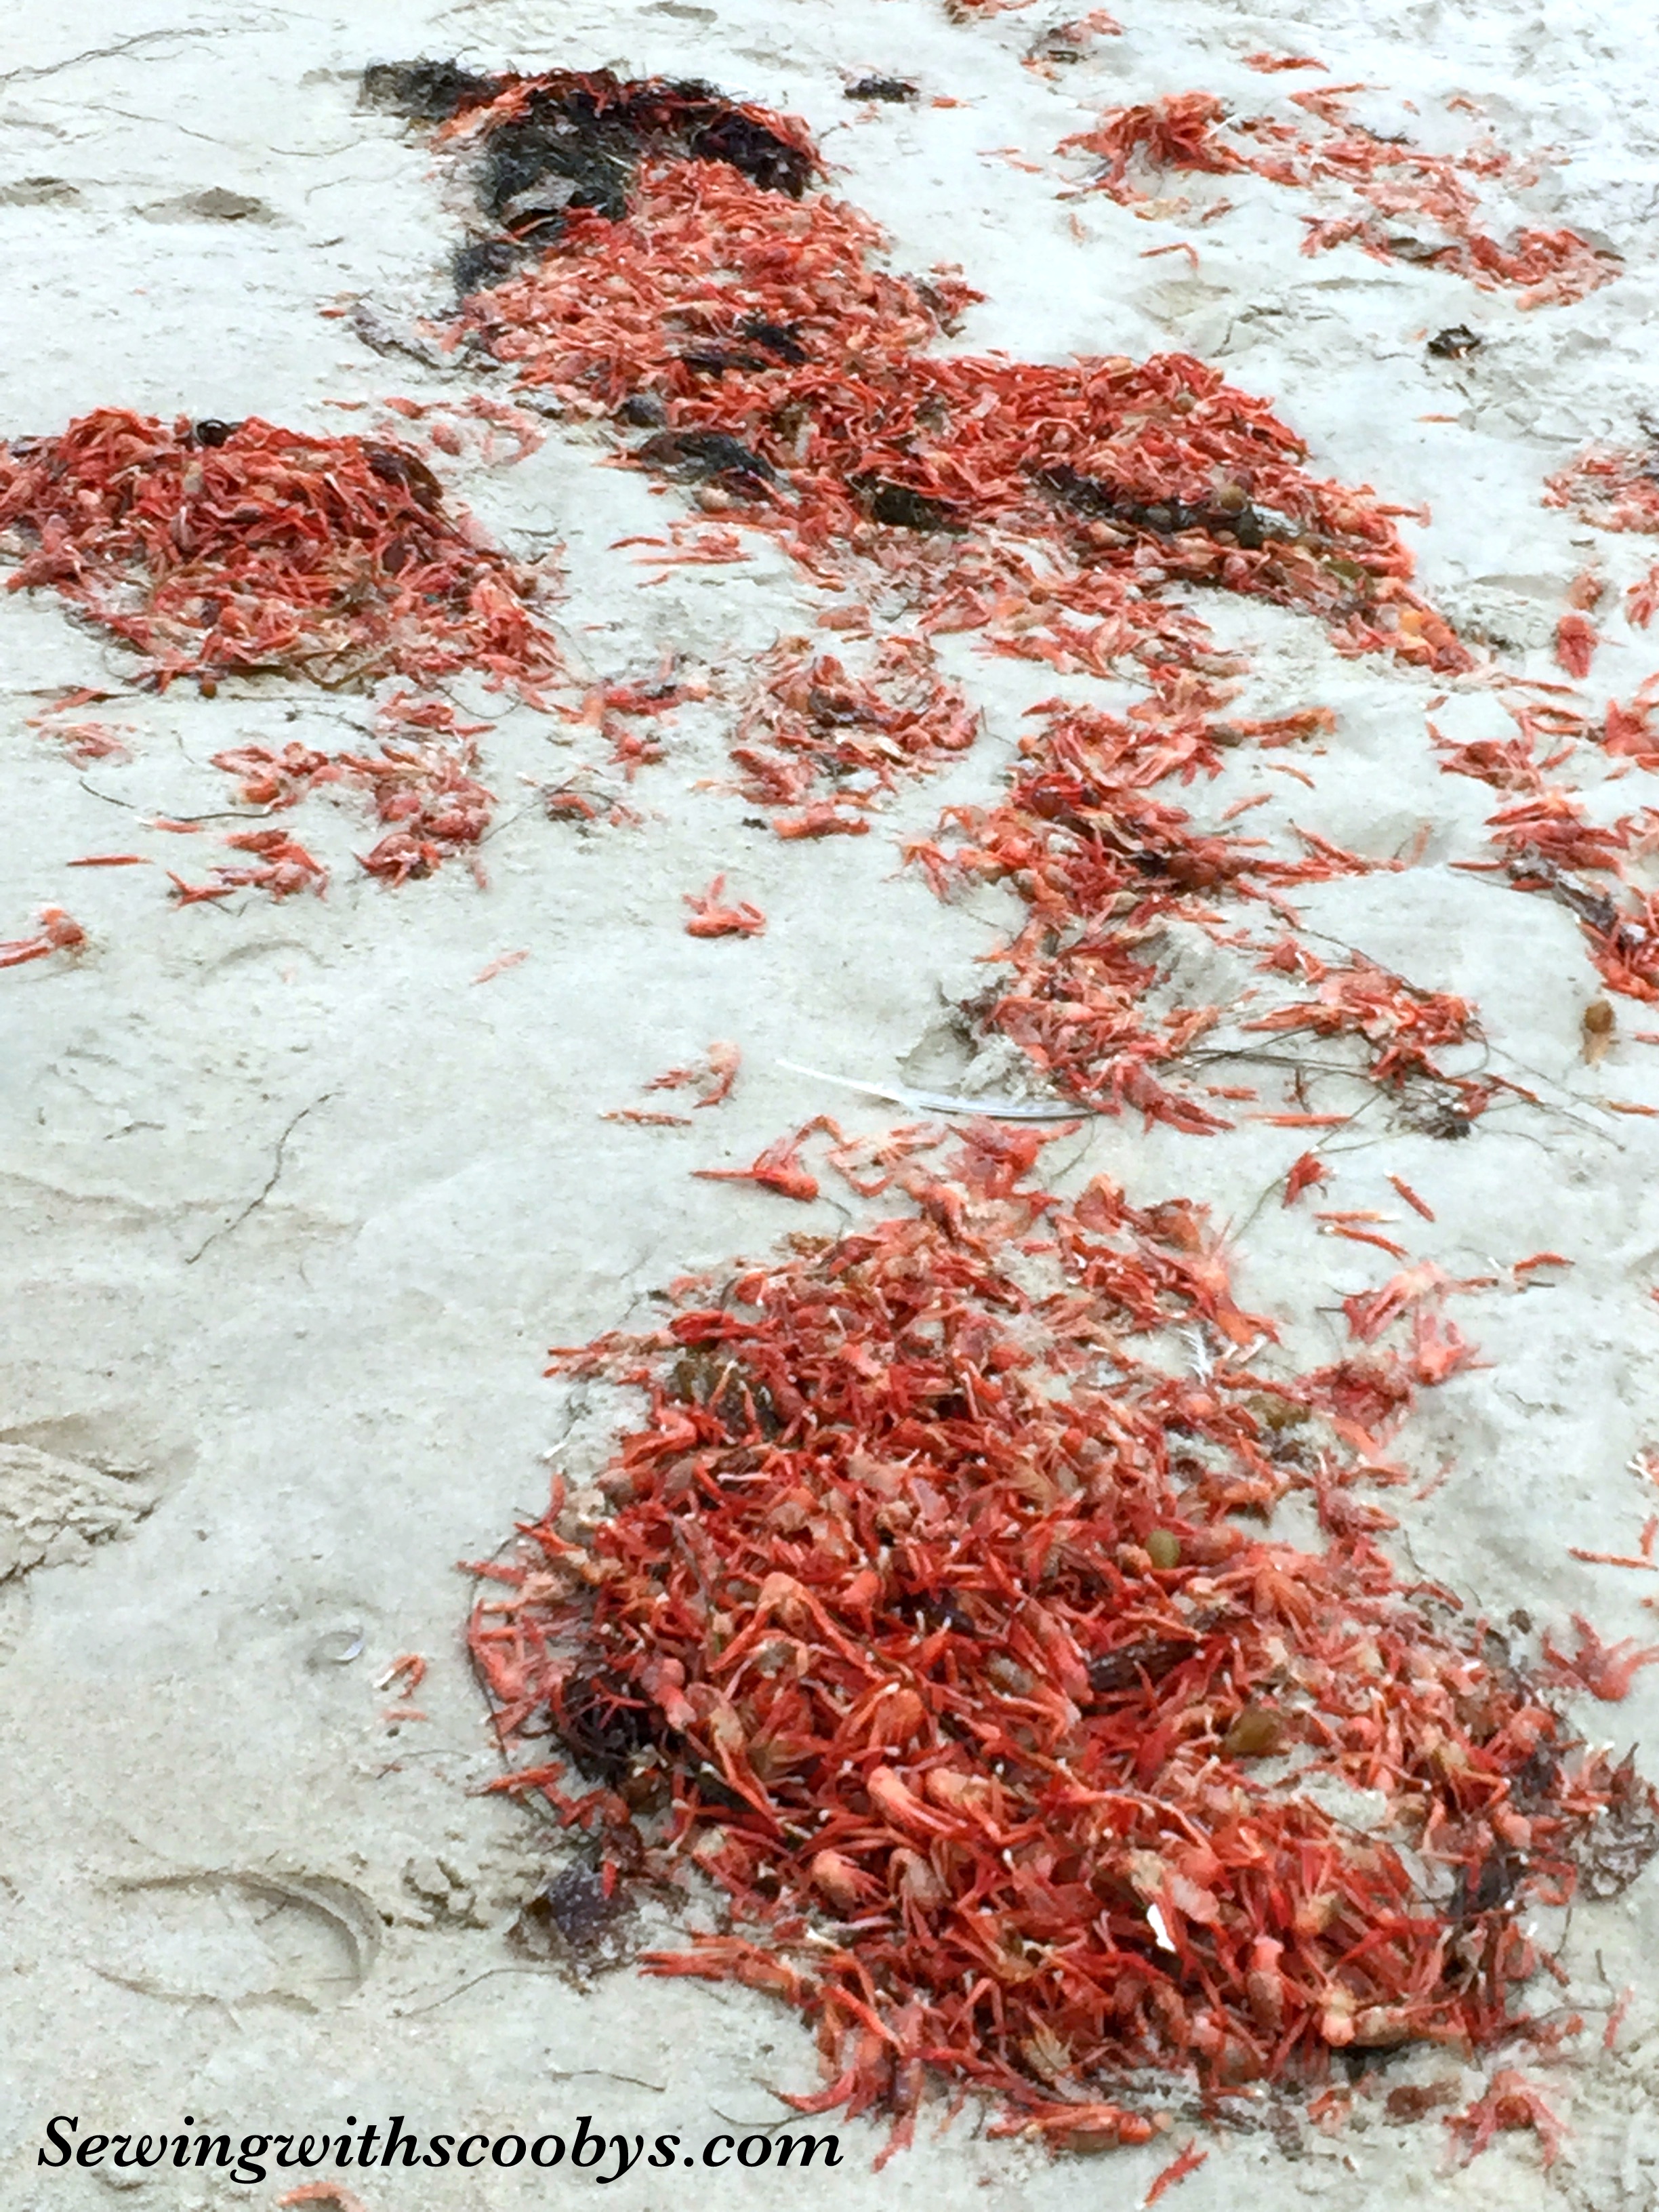
Check this out!  The El Nino’s is moving through the pacific ocean in South California and the tuna is coming close to shore. This has brought 1000’s of bright red crabs that have got caught in the surf and washed up on shore  😦 Such is the cycle of nature. They where last seen on the shores in 1997.  Along with the crabs, and tuna come the great white sharks too! So I will not be swimming in there any time soon!

IMG_0509 IMG_0511 IMG_0513 IMG_0518


Skirt Sloper Completed! Yay!!

DSC_4064

Turns out the easy fix for the drag lines (I mentioned this sloper at the end of this post) was just to move over the darts towards the side by 1 inch. This smoothed everything out. Muslin does not stretch well on the cross grain and I was thinking of adding 1/8 inch to the side seams because there seems to be some tightness at the hip causing faint drag lines but my teacher said that fashion fabric usually has more give on the cross grain and it should lay nicely. So I am ready to transfer my custom sloper to tag!! I am so excited!!

DSC_4036 DSC_4037 DSC_4038 DSC_4039

So excited in fact that I could not resist a sale at Jo-Annes and bought some summery prints to make some skirts along with some lining.  Now I get to draft an actual custom designed skirt and play with real fabric!!

DSC_4064

Here is my sloper on tag nice and sturdy for hopefully many years of drafting/sewing fun 🙂

DSC_4066 DSC_4067

So the first thing I did was follow along with my skirt course and I used my sloper base to make a high waisted pencil skirt with a flounce. It is flirty and fun, hopefully still appropriate for my age :/

DSC_4082 DSC_4083

The first time sewing it up and trying it on I had to shave more off the high waist band, 1/4 inch blending to nothing at the original waist. I also had to shave off 1/8 inch around hips on the side seams. This is what I have so far. ……I am very undecided about the length of the hem??? Please let me know if you think it looks ok at this length or should I lengthen/shorten it??

DSC_4084 DSC_4085 DSC_4086

Custom sloper used as base for vintage pattern

I decided to go ahead and use my custom bodice pattern as a base to make this vintage style pattern.

DSC_3947

I wonder if I will  be sucked into another downward spiral of alterations after alterations or just maybe I will need small little tweakings!

In this day and age I am all about instant gratification! Time is precious and not to be thwarted or wasted. So I hope the base sloper I have for myself can be easily transformed for all sorts of blouses.

I decided to cut out my size and make a muslin with the commercial pattern itself. I then used my base sloper and customized it to look like this pattern …I think.  Now that I know how to make a sloper I can use this to make anything right? Hell Ya!!! Do I know what I am doing?? I have absolutely no friggin’ clue!!! Ha ha BUT do I have the enthusiasm to try to make it work??? Hell Ya!!

Here are the pattern pieces in comparison:

DSC_3975 DSC_3976

This is a pic of the commercial pattern muslin fitting:

DSC_3984 DSC_3985

Here is the sloper converted muslin:

DSC_3981 DSC_3978

I used the bowed in darts in the front and it pulled in too much I think,  not a good comfortable ease. So I decreased the amount of fabric in those front darts. The back of my neck was gaping ever so slightly so I also did a shoulder adjustment and dropped my armhole by 1/4 inch and 1/4 inch more seam allowance in the side seams.

DSC_3988 DSC_3987

This is what I got so far. Now what?? Hmmm working on that one 🙂

Happy Sewing

Moulage Complete

Wow what a journey this course has been for me. The most challenging class I have taken yet.  I must have redrafted the pattern from scratch 5 times as well as 3 or 4 different muslins!!

The last time I tried on the muslin,  I showed you guys that the back length was too long. I actually redrafted a back with 1 inch less back length and it was still not quite there:

DSC_3970

I decided to pin out a sway back adjustment and it did lay a lot smoother!!

DSC_3971

The only problem I was finding is that it seemed loose all over again even the front that was perfect a few weeks ago!! How can that happen?? It turns out that all the exercise and eating right is paying off and I lost some weight.  Most women would be elated by this idea! I was actually pissed because it took me so many hours to get it perfect and now that I lost weight it meant starting from the BEGINNING again!!! New measurements, new drafting, new muslin (sniff, sniff) I was quite close to giving up. I even thought of eating a bunch of naughty stuff for a week and then try the old muslin back on!

Here is the final muslin.

DSC_3973 DSC_3974

Now I transformed the moulage into a sloper as per my course. This is how it came out.

thumb_IMG_0245 thumb_IMG_0250 thumb_IMG_0249 thumb_IMG_0246

I sent pictures to my instructor and asked her what sort of tweaking would she recommend before I put my final drafted sloper on tag. What do you guys think? What adjustments should I do?

It seems the ease has brought the sway back into play a little so I may have to drop my back length again?

Thanks for your input 🙂

PS My husband forgets the “sewing/drafting terminology” and asked me if I was working on my “spooner” AKA sloper. lol

Make Your Own Pattern

I am so excited about this book!!

No pattern? No problem!! This book teaches you to take detailed measurements that allow you to map out your own patterns. I took measurements of my 11-year-old son so I can make him a pattern for a t-shirt.  Here is my pattern! 🙂

IMG_1096 IMG_1097 IMG_1098

So this is a start I am going to use him as a mannequin and pin it on him to see if the fit seems right or if I need to make some adjustments.  Don’t forget to add your seam allowances.

Alright so this is Sam’s t-shirt from that pattern!!

IMG_1248