Hearts Galore: Valentine’s Day DIY Hair Clip

To bling or not to bling...

To bling or not to bling…

...THAT is the question!

…THAT is the question!

A few days ago I posted another Valentine-y hair clip tutorial;  I’m still on my “candy alternative” kick.  This 5 layered heart clip is a cinch to make and lasts way longer than a box of chocolates.  You can bling it out, use your own color combos, and have some fun with it…and it won’t send the wearer to the dentist.
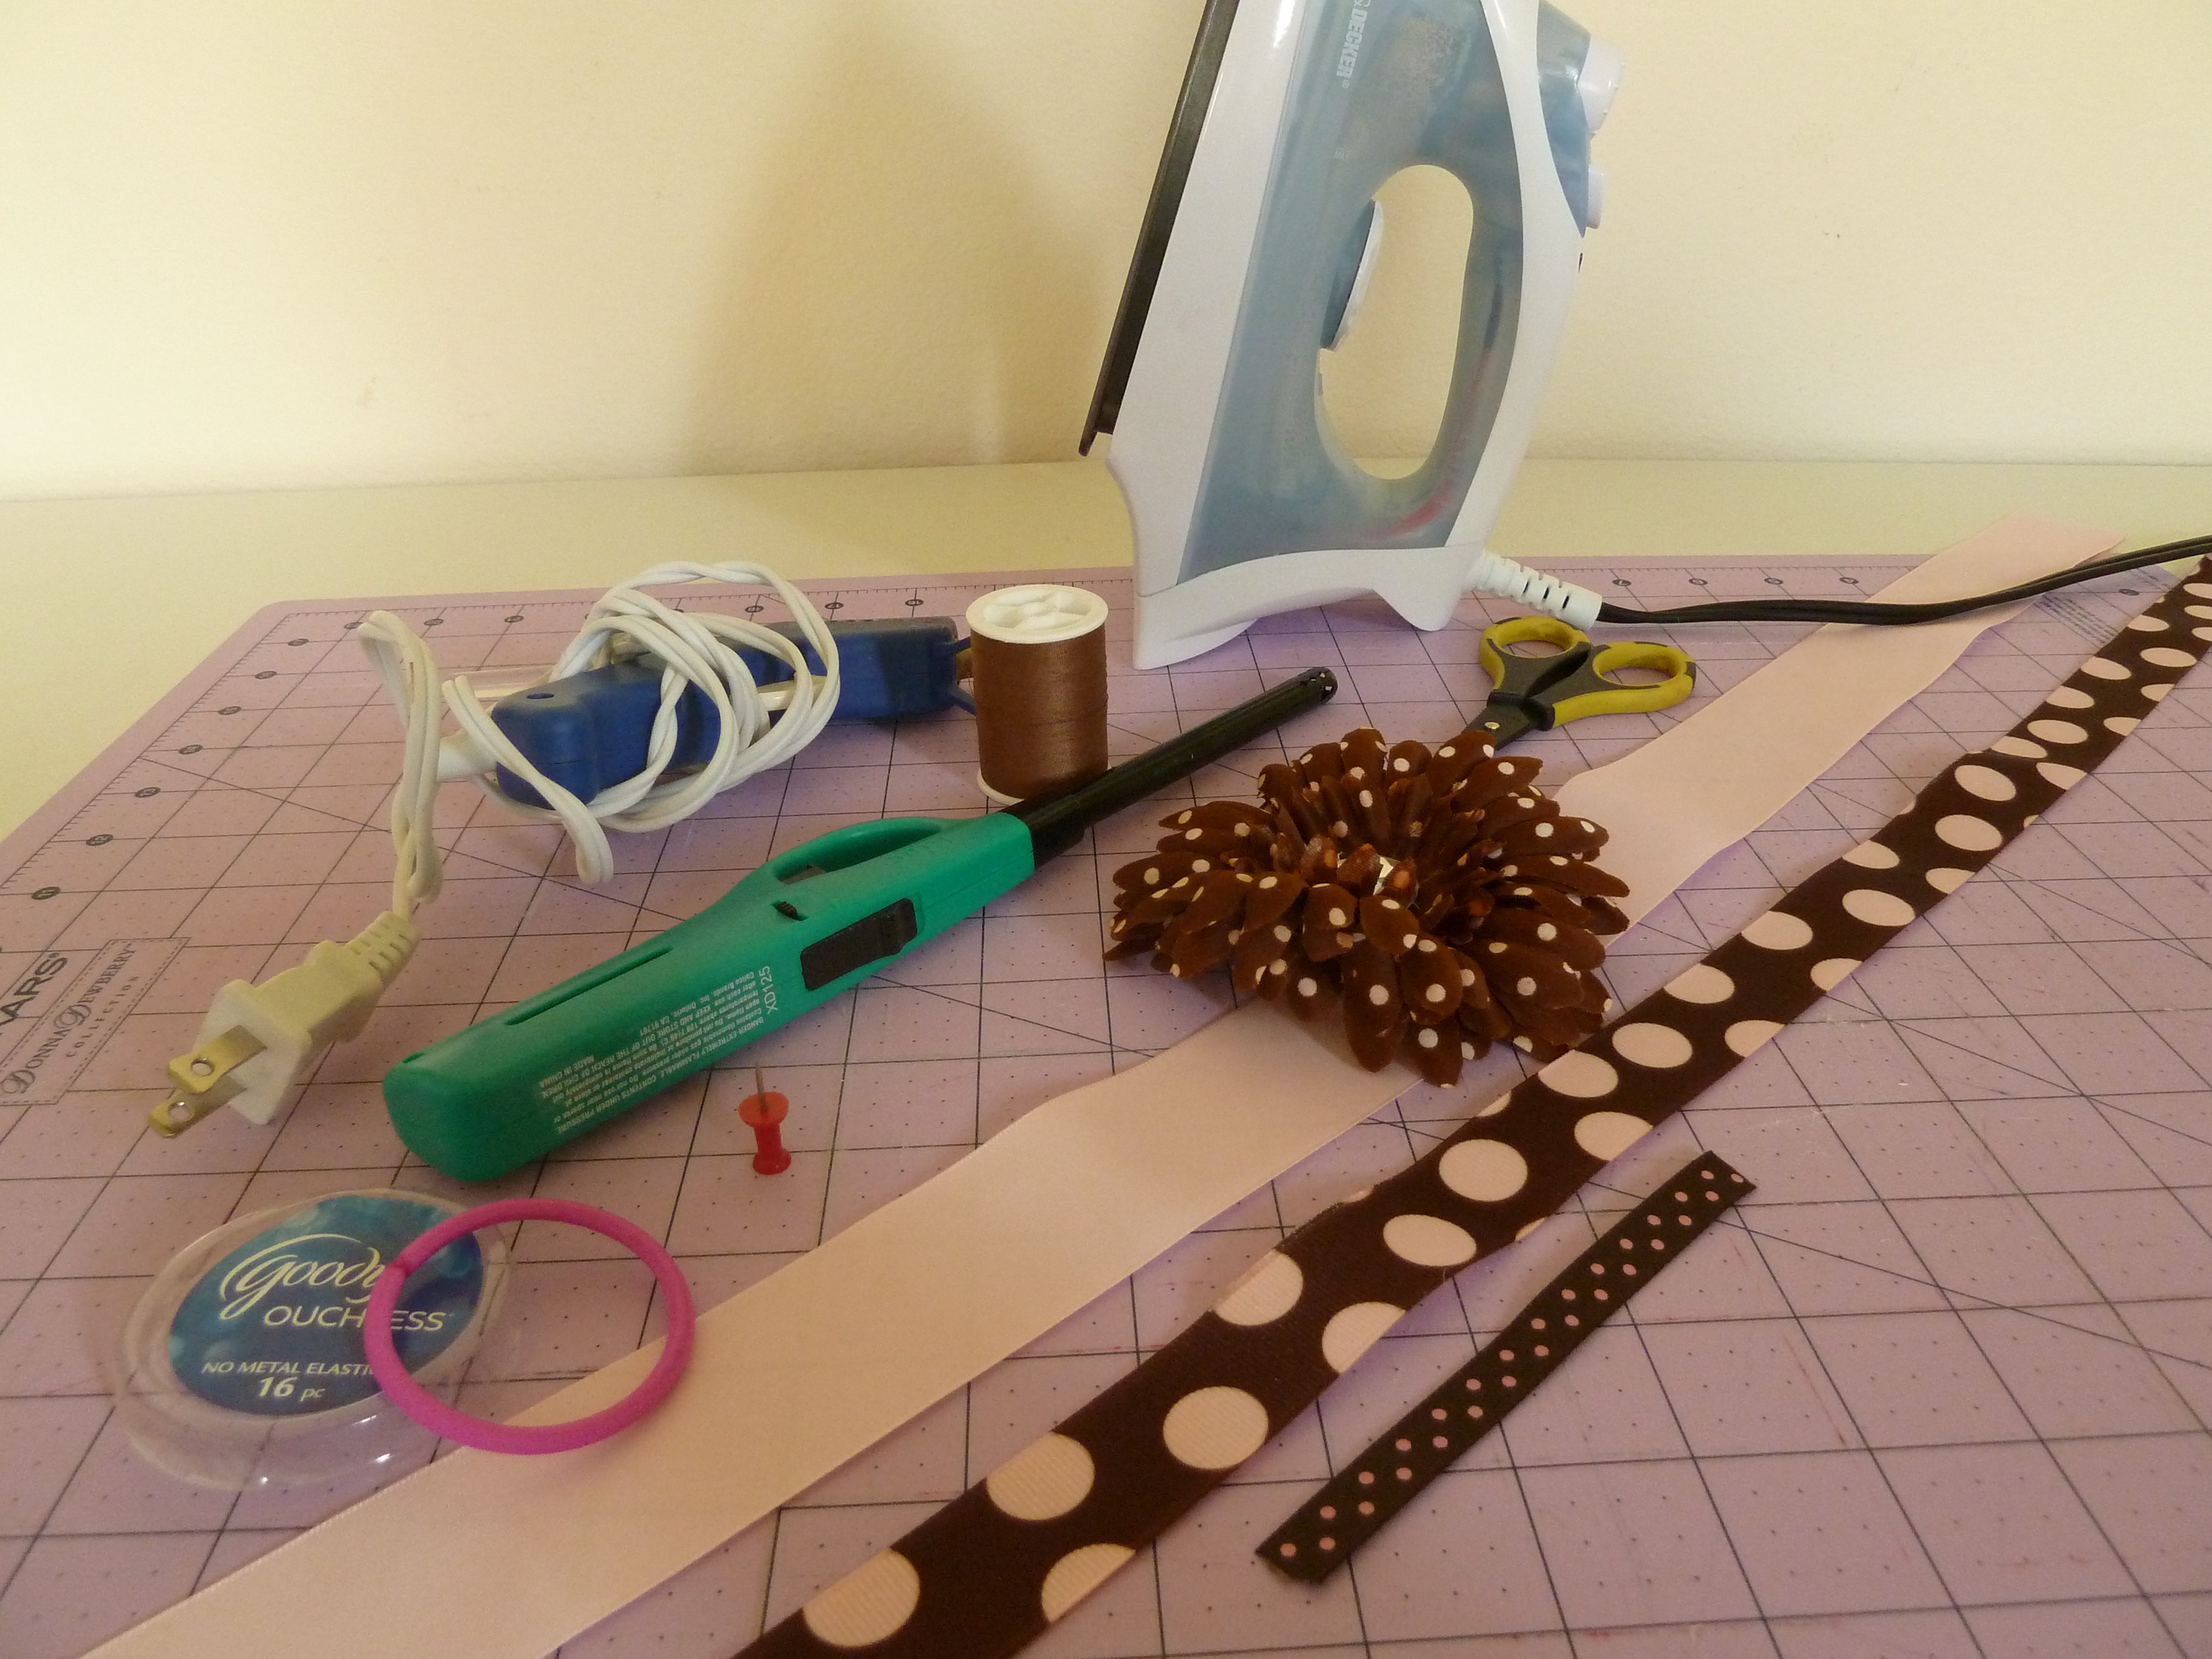
THINGS YOU’LL NEED:

P1060354

  • A glue gun and glue stick
  • A lighter (to heat seal the ribbon ends)
  • An alligator clip (small or large, can be purchased at Michael’s, Wal-Mart, online, etc)
  • Scissors
  • Ruler
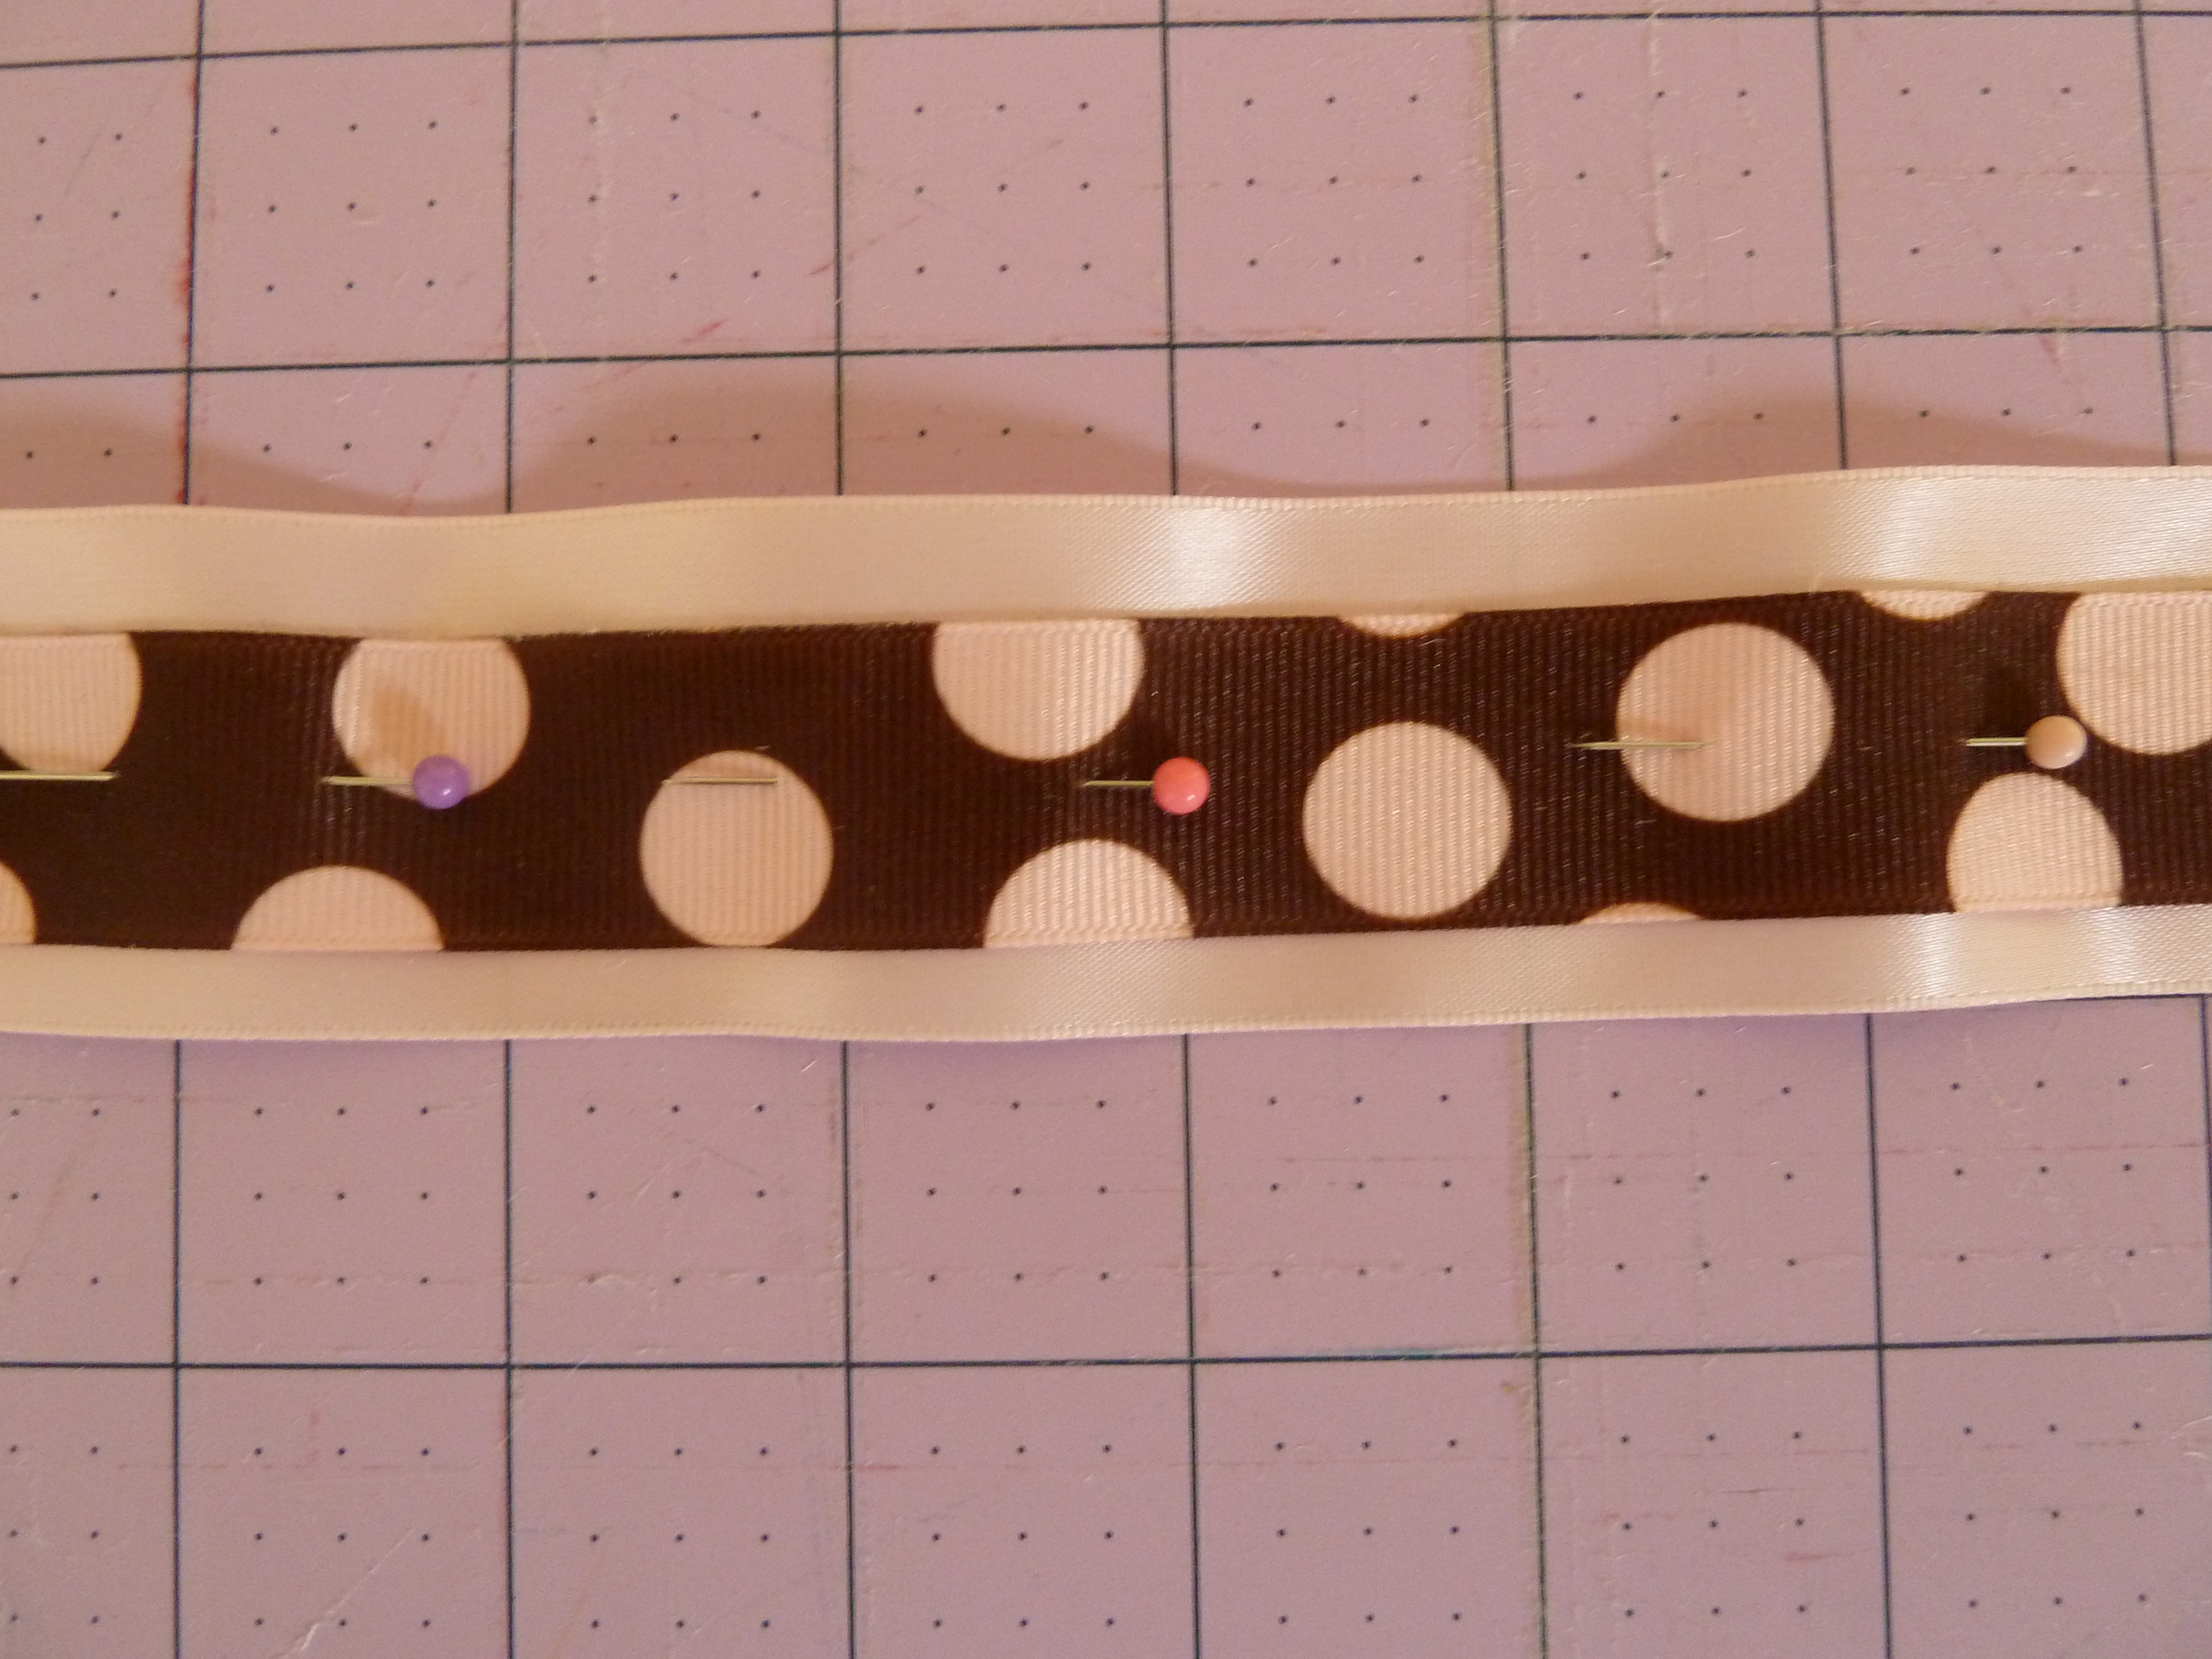
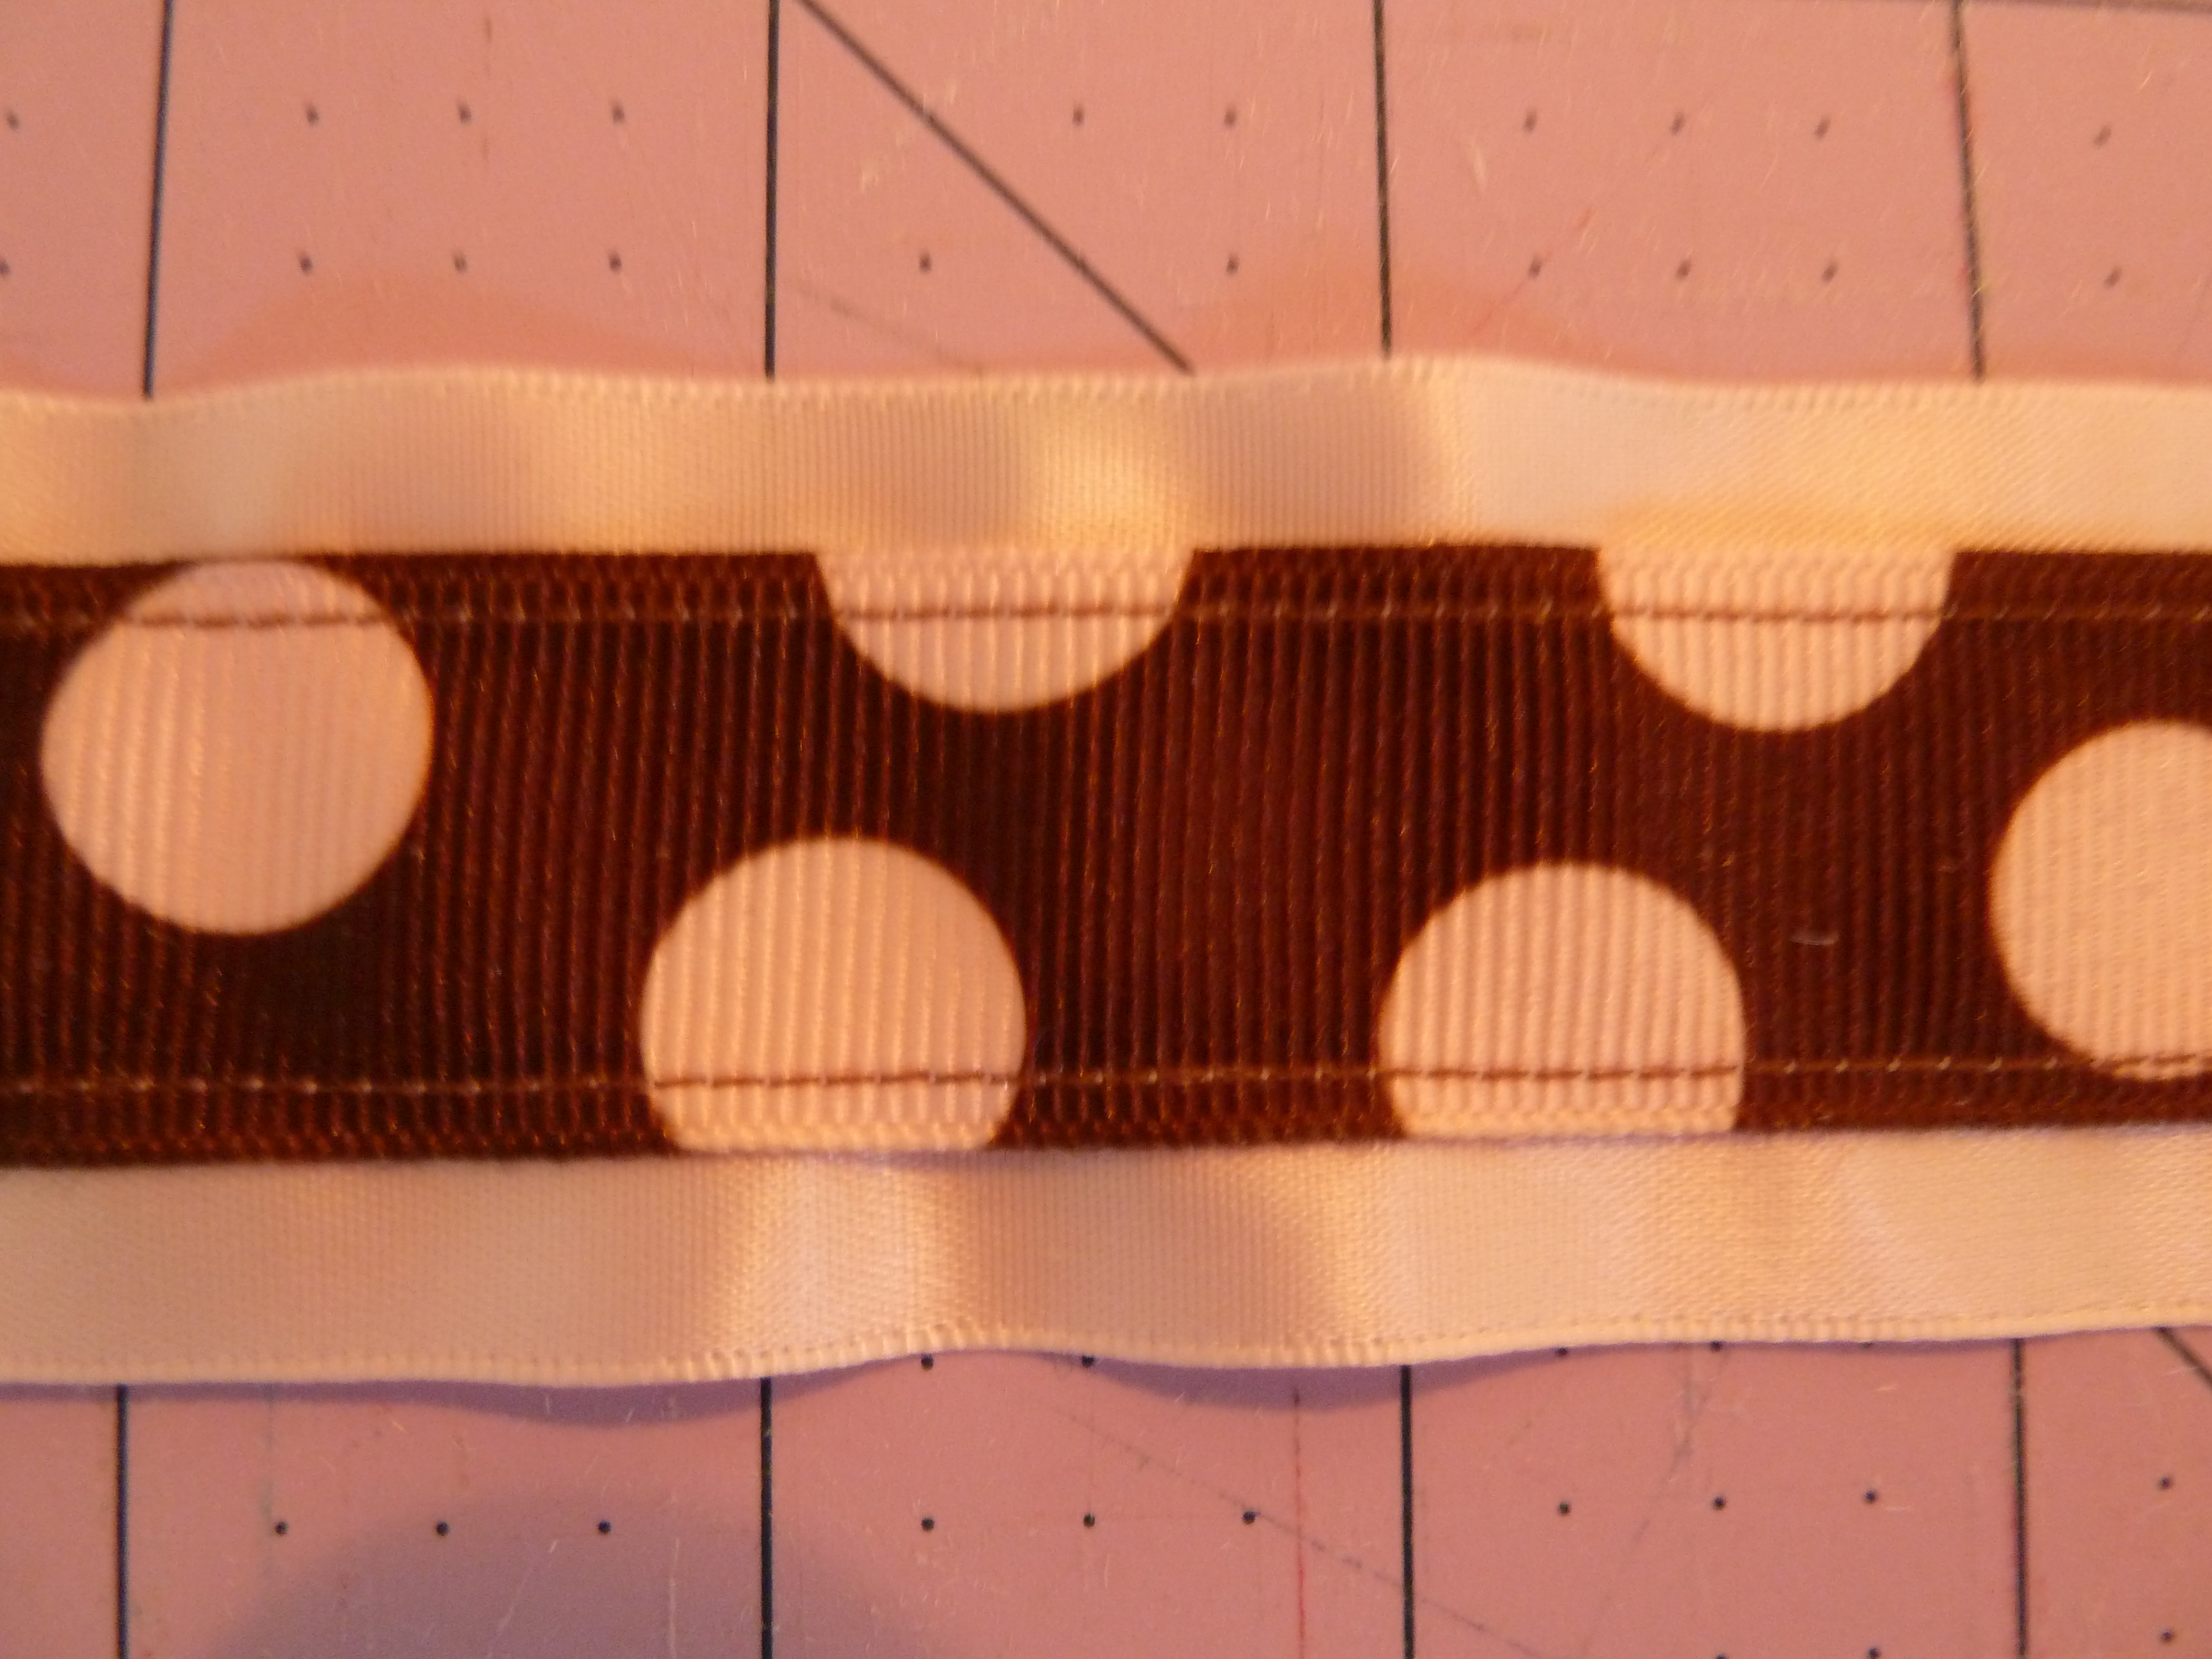
  • 6 pieces of ribbon:  (1) 6″ piece, (1) 5.5″ piece, (1) 5″ piece, (1) 4.5″ piece, (1) 4″ piece, and (1) 4.5″ piece in color of your choice to line alligator clip (if you’re using a large alligator clip, you’ll need a piece that’s 5.5″ long)

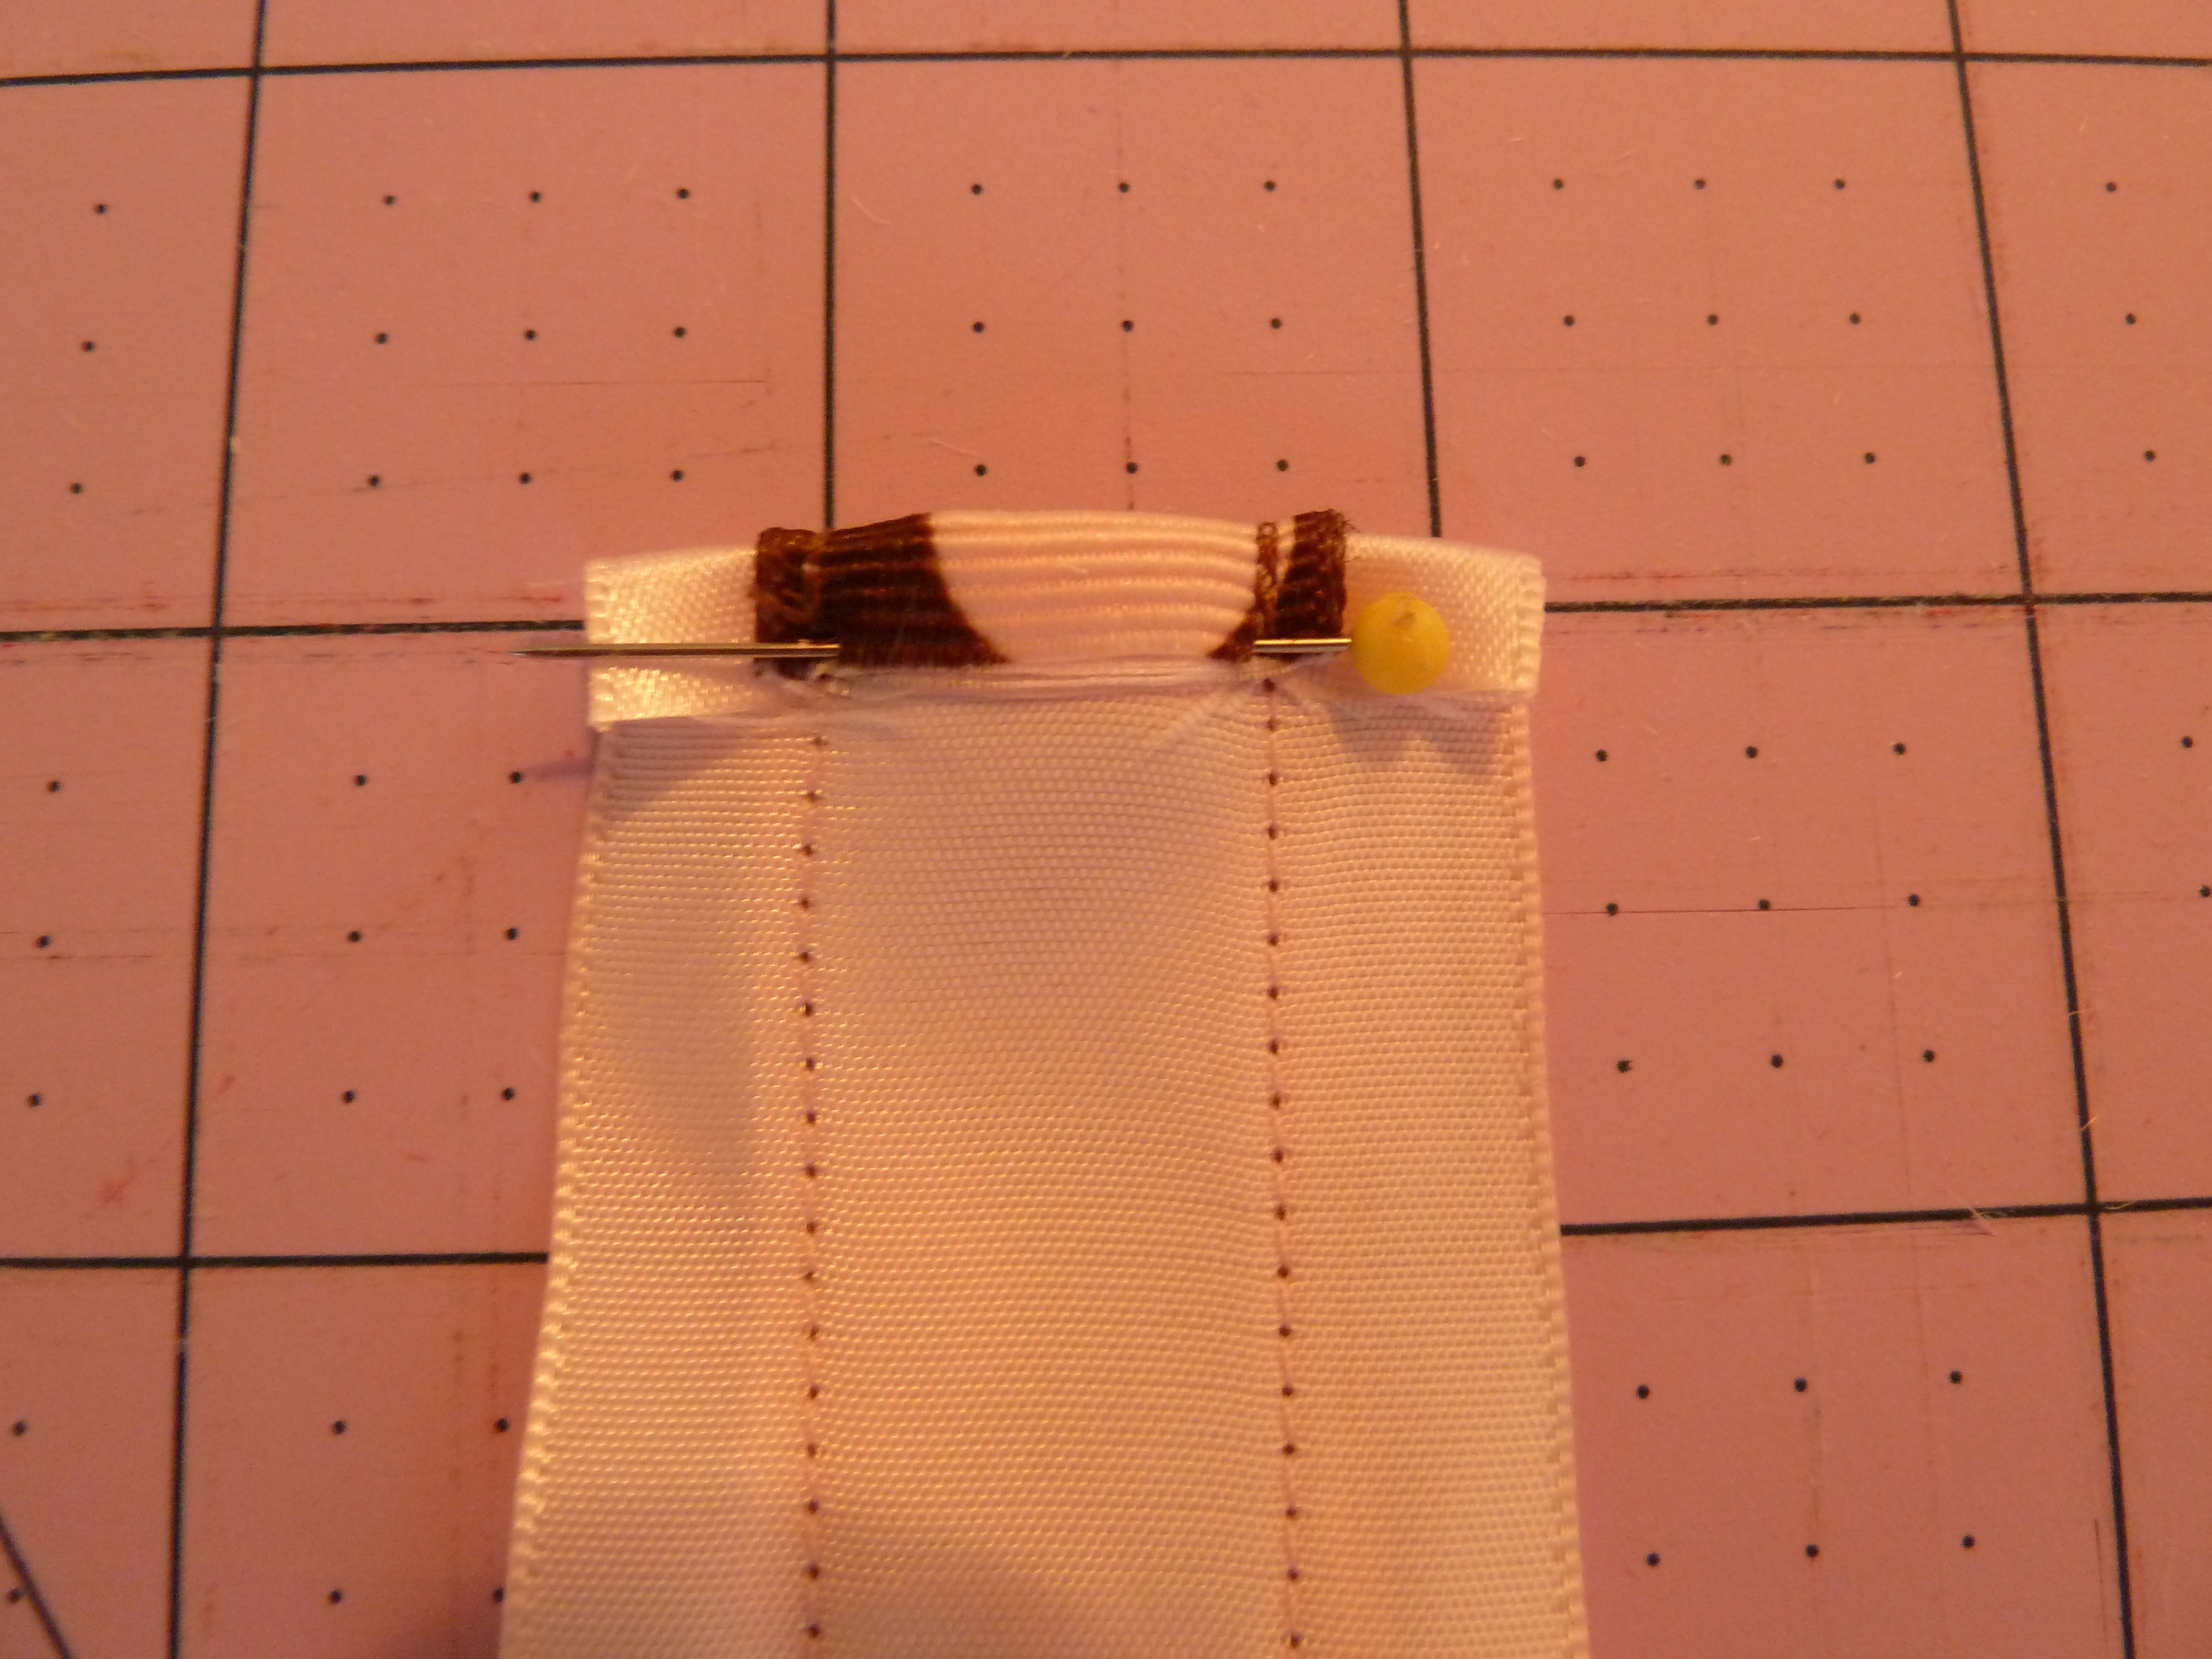
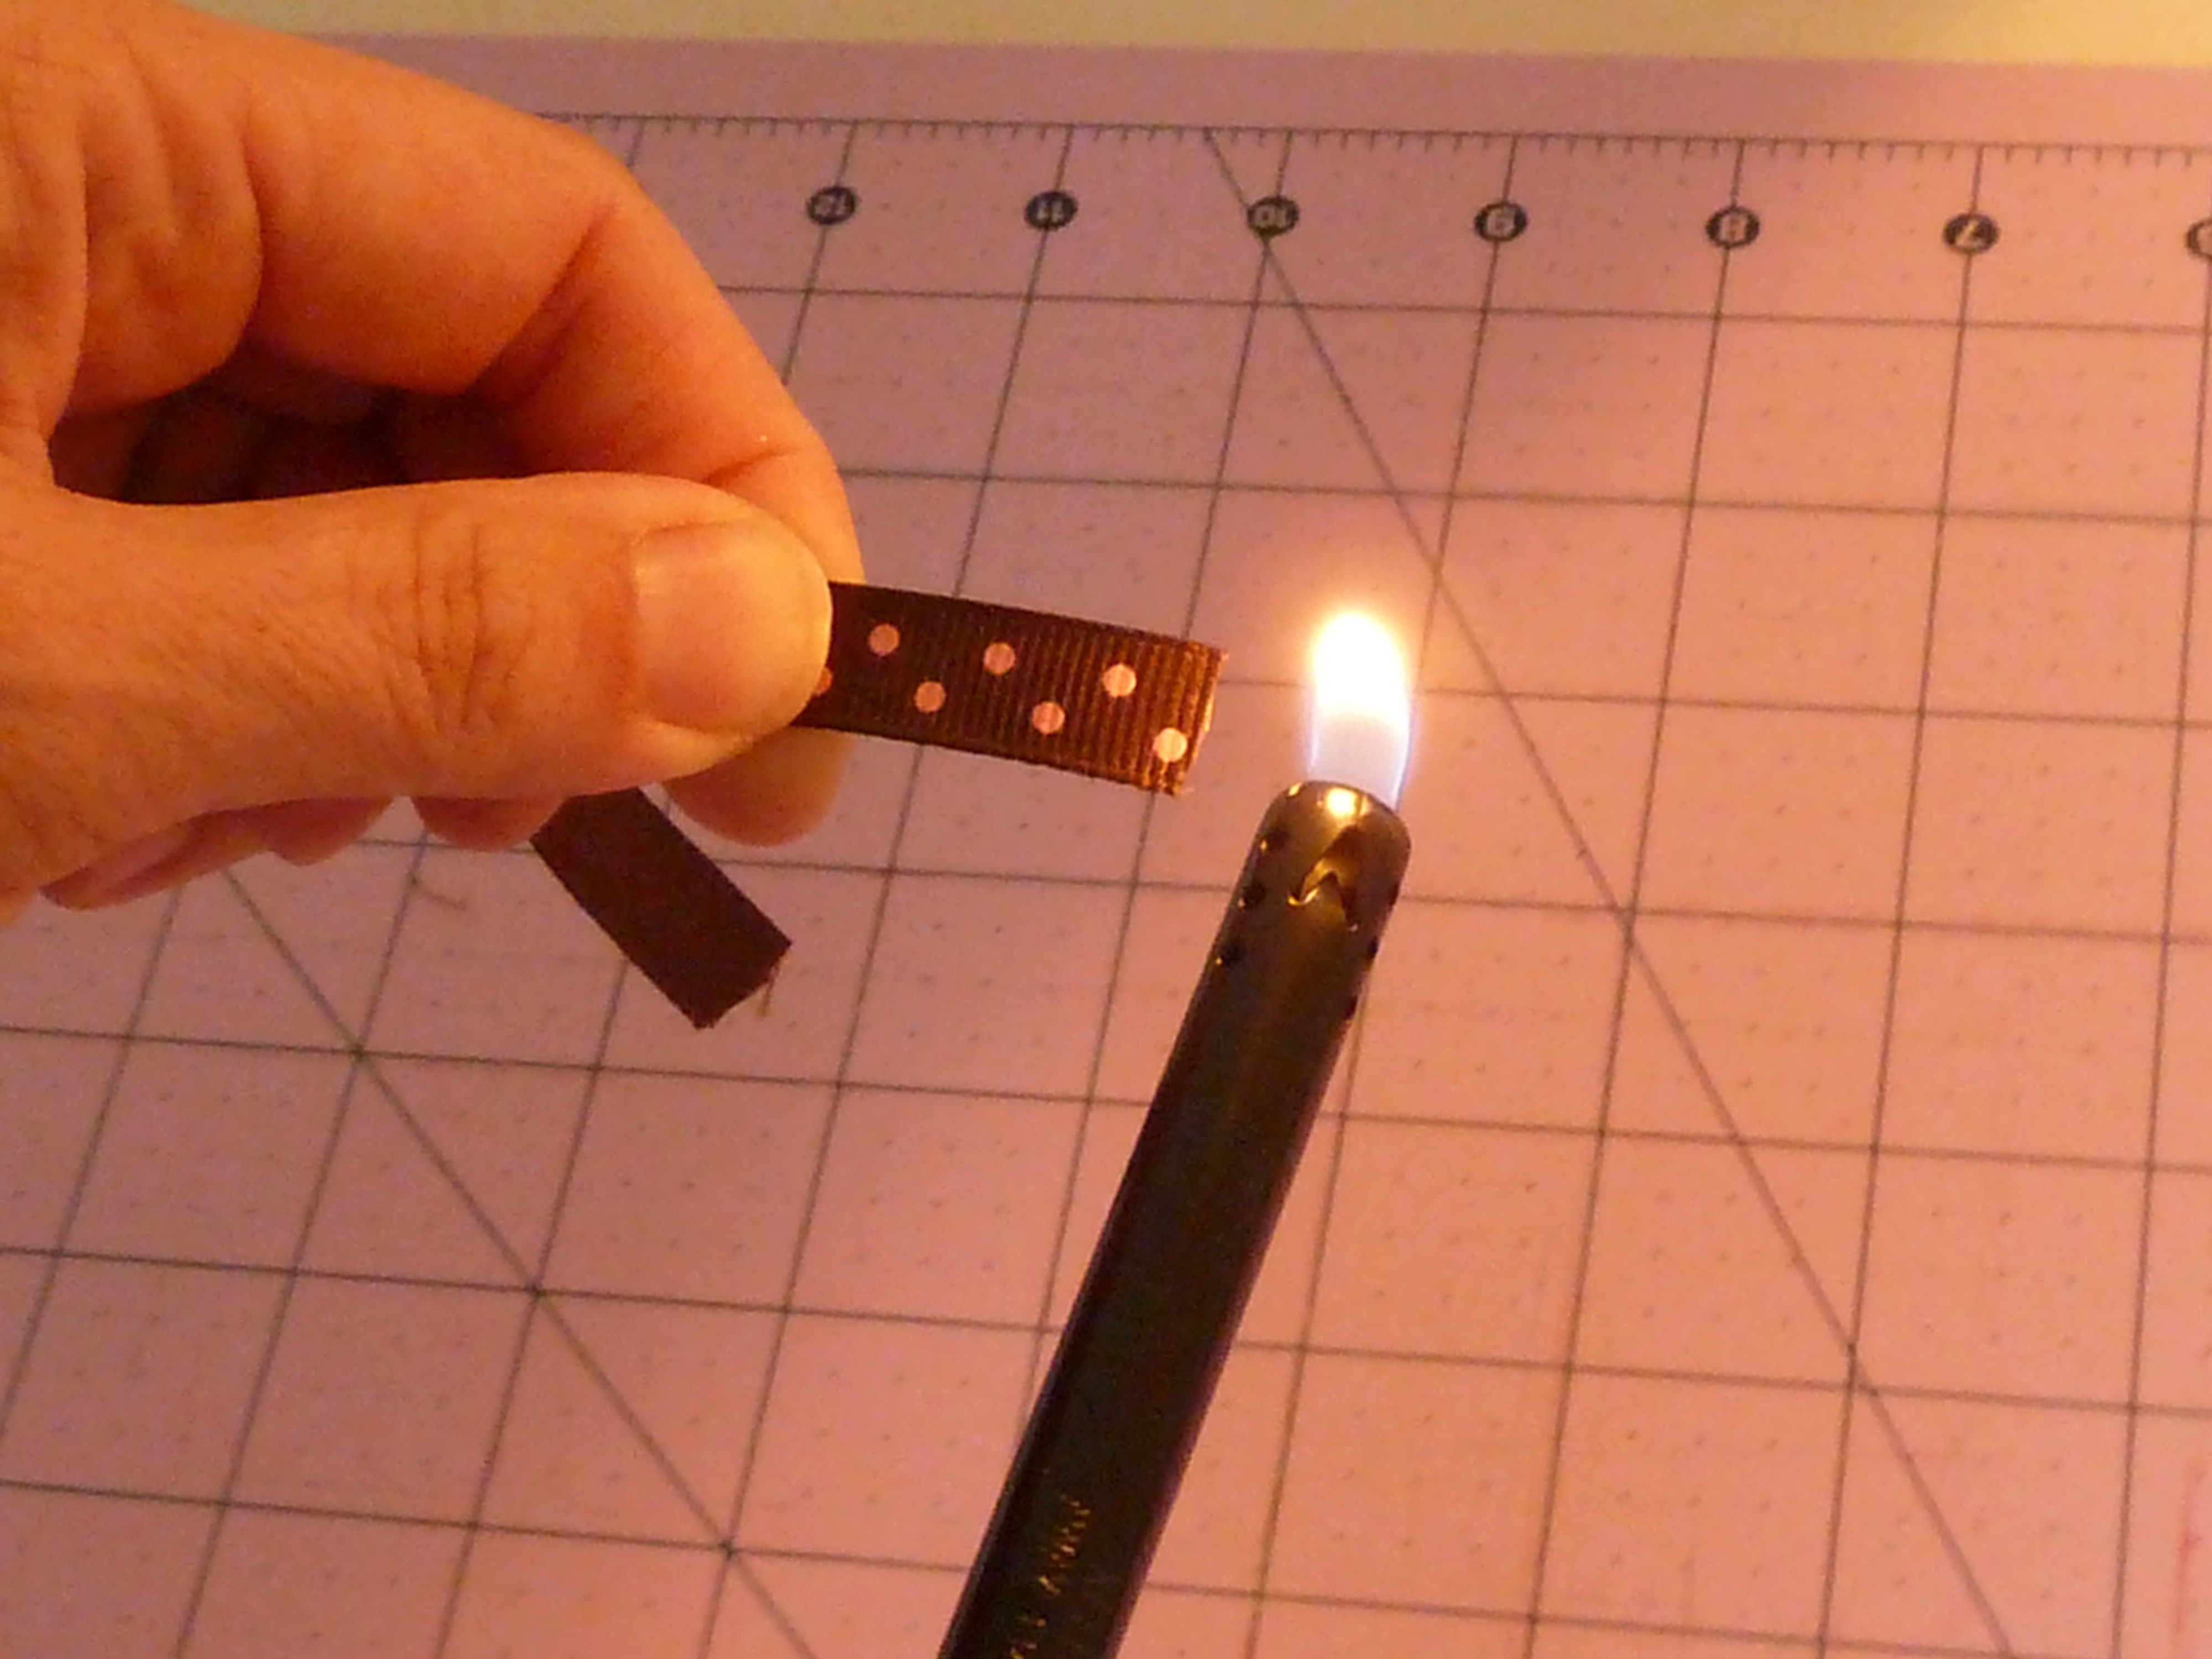
1.  Heat seal all your ribbon ends using your lighter.  To do this, run the lighter near NOT AGAINST, the ribbon ends.  If this is new for you, please click here for a closer look at this.  I don’t want the fire department showing up at your house because of me.

2.  Take your longest piece of ribbon and fold it in half, right sides together (if you’re using a pattern/ print).  In this picture, I marked the center with water-soluble pen, but just a good finger crease is all you need.

P1060355

3.  Right sides together, place a TINY, ITSY BITSY drop off hot glue in the center of your ribbon and pinch it together.   Did I mention you only need a little glue?

P1060359

Hold it there for about 10-15 seconds to let it set, and now you have a pretty bird of sorts…

squeeze and hold

squeeze and hold

be free, little birdie!

be free, little birdie!

4.  Now take your next piece (the 5.5″ ribbon) and also crease it in the middle.  Put a dab of glue on the pinched part of your first ribbon and conform your 5.5″ piece to it.  Now it’s lying flush against your first ribbon piece.  If this sounds convoluted, check out the pictures below:

dab of glue on 6." ribbon

dab of glue on 6″ ribbon

fold the second piece of ribbon (5.5" length) around the outside of the first ribbon (6.0" length)

fold the second piece of ribbon (5.5″ length) around the outside of the first ribbon (6.0″ length)

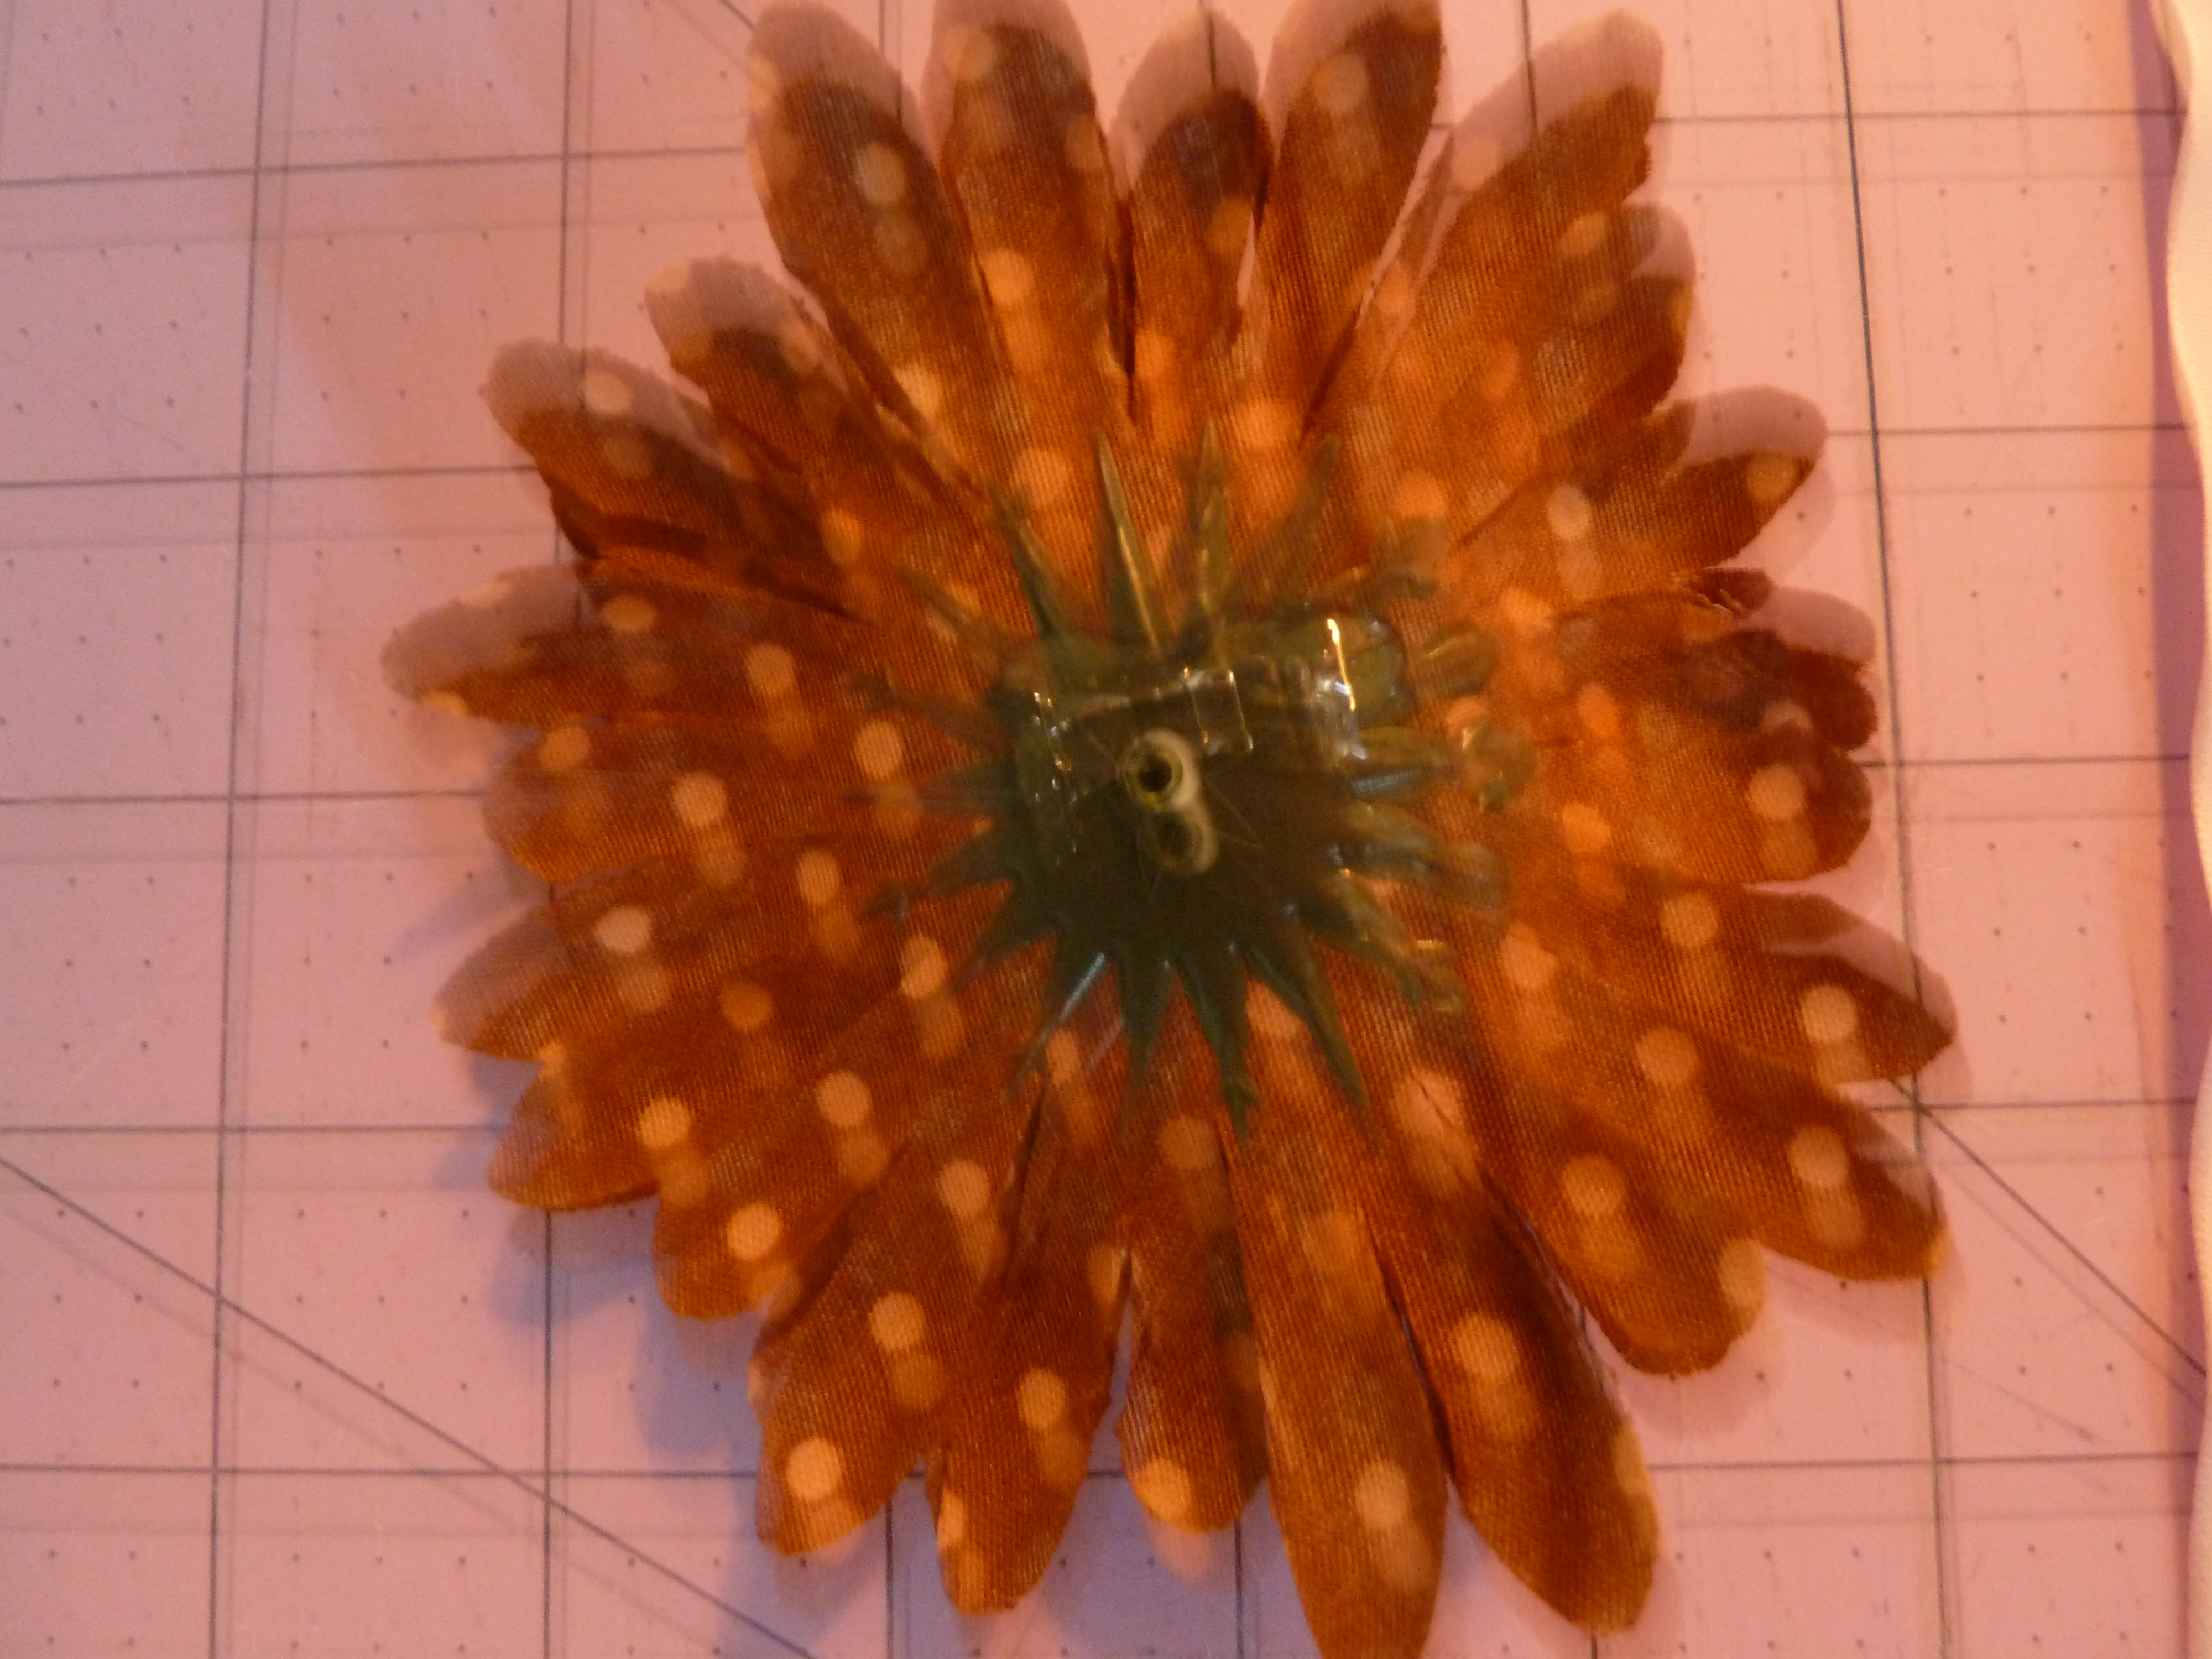
5.  Repeat step 4 with the remaining 3 ribbon pieces.  Now you’ve got a sassy fountain of ribbons in descending lengths.  Like this:

P1060366

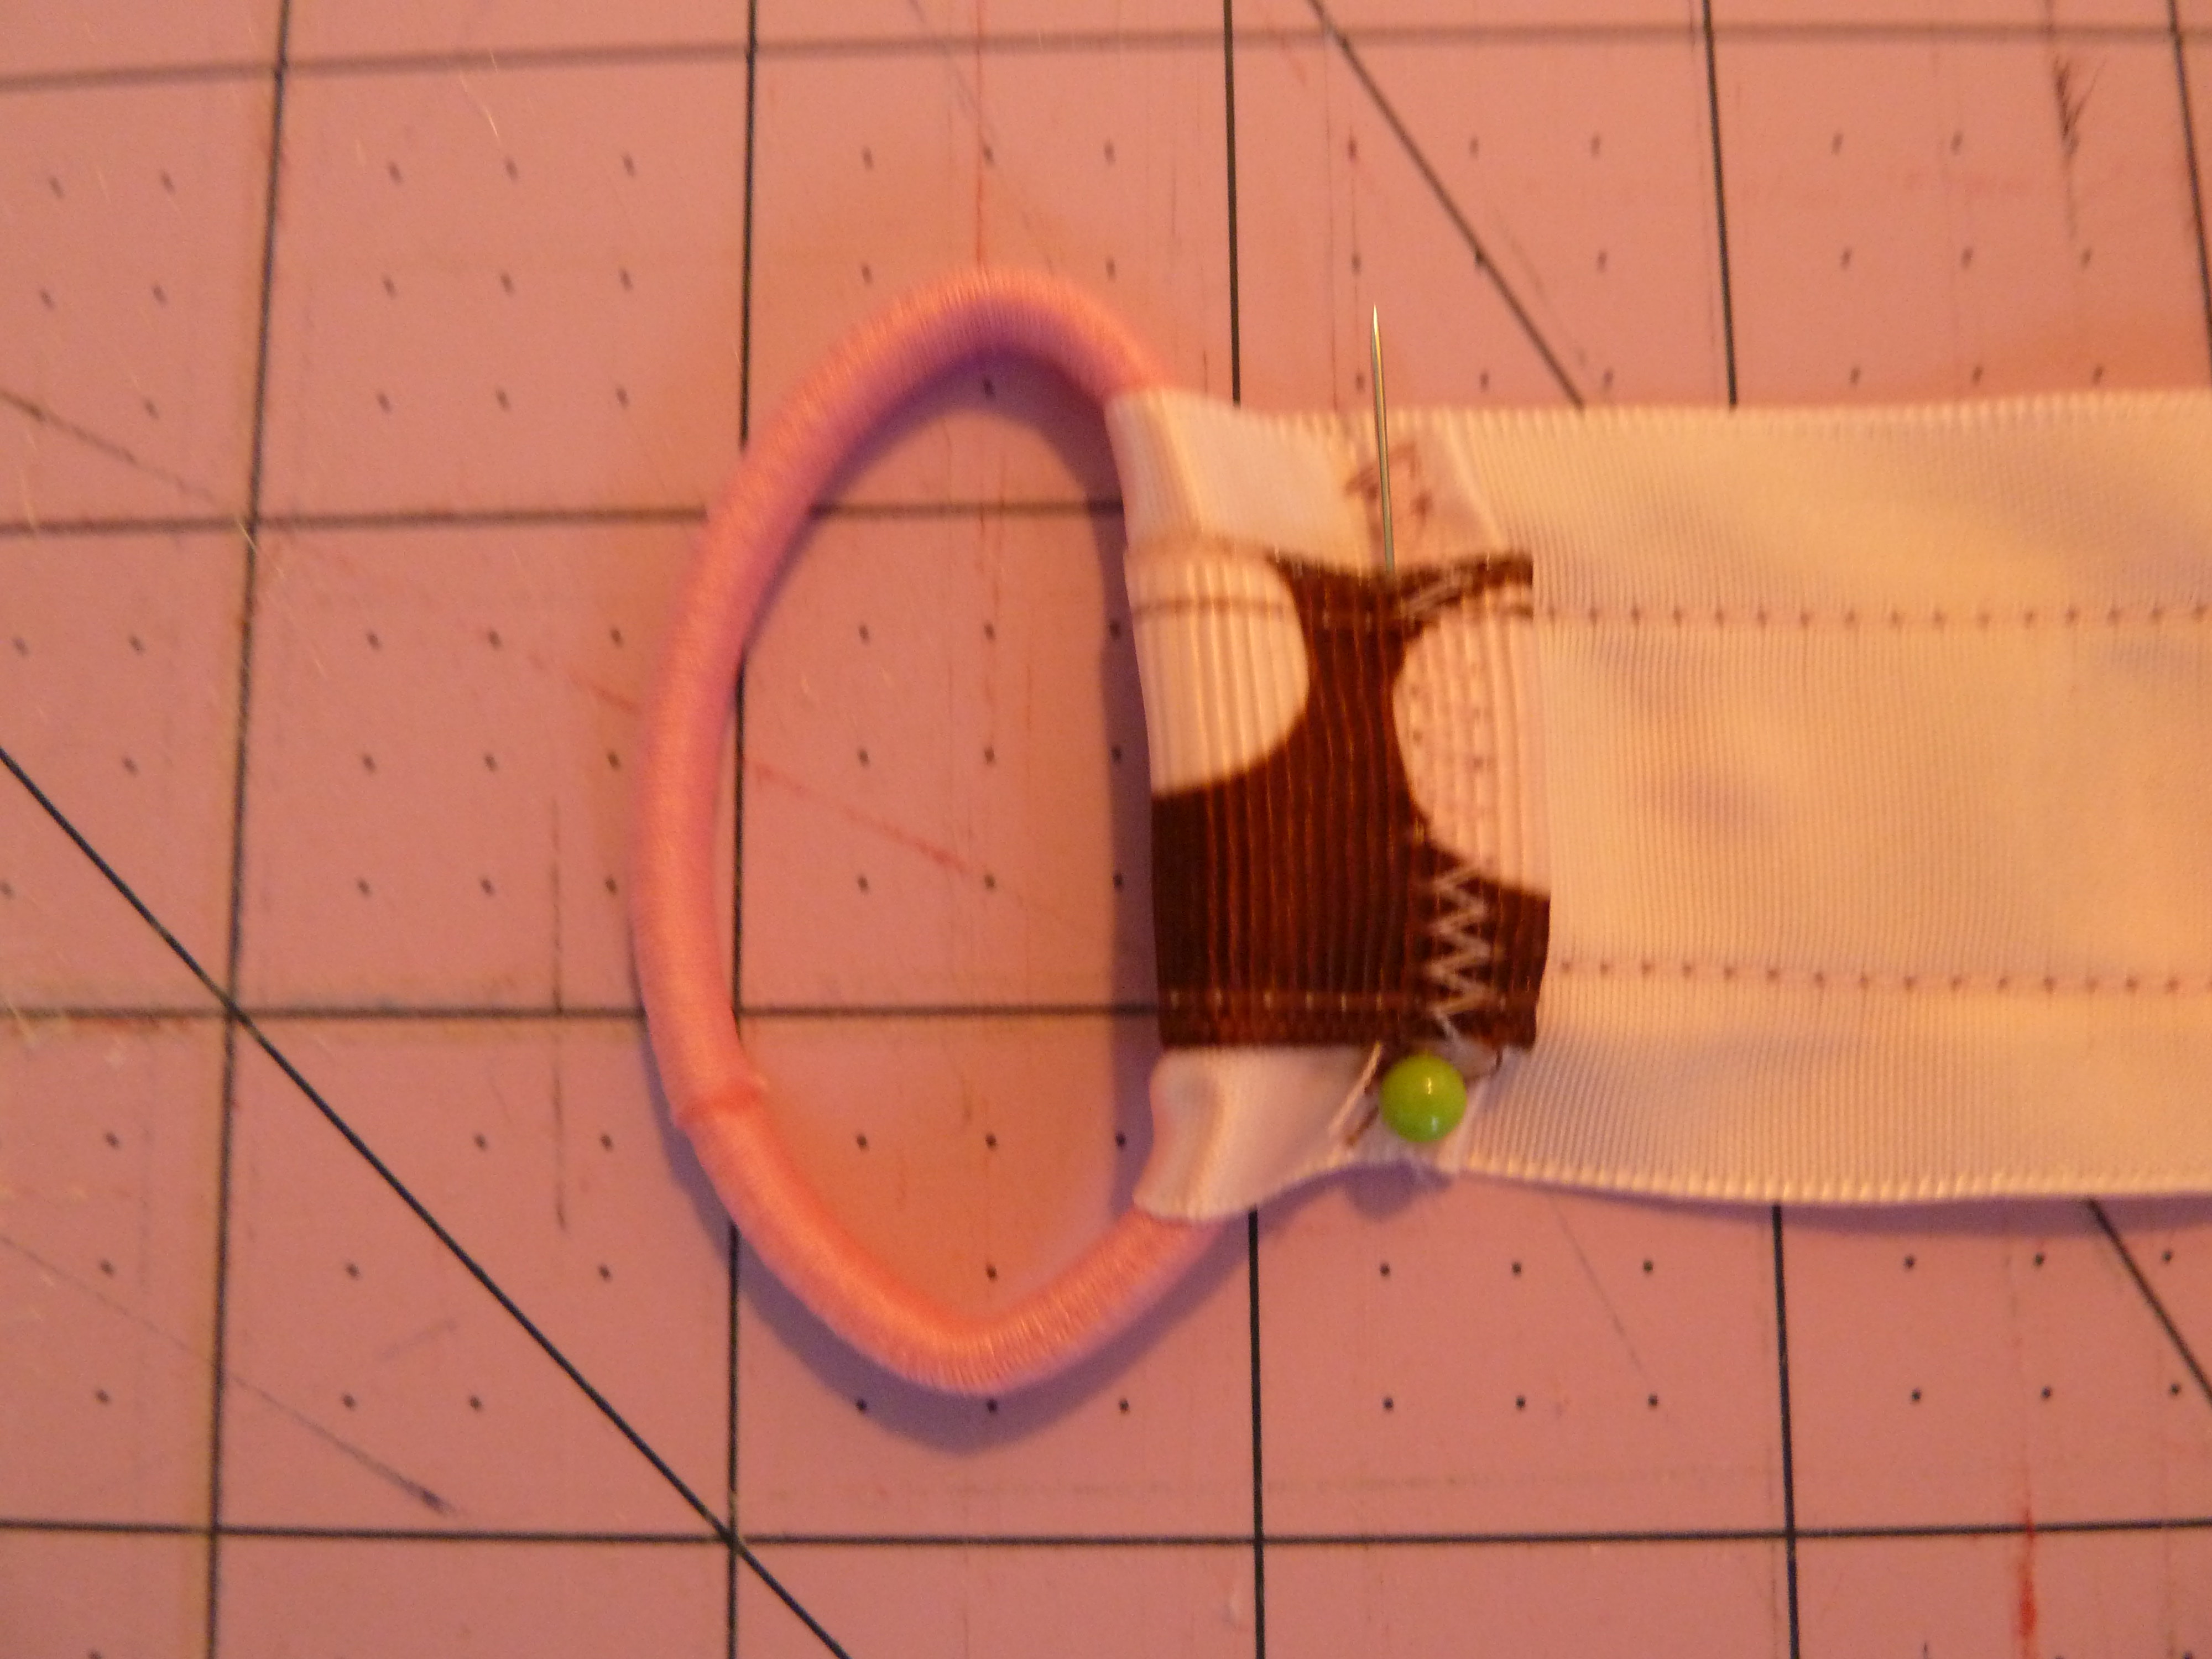
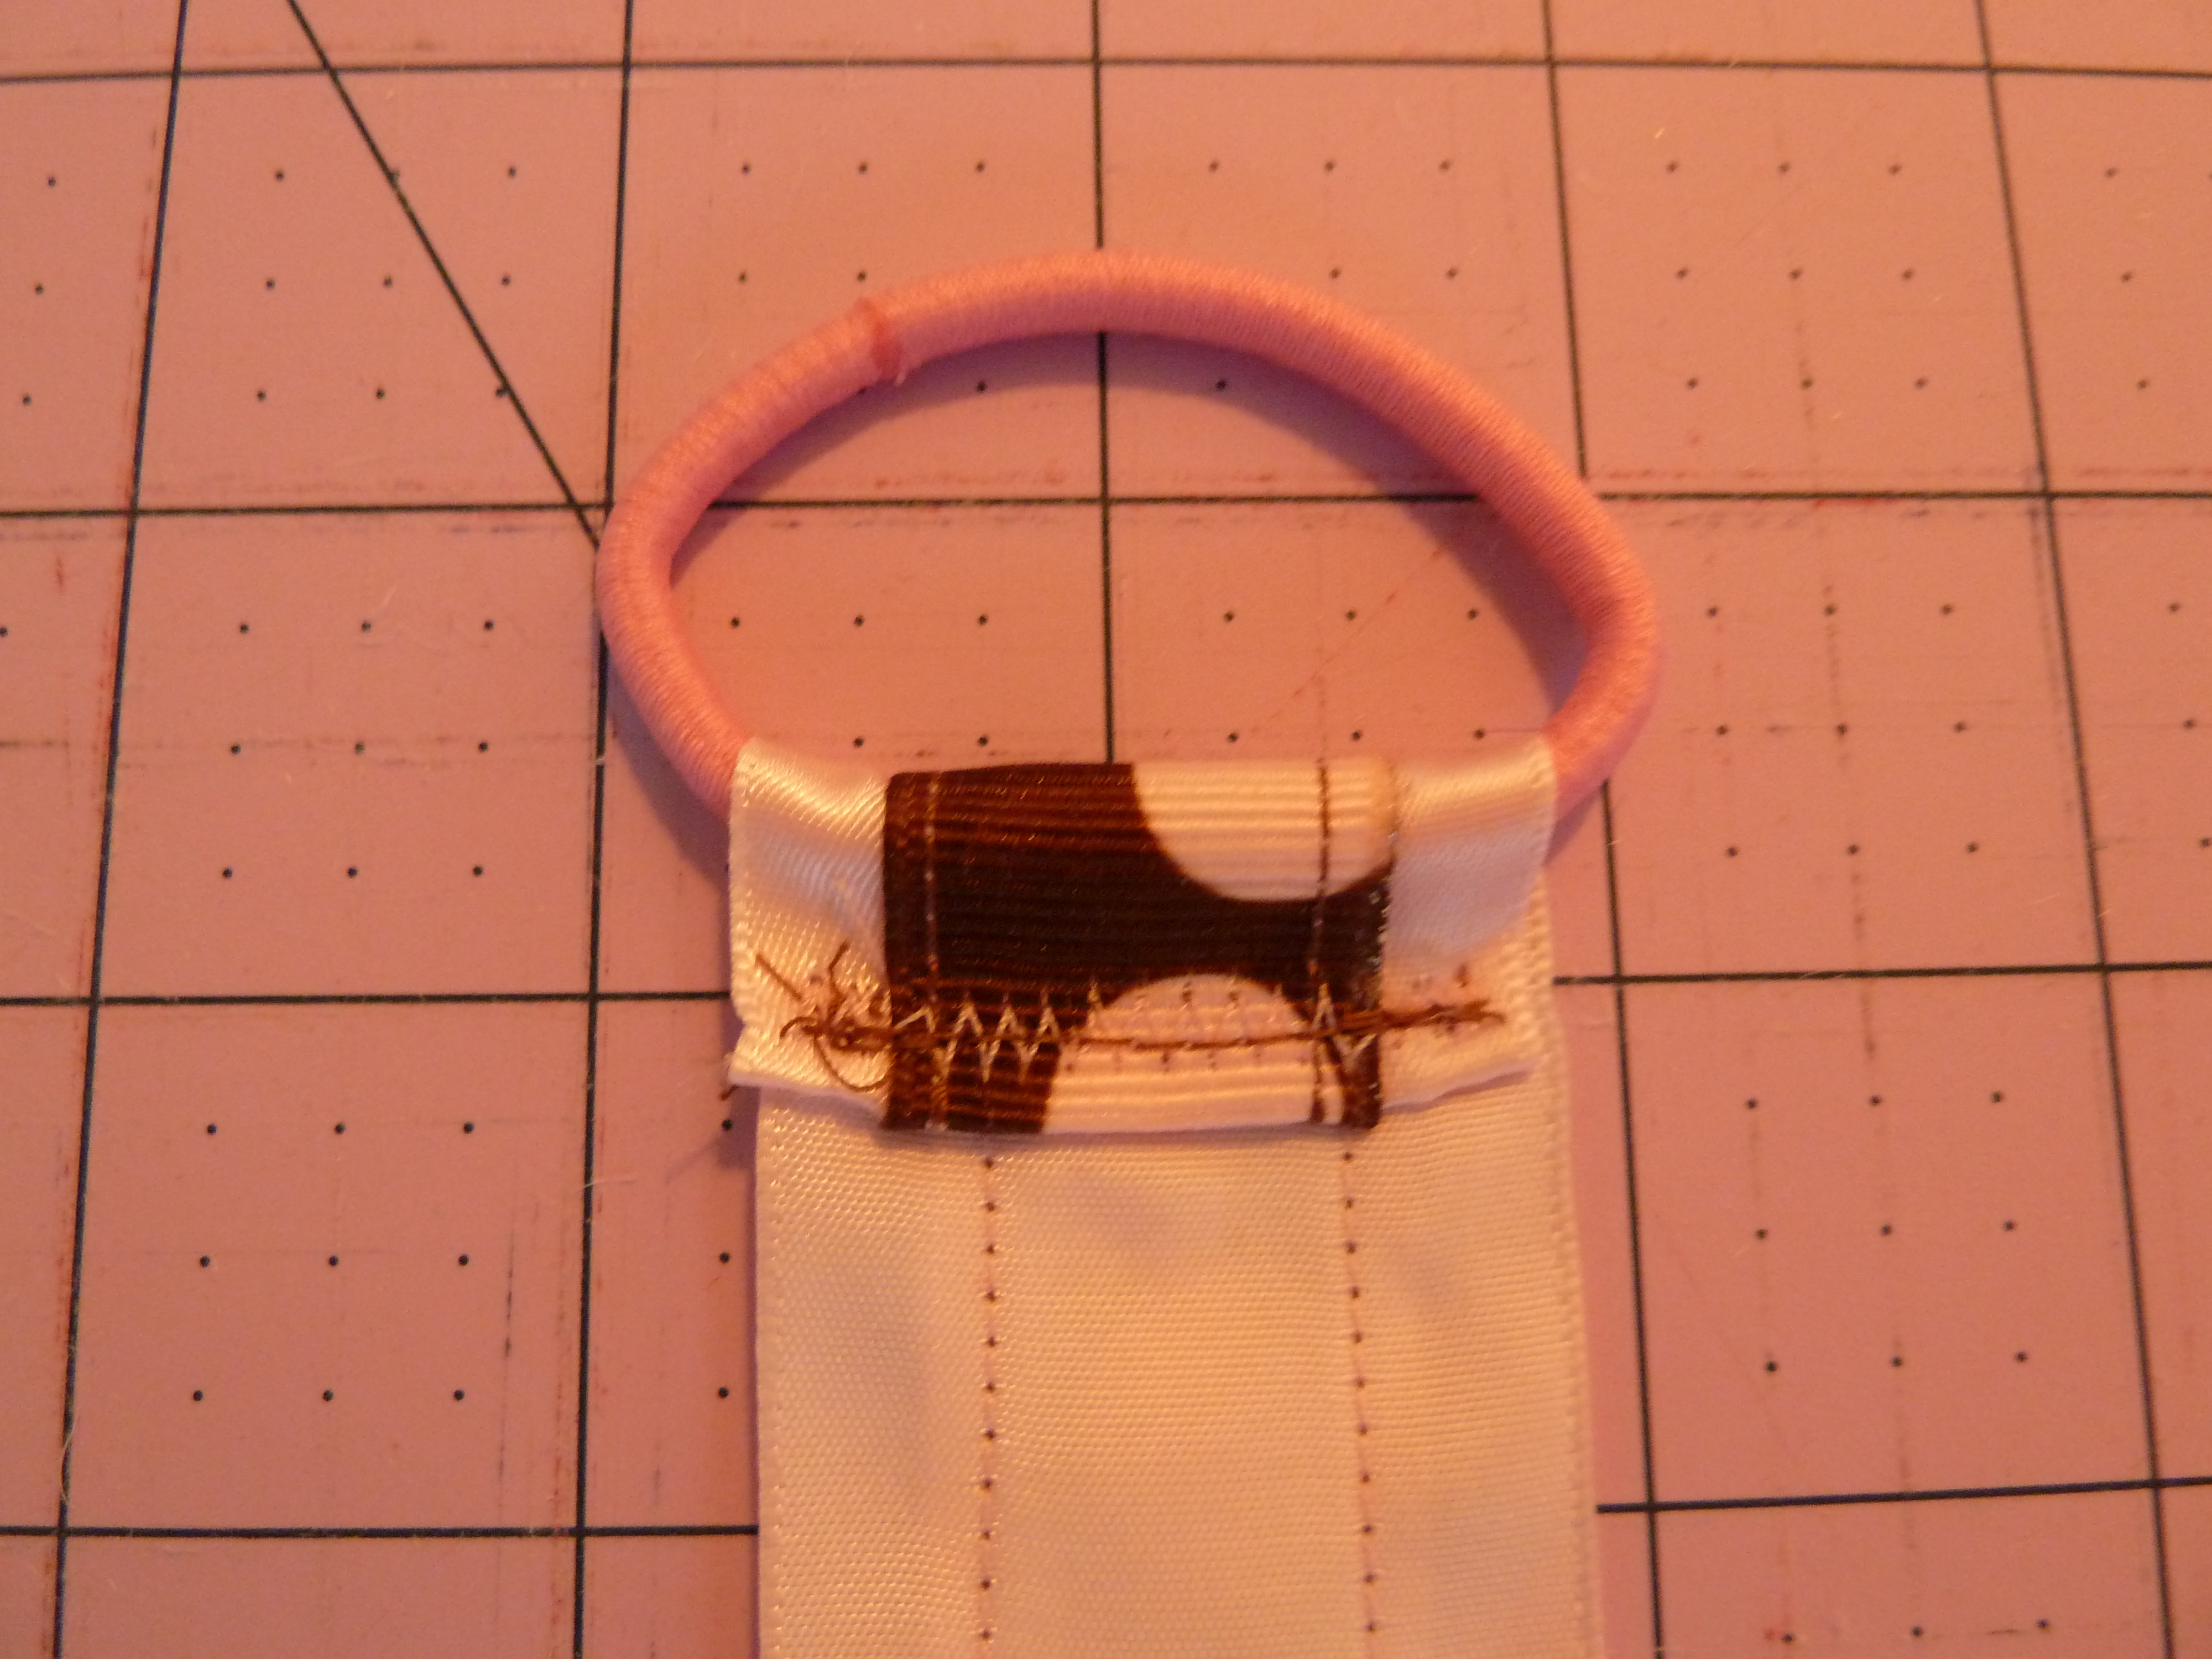
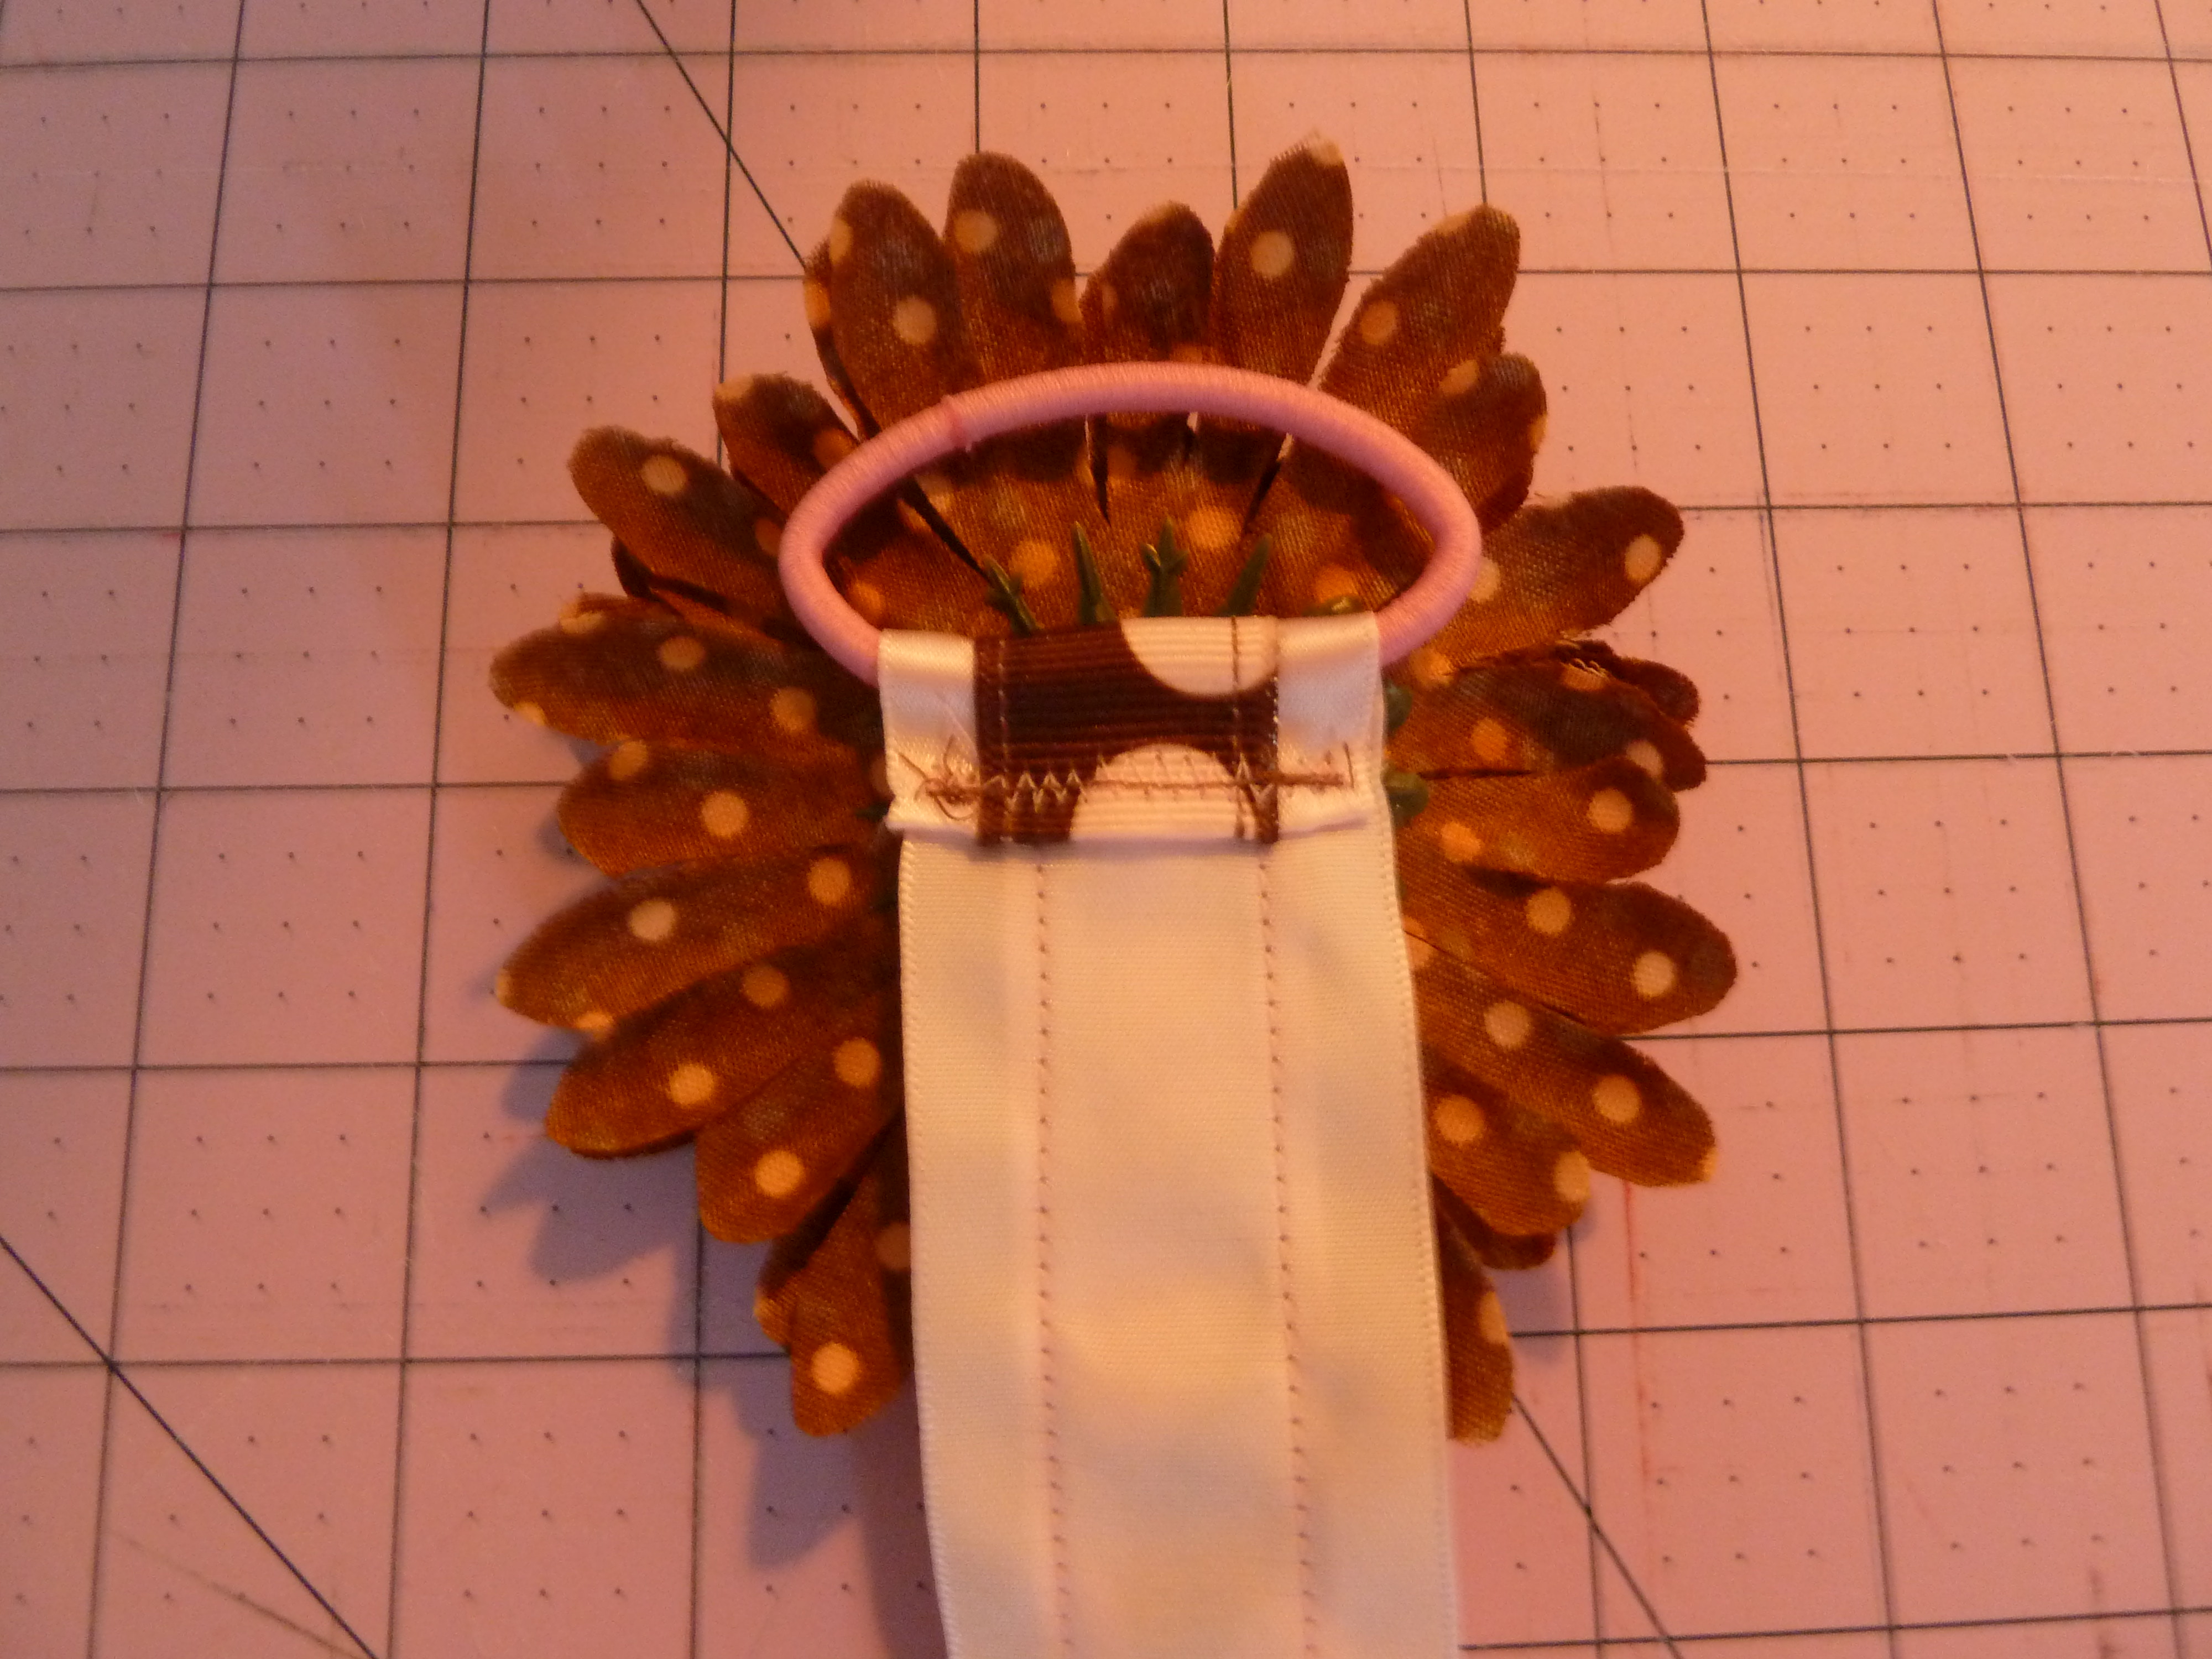
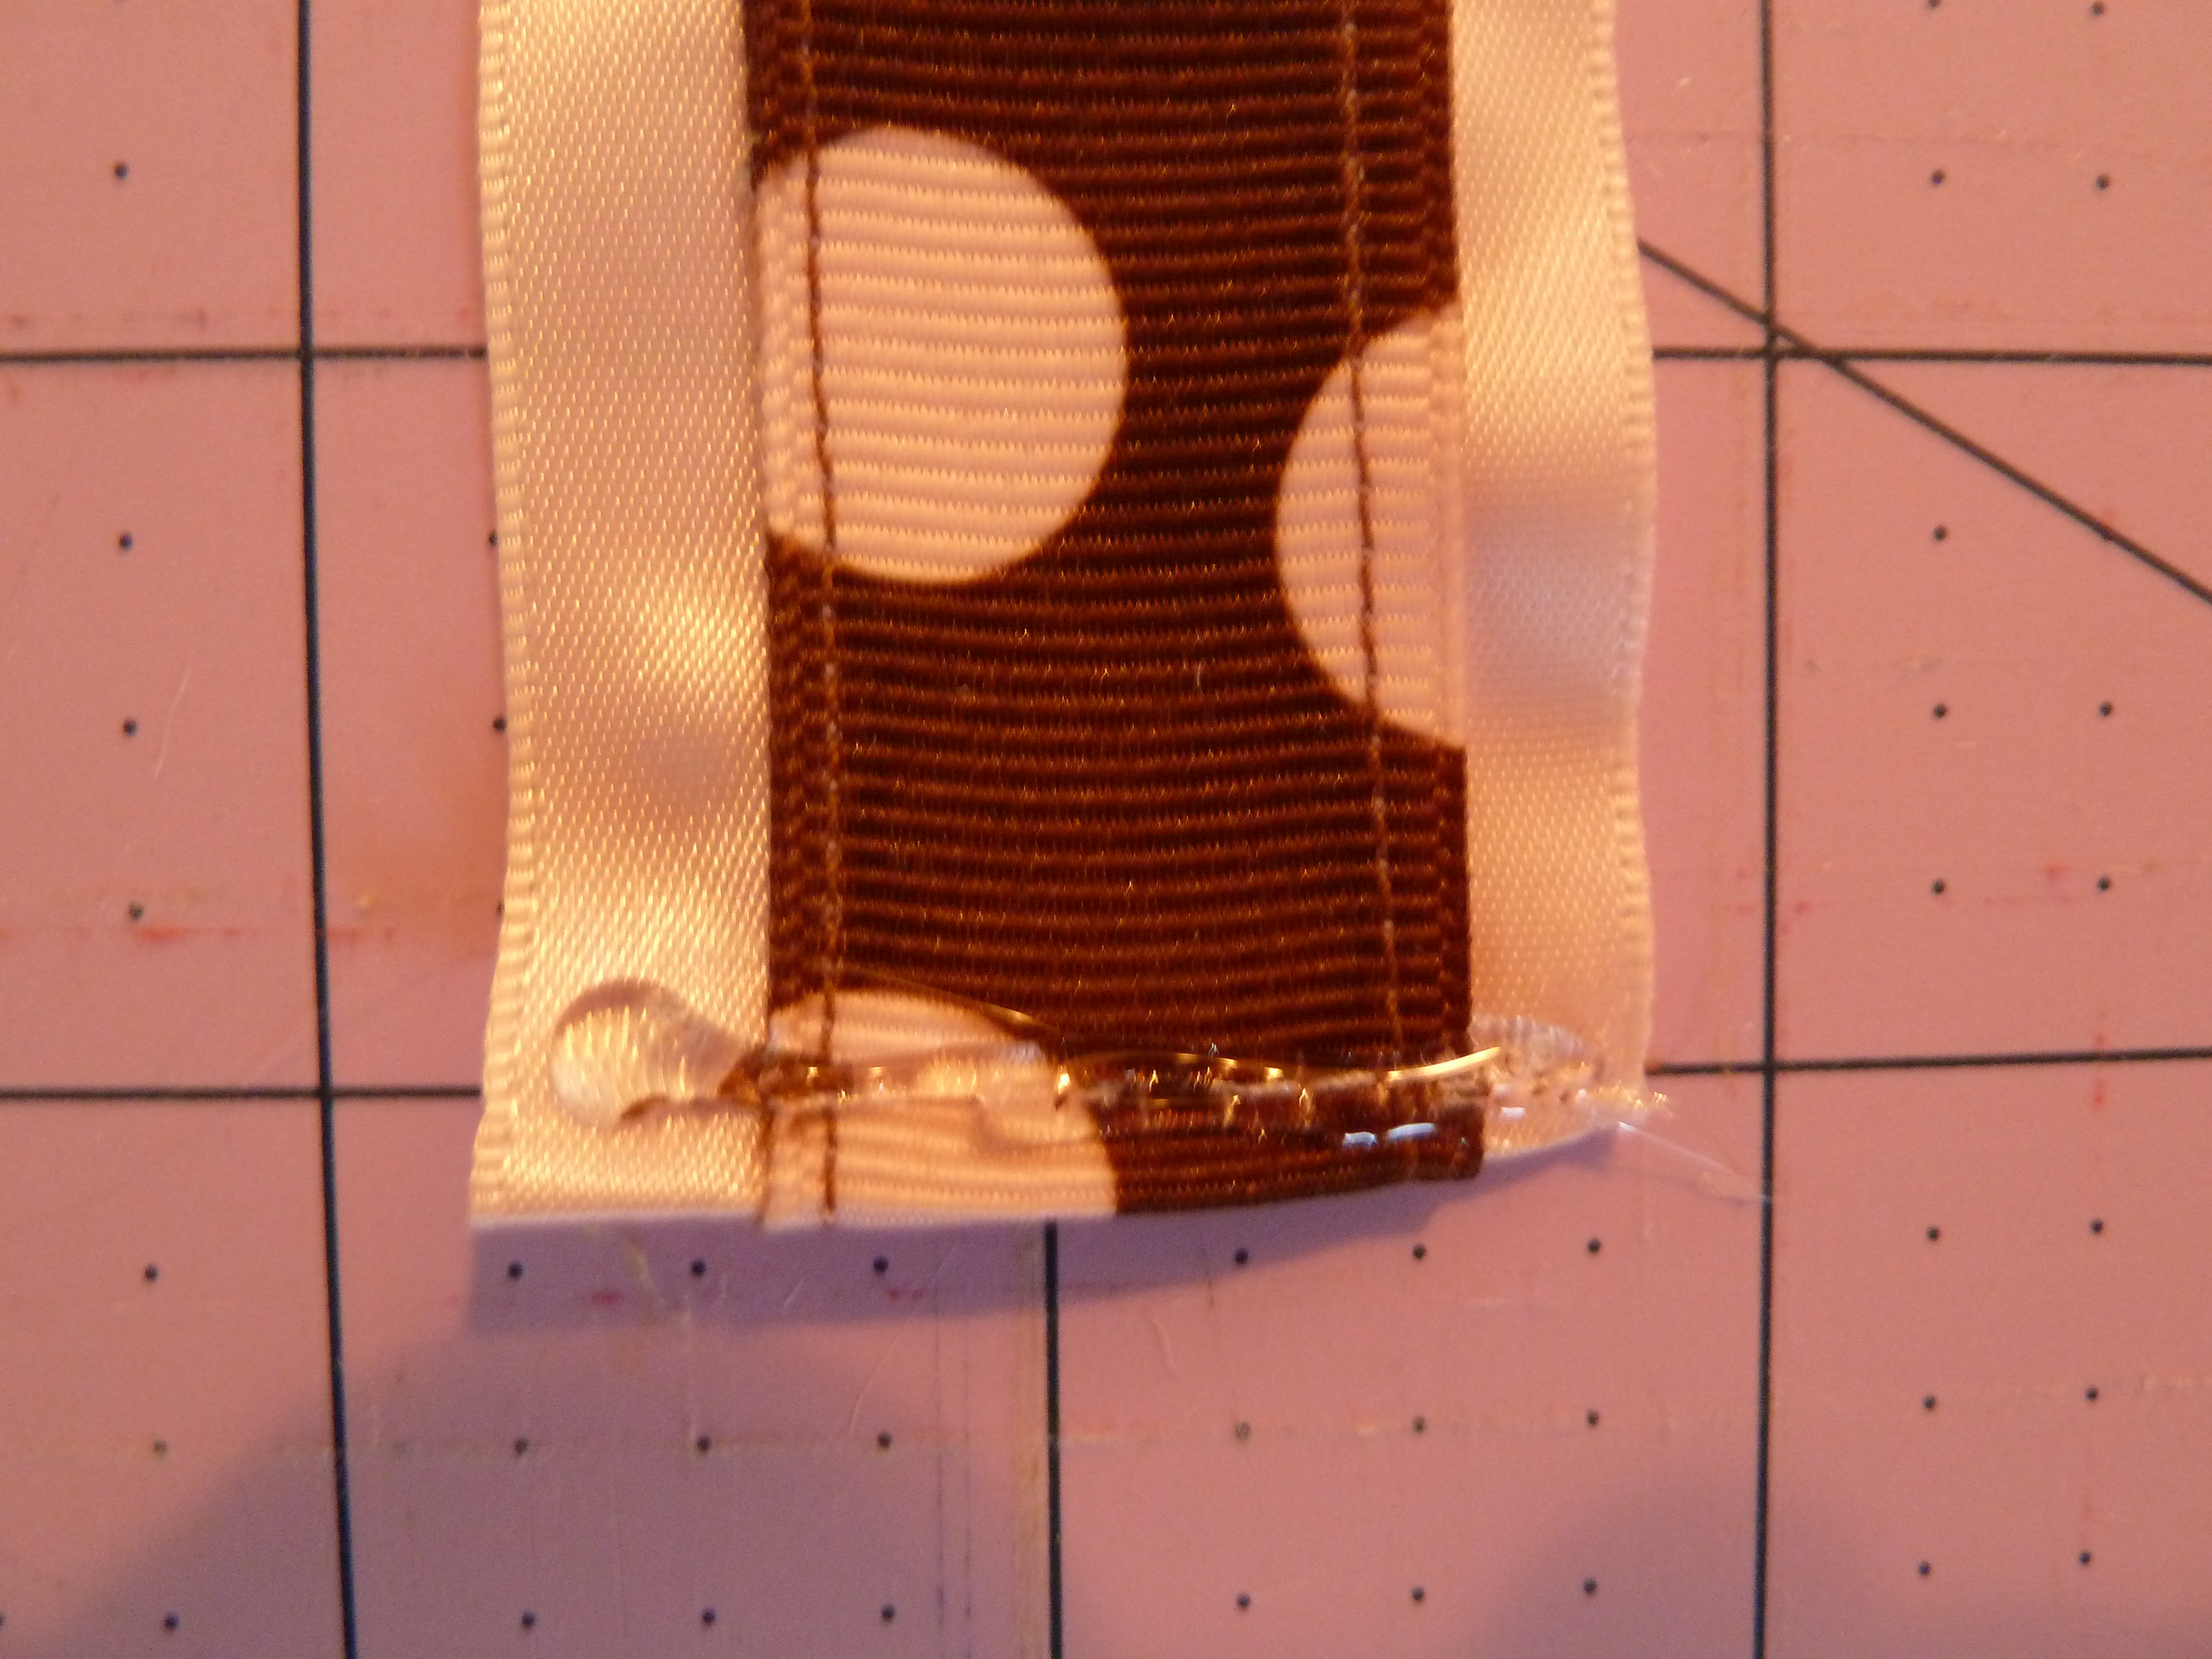
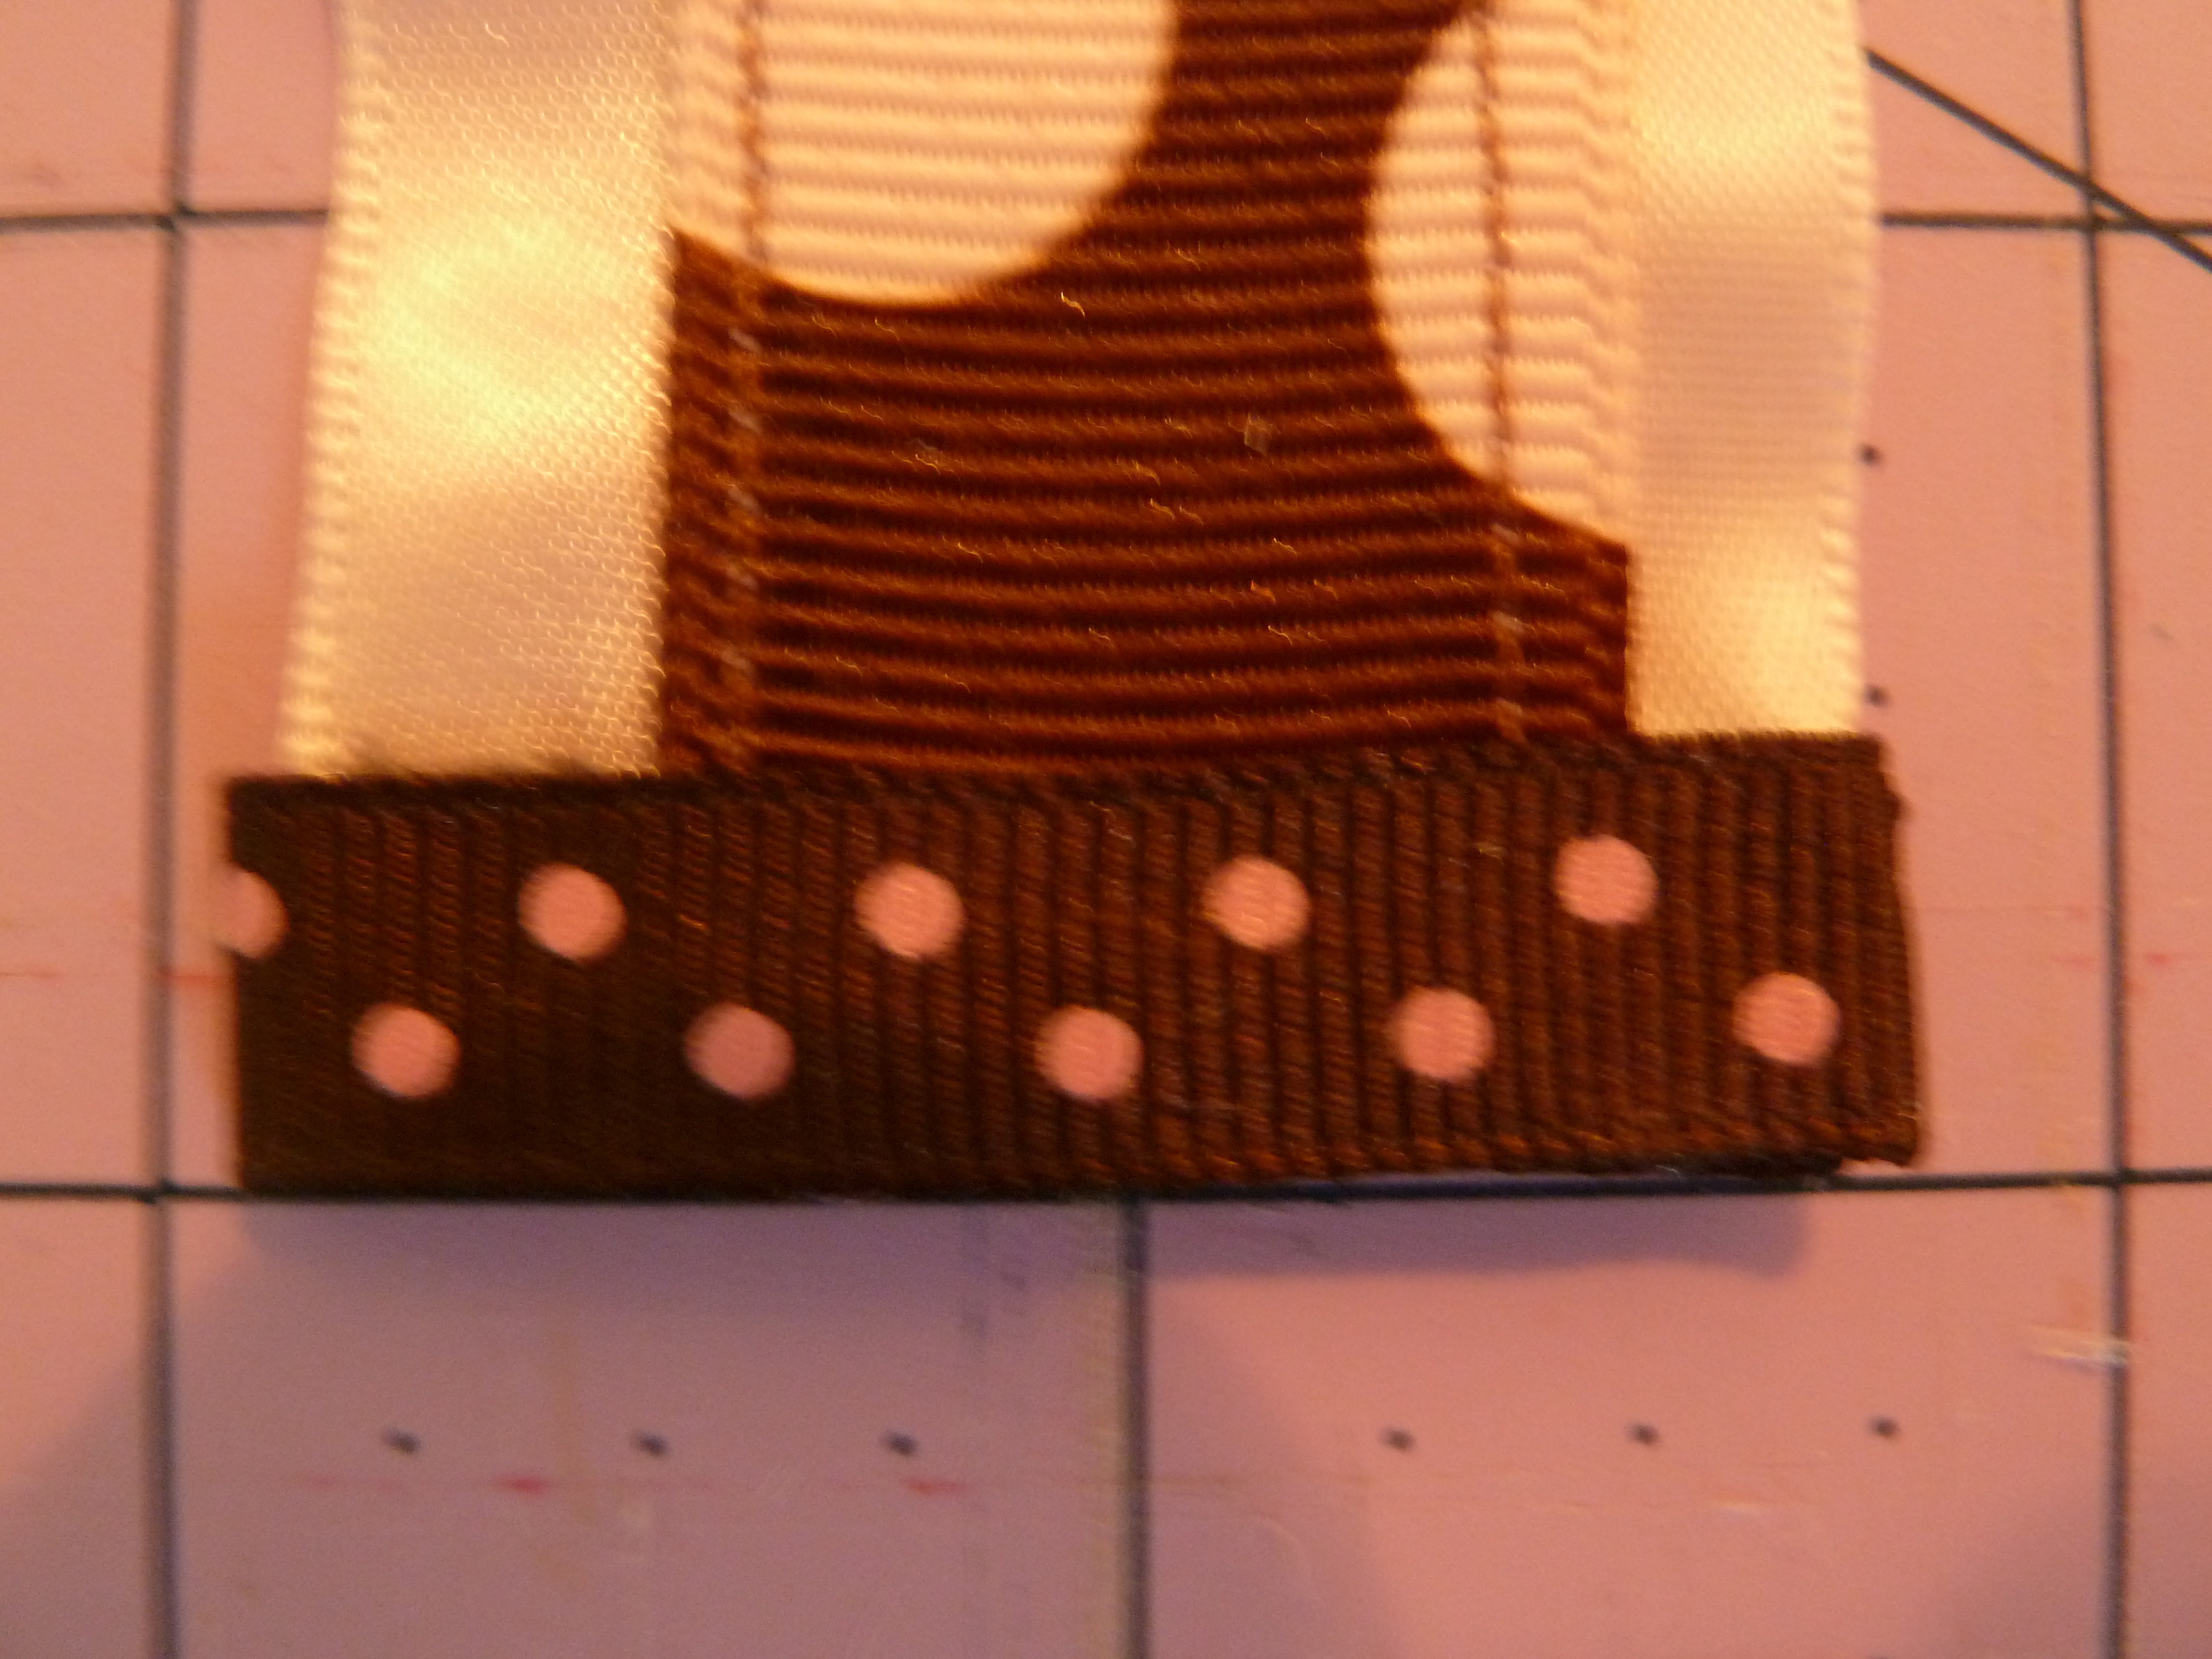
6.  Remember that extra piece of ribbon you heat sealed in preparation for lining your alligator clip?  It’s go time!  Keep in mind you’ll need 4.5″ of ribbon to line a small alligator clip and 5.5″ of ribbon for a large clip.  Go ahead and line your alligator clip now with your ribbon.  If this is unfamiliar to you, please check out another tutorial of mine where the process is discussed in-depth.

Your clip now looks like this:

top view

top view

underside view

underside view

A note about lining clips:  I have seen some people line the entire clip, but that can make the clip slip easily out of the hair.  Just as tragic is the fact that it’s a waste of your ribbon.  Hey, it all adds up, right?

7.  Place a dab of hot glue on the top of your clip, slightly lower than the end that opens.  (In other words, not at the side with the hinge).

P1060367

8.  Affix your ribbons to the clip and hold  there for 10-15 seconds to let the glue set.  Treat this heart like a real one;  hold it firmly but don’t crush it.

P1060368

9.  Place a dab of hot glue just slightly under the ribbon cluster you just glued on.  Take one end of the nearest ribbon (the shortest piece measuring 4″) and adhere it to the glue dot.  Here’s a visual:

P1060369P1060370

10.  Now place a small dab of glue on THAT ribbon end you just glued down to then attach the other side of that first heart.  Like so…

a little dab'll do ya...

a little dab will do ya…

first layer of your heart is complete...woohoo!

first layer of your heart is complete…woohoo!

11.  You’ll repeat steps 9 & 10 to complete the other 4 layers of your heart.  Note that each new heart layer will overlap the previous one slightly.

Here’s what your completed heart looks like:

P1060373

EXTRA CREDIT:  Add some bling, any embellishment you like.  A button at the top, a rhinestone or two at the bottom.  Glitter.  Sparkles…ooooh, the possibilities are endless!

To bling or not to bling...

To purchase these layered heart clips or see other variations, please visit my etsy store.  They should be listed on January 21, 2014.

Happy Valentine’s Day to you!  🙂

DIY Easy Bow Holder

If you’re like me and are tired of finding hair clips wedged between couch cushions or under your daughter’s bed, there’s an easy solution.

Enter the bow holder;  now hair clips will be off the floor and neatly hung up.  No more dust bunnies all over your daughter’s bows and hair clips and here’s the bonus…this holder serves as a cute decoration for your girl’s wall or closet door.  Functionality and beauty?  Sign me up!

P1050684 P1050827

Sewing Scooby rating:

3 Margaritas imageimageimage

  Basic sewing skills are all you need for this project.  It’s fast, easy, and uncomplicated.  So if you can topstitch a straight line while having one of Nicole’s famous Whiskey Sours, go for it.  And if you haven’t tried one of her Whiskey Sours yet then 1.  shame on you, and 2.  check out her recipe in  Scooby Snacks.

THINGS YOU’LL NEED: 

           P1050798P1050813


  • Large daisy or other fabric flower, stemless (can be found at arts & crafts stores or online–I get mine from a fellow etsy seller and it comes with a large 22mm rhinestone center…I love me some bling for projects like this)
  • 32″ length of 1.5″-2″ wide ribbon (this is your main ribbon)
  • 32″ length of .5″-1″ wide accent ribbon (will be centered on your main ribbon)
  • 3.5″-4.5″ piece of your accent ribbon
  • Sewing machine and coordinating thread
  • Pins
  • 1 pony ‘o (hair elastic)
  • Hot glue gun with glue stick
  • Scissors
  • Ruler or cutting board
  • Long lighter
  • Iron and ironing board
  • Spray starch (optional)
  • Hammer and nail or thumb tack for hanging bow

1.  Center accent ribbon onto main ribbon and pin in place.

With or without scooby snacks, I don't trust my ability to 'eye ball' measurements; I chose to use a "dissolve in water" pen to mark the center of the main ribbon.

With or without scooby snacks, I don’t trust my ability to ‘eye ball’ measurements; I chose to use a “dissolve in water” pen to mark the center of the main ribbon.

P1050800

2.  Bring the pinned ribbons to the sewing machine.  You don’t even need to get comfortable here, as you’ll be sewing for about 3 seconds.  Topstitch 2 lines onto the ribbon using a scant seam allowance.  I simply try to hug the edge of the accent trim.

P1050815

3.  At both ends of the ribbon,  fold edges over about 1/4 ” and press with iron.  You now have no raw edges exposed on the front of your ribbon.

4. Back at the sewing machine once again…sew these two ribbon ends with a straight or zig zag stitch.

P1050814

5. With ribbon WRONG side up, place ribbon through the pony ‘o.  Fold ribbon over to encase pony ‘o and sew in place.

P1050816 P1050817

P1050818

6. Now,  “Annie, Get Your Glue Gun.”  (Pardon my musical theater reference.  I couldn’t resist).  Warm up your hot glue gun and glue the ribbon RIGHT SIDE DOWN  on back of flower, also RIGHT SIDE DOWN. 

**IMPORTANT:  make sure you glue the pony ‘o end of ribbon ABOVE the plastic “leaves” of your flower.  Otherwise, your bow holder won’t lie flush against your wall or closet door and that’s just plain annoying.

Here's a horrendously out-of-focus pic of the back of your flower...the "leaves" are green and have the plastic stem start in the center of them.

Here’s a horrendously out-of-focus pic of the back of your flower…the “leaves” are green and have the plastic stem start in the center of them.

P1050823

7.  Get your lighter.  Heat seal the ends of your small piece of accent ribbon so the ends don’t fray.  To do this, run the lighter lightly by, but NOT on, your ribbon.  When heat sealed, the ribbon ends will feel a little hard and almost carmelized without being burned or singed.  If you’ve had three scooby snacks by now, you may find this step a little challenging.

P1050820

8.  Hot glue your short accent ribbon to main ribbon, having ends meet in the back (on the wrong side of the ribbon).  You now have a nice accent trim for the bottom of your bow holder.

Use your hot glue gun to run a strip of glue along ribbon...

Use your hot glue gun to run a strip of glue along ribbon…

...now quickly but carefully place your short piece of ribbon along glue line and attach at back with glue, too.

…now quickly but carefully place your short piece of ribbon along glue line and attach at back with glue, too.

9. Hey!   Unplug your hot glue gun so you don’t find a messy glob of glue on your table!

10. Hang that sucker and adorn with all the hair clips you found behind the fridge while cleaning.

WOOHOO, YOU’RE DONE!  KUDOS TO YOU!

P1050827 P1050826

P1050684

To see more pics of Bow Holders, visit my etsy store, Born To Wear Bows, at https://www.etsy.com/shop/BornToWearBows?ref=si_shop