Beef short ribs are relatively a cheap cut of meat and with some tender loving care they are fall off the bone delicious. My cut which I bought at Costco were boneless. The best thing about braising these low and slow is the aromatherapy it produces. You will call in sick just to stay home, whiff this all day while wiping the drool off your chin! I have other recipes that will follow in the next coming days that accompanied my short ribs.
My menu started off with wedge lettuce salad with homemade blue cheese dressing topped off with crispy shallots and turkey bacon bits. Main dish was of course the braised short ribs served over a bed of creamy polenta, and collard greens. For dessert I made a rustic skillet apple pie.
I hope you enjoy my journey through these recipes this week.
Ingredients:
- beef short ribs
- 3 pieces of bacon (I use turkey bacon)
- 1/2 cup diced onion
- 2 celery stalks chopped up
- 2 carrots diced
- 2 garlic cloves minced fine
- flour for dusting your ribs
- generous sprinkles of kosher salt and freshly cracked black pepper
- 2 heaping tbls of tomato paste
- 1 tsp of soy sauce
- 1 tsp of worcestershire sauce
- 2 cups of dry wine
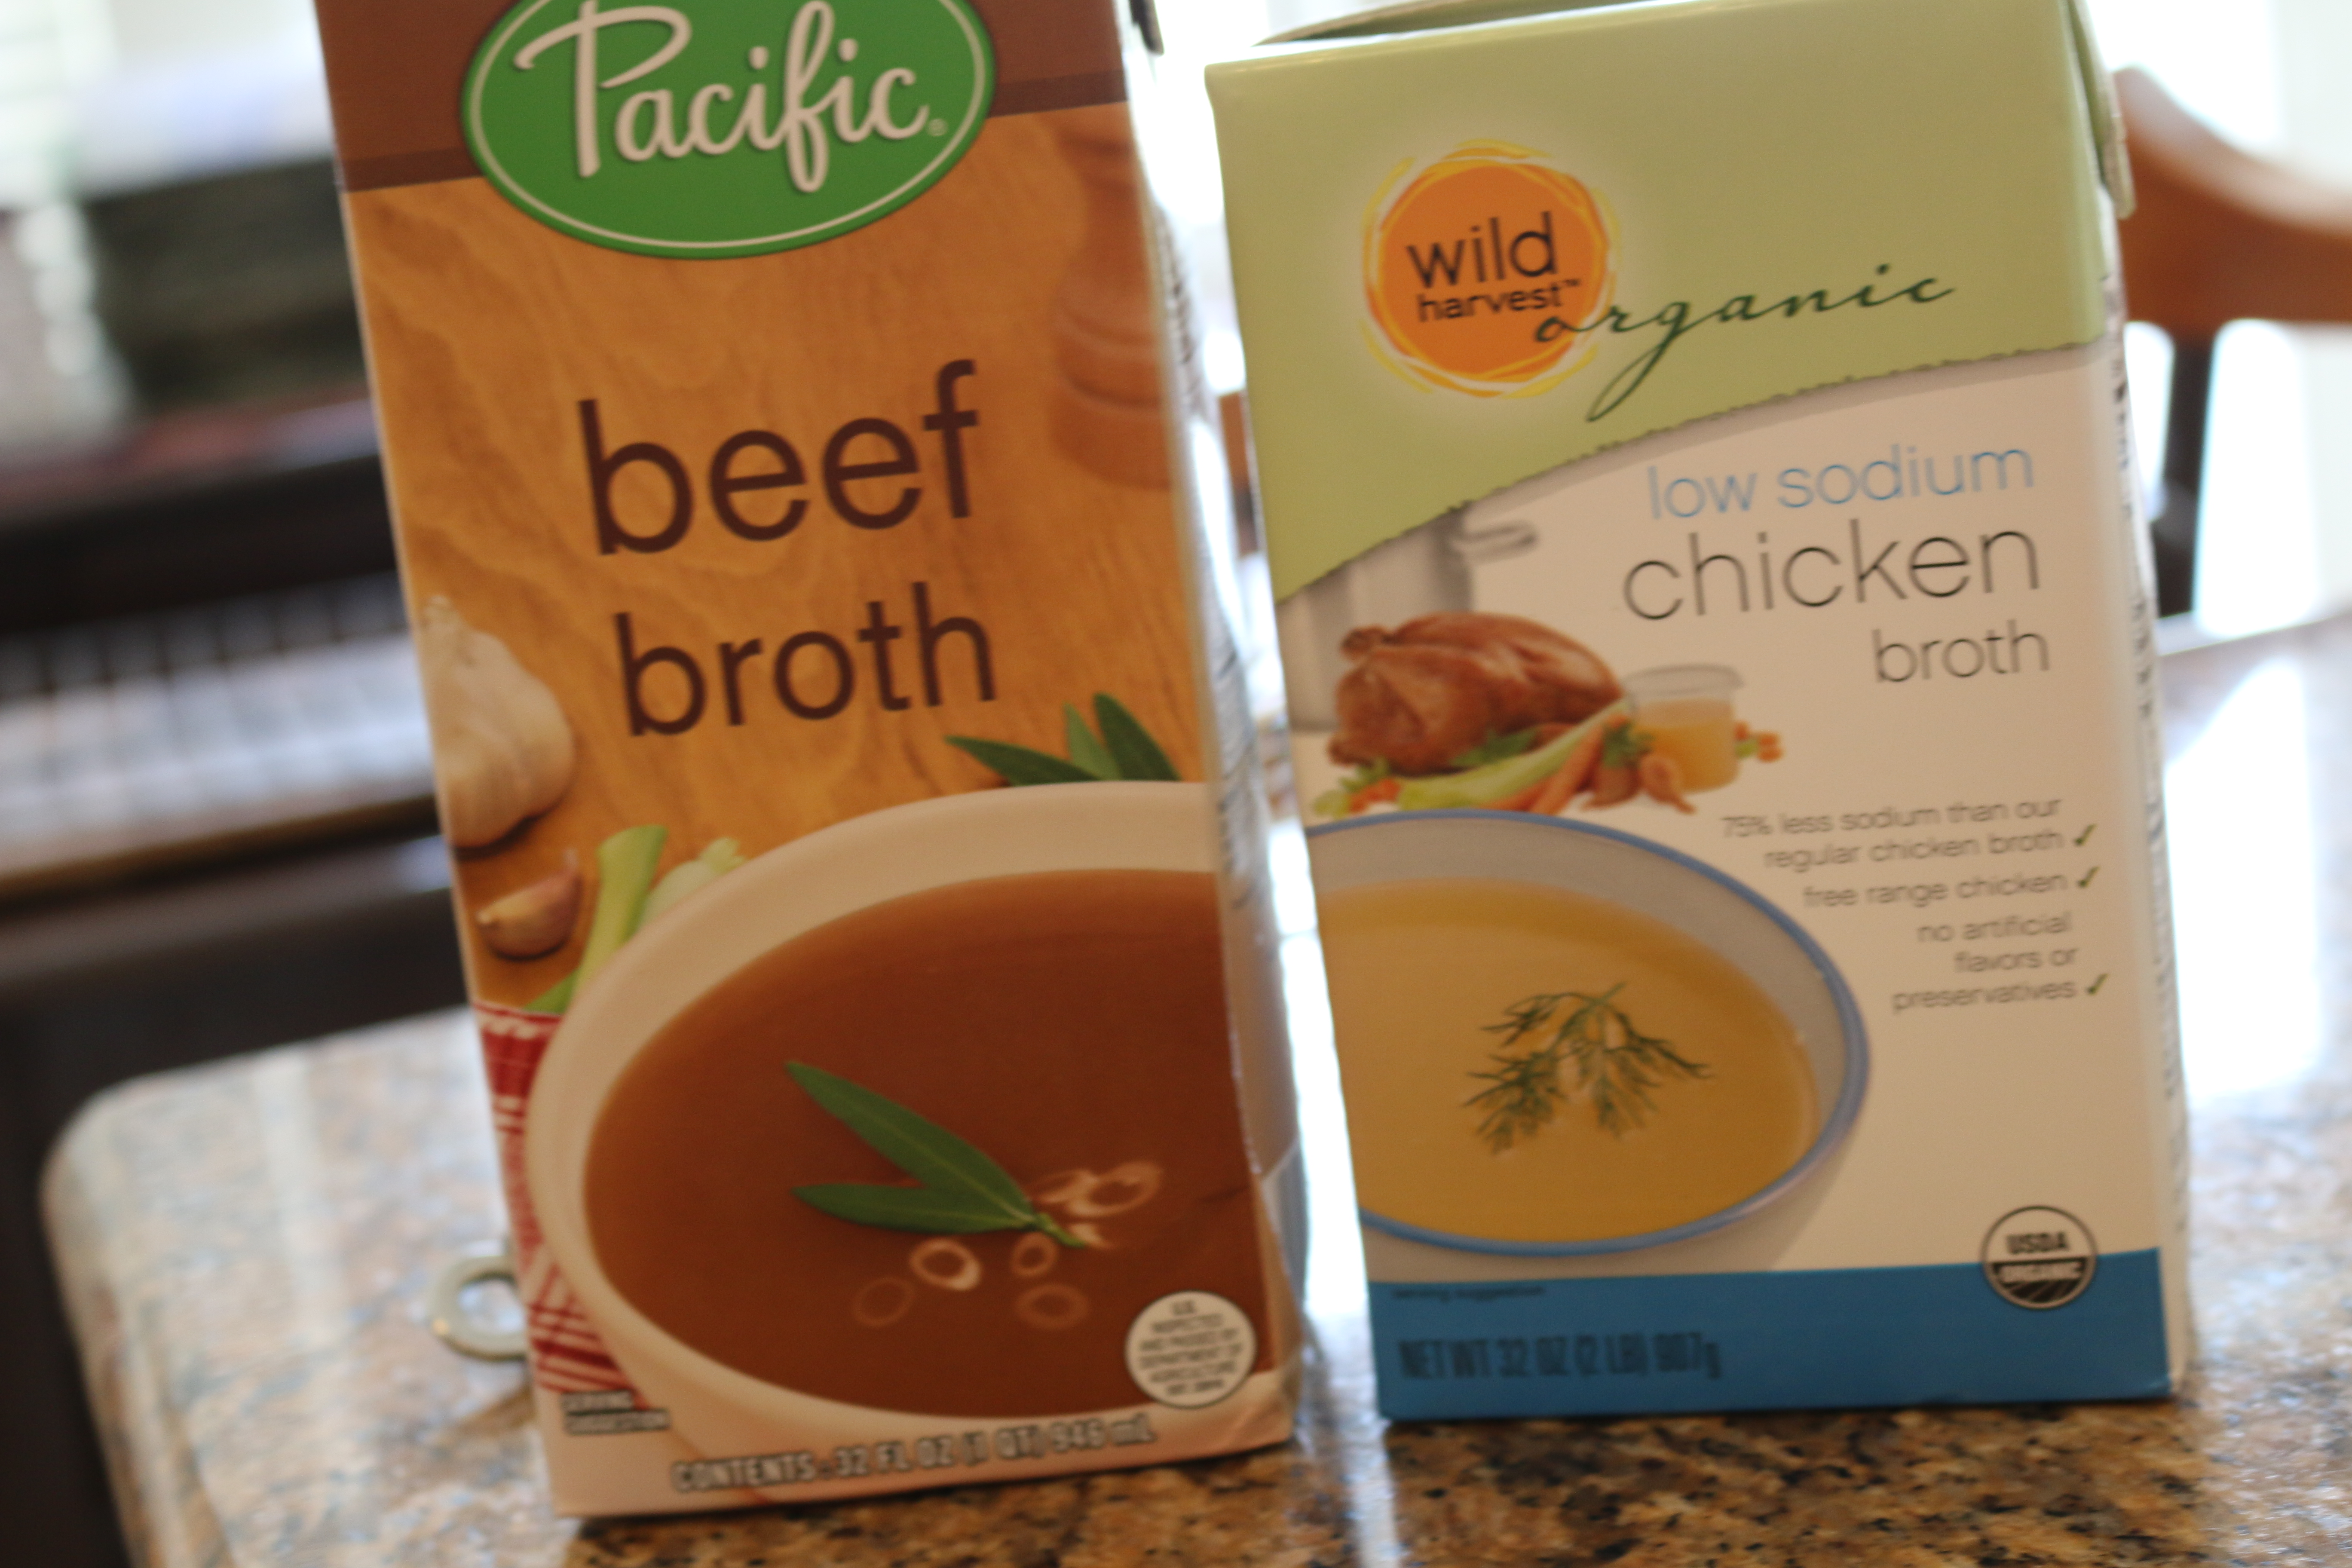
- 2 cups of beef broth
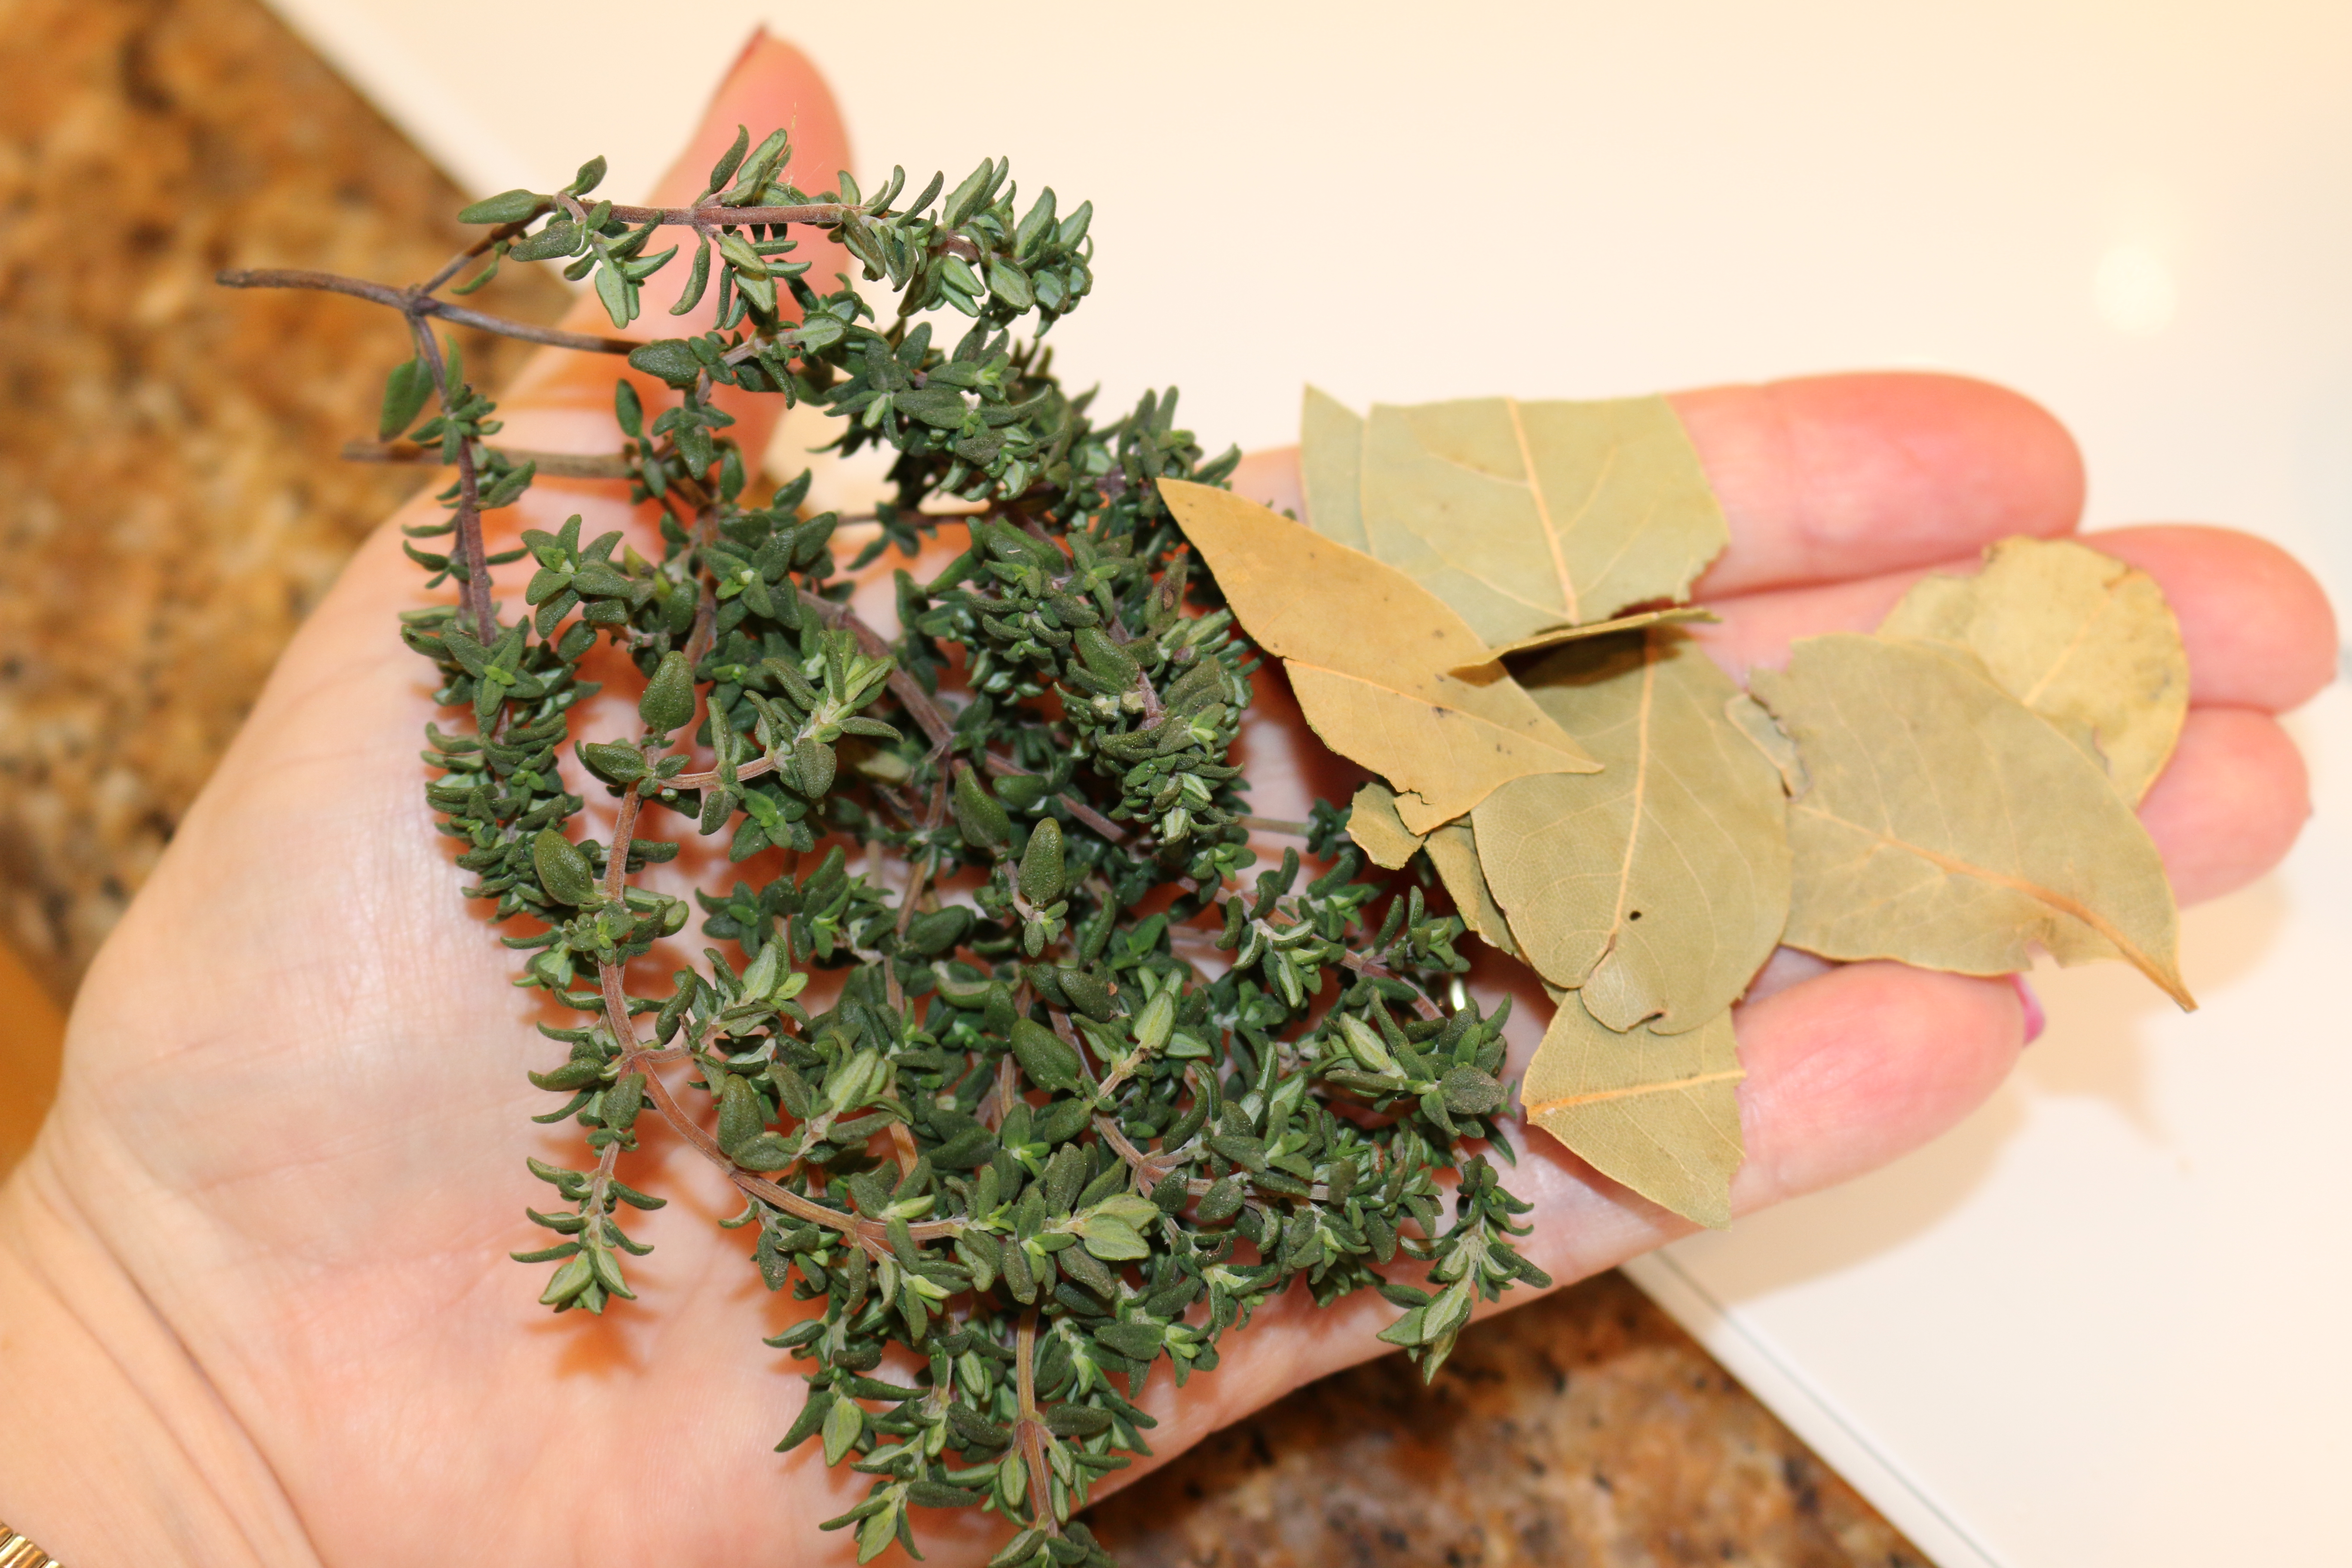
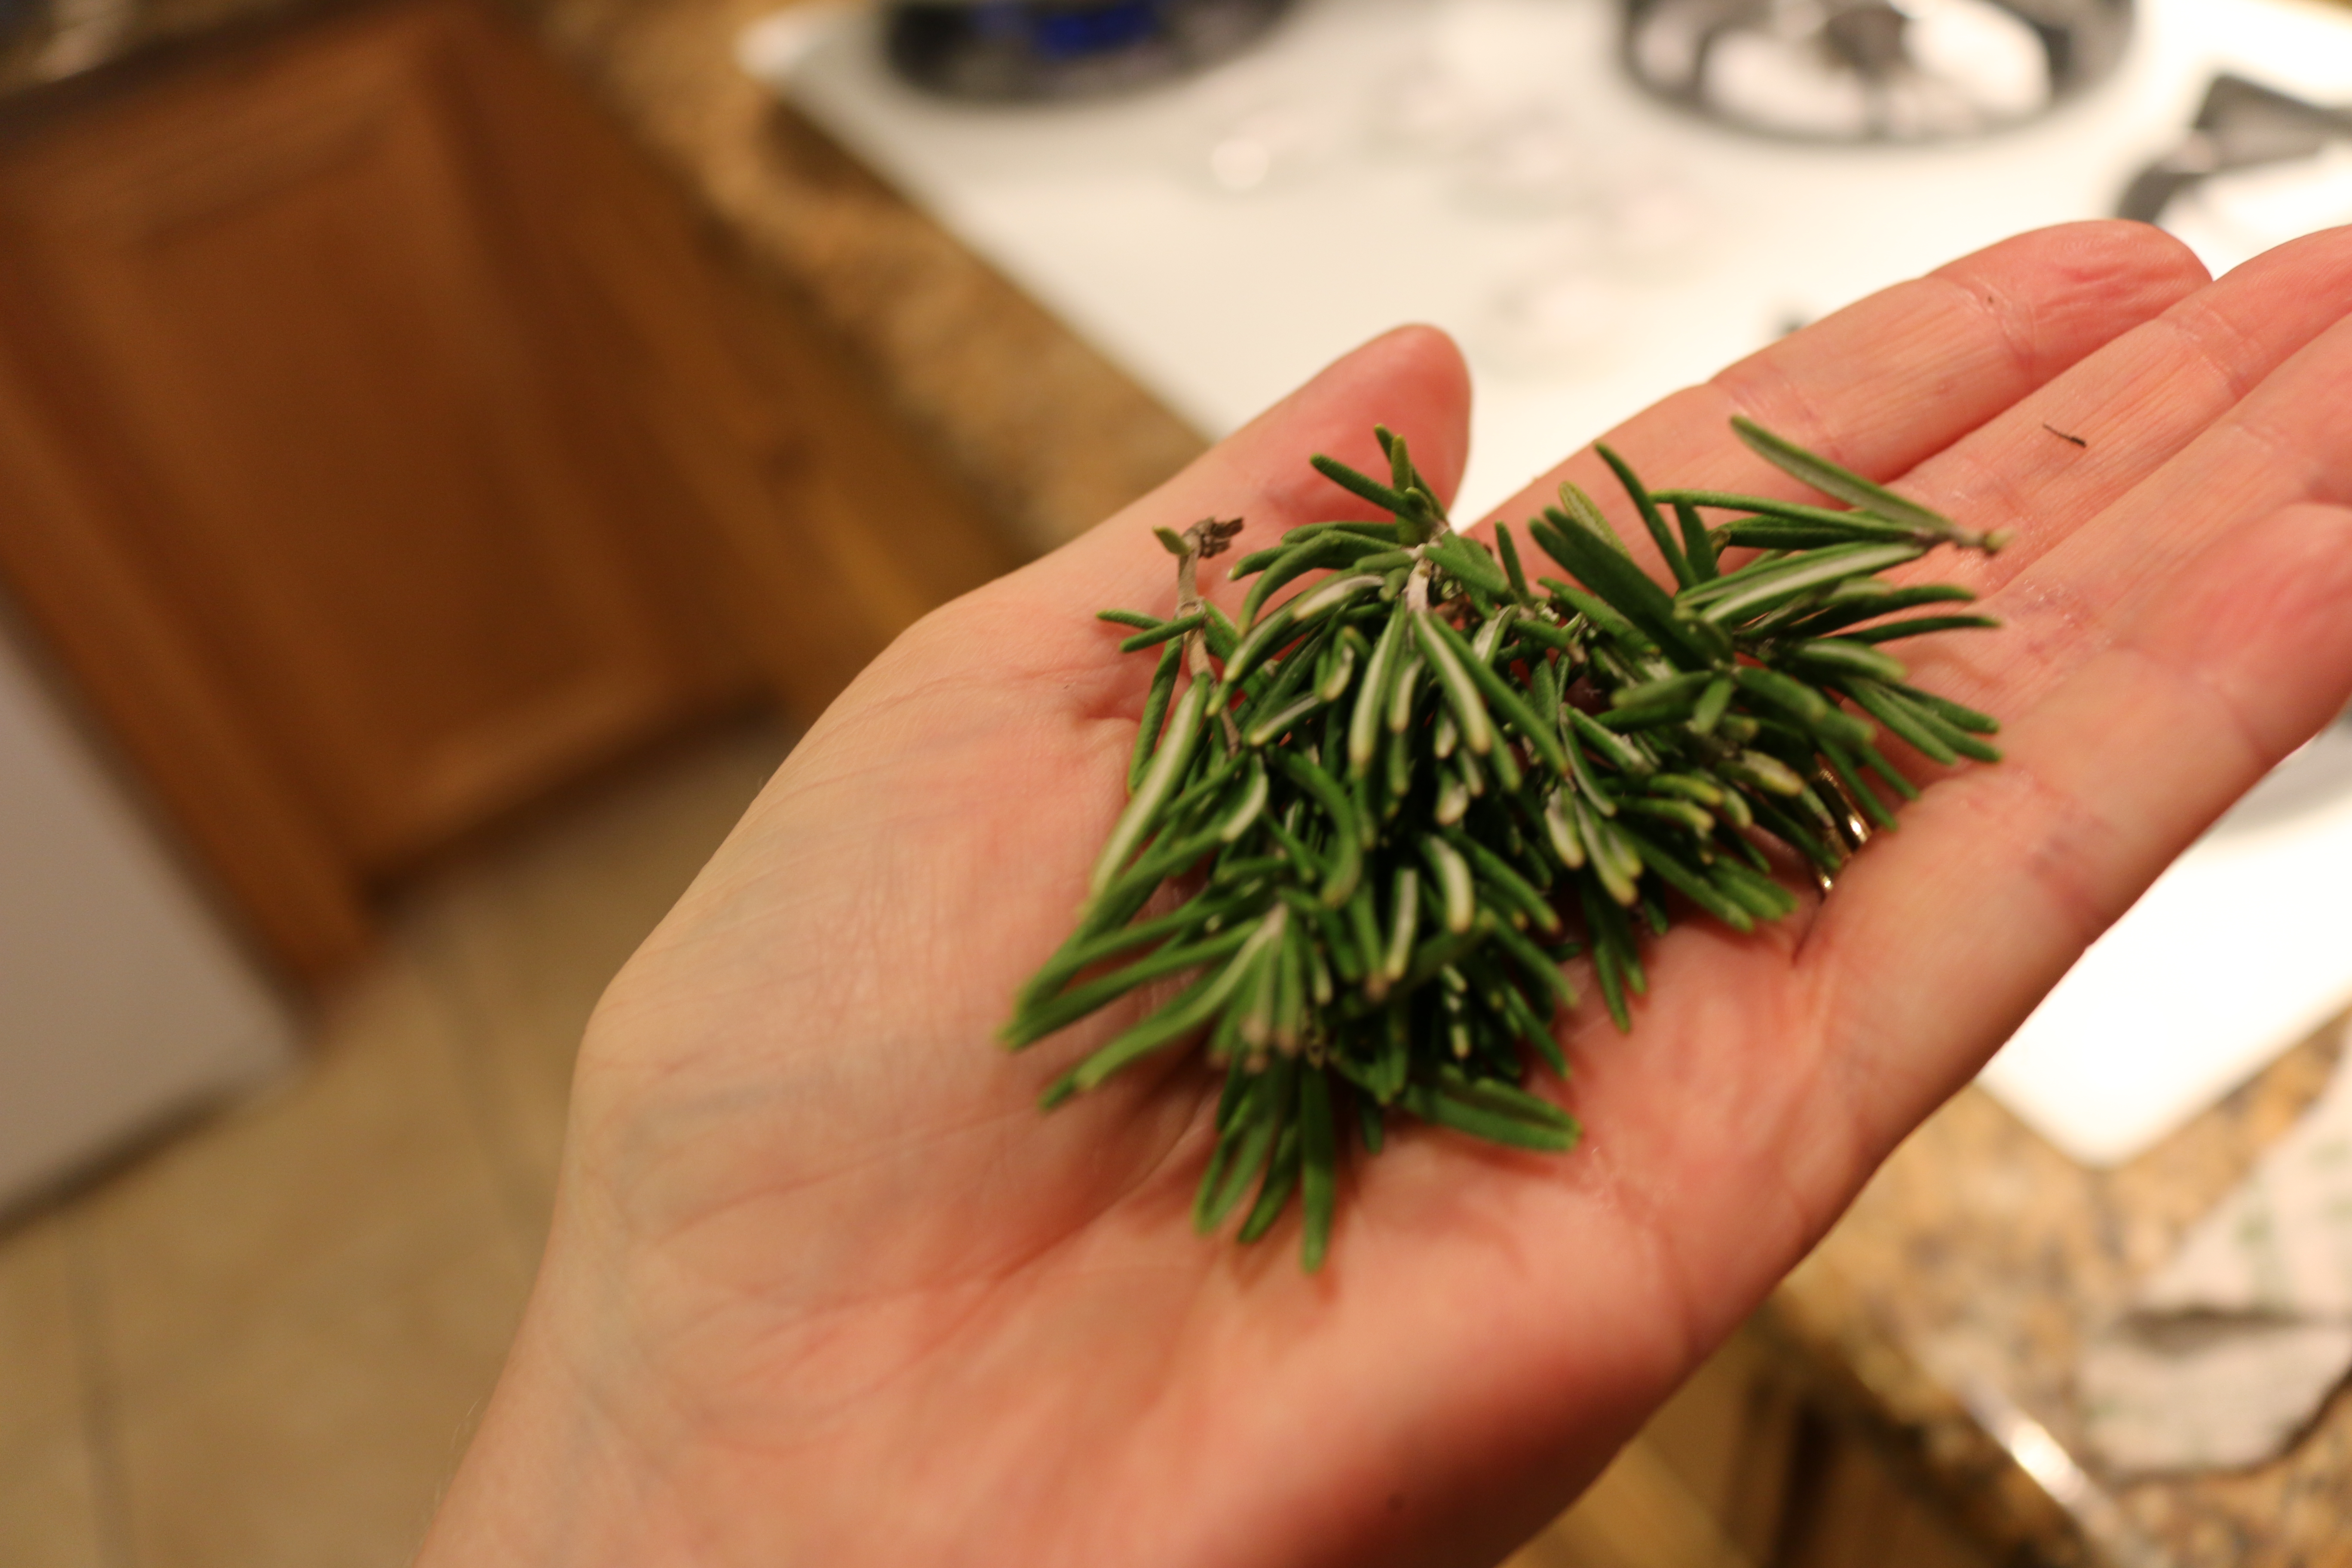
- fresh herb bouquet( I used thyme and rosemary)
Tip:

If you have a small hand-held grinder/blender it works great for grinding pepper. I don’t have the patience to hand grind a ton of black pepper on my food, so I always keep a bit ground up in my magic bullet container.
Directions:
First off, we are going to GENEROUSLY sprinkle our meat with the kosher salt and fresh black cracked pepper.


Don’t be shy with the seasoning honestly this is a lot of meat and the salt helps tenderize the meat and adds flavor to the braising liquids. If you are using regular salt vs kosher salt then DON’T use as much salt because it will be way too salty. 1 tsp of kosher salt is equal to 1/2 tsp of regular table salt.
Let your meat rest for a half hour and come to room temperature while we do some prep work. We will dice up our bacon, onion, celery and carrots.


Now we can dust our meat in the flour:

So my thought process with the bacon was to add another depth of flavor and smokiness. Sort of like what you do with beef bourguignon. So we are going to fry up our bacon I used a bit of vegetable oil because turkey bacon is very trim and no fat is really rendered.

Once your bacon is cooked and crispy, scoop it out of your dutch oven and set aside (I used half of the cooked bacon to top off my blue cheese wedge salad:) the rest will go back in our pot later)
Now take your beef short ribs and brown them really good in batches. Once browned on both sides set aside to rest.


Ok a word about how to add extra beefiness and compliment the flavors of beef: tomato paste, soy sauce, and worcesteshire sauce. These 3 ingredients are a great key to adding boatloads of rich beefy flavor.
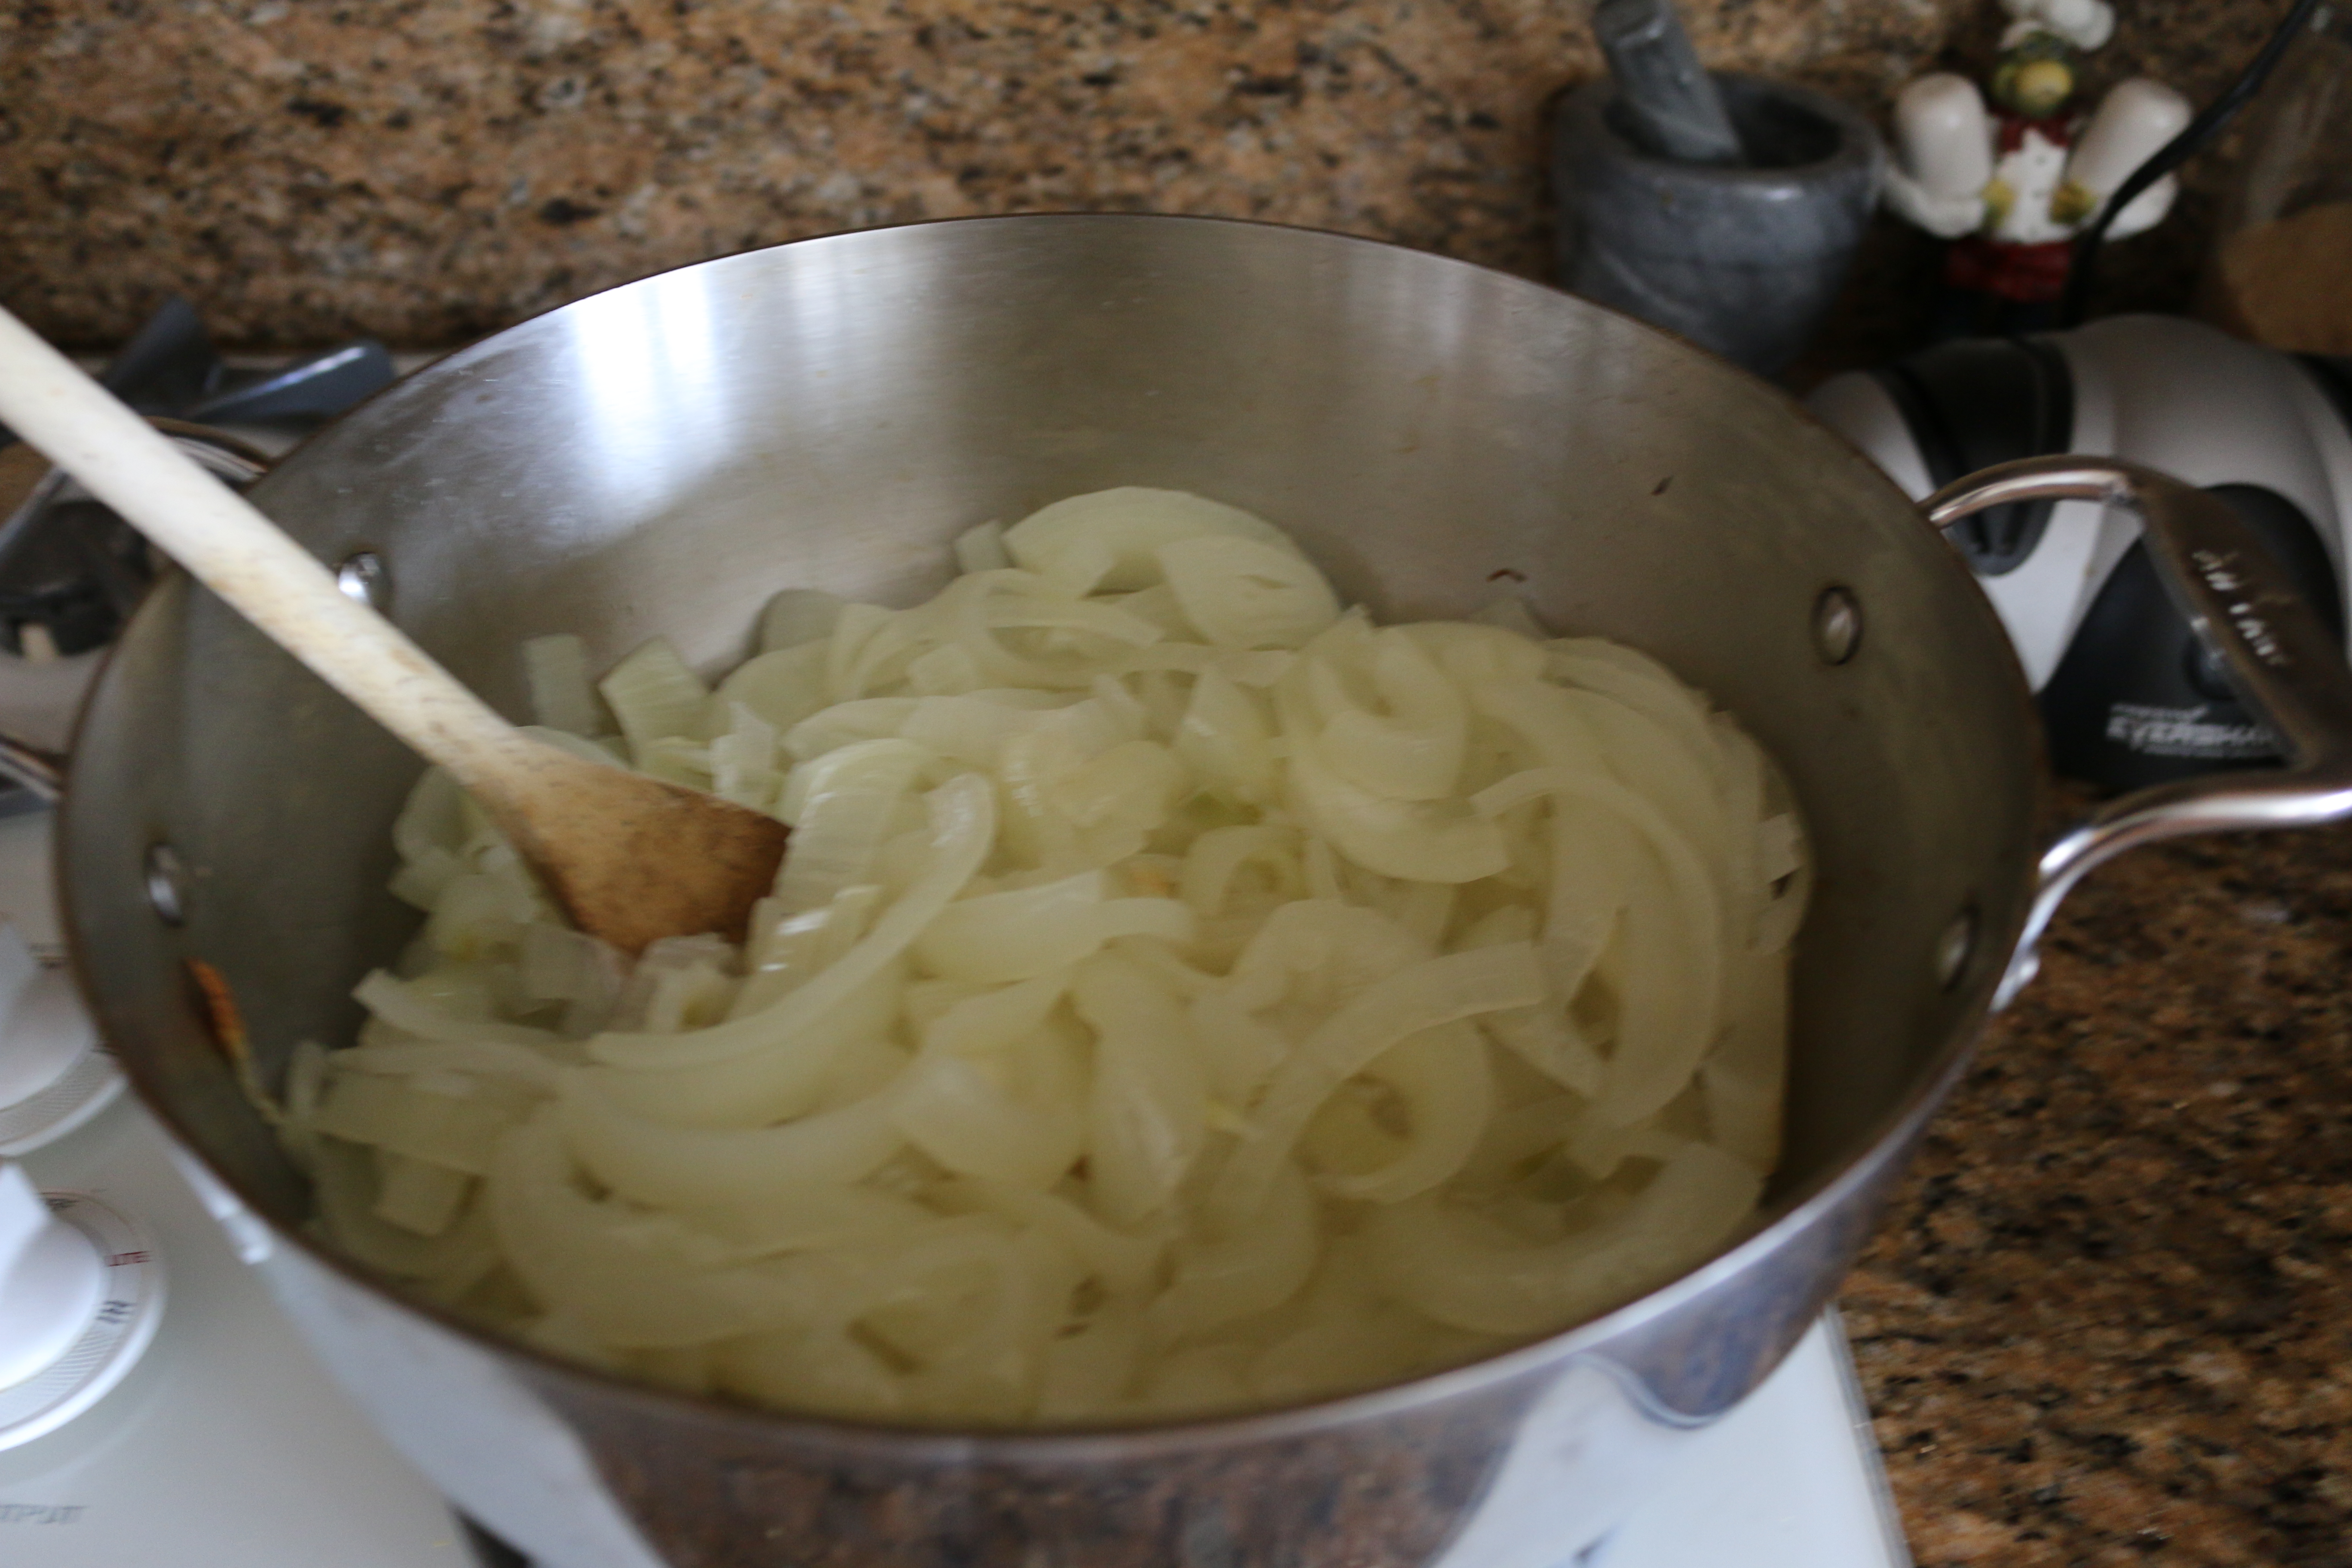
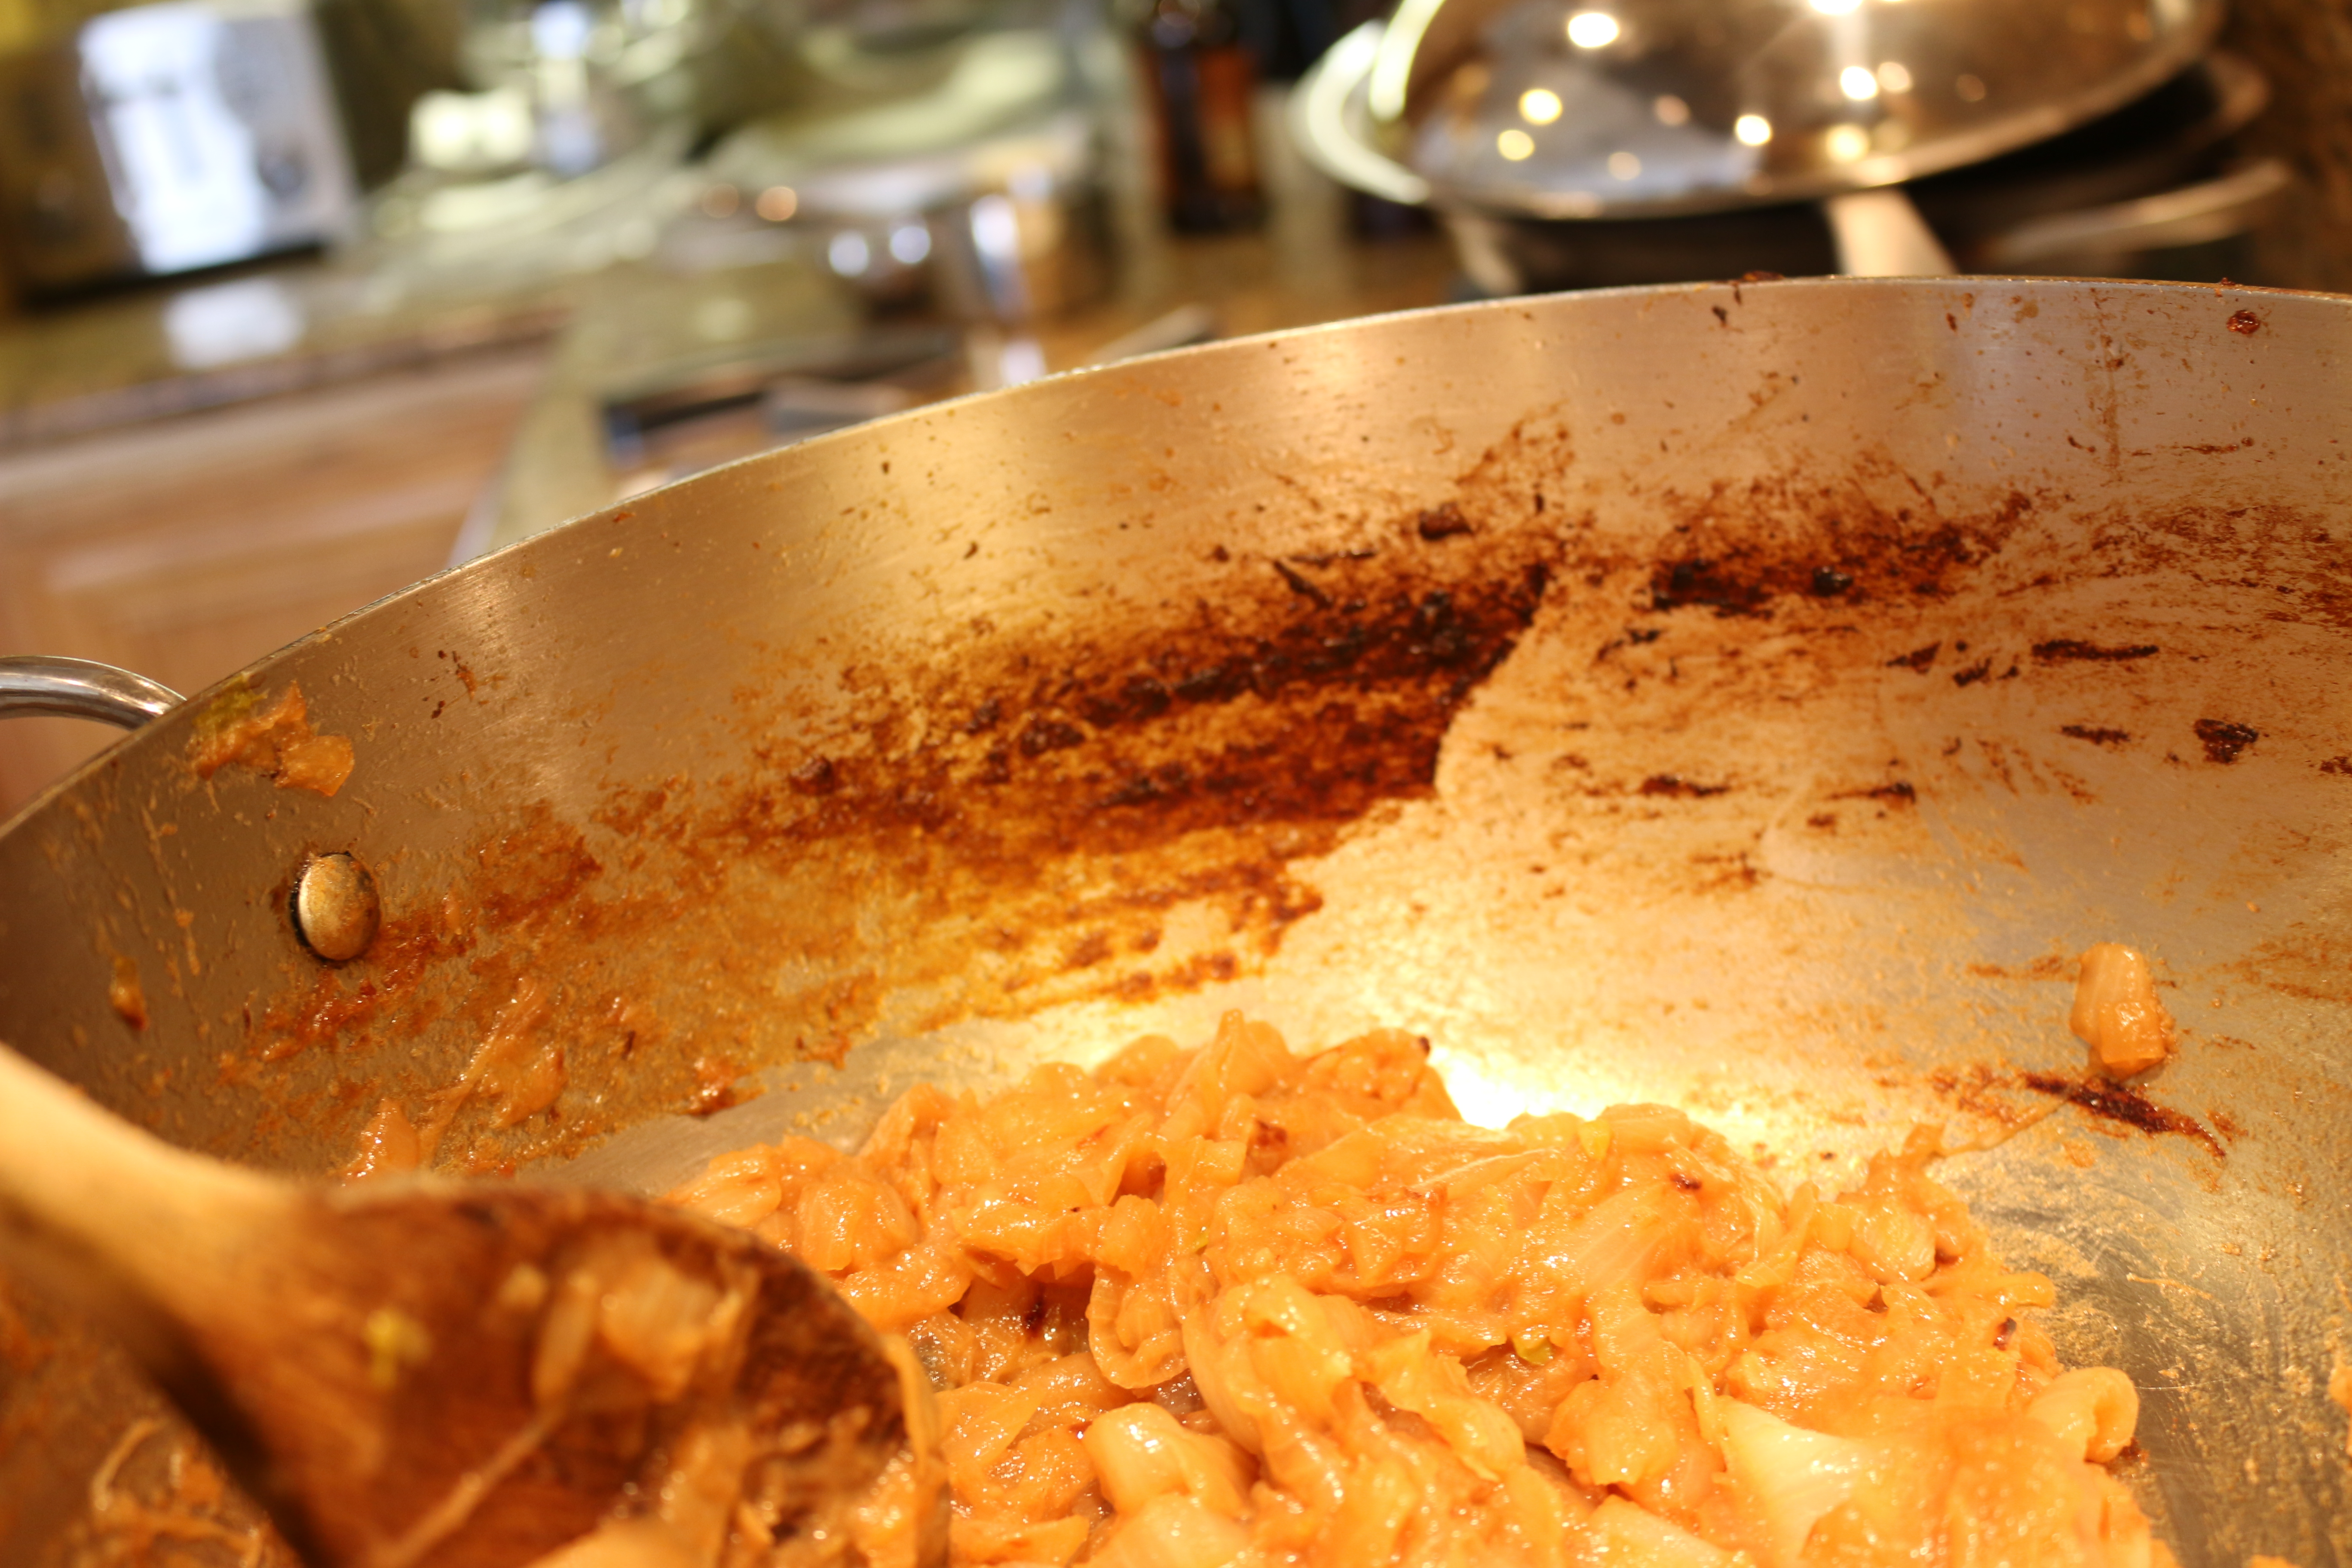
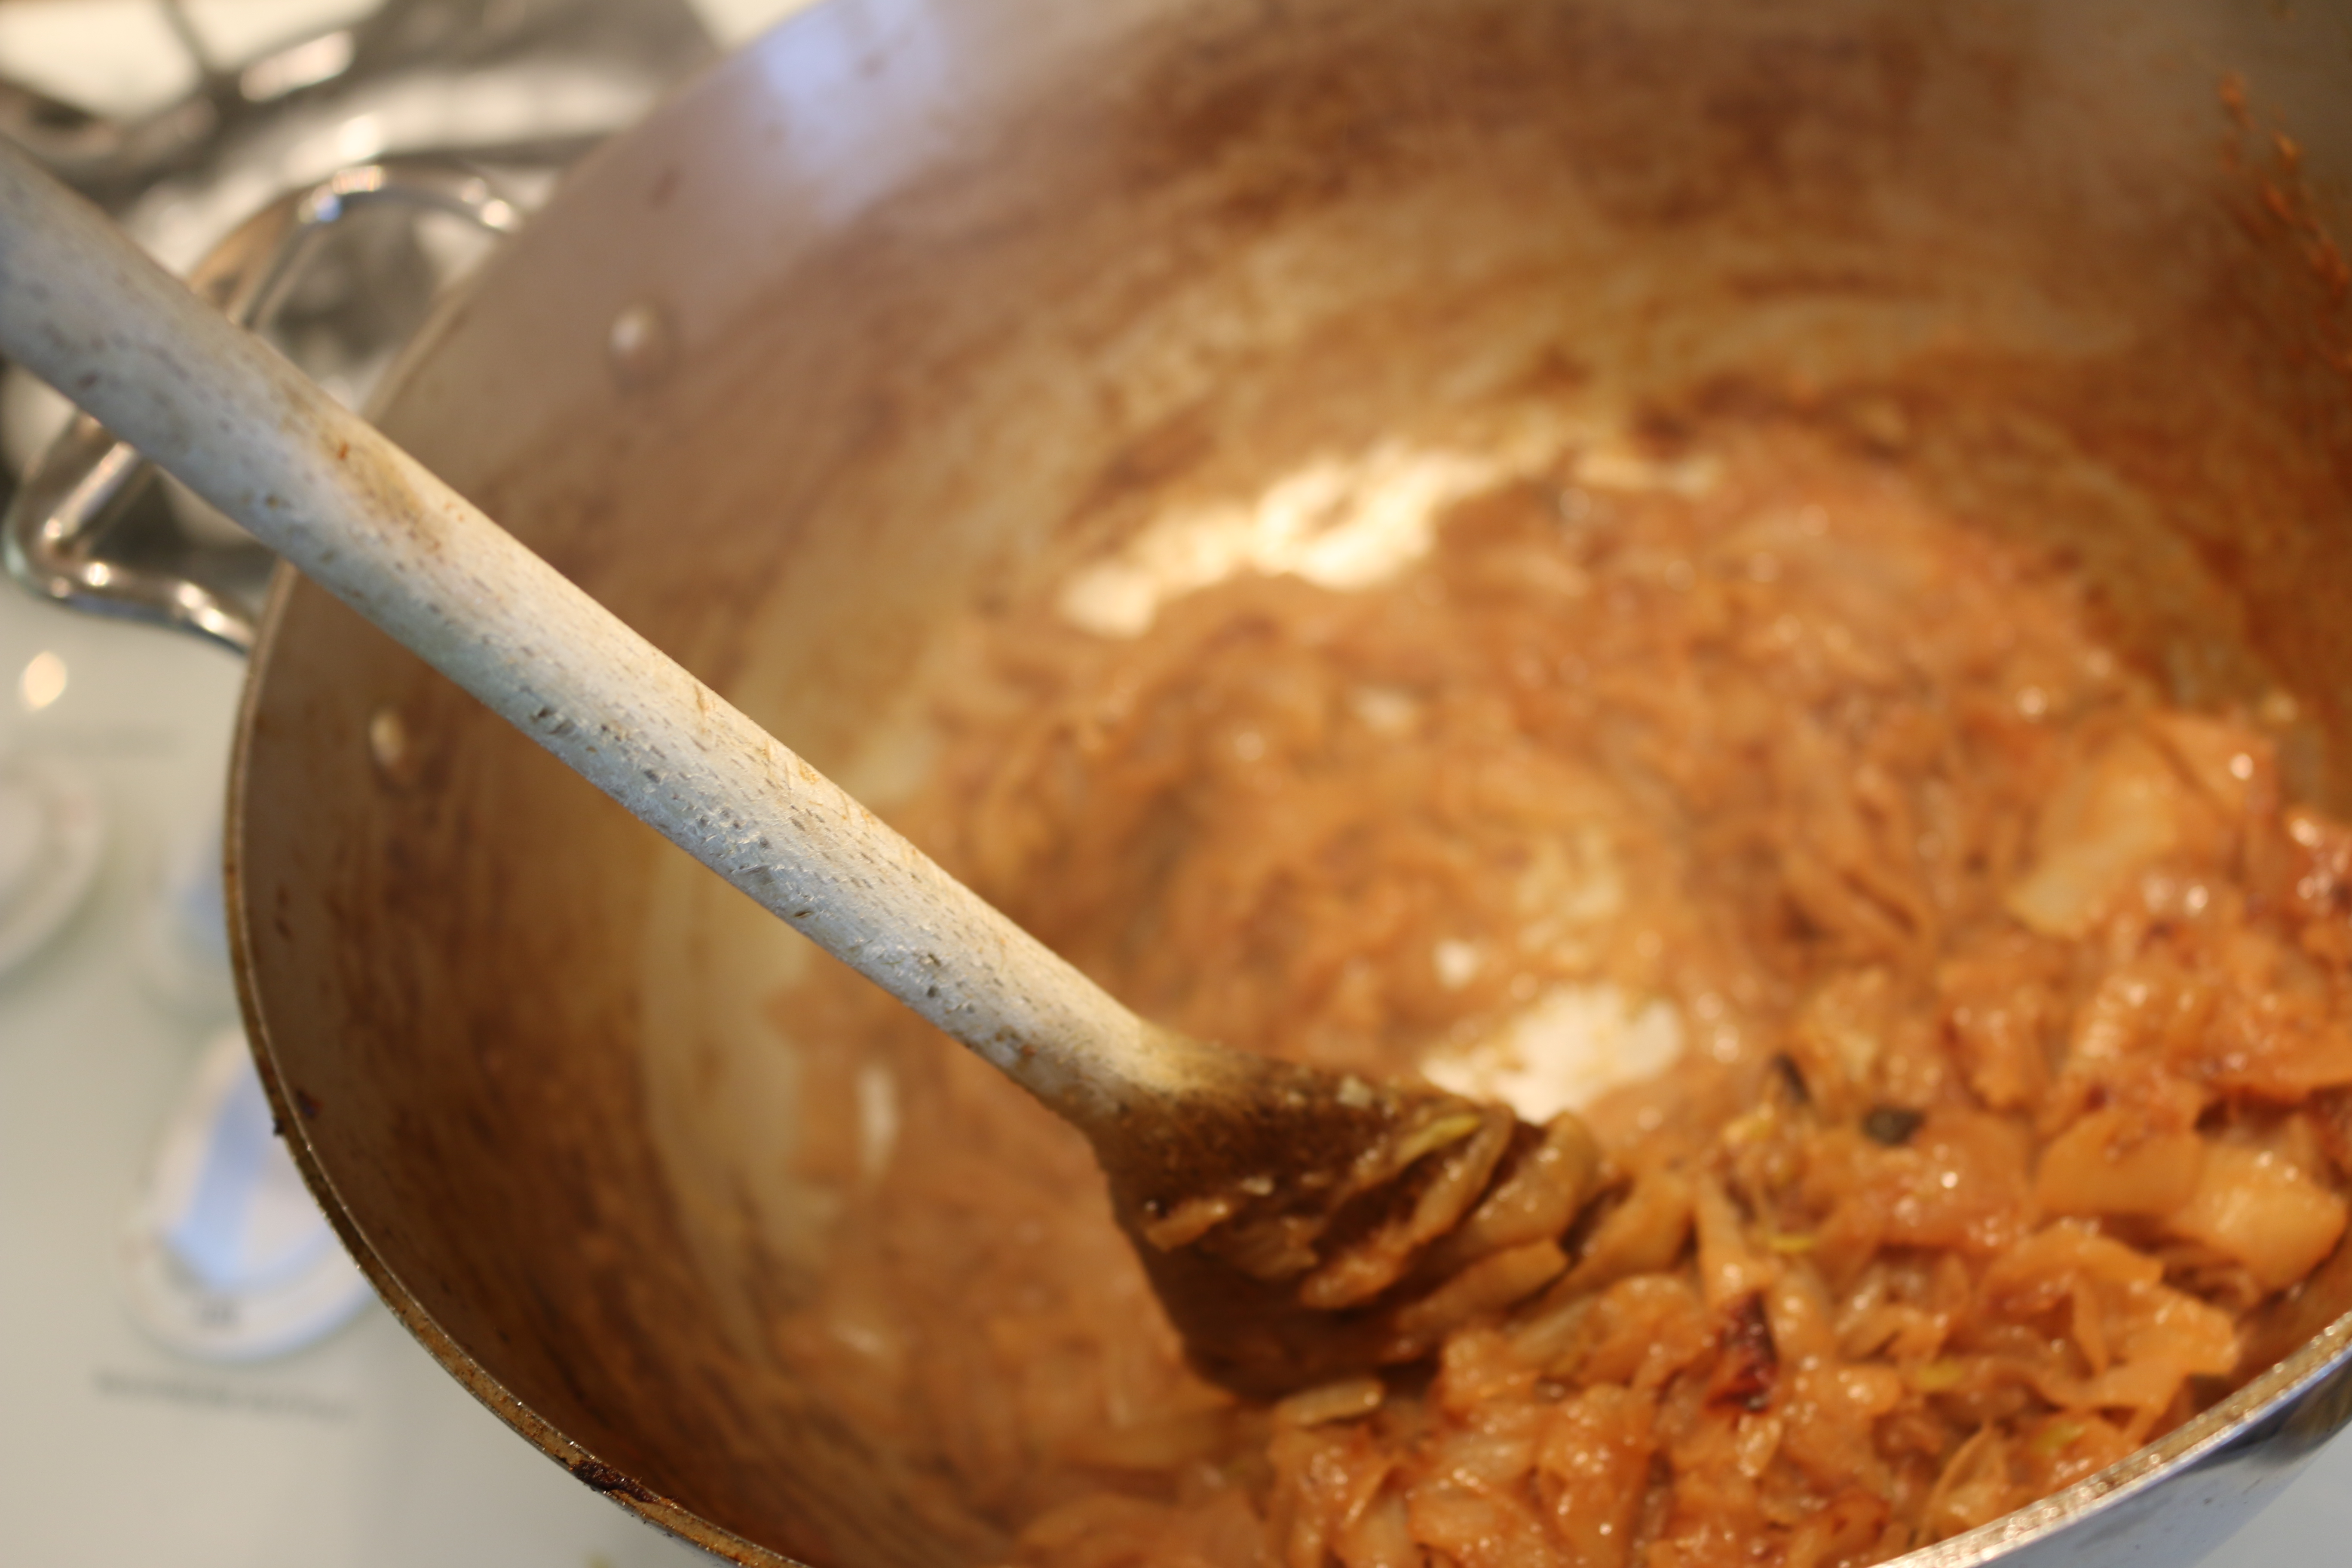
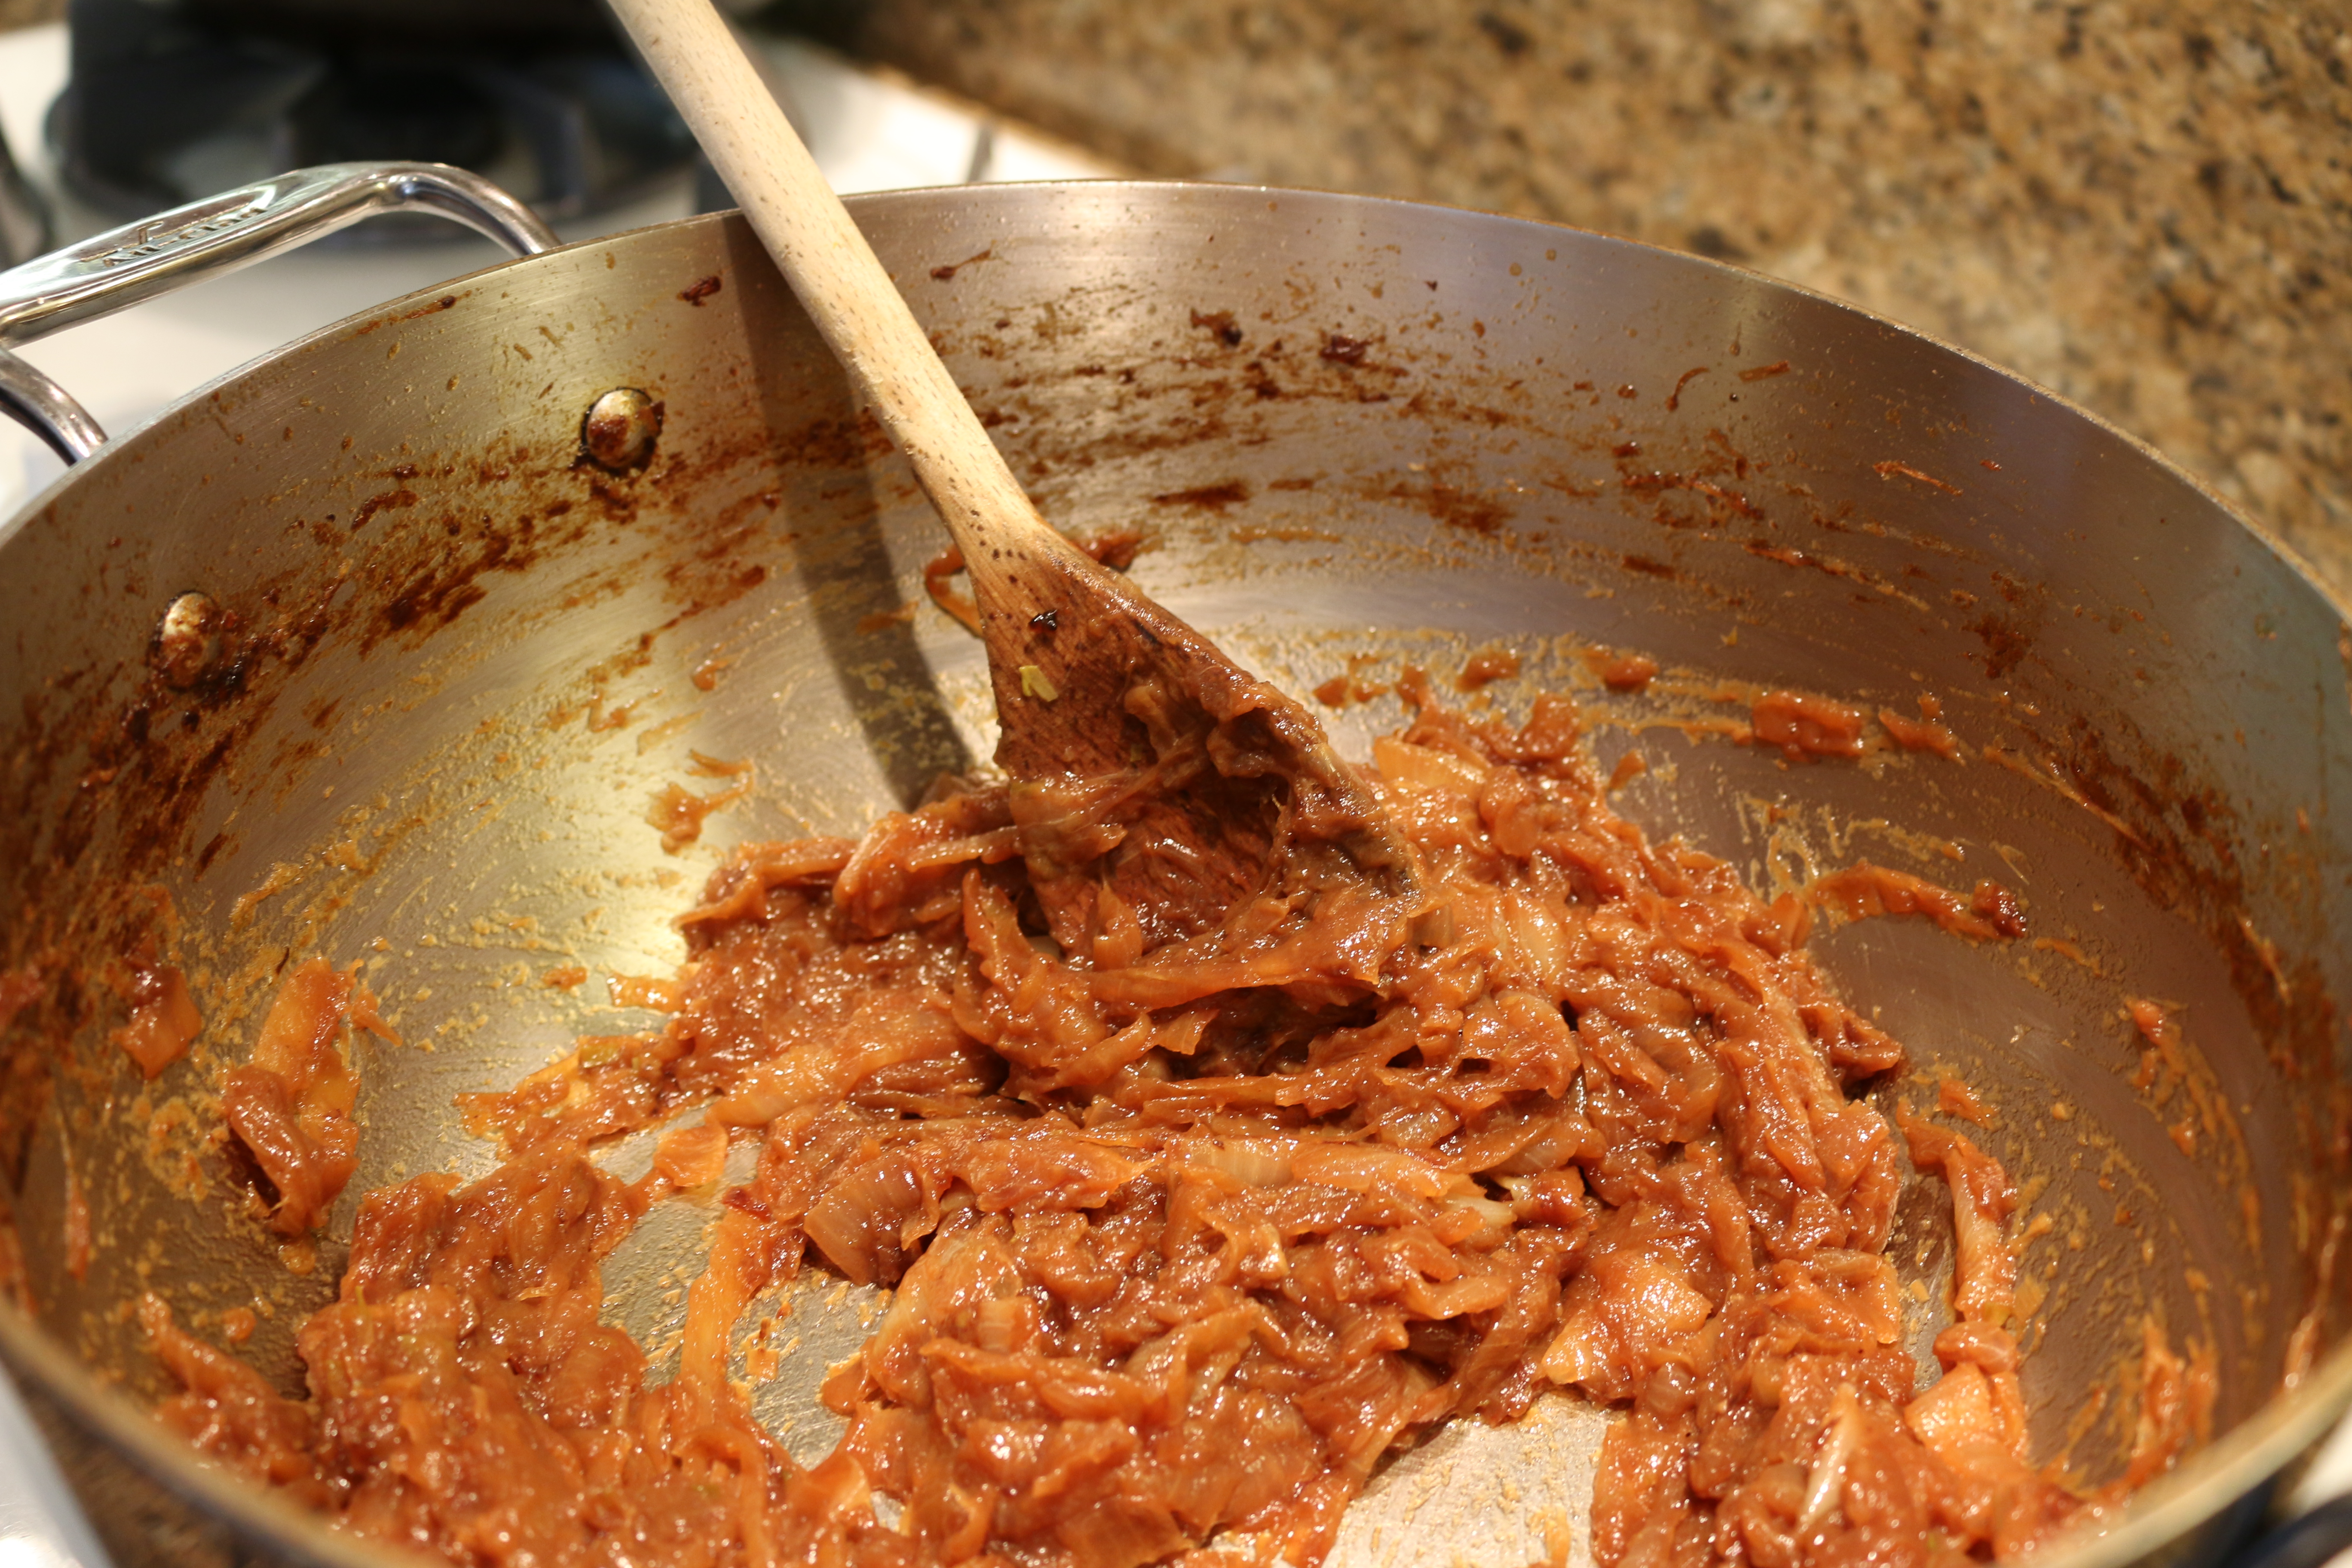
So we want to cook our tomato paste in the pot for a few minutes. I add a small handful of onions to get some moisture in the pot to help along the tomato solids. You will immediately smell a difference in the once weak tomato paste as well as the deep rich color it turns as it is cooking. The smell intensifies and sweet meets full-bodied tomato! Caramelizing the tomato solids like this will provide much complex yummy flavors to our braising sauce.

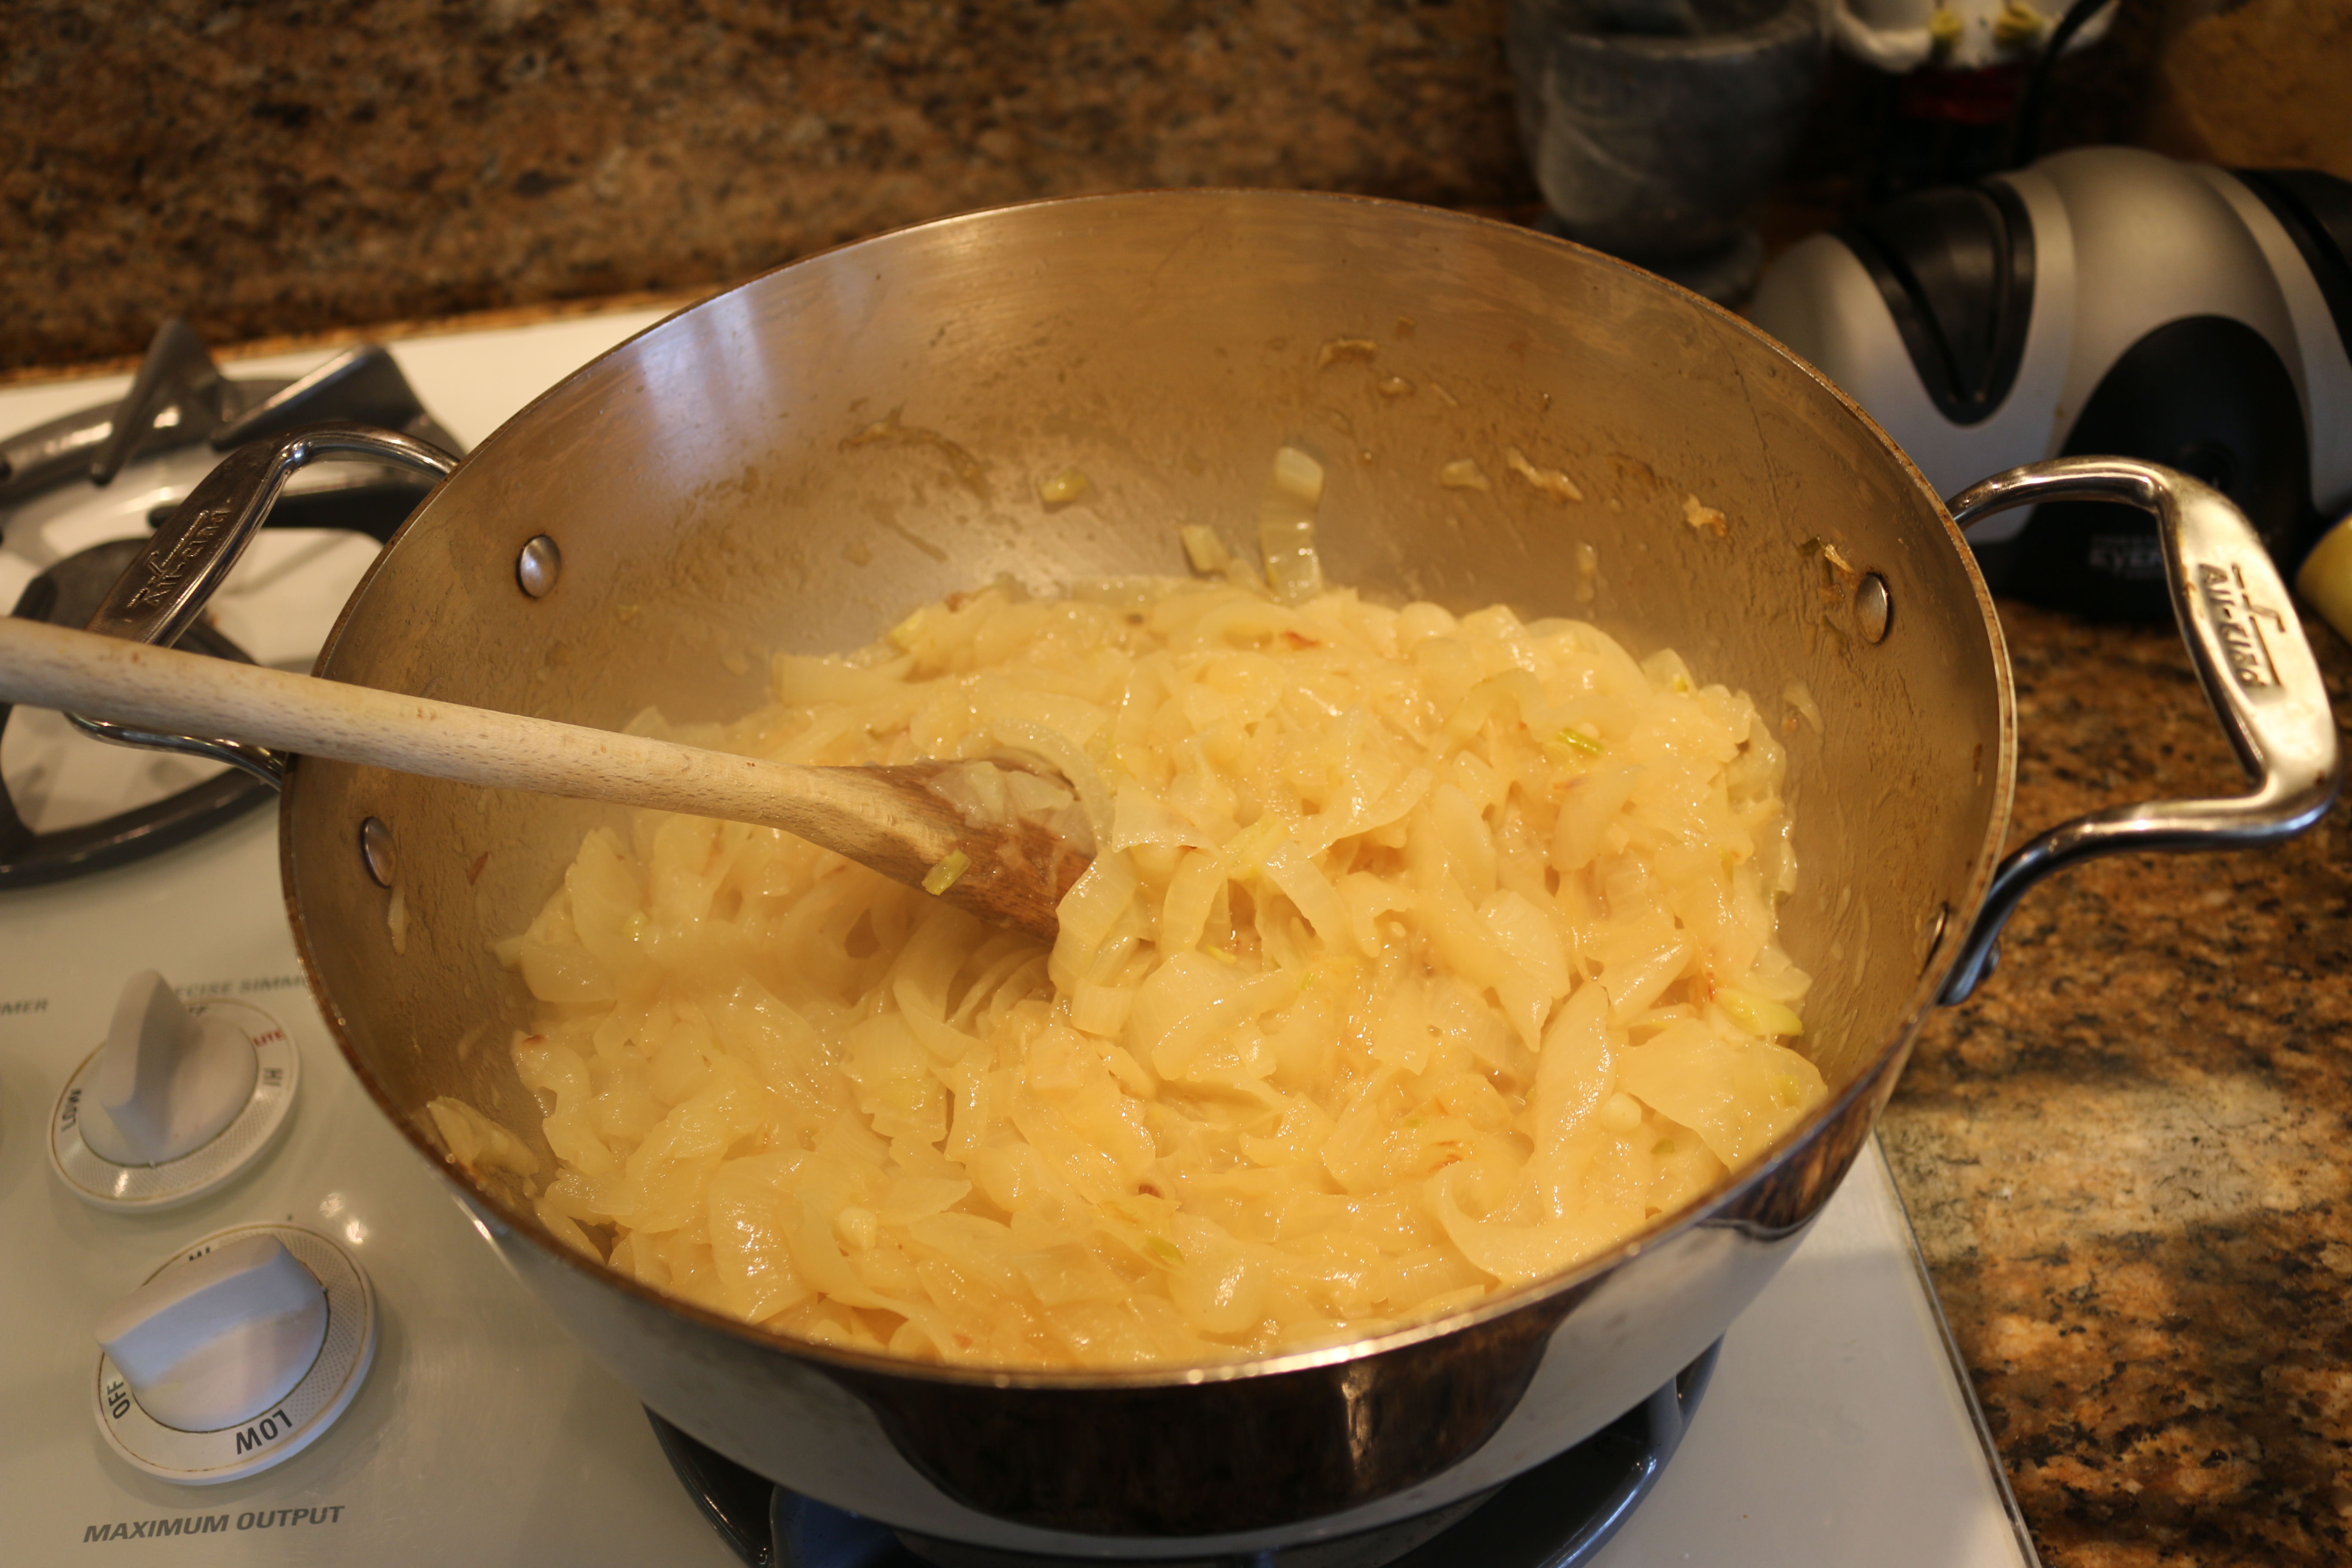
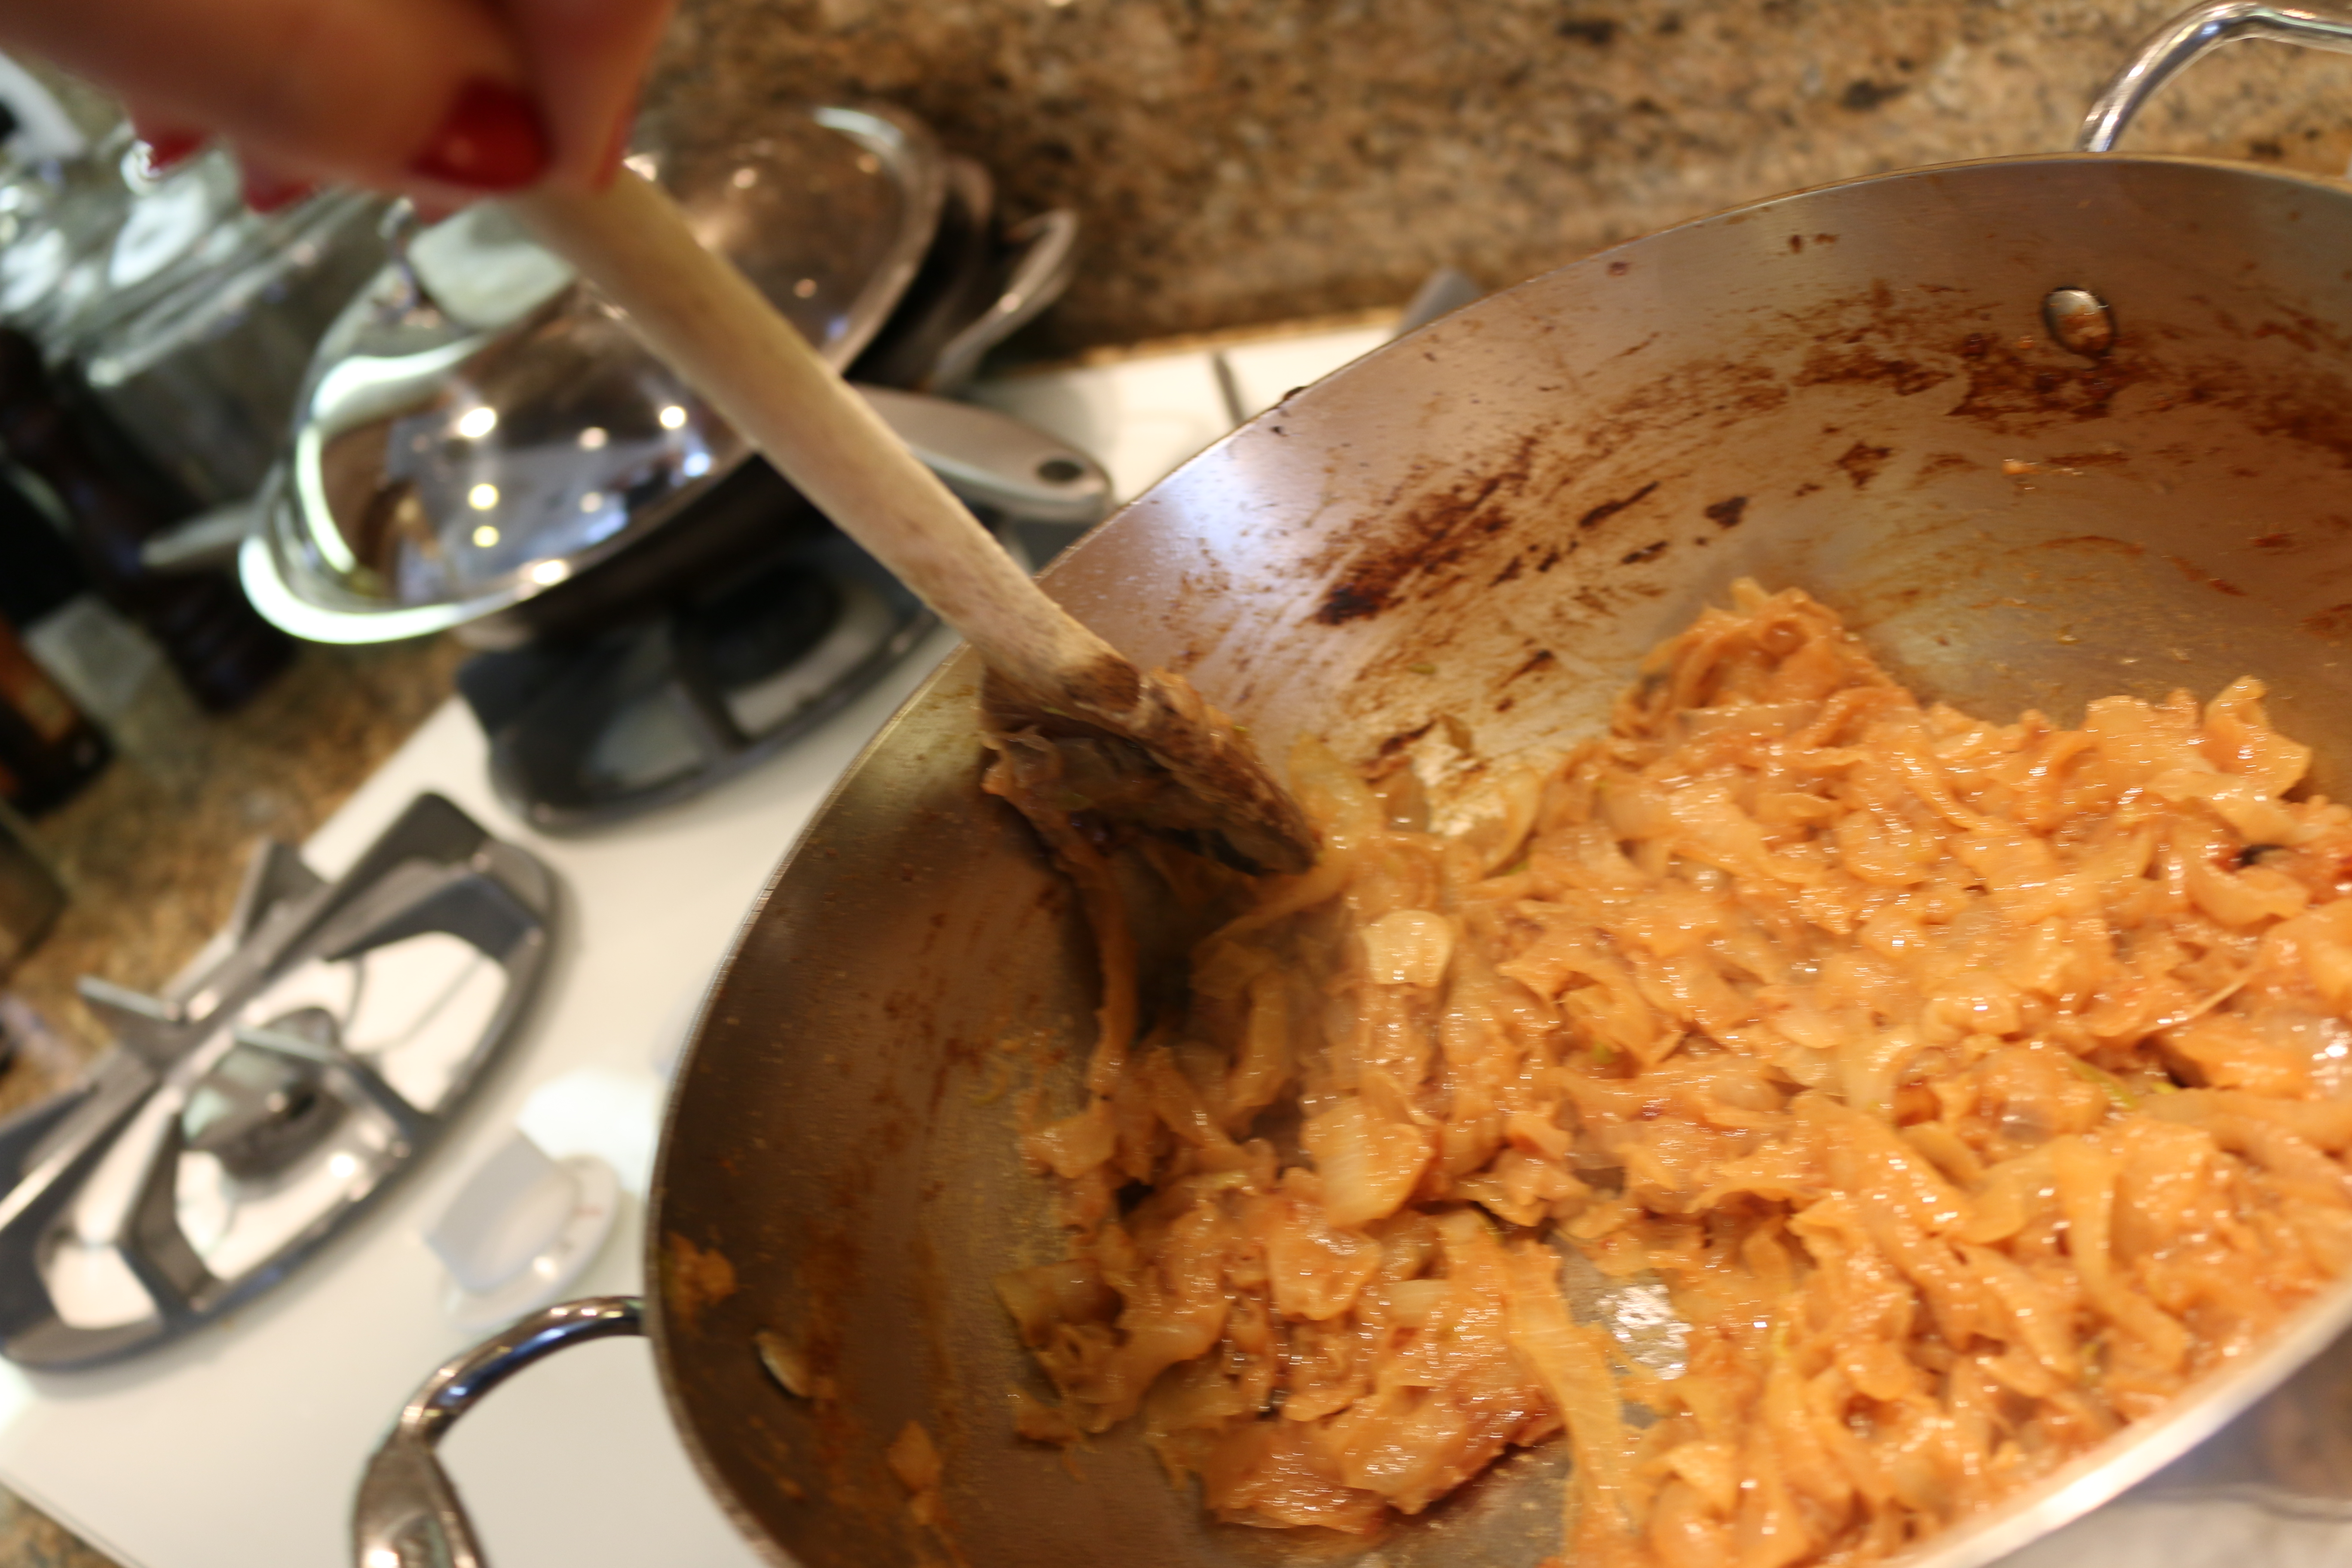
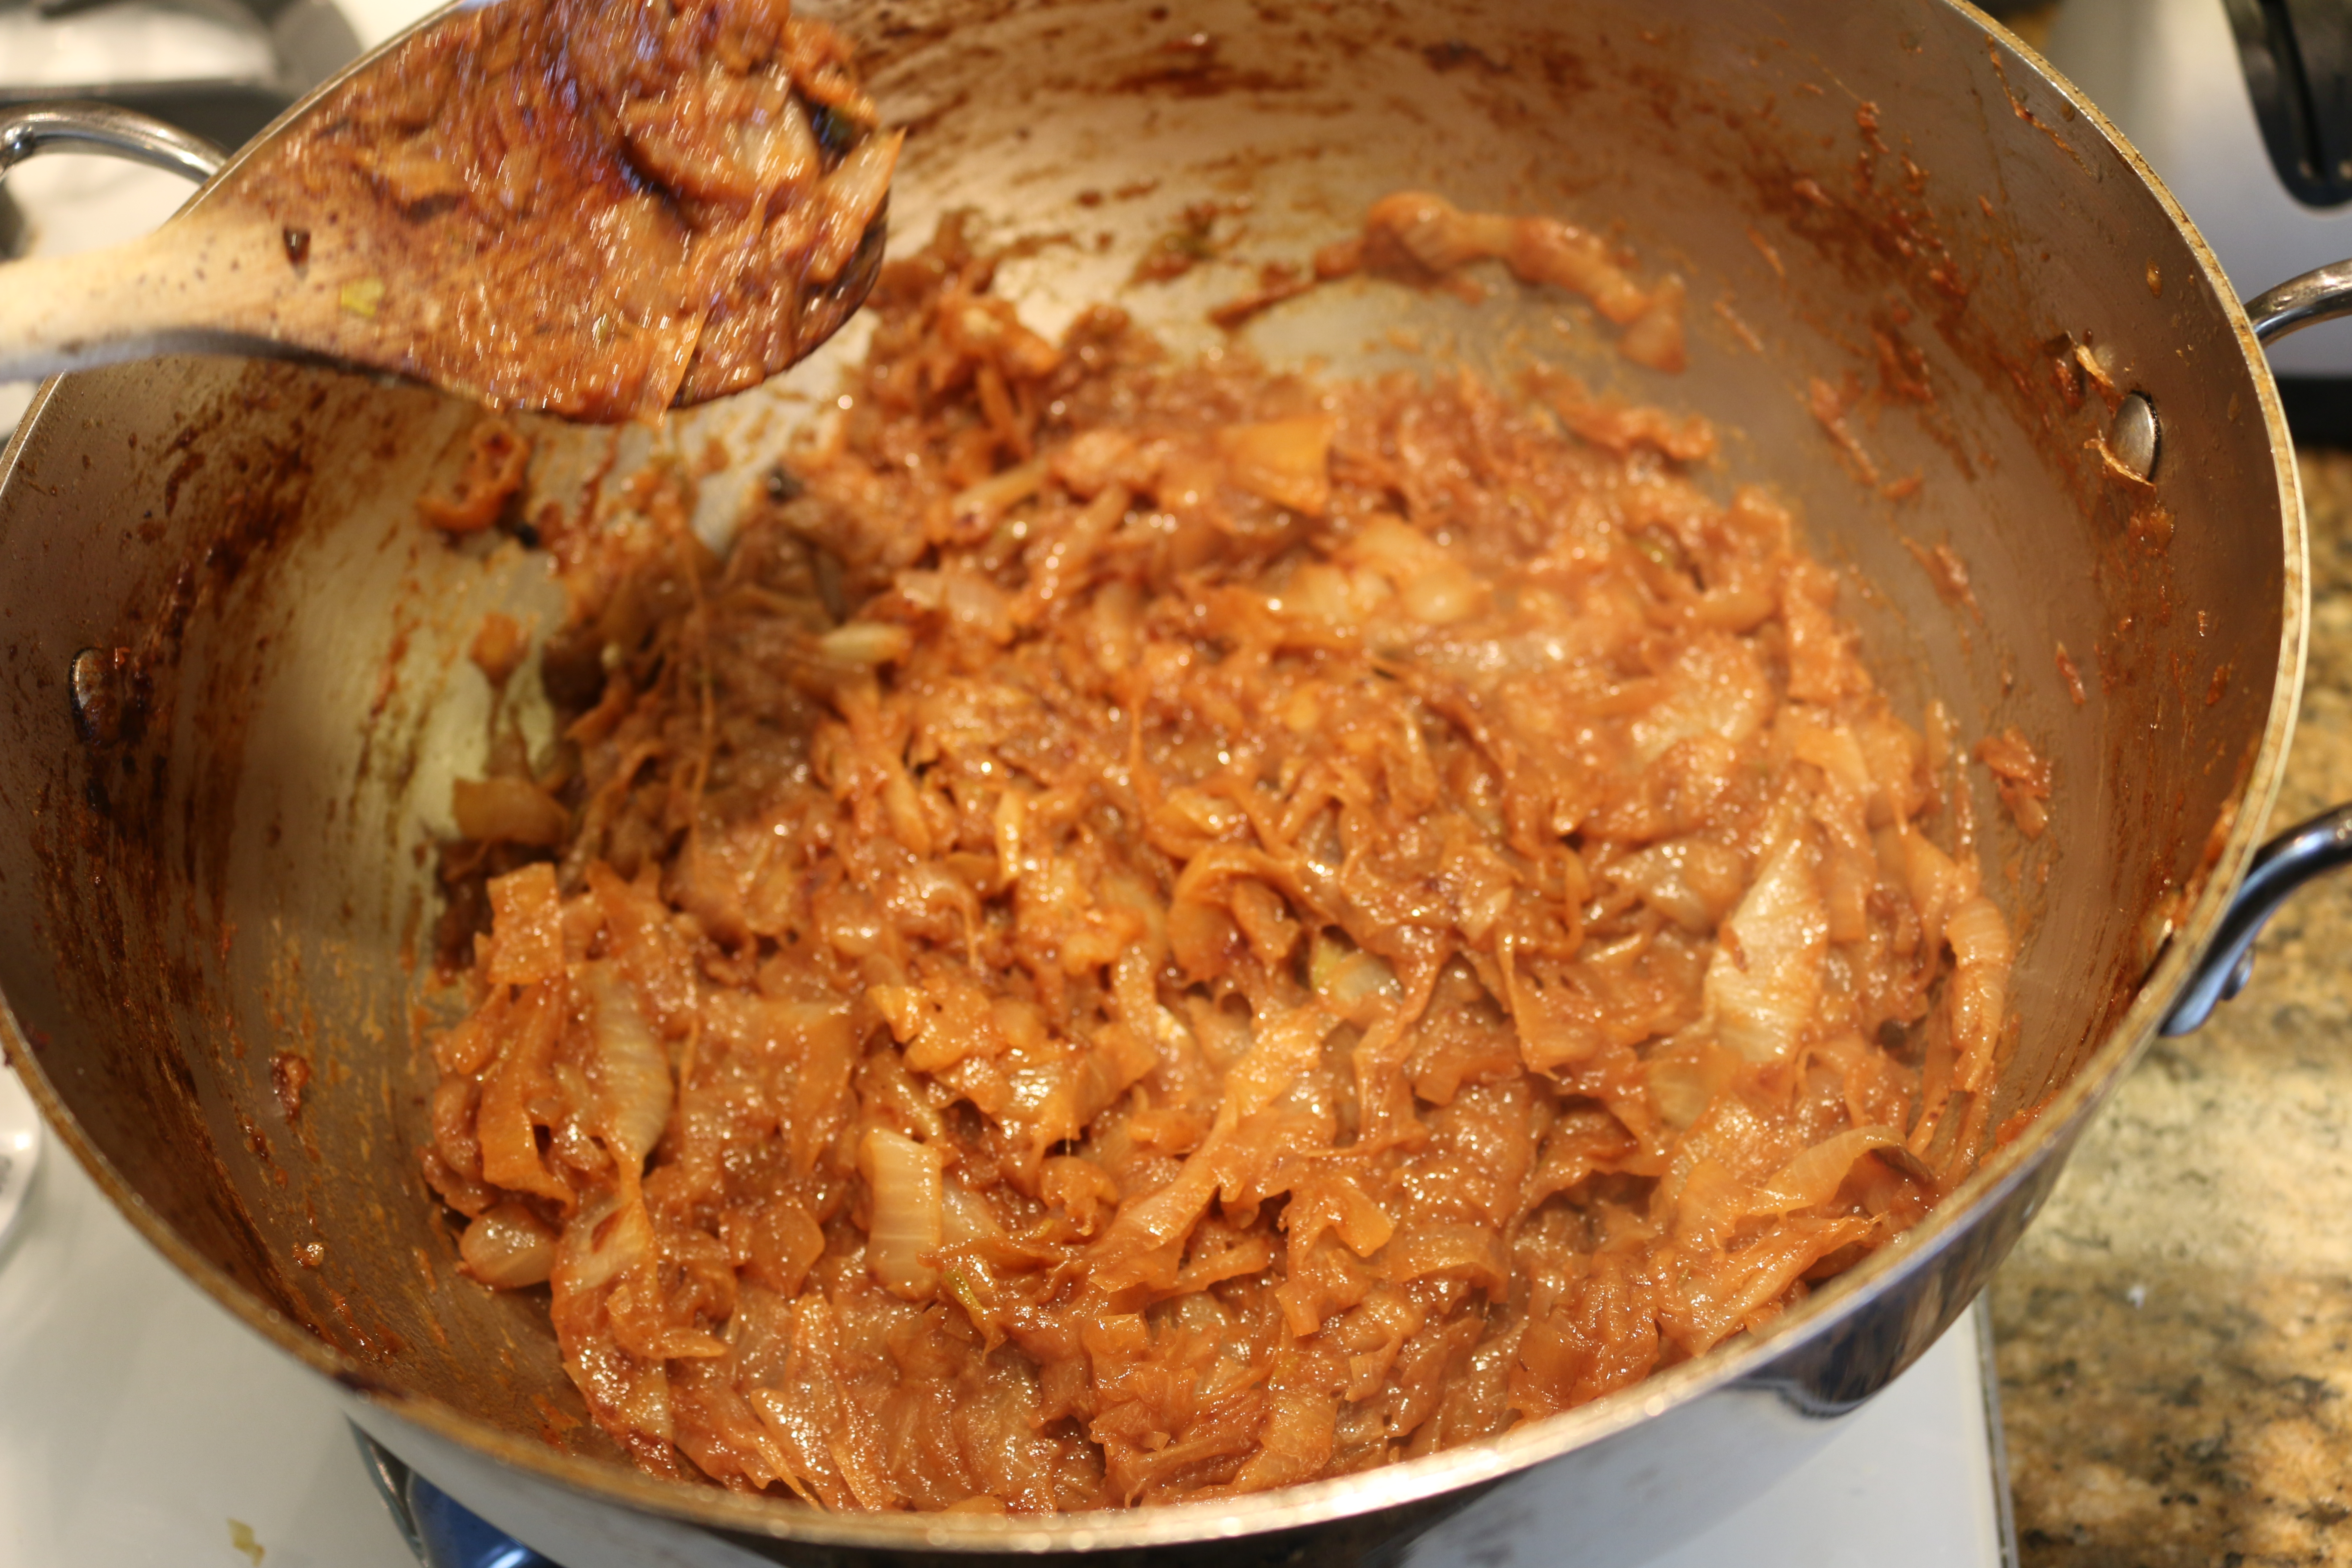
So after a few minutes of stirring the tomato paste you will add the tri-vegetables you chopped up. By the way a lot of stews start off with a combination of these 3 vegetables. They are powerful flavor enhancers. I love onions! When I was a little girl I asked my mom to make me onion sandwiches for my lunch! No wonder I wasn’t popular lol.


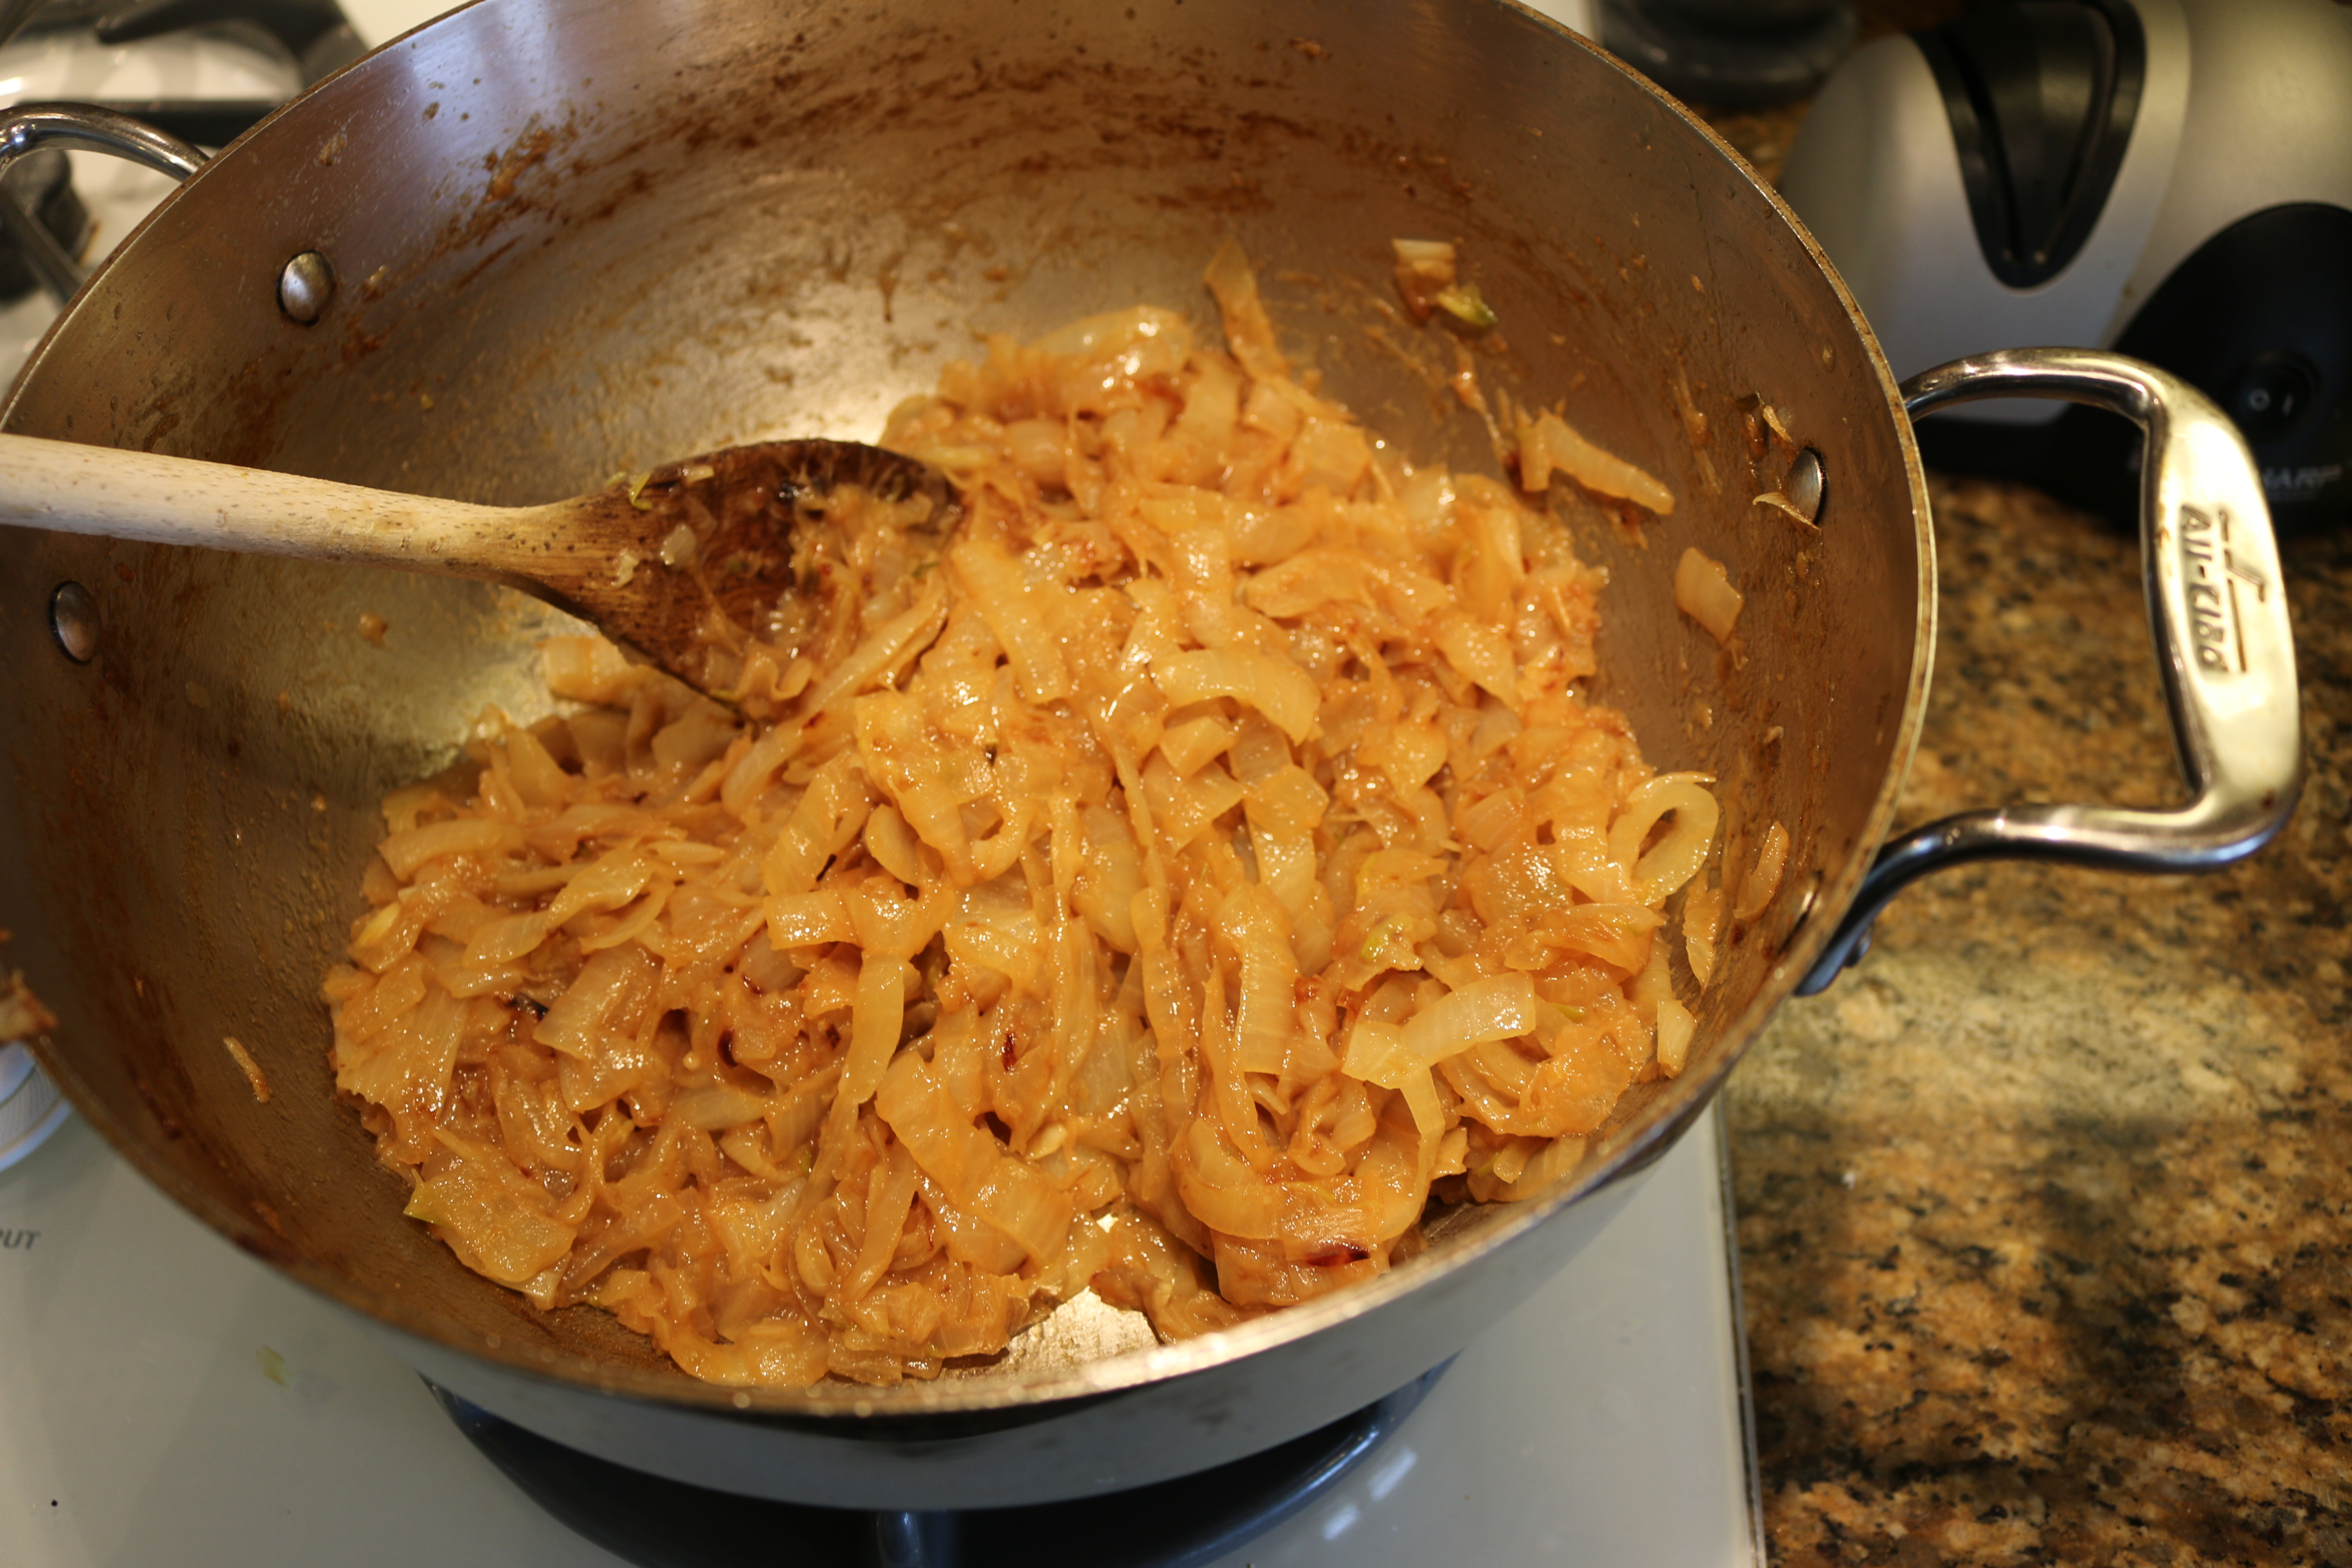
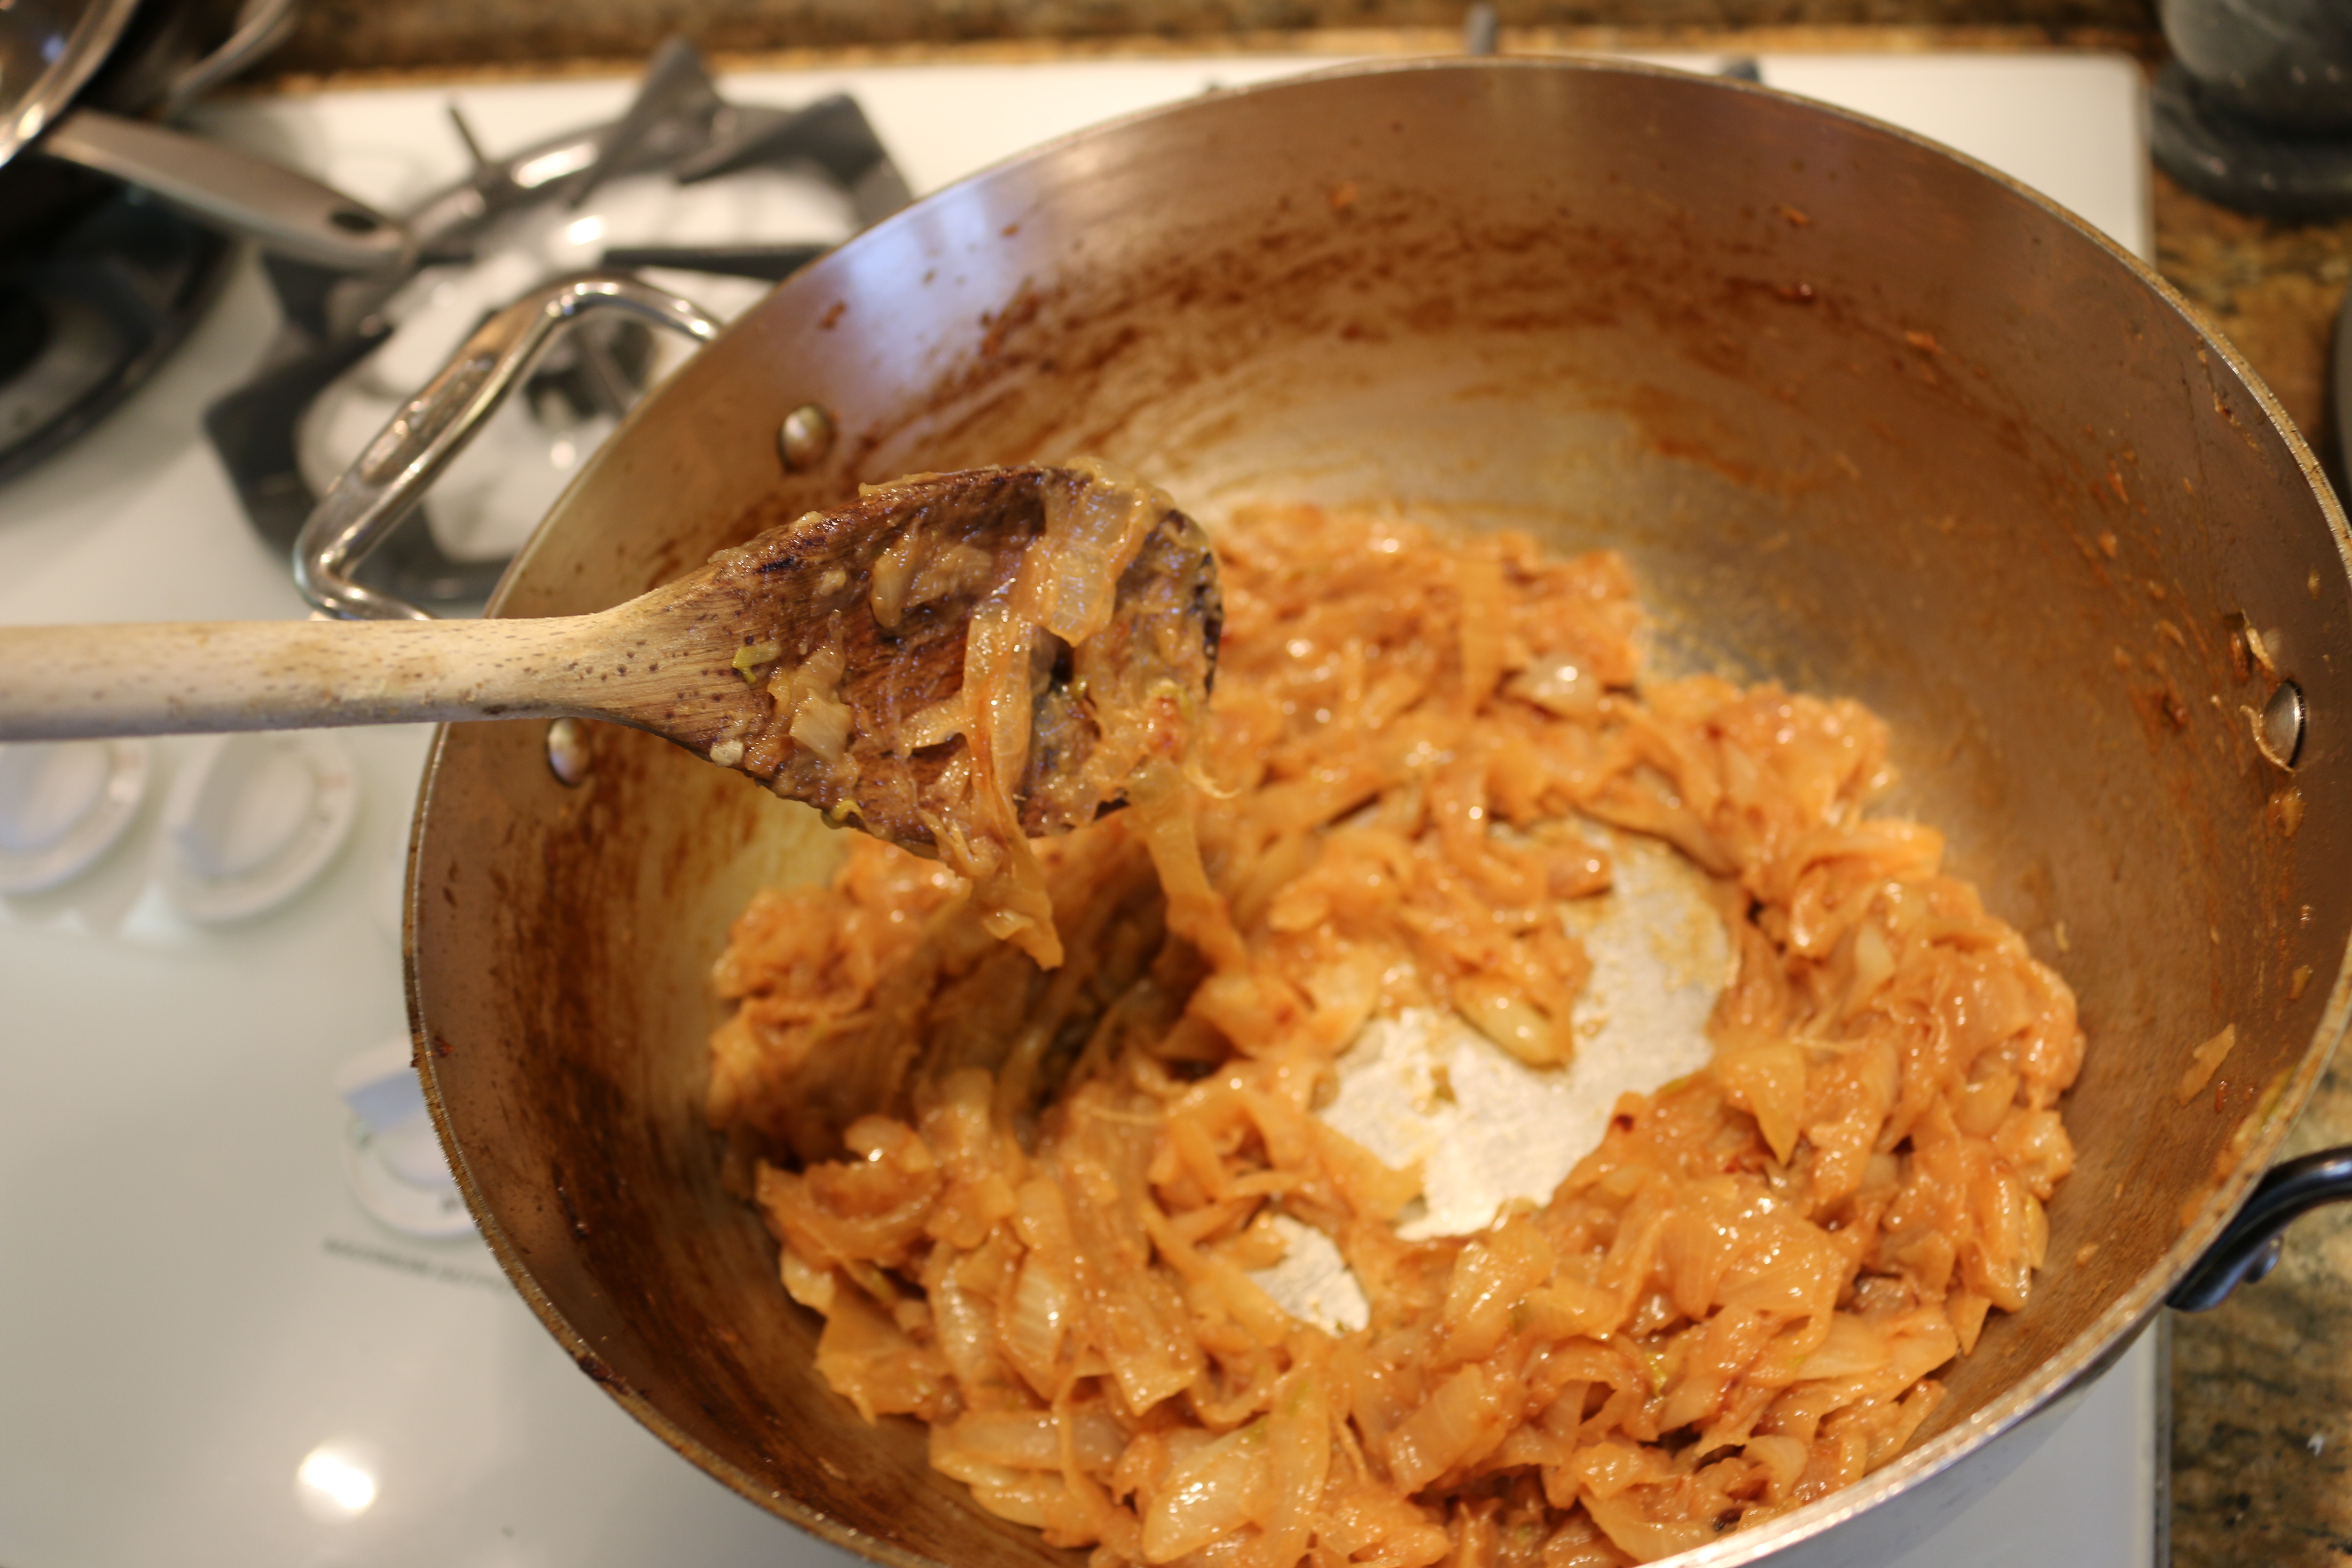
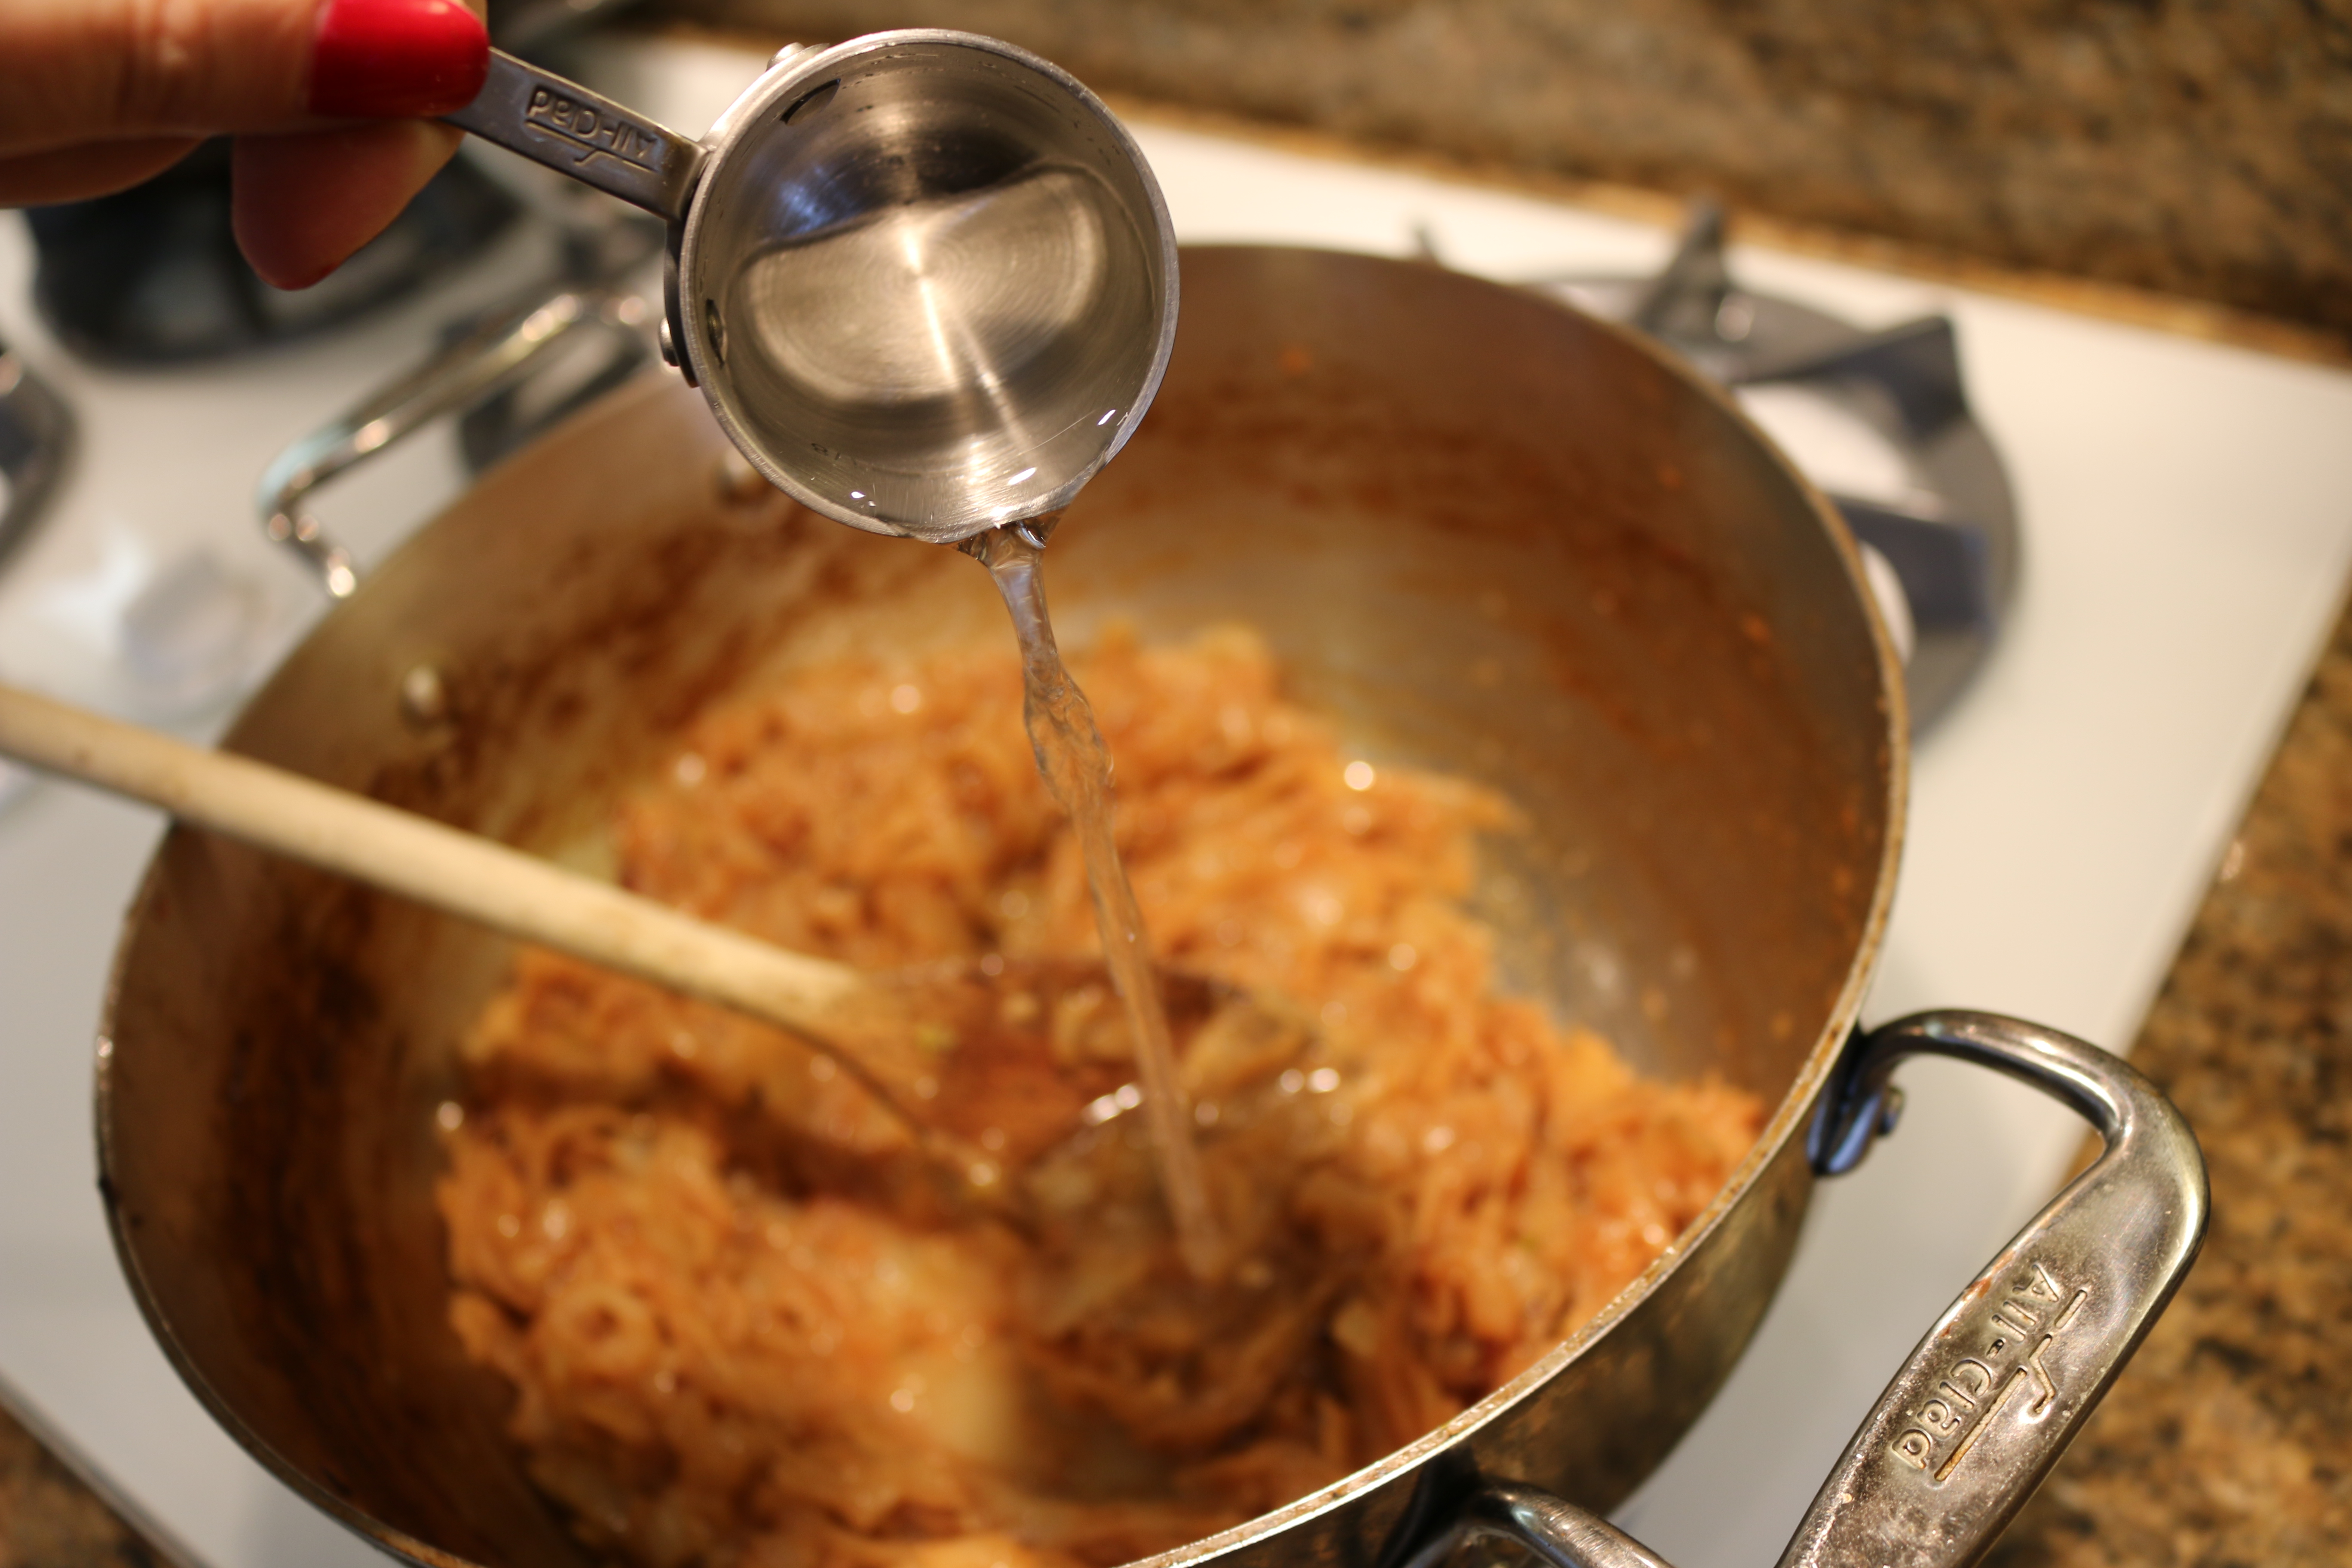
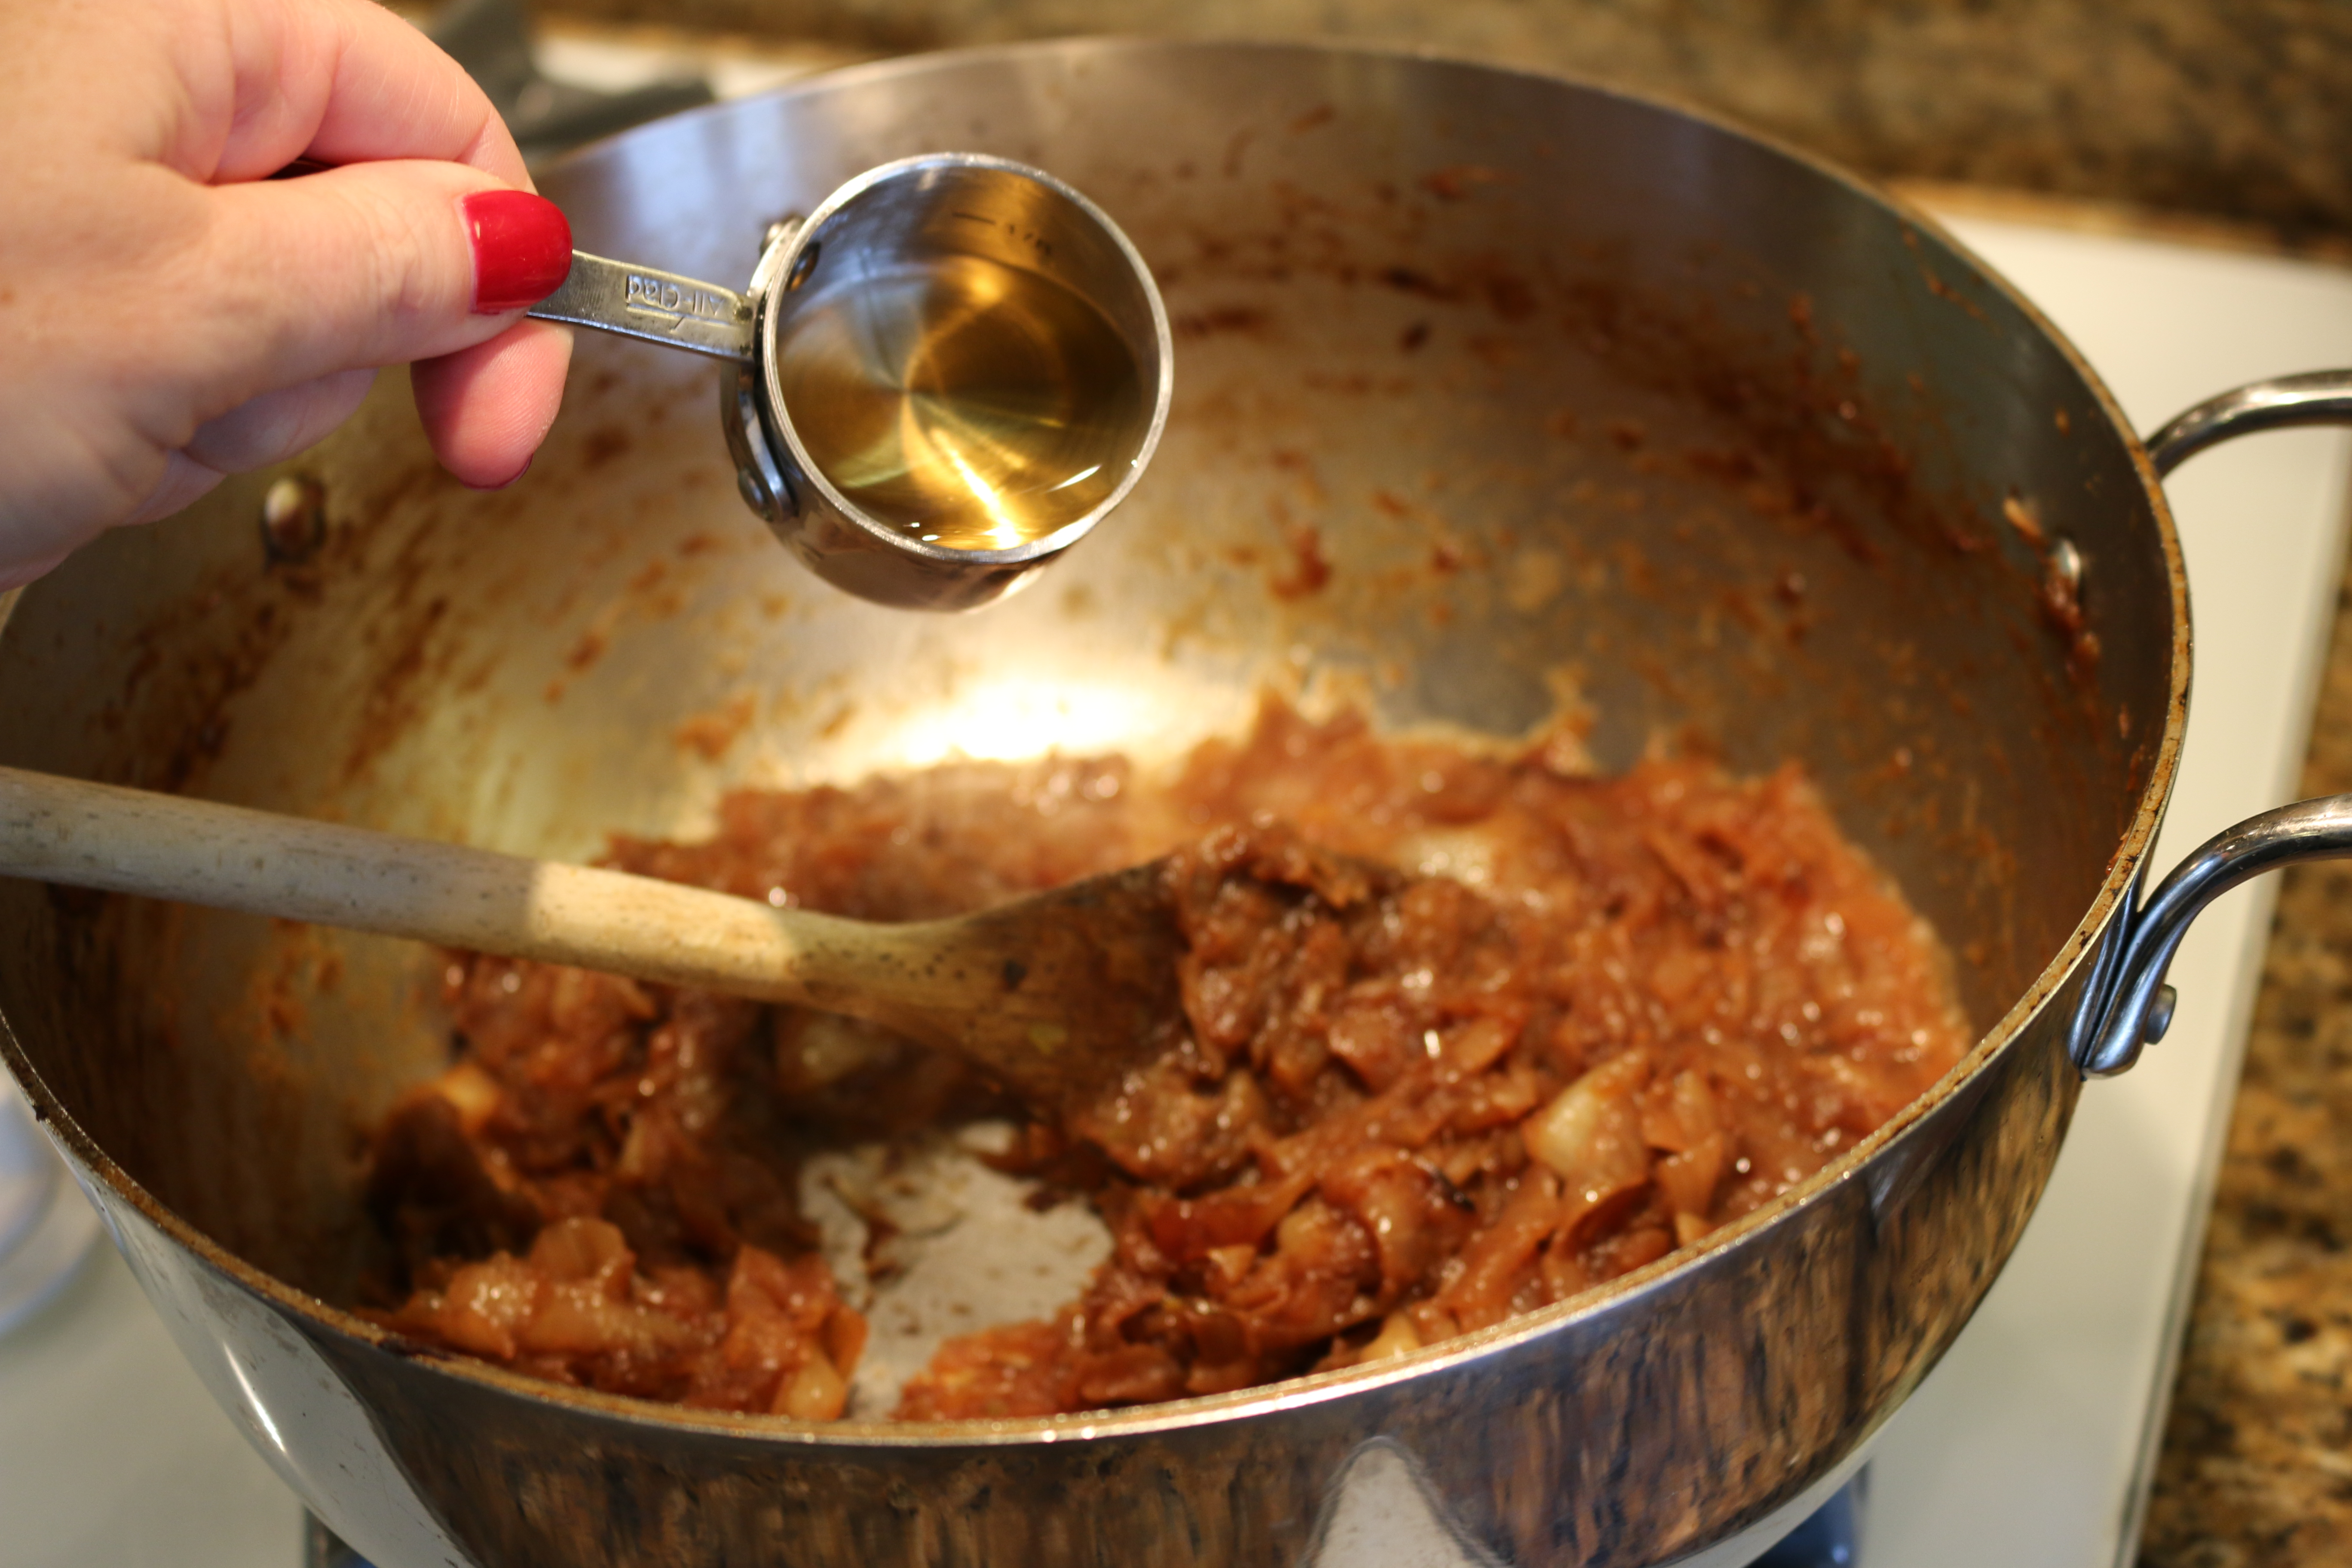
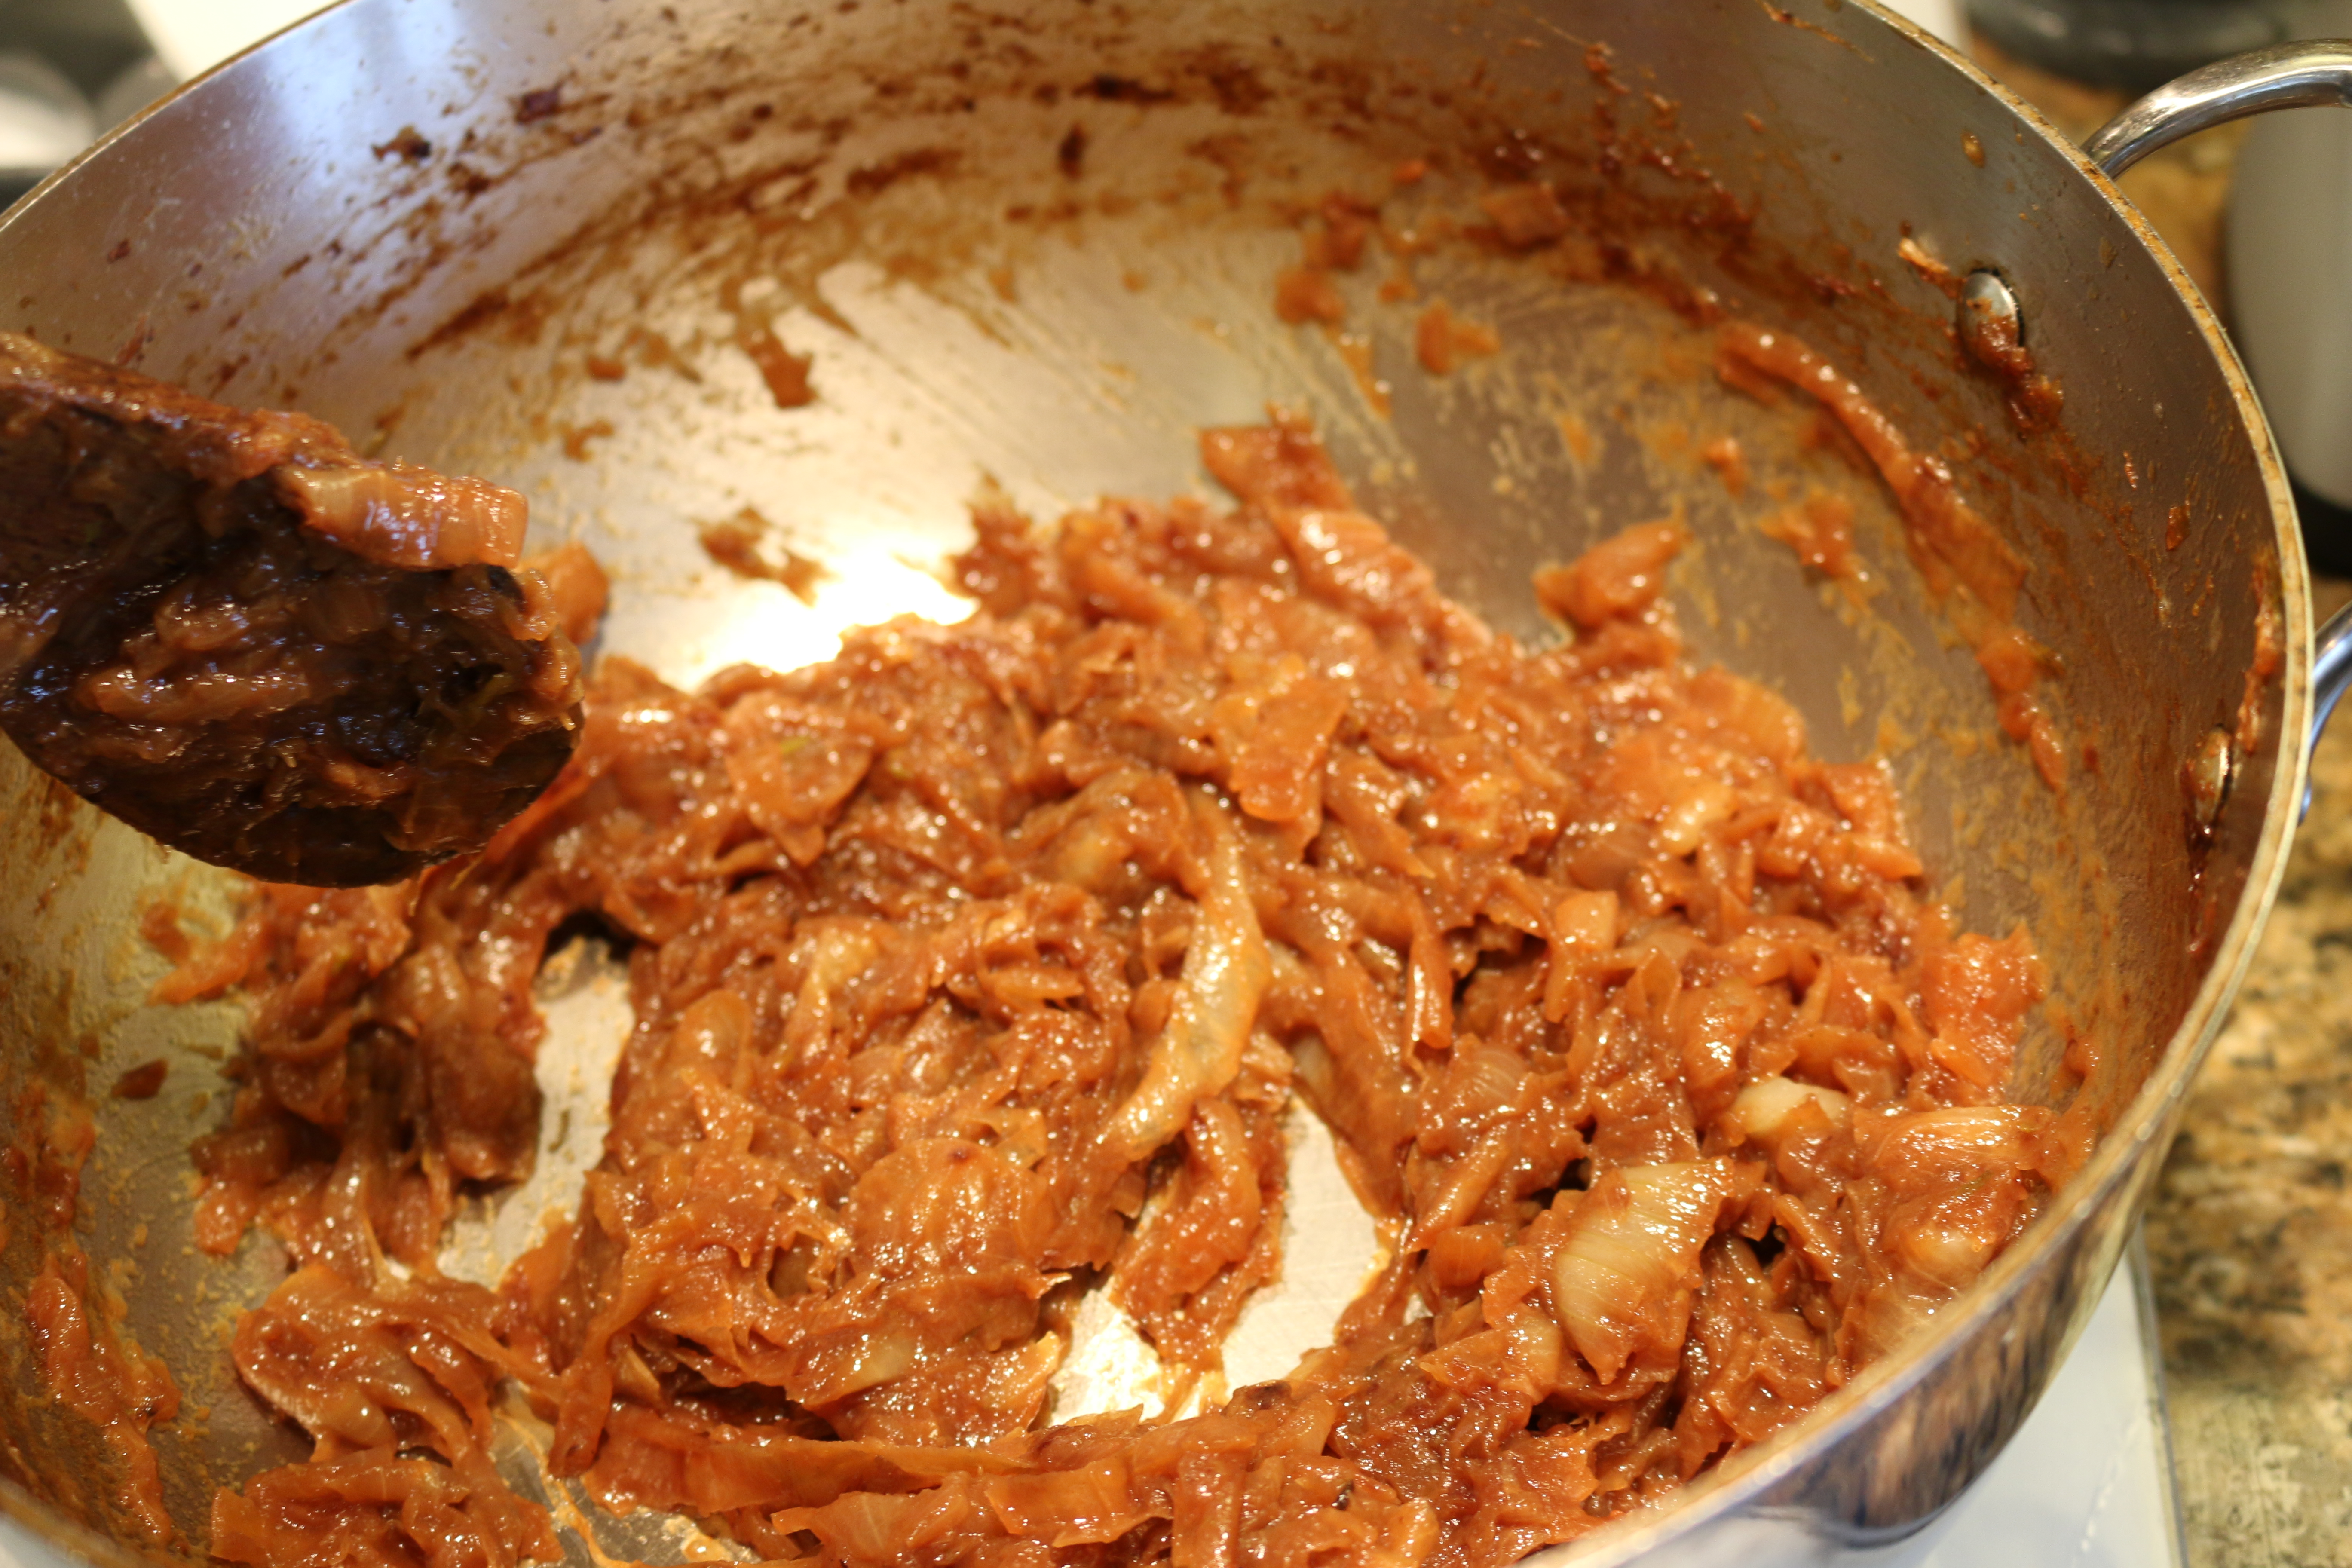
Ok as you can see we cook this till the vegetables become translucent and soft (it will be quite thick due to the tomato paste in there.) At the very end we throw our chopped up garlic and cook for 2 more minutes. Now onto deglazing the pan with some red wine. Choose a dry wine that you would also drink. Remember if it tastes horrible to drink, it won’t taste any better cooked!


I love the name of this wine. Although covered in flour(I’m a horribly messy cook) and smelling like beef stew I don’t think is too sexy. Right? Well I was sipping on this fabulous wine while cooking and please take special note of the paper towel close to my burner in the picture above.
All of a sudden I felt much more intense heat and thought “WOW I am having a hot flash already” (as I do when I drink alcohol, do all women in menopause get that? Or is it just me?) Any how, some flames caught the corner of my eye and for a second I thought I have to take a picture of this! and I proceeded to try to “blow out the paper towel” which of course fueled the flame more and like any logical person would do while I was looking over the mountains of mess in my kitchen I was trying to find my camera I was trying to find something to smoother the flame 🙂
End result

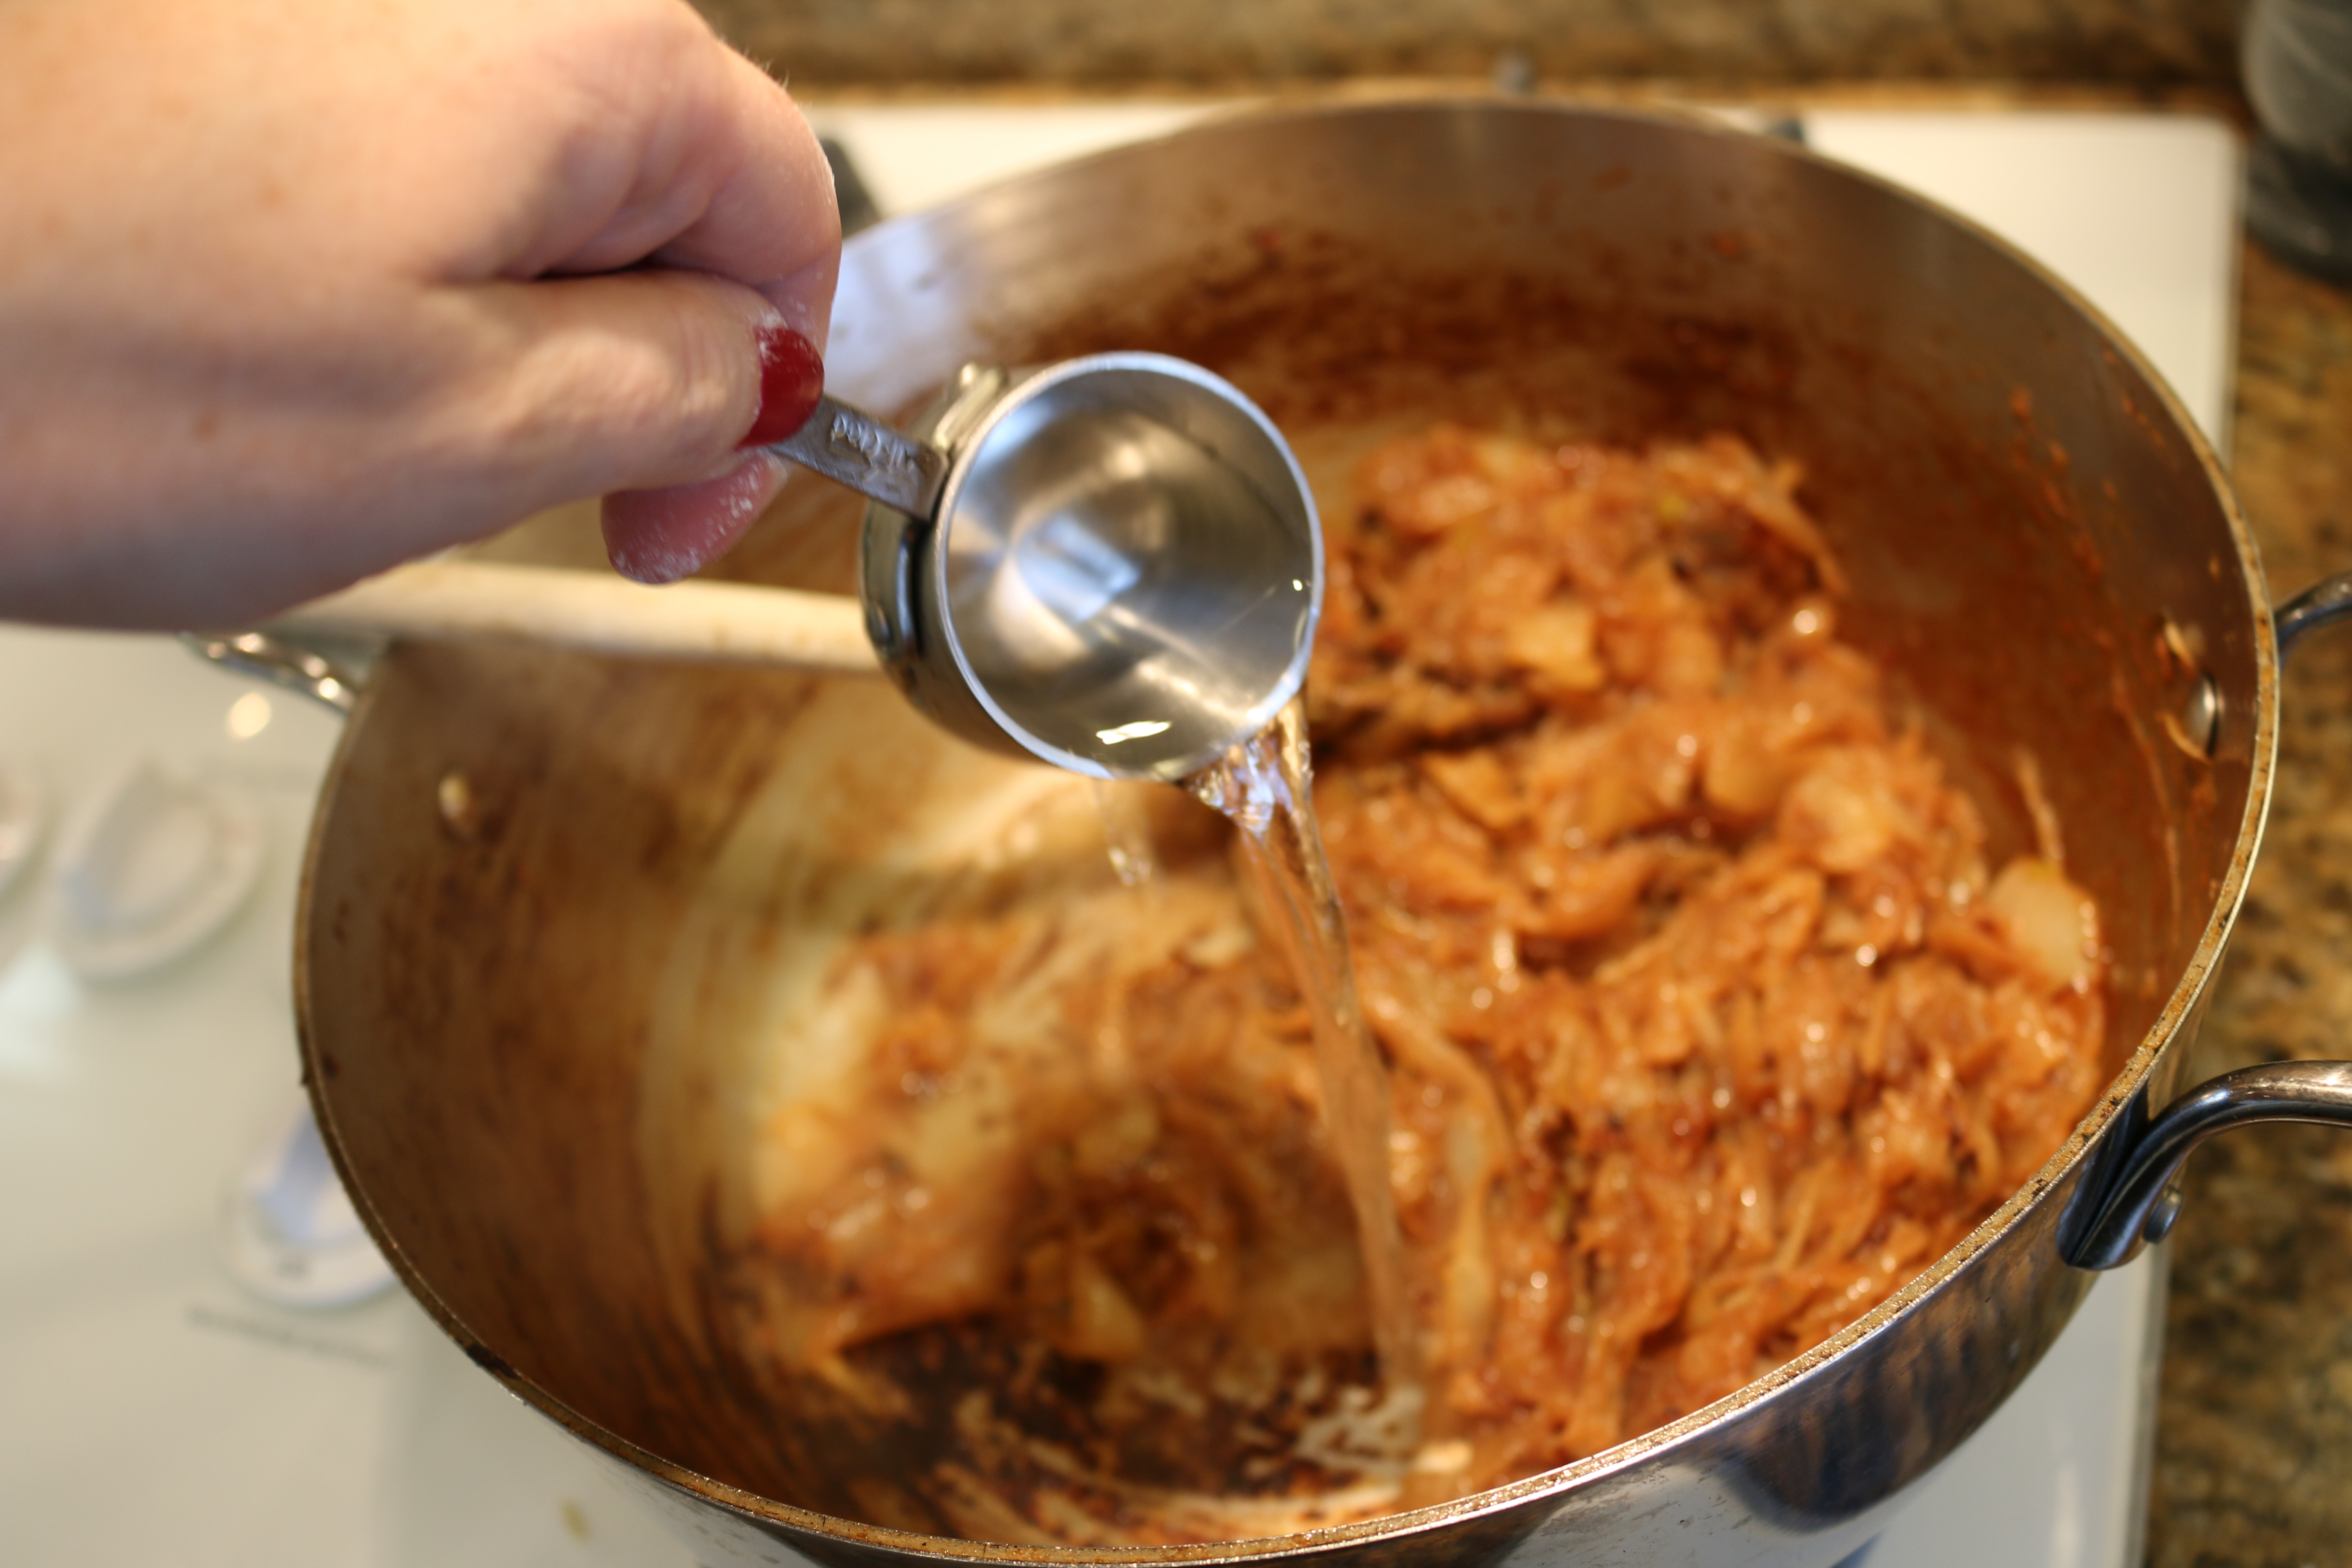
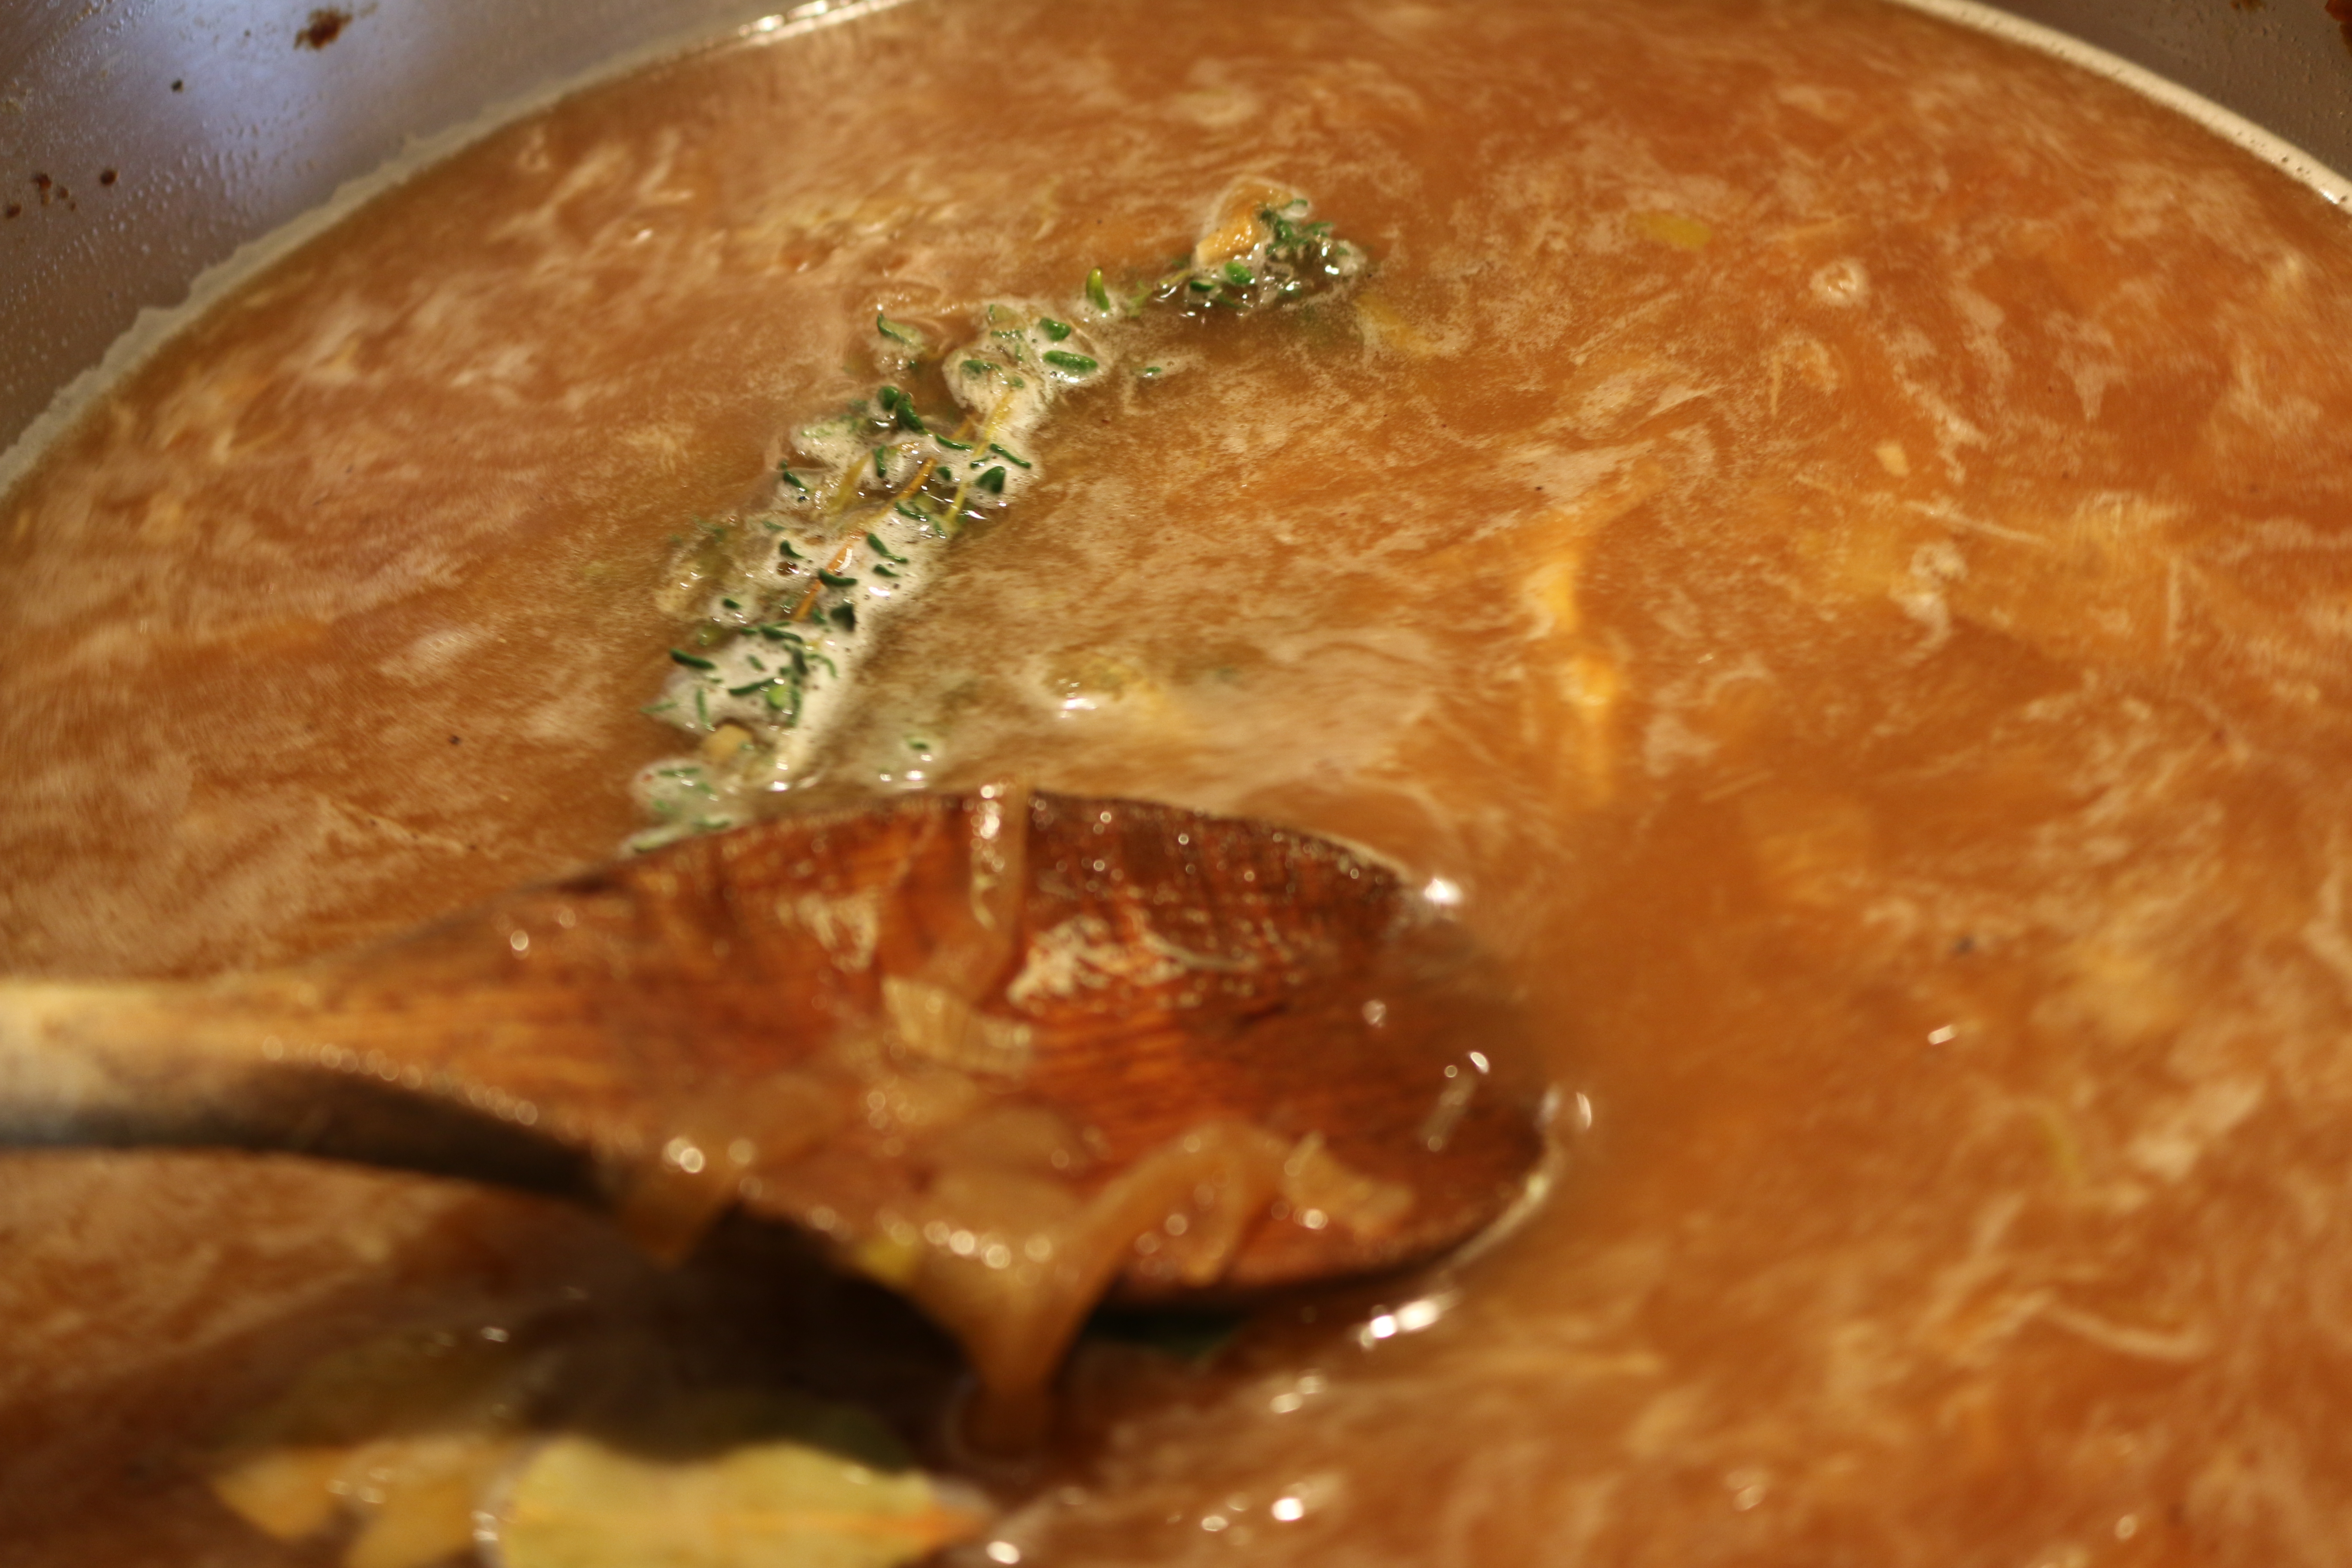
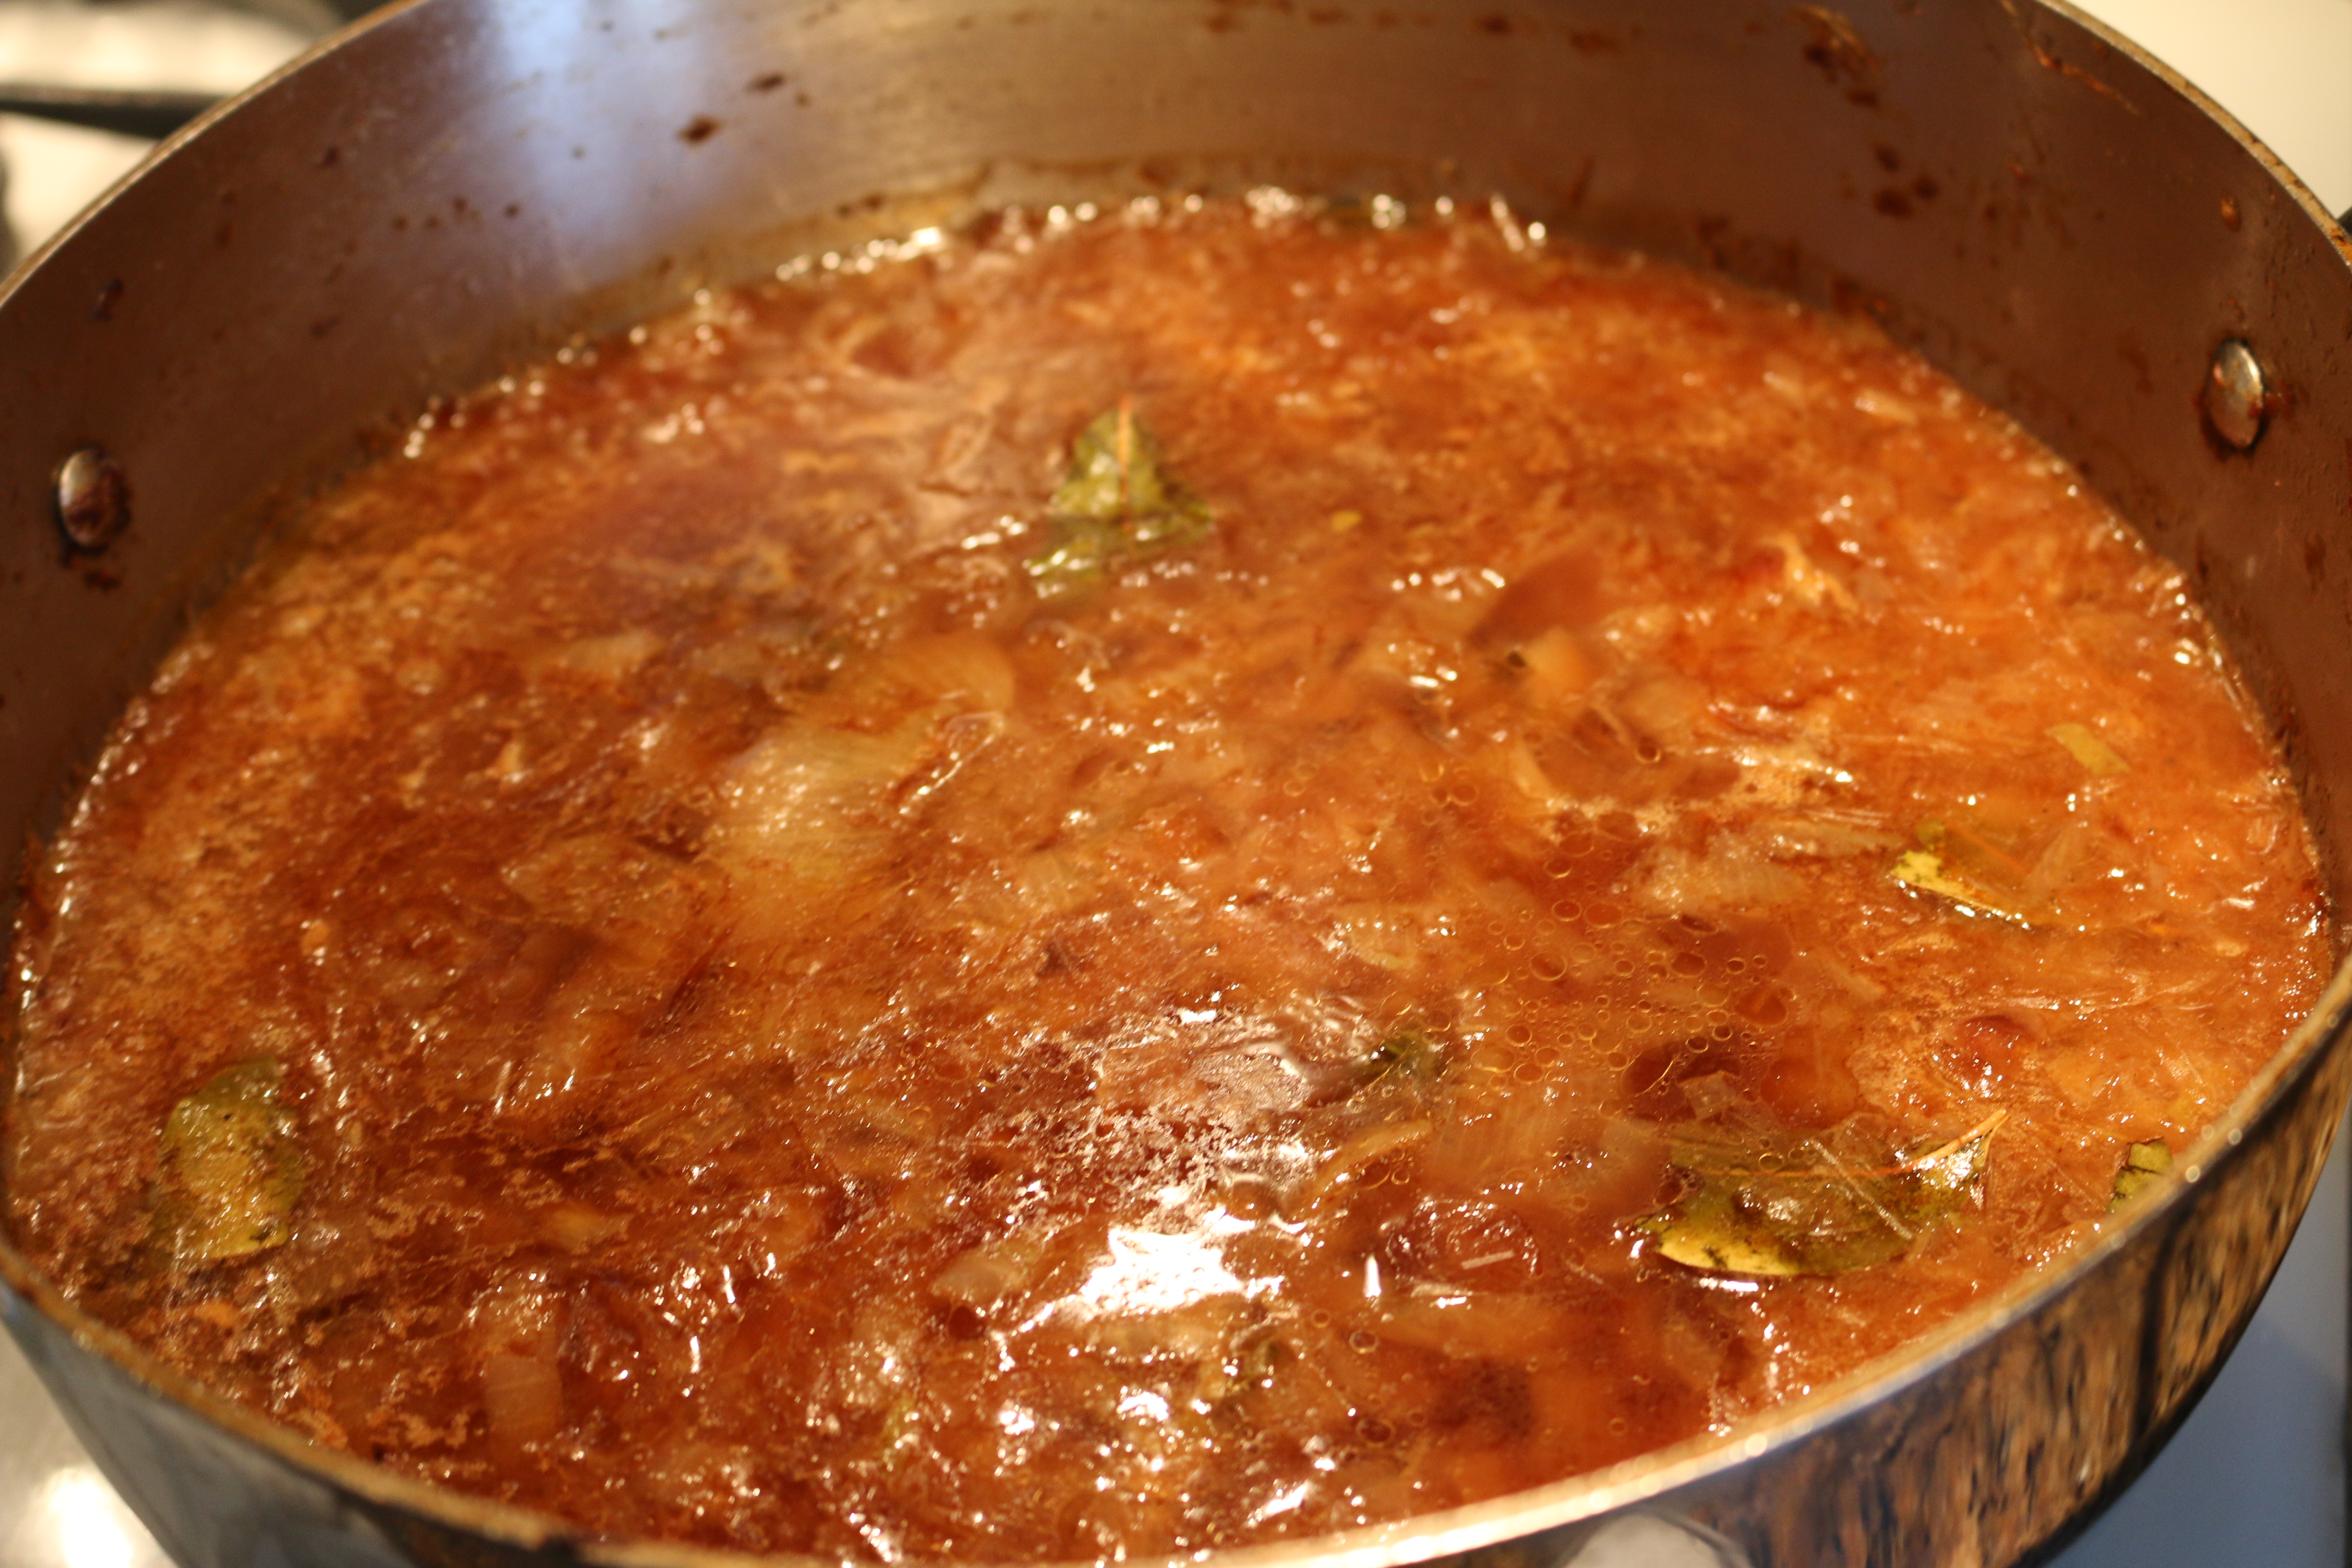
Ok back to cooking! Alright once the wine has reduced a bit after 5 minutes or so we add the 2 cups of beef broth


To this we will add our bouquet of herbs (thyme and rosemary). Then add your meat and cooked bacon bits. Put your lid back on the dutch oven. We are ready for the oven!


Place in a preheated 300 degree oven and braise those baby’s for approximately 3.5 hours. You can check on them halfway through the cooking process and flip them in the braising sauce. They will be fork tender when done and basically falling apart if you stare at them too hard. 😉


Bon Appetit!
Braised Beef Short Ribs
Ingredients:
- 2 lbs beef short ribs
- 3 pieces of bacon (I use turkey bacon)
- 1/2 cup diced onion
- 2 celery stalks chopped up
- 2 carrots diced
- 2 garlic cloves minced fine
- flour for dusting your ribs
- generous sprinkles of kosher salt and freshly cracked black pepper
- 2 heaping tbls of tomato paste
- 1 tsp of soy sauce
- 1 tsp of worcestershire sauce
- 2 cups of dry wine
- 2 cups of beef broth
- fresh herb bouquet( I used thyme and rosemary)
Directions:
First off, generously sprinkle your meat with kosher salt and fresh black cracked pepper.
Let your meat rest for a half hour and come to room temperature while you do some prep work. Dice up your bacon, onion, celery and carrots and mince your garlic.
Dust your meat in some flour. Fry up your bacon in a frying pan and once your bacon is cooked and crispy, scoop it out of your dutch oven and set aside.
Now take your beef short ribs and brown them really good in batches. Once browned on both sides set aside to rest.
Cook your tomato paste in the pot for a few minutes with a small handful of onions to get some moisture in the pot to help along the tomato solids. Caramelizing the tomato solids like this will provide much complex yummy flavors to your braising sauce.
After a few minutes of stirring the tomato paste you will add the rest of the vegetables you chopped up.
Cook this until the vegetables become translucent and soft (it will be quite thick due to the tomato paste in there.) At the very end throw your chopped up garlic and cook for 2 more minutes.
Deglaze your pan with the red wine. Choose a dry wine that you would also drink. Remember if it tastes horrible to drink, it won’t taste any better cooked!
Once the wine has reduced a bit after 5 minutes or so, add the 2 cups of beef broth.
To this add your bouquet of herbs (thyme and rosemary). Then add your meat and cooked bacon bits. Put your lid back on the dutch oven. We are ready for the oven!
Place in a preheated 300 degree oven and braise those baby’s for approximately 3.5 hours. You can check on them halfway through the cooking process and flip them in the braising sauce. They will be fork tender when done and basically falling apart if you stare at them too hard. 😉
Remove from oven discard the herb bouquet and serve.