Sewing Scooby Snack Scale:

If you have experience working with knits 2 margarita’s allowed.
If this is your first time with such slippery fabric 0-1/2 margarita allowed.
Step away from those scissors!
The first step you need to do is wash and dry your fabric! I can’t stress enough the importance of this step! I learned the hard way and my fabric shrunk by 1/3 of its original size! Crazy Right!
Supplies needed:
- t-shirt pattern
- knit material
- walking foot (please see post on walking foot)
- machine ball point jersey needles
- ultra fine tip pins
- scissors
- matching thread( or not if your going for the contrast look)
- cutting mat and rotary cutter (optional)
- stay tape
- sewing machine (serger is nice to have but optional)
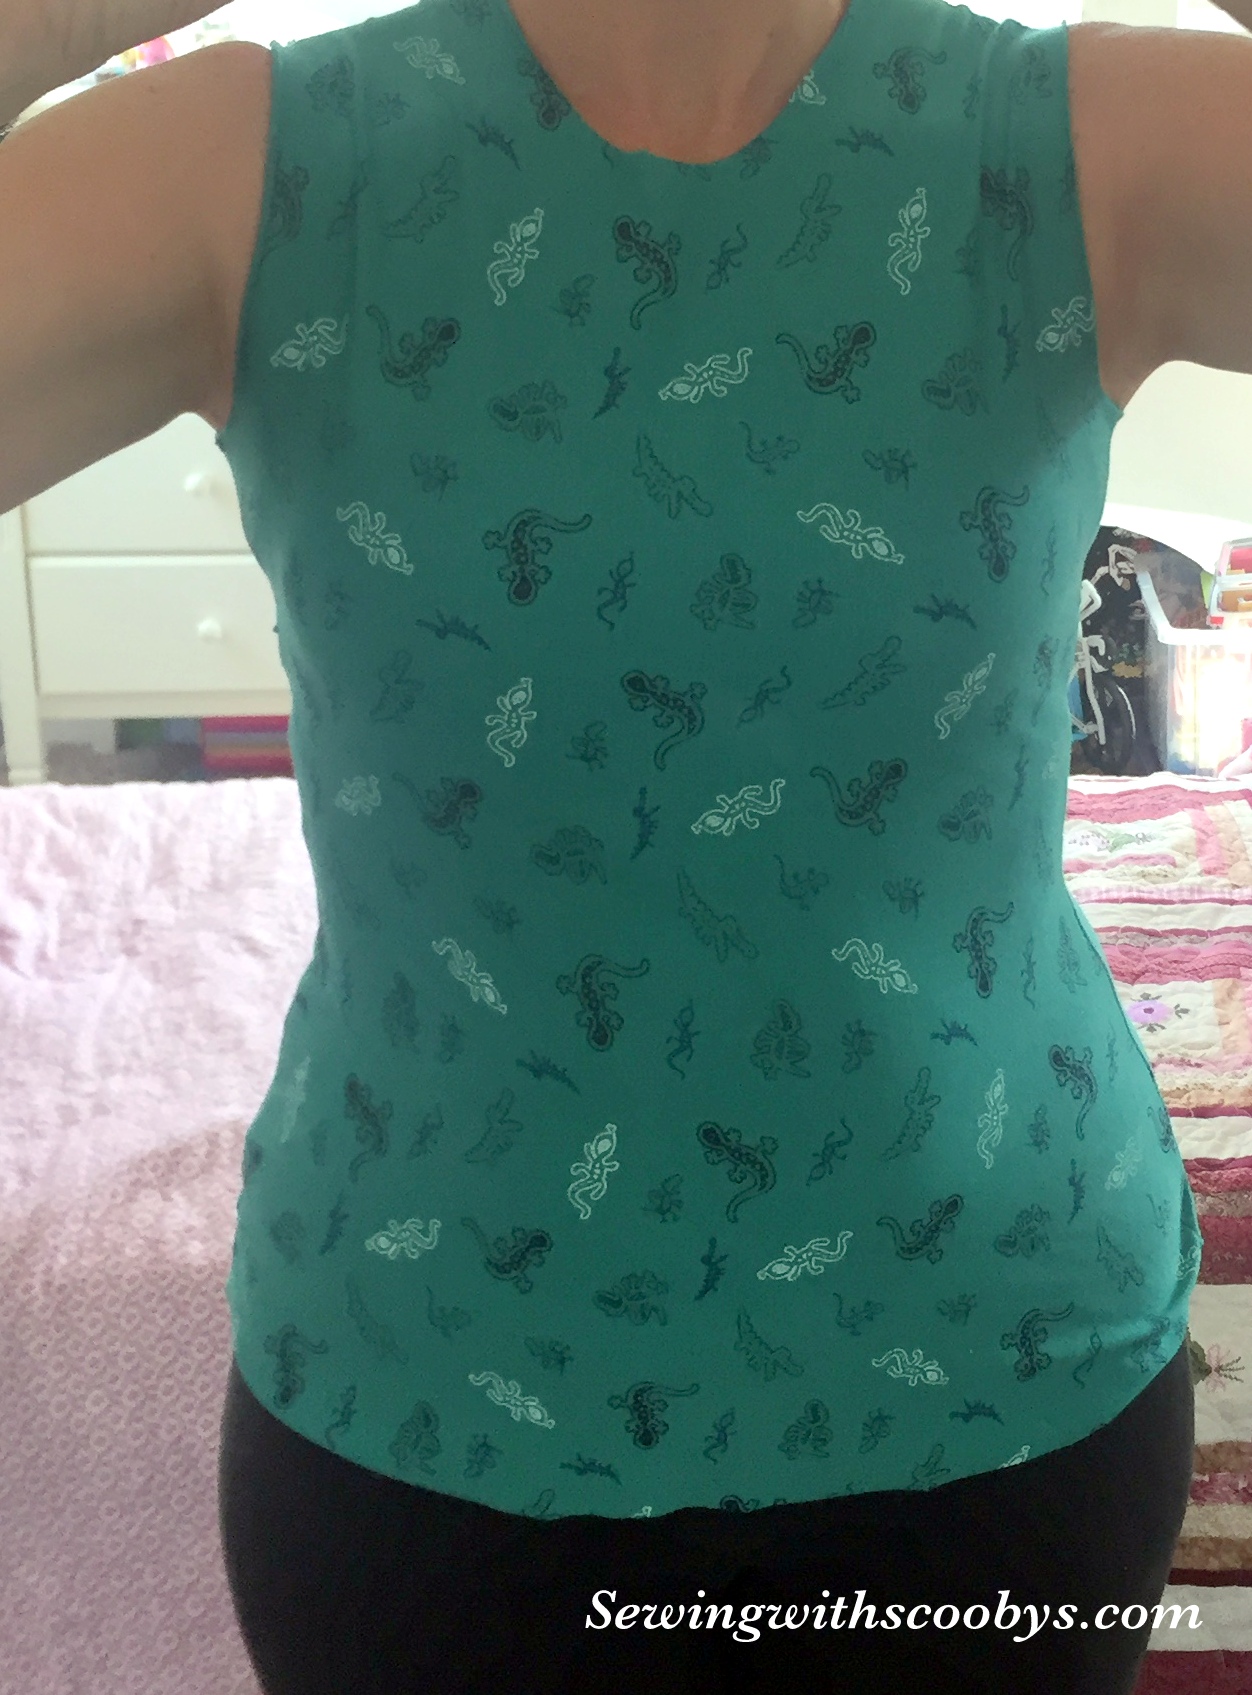
Alright if you never worked with knits before you’re in for a real treat! Take your pre-washed and dryed fabric and lay it down with grain aligned and ready for your chosen pattern. I like to lay my knits on a cutting mat and place large washers on top of the pattern to keep in place. I use my rotary cutter and cut out my pieces:) Easy peasy
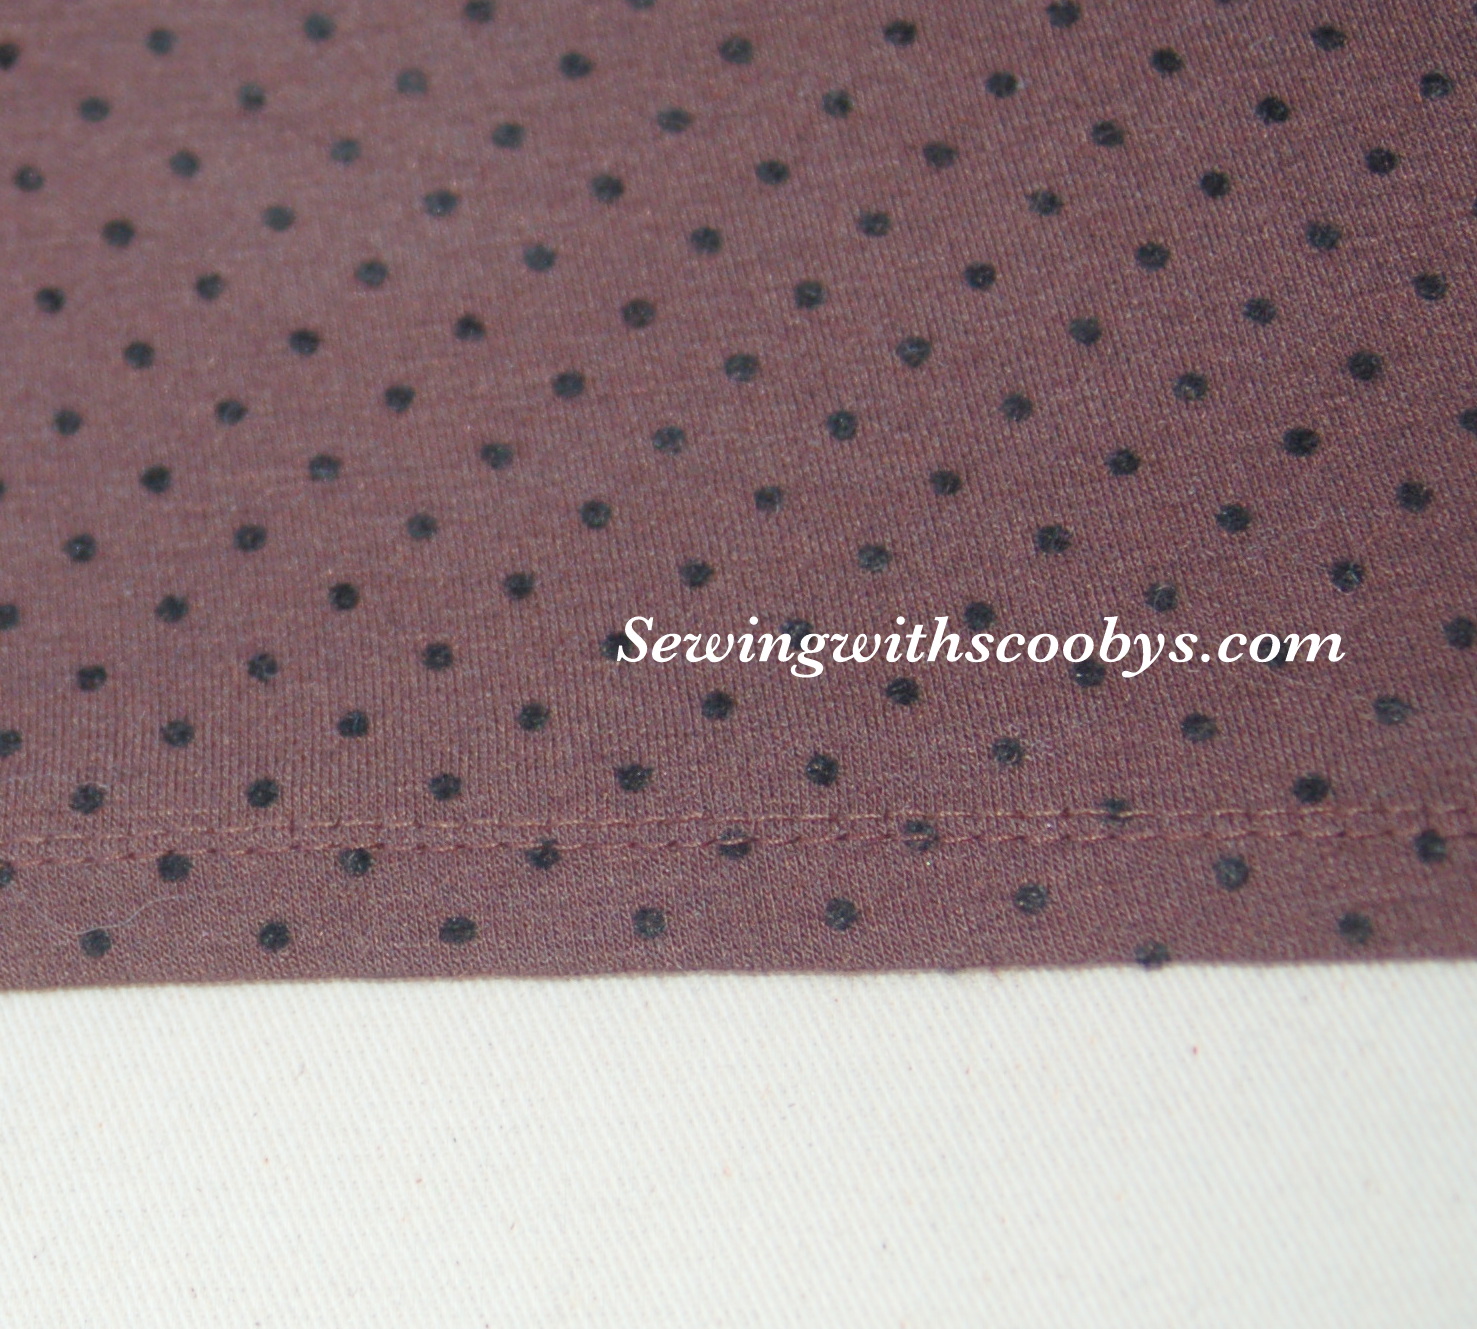
If you are uncertain which is the right side of the fabric then look at your edges of the fabric you will notice that they curl towards the right side of the fabric, if they happen to be ITY knits then they tend not to roll as much. In this case the right side will have vertical rows of smooth v shaped stitches. The wrong side of the fabric will have horizontal rows of bumps (purl stitch to those of us that knit 🙂
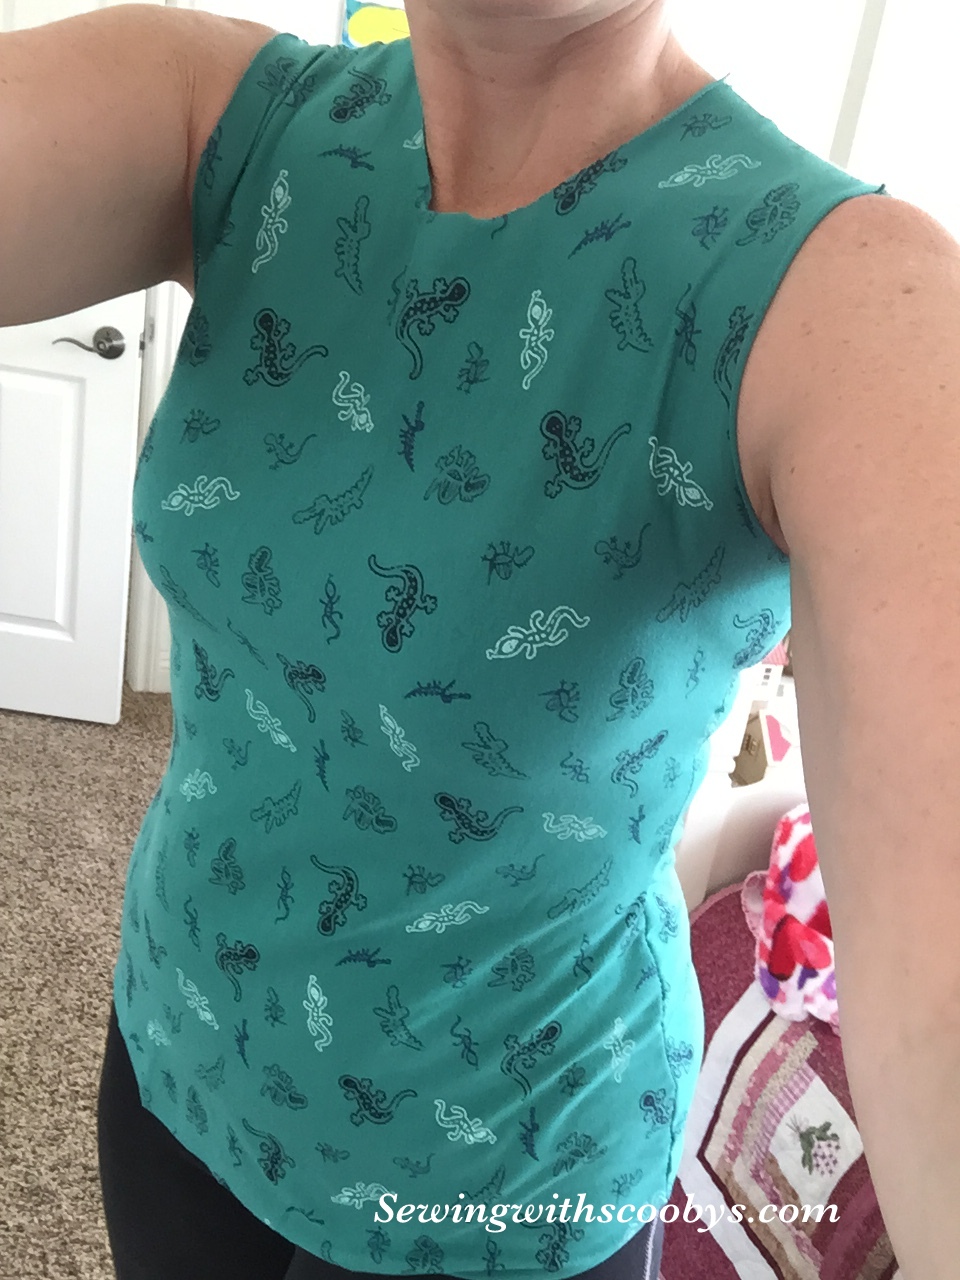
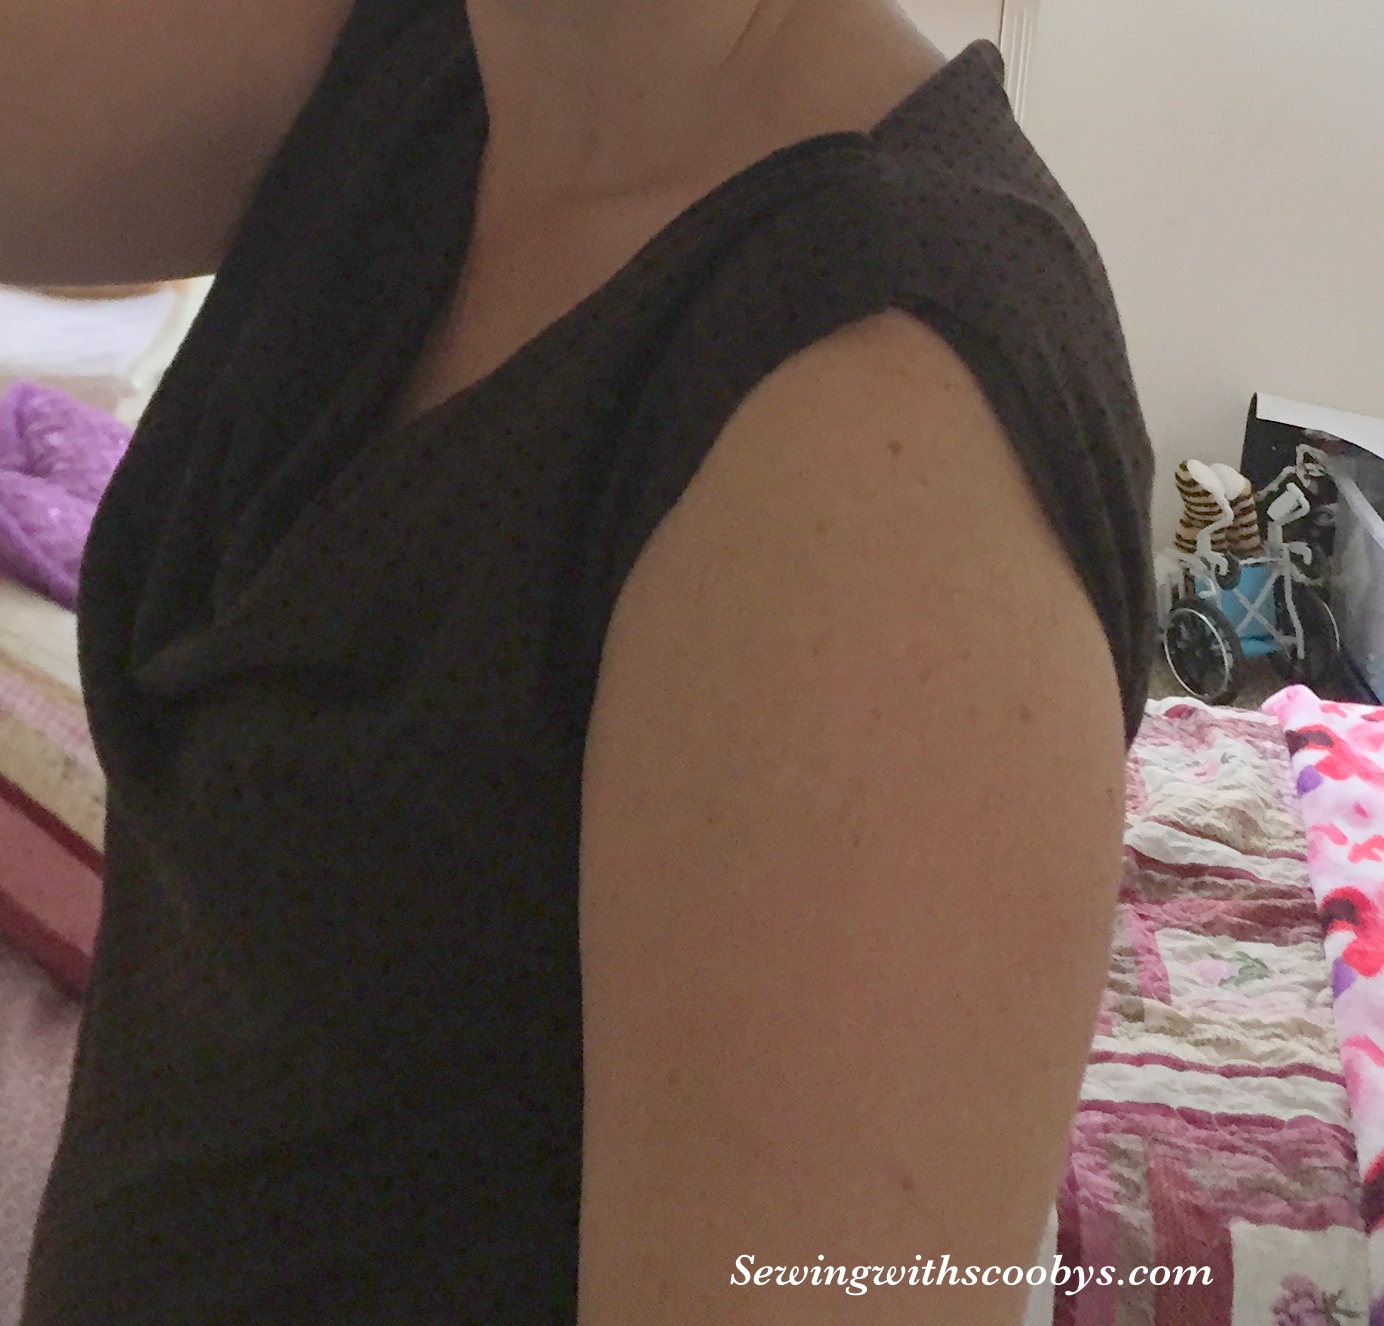
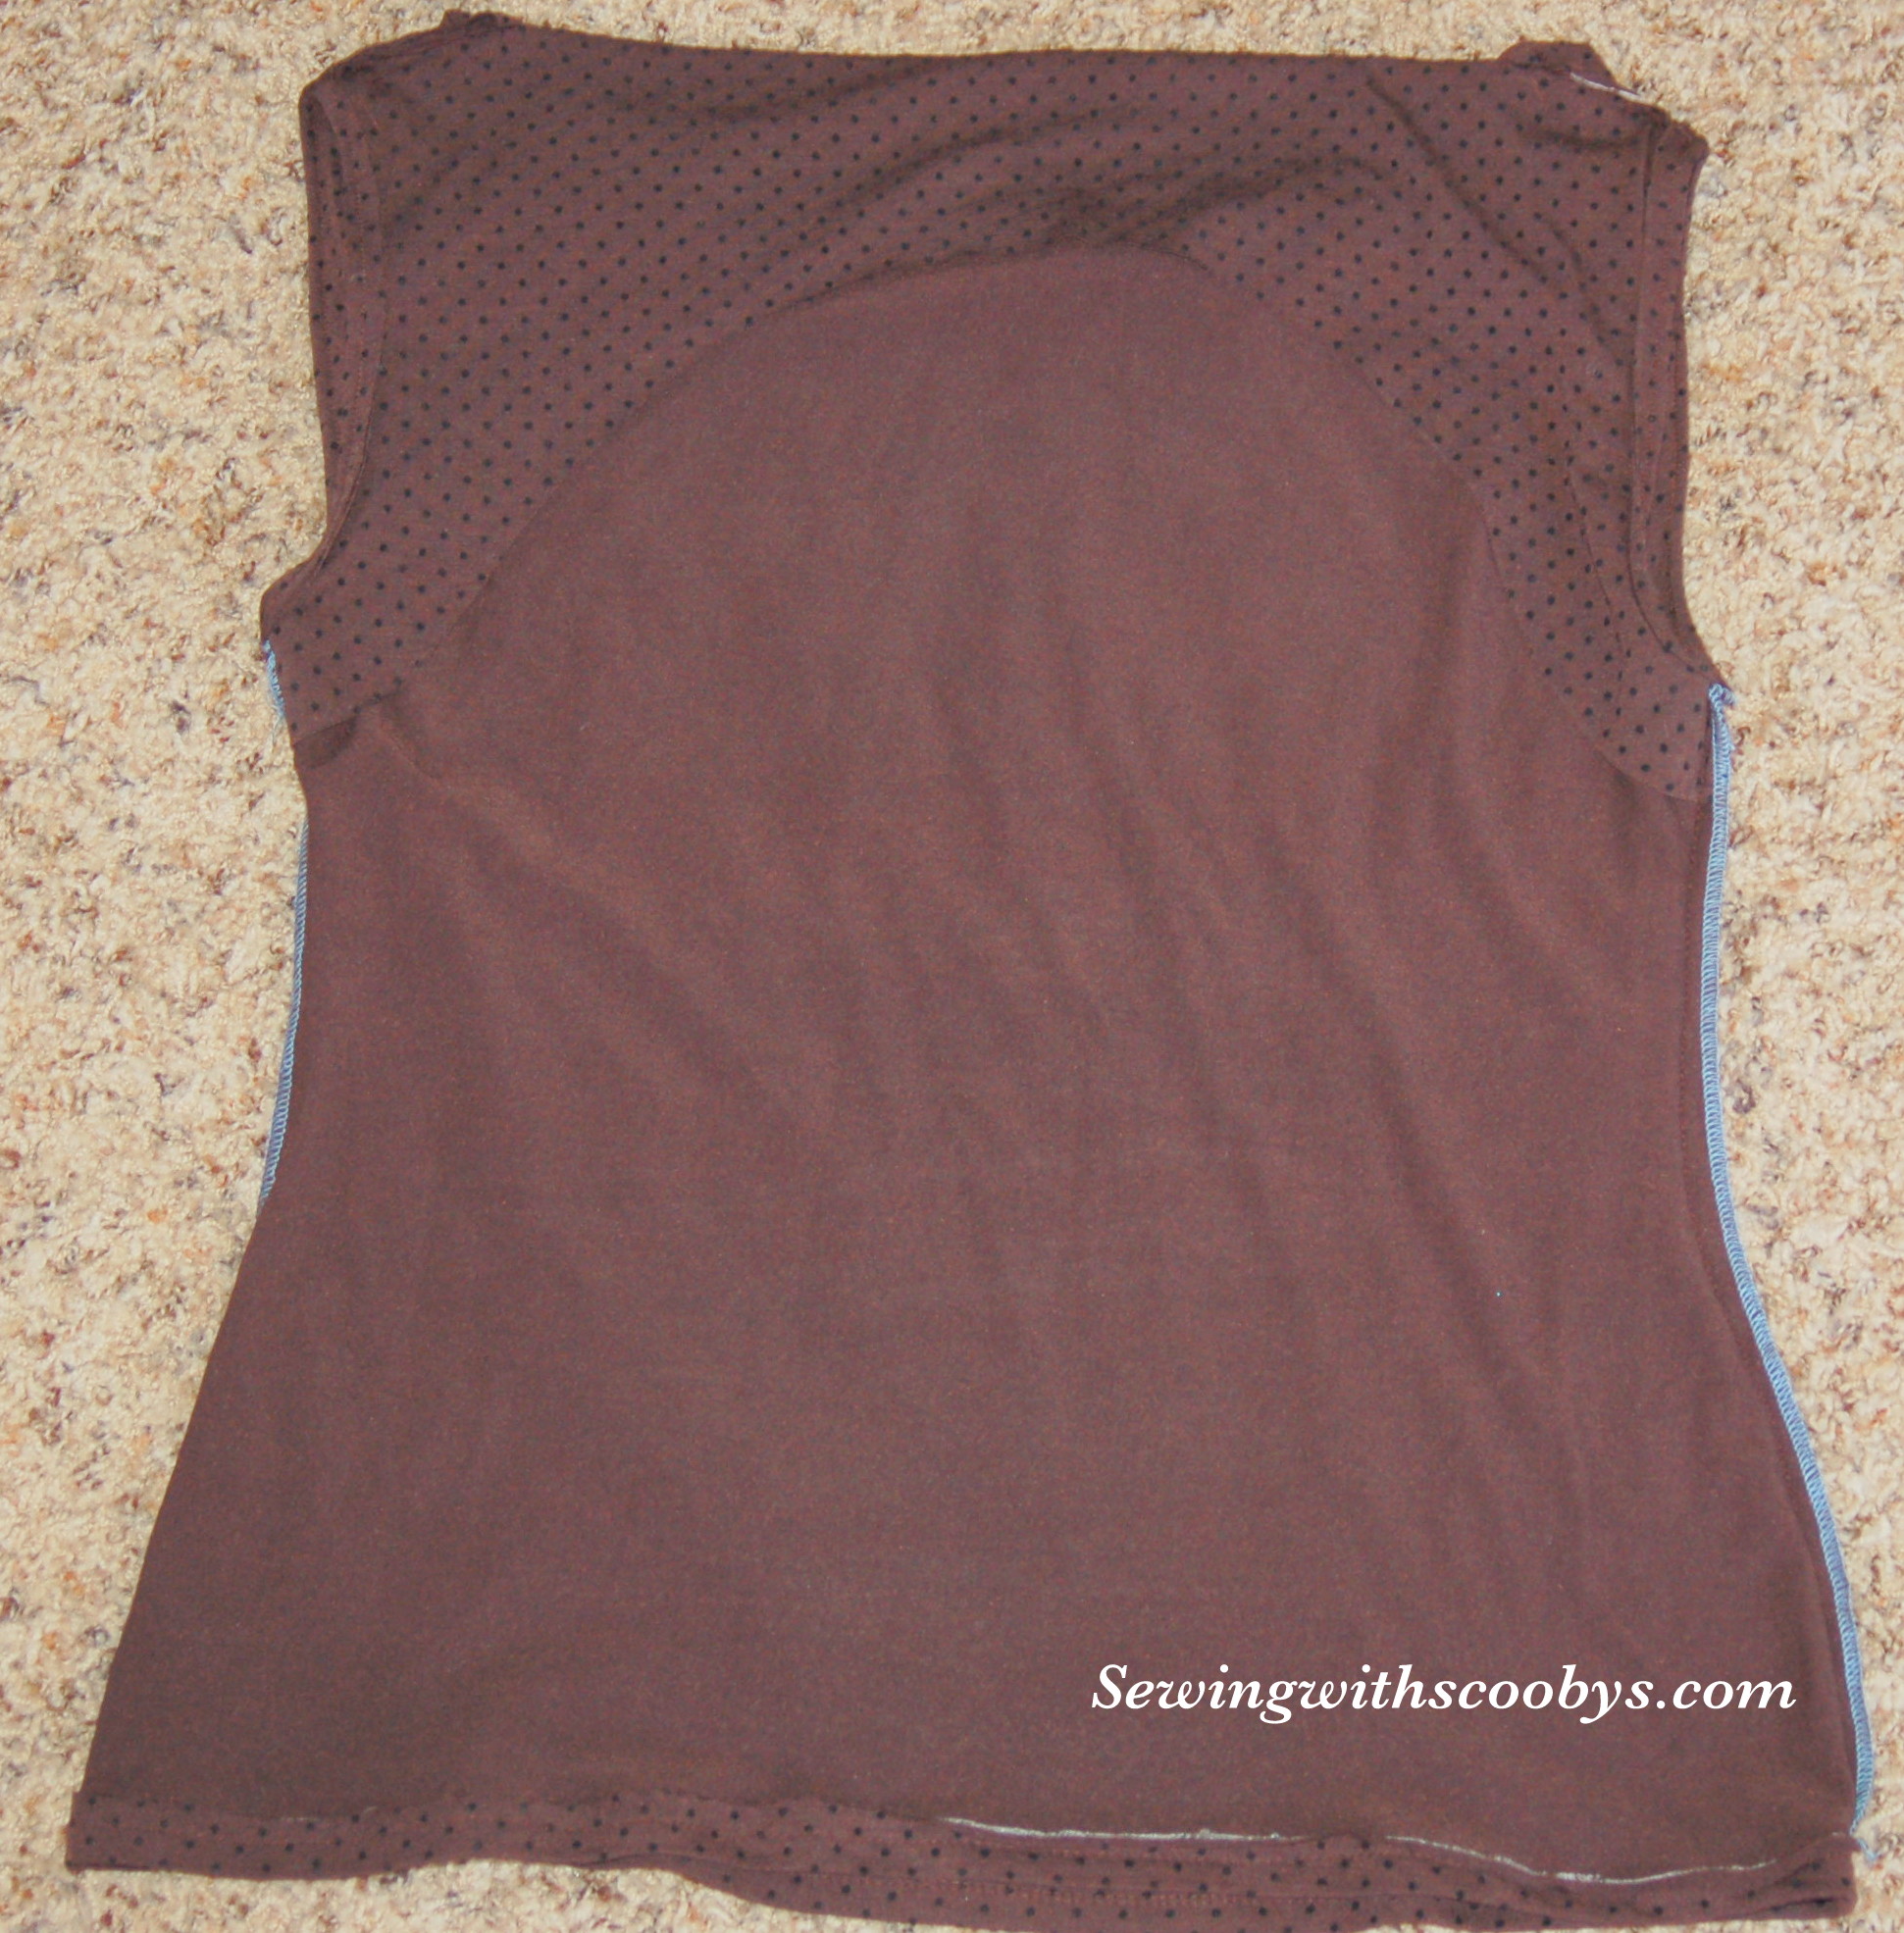
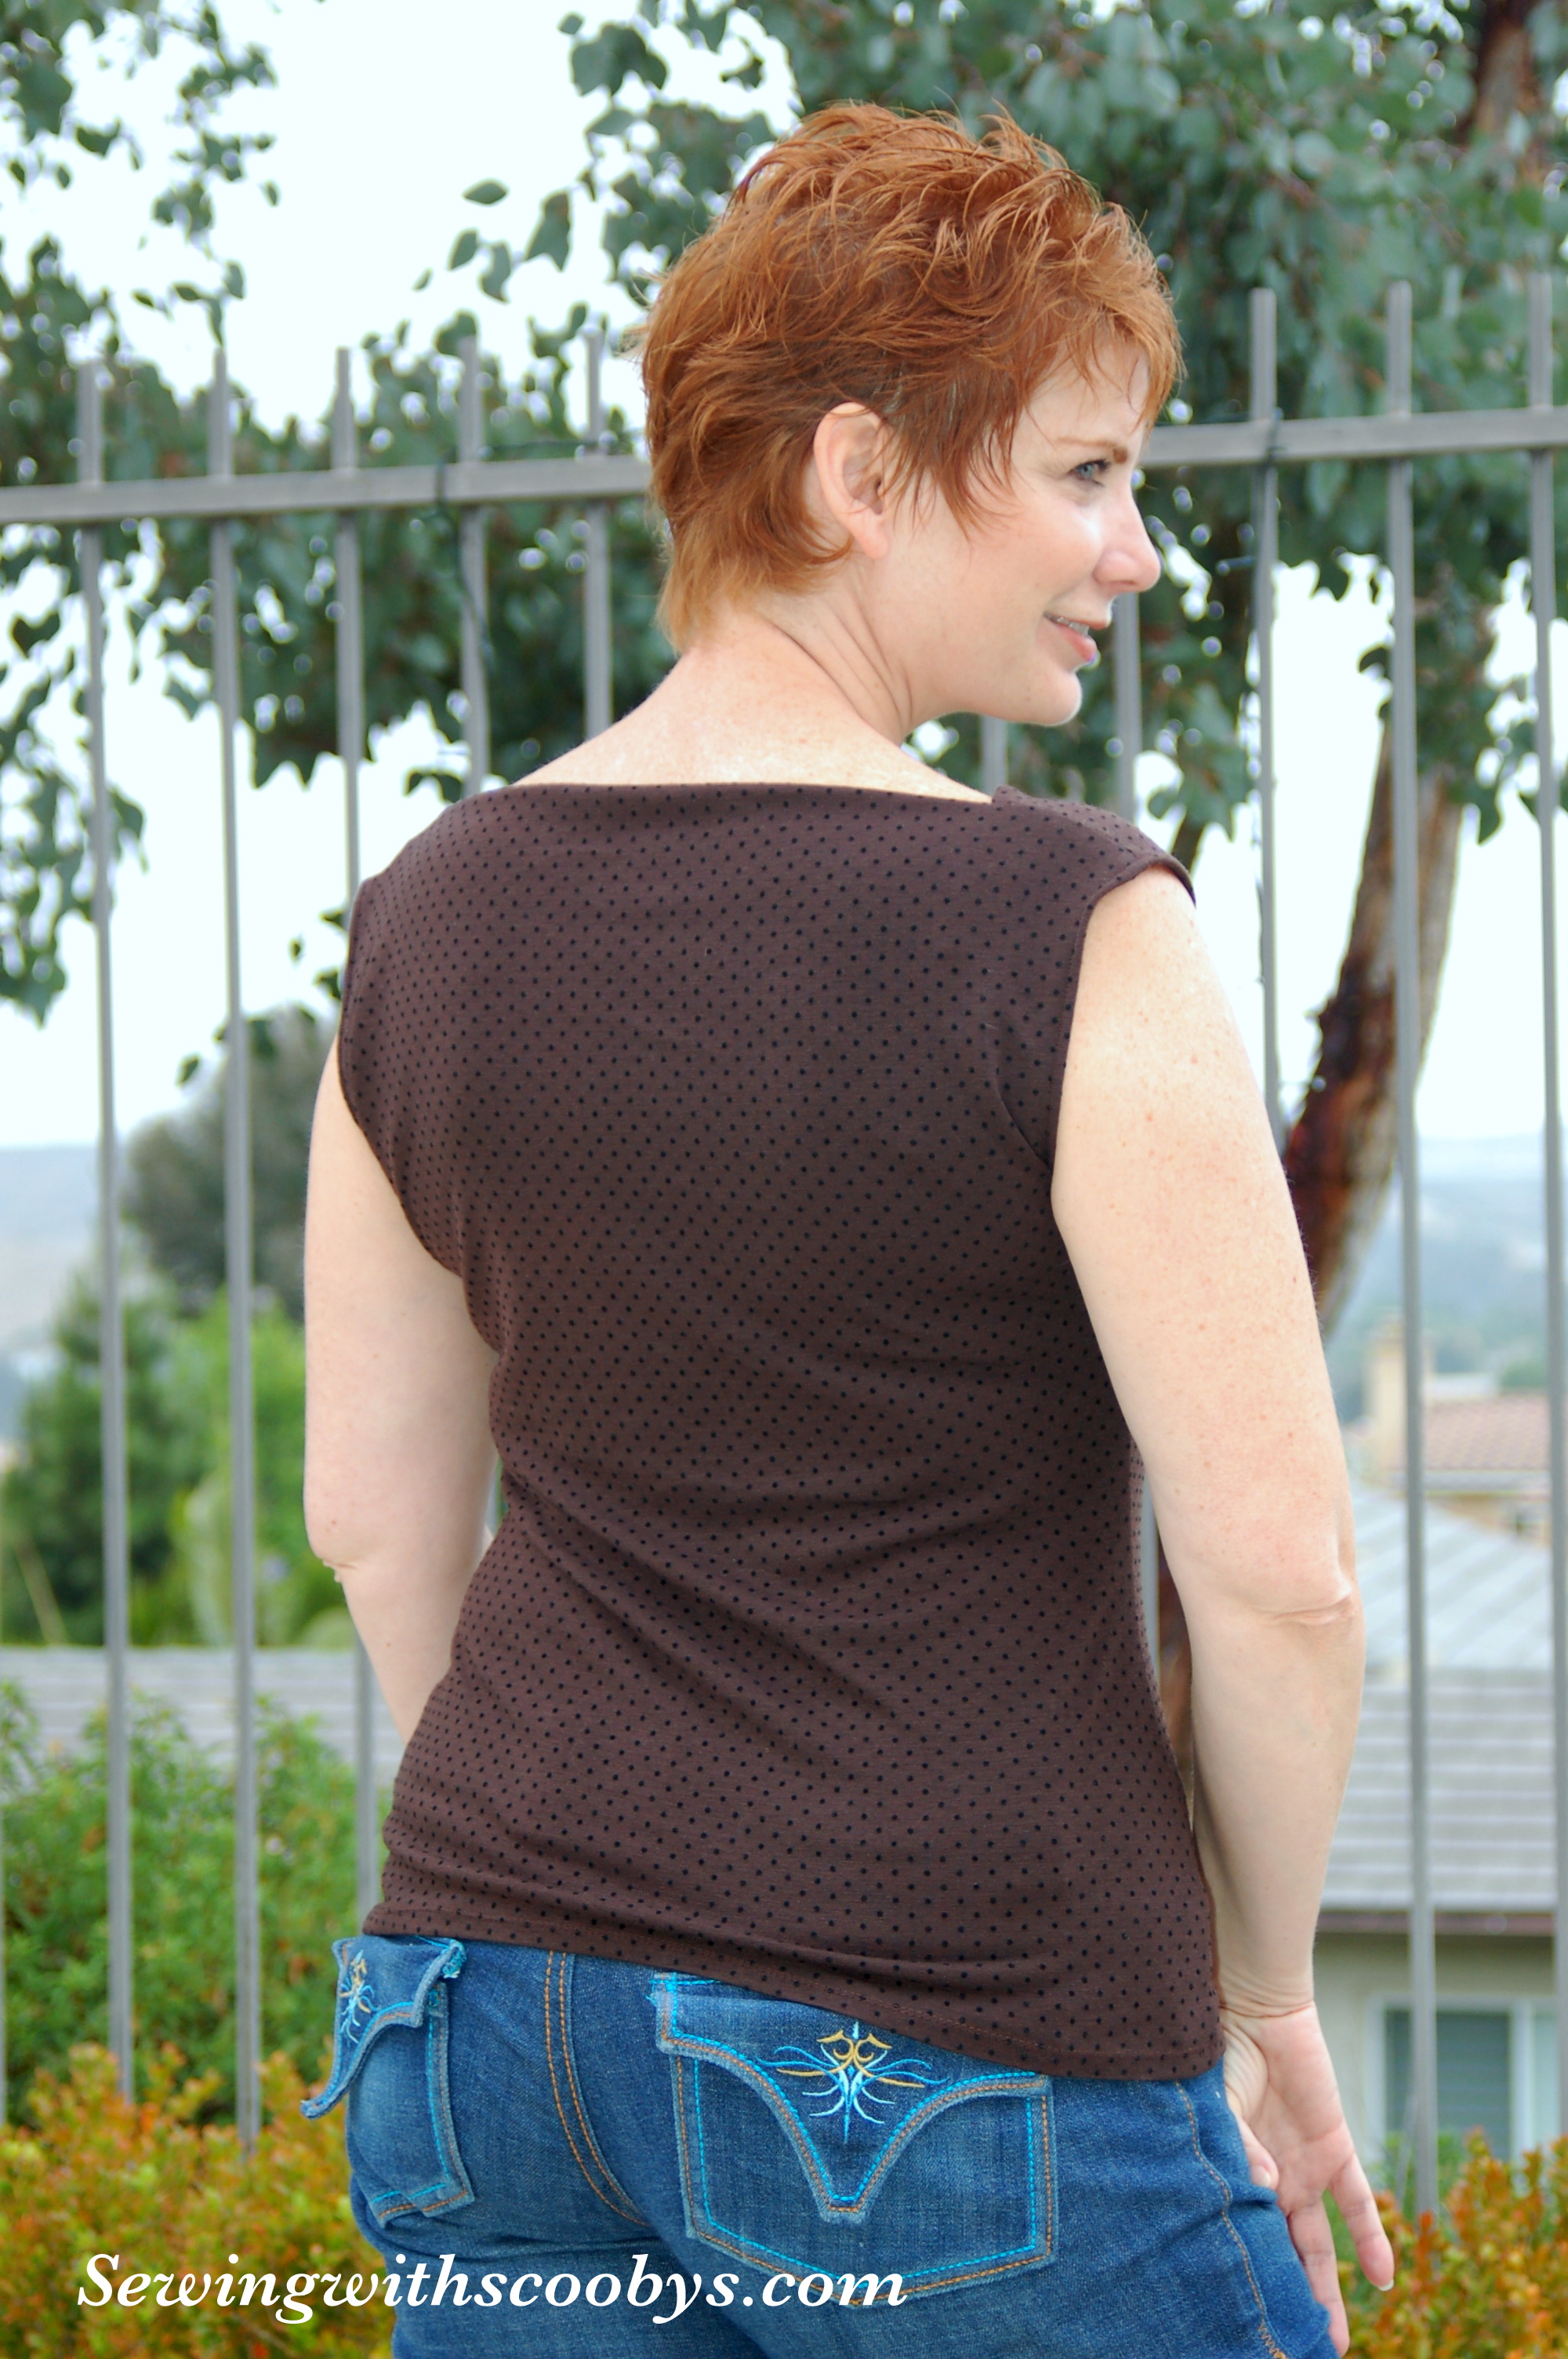
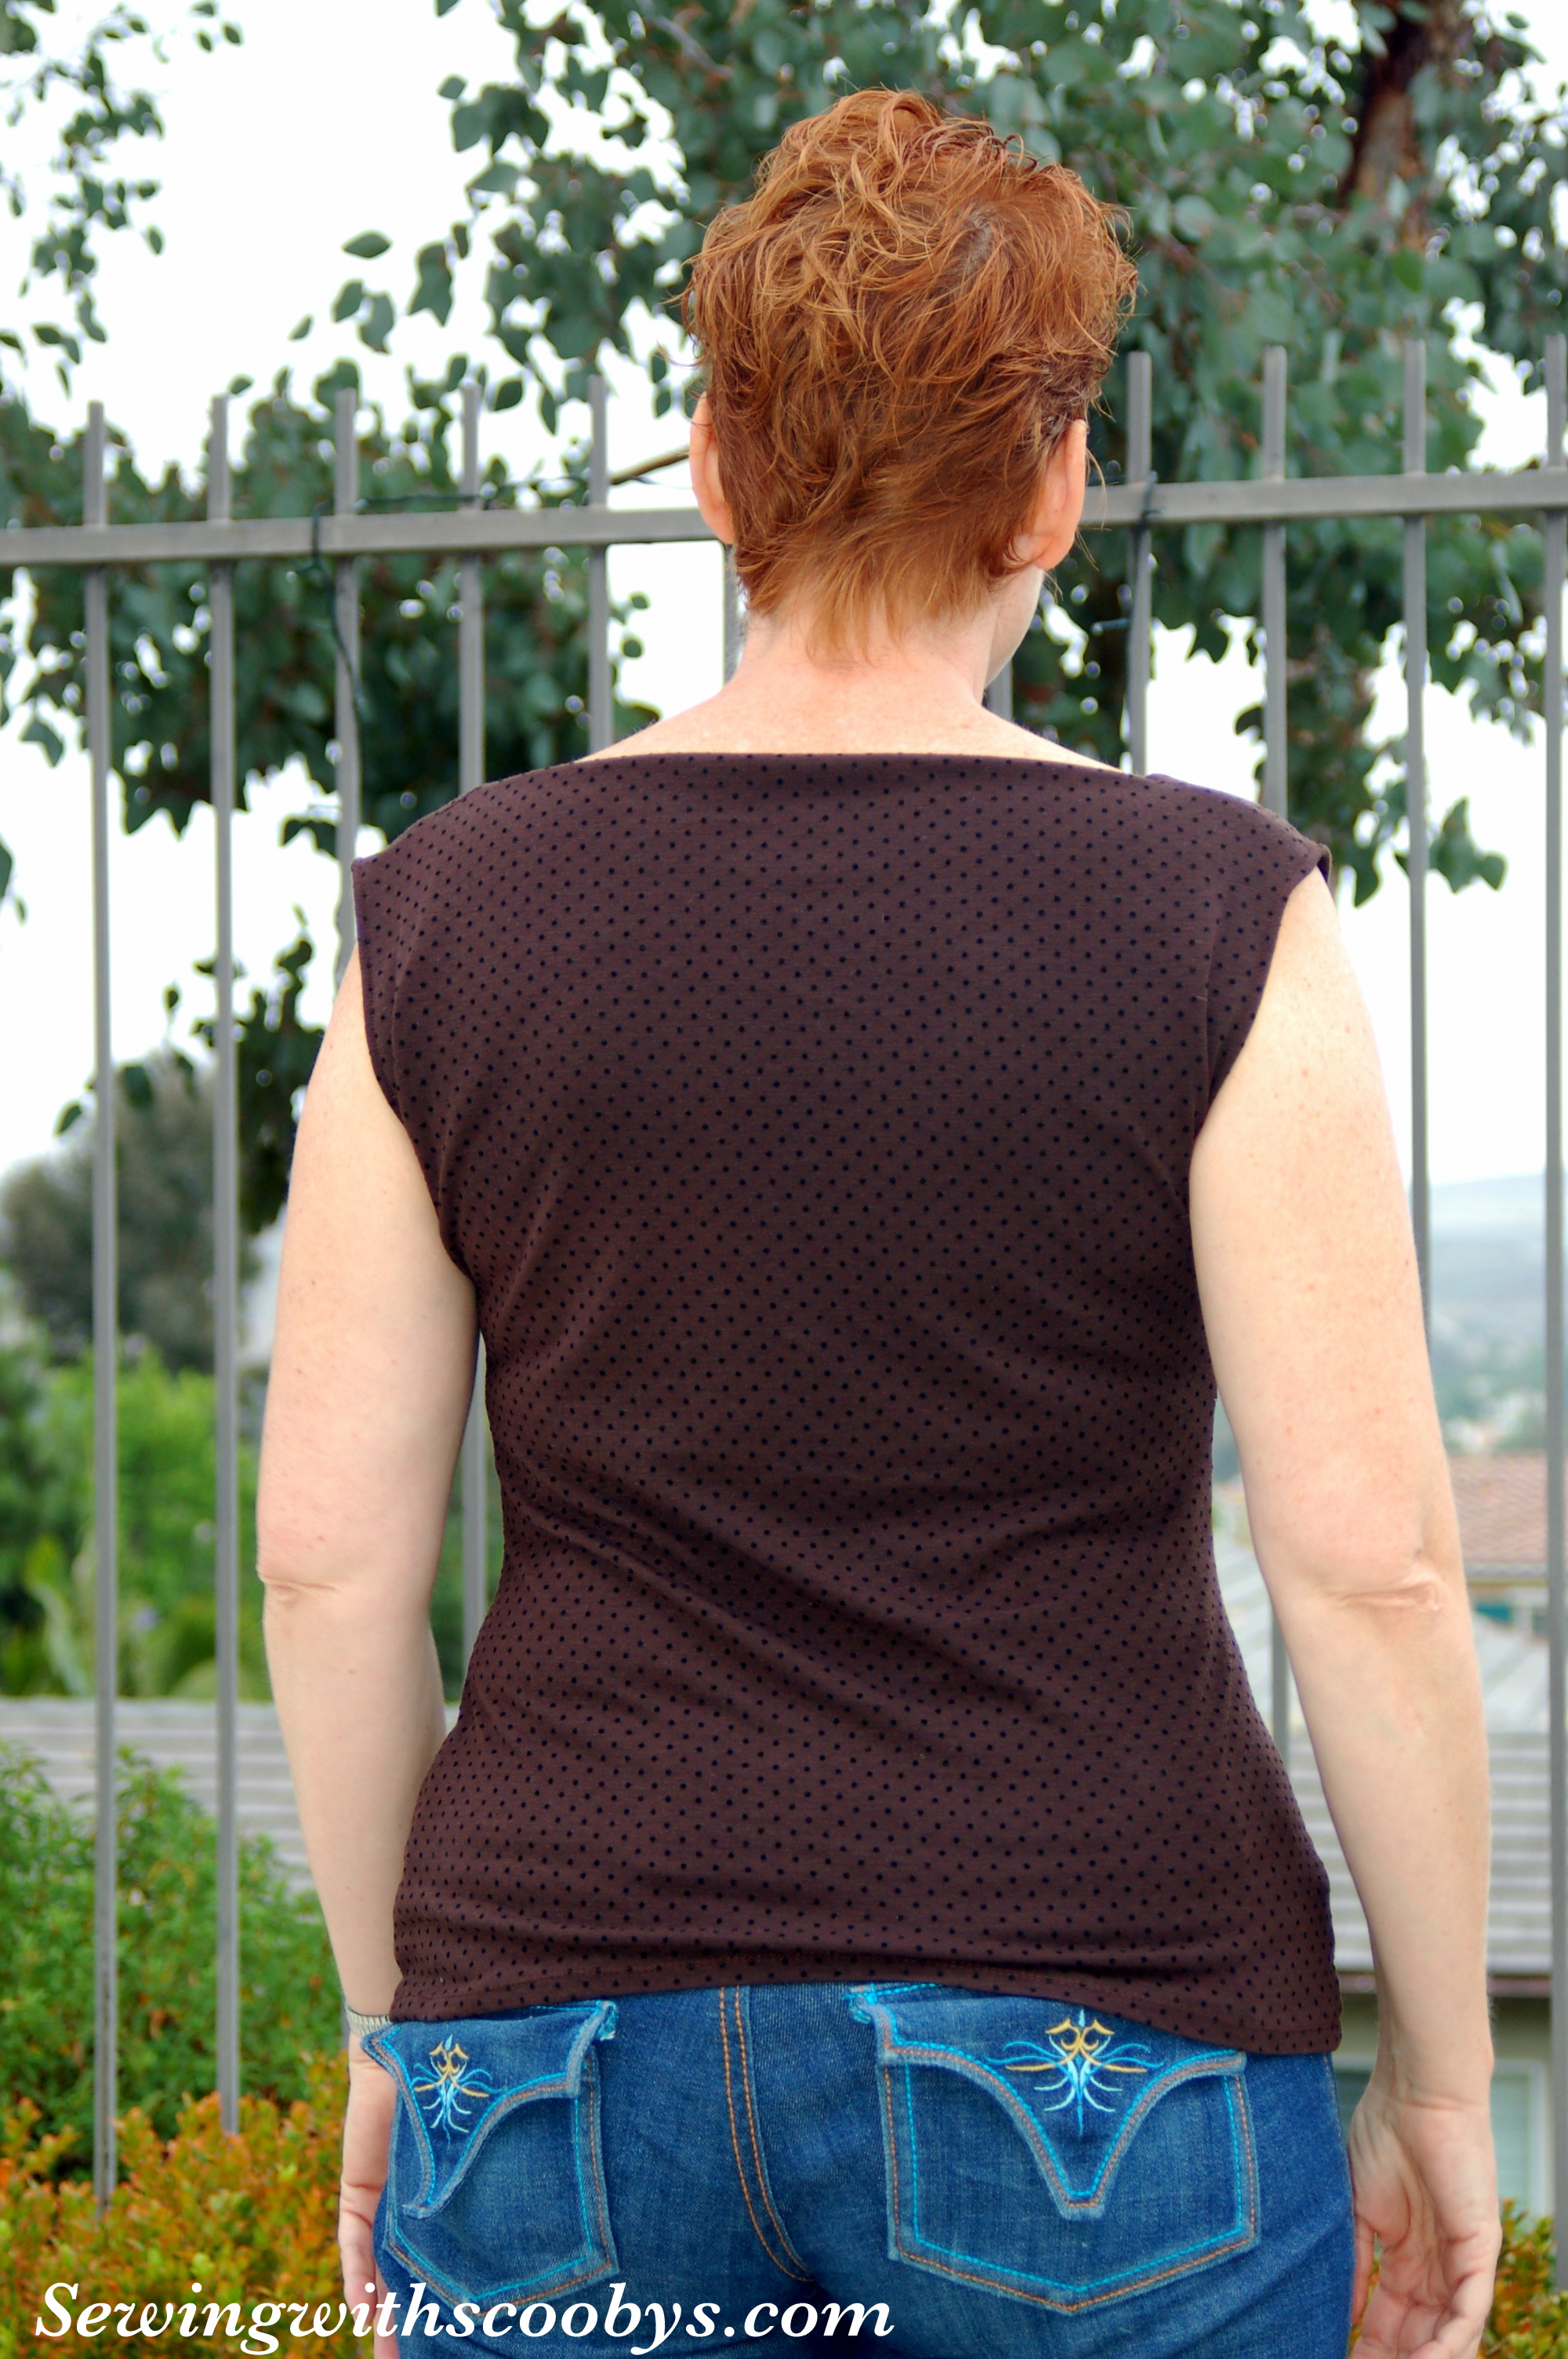
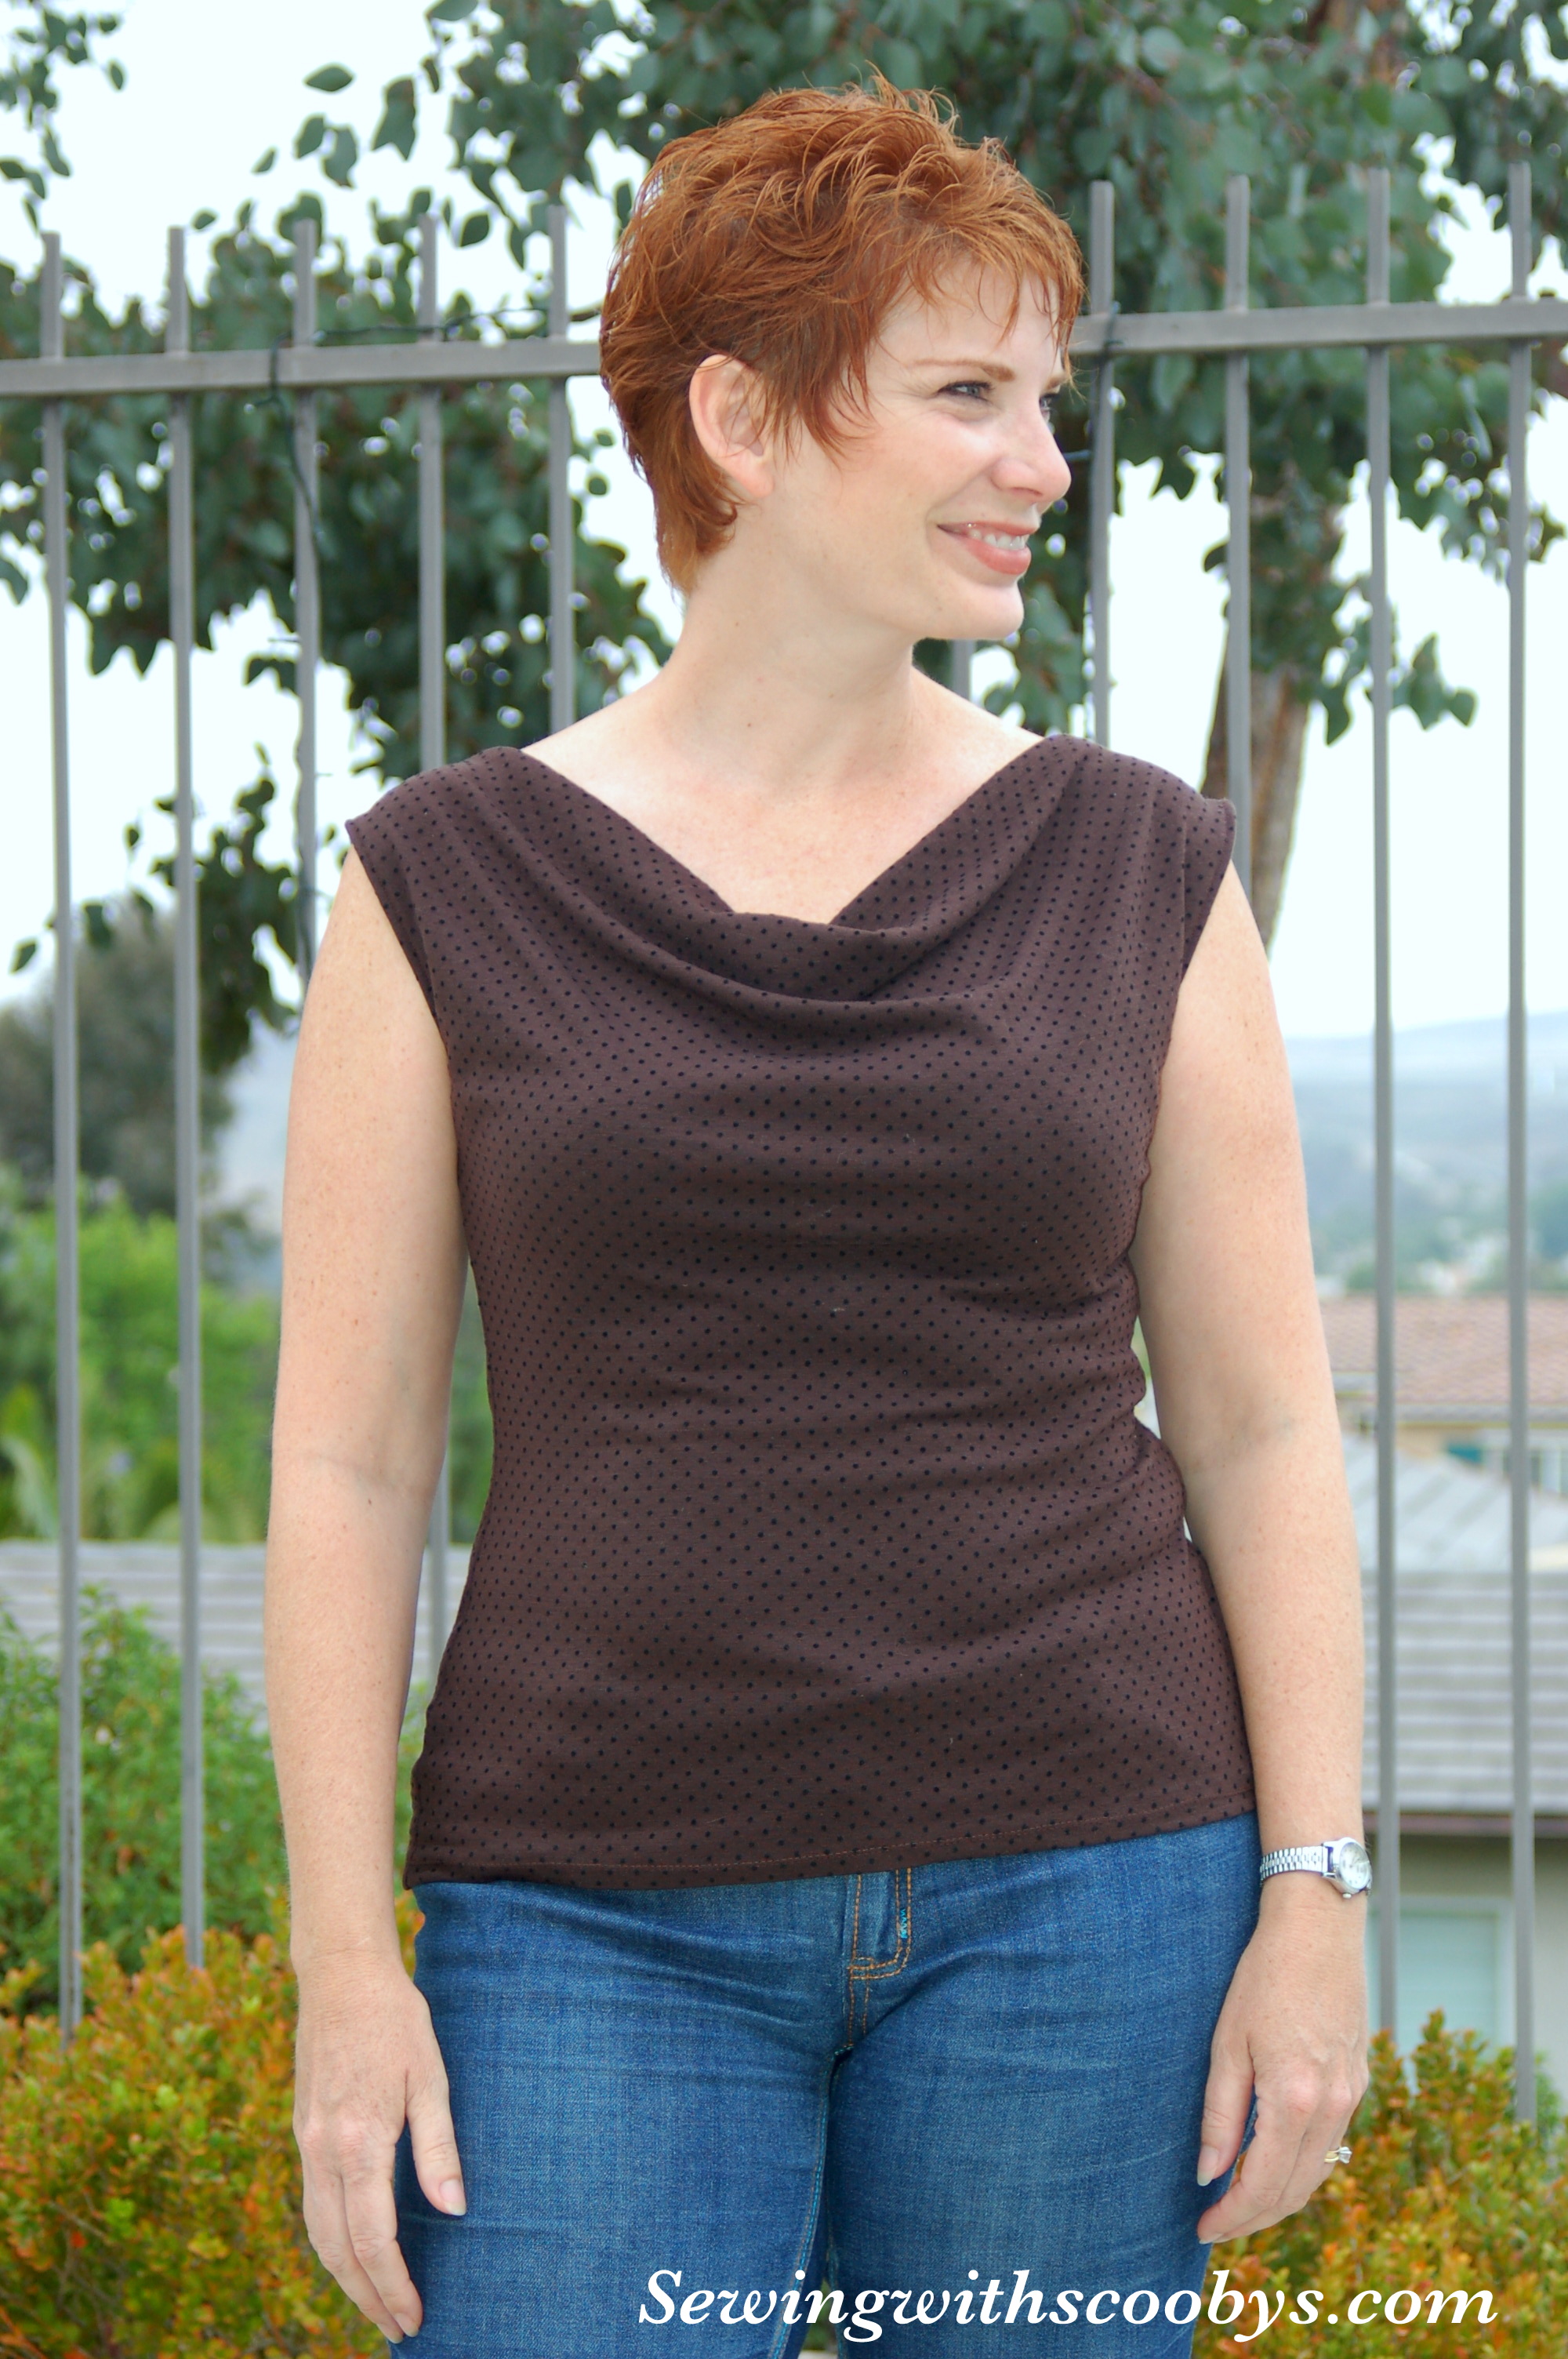
During my design stage for this t-shirt I used a french curve and made princess seams to the front of the t-shirt. I had an idea of having these seams on the right side of my shirt and clipping the seam to rag it as you would do for rag quilts. I like the added texture it gave the shirt. My sleeves I did in two different colors and again have my seams to the right side and ragged.


1. For a regular t-shirt pattern that is not pieced you will start off by cutting out all your pattern pieces (per your t-shirt pattern instructions). Make a small snip into the seam allowance of the centre back piece and the center front piece.
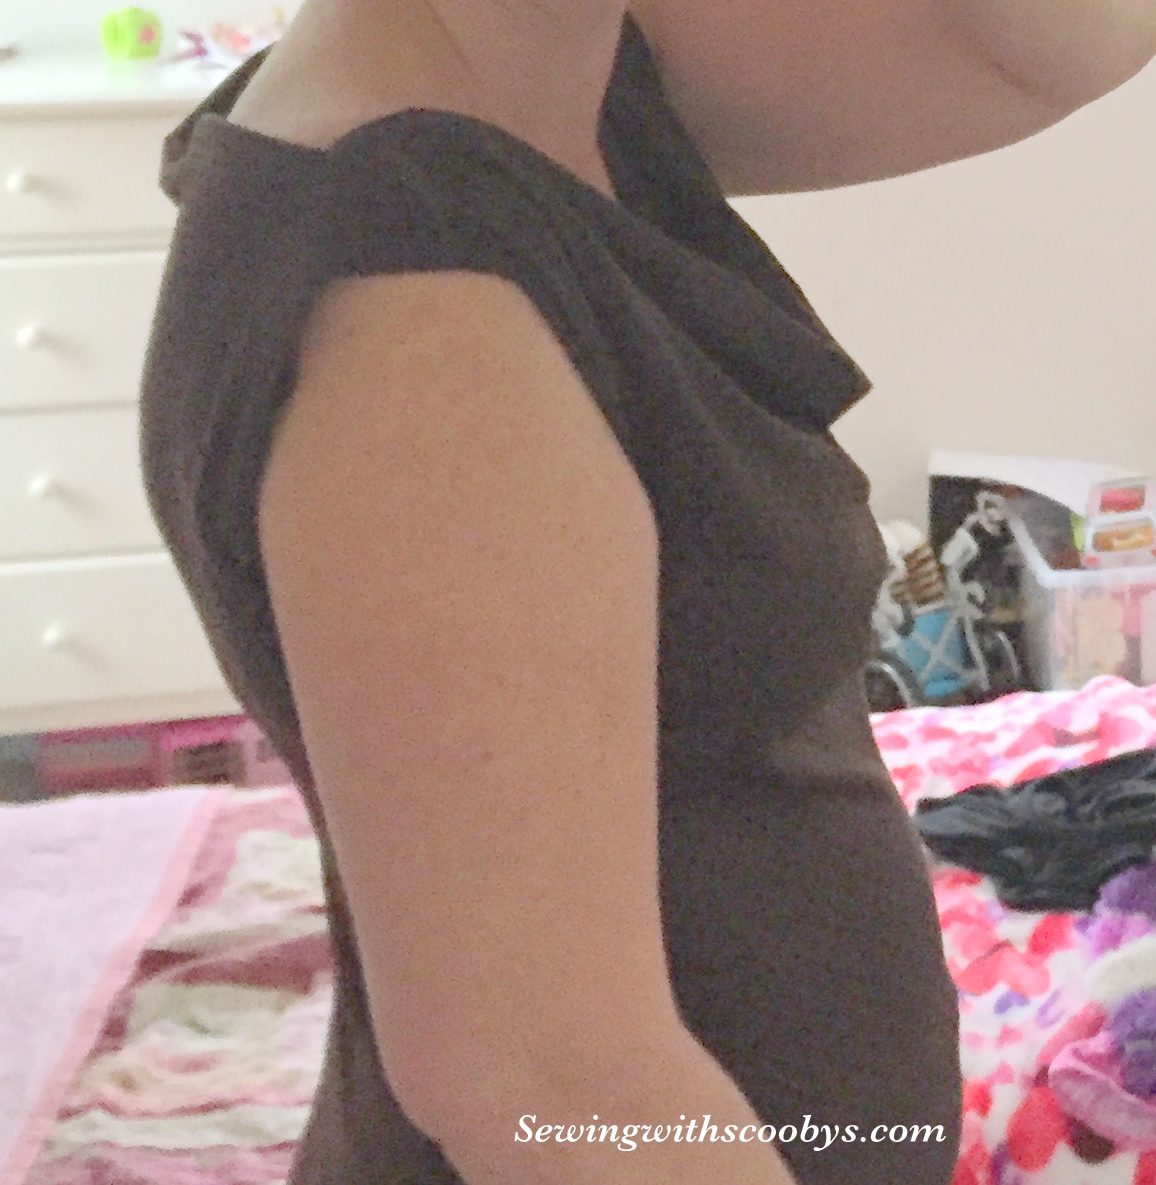
2. Next apply your stay tape to one side of the t-shirt. I use fusible stay tape but there is also stay tape you sew in place. You place this stay tape about a 1/4 inch in from the edge of your shoulder seam allowance as shown in the picture.

3. Then serge both your shoulder seams. If you don’t have a serger a sewing machine works just fine and you can trim your seam allowance. (knit’s don’t fray). This is where the walking foot comes in to play. A walking foot is a foot that has teeth on it just like the feed dogs on your throat plate that pulls the fabric along. Knits are very stretchy and can get warped quite easily. A walking foot helps with this problem. I like the serger though its quick and professional looking.
Ok so here is where I use the machine ball point jersey needles in my serger and sewing machine when working with knits. Because of the elastic that is in knit material regular needles may leave tiny holes in the fabric especially if you are working with a very thin delicate knit material. This is the same reason I use ultra fine pins when I pin my pieces together in order to sew them. Watch those pins as you are sewing or serging! 🙂


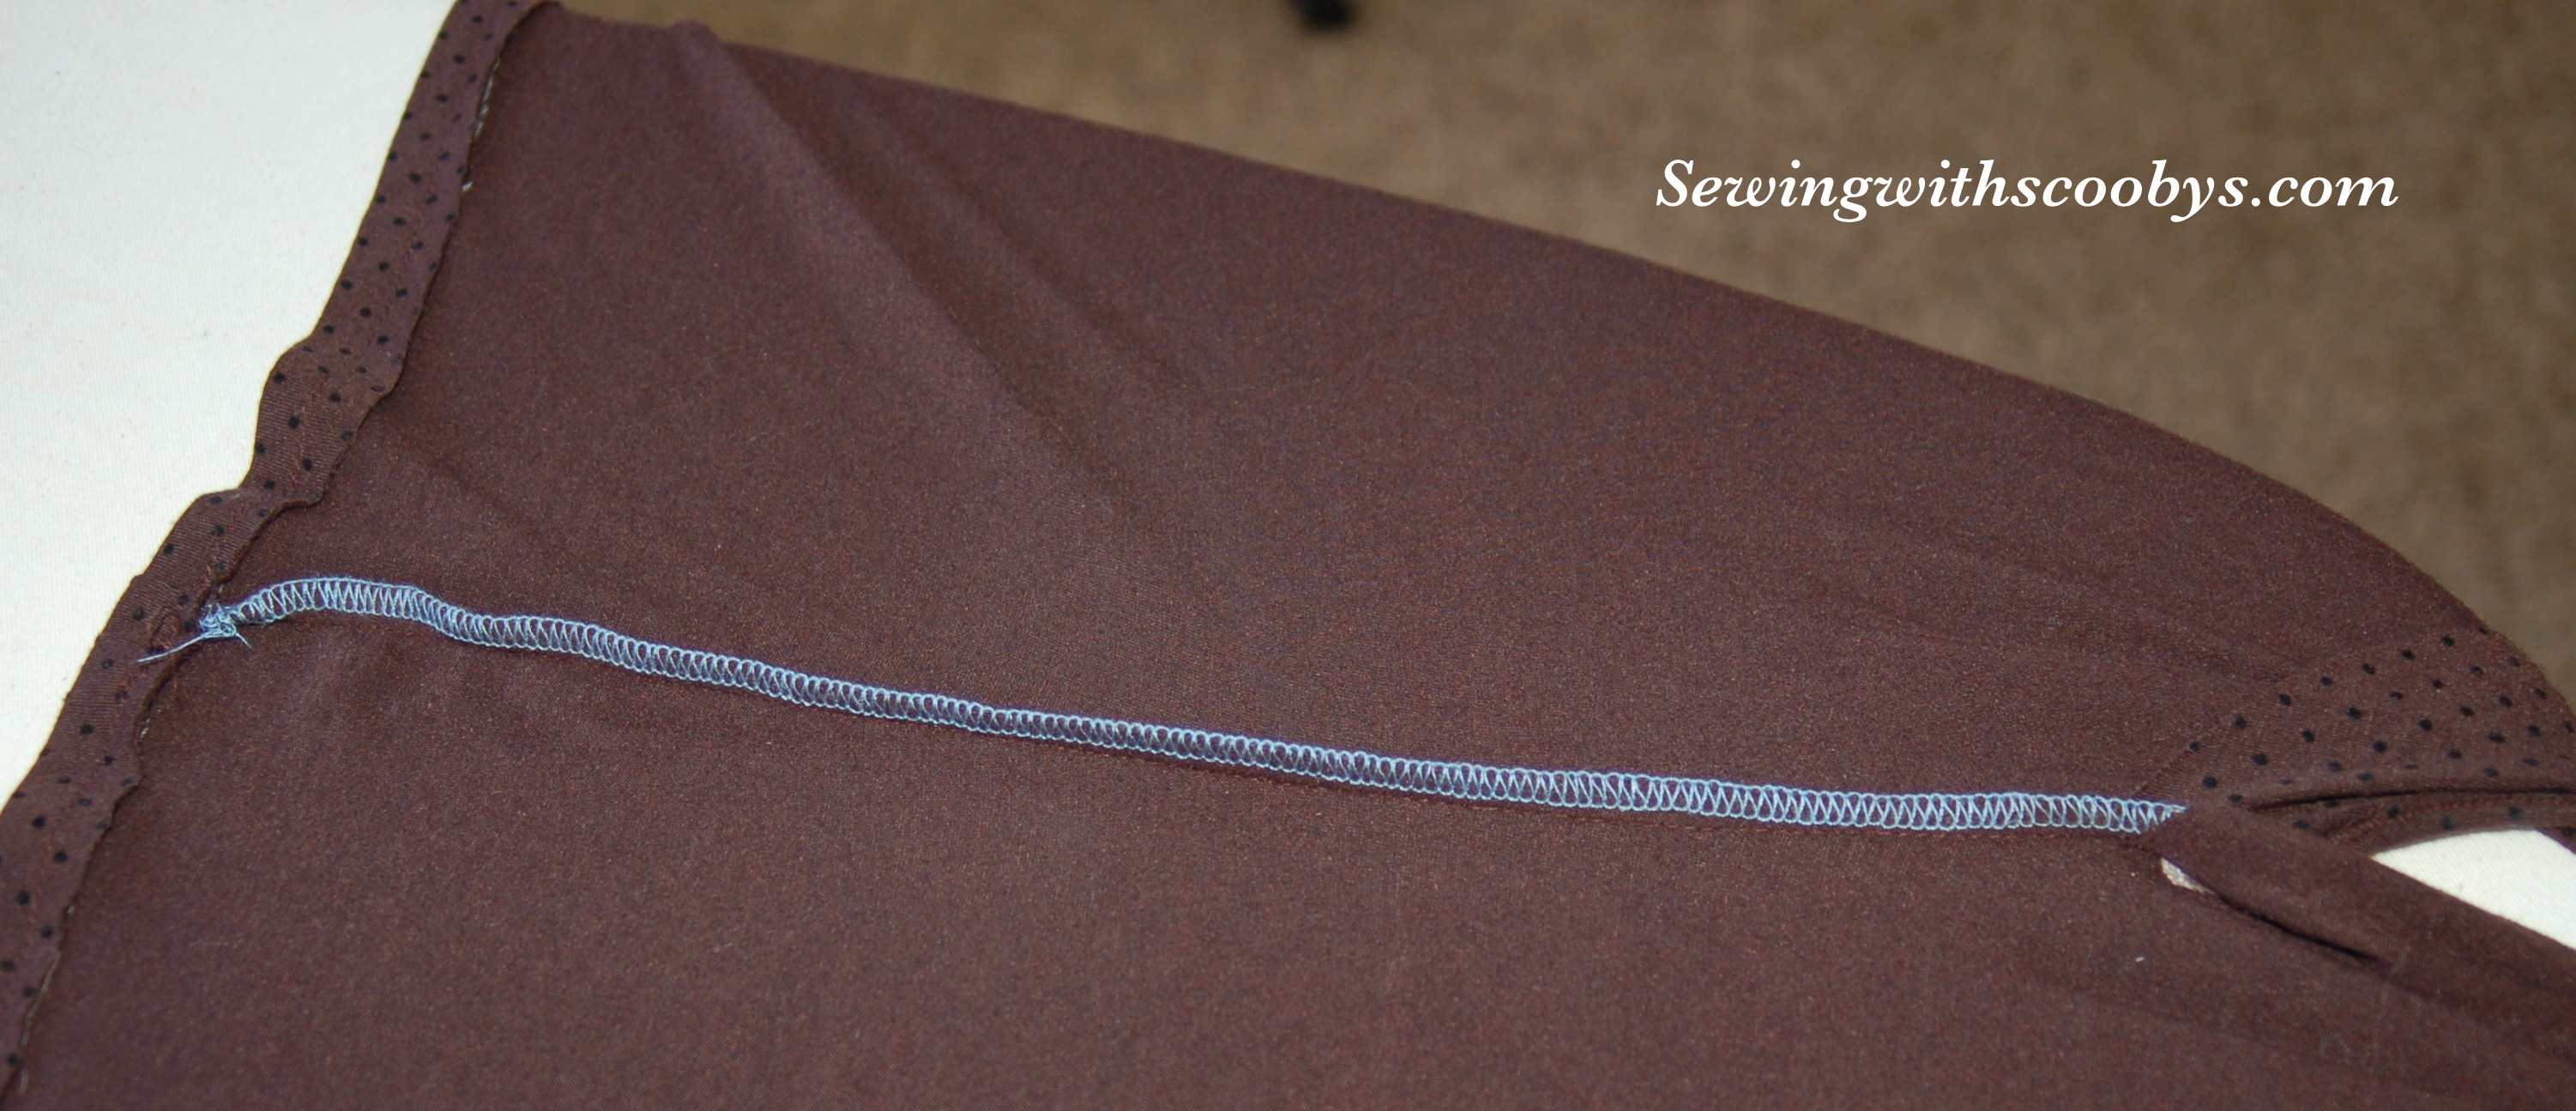
4. After you sew any seam you press the seam to give it that crisp professional look.
5. Press your seams to the back of the t-shirt and then top-stitched on both shoulder seams.
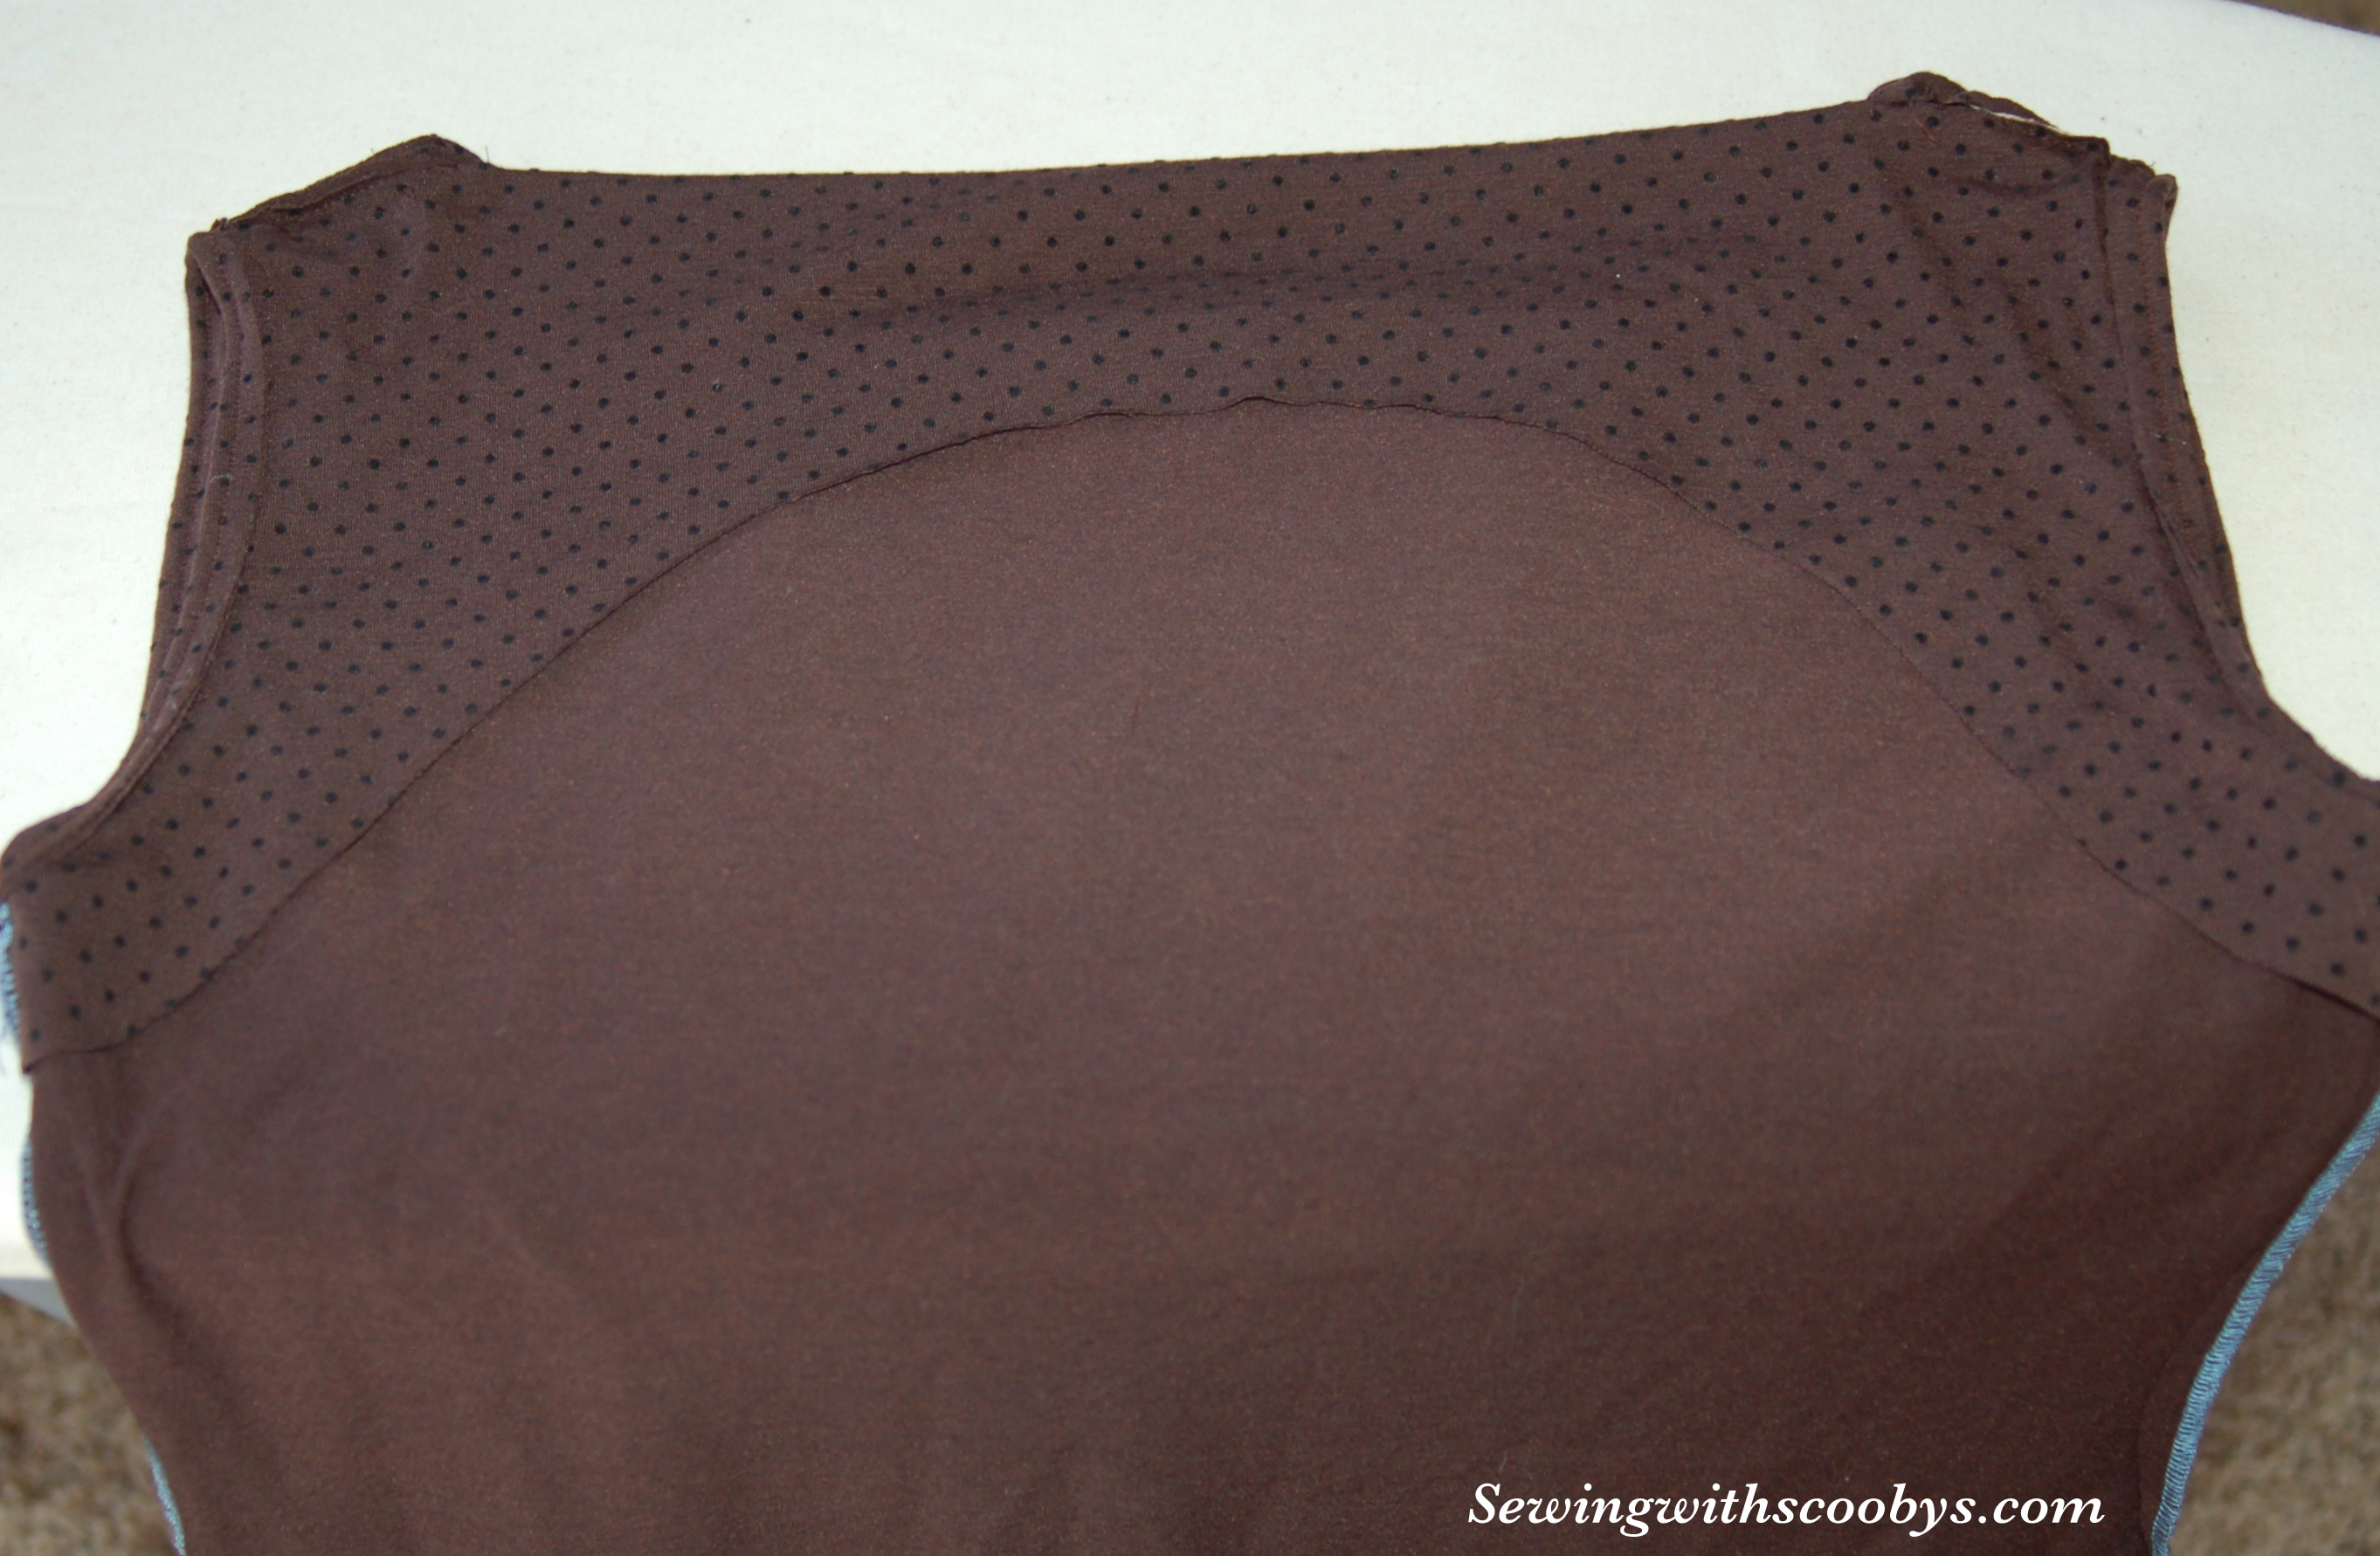
6. Now remember the clips we made in our center front and center back pieces? I want you to meet those two notches together and fold the neckline in half with those two notches together. You will end up close to the shoulder seam on either end. Clip into this fold a small snip in the seam allowance. There are now 4 notches evenly spaced in the round of your neckline equal distance apart.
7. Ok the dreaded collar. I learned a super easy way! That’s what all those snips are for 🙂 Since we are working in the round because we sewed up both shoulder seams we have to make our collar in the round as well.In the round is a knitting term that means we have a piece of material that is joined together thus makes a circle.
So the first thing I do is measure the diameter of my t-shirt from seam to seam I just use my measuring tape and stand it on edge and curve it around the neckline to get my measurement. The number we arrive at we will add 1/2 inch to this number. (this is your 1/4 inch seam to sew the collar ends together).

Now if we went ahead and sewed this up at this point the collar would not lie nice and flat against the skin because it is the exact measurement of our neckline. So take your number and subtract 2. This is the length you need to cut your collar. I usually cut my fabric 3 inches wide so I can just have a bit peeking out instead of a wide collar.
Once your strip is cut and seamed in the round fold your collar in half wrong sides together. Now we are going to make some clips in the collar to match the clips in the neckline. Where the seam is on your collar fold in half and clip into seam allowance a small snip, then refold so your snip lines up with the back seam of the collar. On each end of these new folds make two more snips. You now have a collar that is in the round with 4 marked areas that are equally spaced.


8. Pin the raw edges of your collar to the raw edges of your neckline in the round at the four notches you made matching up the notches on the shirt to the notches on the collar. I place the seam of the collar at center back notch of the shirt. As you sew or serge you will stretch your fabric flat and sew your 5/8 seam allowance. Just to be safe and double-check everything looks even I usually baste first. If the collar looks great and lies flat then go ahead and serge it or (sew with a stretch stitch).
9. Press your seam collar. Then trim your seam allowance down to 1/4 inch and top stitch. Or top stitch then trim.

10. With right sides together ease in your sleeves on both sides. Press seams towards the arm.

11. Sew side seams and sleeve seams at the same time.
12. If you (sew) desire you may leave the edges raw since they will not ravel or you can fold a hem under and top stitch. I made fun and goofy sleeves to match the pirate print on her shirt so I lettuce edged the sleeves. I just did a plain old 4 thread overlock on the bottom attaching a ruffle of green. I like the rawness of the 4 thread overlock stitch showing. EYE EYE MATEY!


Here are other variations of the same pattern: