The easiest way to install an invisible zip is by working with your flat pieces. By this I mean putting in the zip before sewing any seams. Much, much easier! In fact I would even say it is almost fool-proof!
There is some prep work involved:
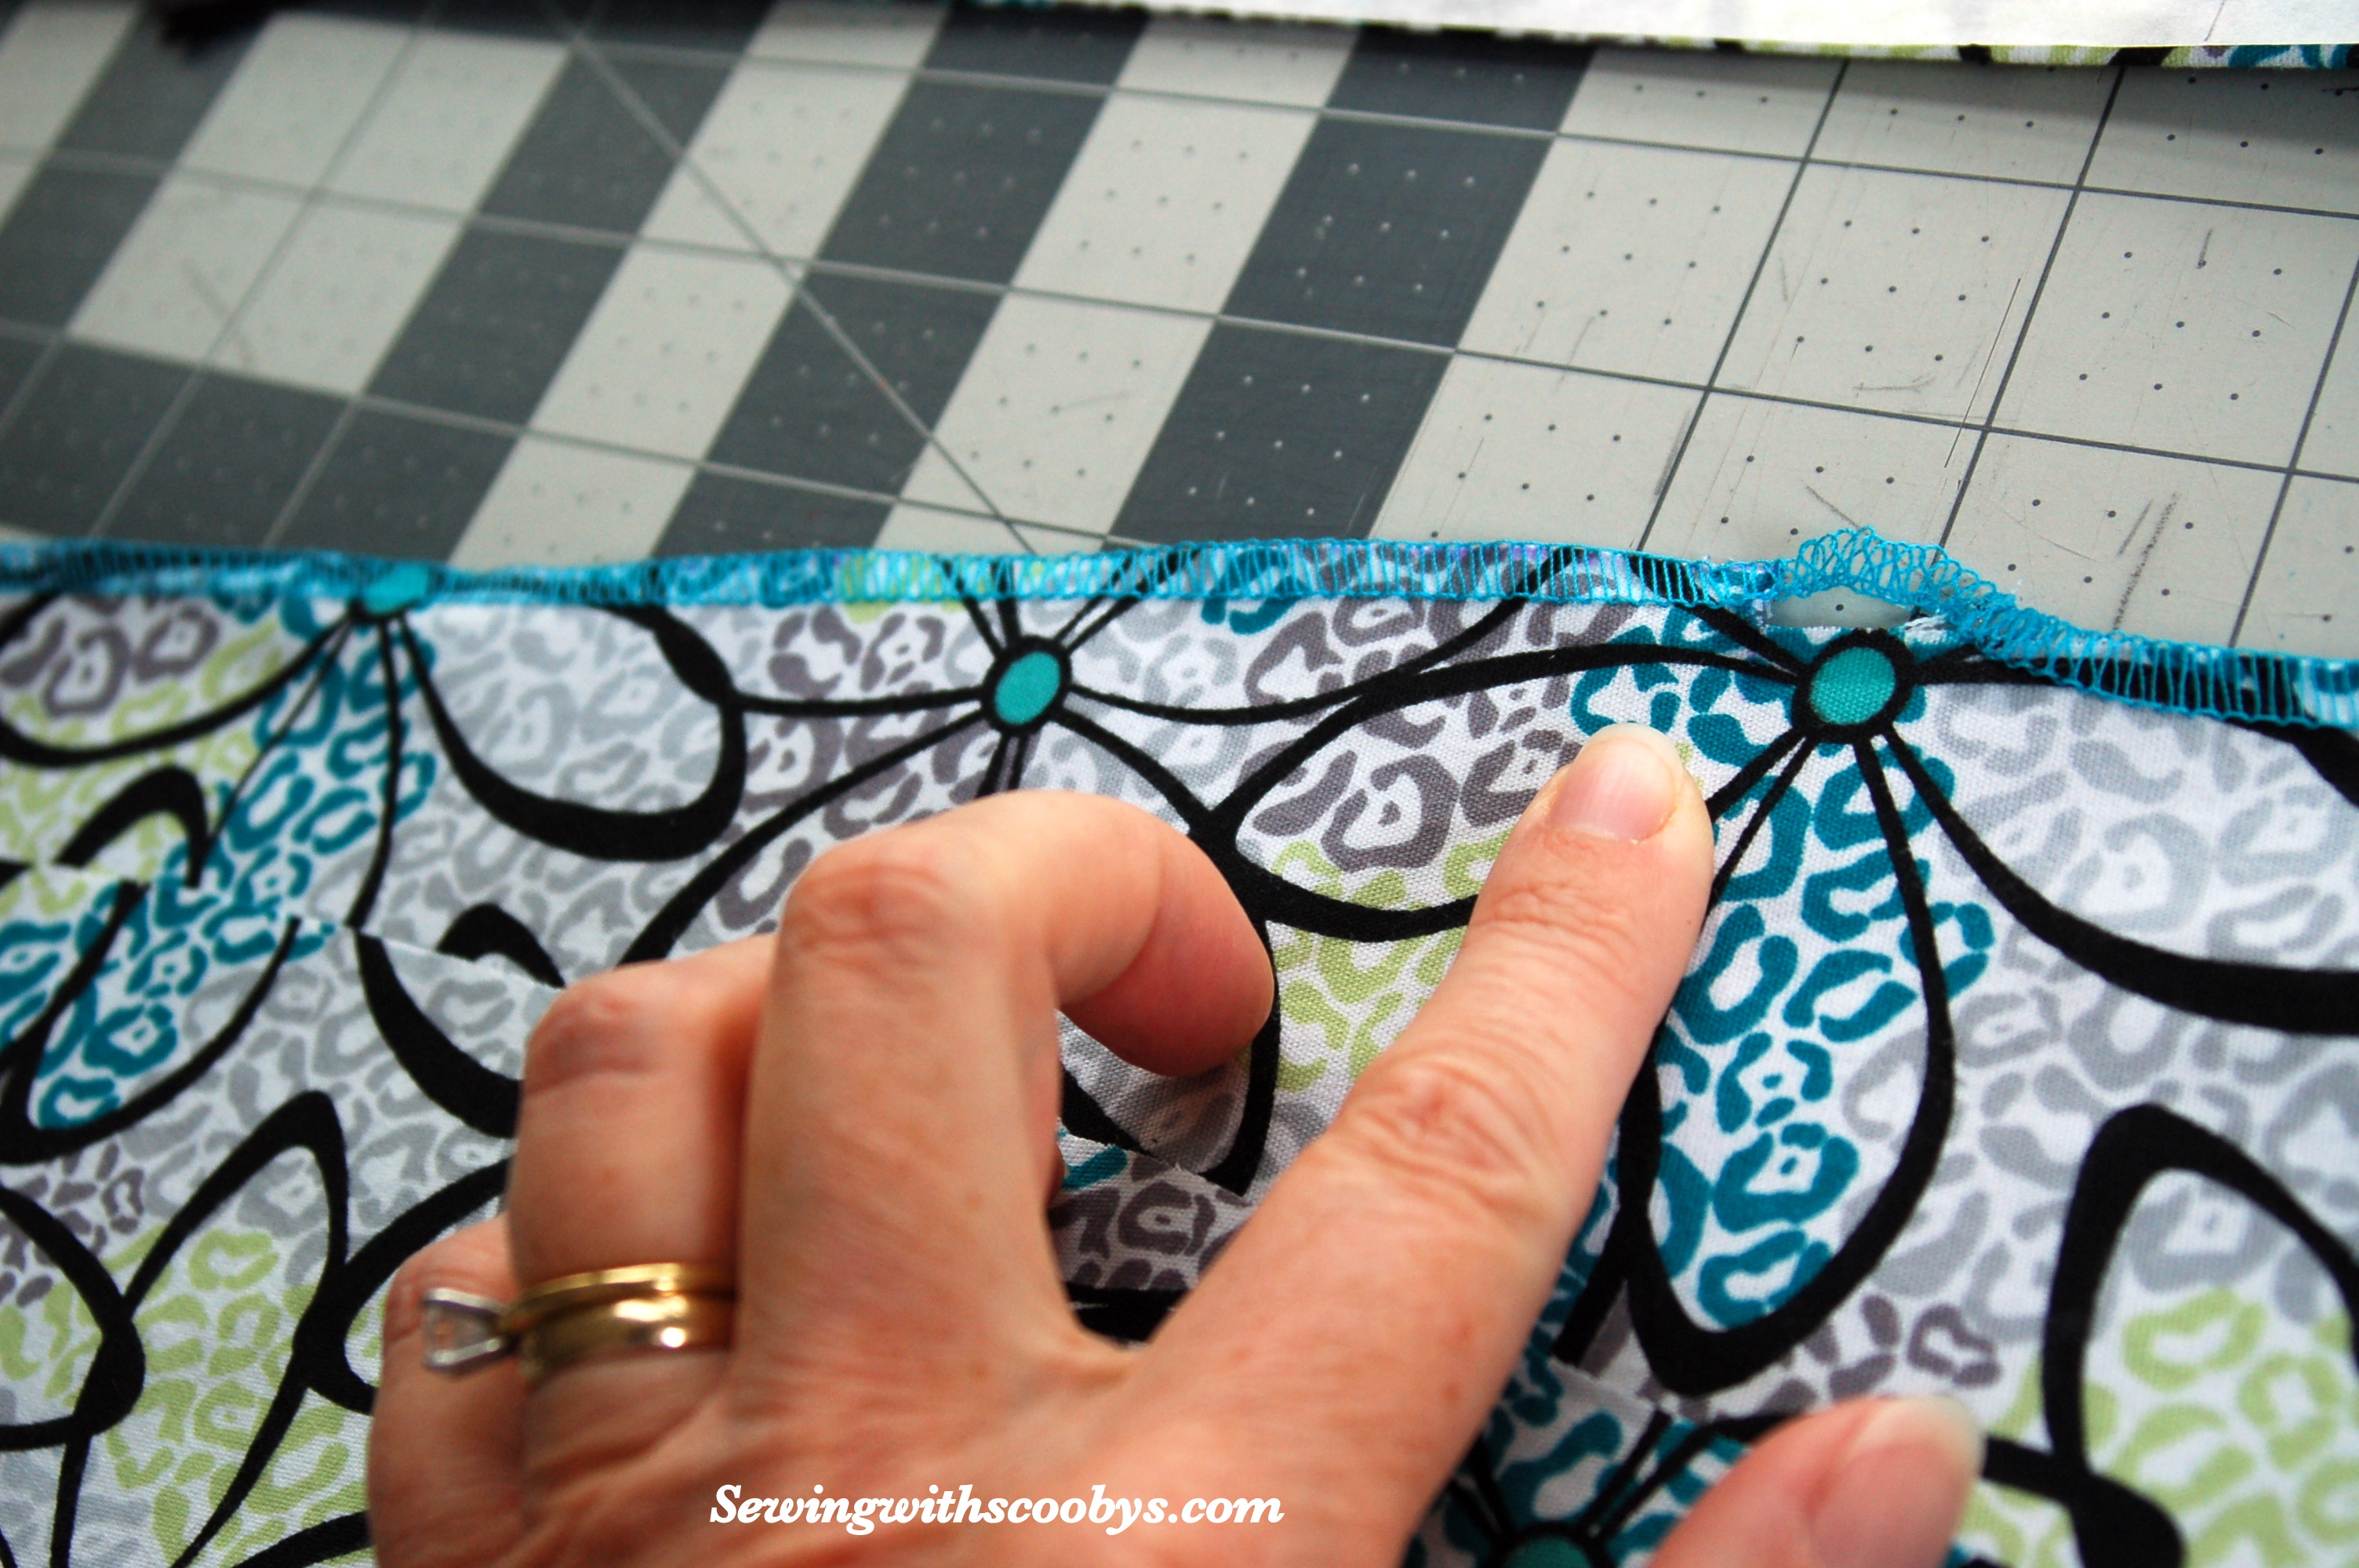
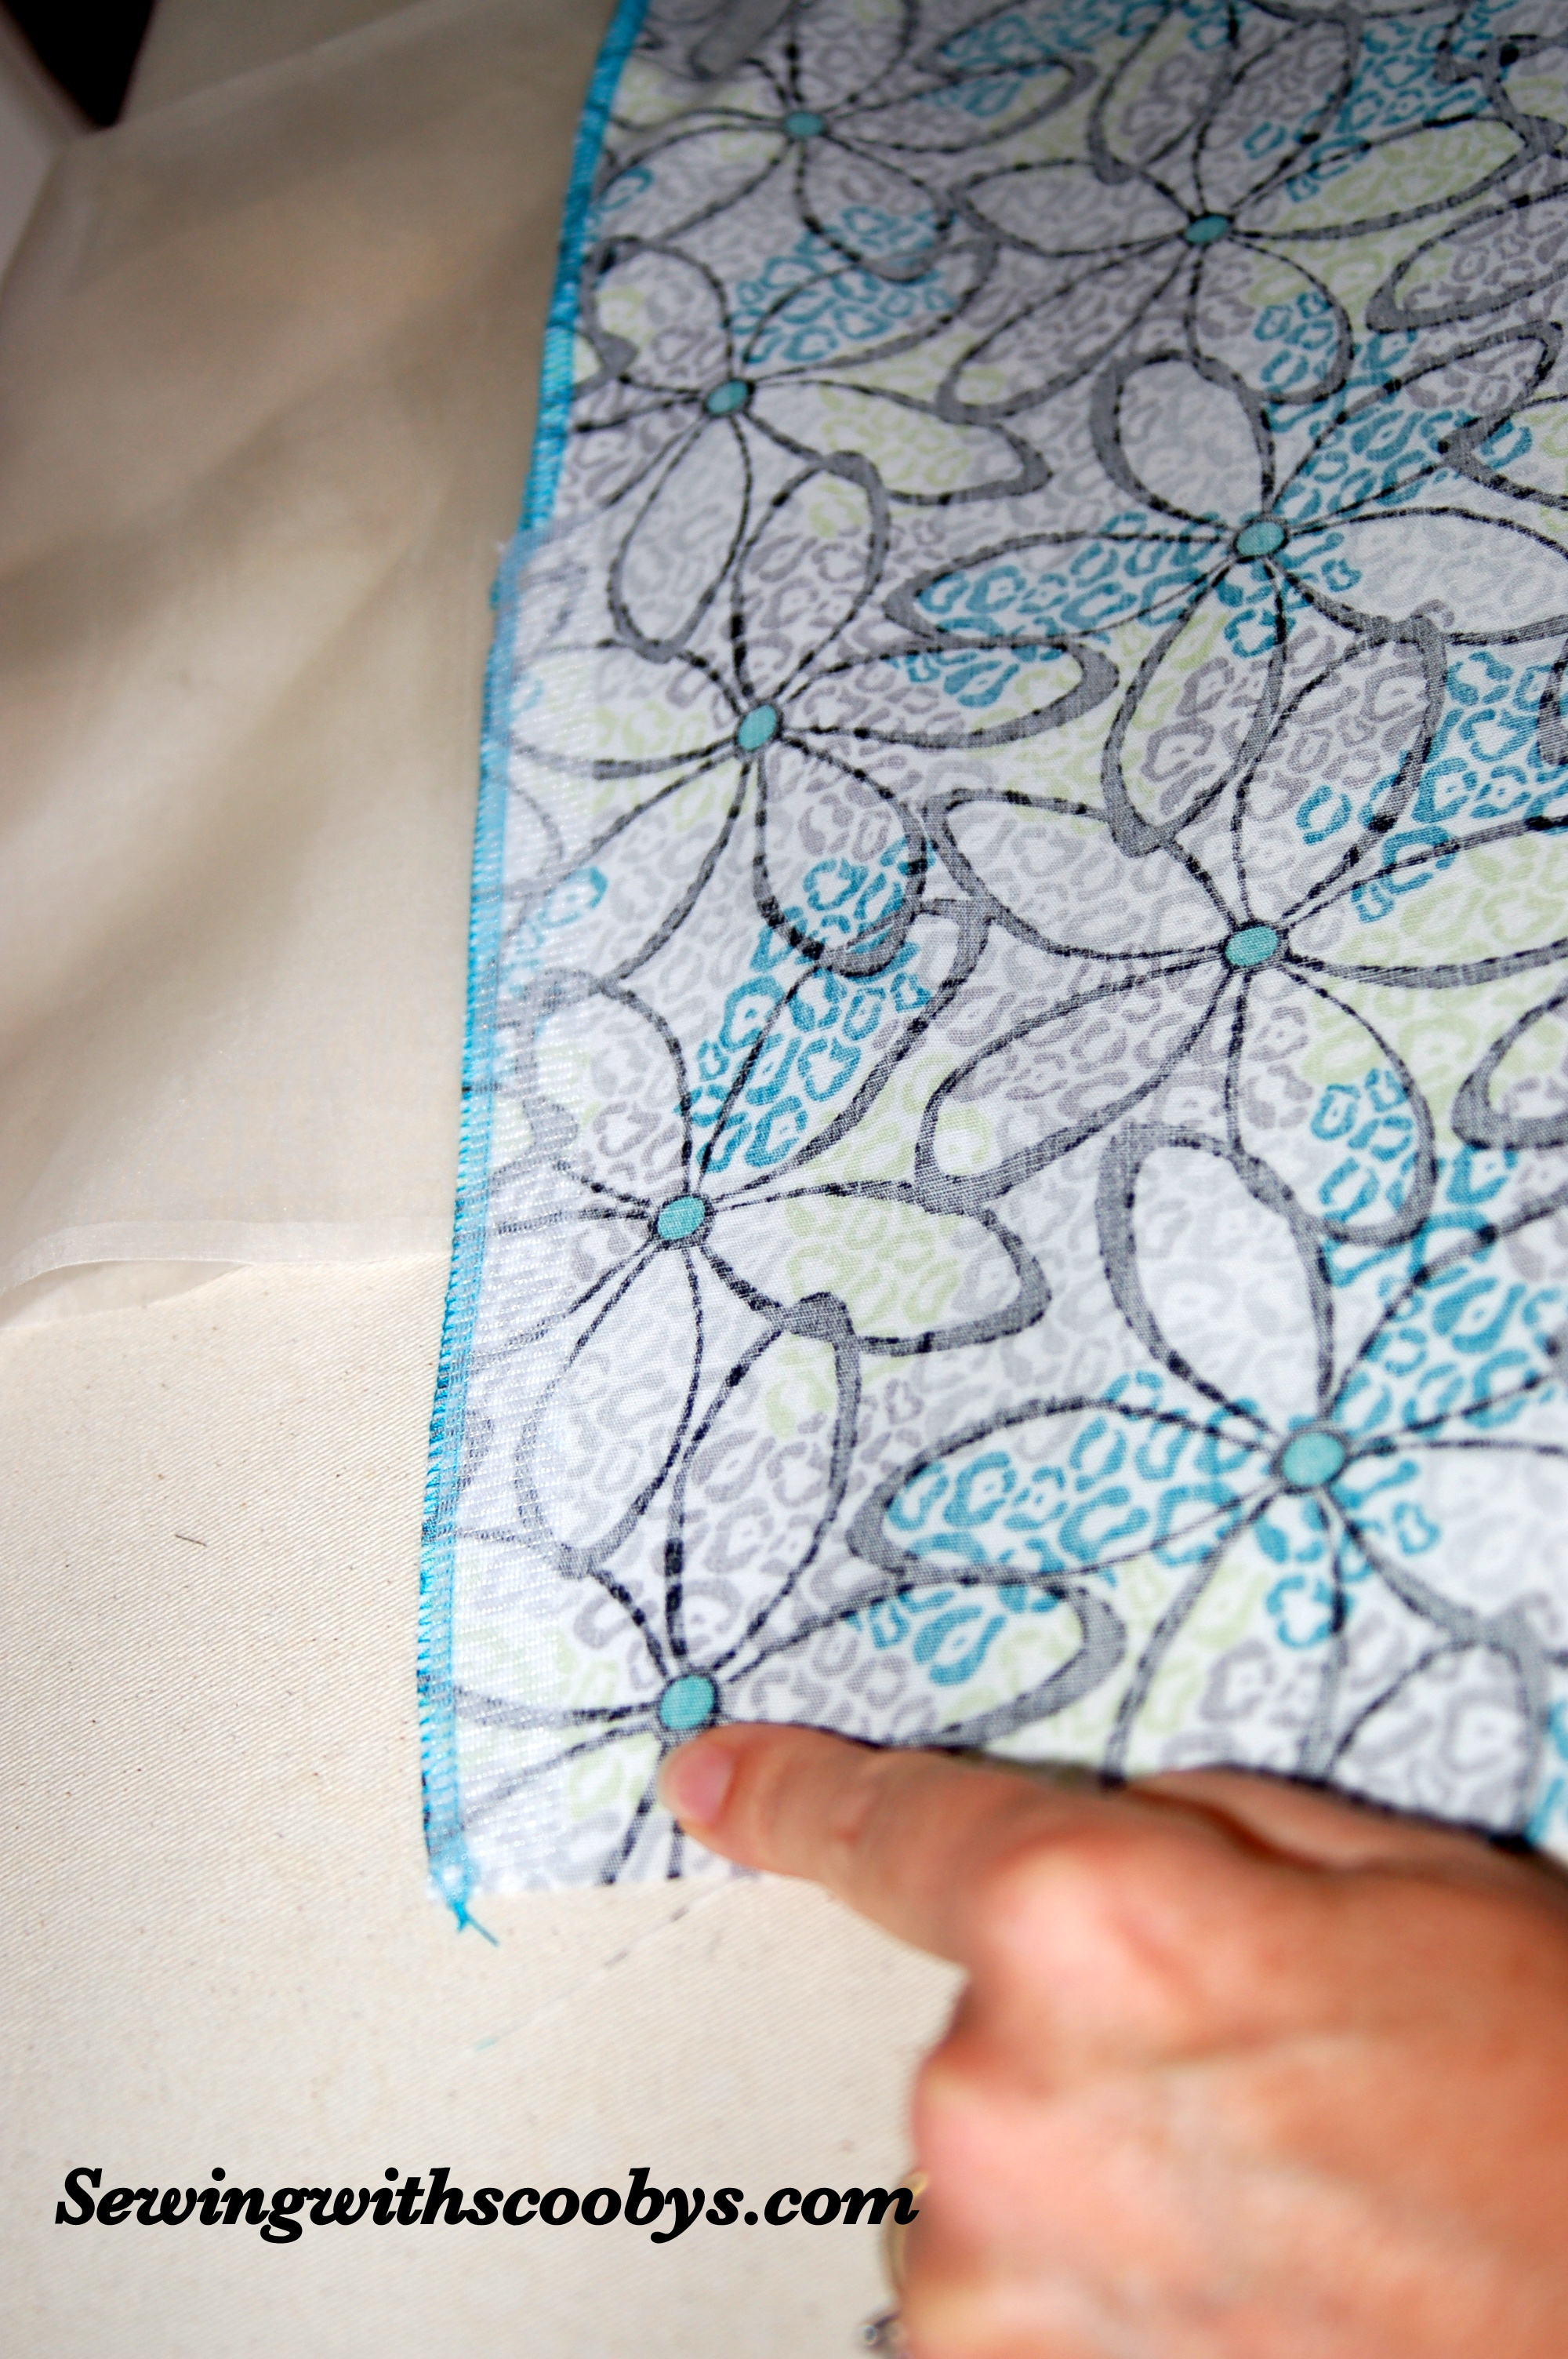
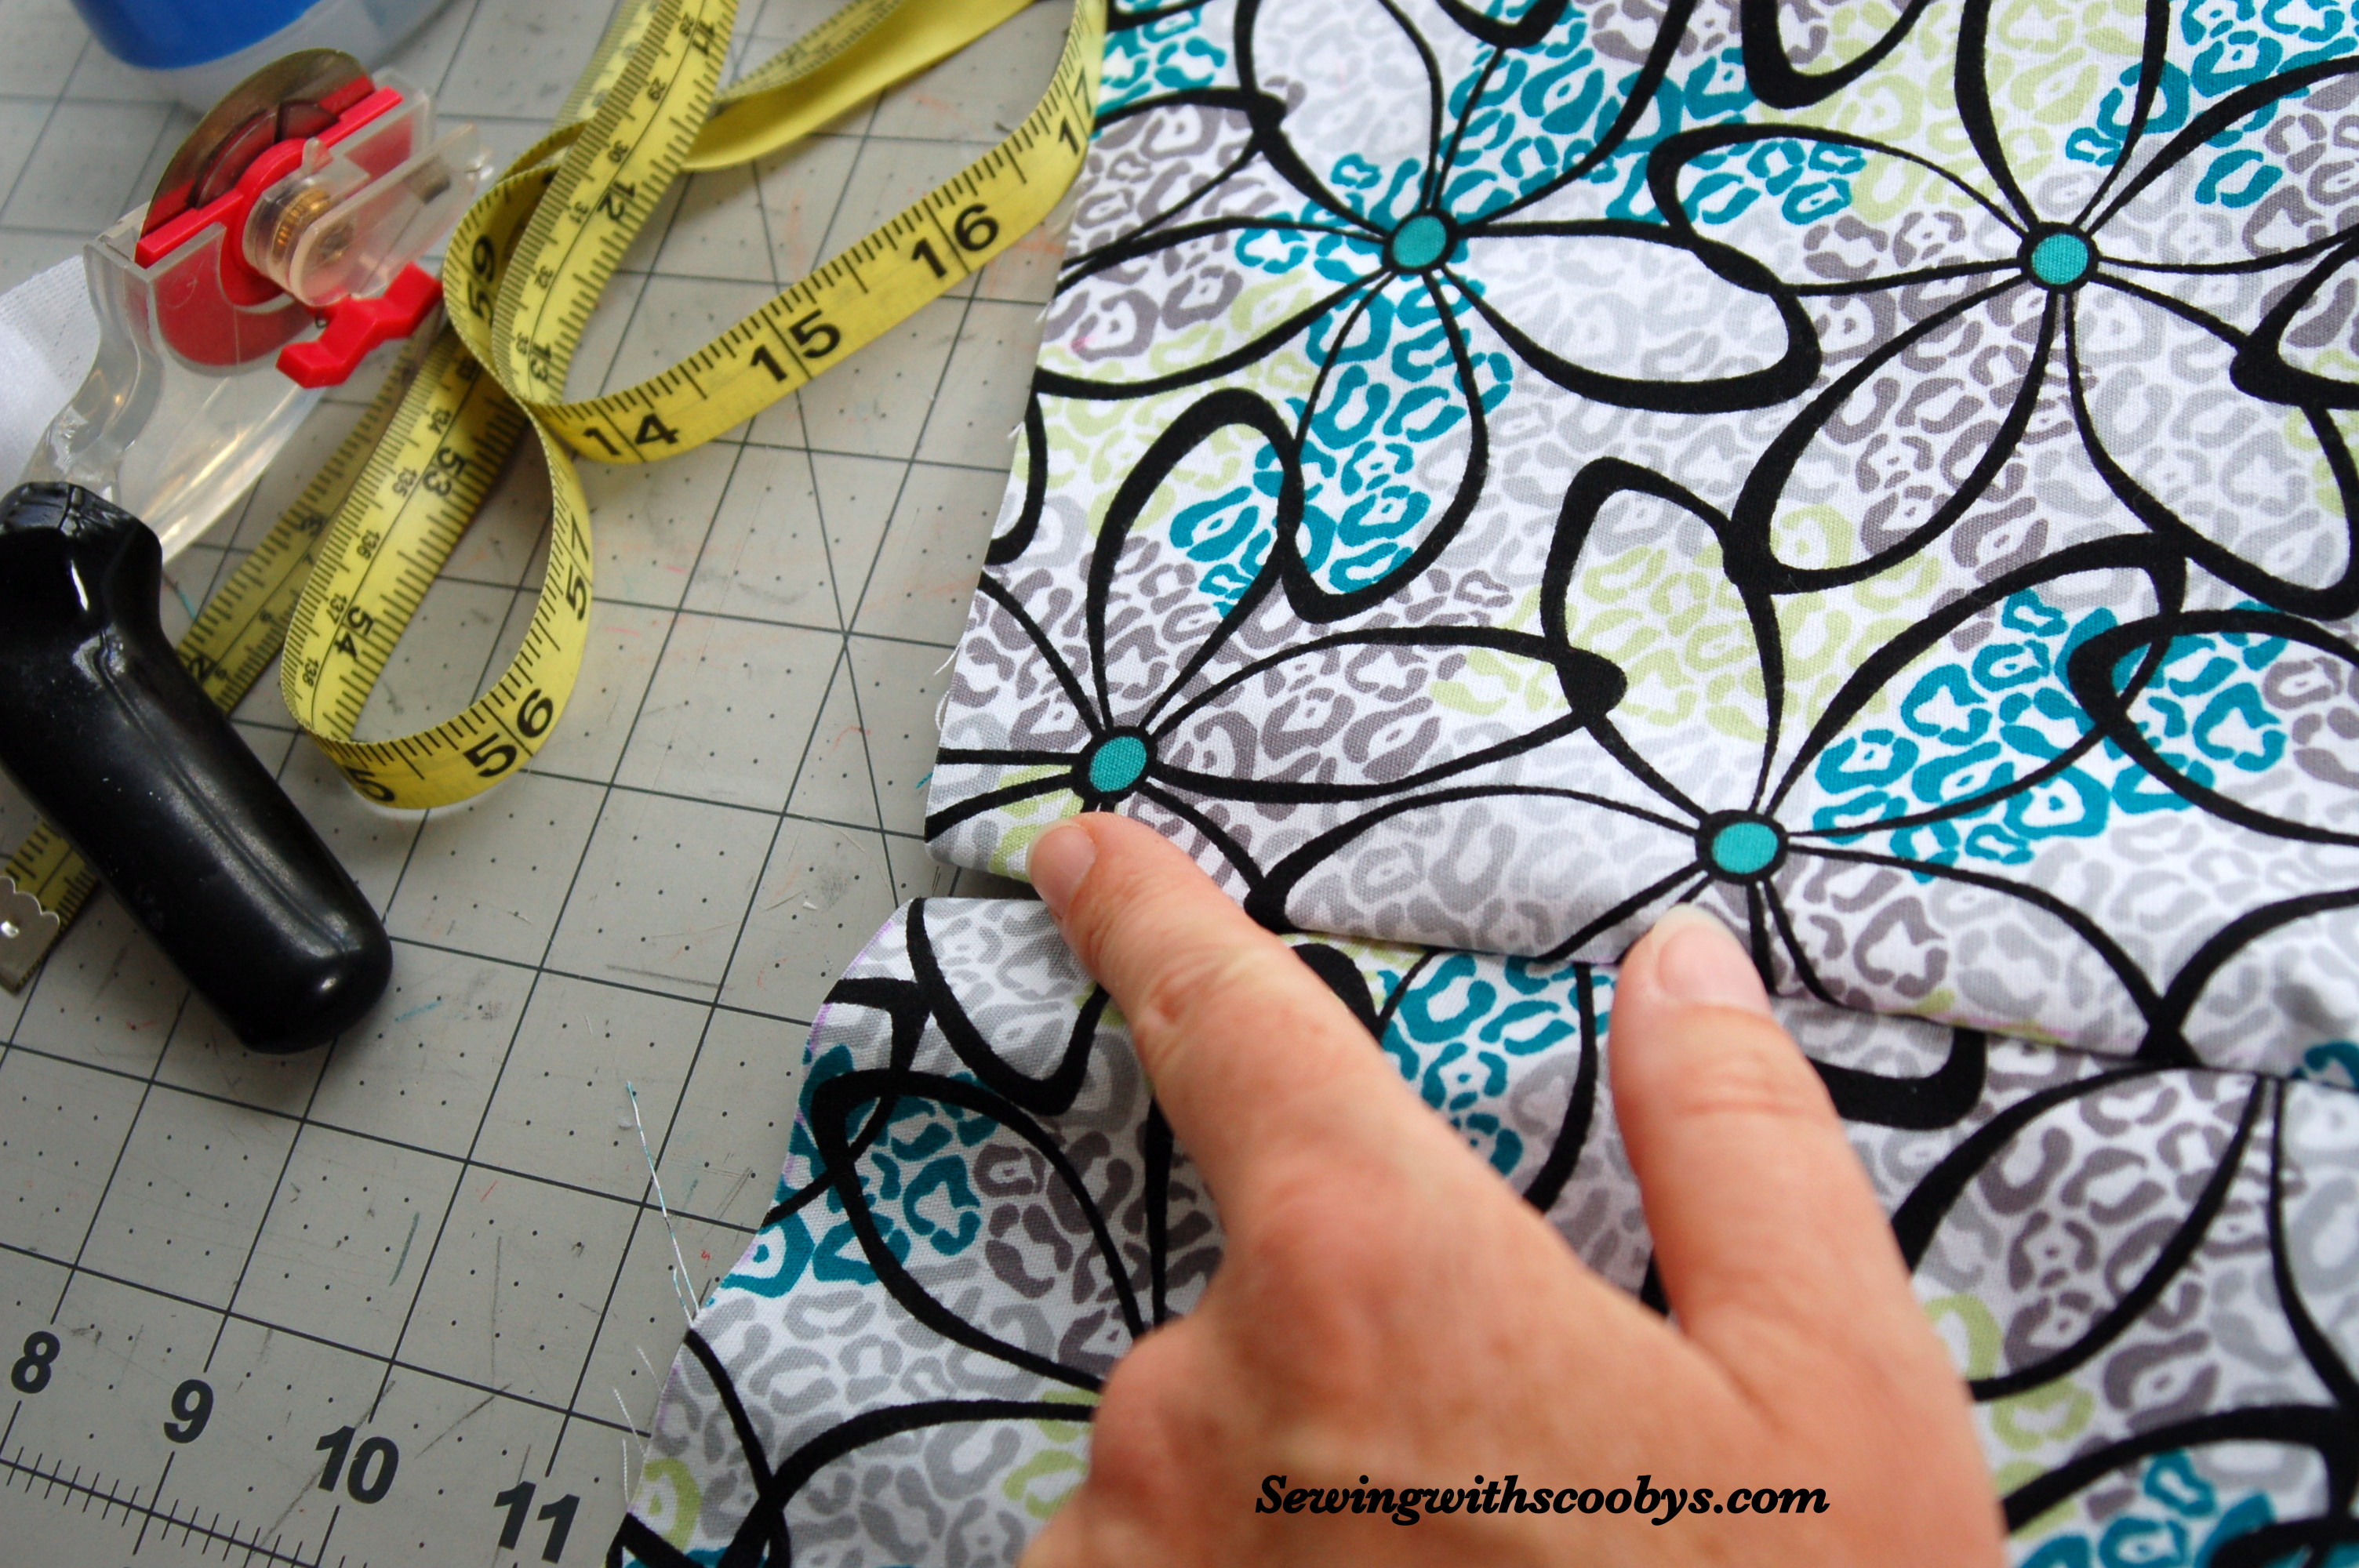
- Prep your pattern pieces by serging or zig-zagging your raw edges.
Tip If you have a larger seam allowance like I do for the zip area you will have a small jog in your serged area like in the picture below. Just hit this little spot with some no fray.
- Interface your seam allowance where the zipper will be inserted on both sides of your pattern pieces:
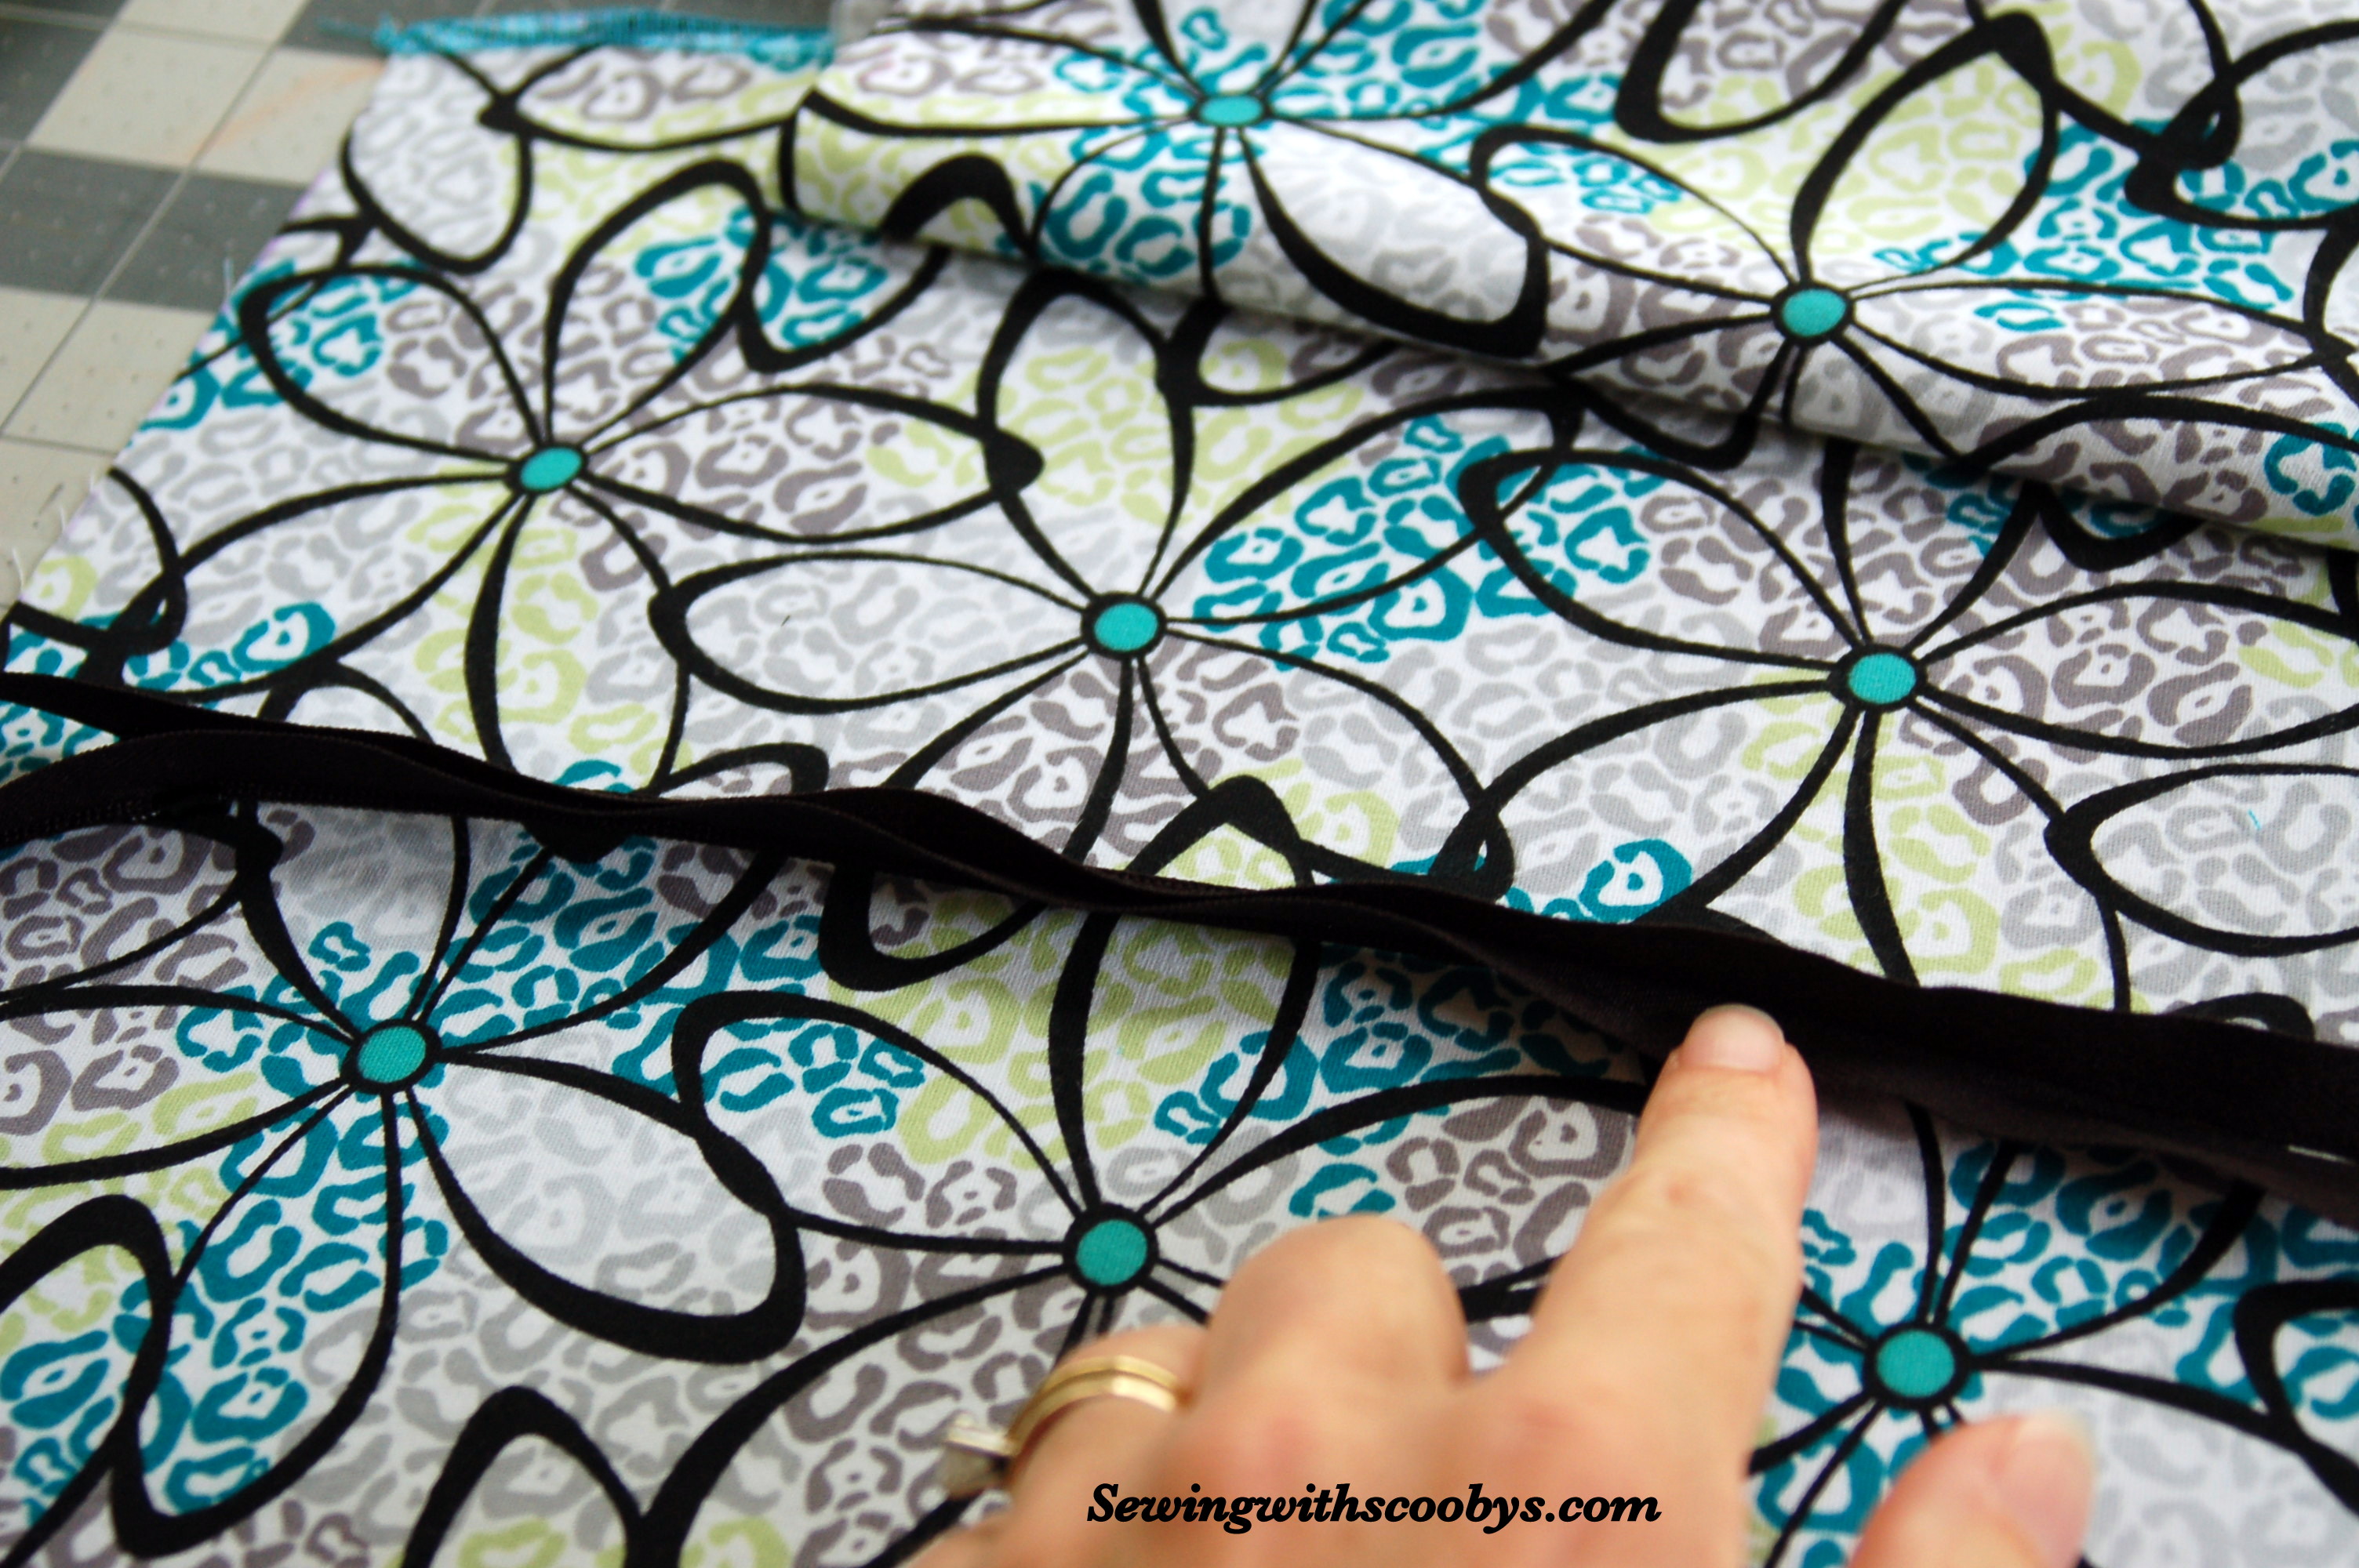
- Iron your invisible zipper open. The tape should almost stand up touching one another. If it looks like this then you know you did it right:
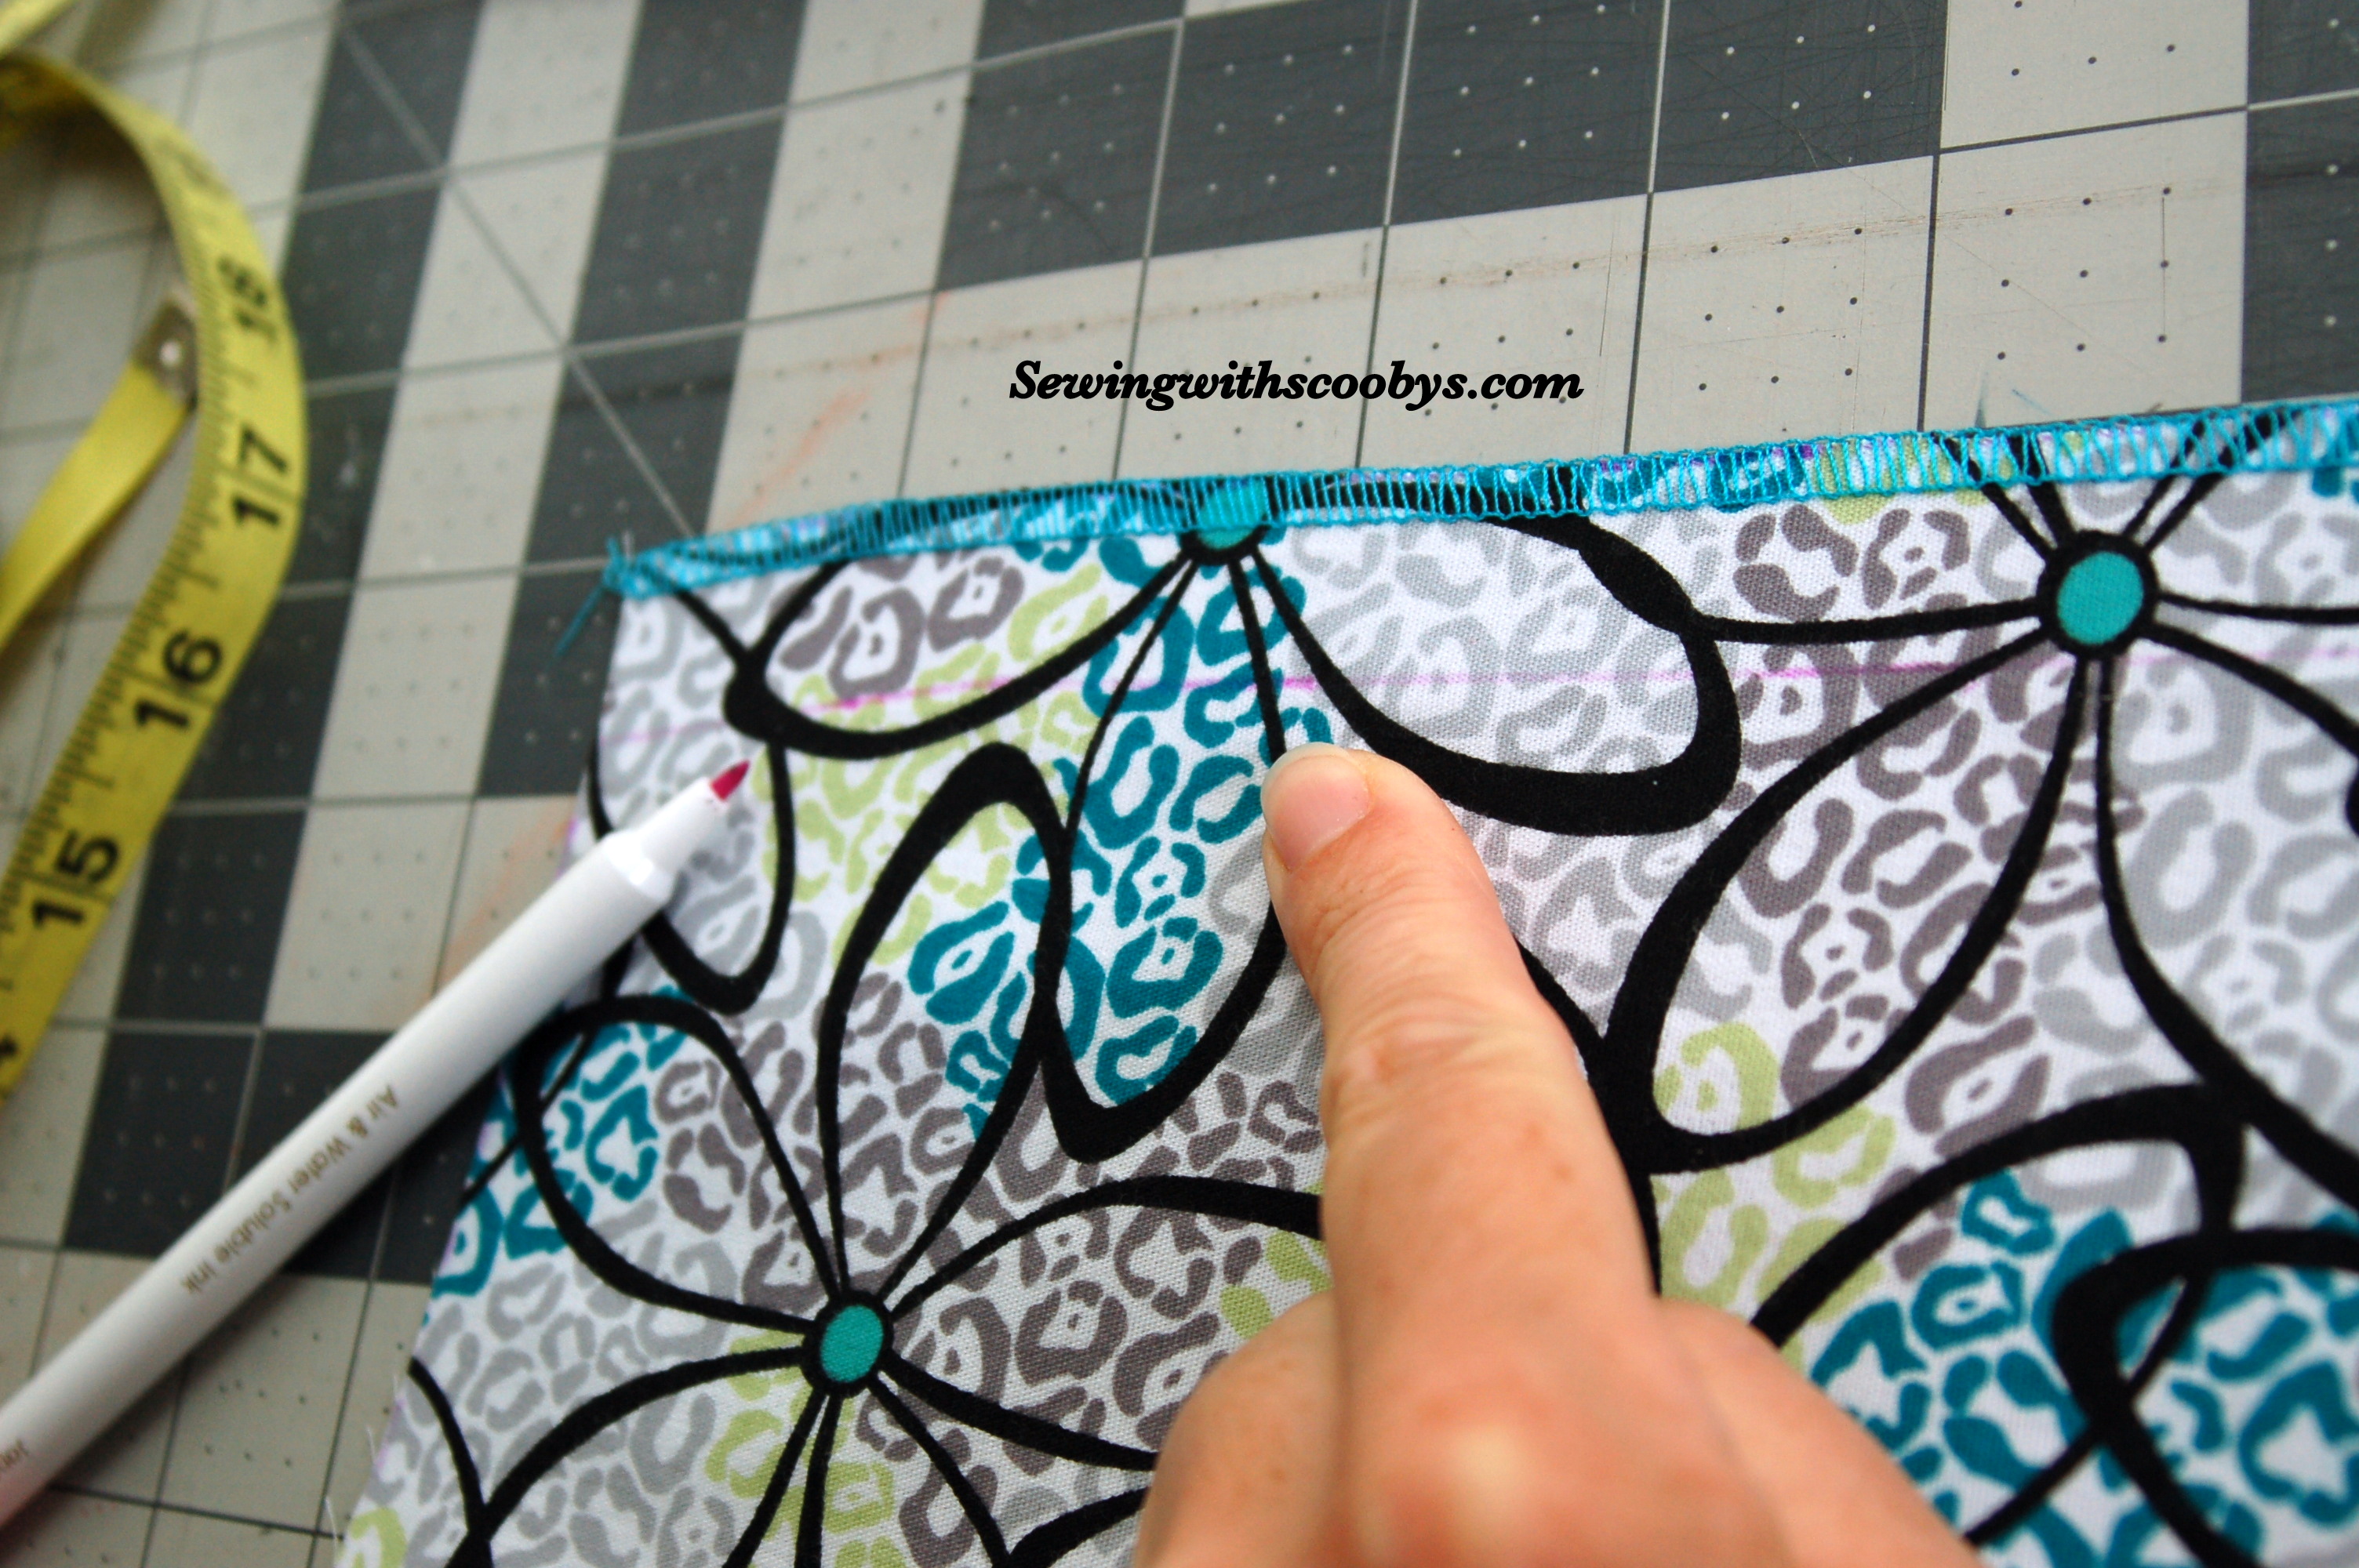
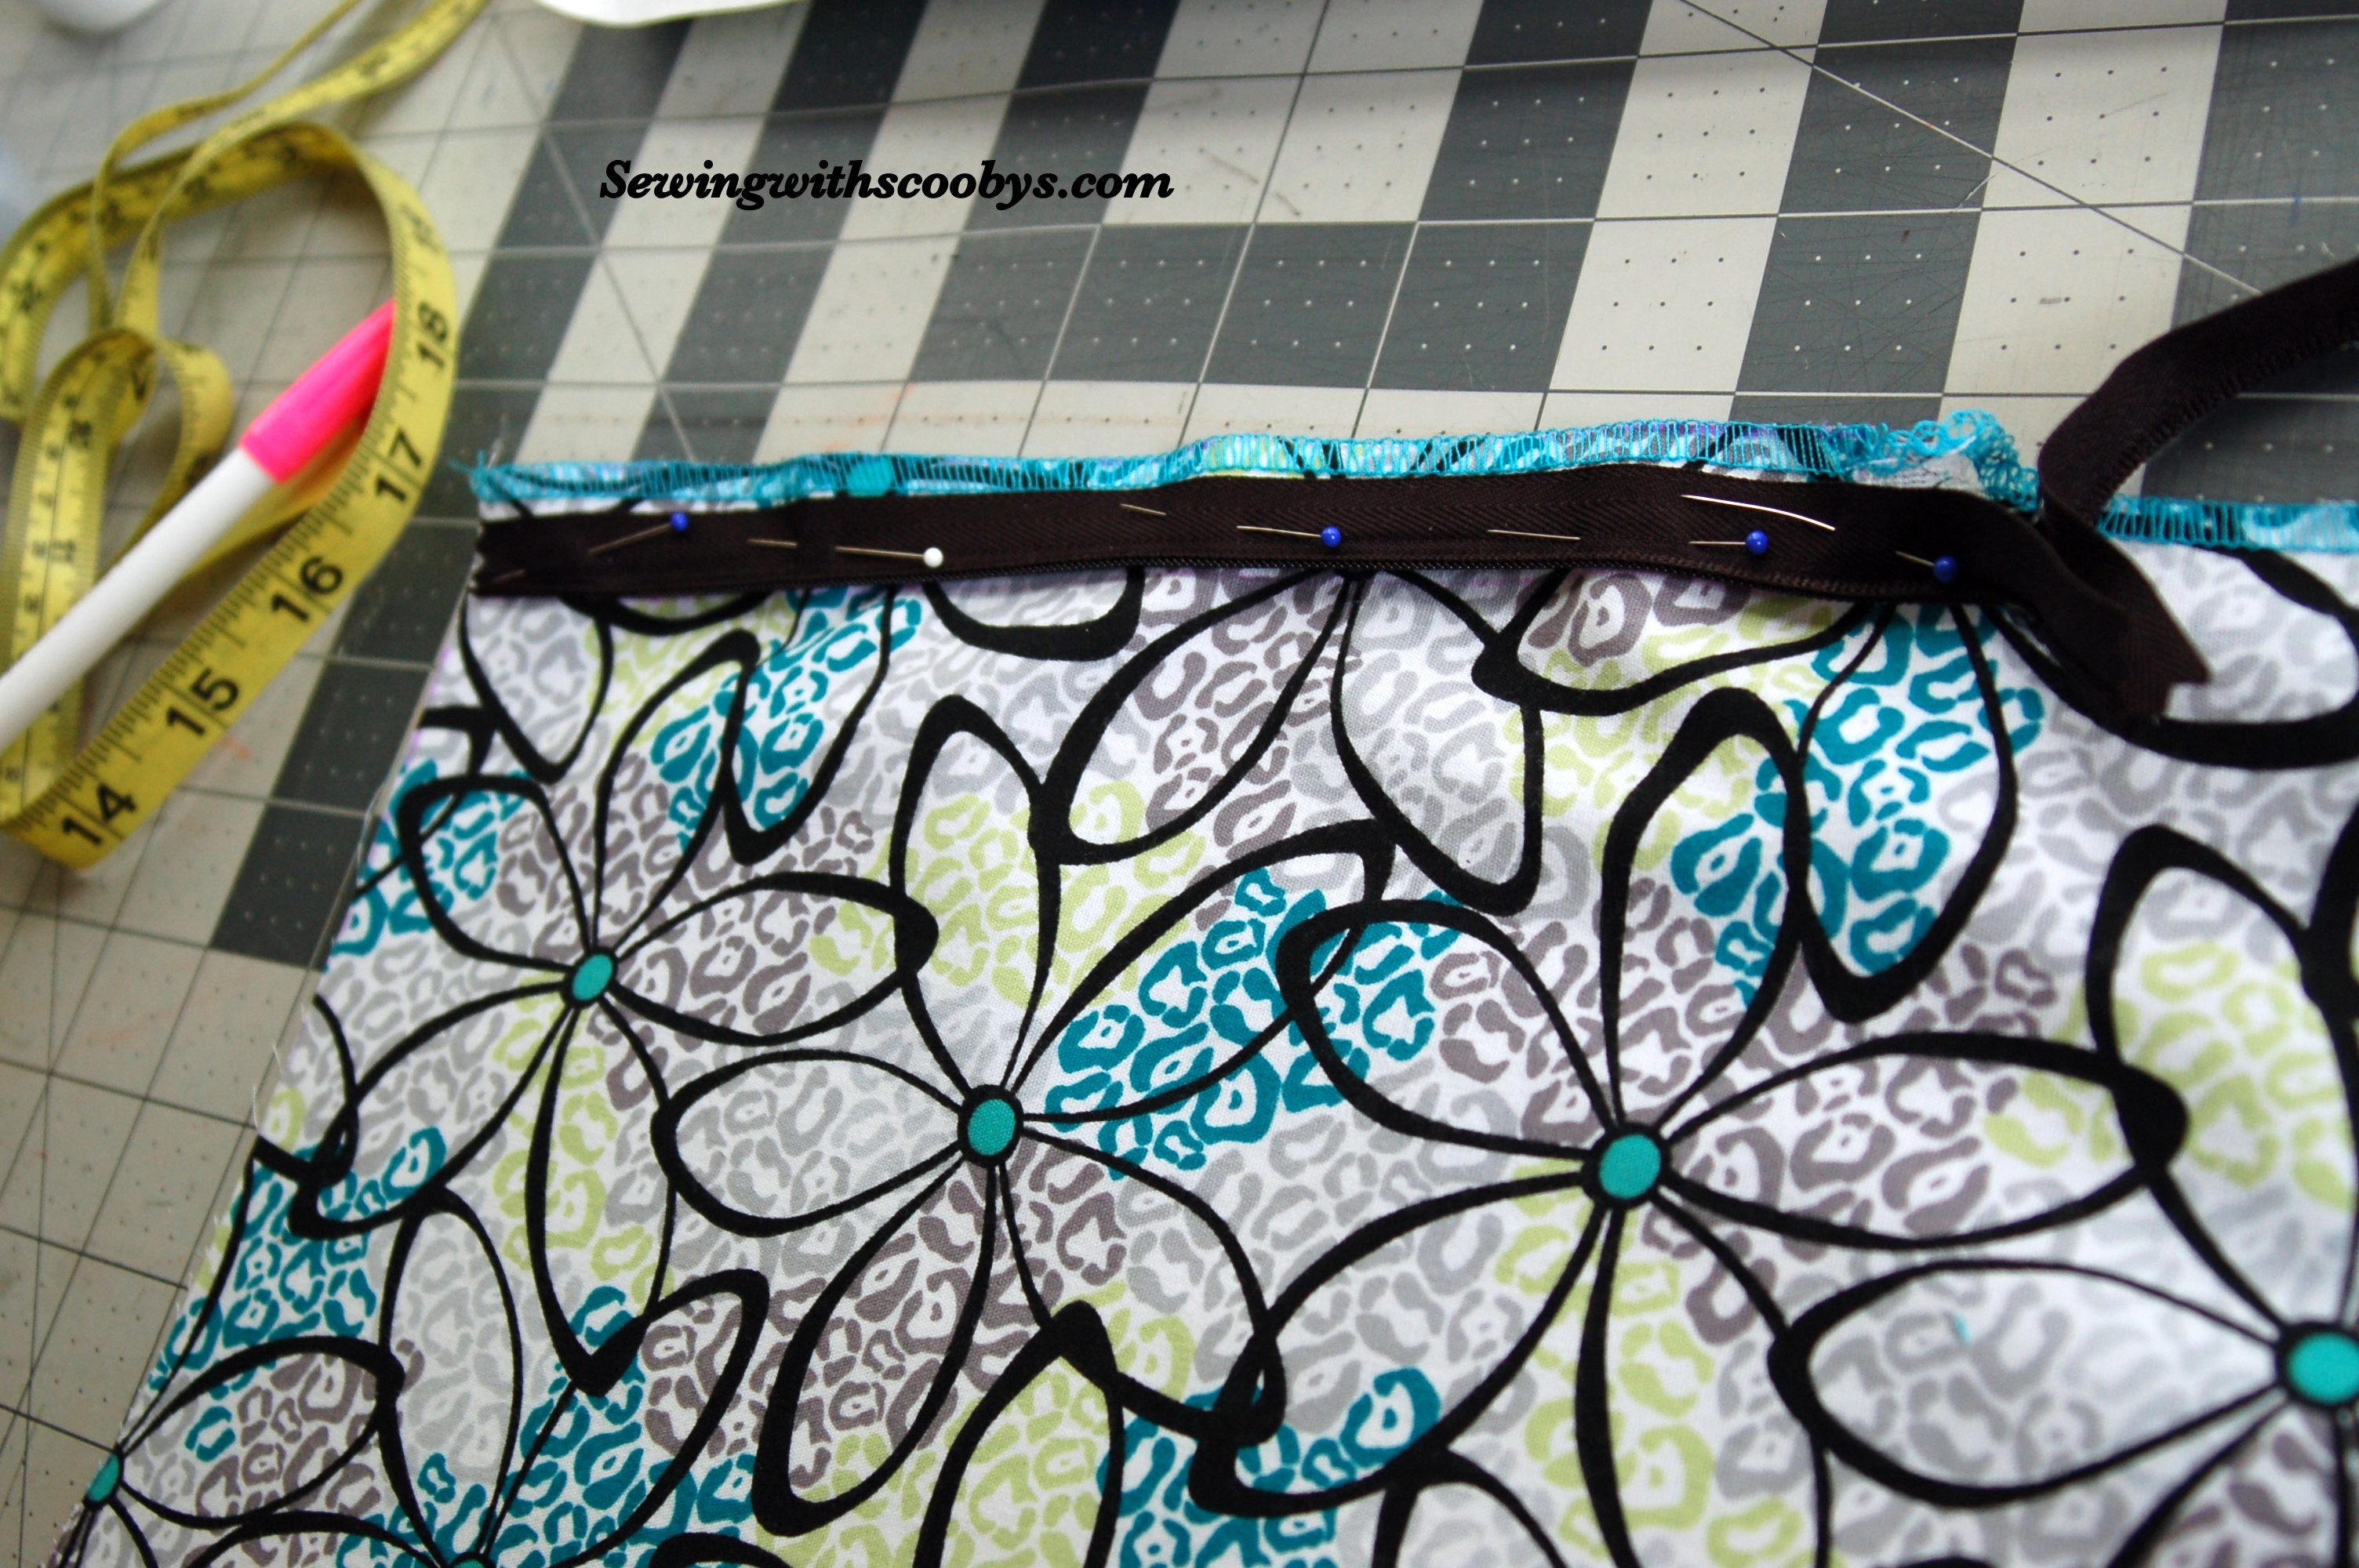
- Mark your seam allowance on your fabric with a disappearing ink pen. Your zipper teeth will be lined up on this line:
- Now comes the fun part!! Put your fabric pieces in front of you with your invisible zip in the middle of the two pieces so you can visualize the process. Remember the invisible zipper tape is sewn to your fashion fabric right sides together. So place one side of the zipper teeth right sides together on the line you just drew. Pin it well. I like to place the top of the tape at the top of my seam allowance on both sides. This will guarantee it will be even when you zip it up.
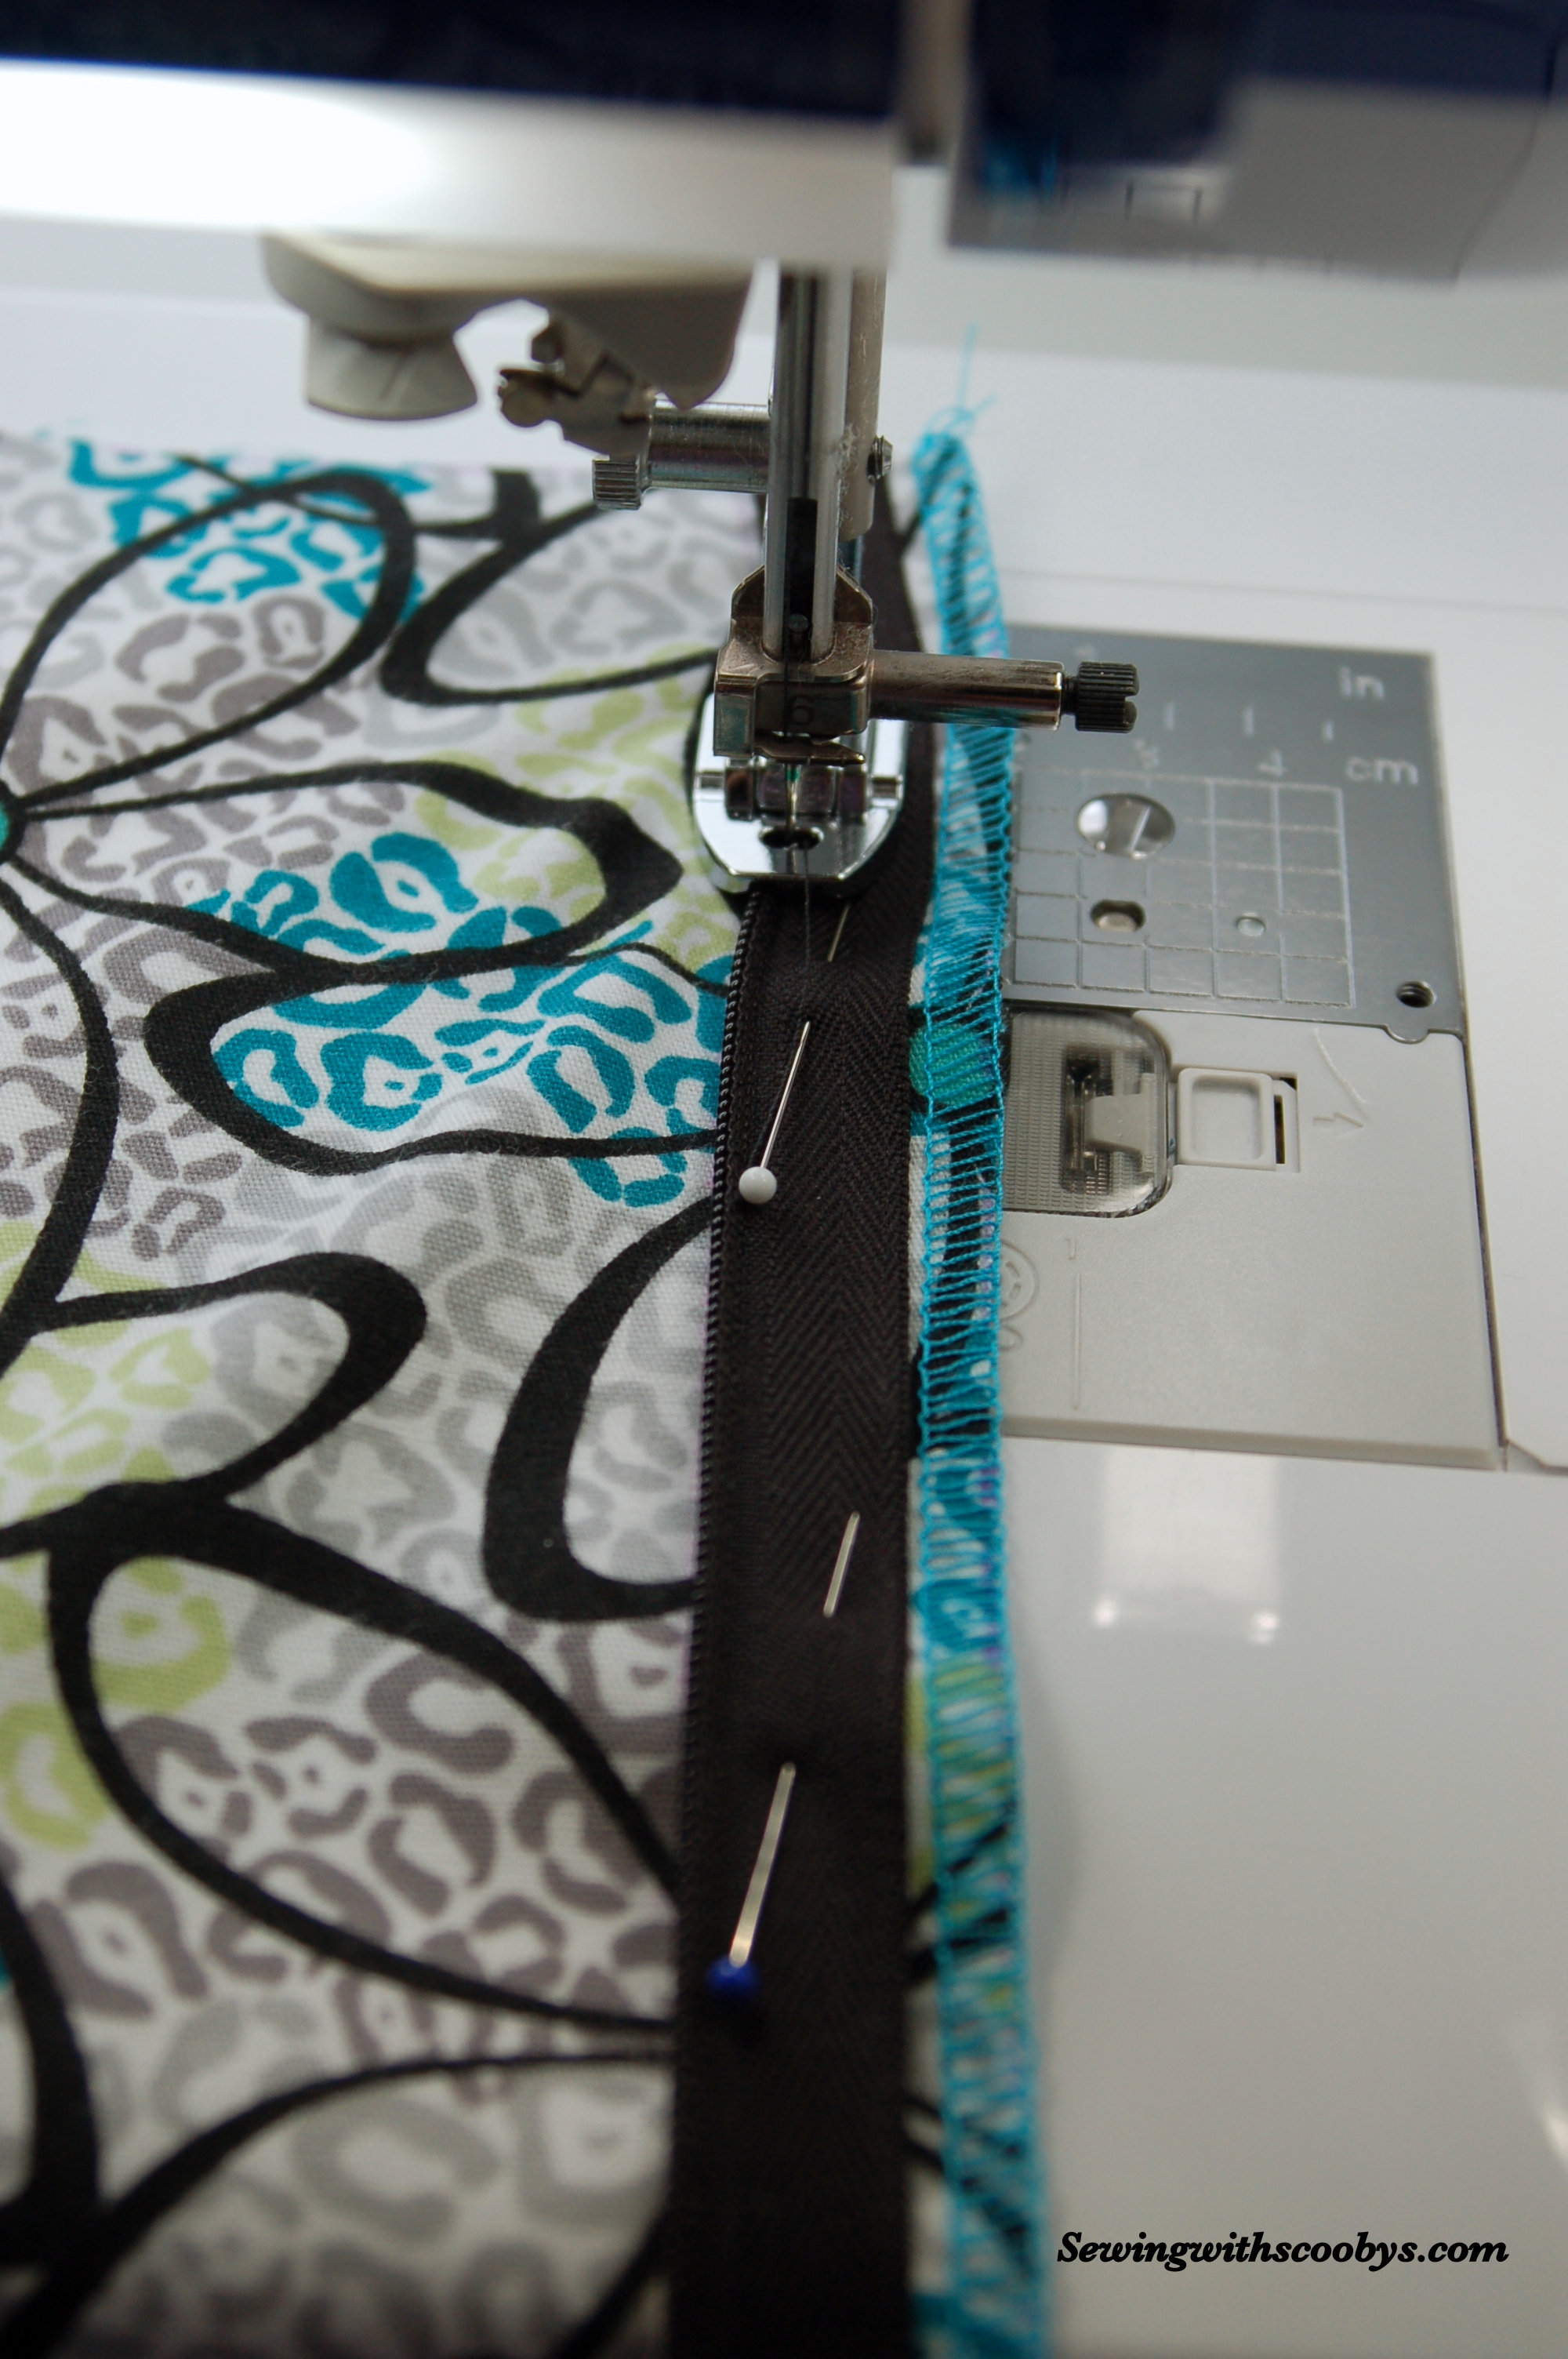
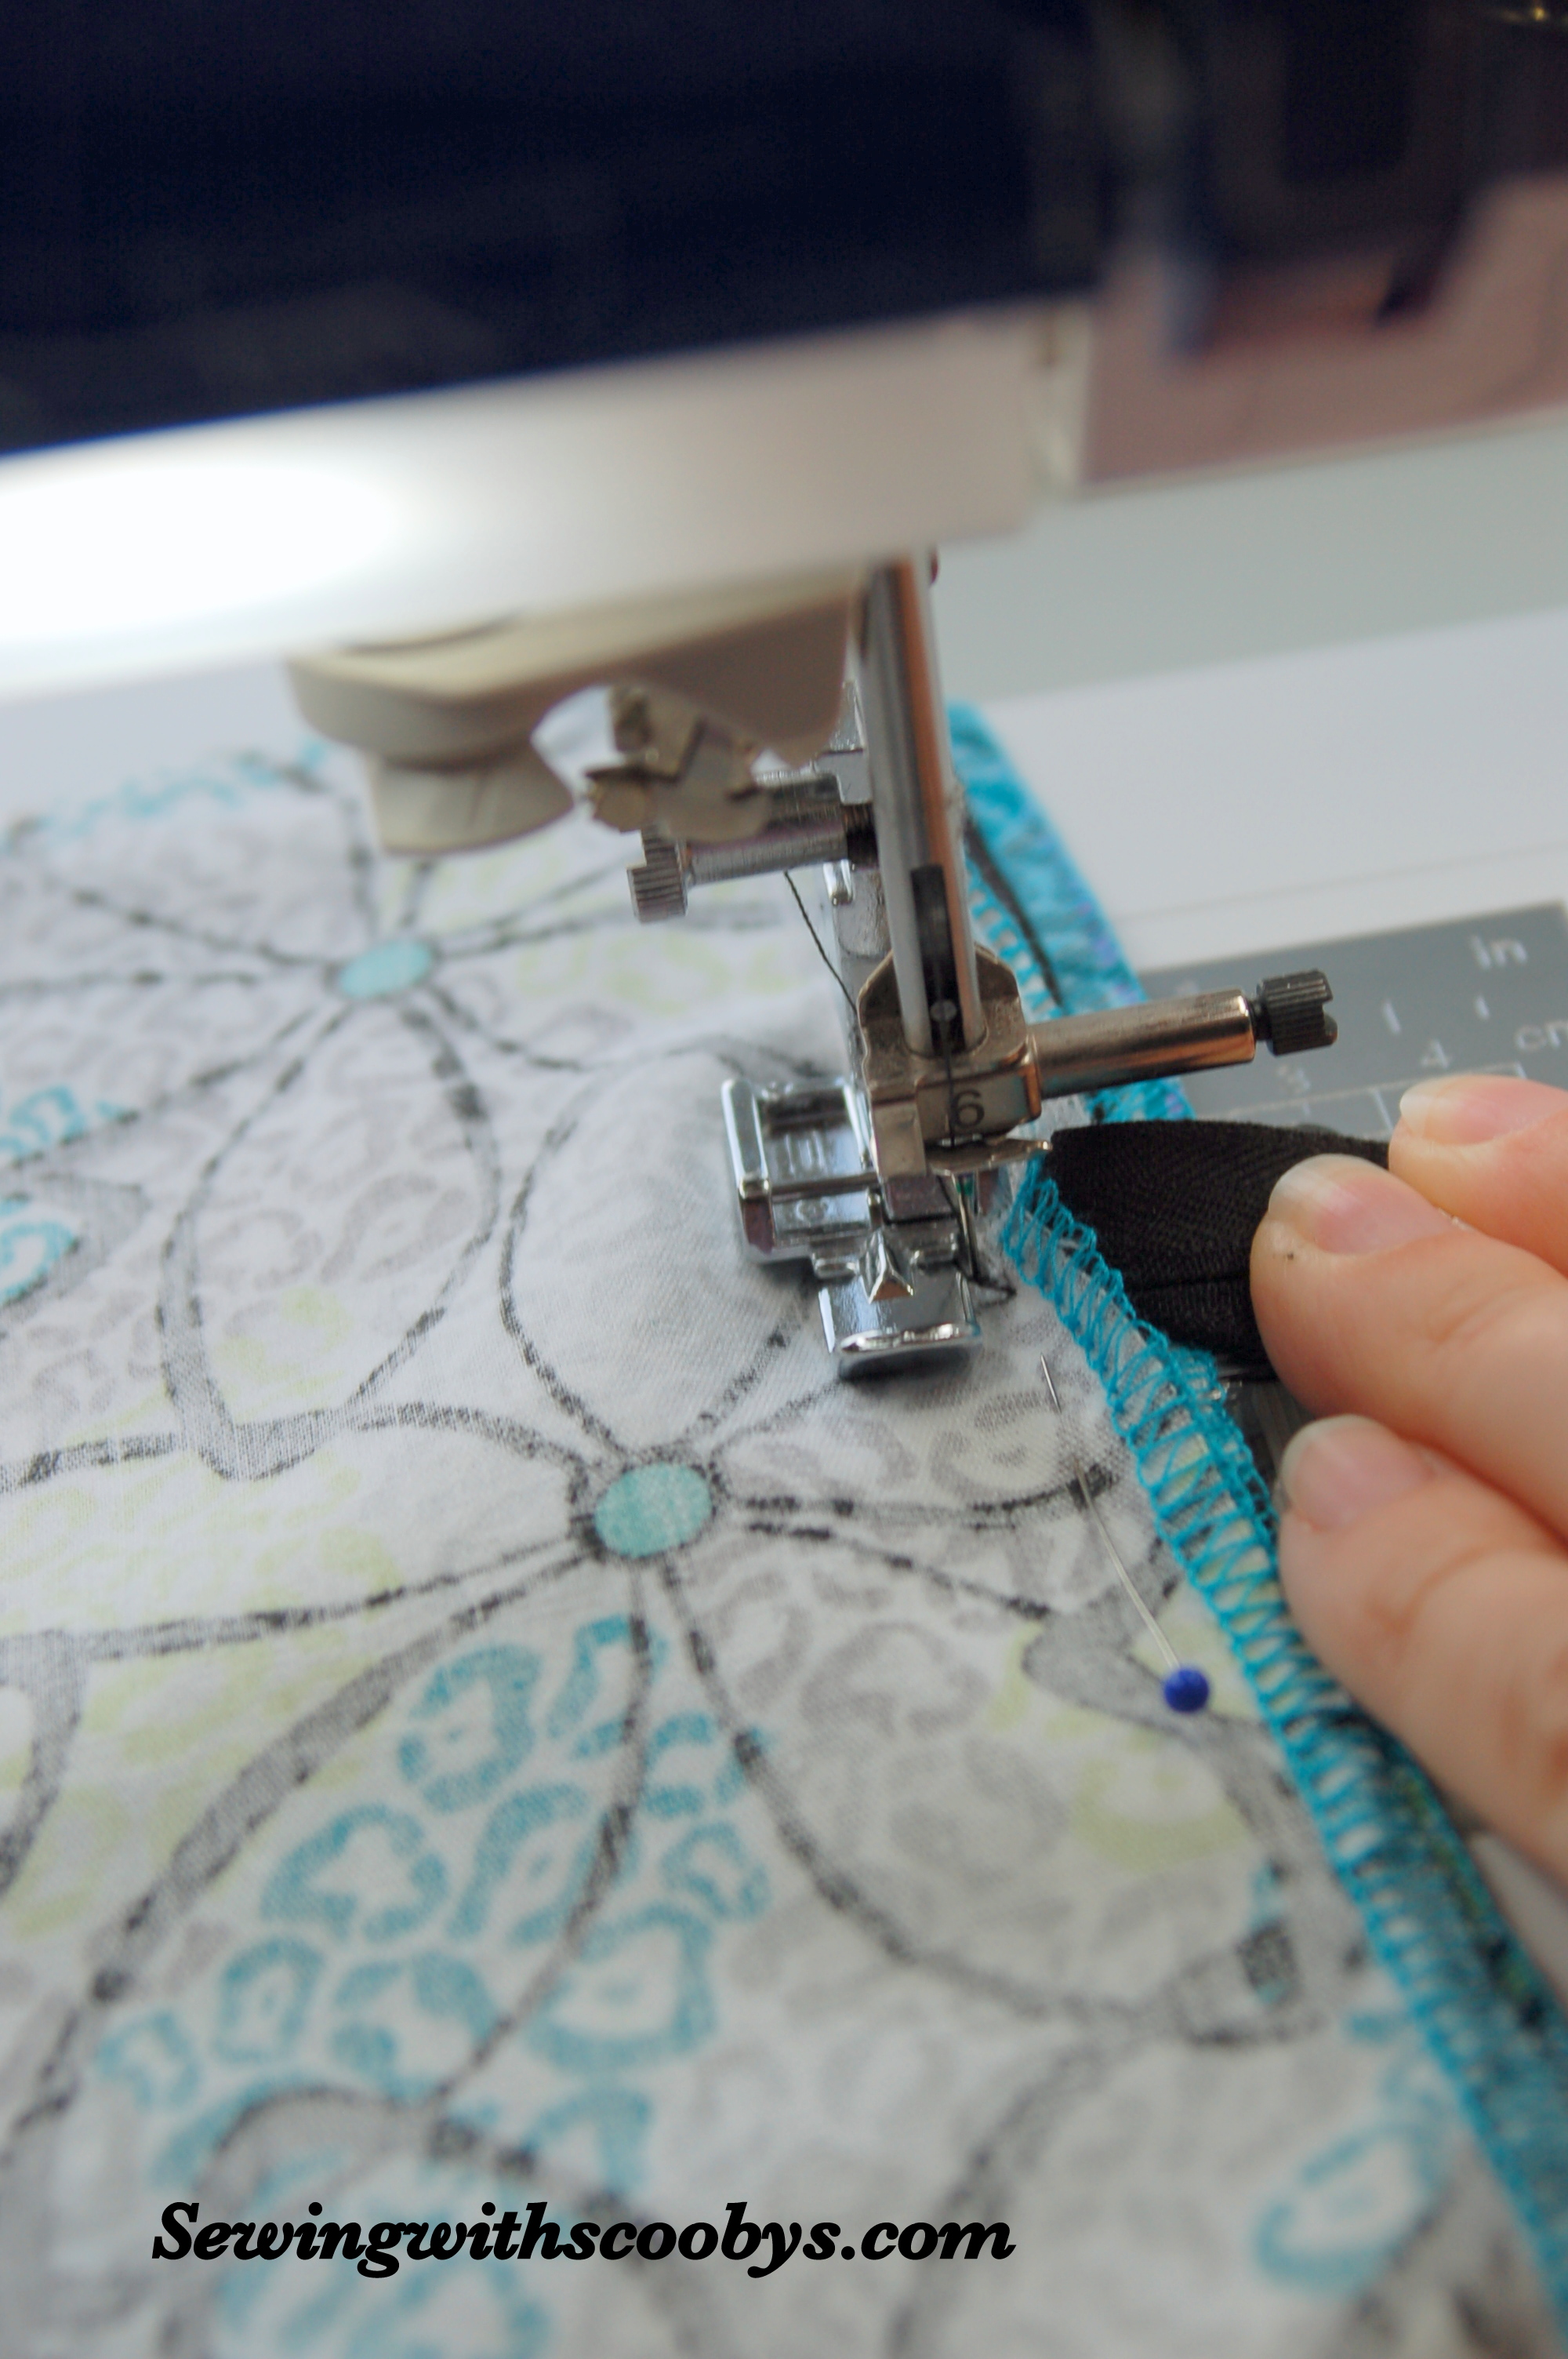
- Bring this to your machine and sew down the one side with your invisible zipper foot:
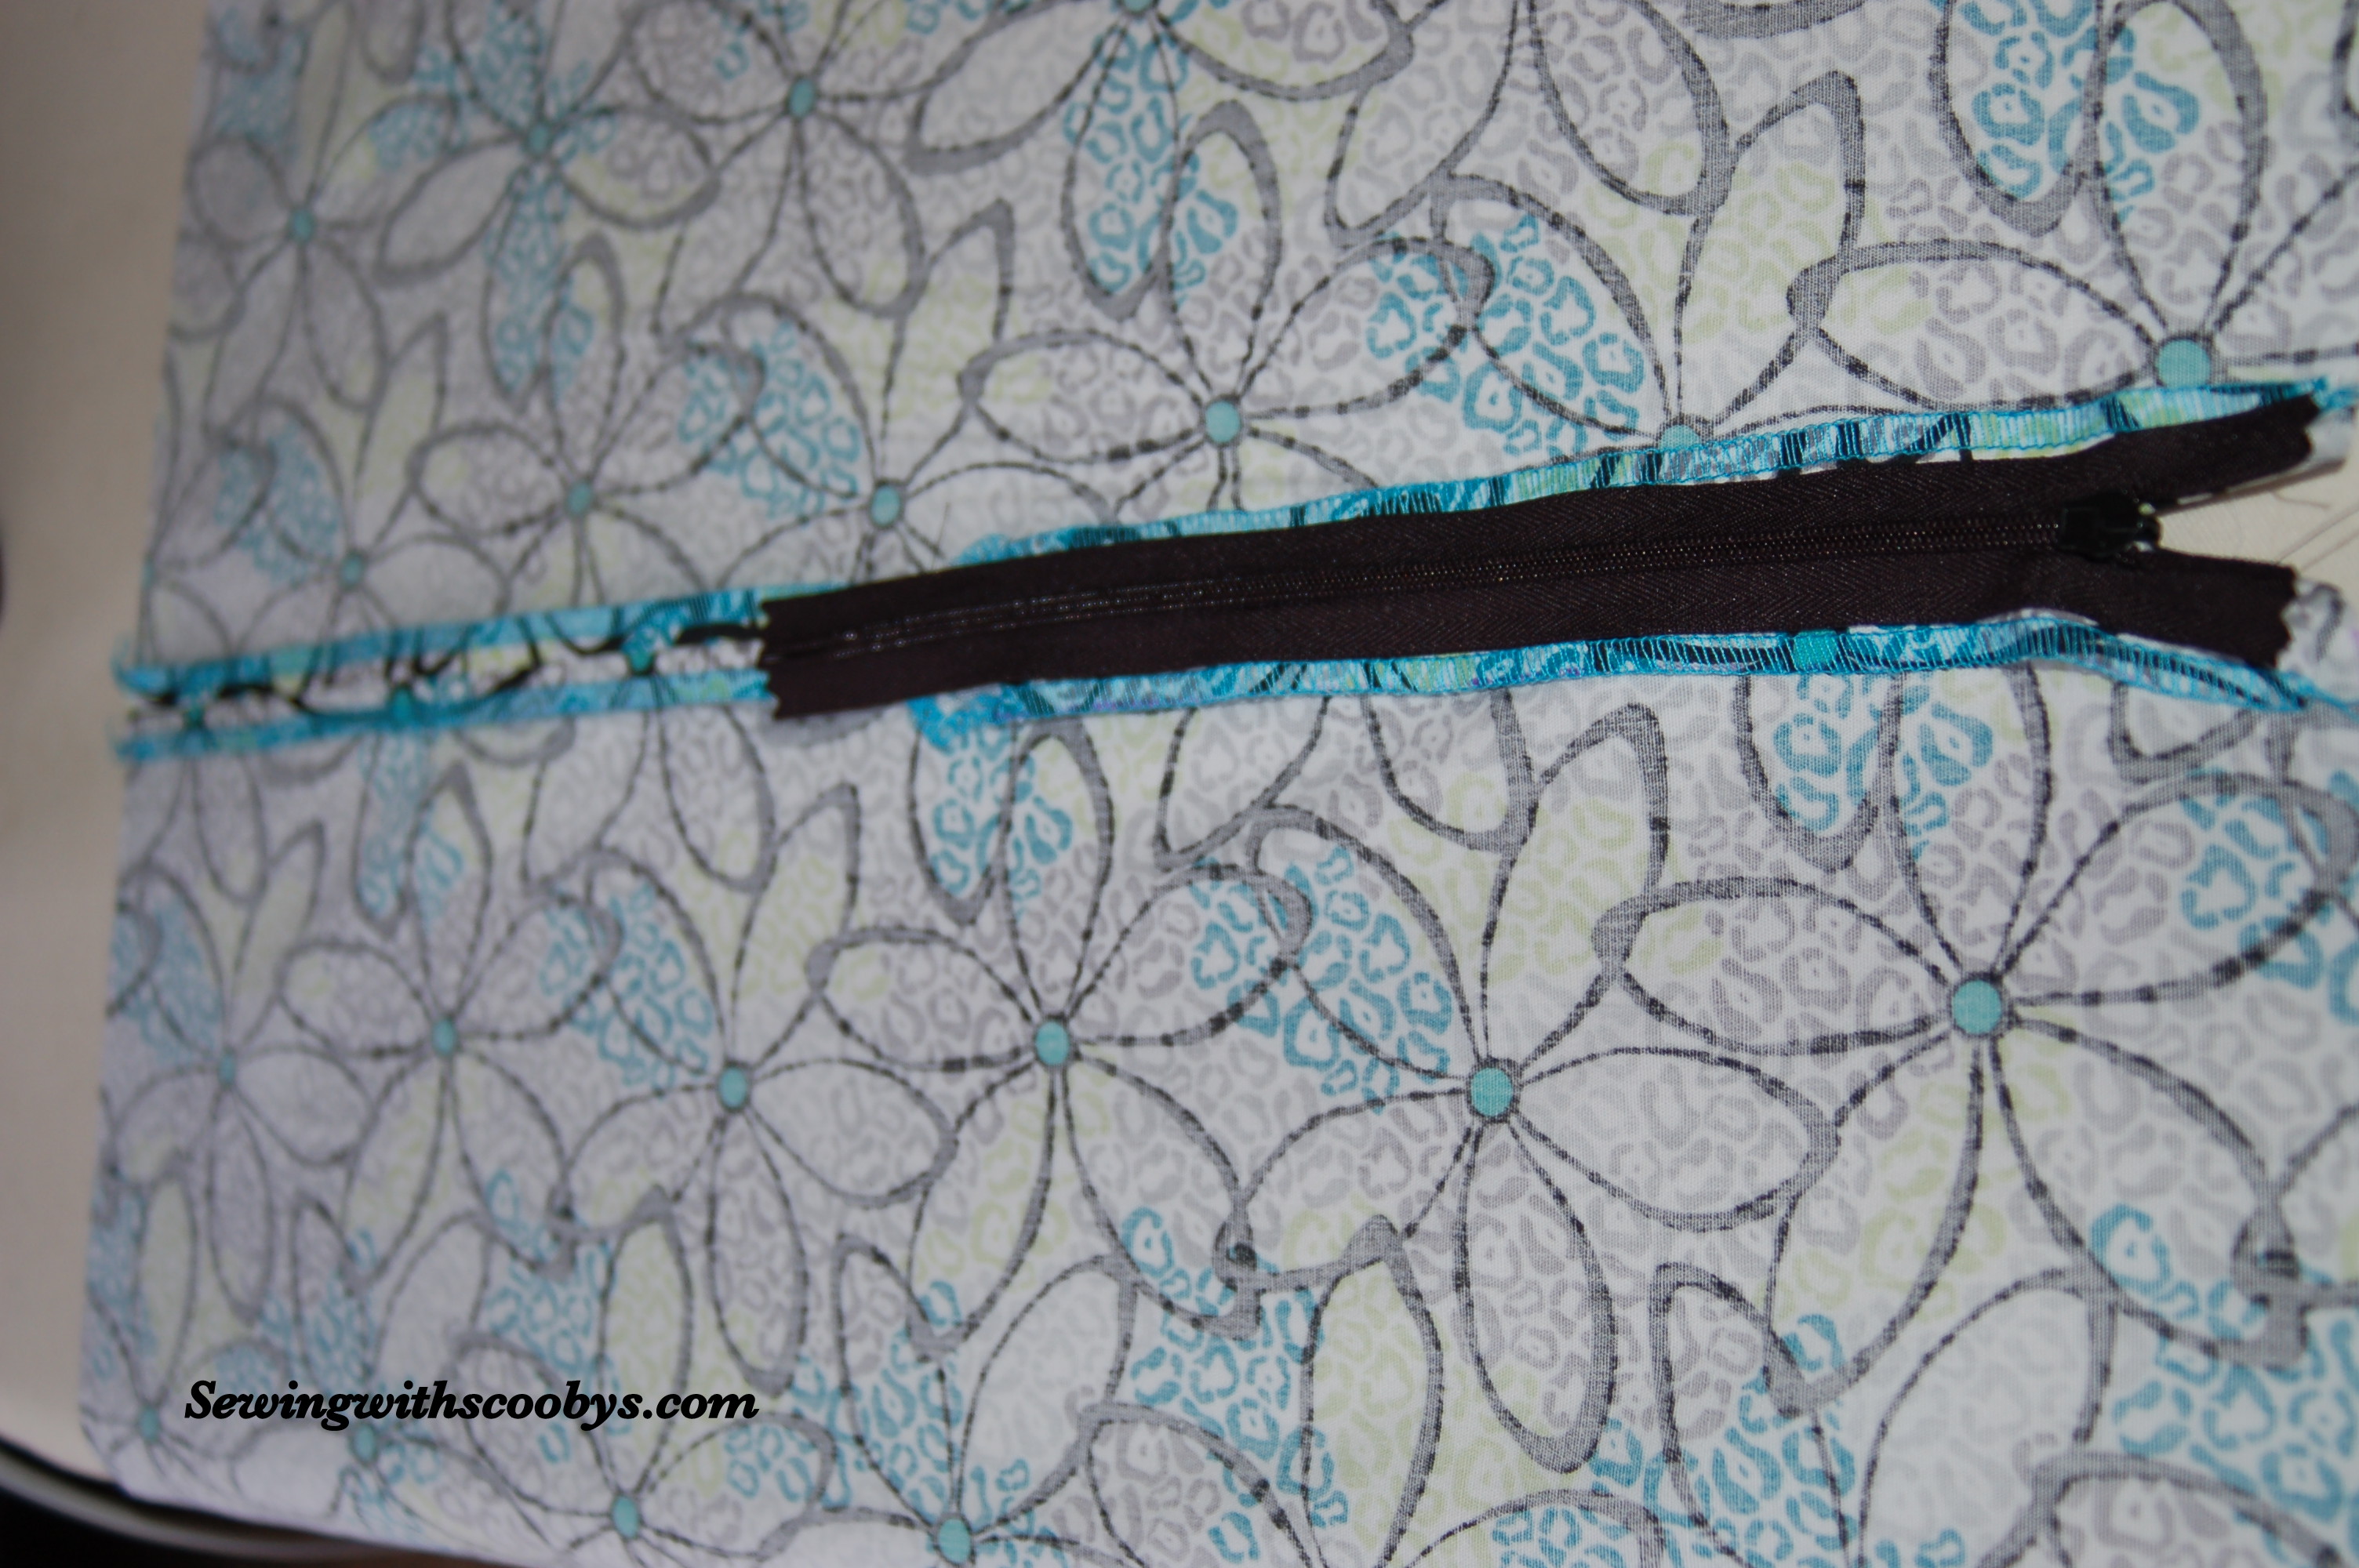
- Now I like to place the pattern pieces together again and have your zip flipped over to pin the other side. Pin well and zip the zipper up just to make sure you have it twisted the right way!! Do this step…..don’t skip it….ask me how I know this

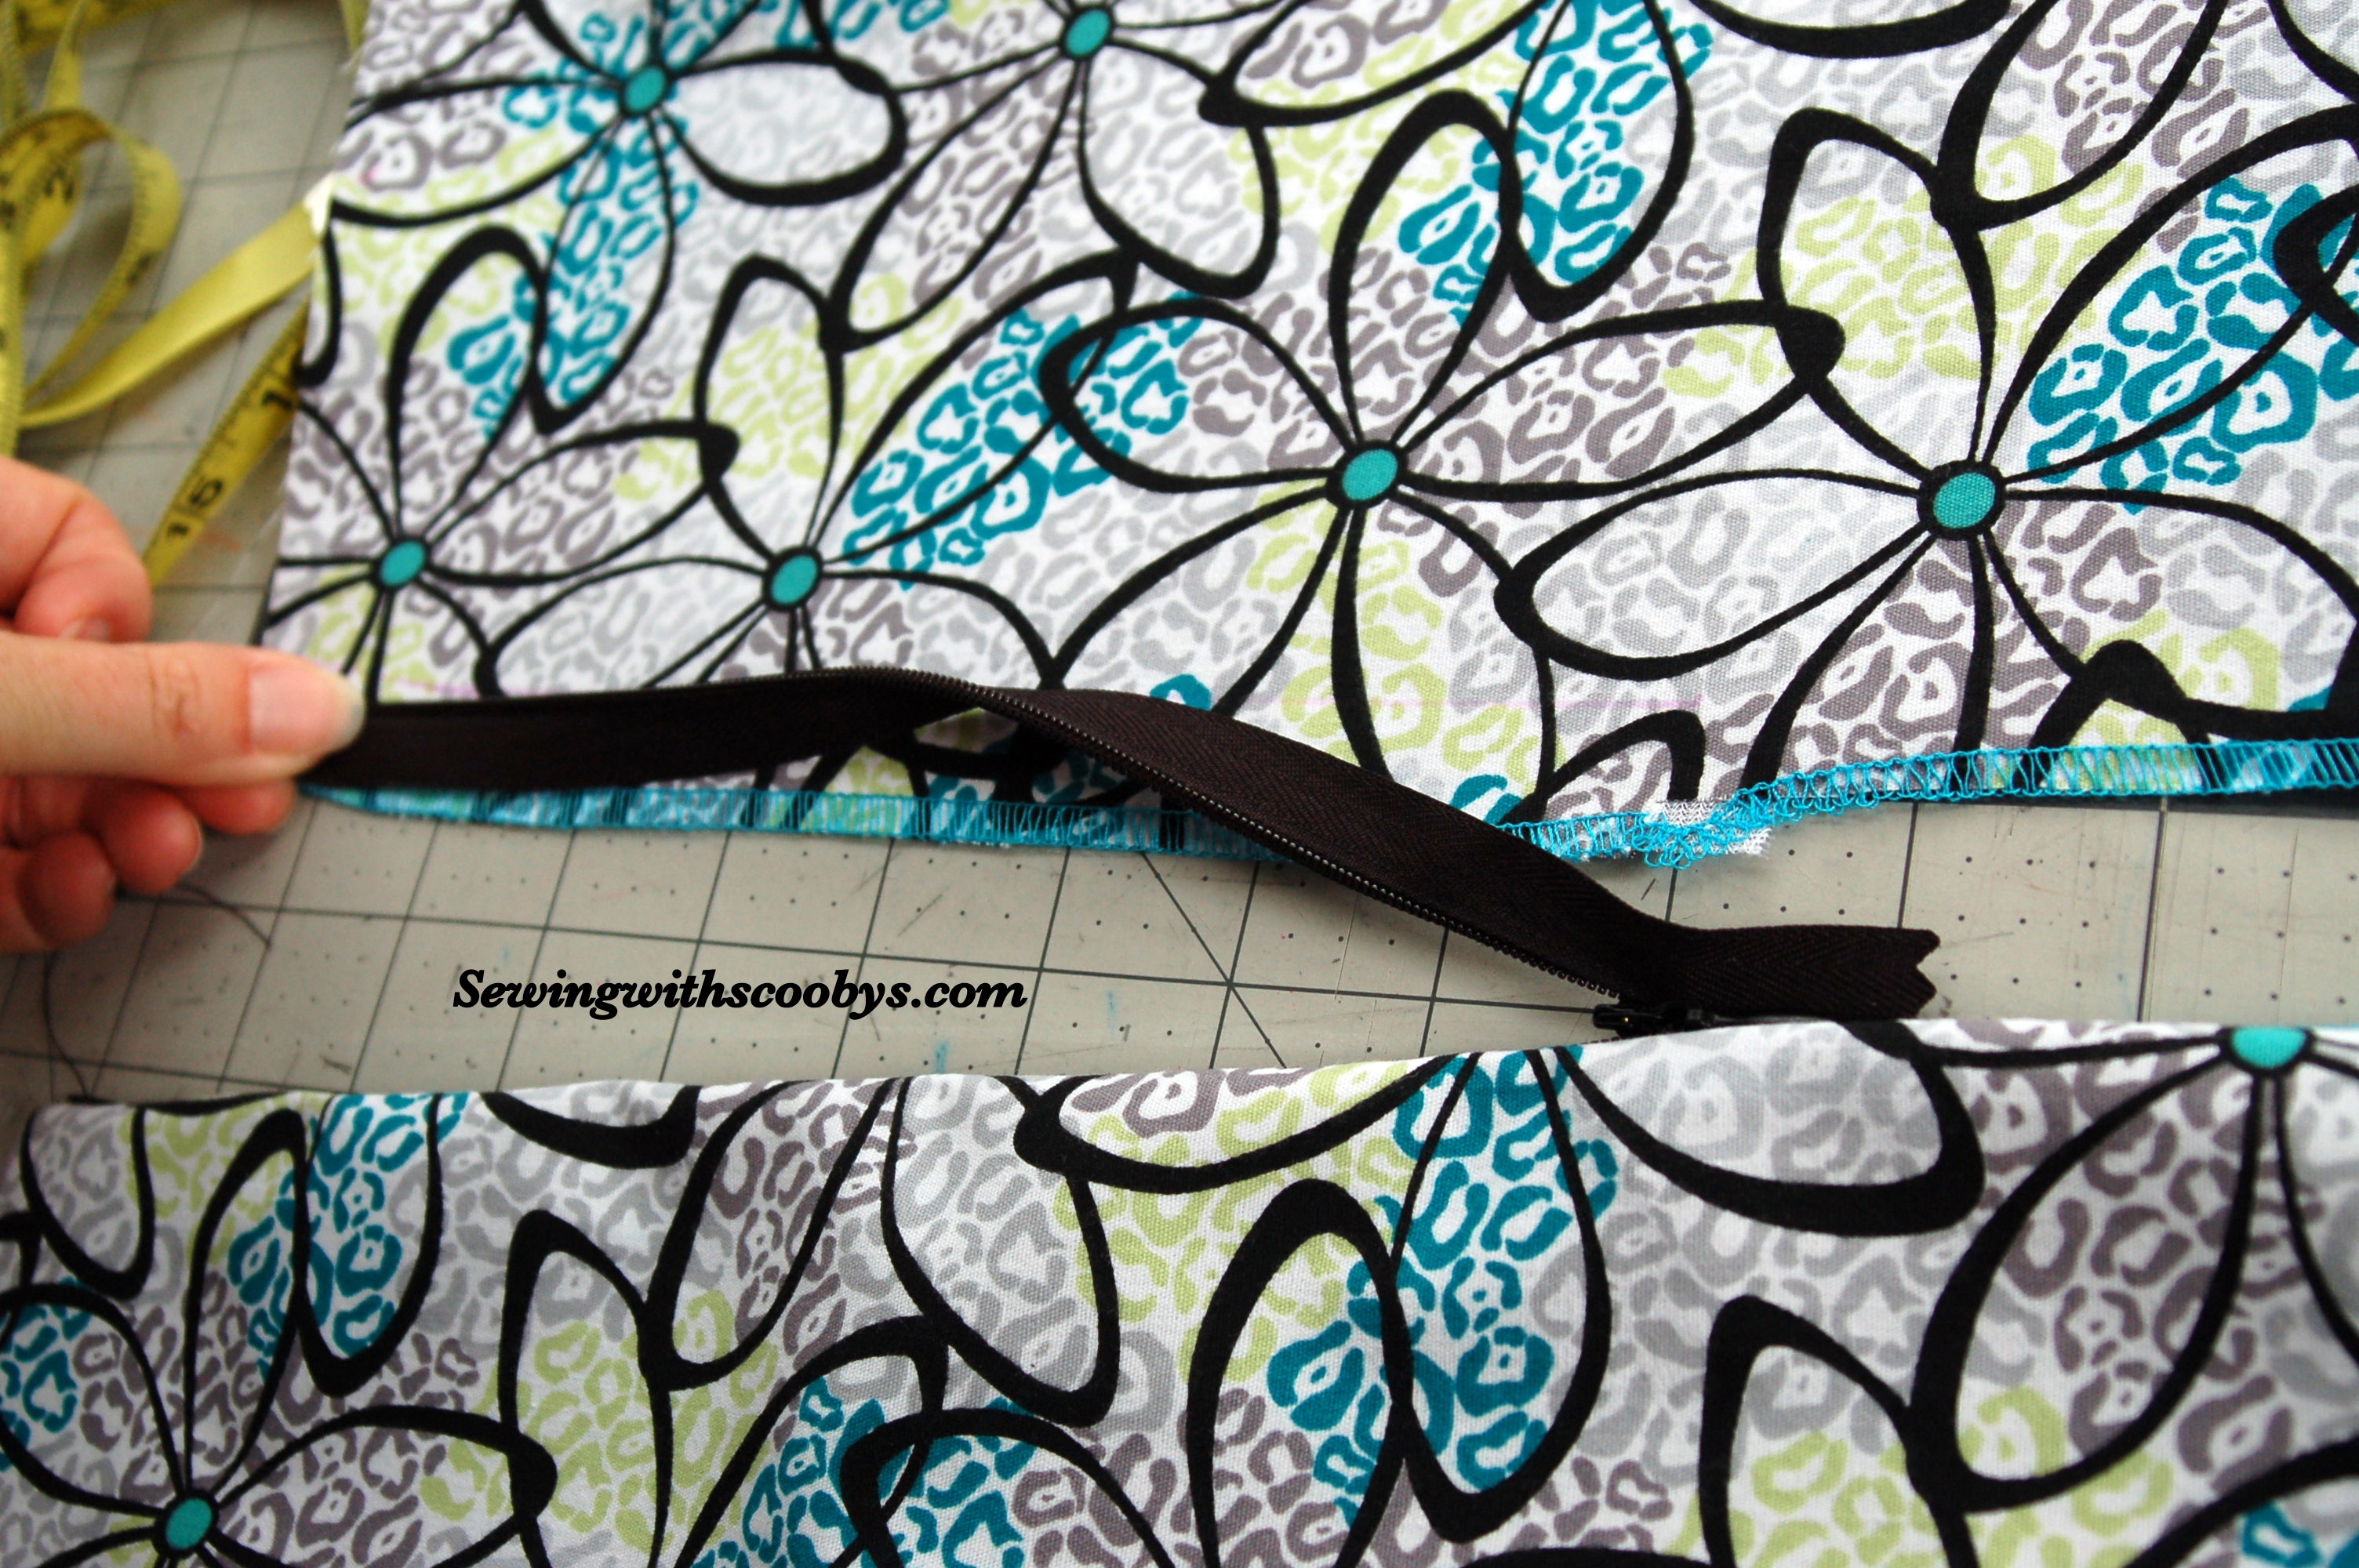
- so if you can zip it up and the panels don’t turn into a contortionist then you did it right. Now go sew that side too 🙂 Presto perfect!
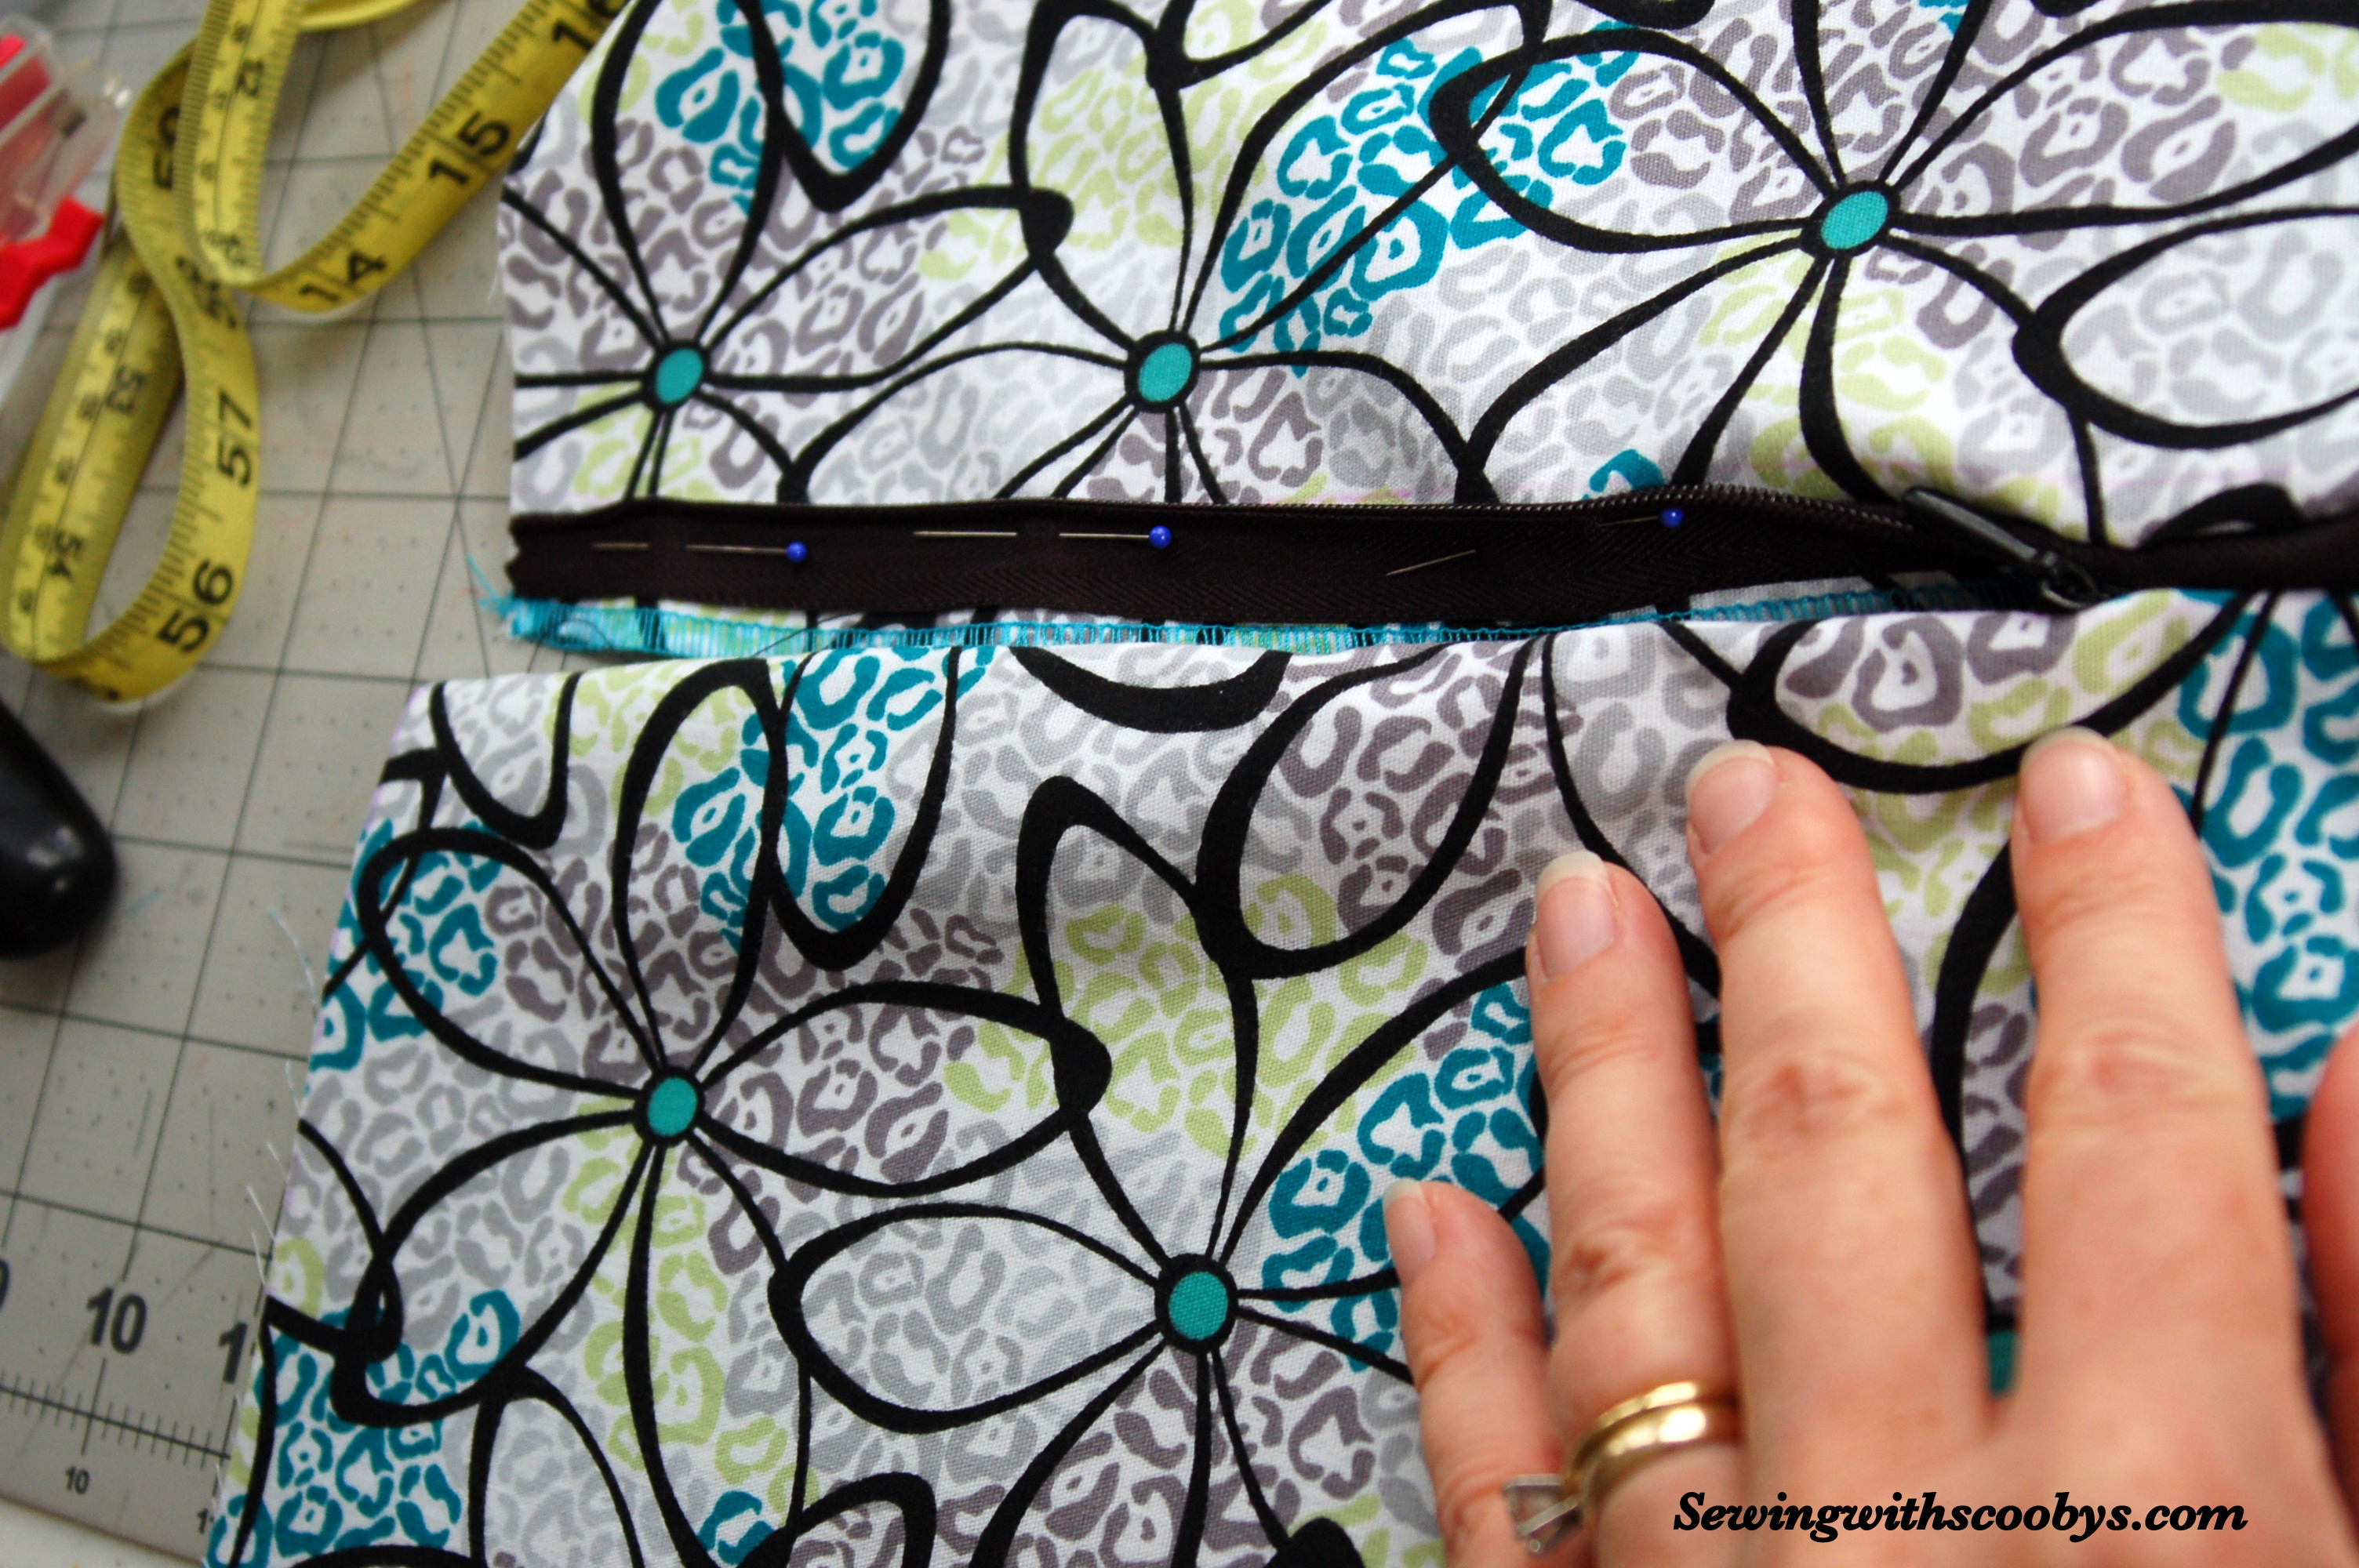
- Ok we are not quite out of the woods yet. Now take your regular zipper foot and put that on your machine. We are going to sew the rest of this seam down. Place in your machine the fabric right sides together, hold the zipper tape out of the way as best you can and get inline with the zipper seams you just made. Adjusting your needle to follow down a few inches away from the zipper stop. Then you can put your regular foot back on and continue sewing your seam.
- Press your seams open and I usually zig zag the bottom of the zipper tape to the seam allowance, just catching it for a few stitches to help hold in place when you are zipping up the article of clothing. It helps to anchor and provide support for the zipper.
- Thats it! Ta da your done!

