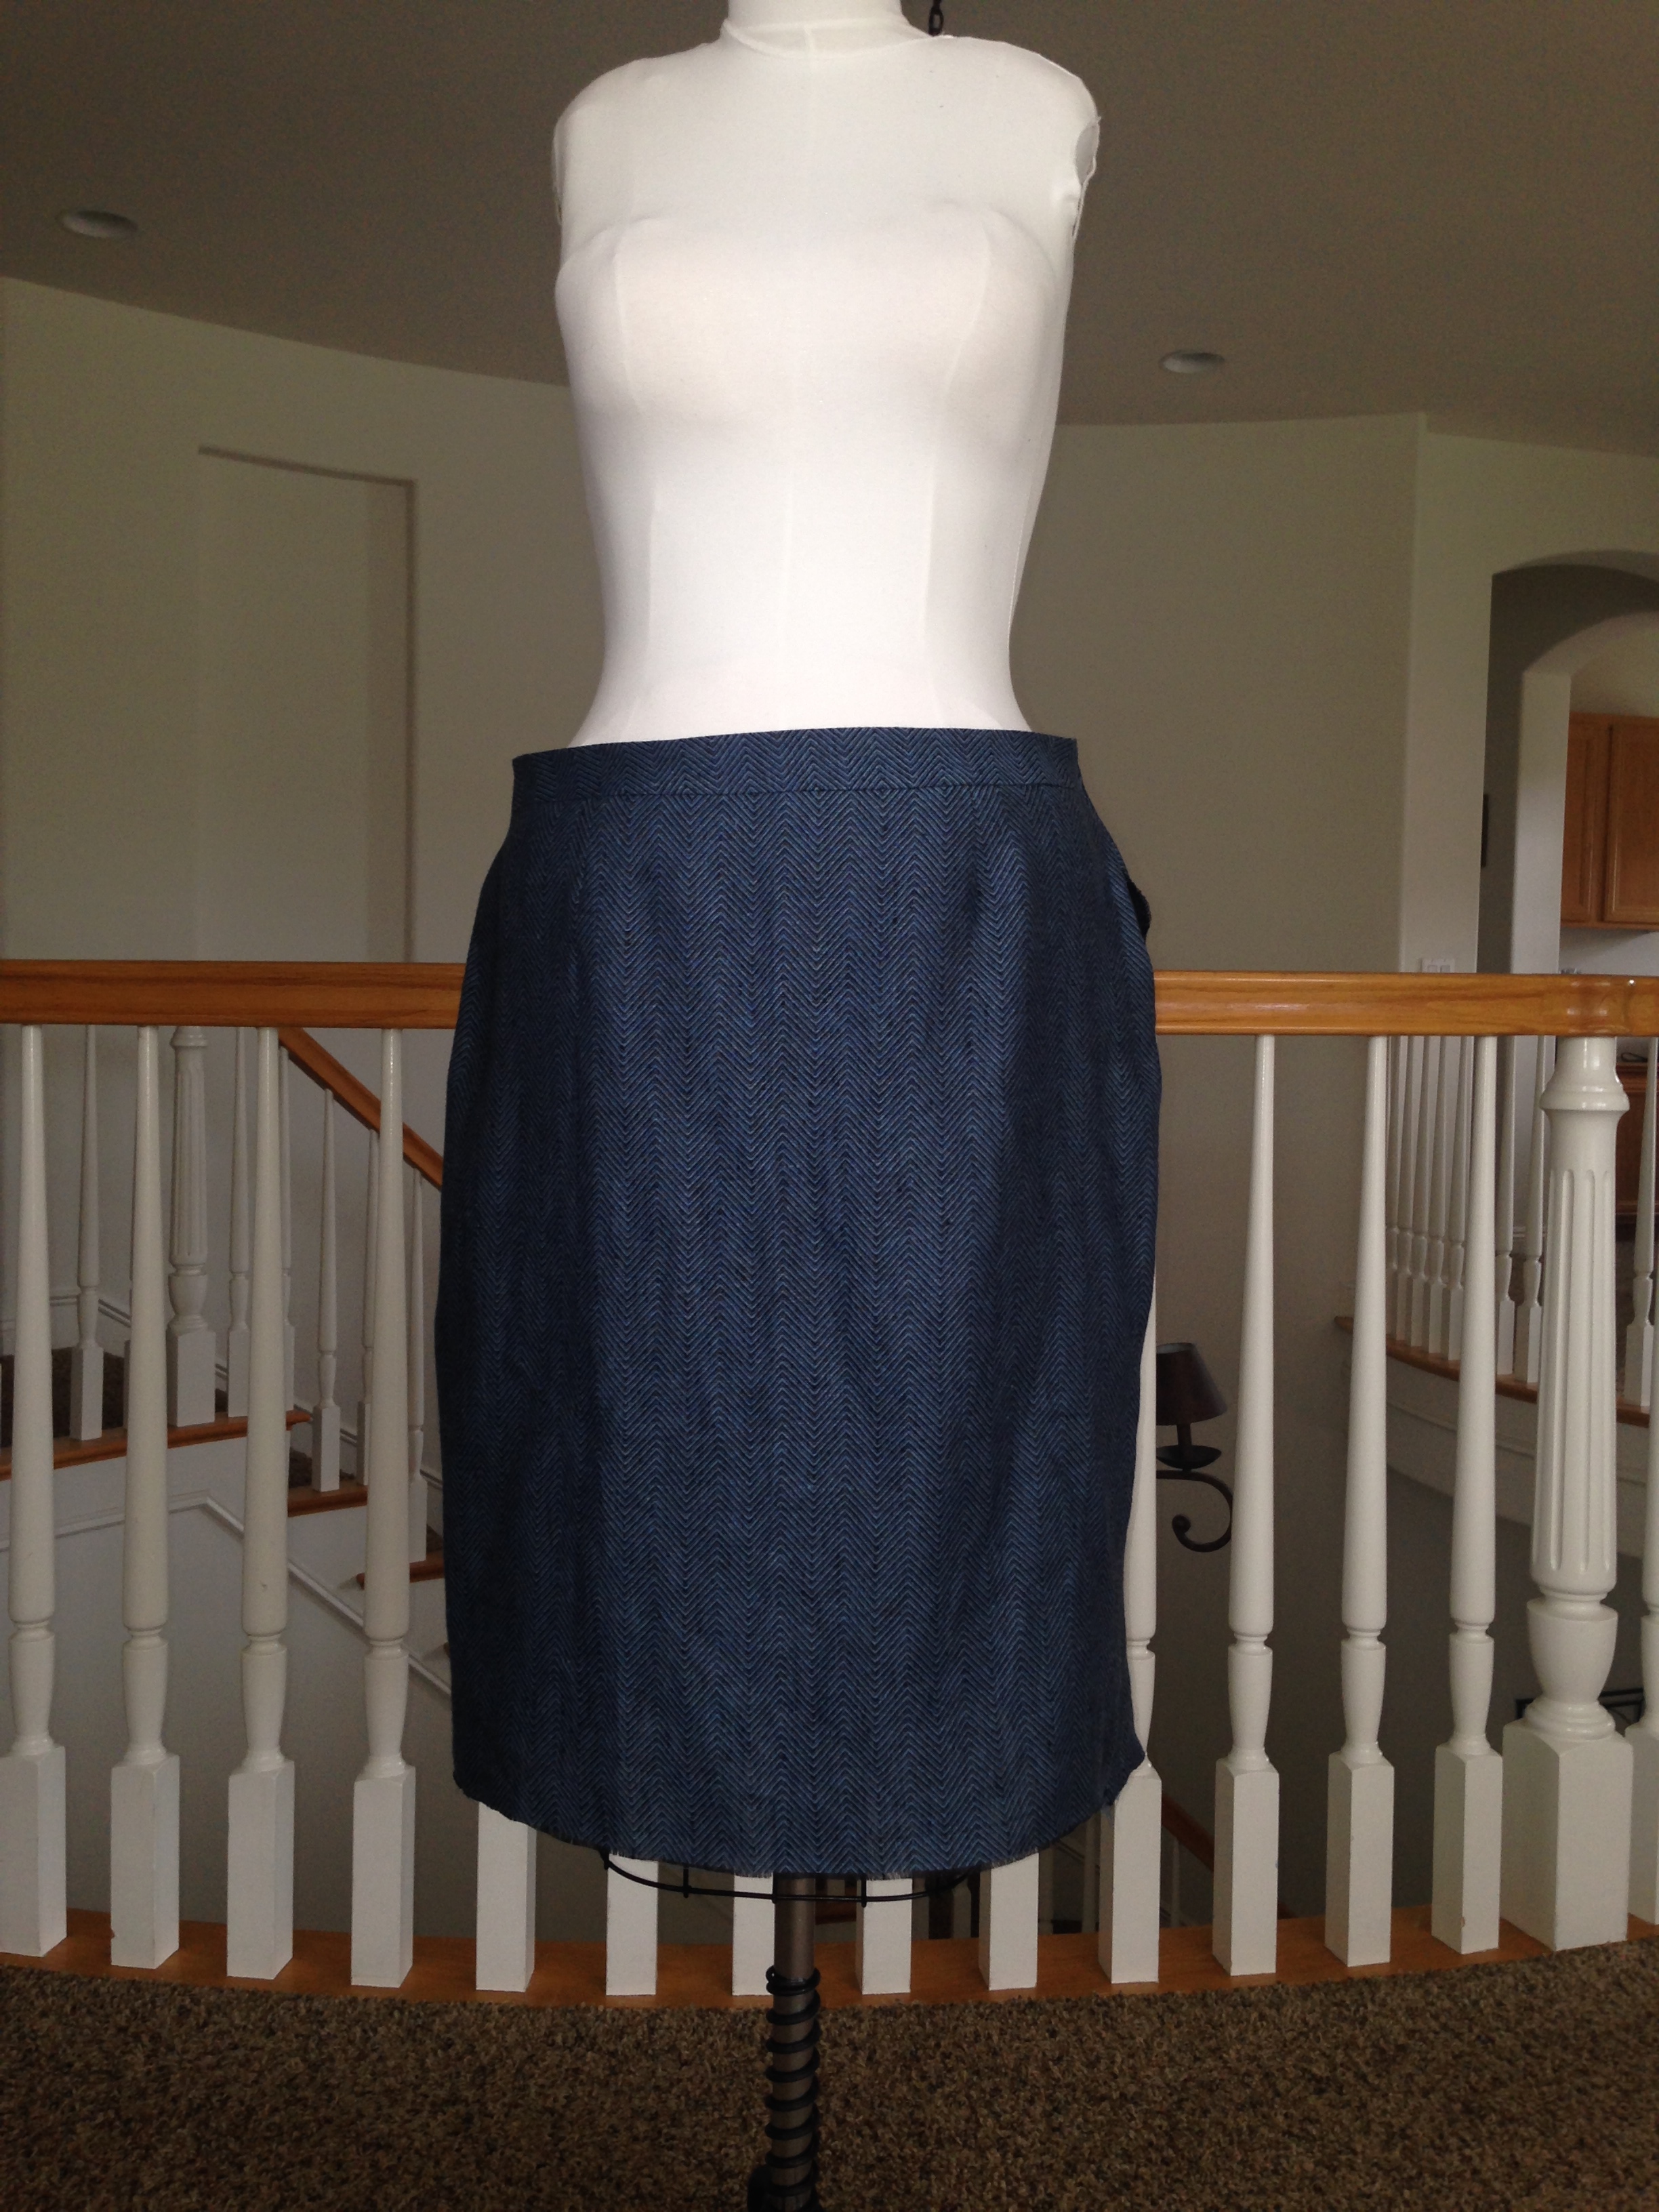
I have been working on the linen jacket that matches the skirt I made. You can see the skirt post here.

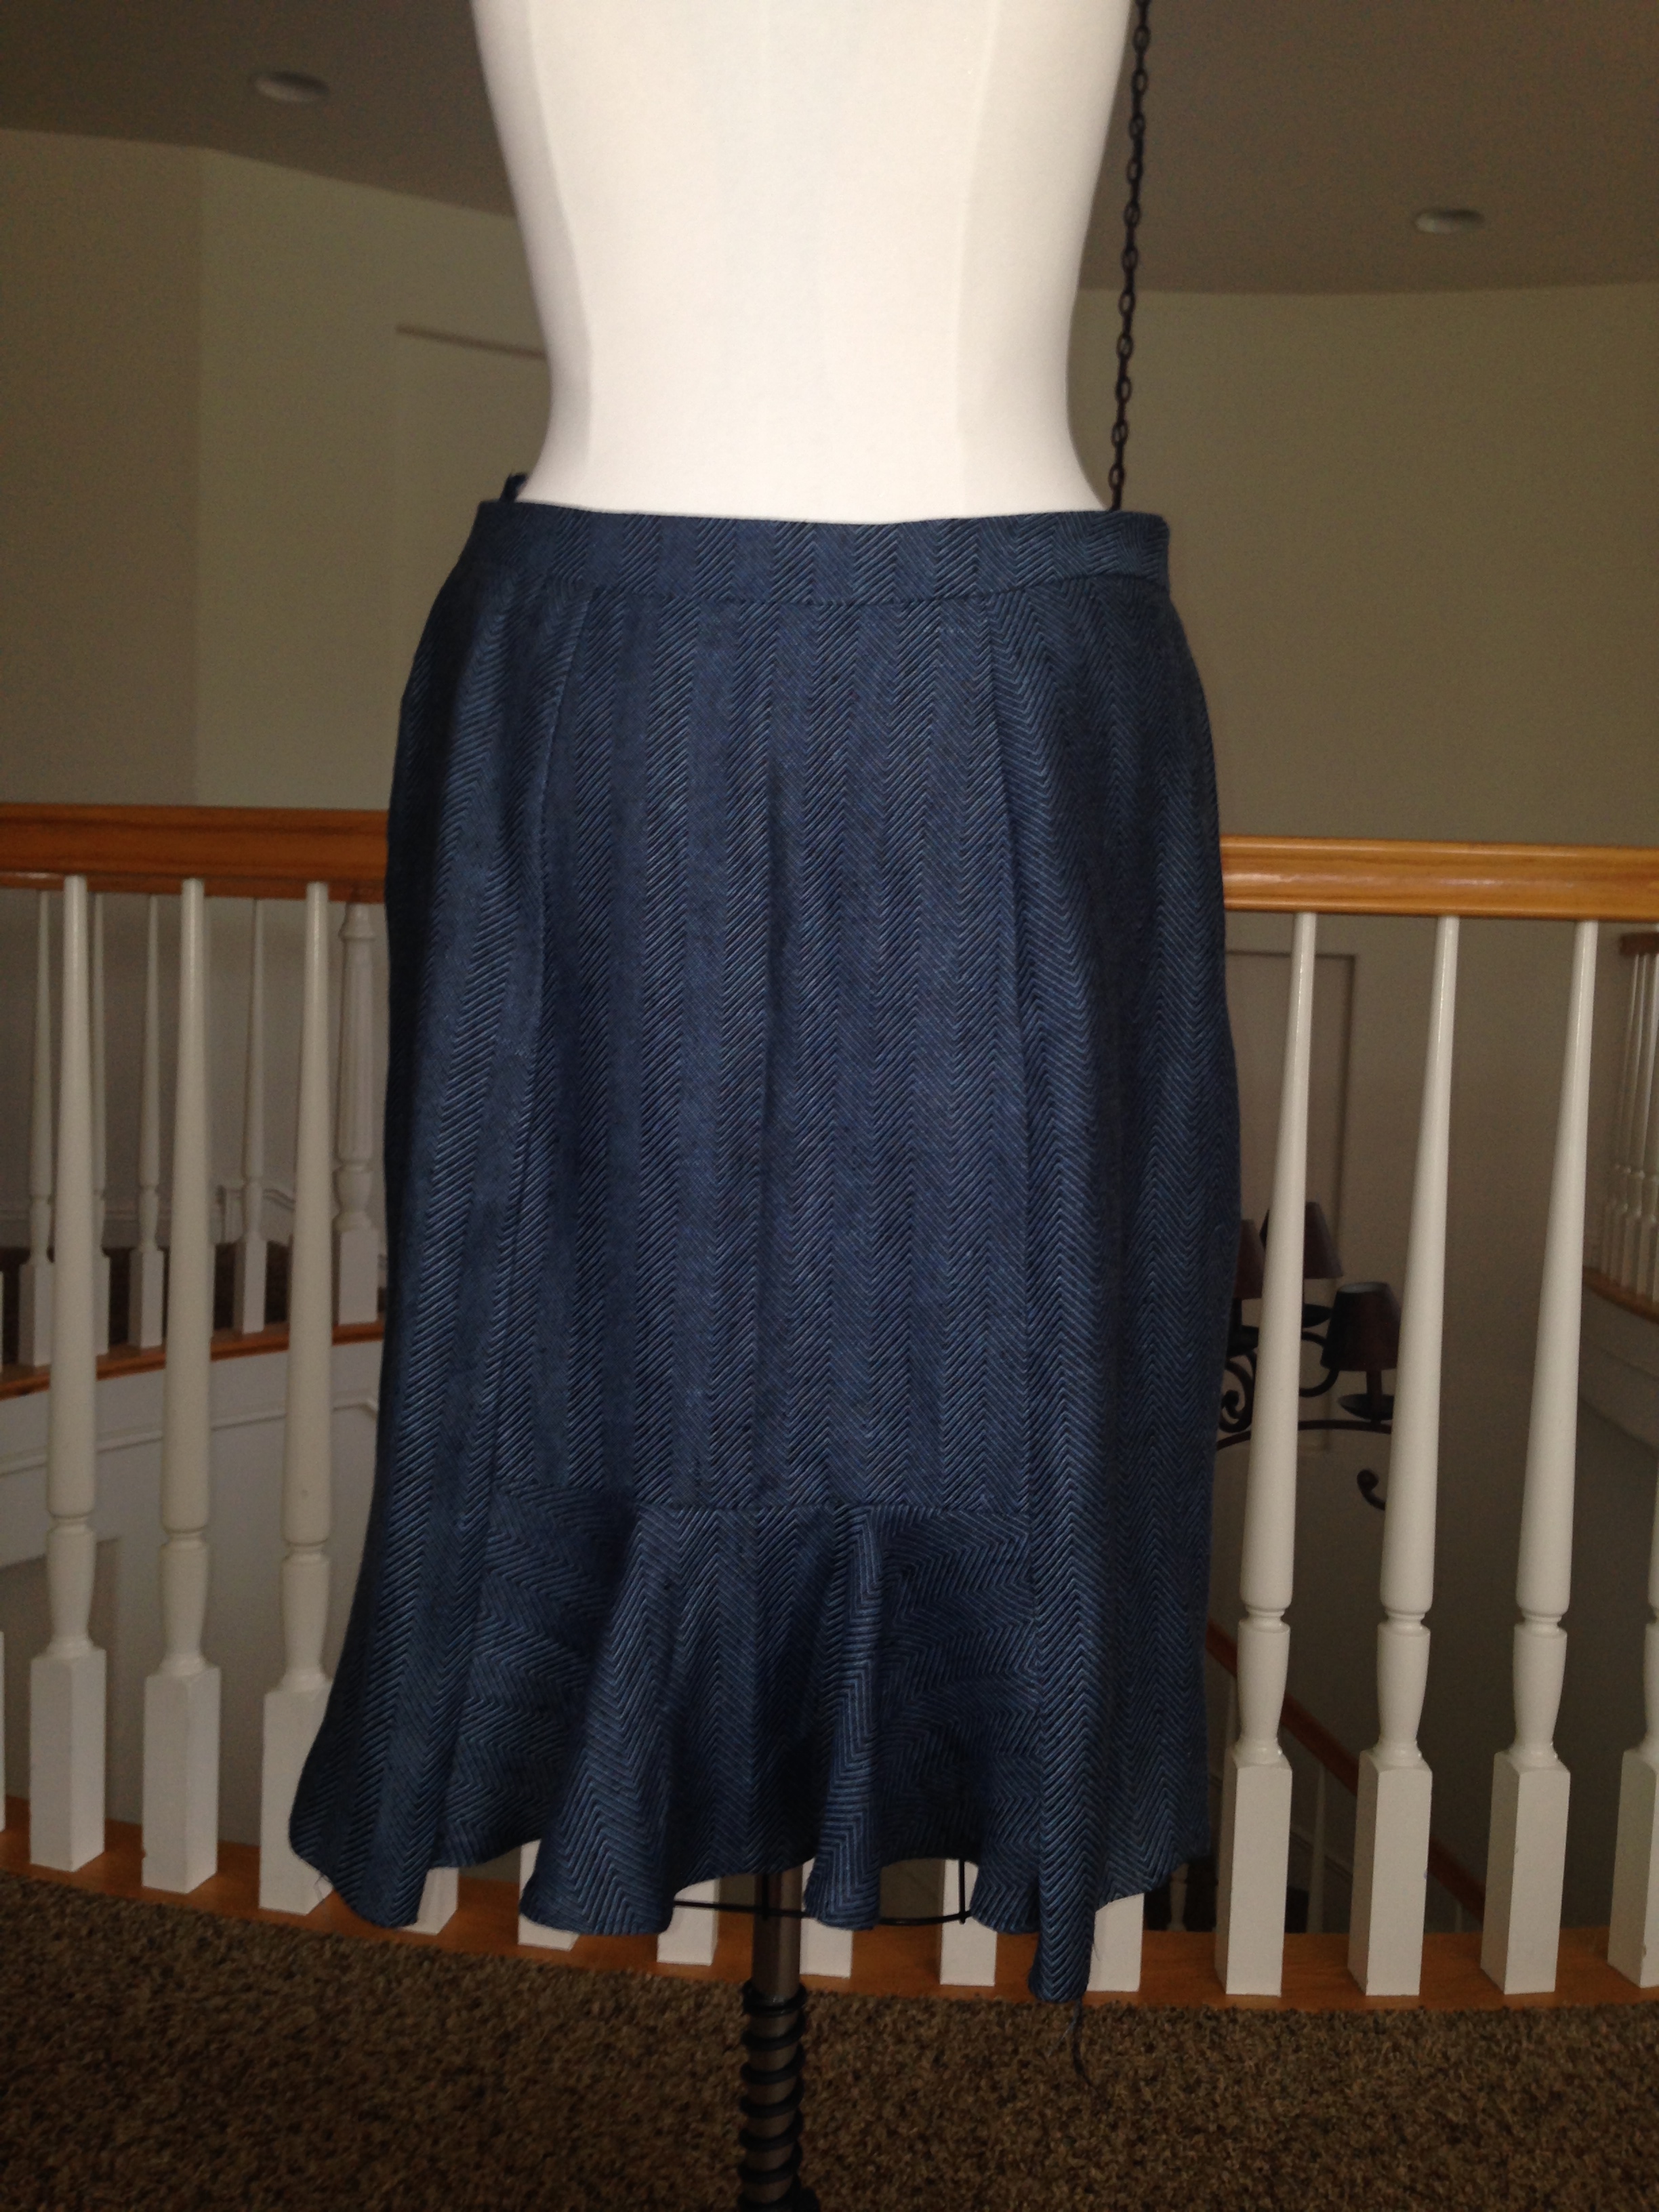
I love the way it turned out. I like girly feminine stuff and the flounces on the jacket are so fun, they match the skirt flounce in the back.
The construction of this jacket seemed to take forever I originally wanted to put just the bemberg lining into it but the material is so heavy around the neckline that just the flimsy rayon would not hold the collar in firm place without the interfaced linen facings.
So I thought what the hell, I what the jacket to be smokin’ hot on the inside as well!…… so I put both inside:


I under stitched the peplum flaps, and all along the ruffle to ensure this bad girl behaved herself and not flash to the outside lol. . I hand stitched the bottom of the lining along the peplum seam line. I didn’t want any raw edges so I choose the same polka dot fabric I used as a facing for my skirt band and made bias tape. I used the bias tape for a Hong Kong finish.
The biggest issue I had was cutting the fabric flounces …….4 pieces completely identical…….. and sewing them as equally careful…….. so they were mirror images of one another.
Should be a piece of cake right?
Well lets just say this project is challenging and there was no “scooby snack drinking” going on while I made this.
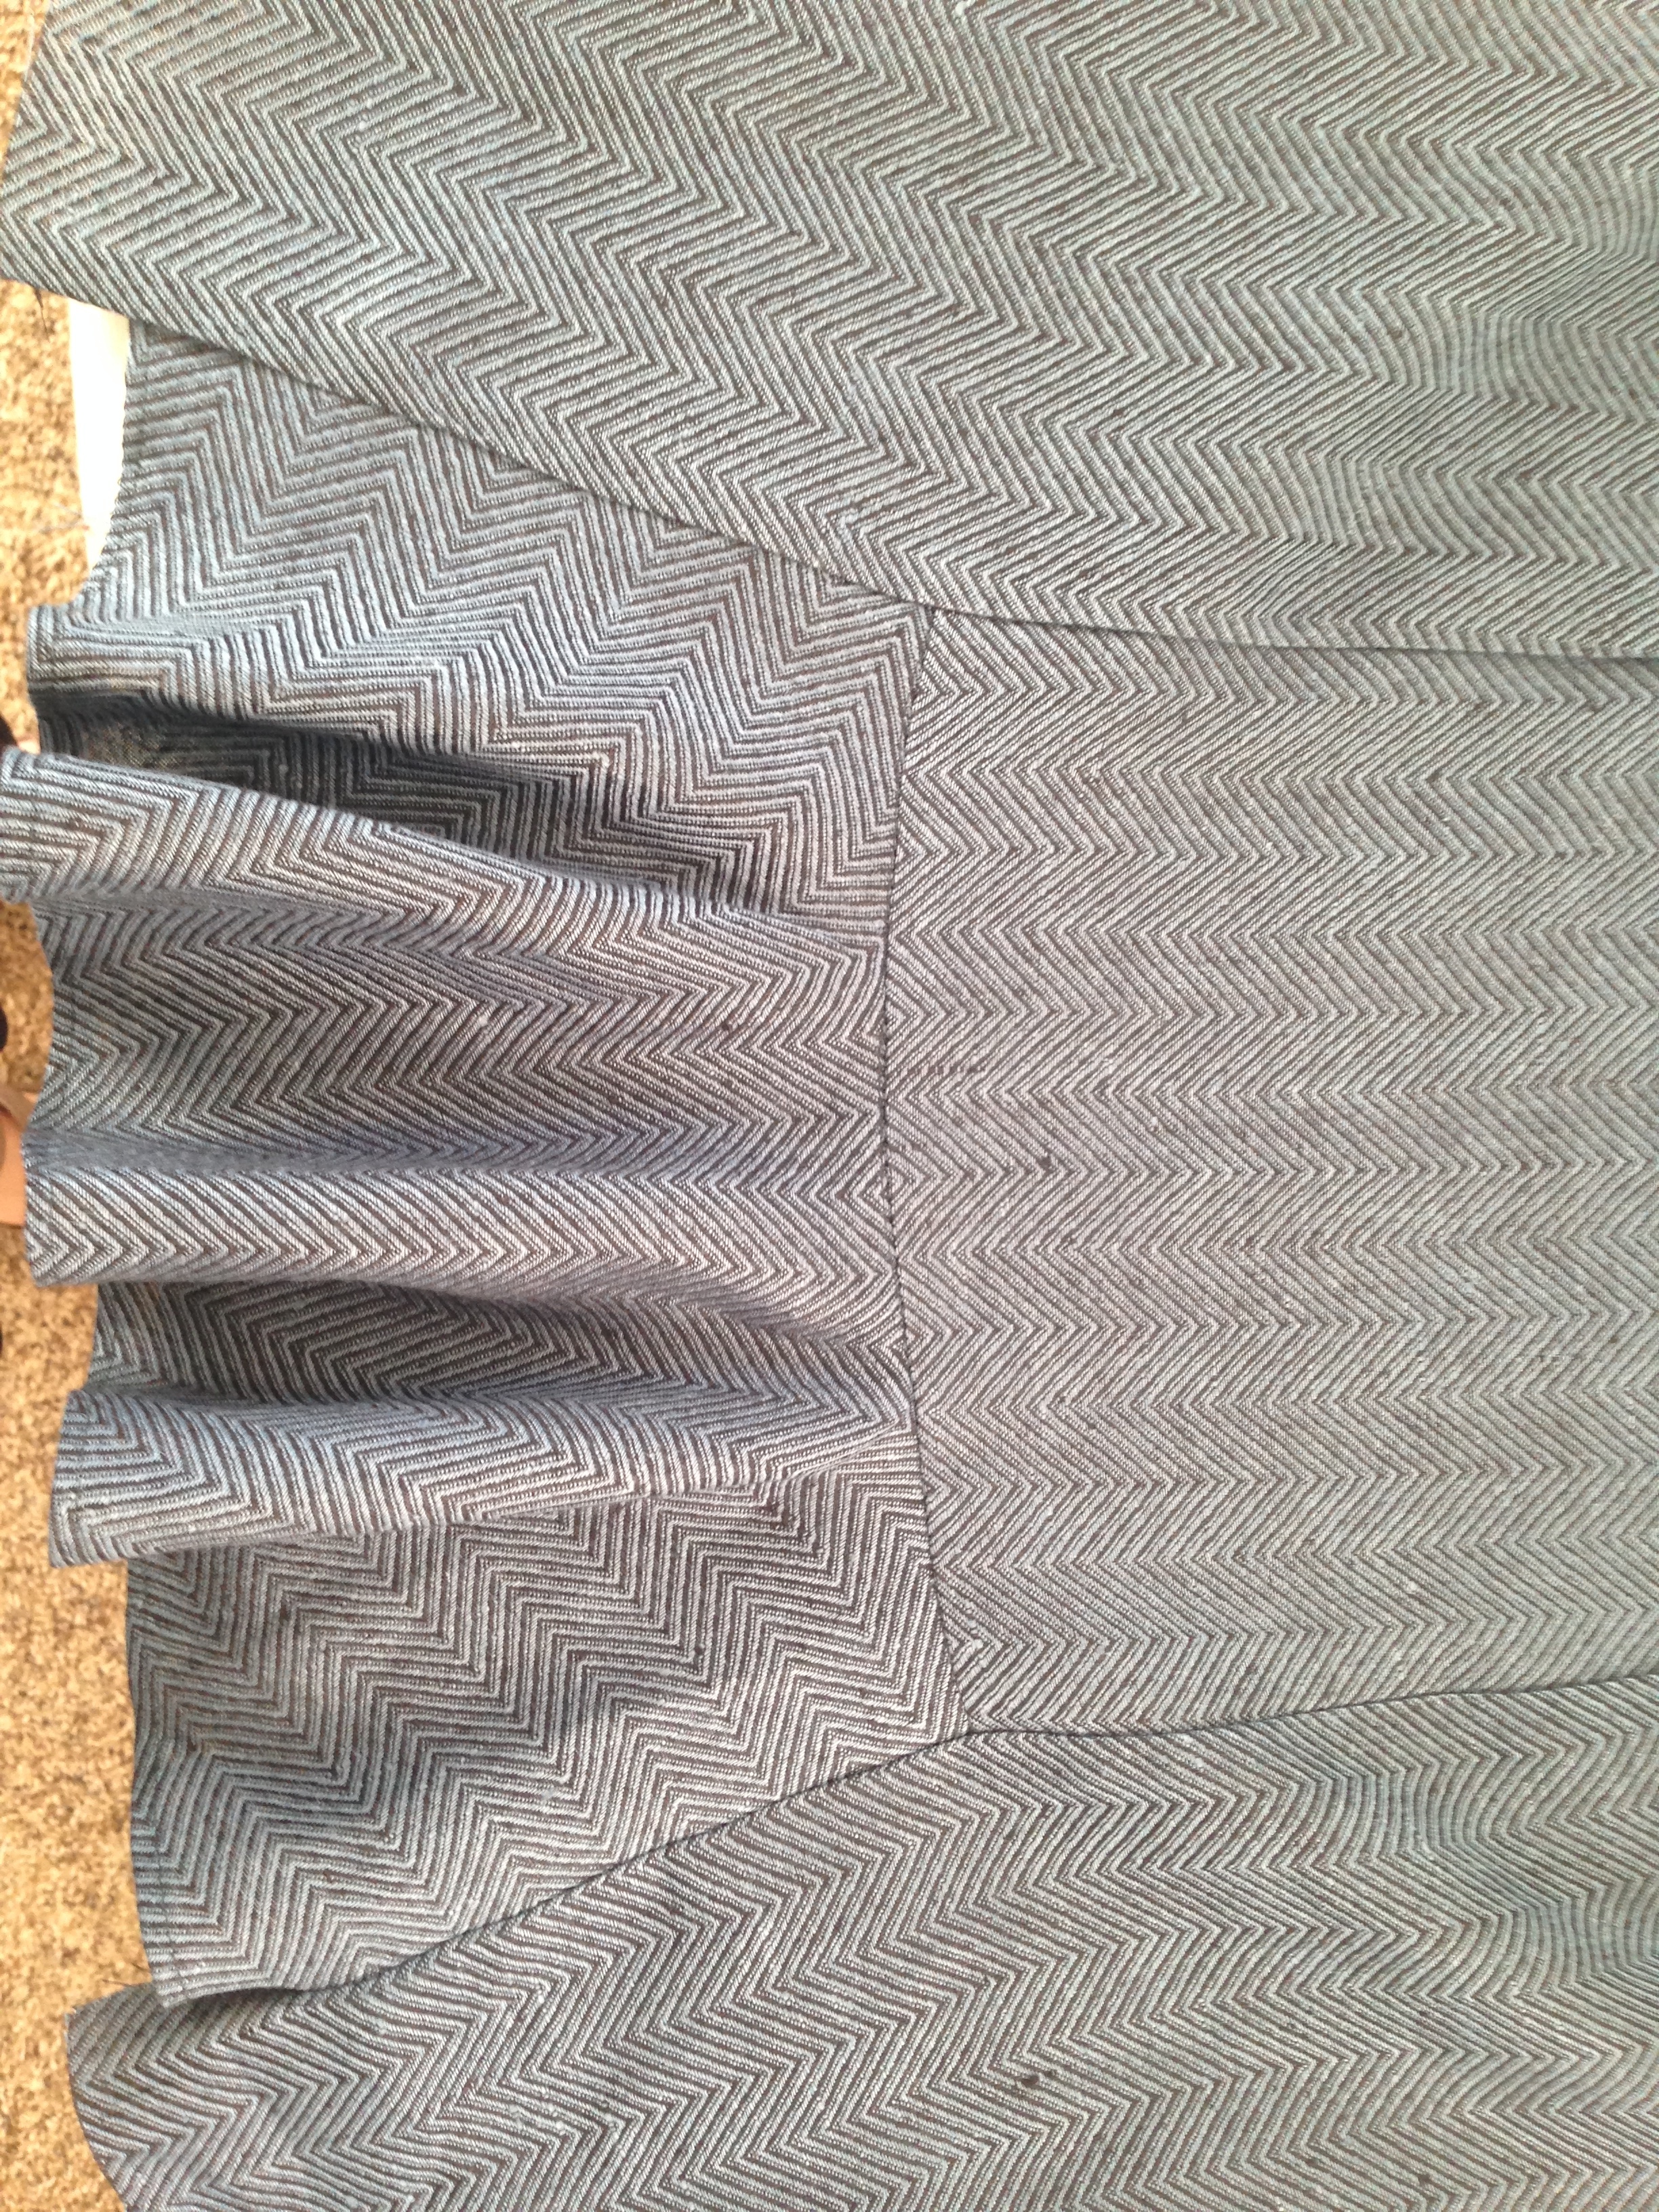
I quickly realized they were wonky when I pinned them to the front panels of the jacket. Check this out:

way off eh? Damn these got scrapped!
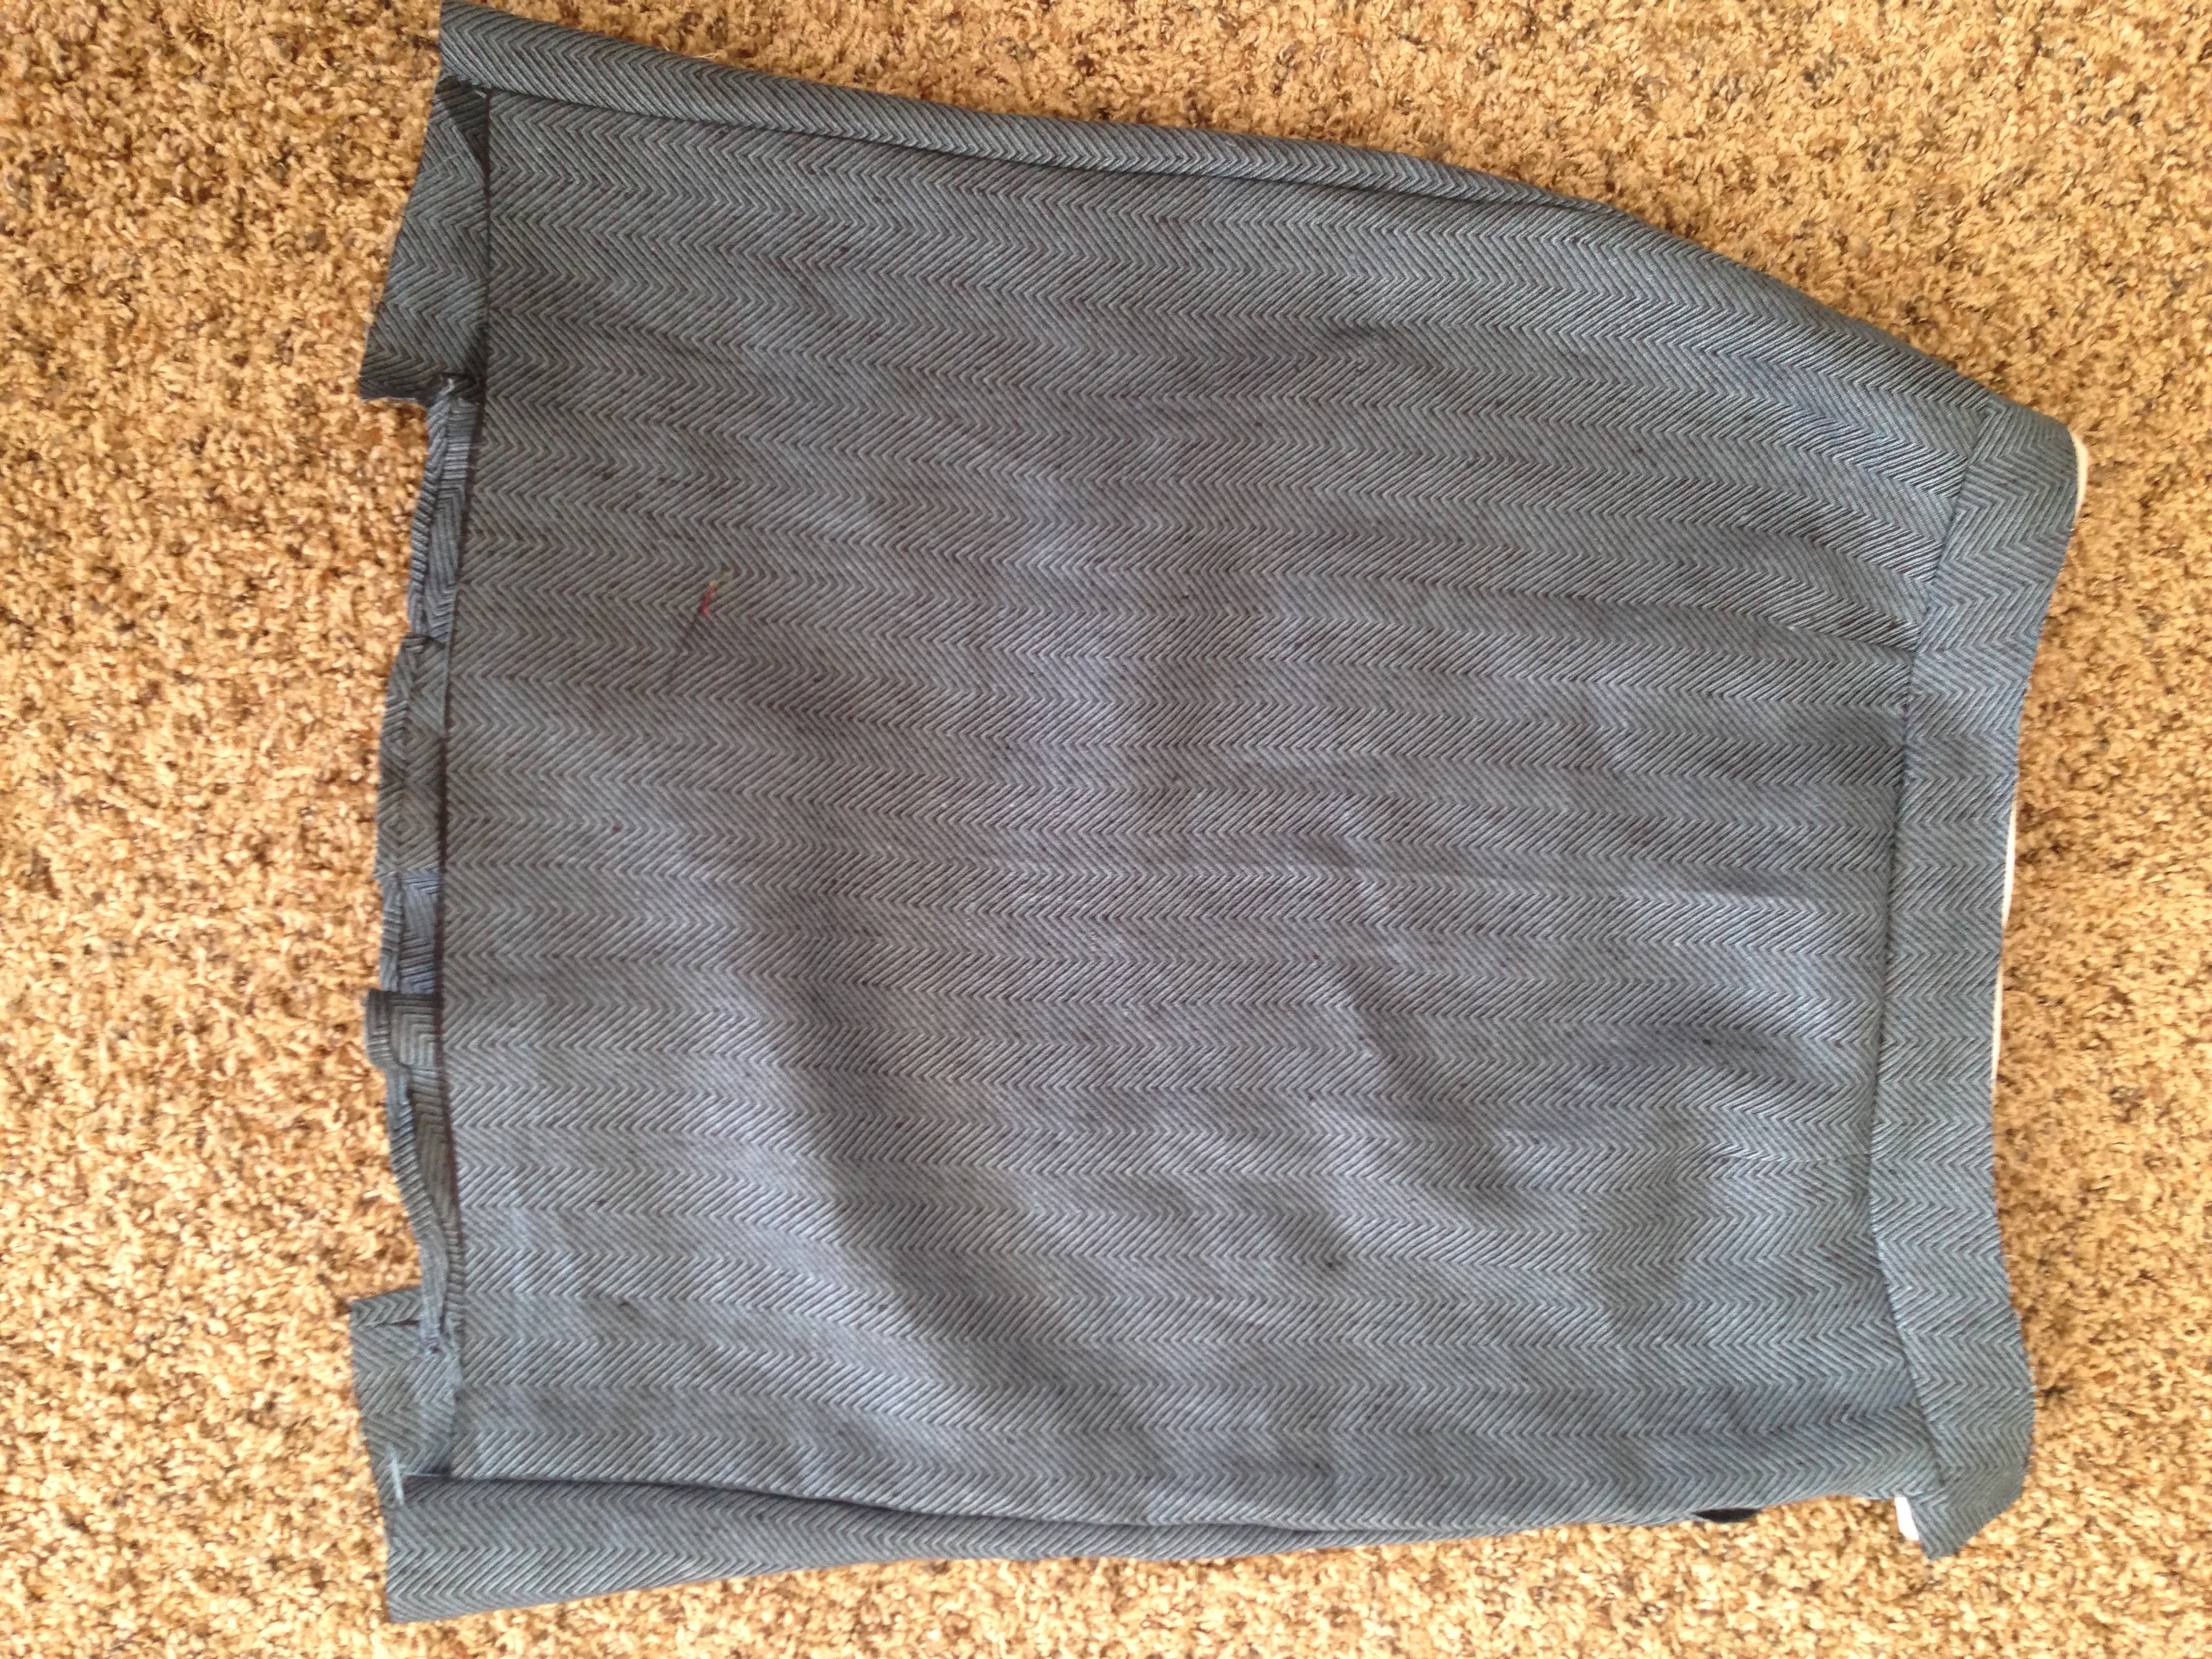
I then pinned the hell out of them and cut out 2 pieces at a time using scissors instead of my rotary cutter which I think was moving the fabric around a little too much on that dreaded bias.
Much better:

A good tip is to also sew each flounce in the same direction this will make a huge difference in getting them to be on the same curve.
I compared the two flounces to see if I needed to re-sew any curvy areas to get them as perfect as I could 🙂 To get nice clean edges I trimmed my allowances, clipped my corners and curves. I pressed them flat first, then opened up the seams before turning on my wooden pressing tool.


After turning them I ironed them again and got a very nice smooth curve. What do you think? It’s as good as it gets because I am not making another set of these lol !

All in all I did do some alterations, I didn’t want it too tight and overfitted but now looking back I wish I would have taken a bit more out from under the arms and shorten the back to waist seam line. I still like it and I learned a lot from making my first jacket. Here are a few more pictures my hubby took for me.


What do you think? Have you ever made jackets before and if so what advice do you have for the next one I make? I really need a sewing buddy that can help me with alterations on myself if I could have seen the back better and pinned out some of that fabric it would have looked nicer.
Thanks for reading and have a great weekend 🙂