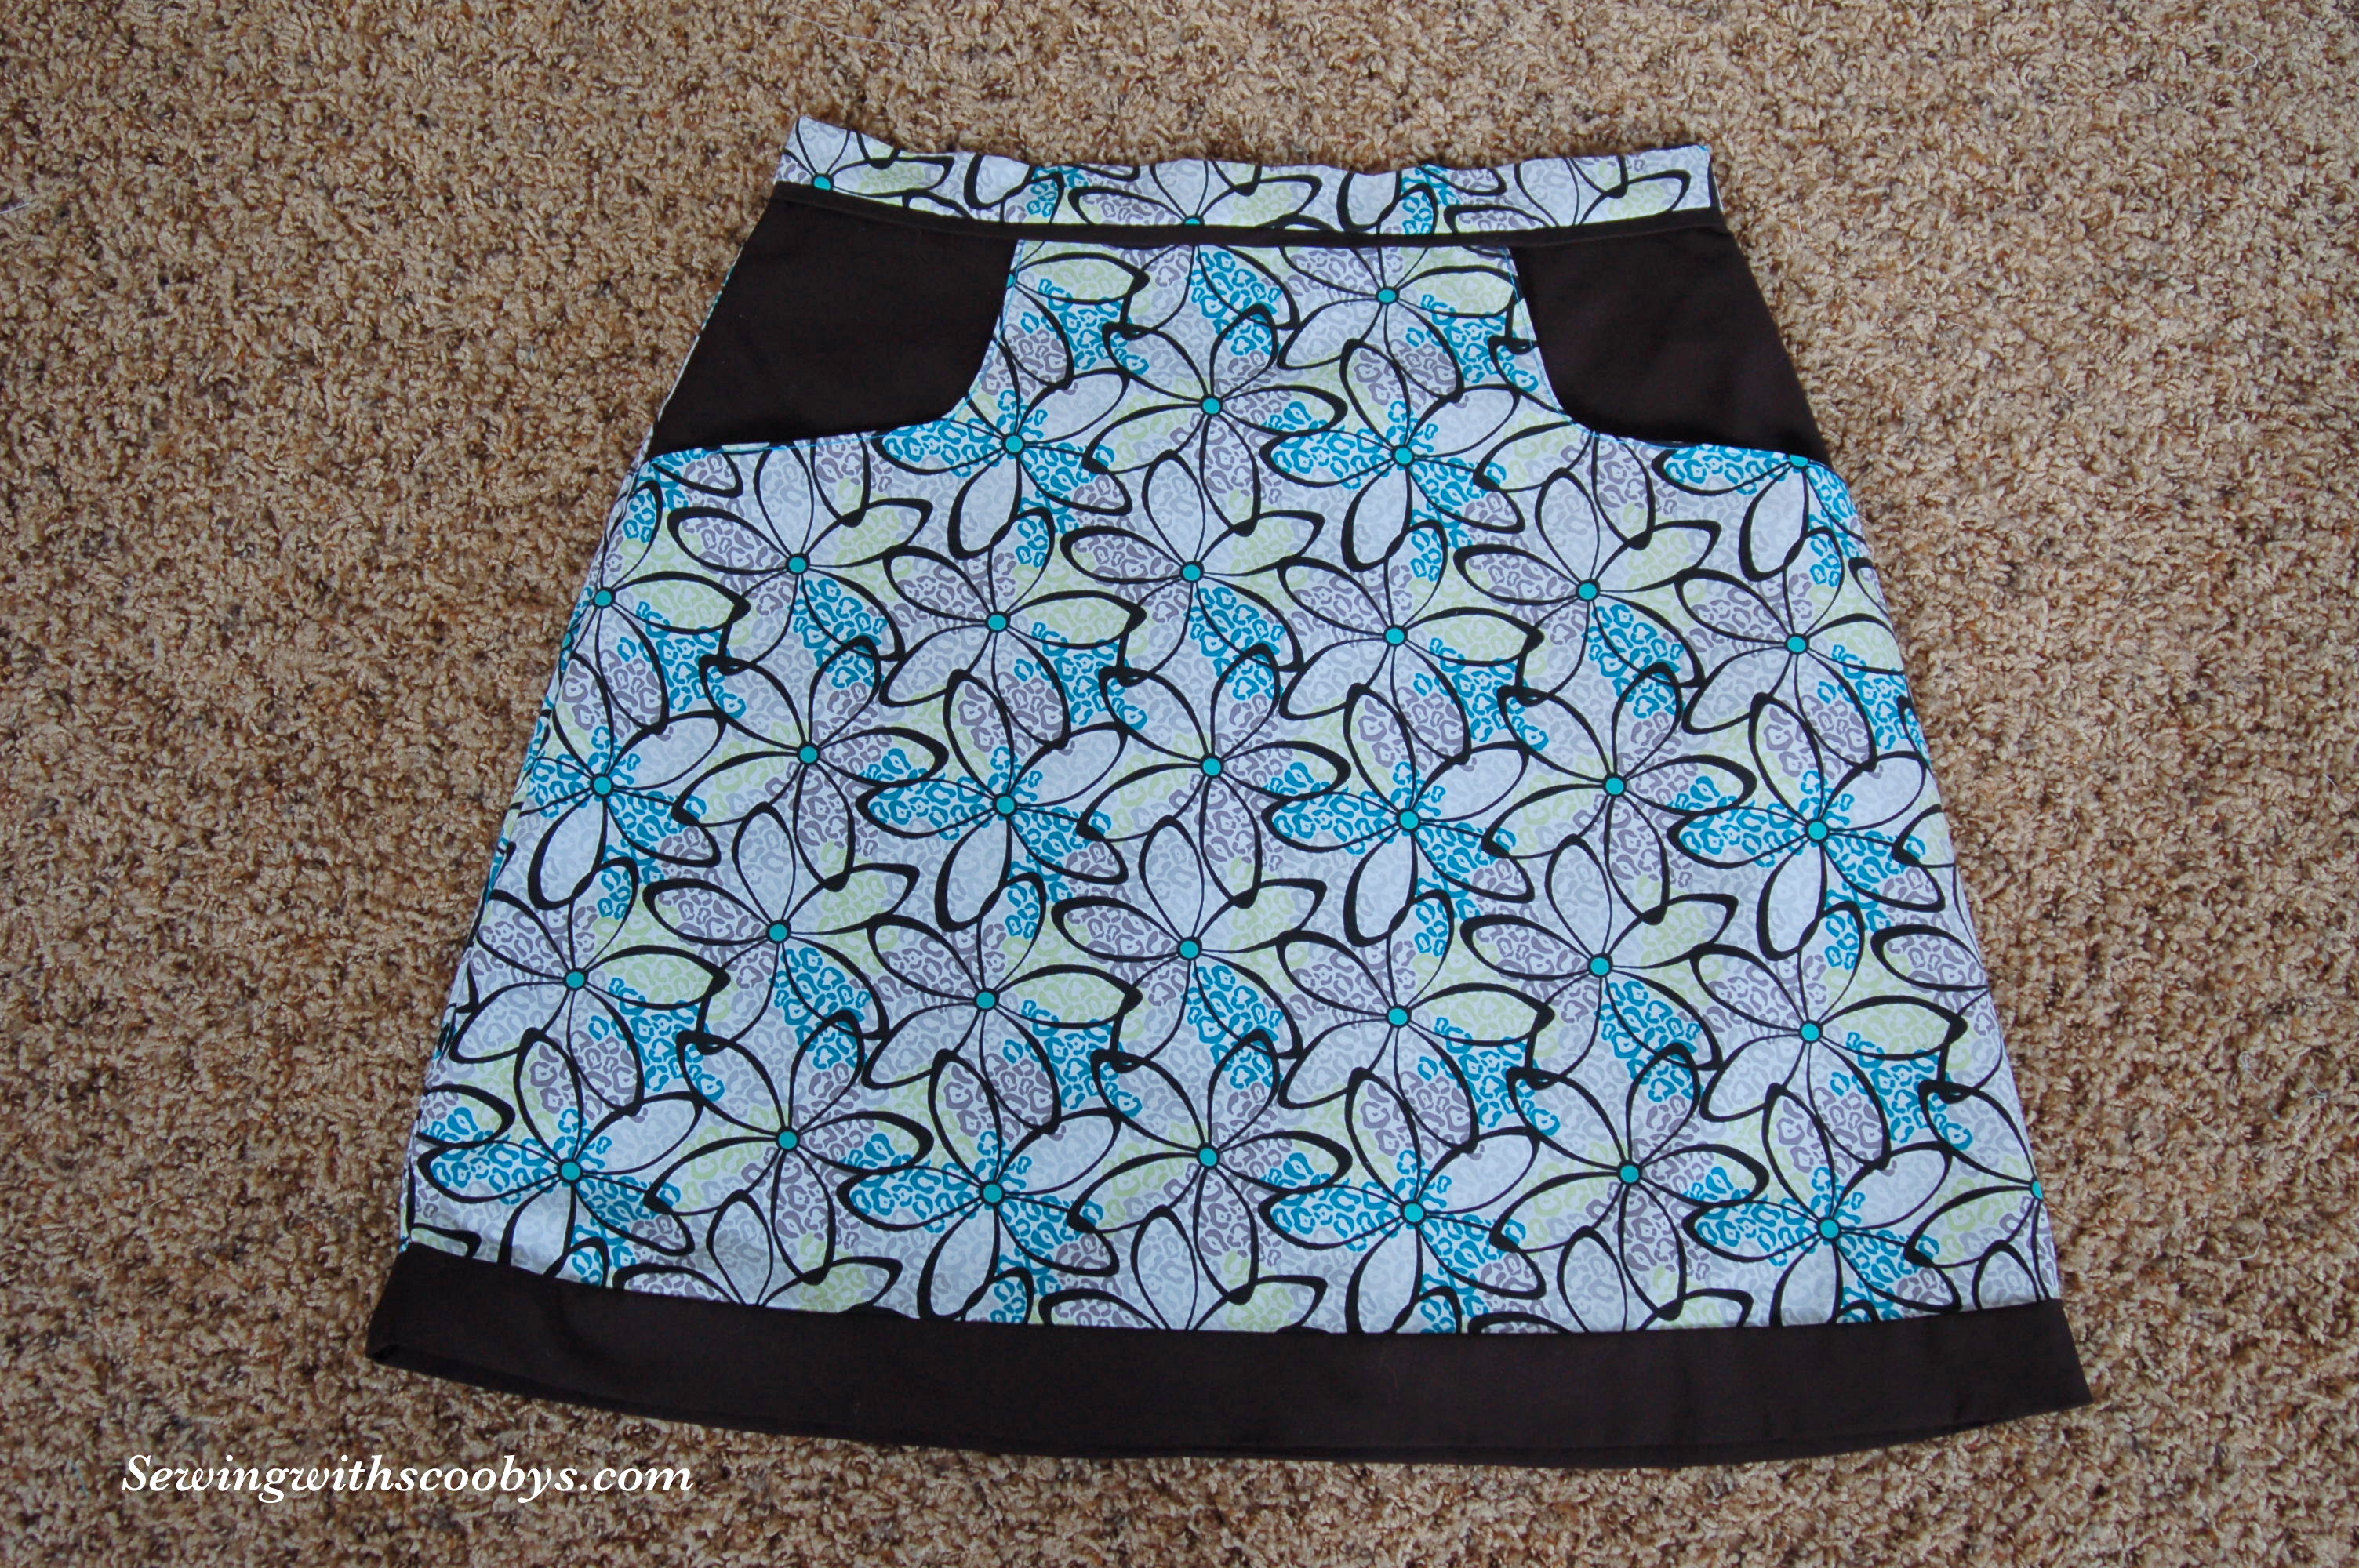
I have oodles and oodles of pictures to share with you!! I am so excited about how this skirt turned out! Thank you CRAFTSY and your drafting courses!!
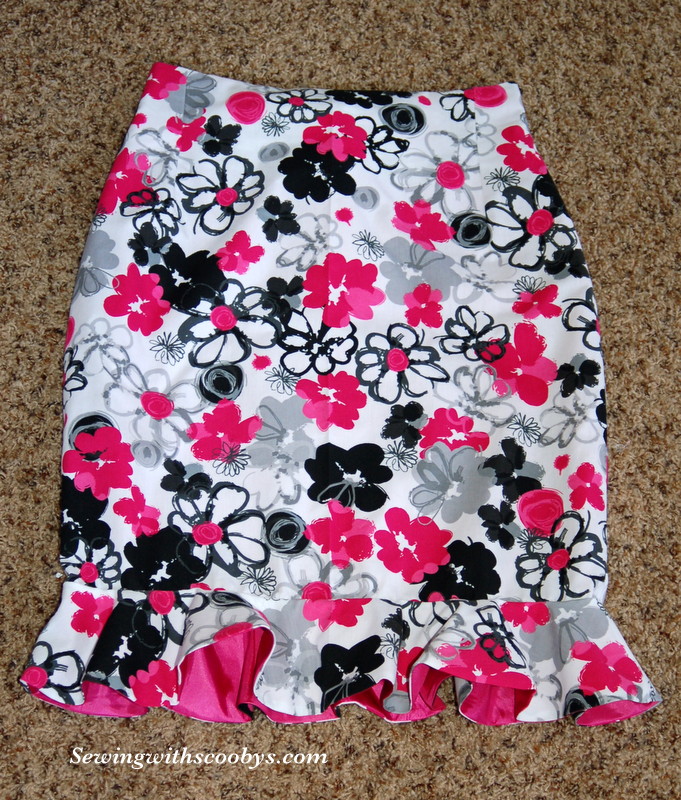
Ok so I drafted a high-waisted pencil skirt, with a flounce and facing. It was so nice to cut into REAL fabric for a change and not MUSLIN!
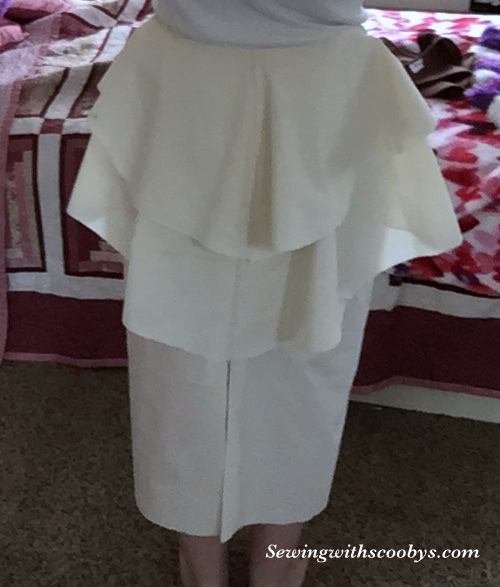
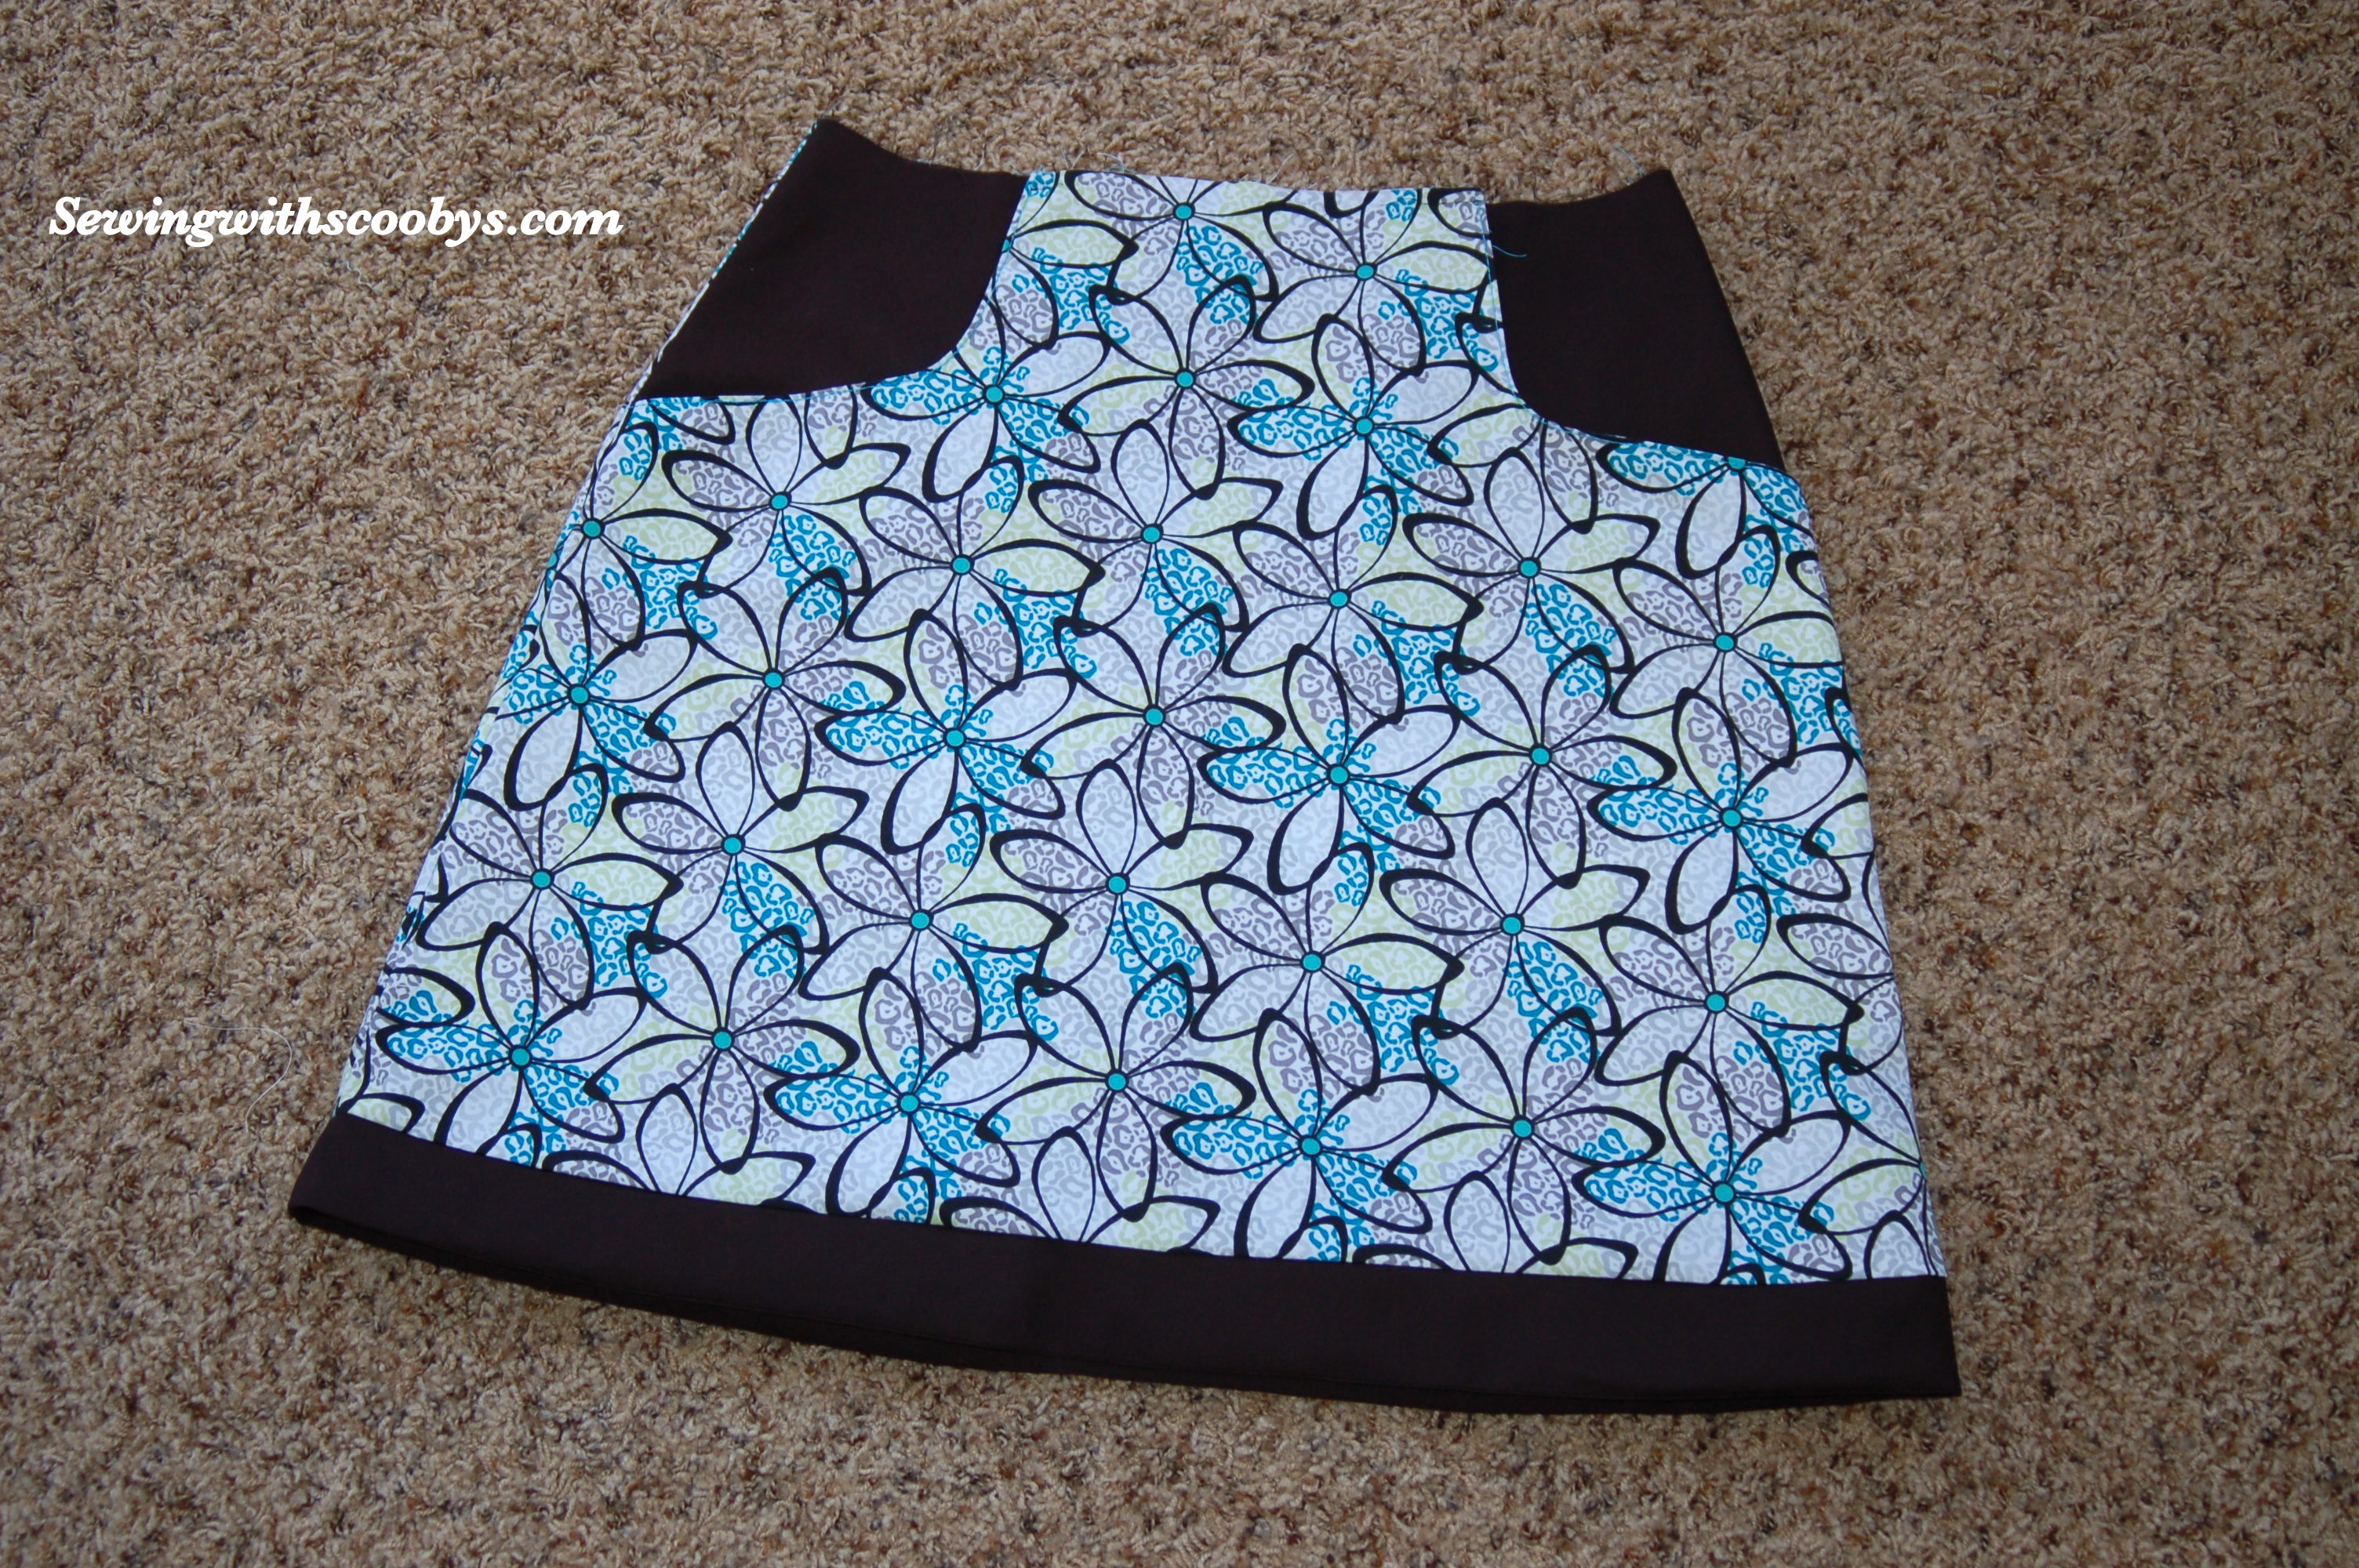
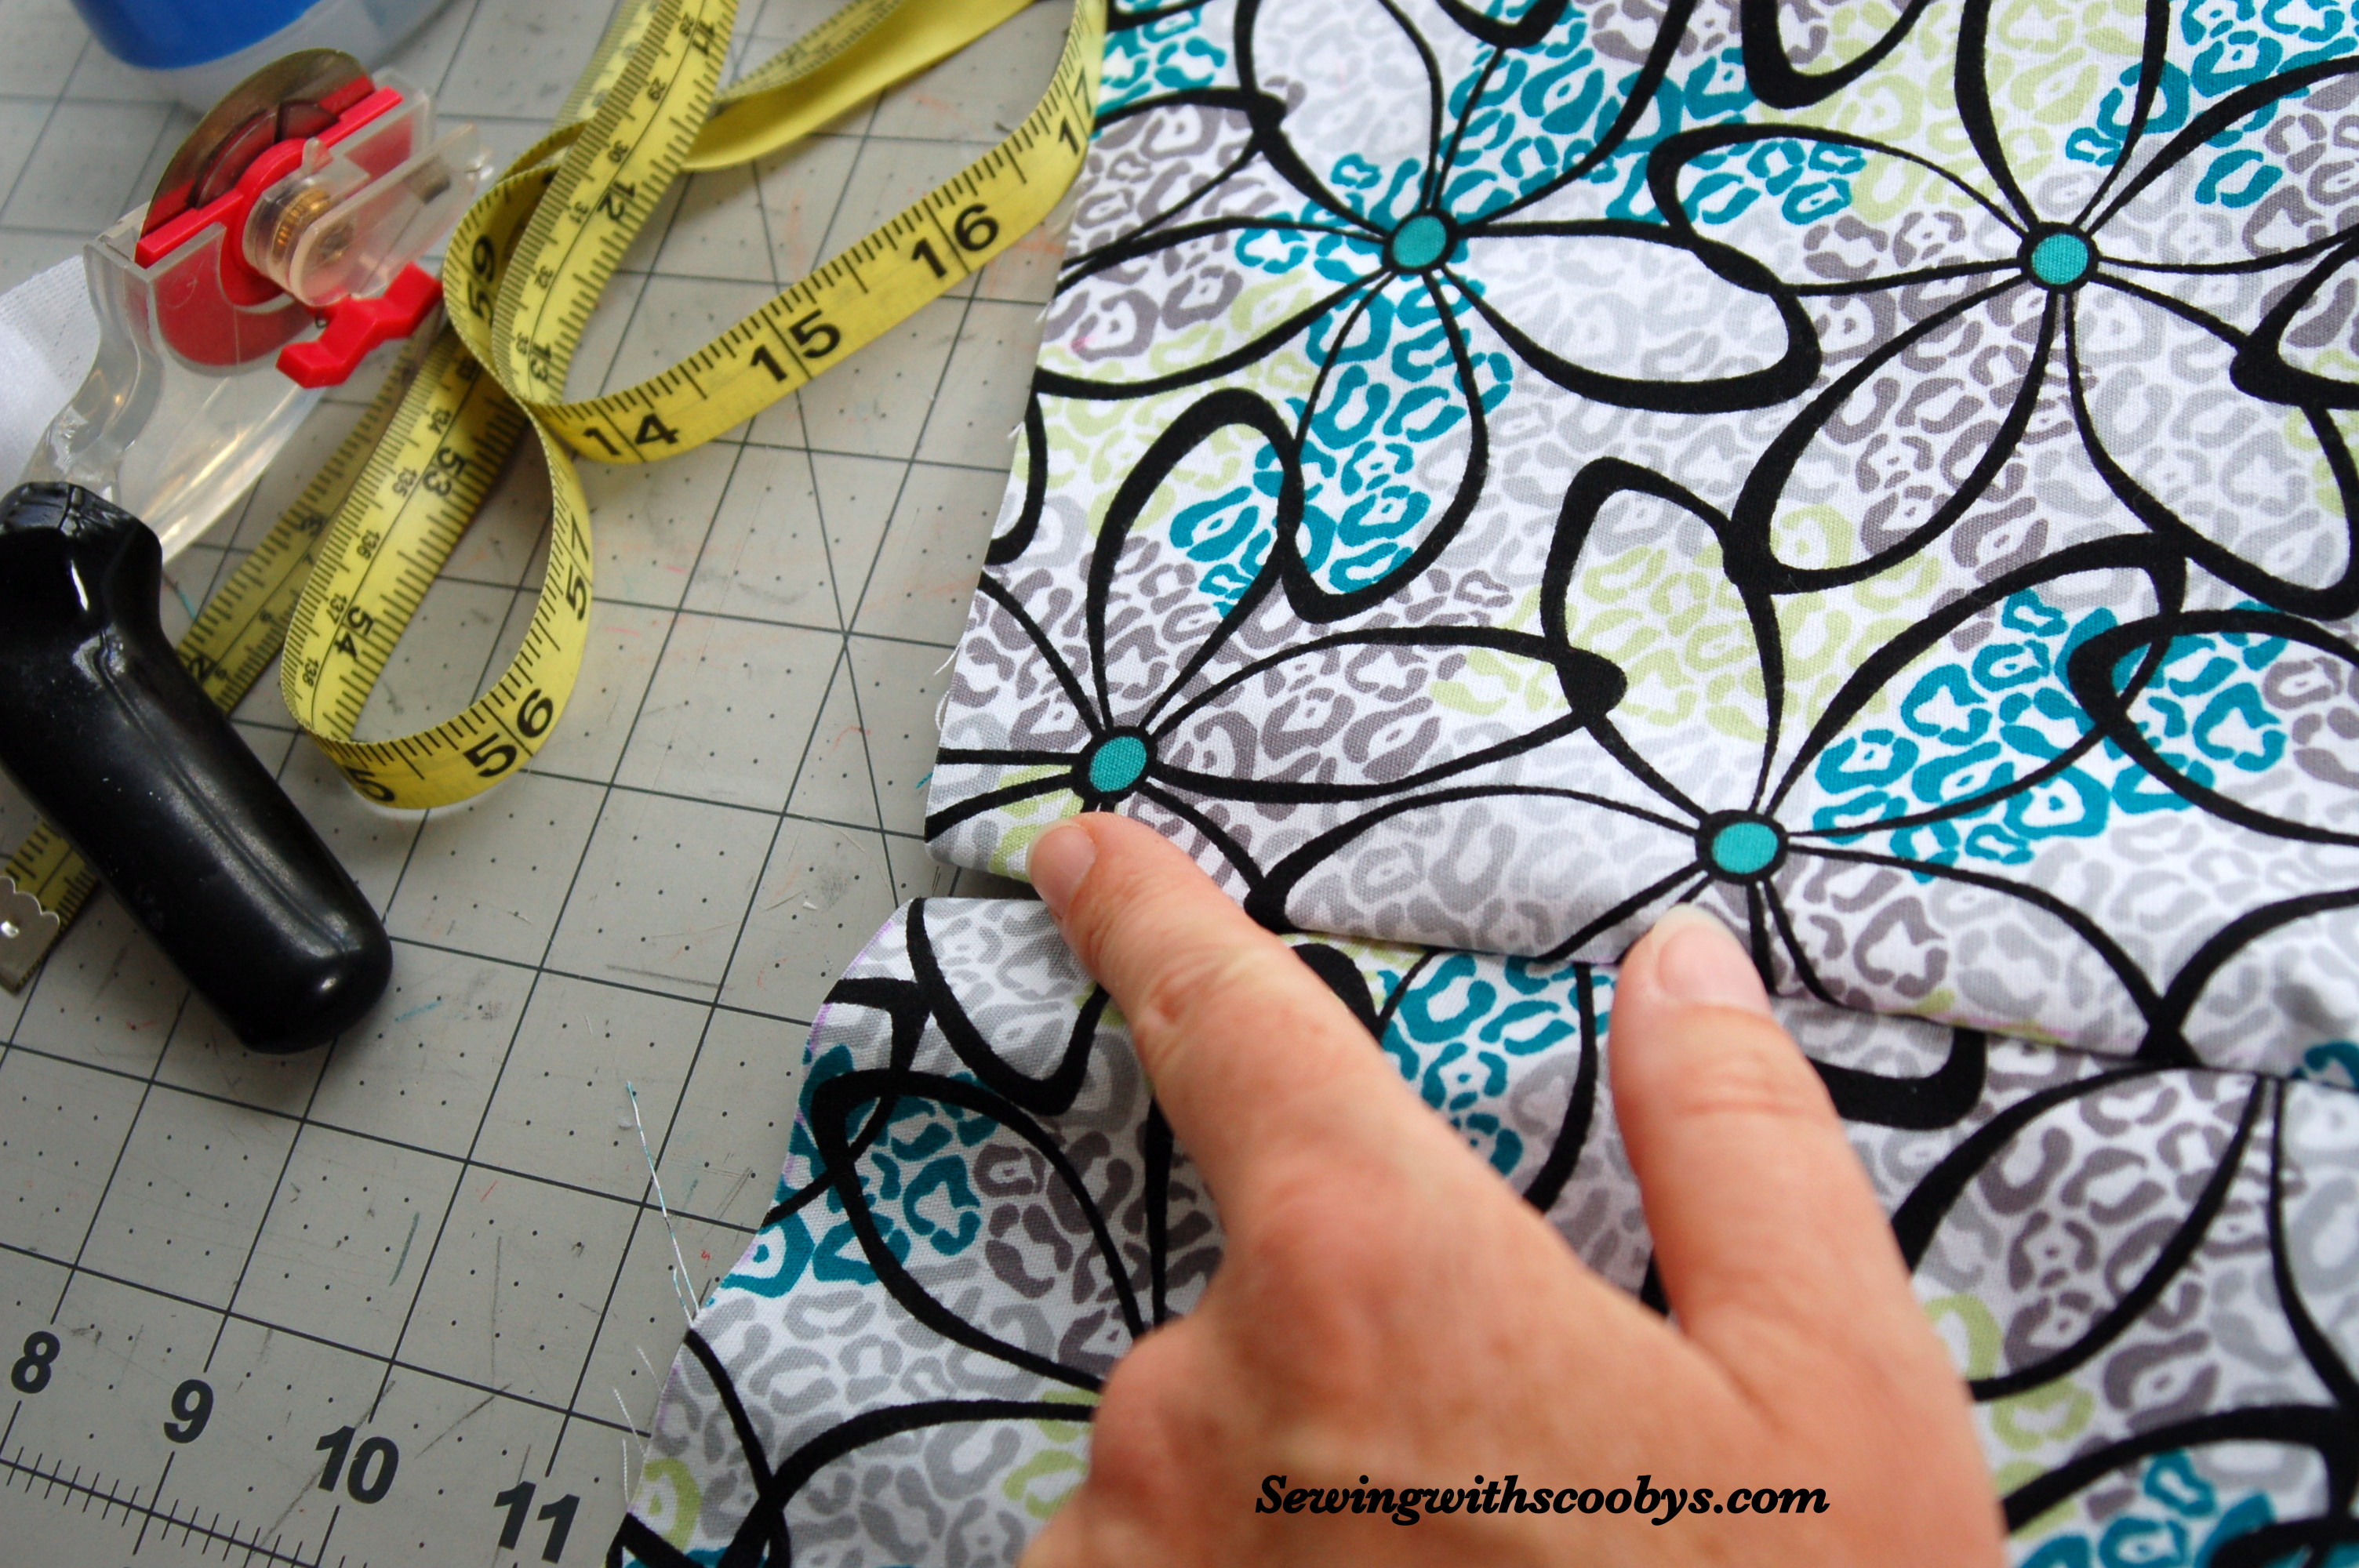
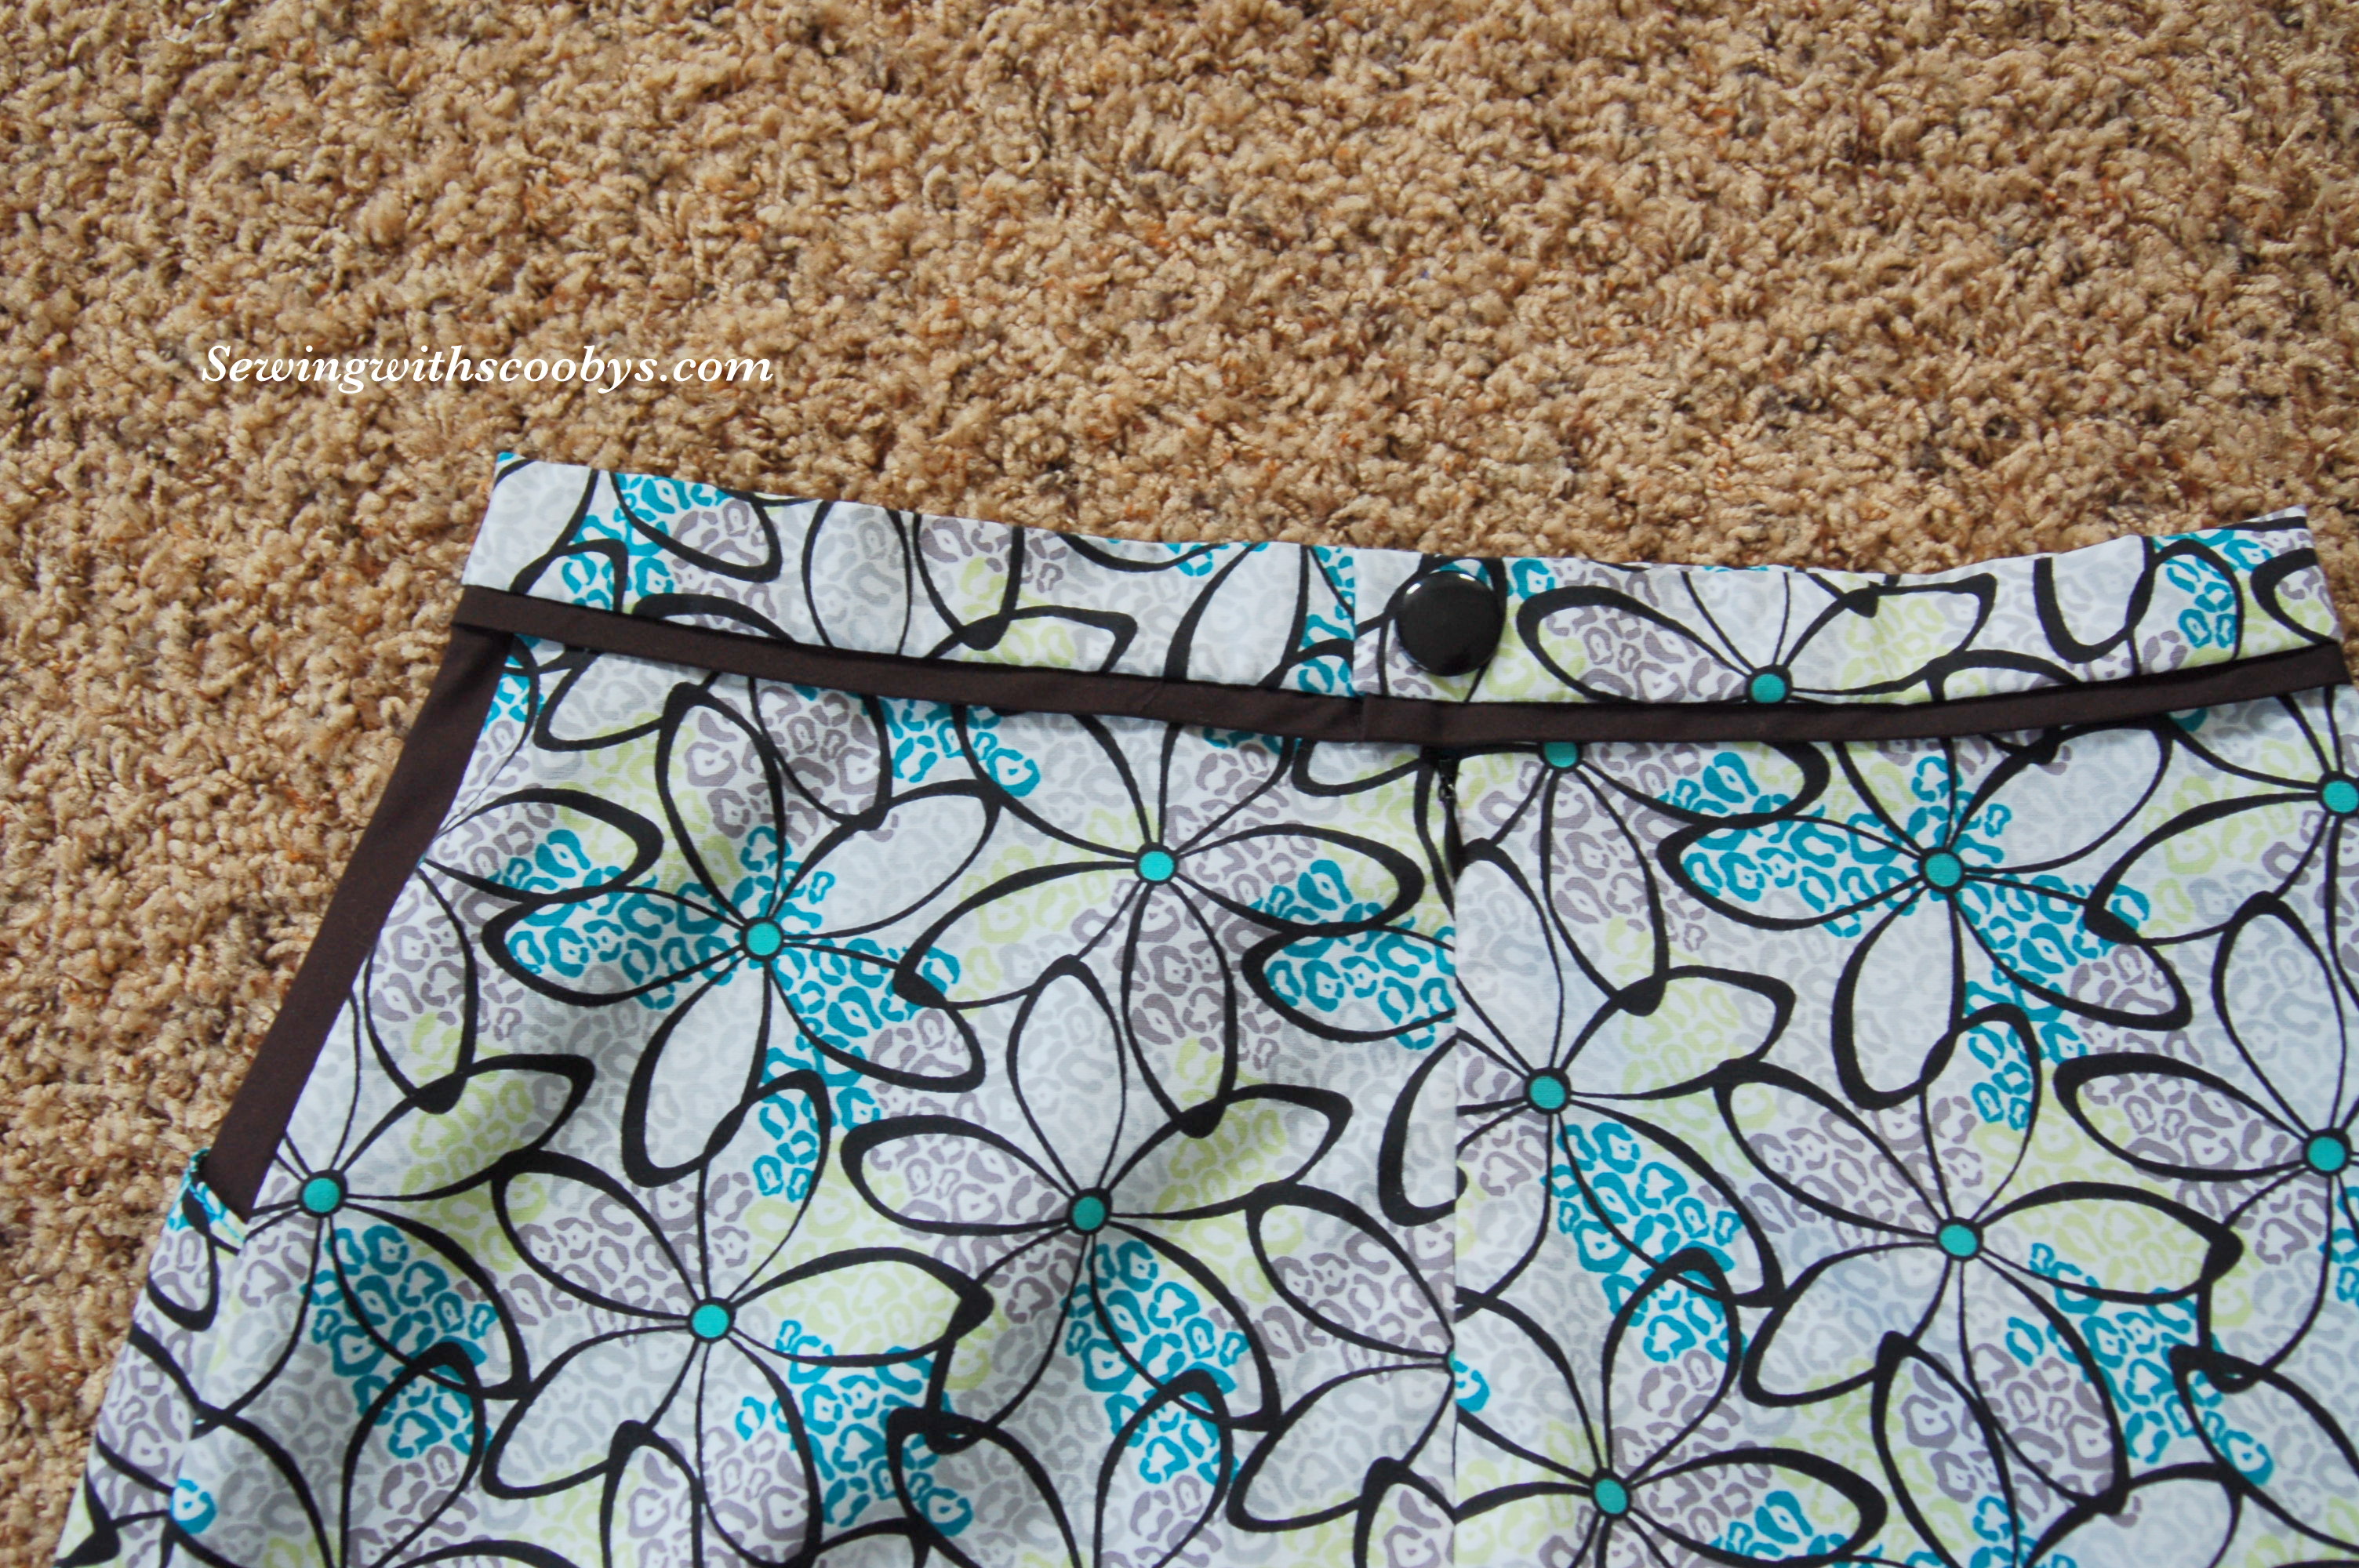
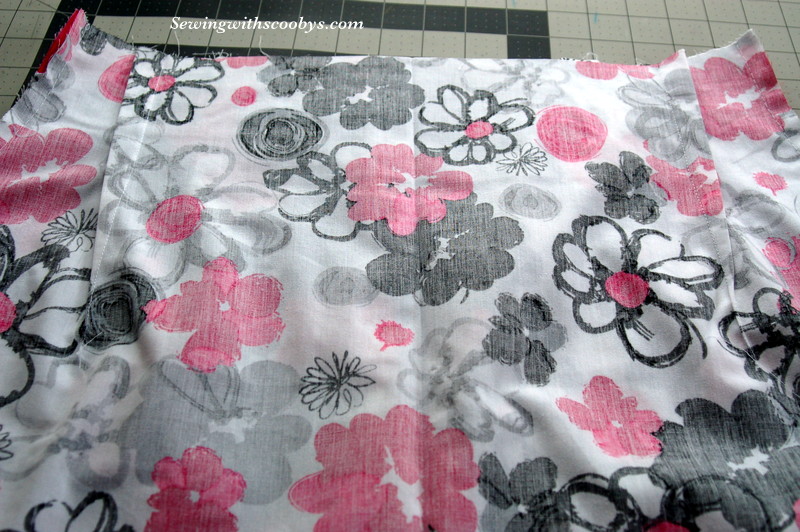
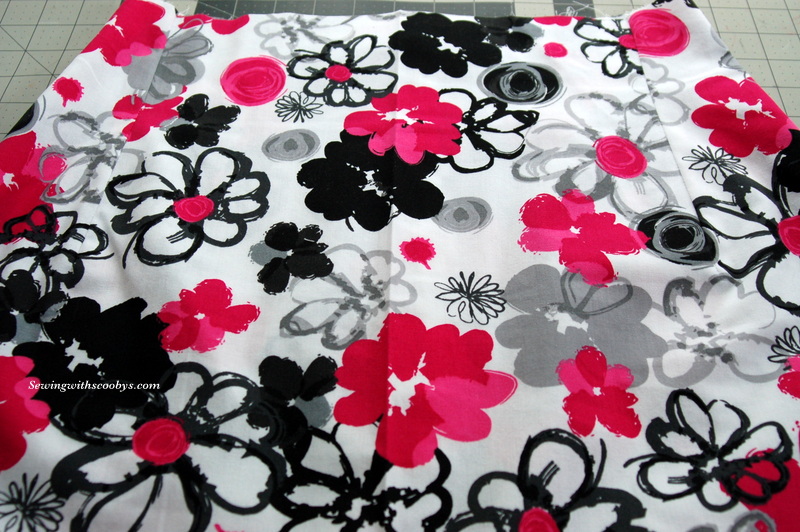
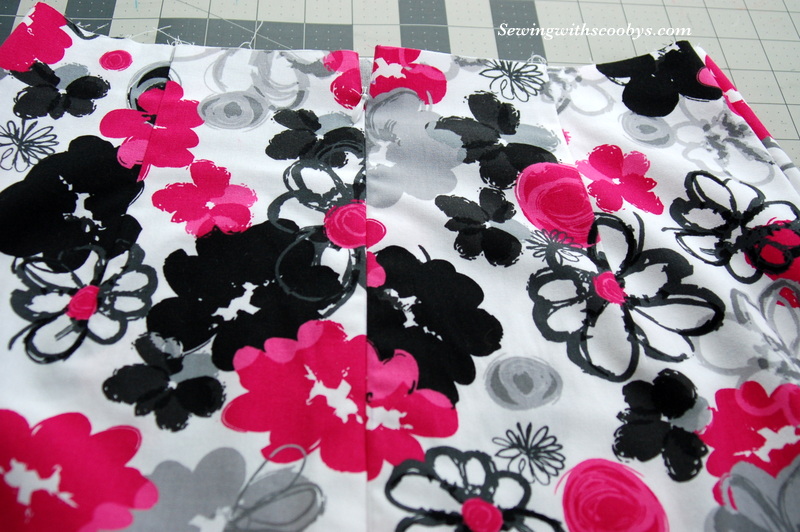
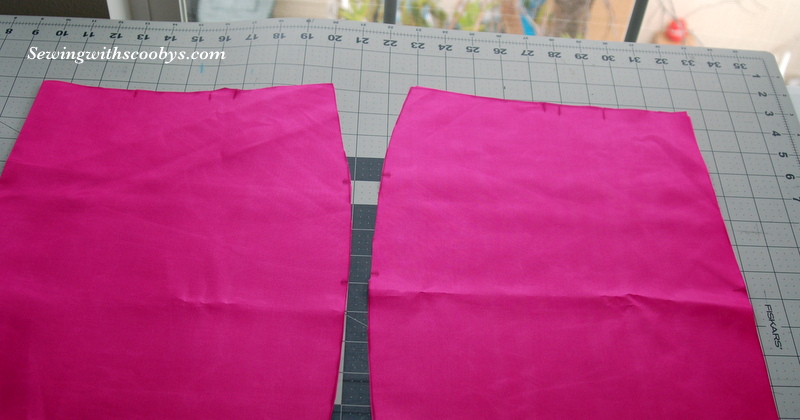
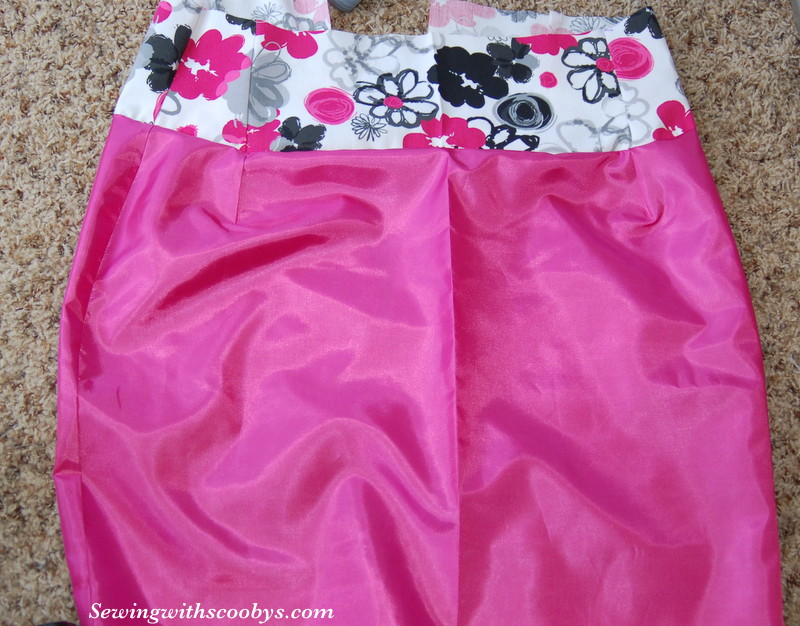
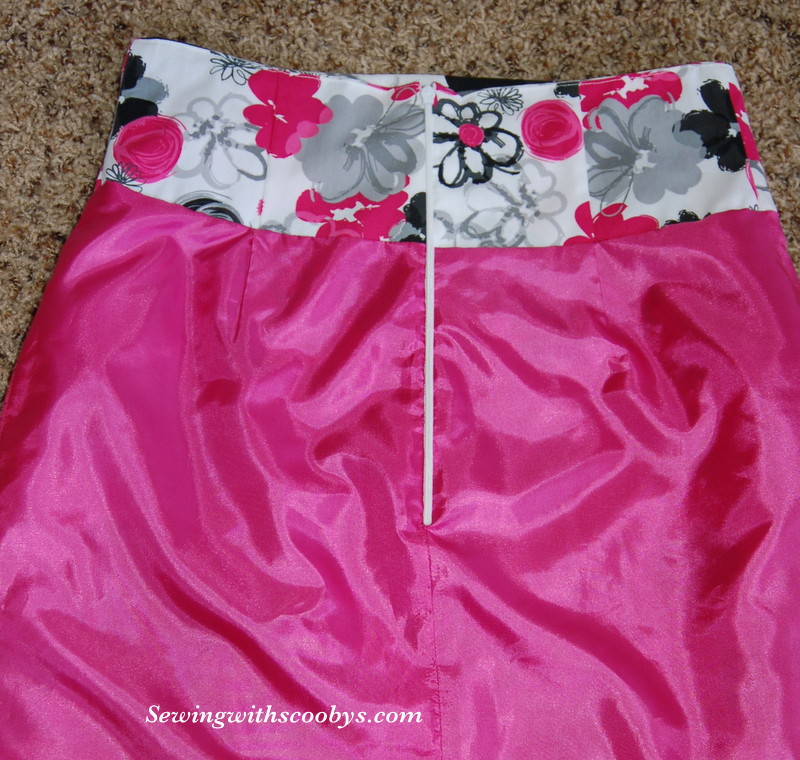
Here is the skirt shell: Check out my darts, no bubbles on the vanishing point of the darts! YAY! These courses will make you really good at darts and confident with your construction.


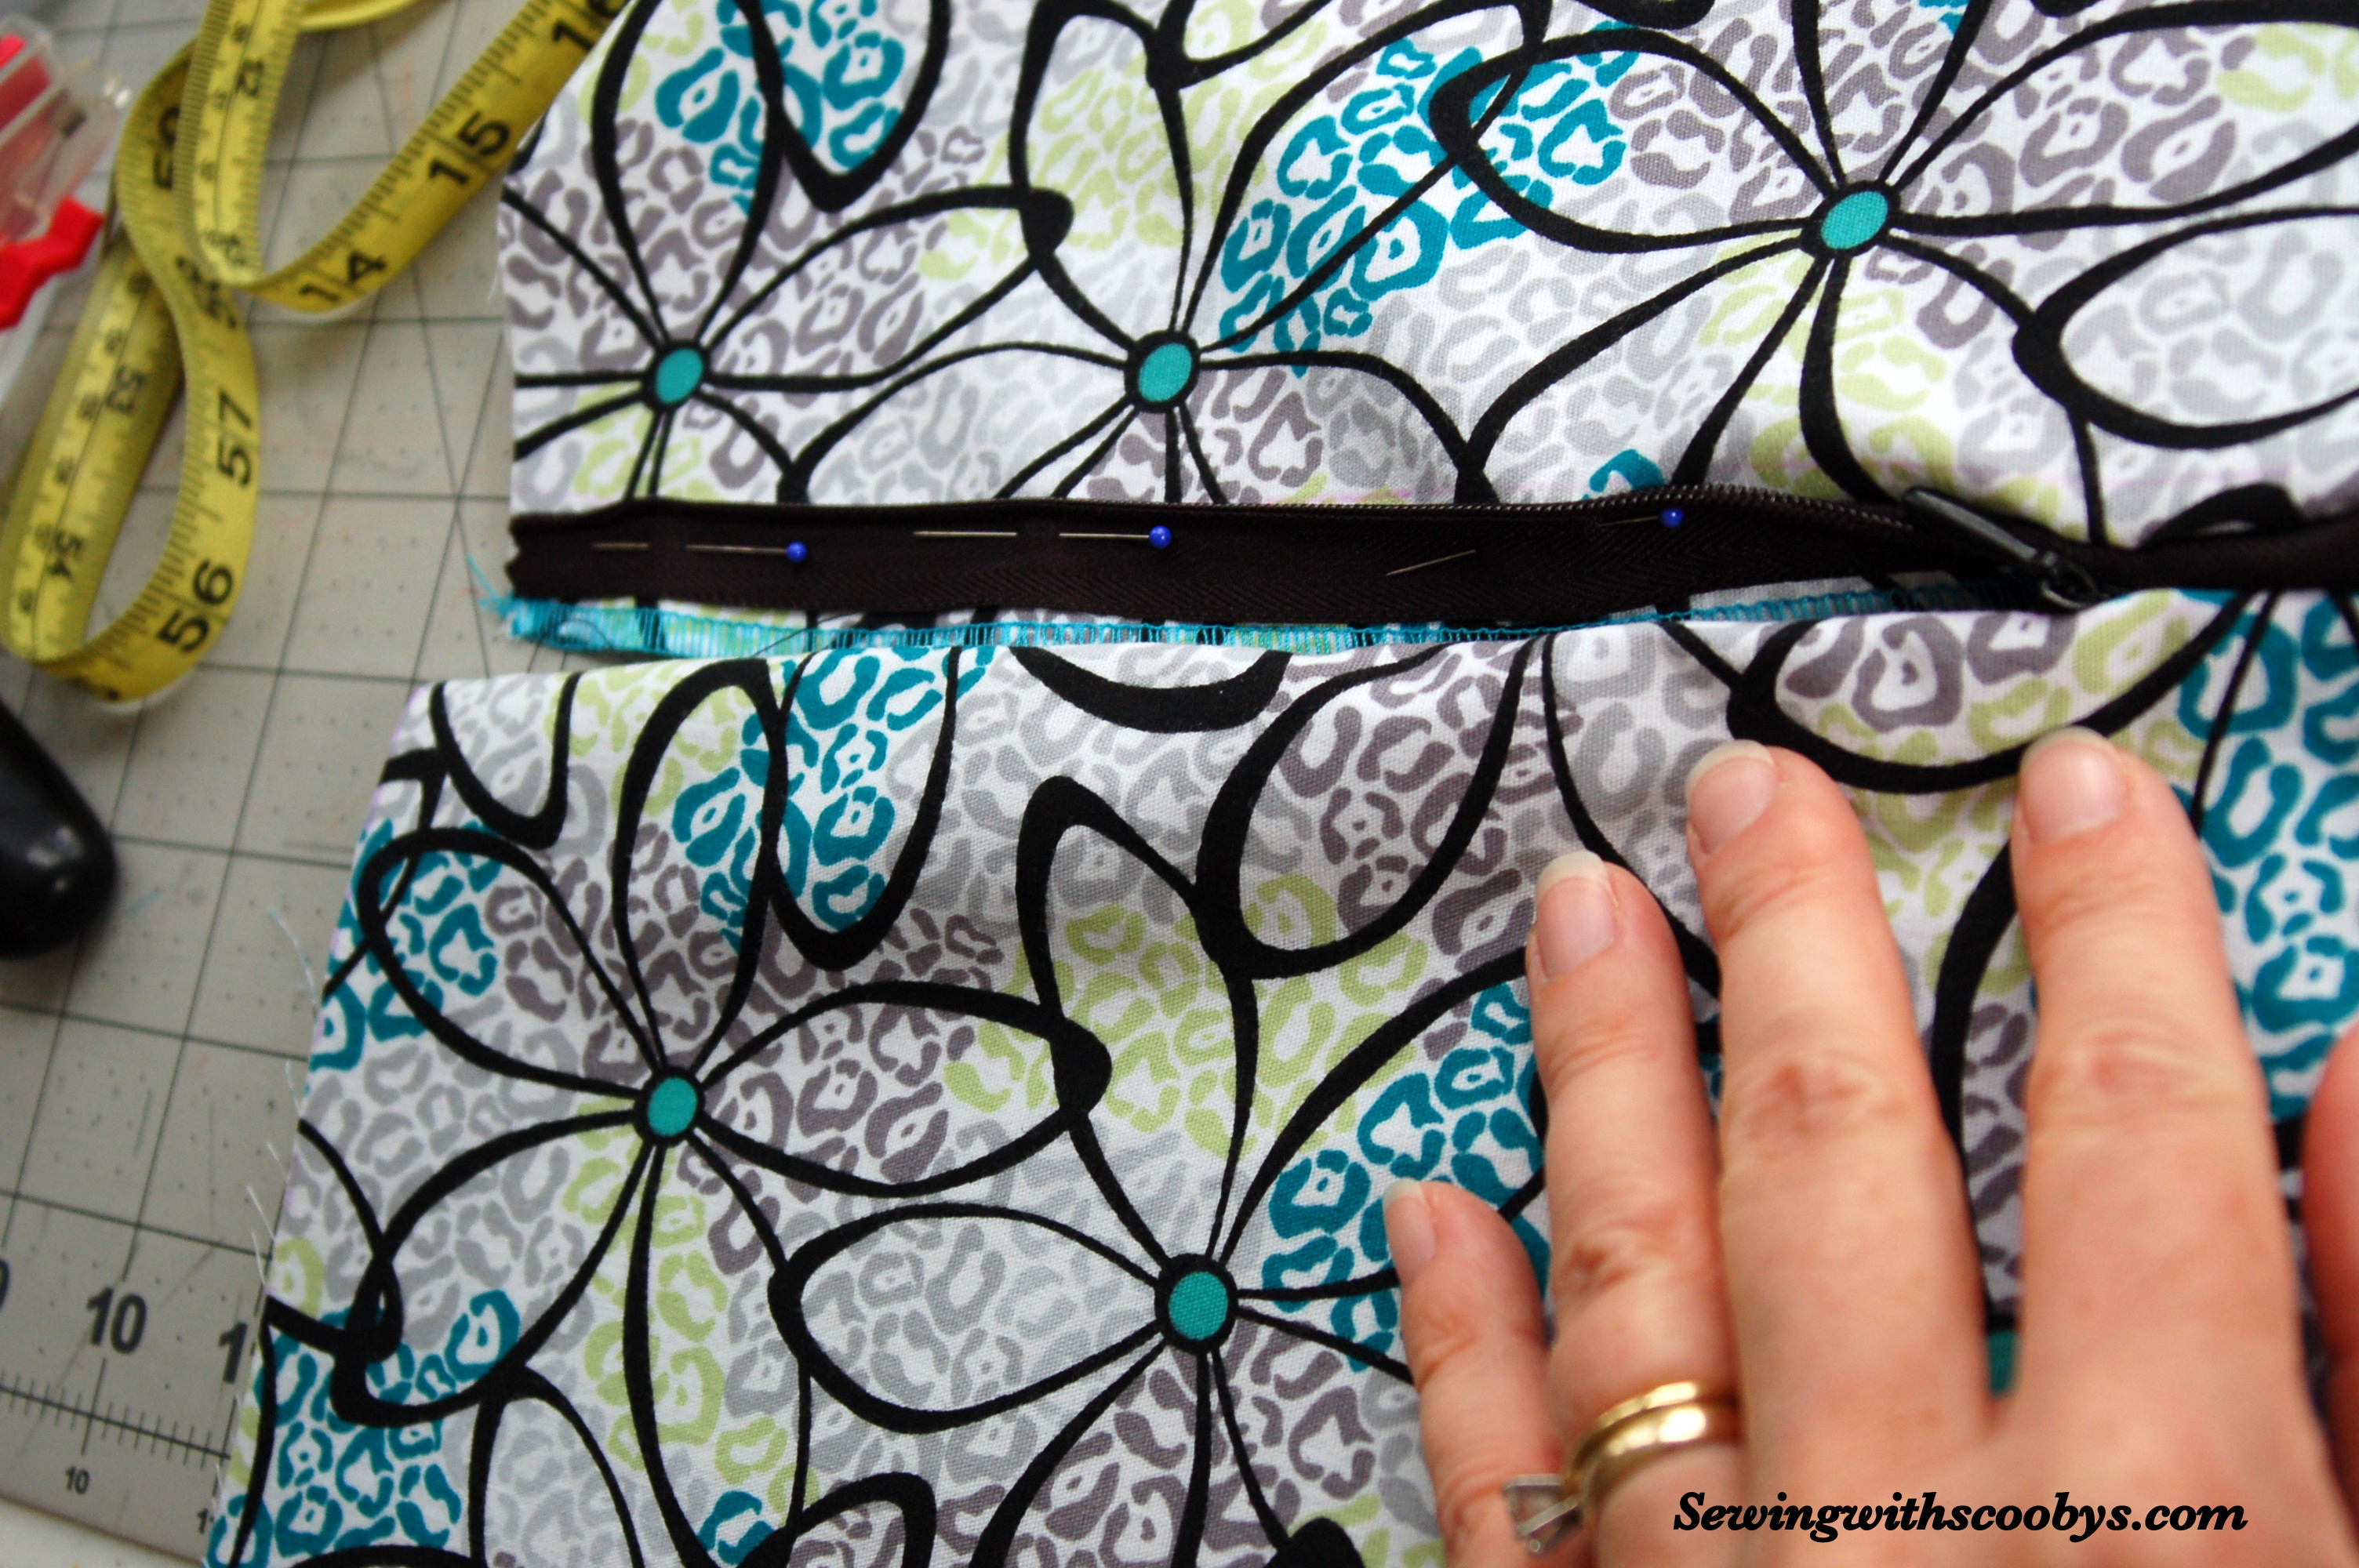
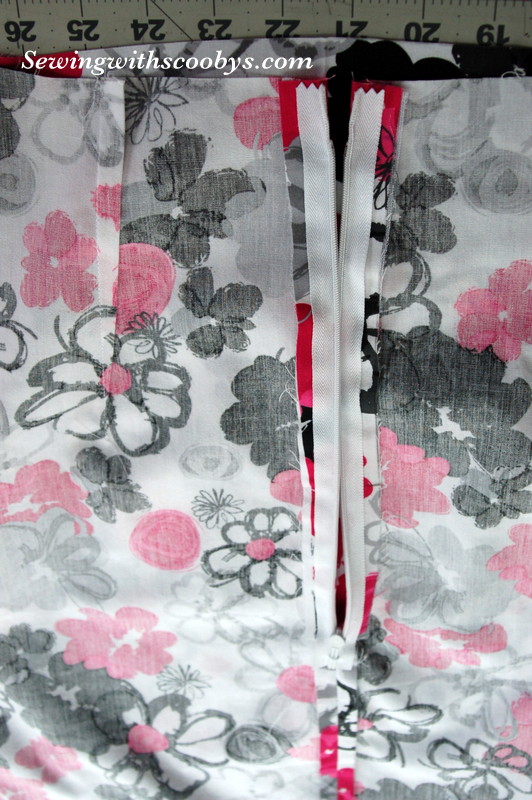
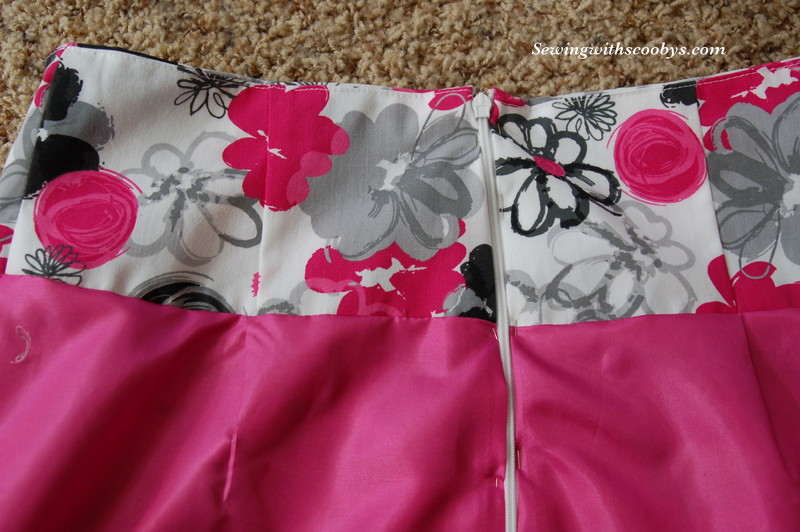
The invisible zip went in surprisingly well. I don’t know why but zippers always make me nervous and are usually a bitch to put in! I interfaced this area with fusible interfacing.


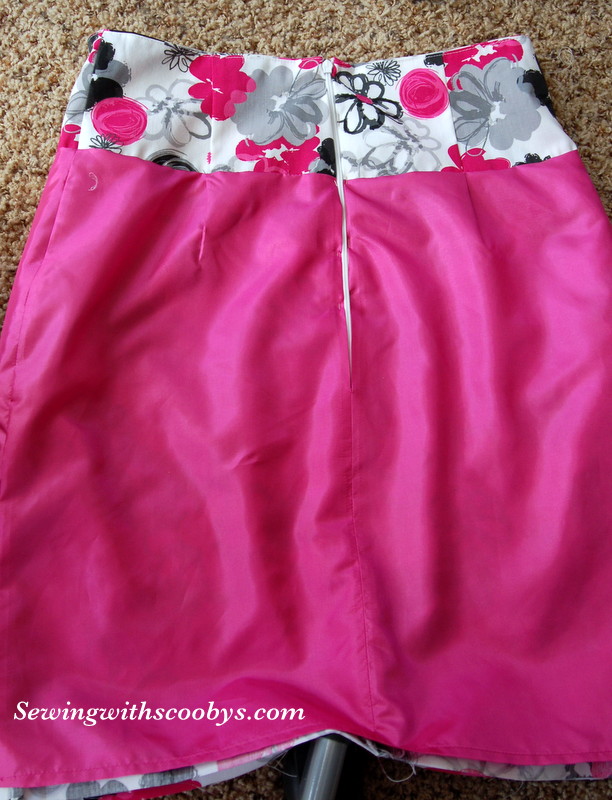
I basted the side seams and tried it on, it was perfect so I went ahead and sewed it for real. I also serged the edges to get a clean look.
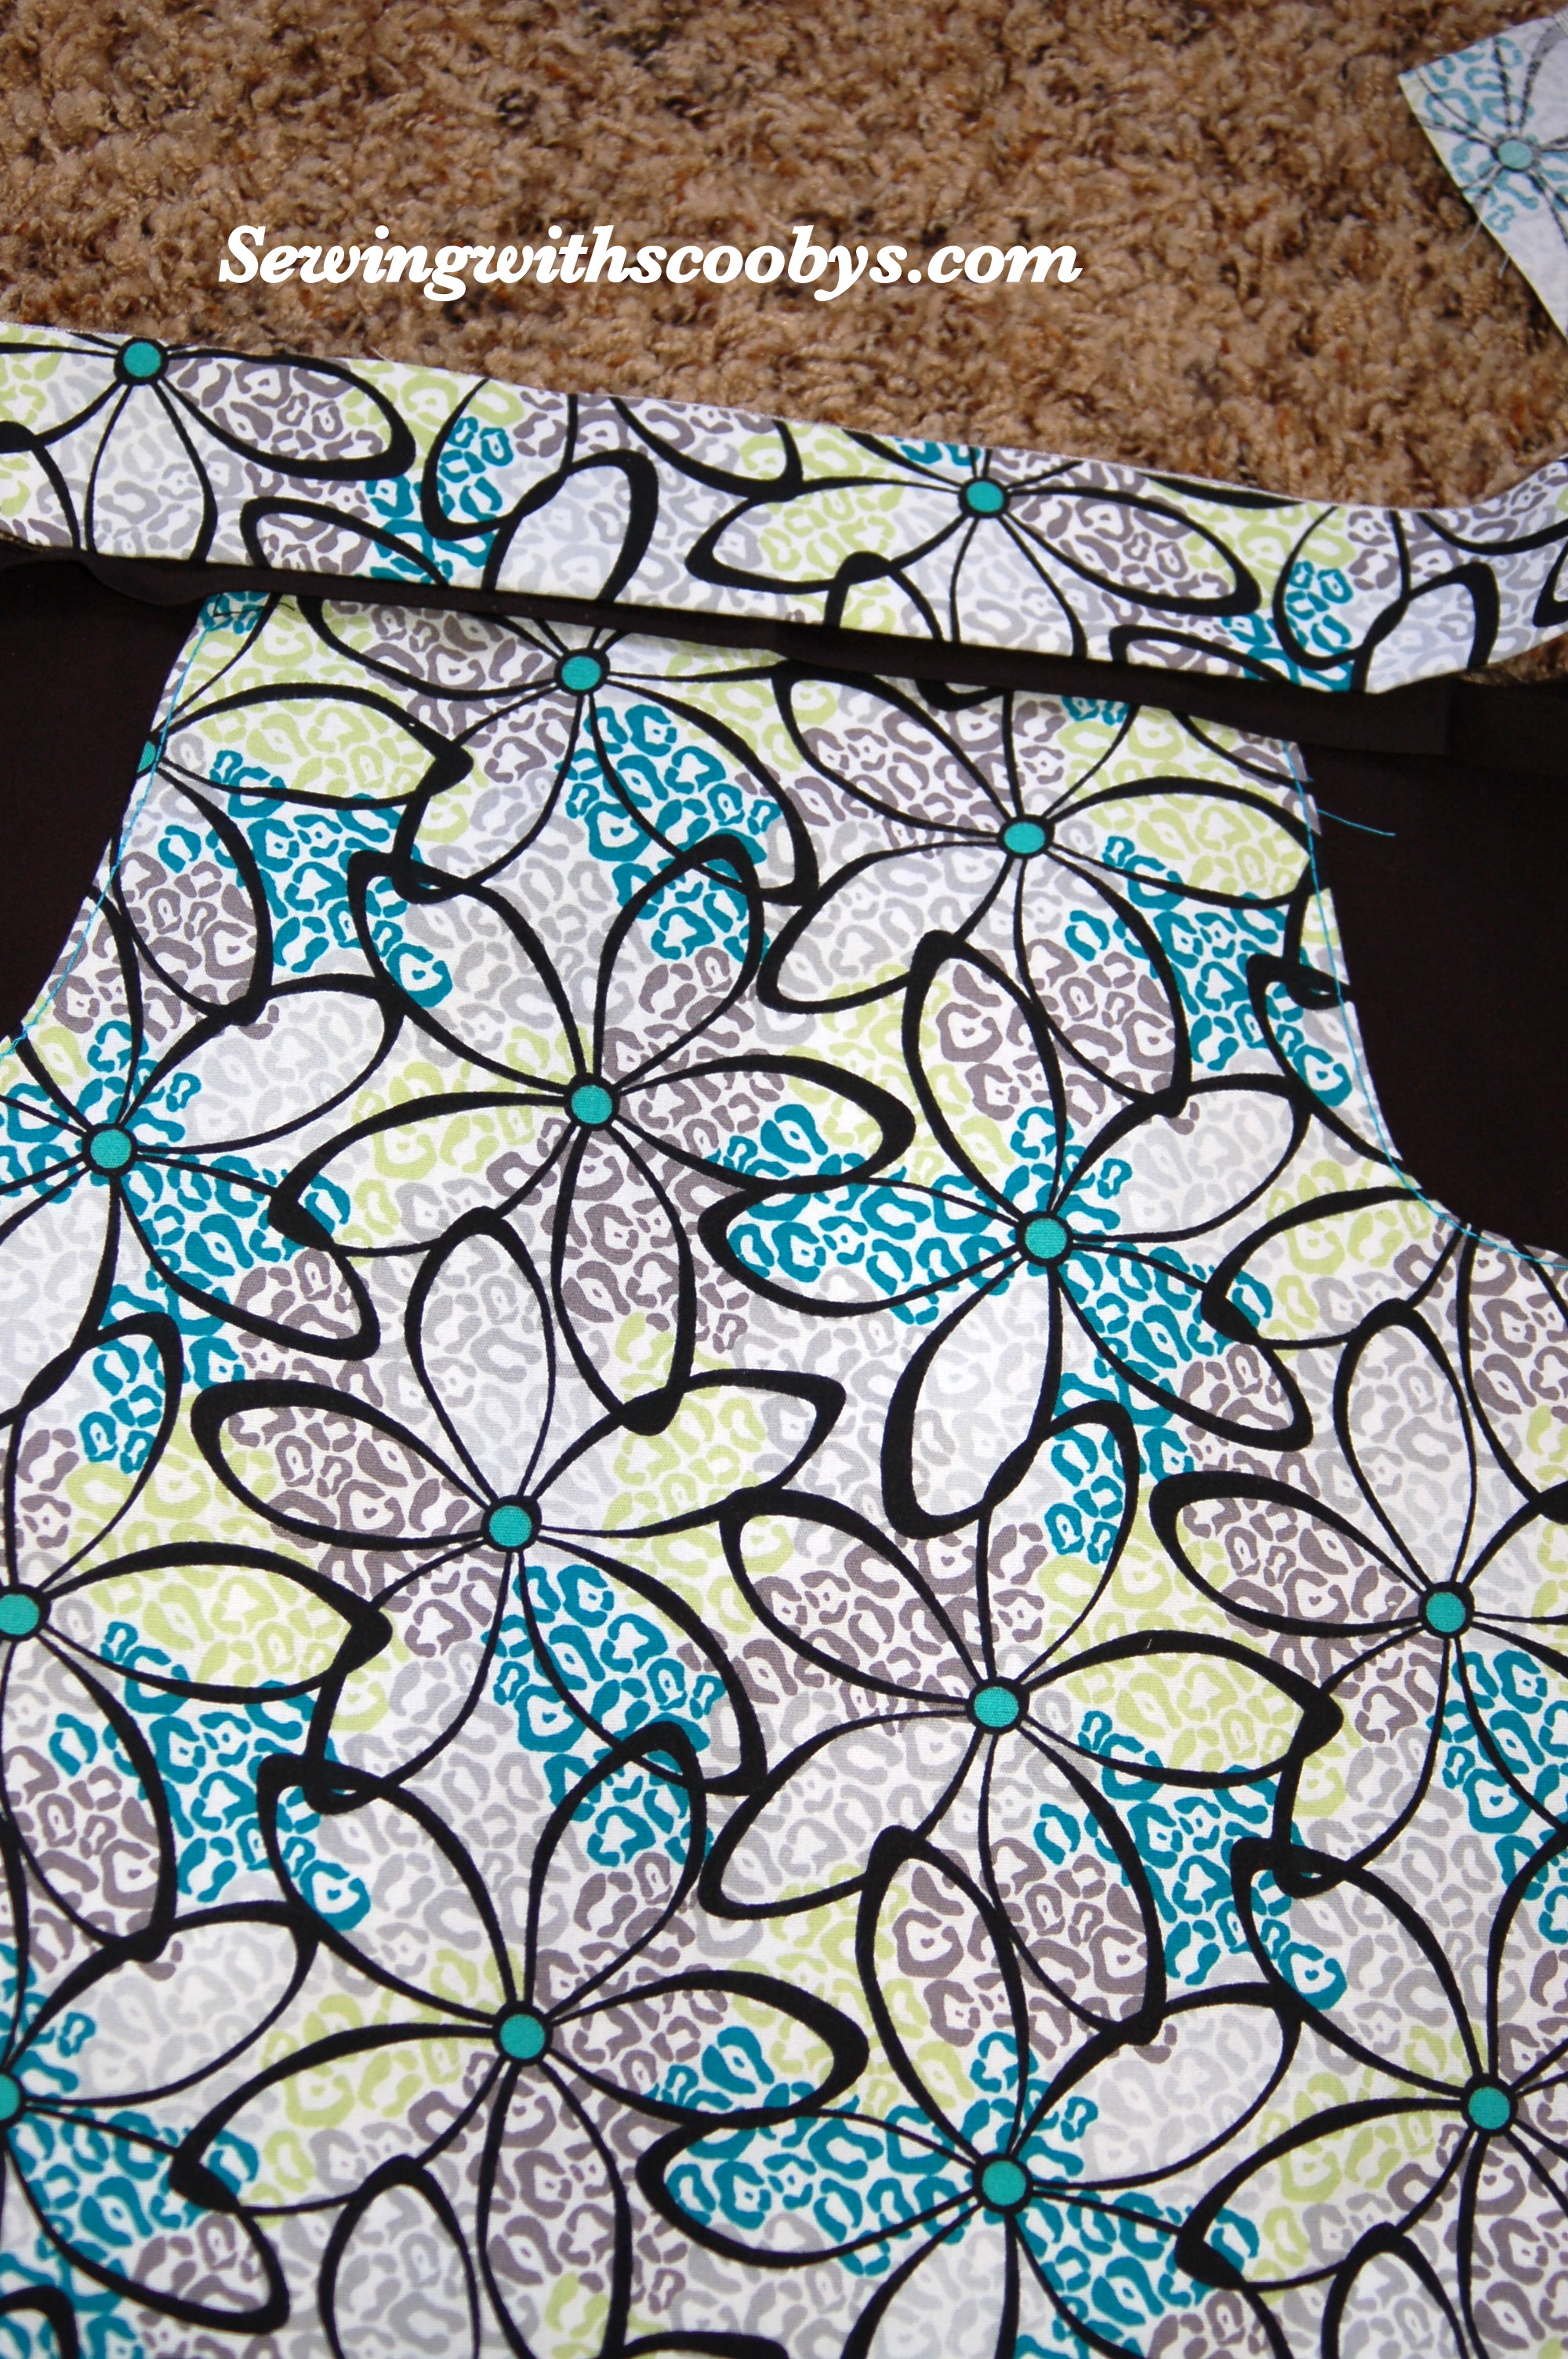
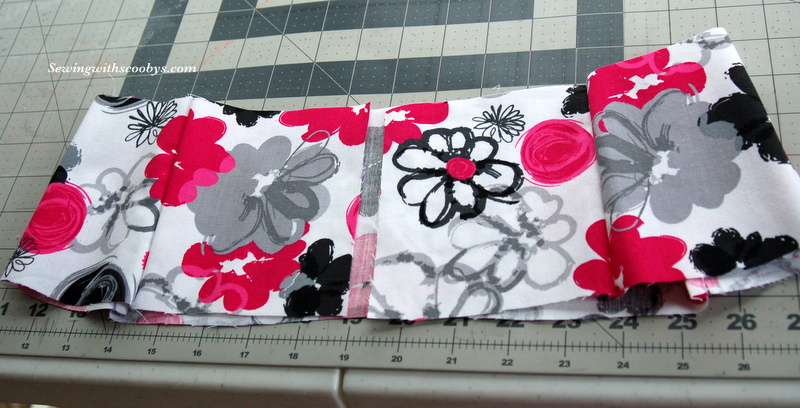
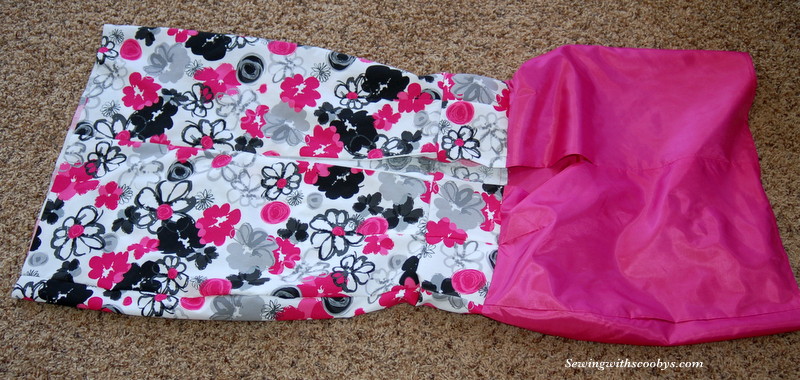
I prepared my flounces and facing:


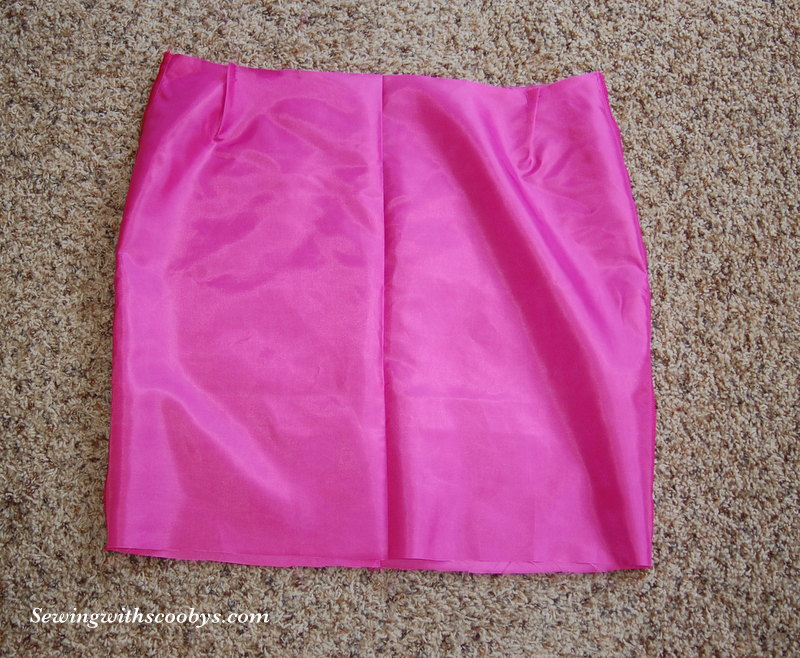
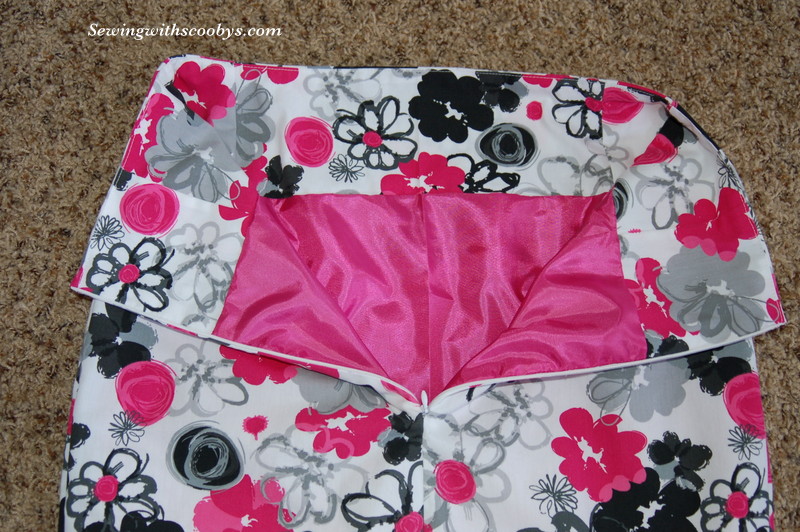
I cut out my lining and pleated the dart areas. I serged it and pressed it ready for applying the facing:


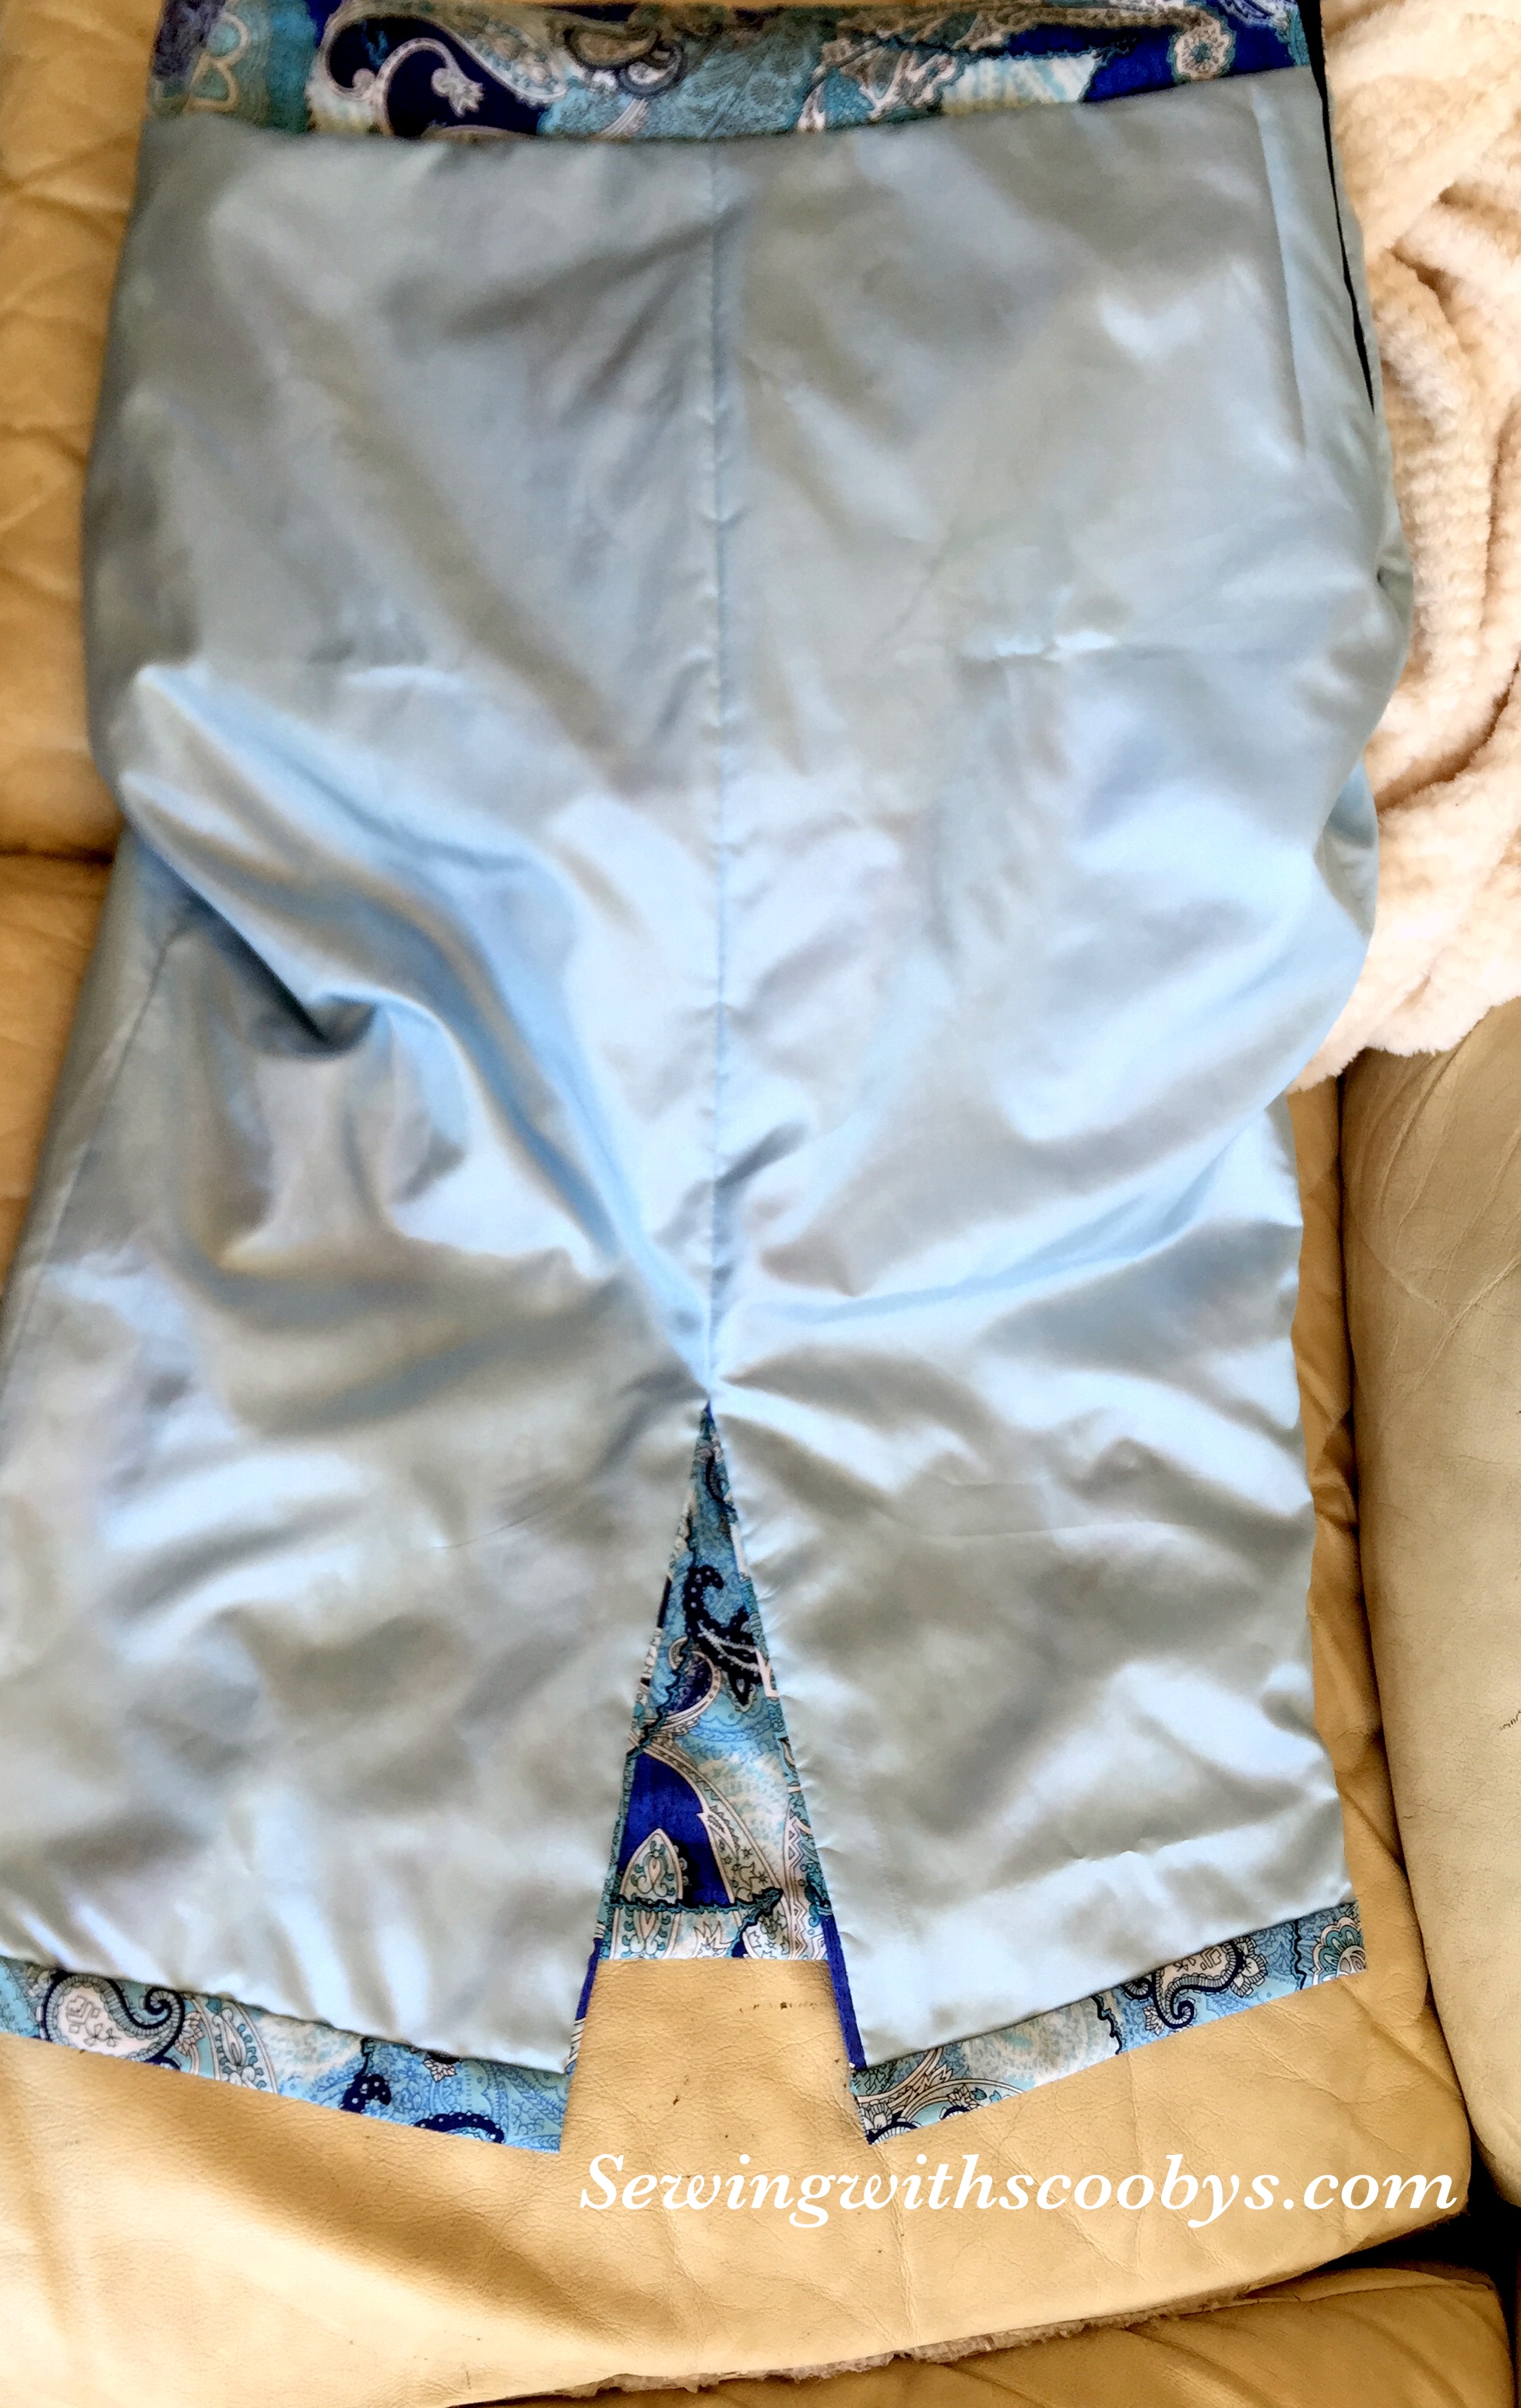
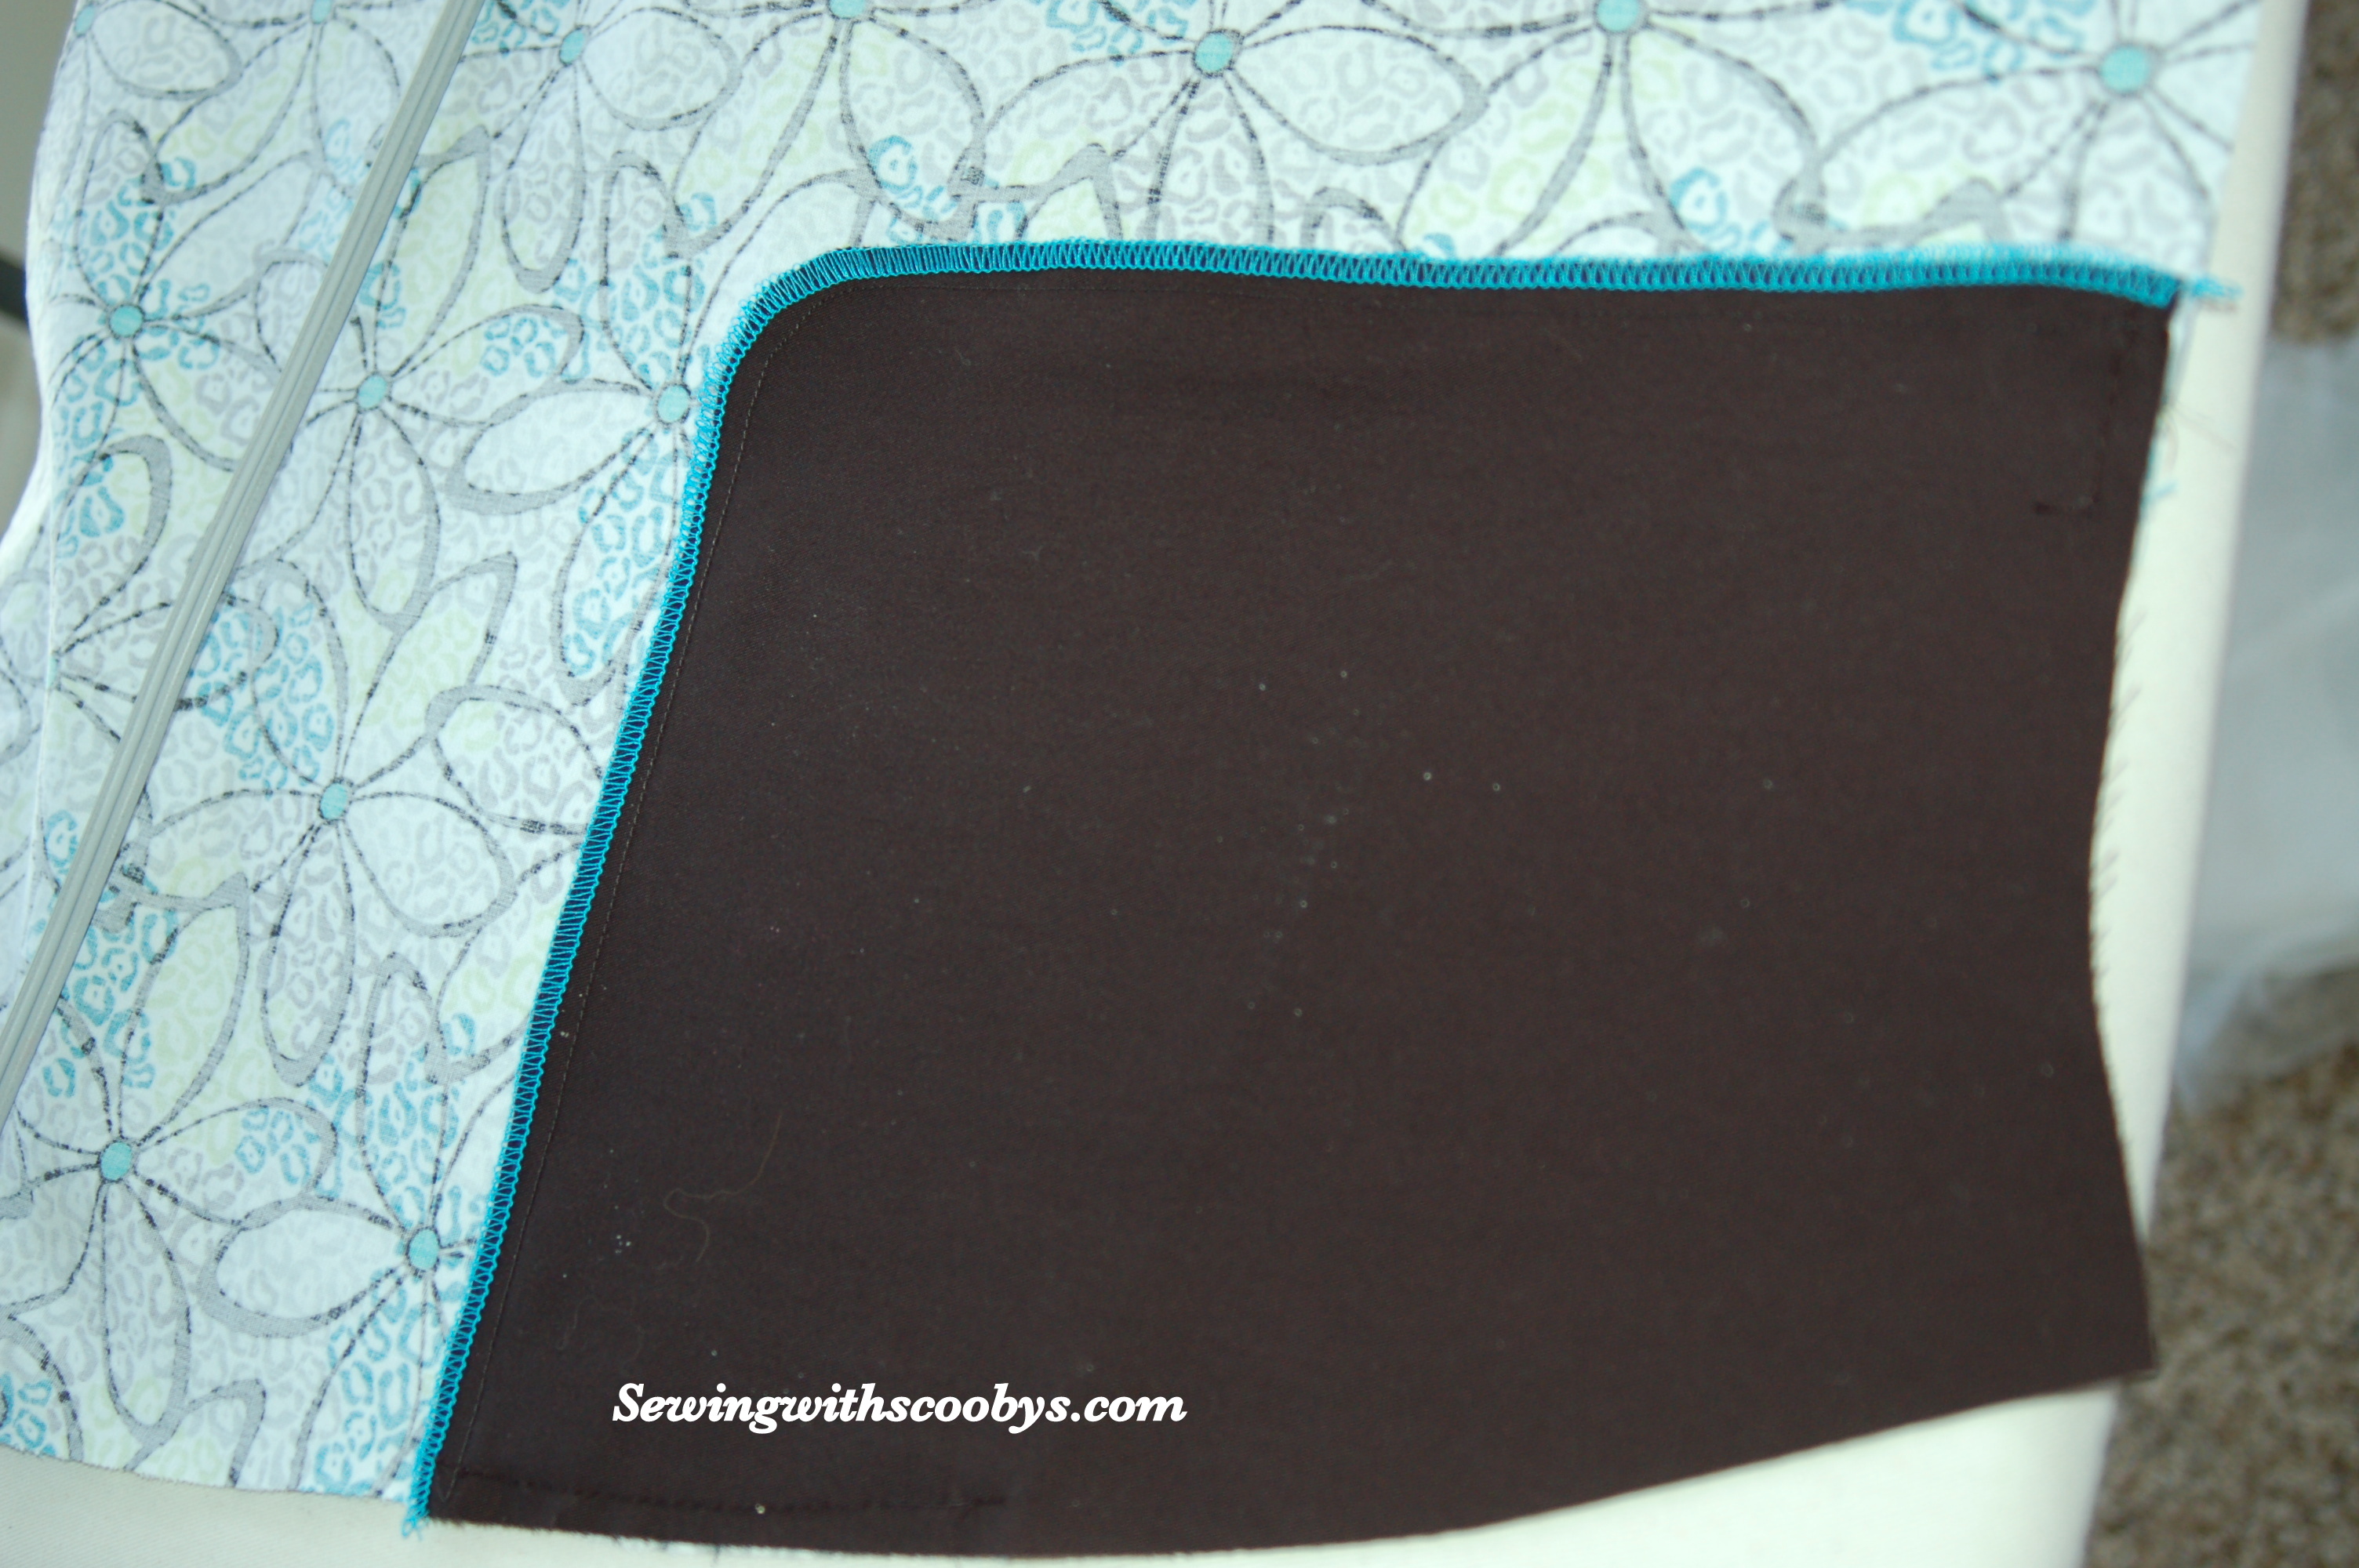
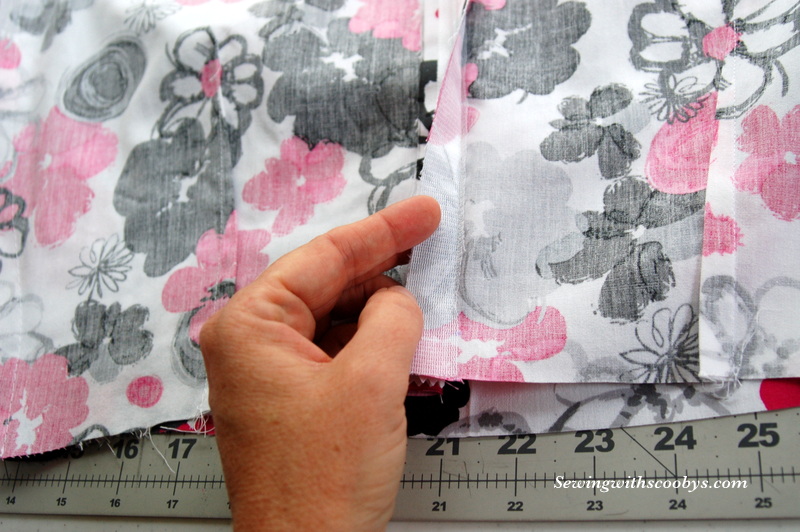
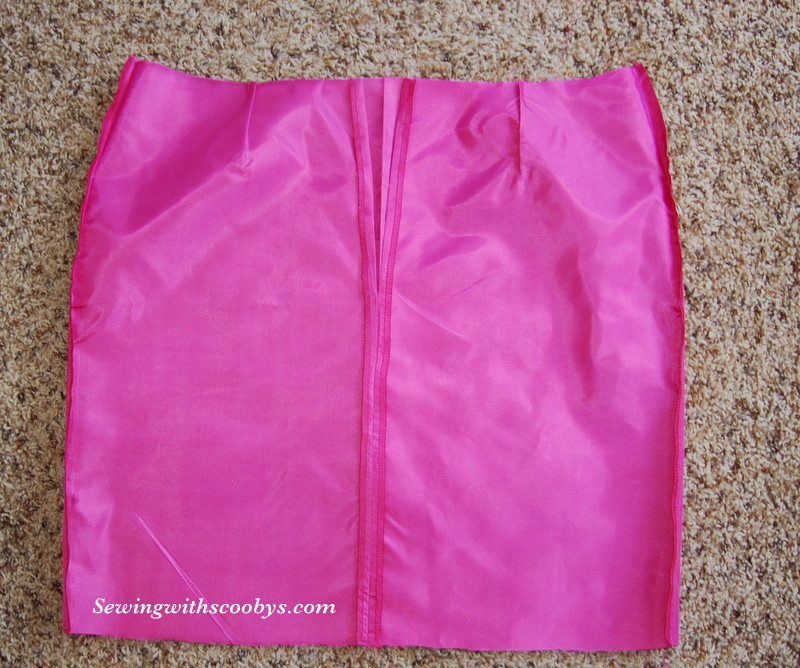
The facing got sewed onto the skirt, everything matched up very well. I edged stitch along the facing so that it would stay put better. The lining is folded up a 1/4 inch twice for a clean finish:


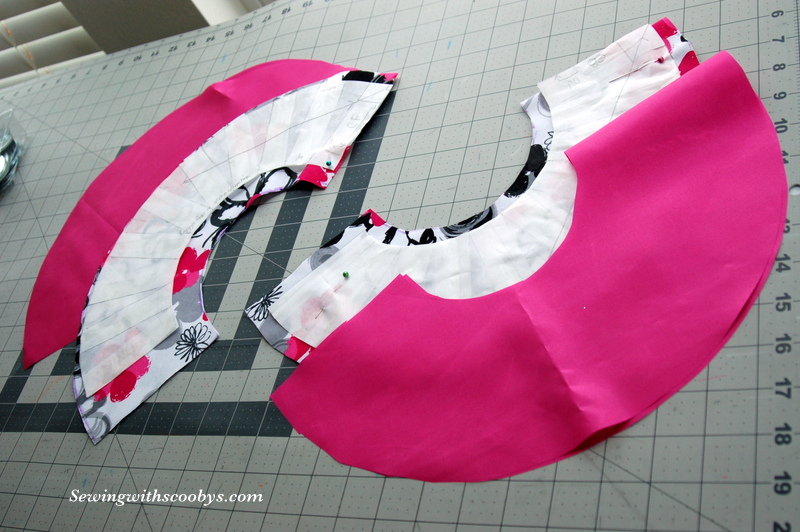
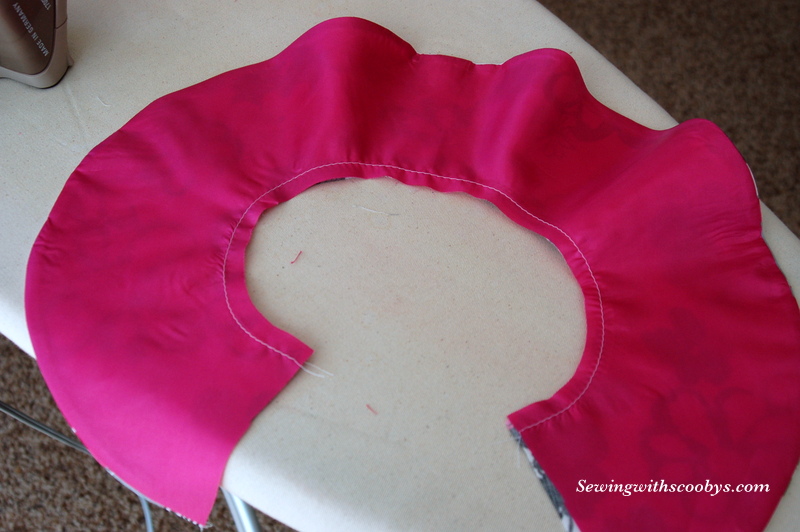
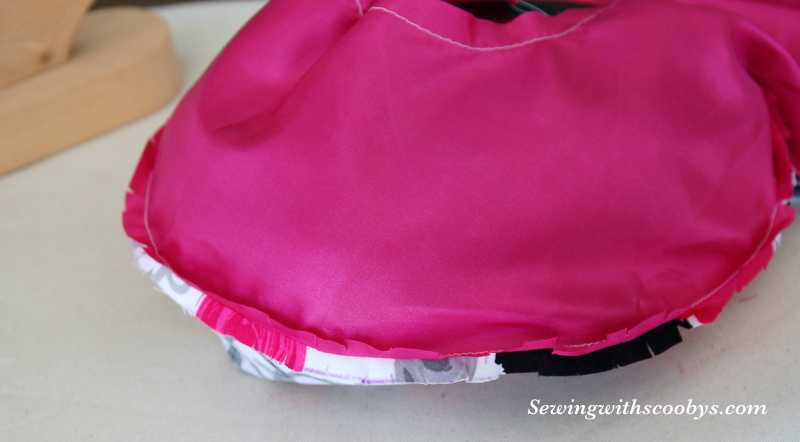
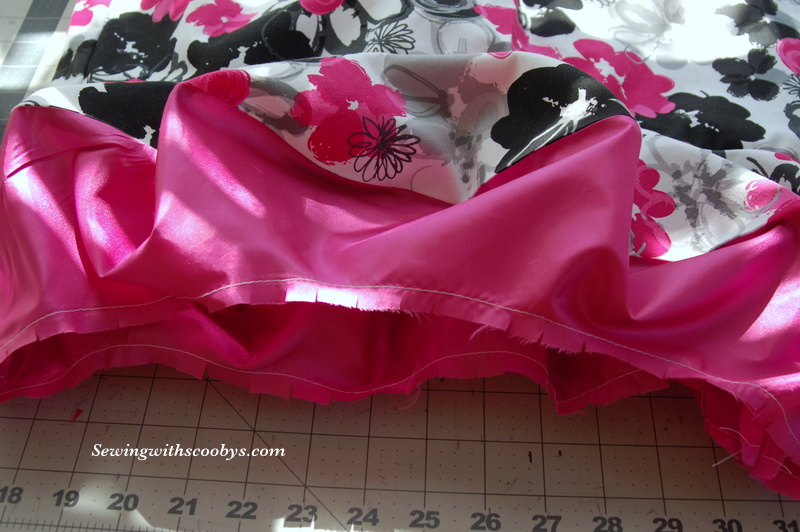
Now comes the flounces:
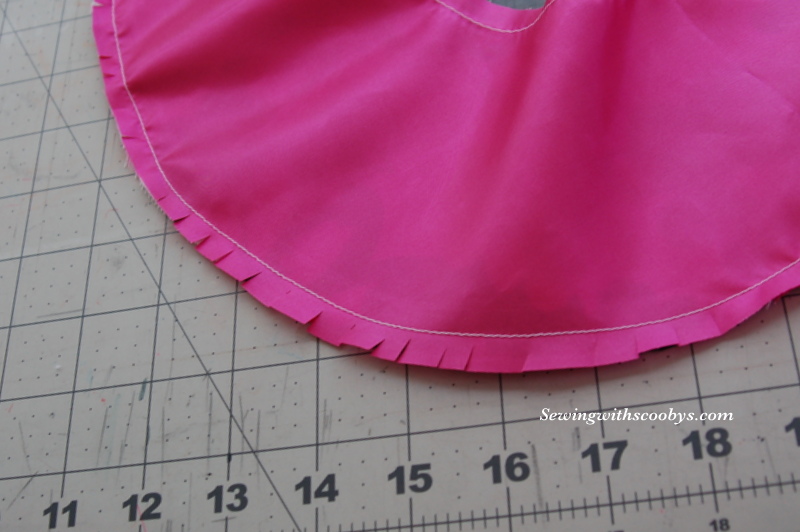
I prepped these by stabilizing the inner circle by stitching both the material and the lining. I stitched them together along the outer edge with a 1/4 inch seam allowance. I took my time to clip the lining and fashion fabric, staggering the clips so that when they are turned they will fan out nicely with no “gaposis”


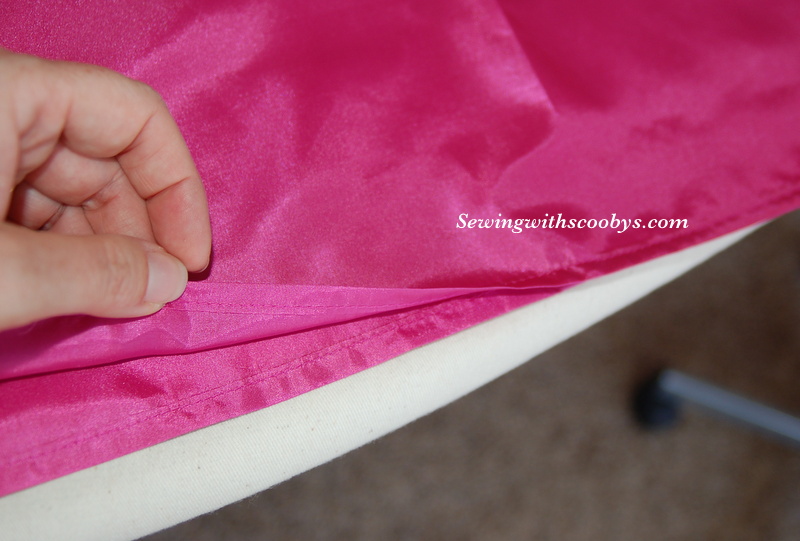
It’s a bitch to do but if you open up the seams first on a pressing hem before turning you will get a nice finished smooth look. A clapper helps with that too 🙂


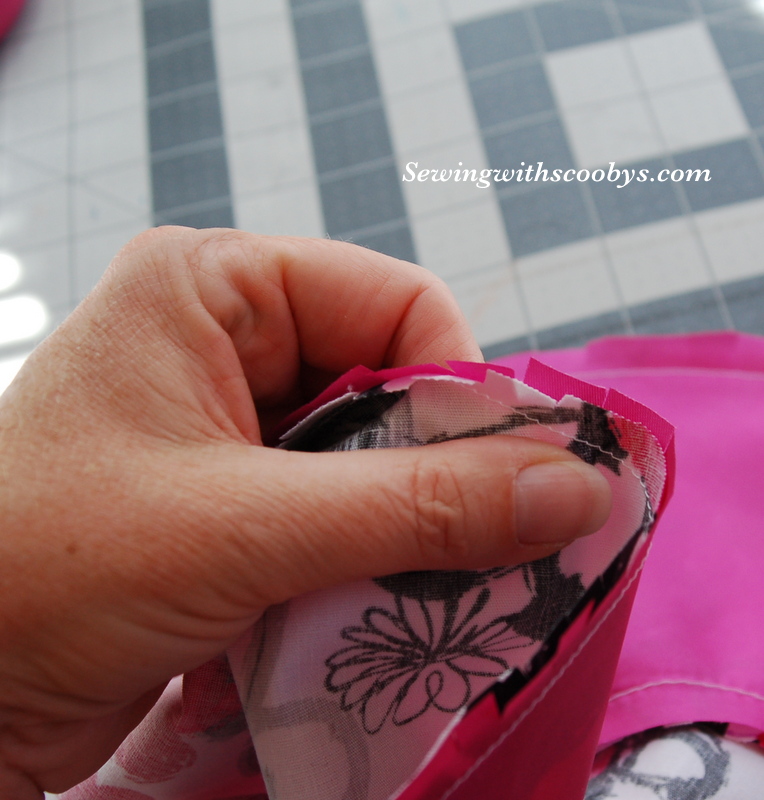
I attached the flounce to the skirt then clipped gently into the lining to help turn under to sew in place.

I was so excited to finish this skirt I hand sewed the lining around the zipper and the whole lining of the flounce in place all in one night doing the tiniest slip stitches. It took 3 hours! Ta da!!

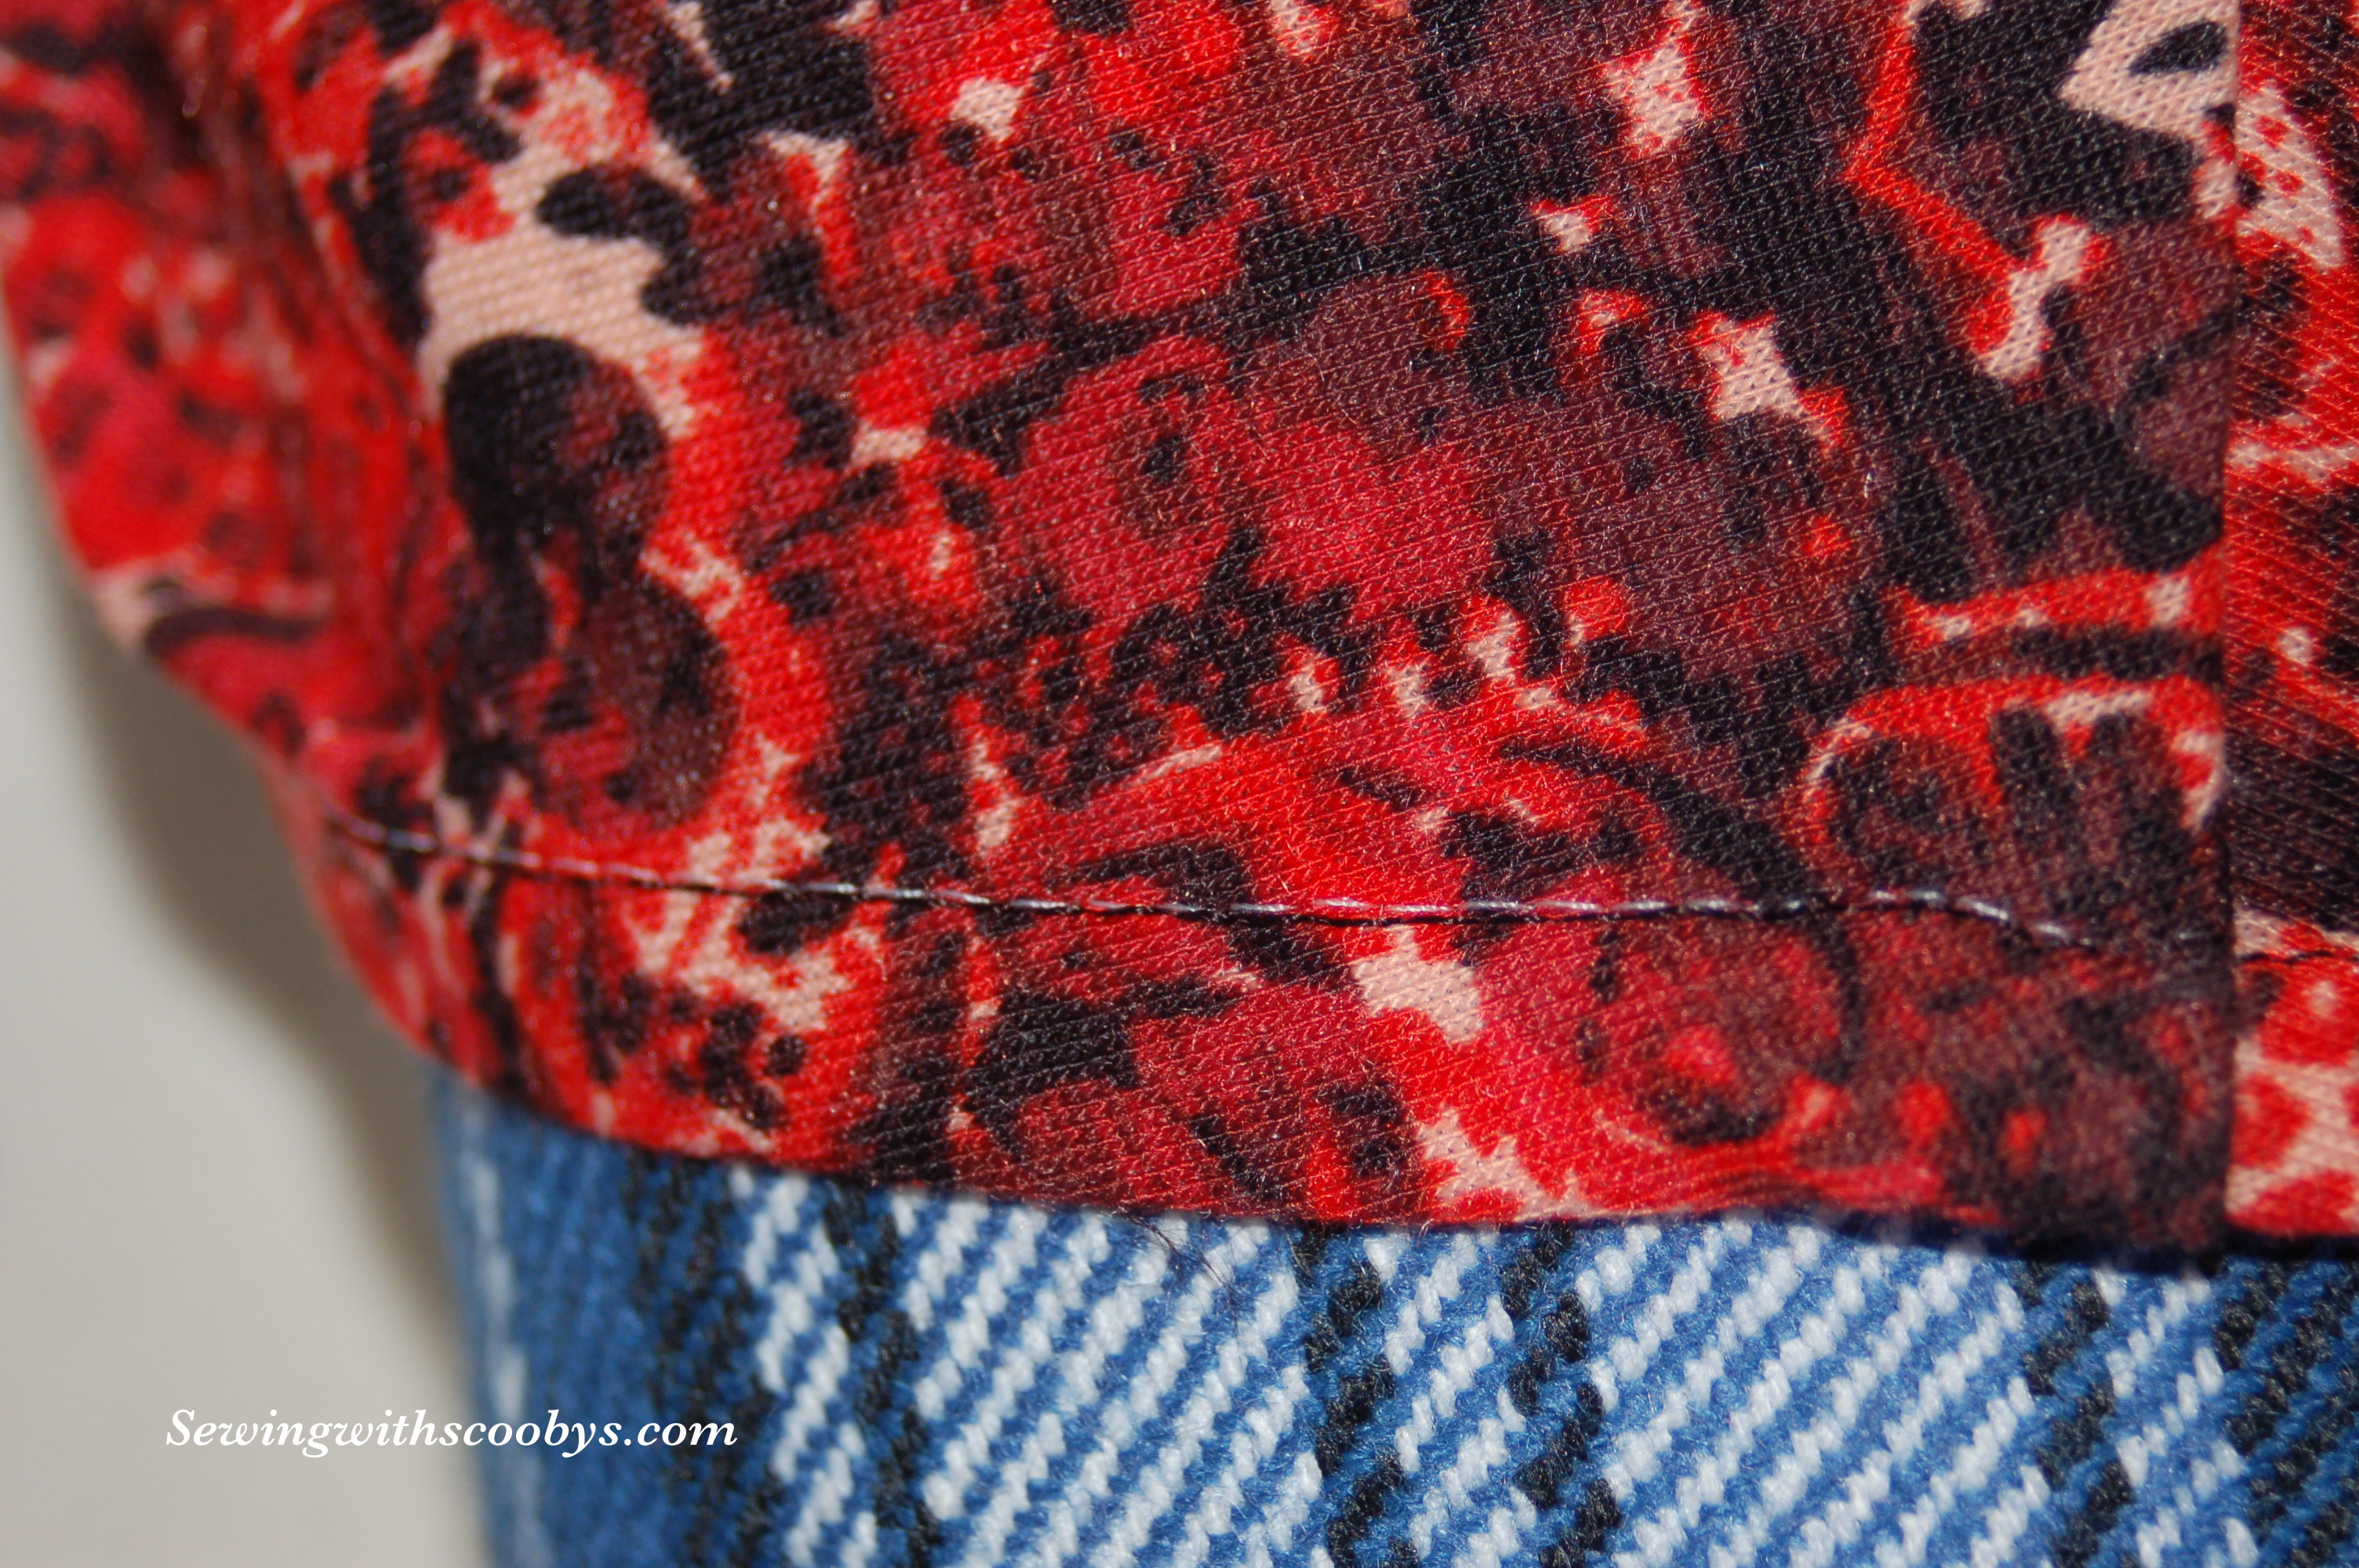
Close up of flounce…..

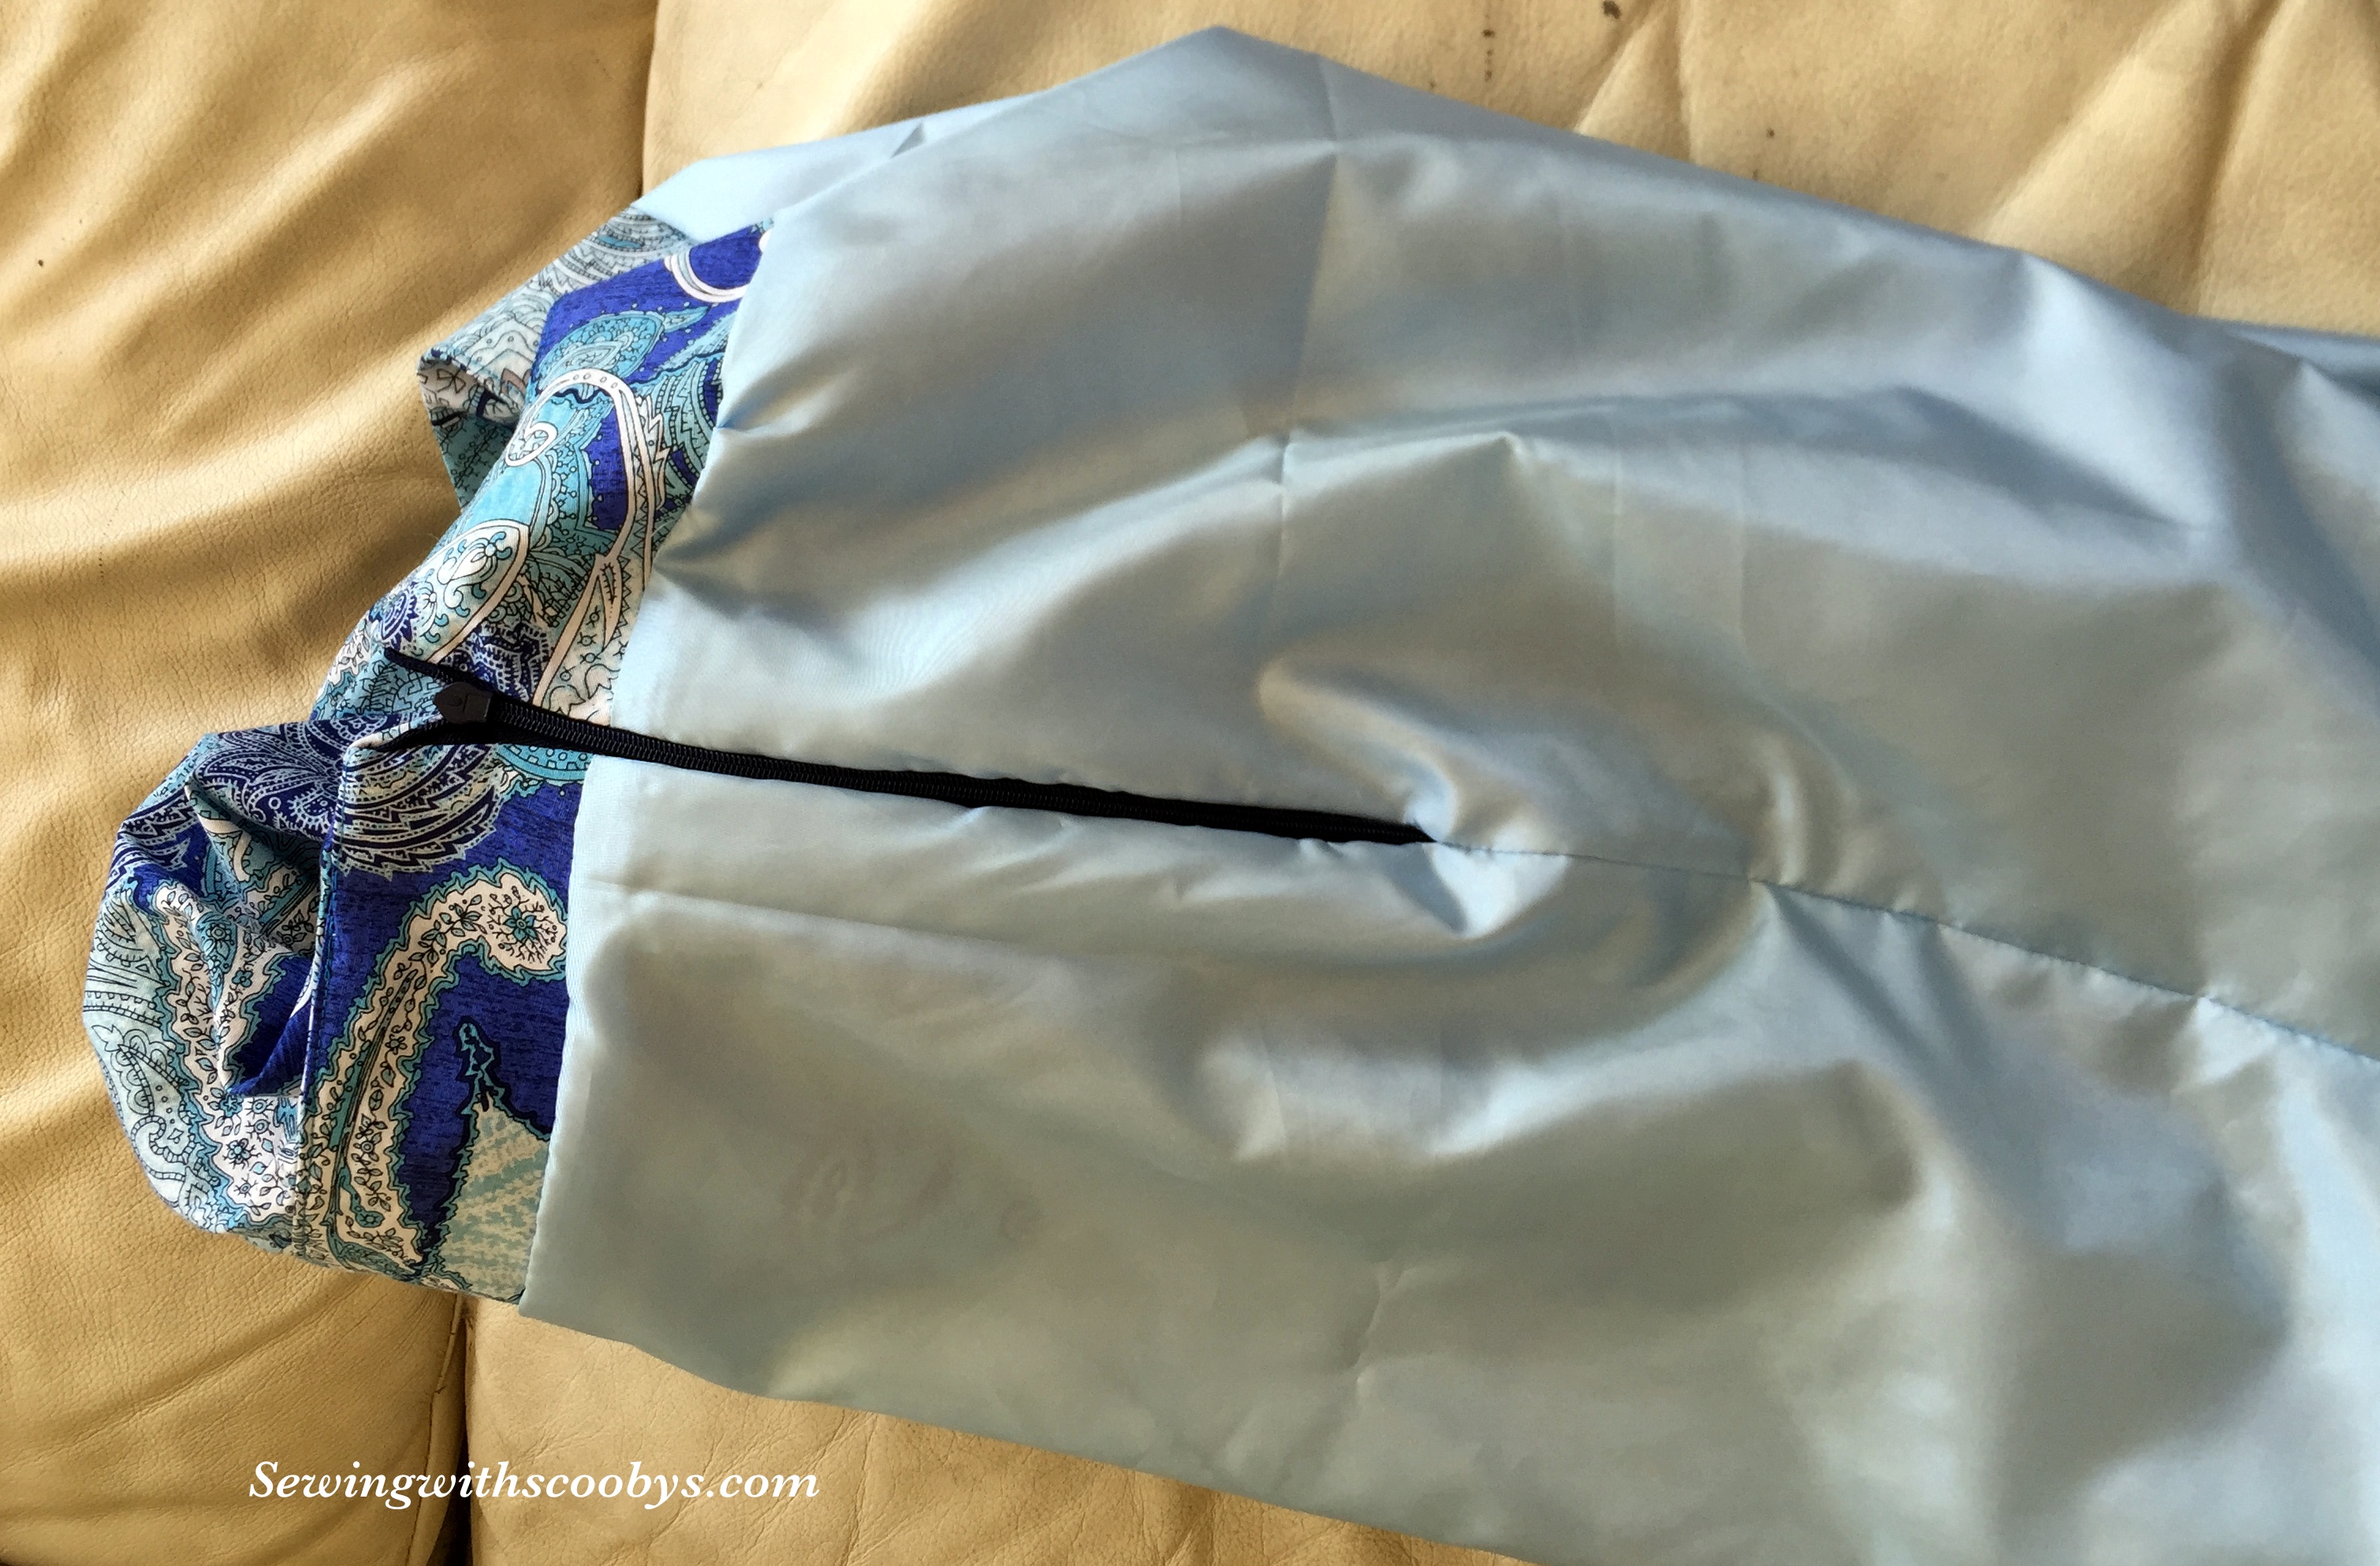
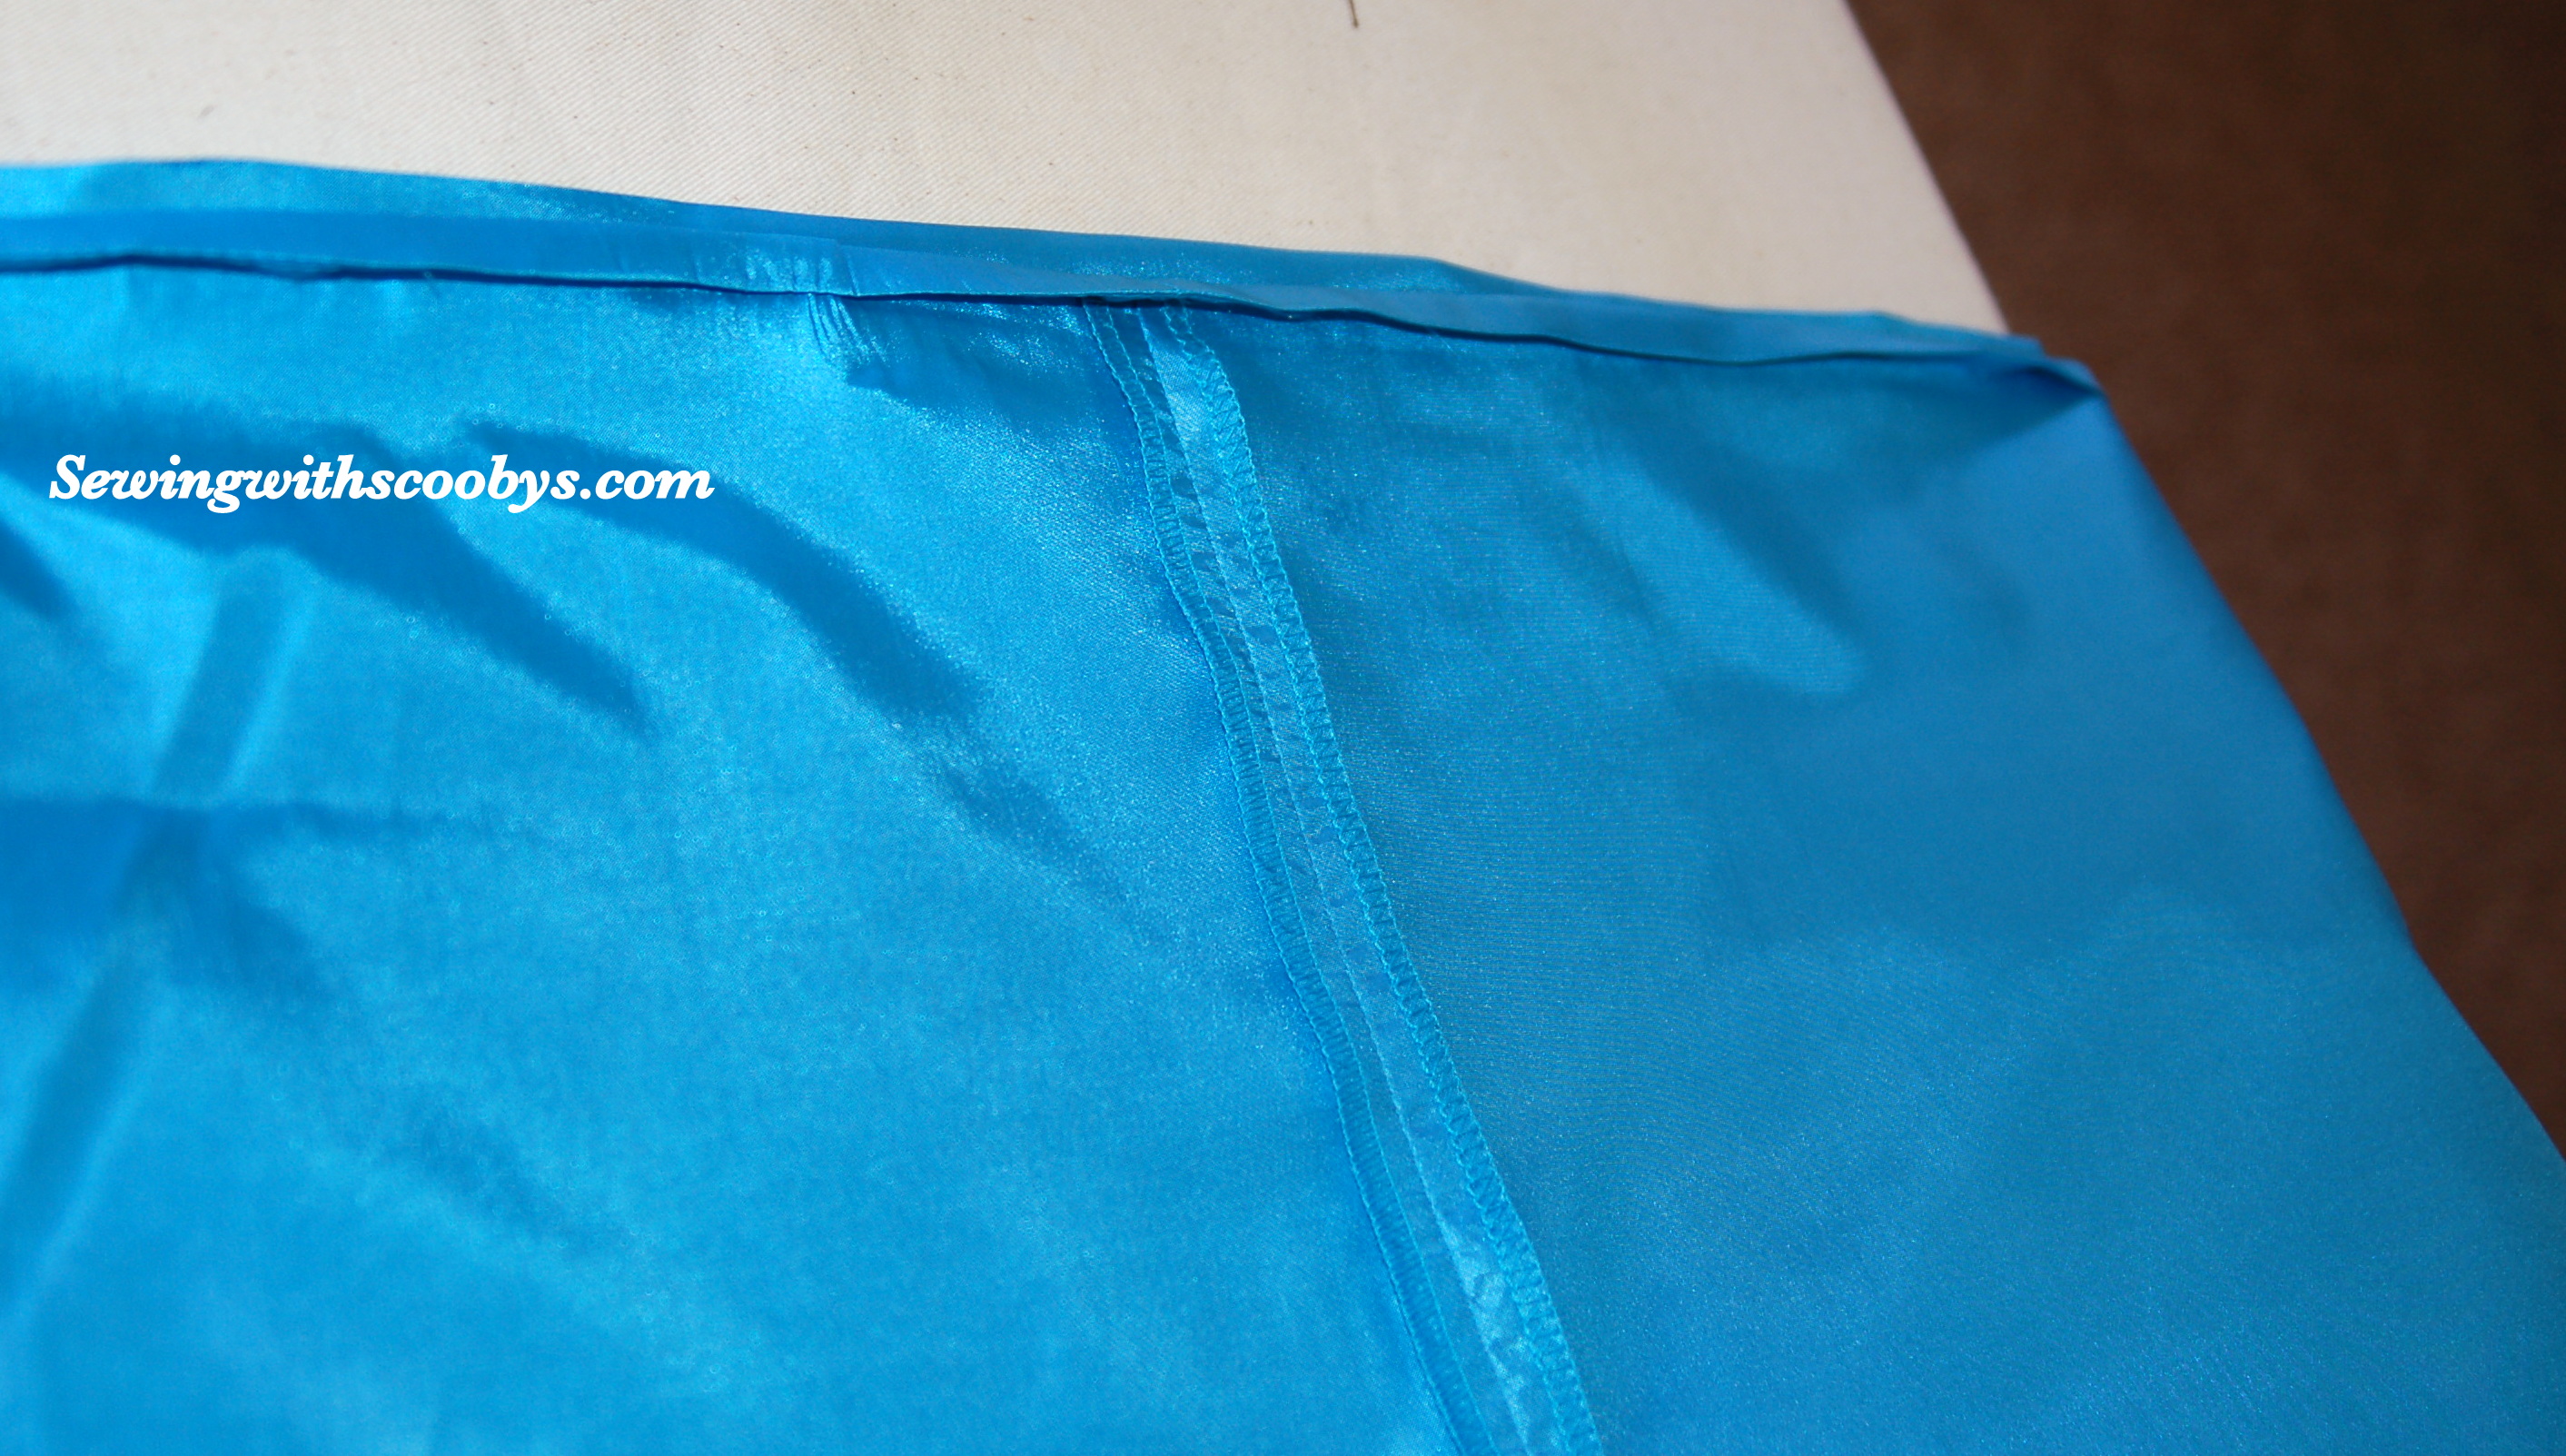
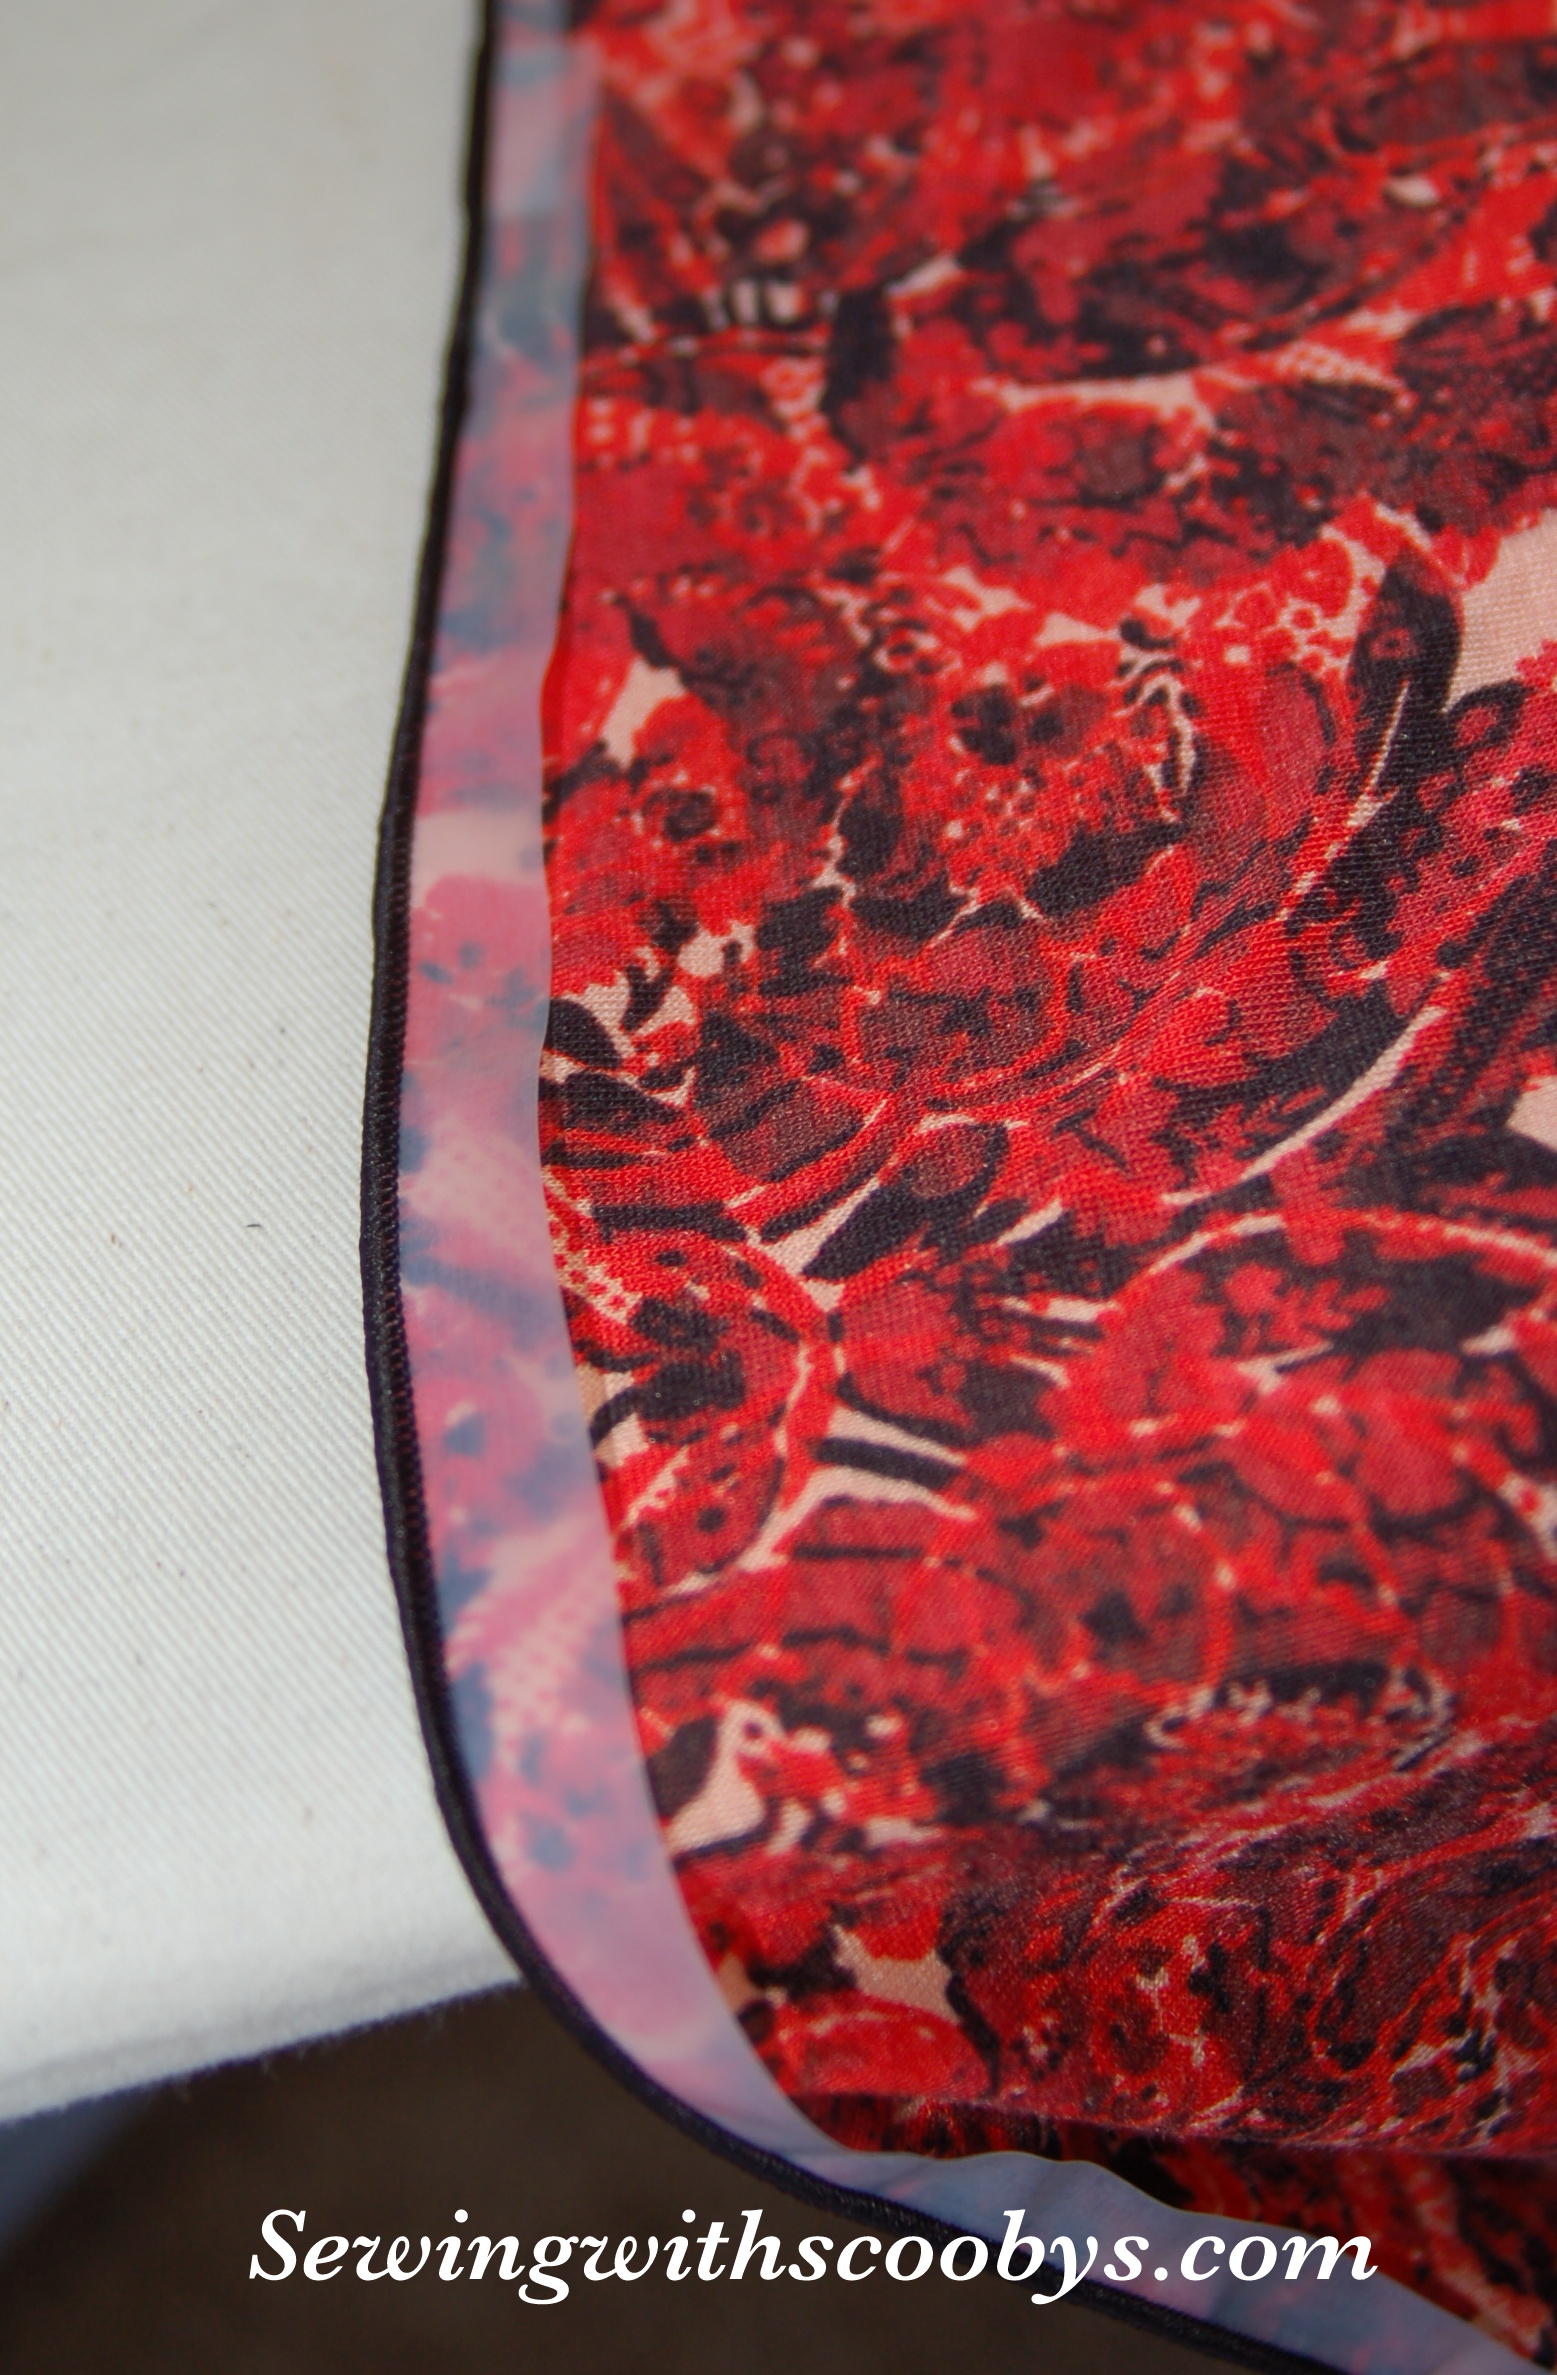
Lining near the zip…

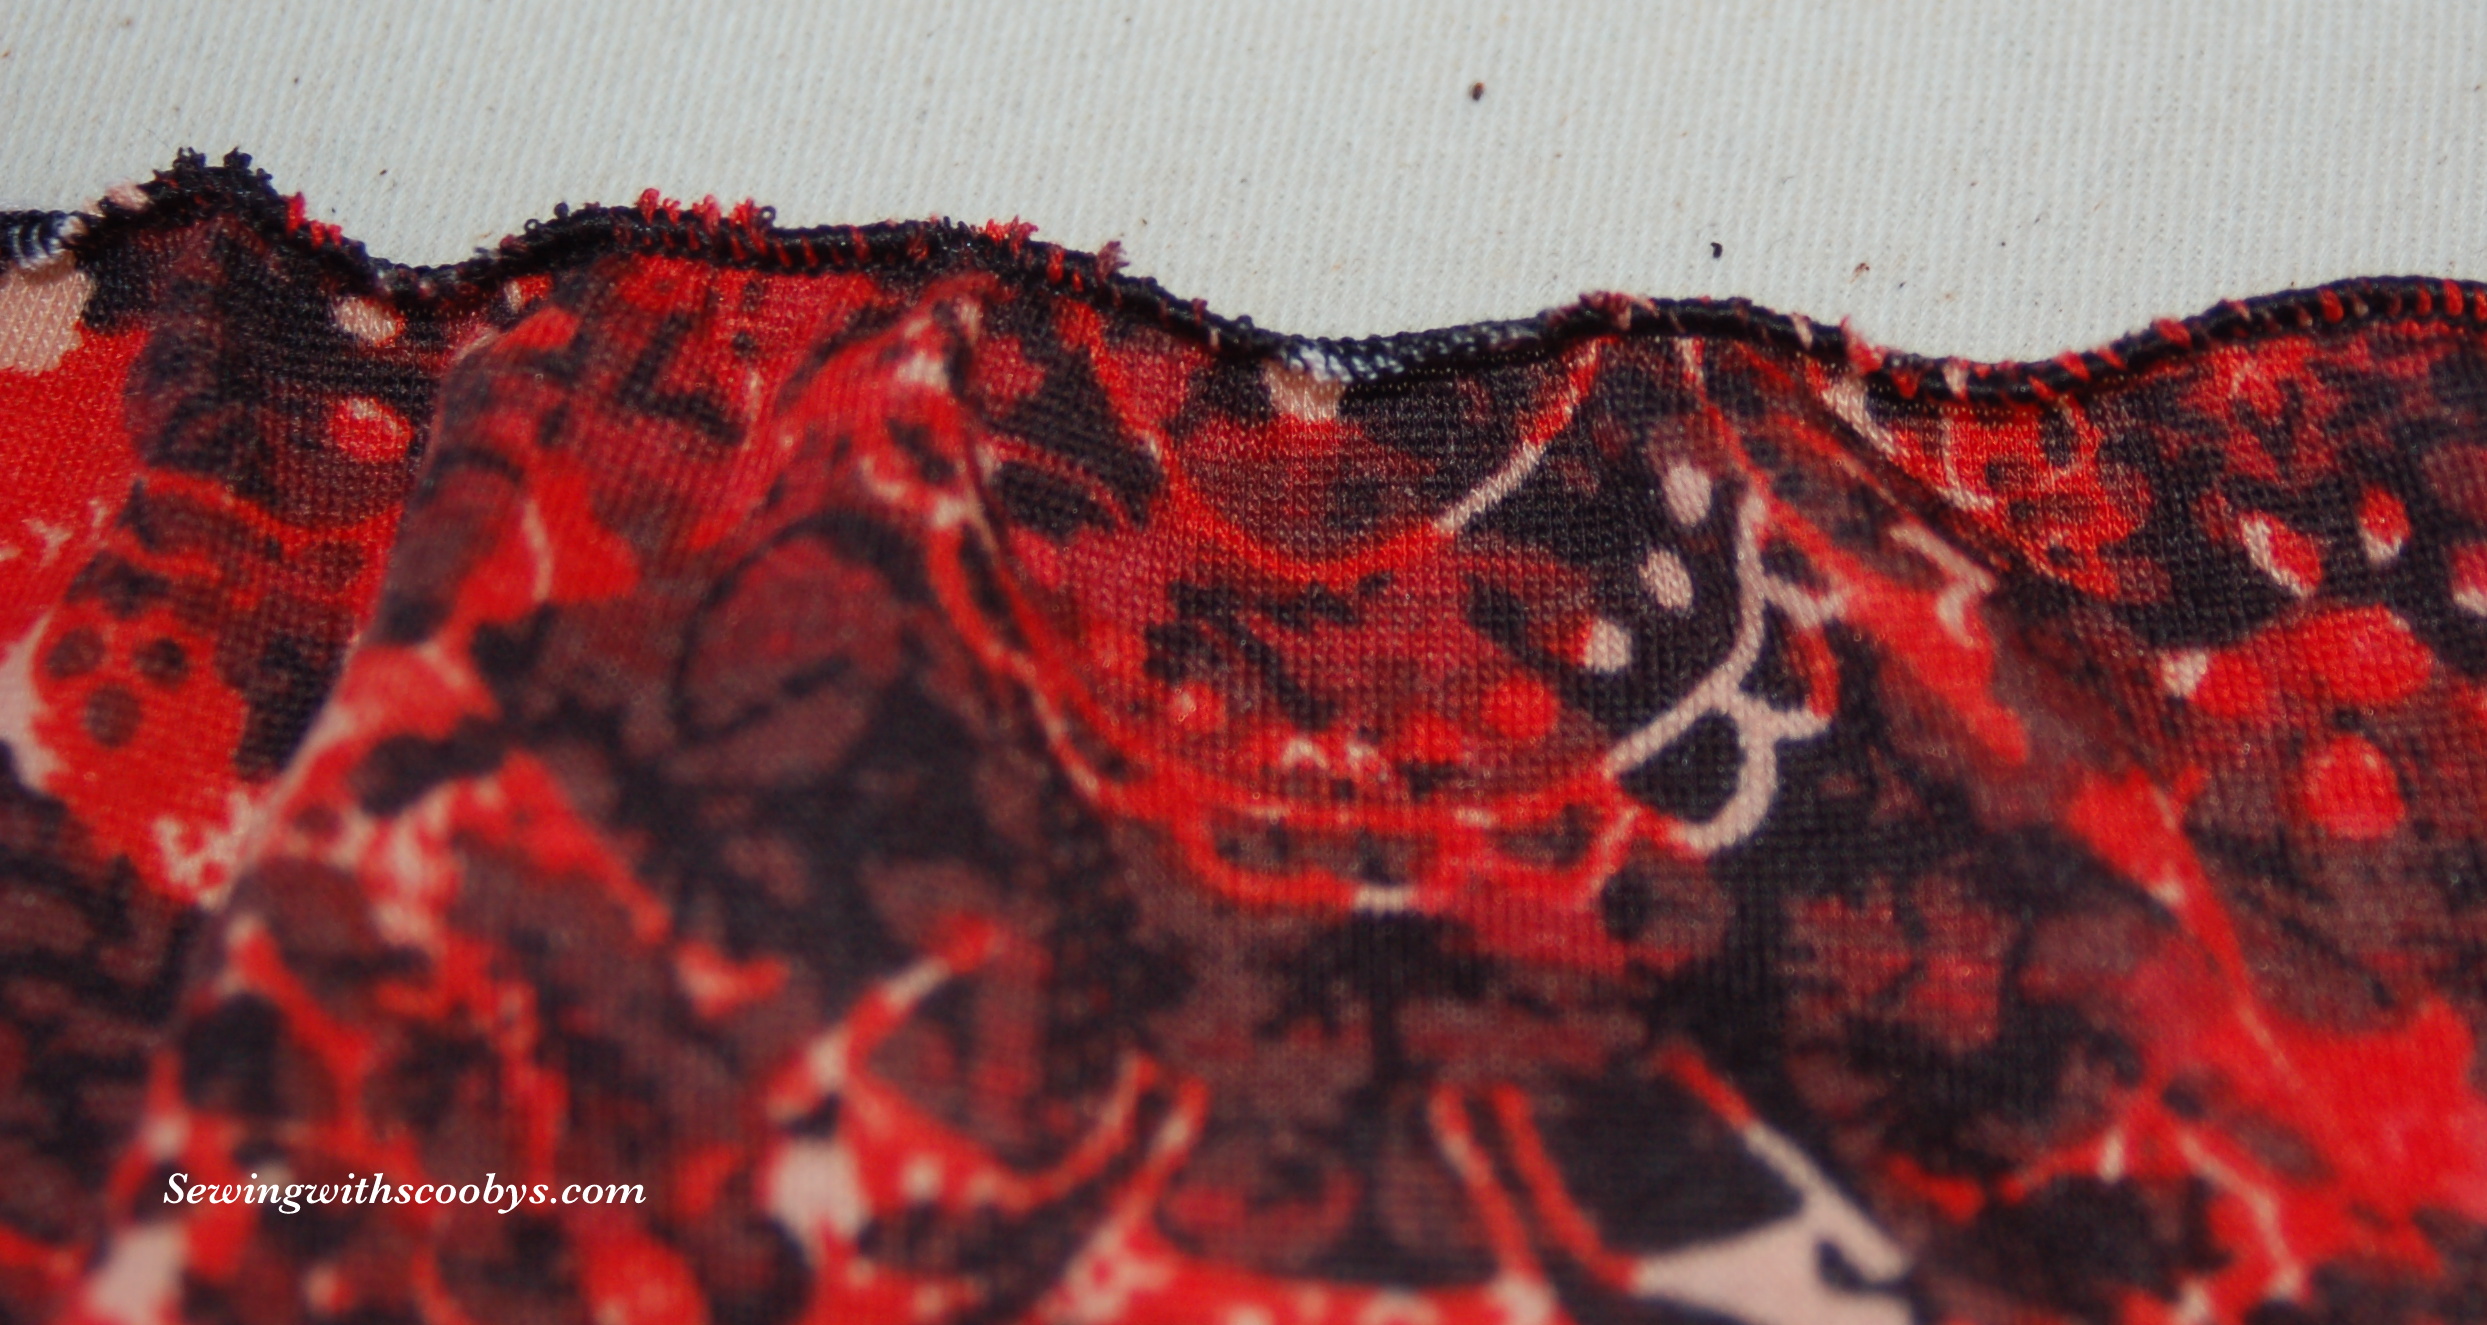
Inside out, upside down, sunny side up!!!!!! I know, I know, I have a ton of pictures. Can you tell I am excited or what??!! ;)…..

and another close up for giggles…

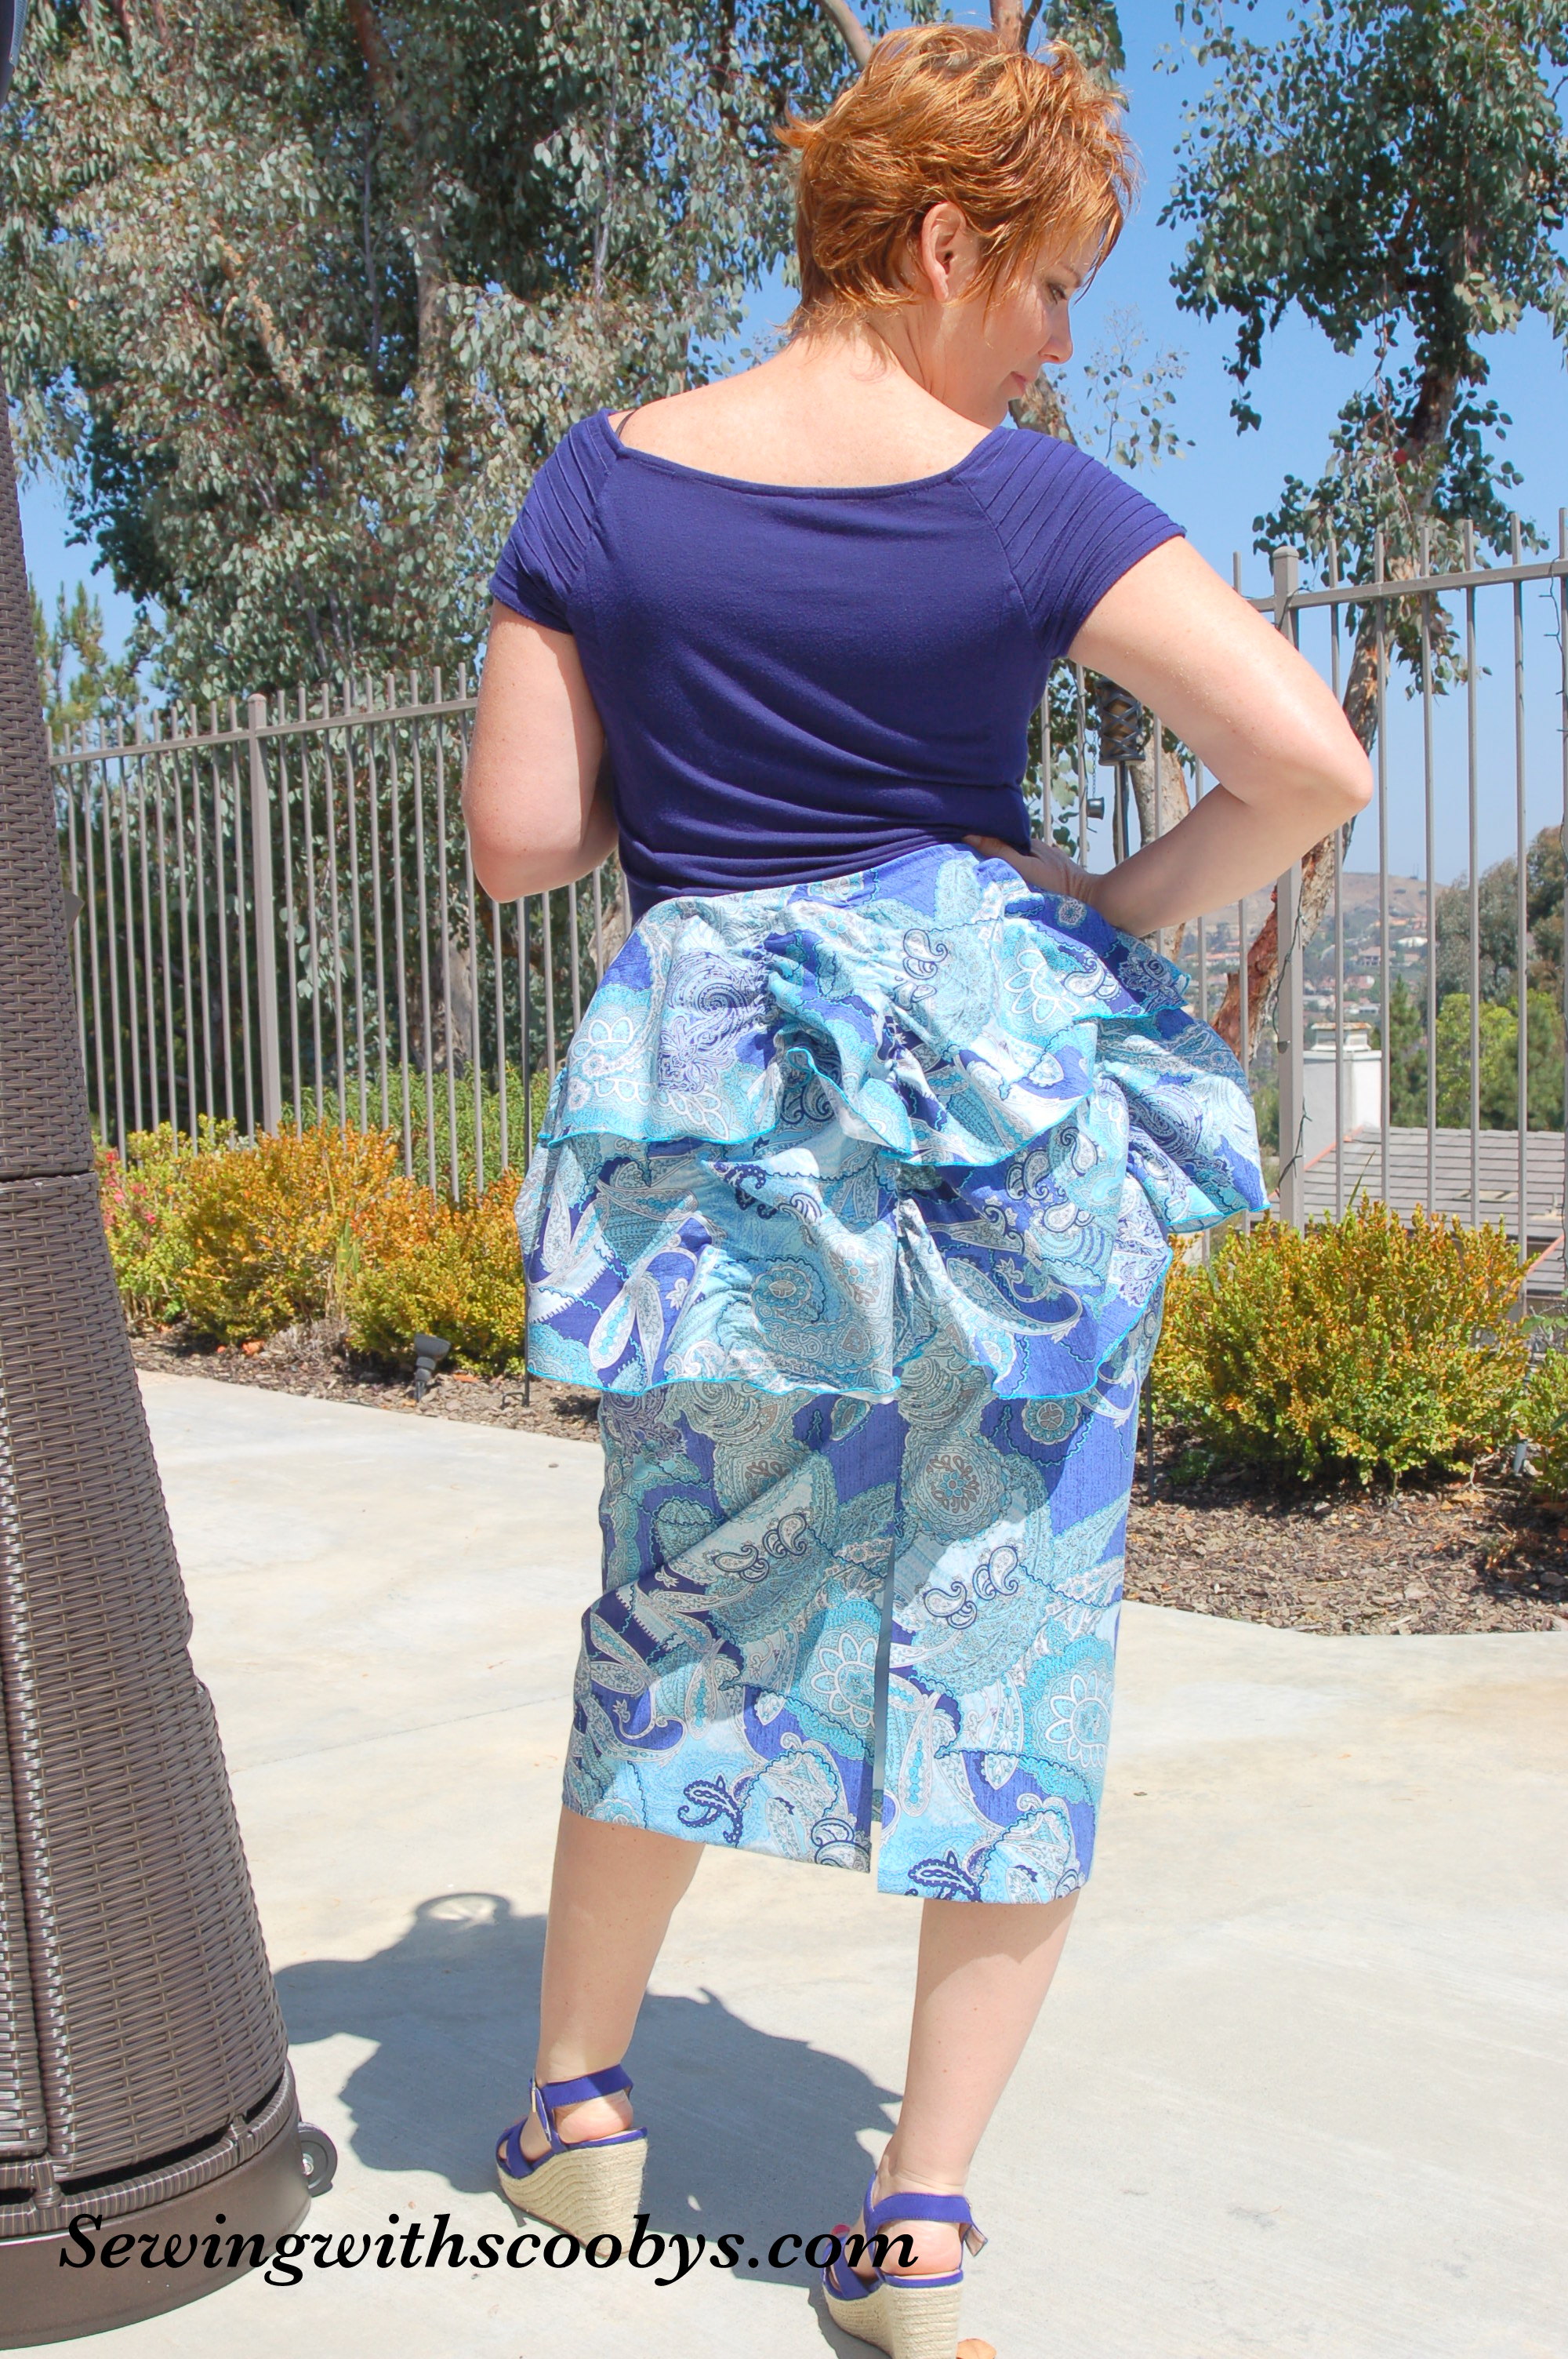
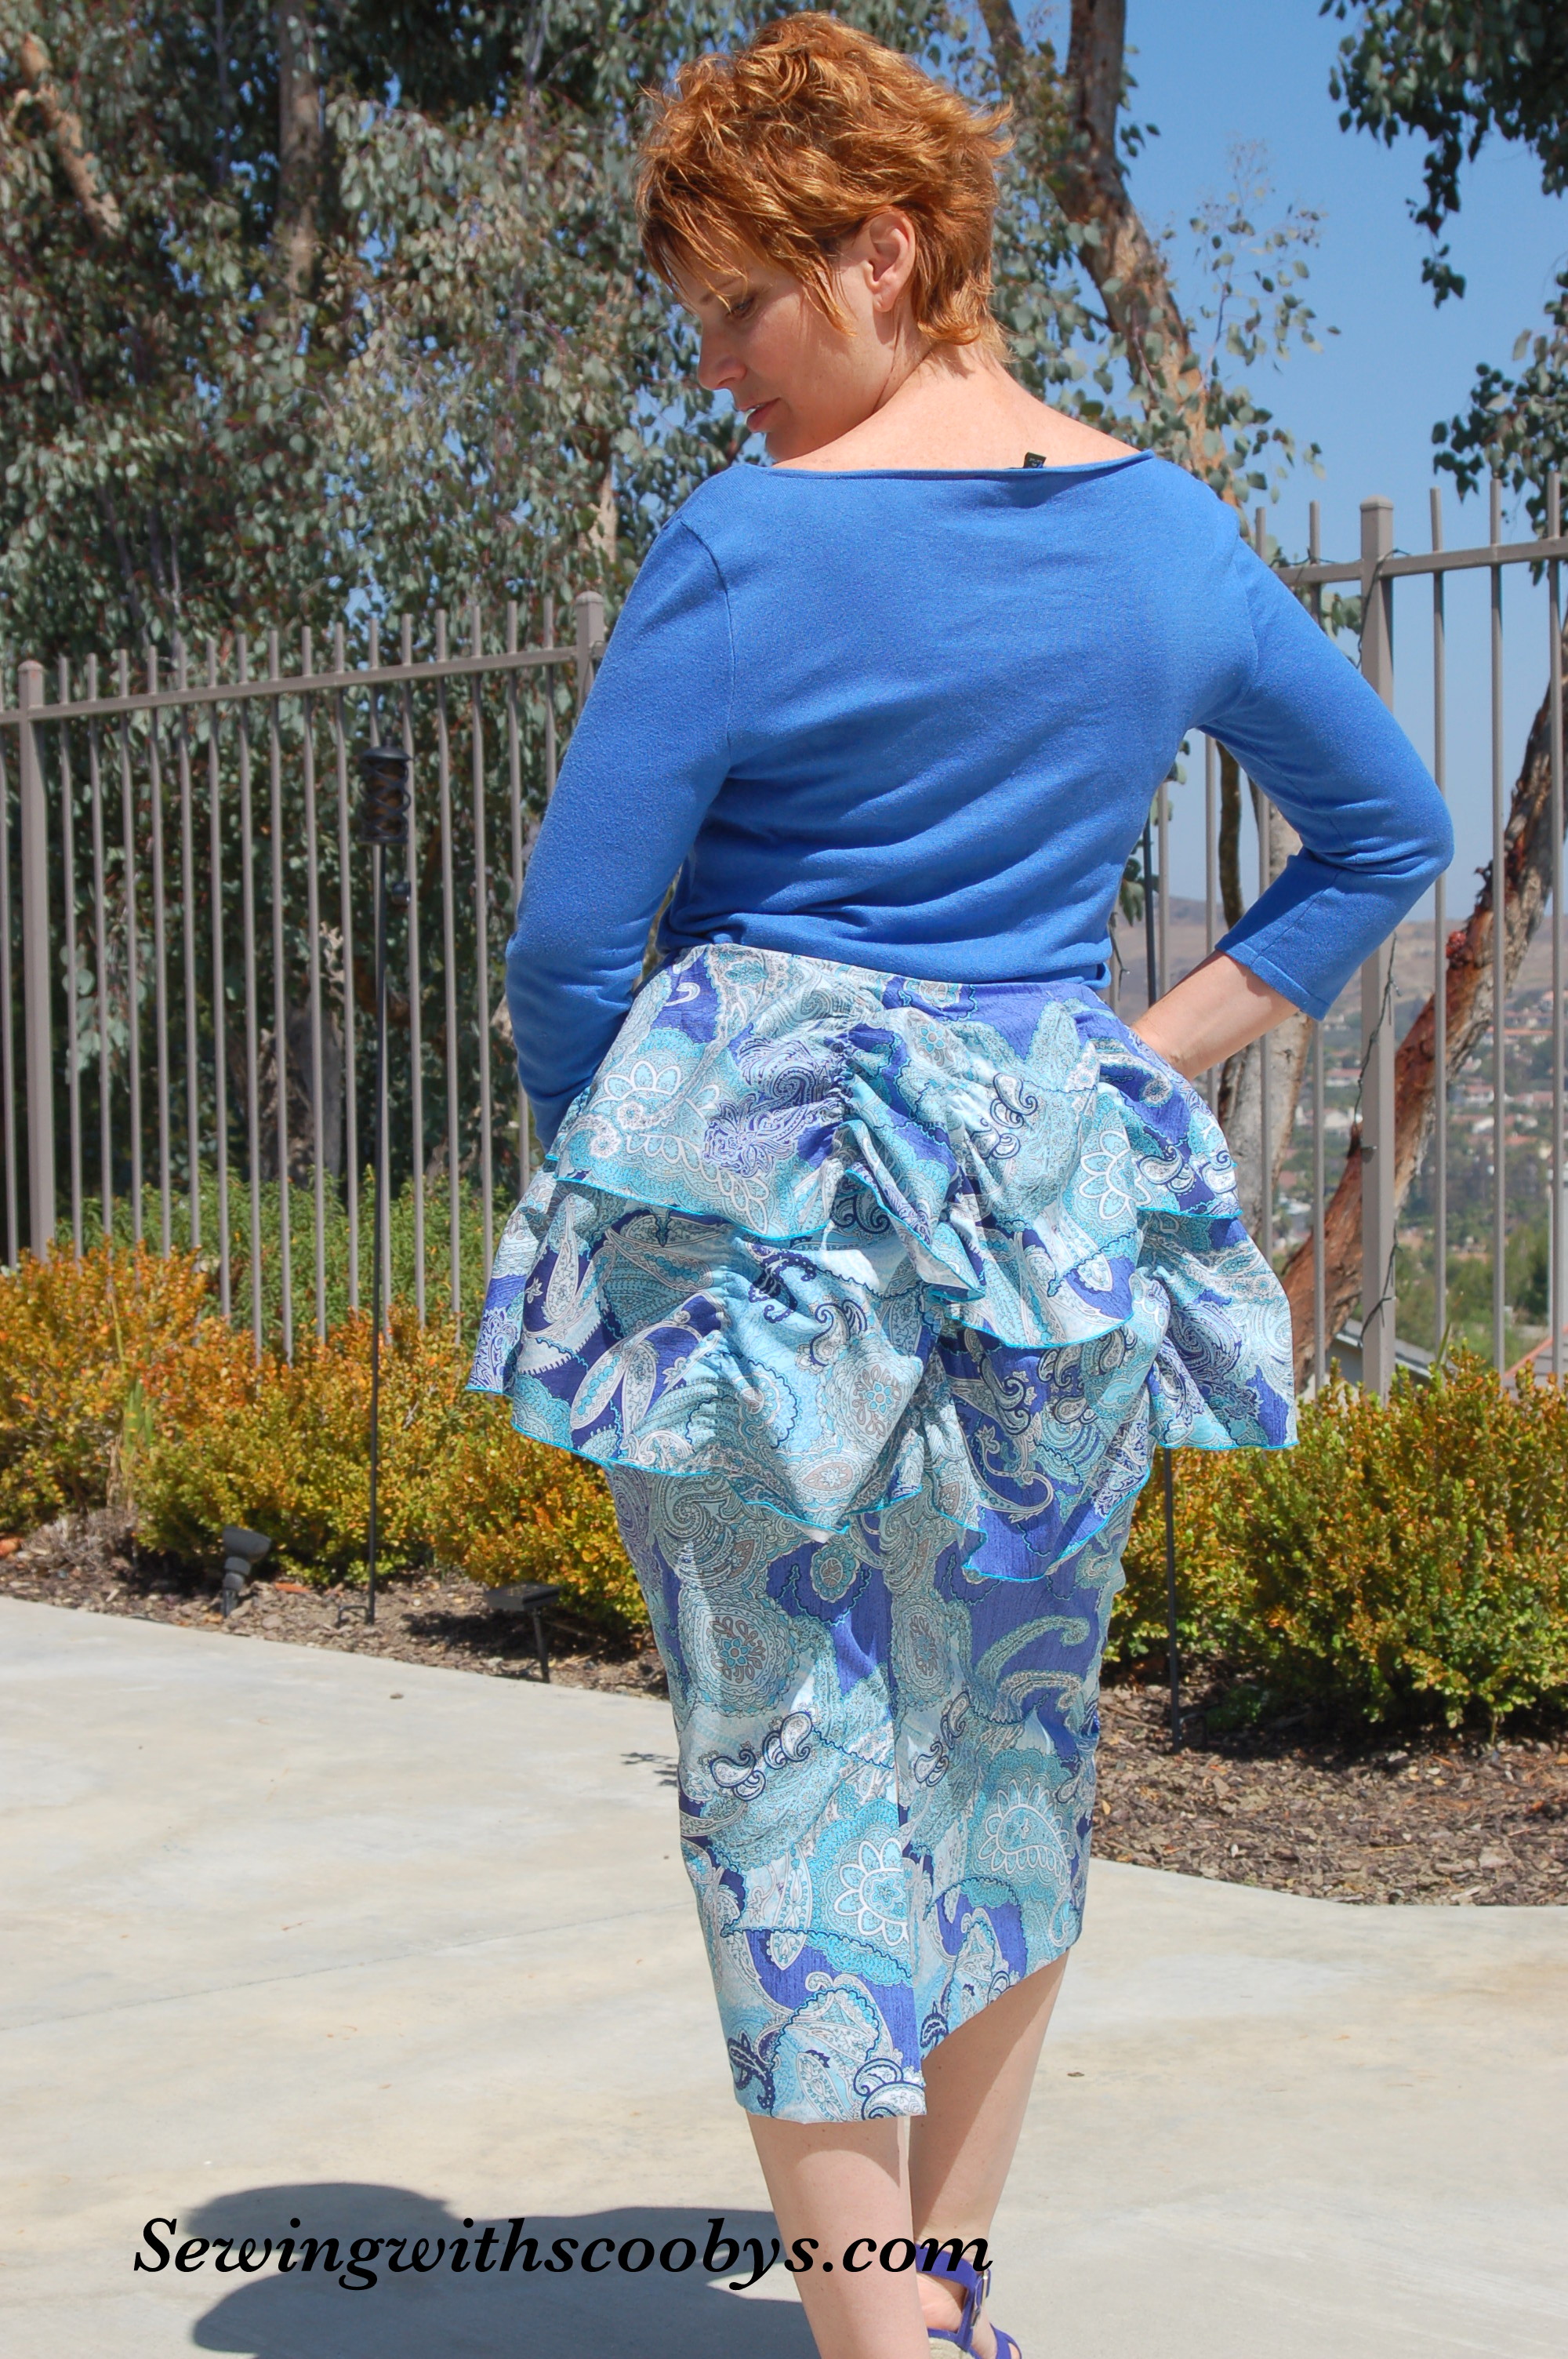
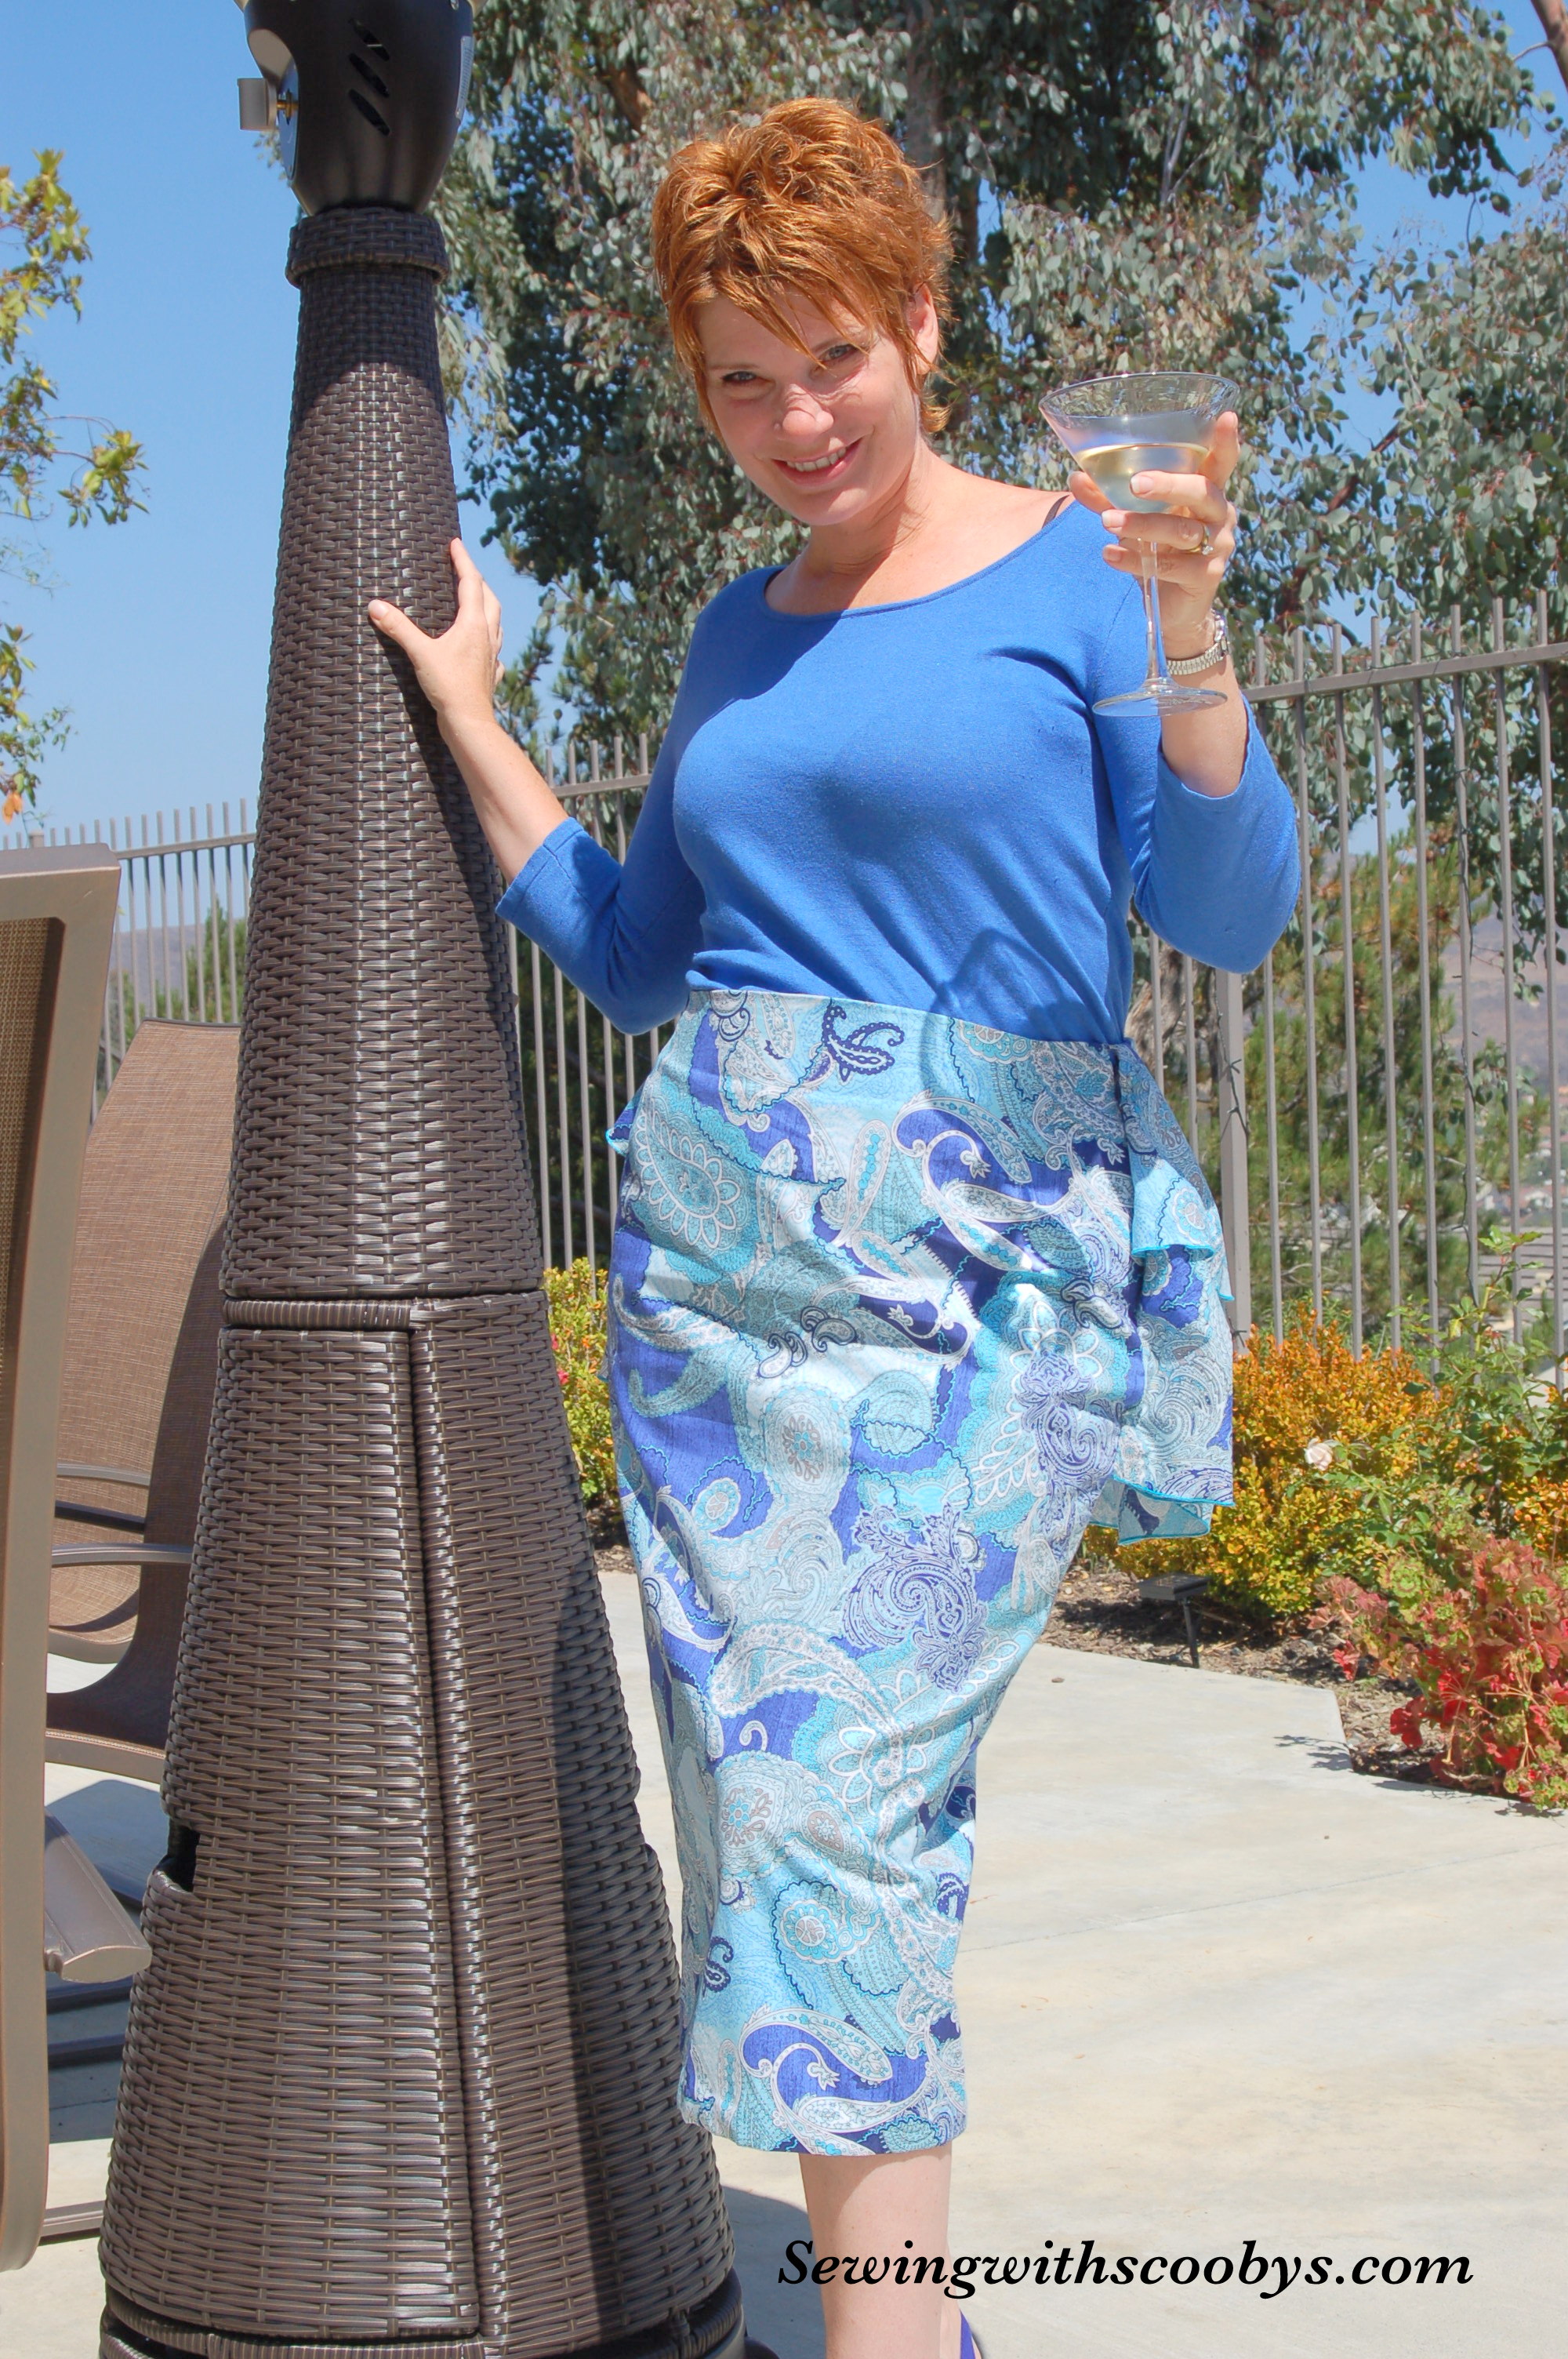
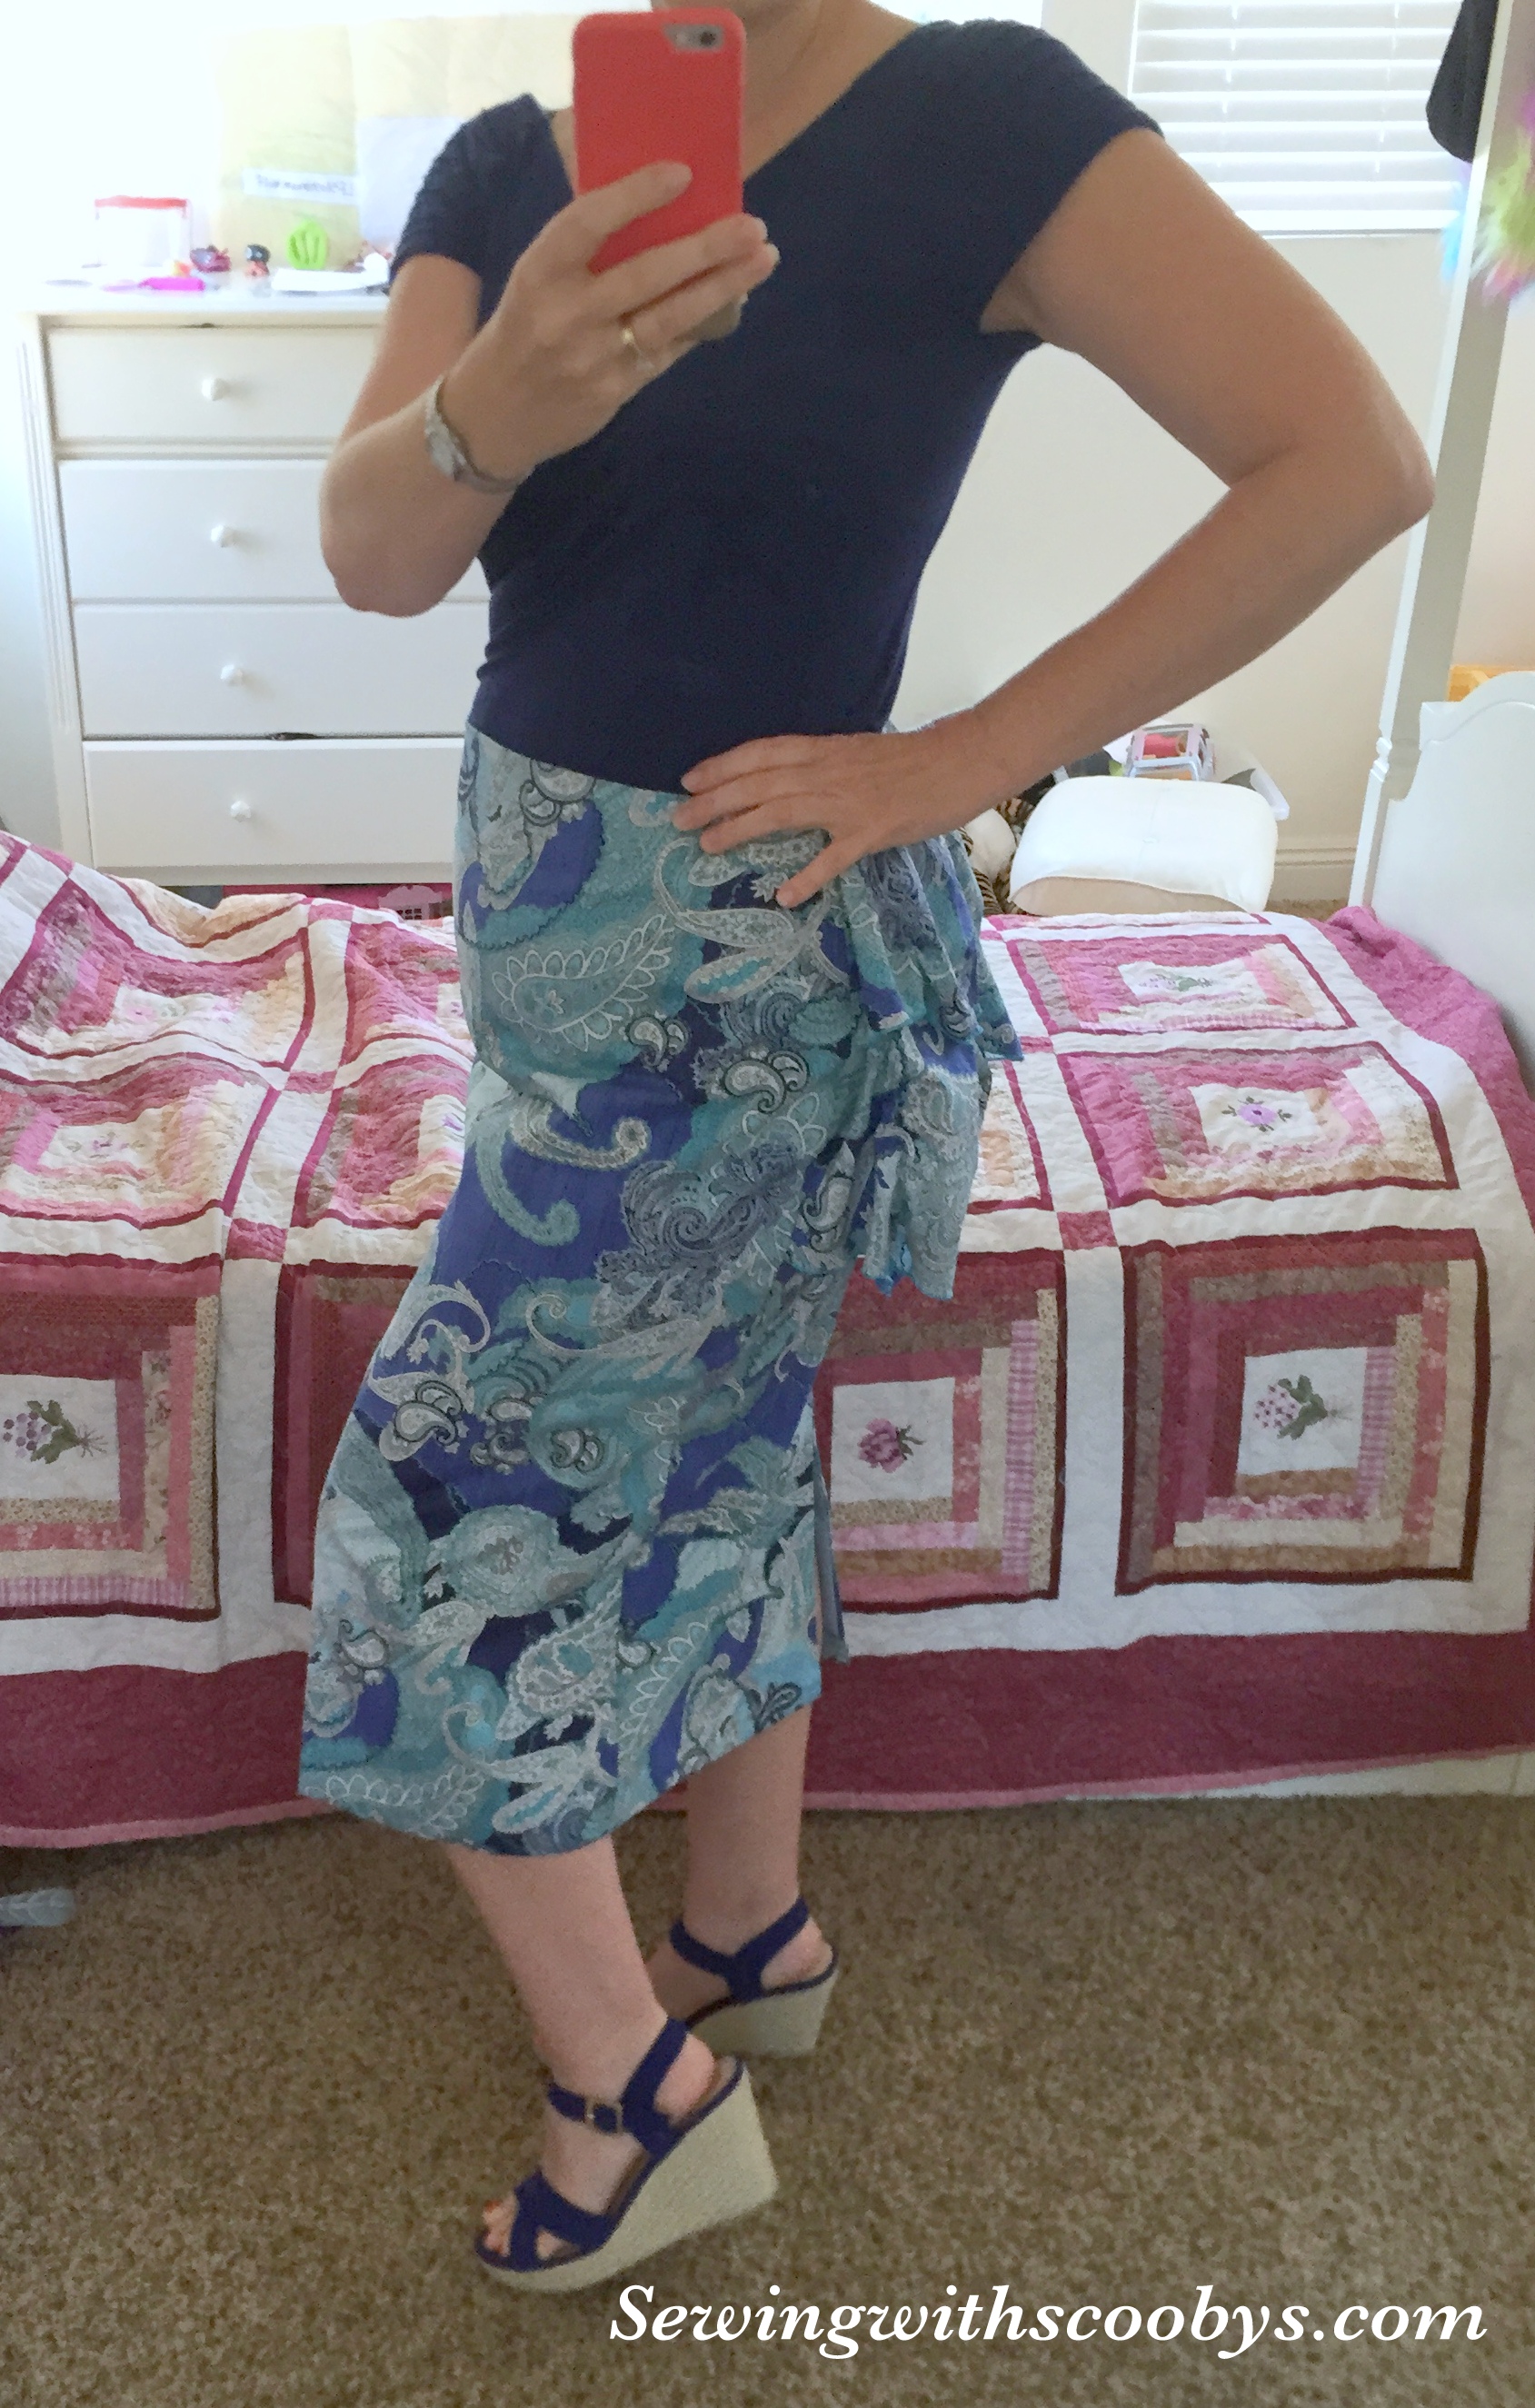
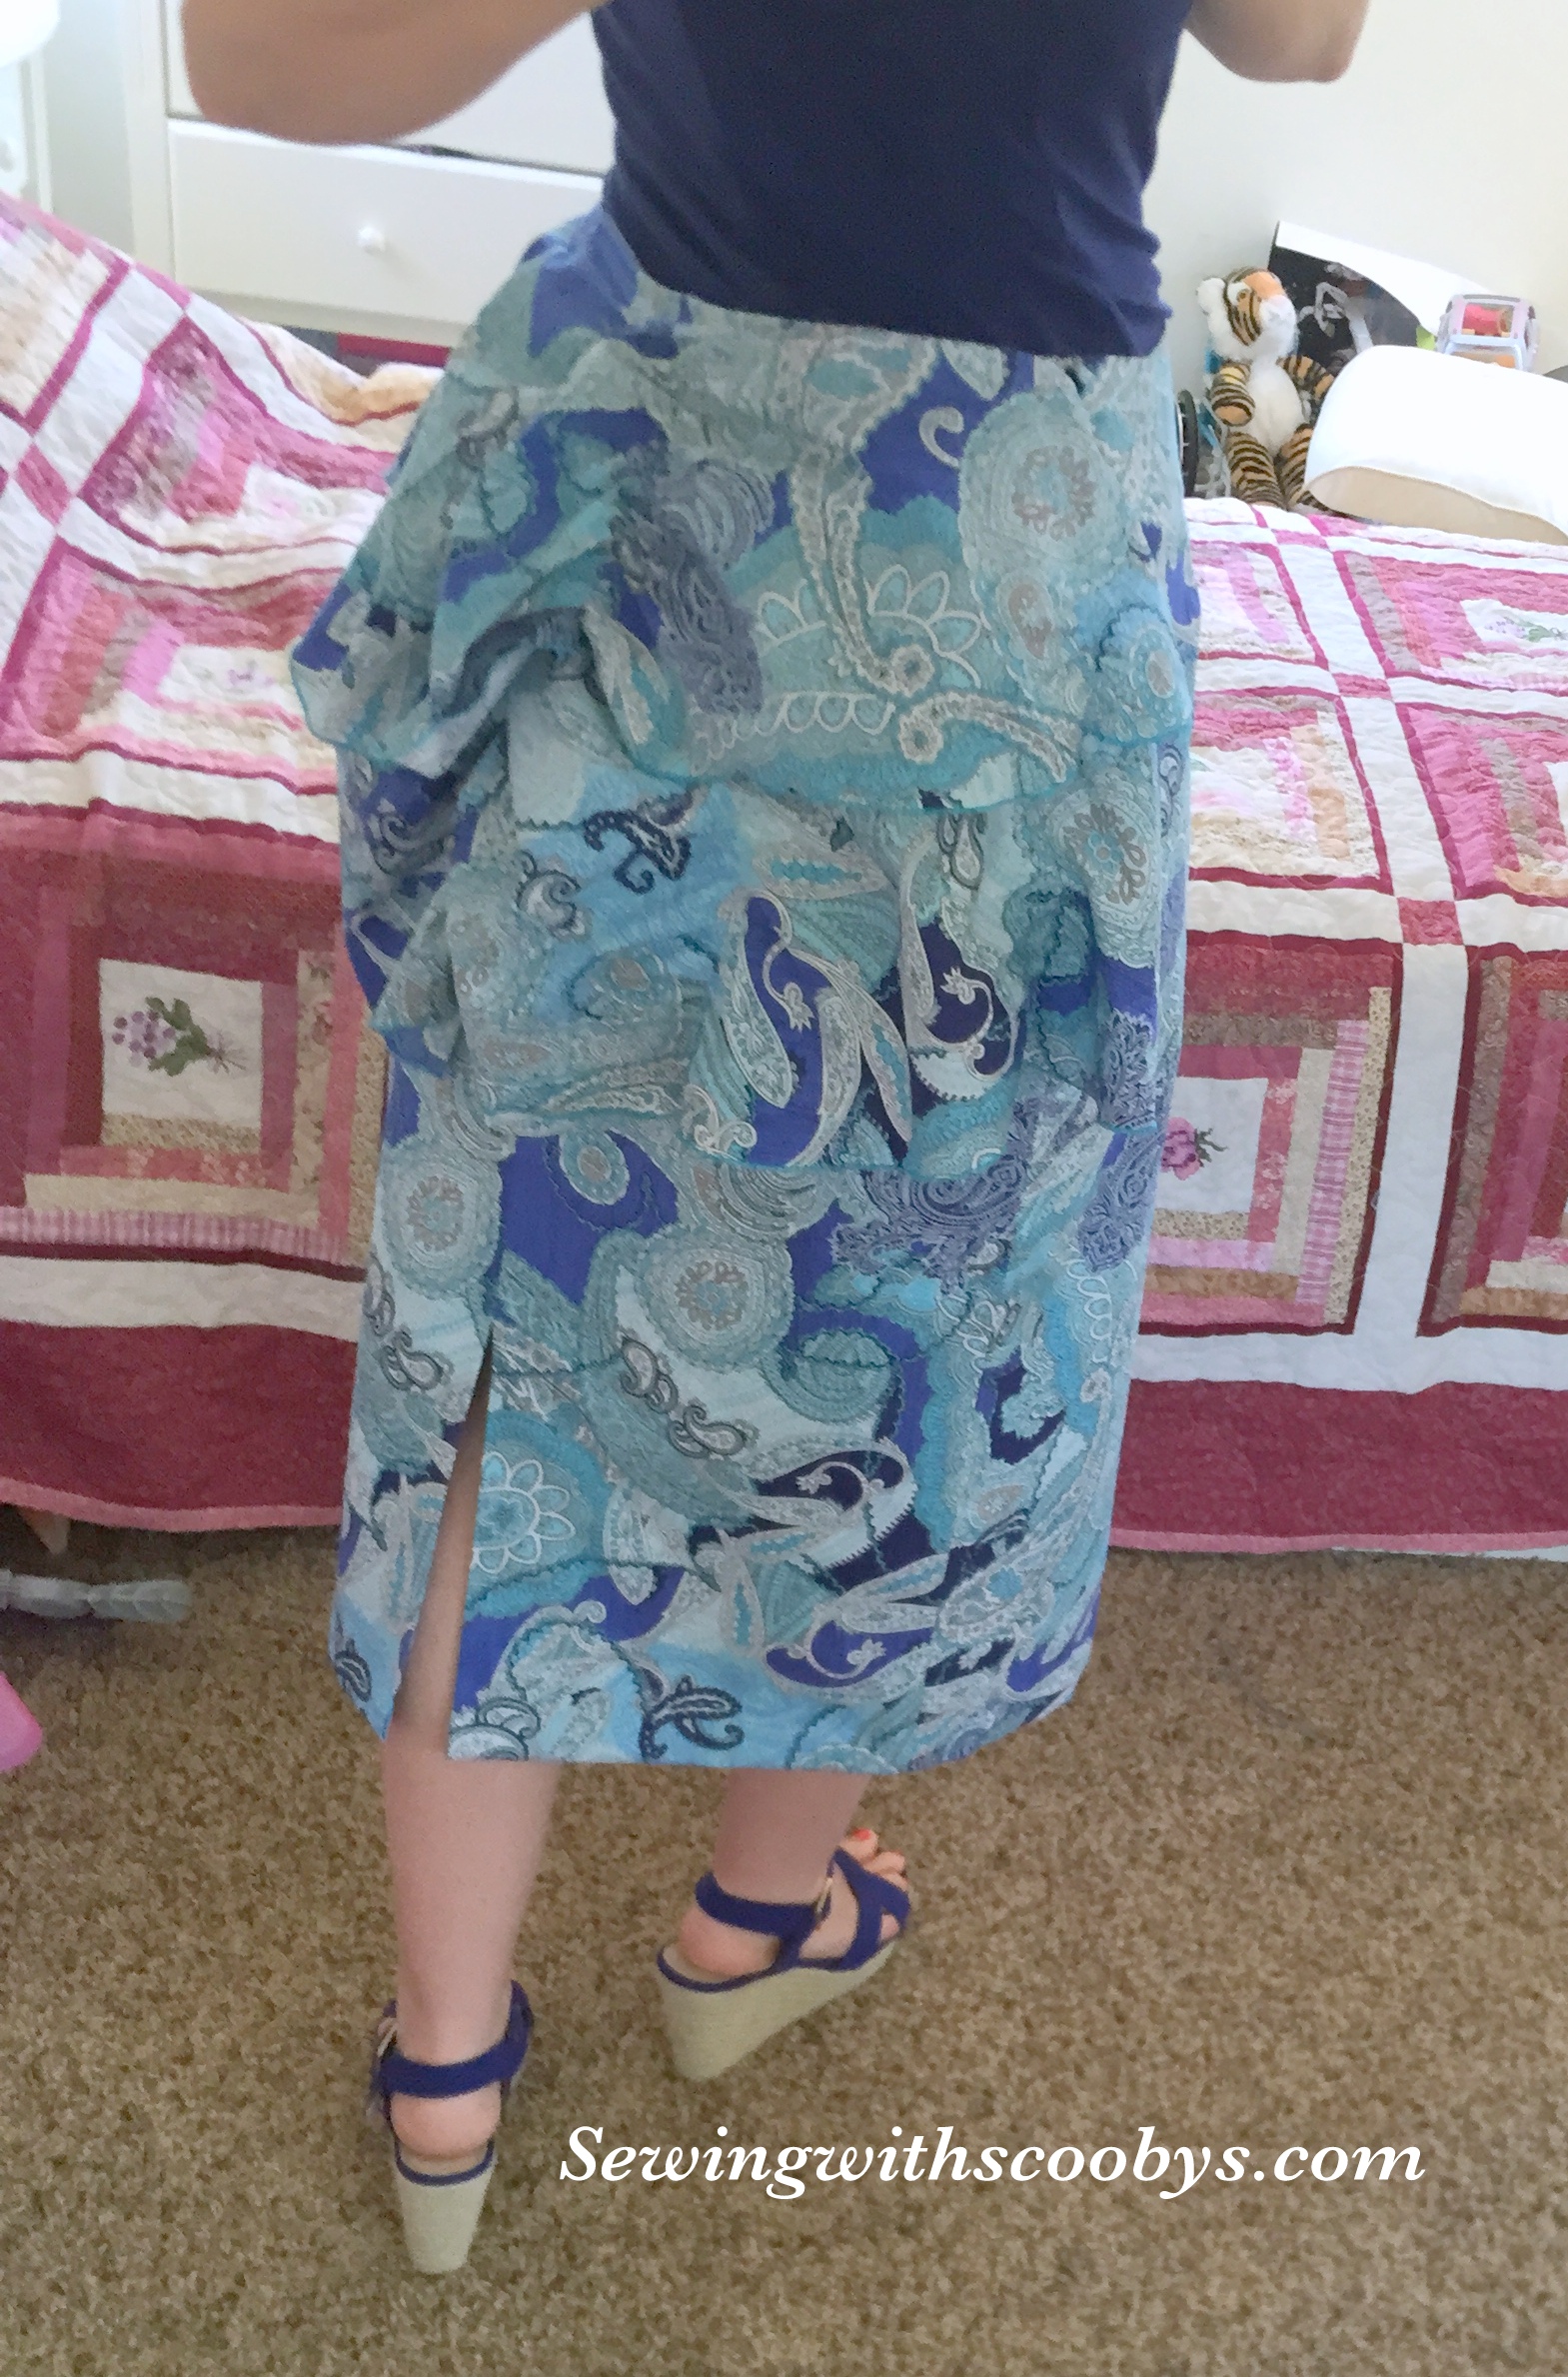
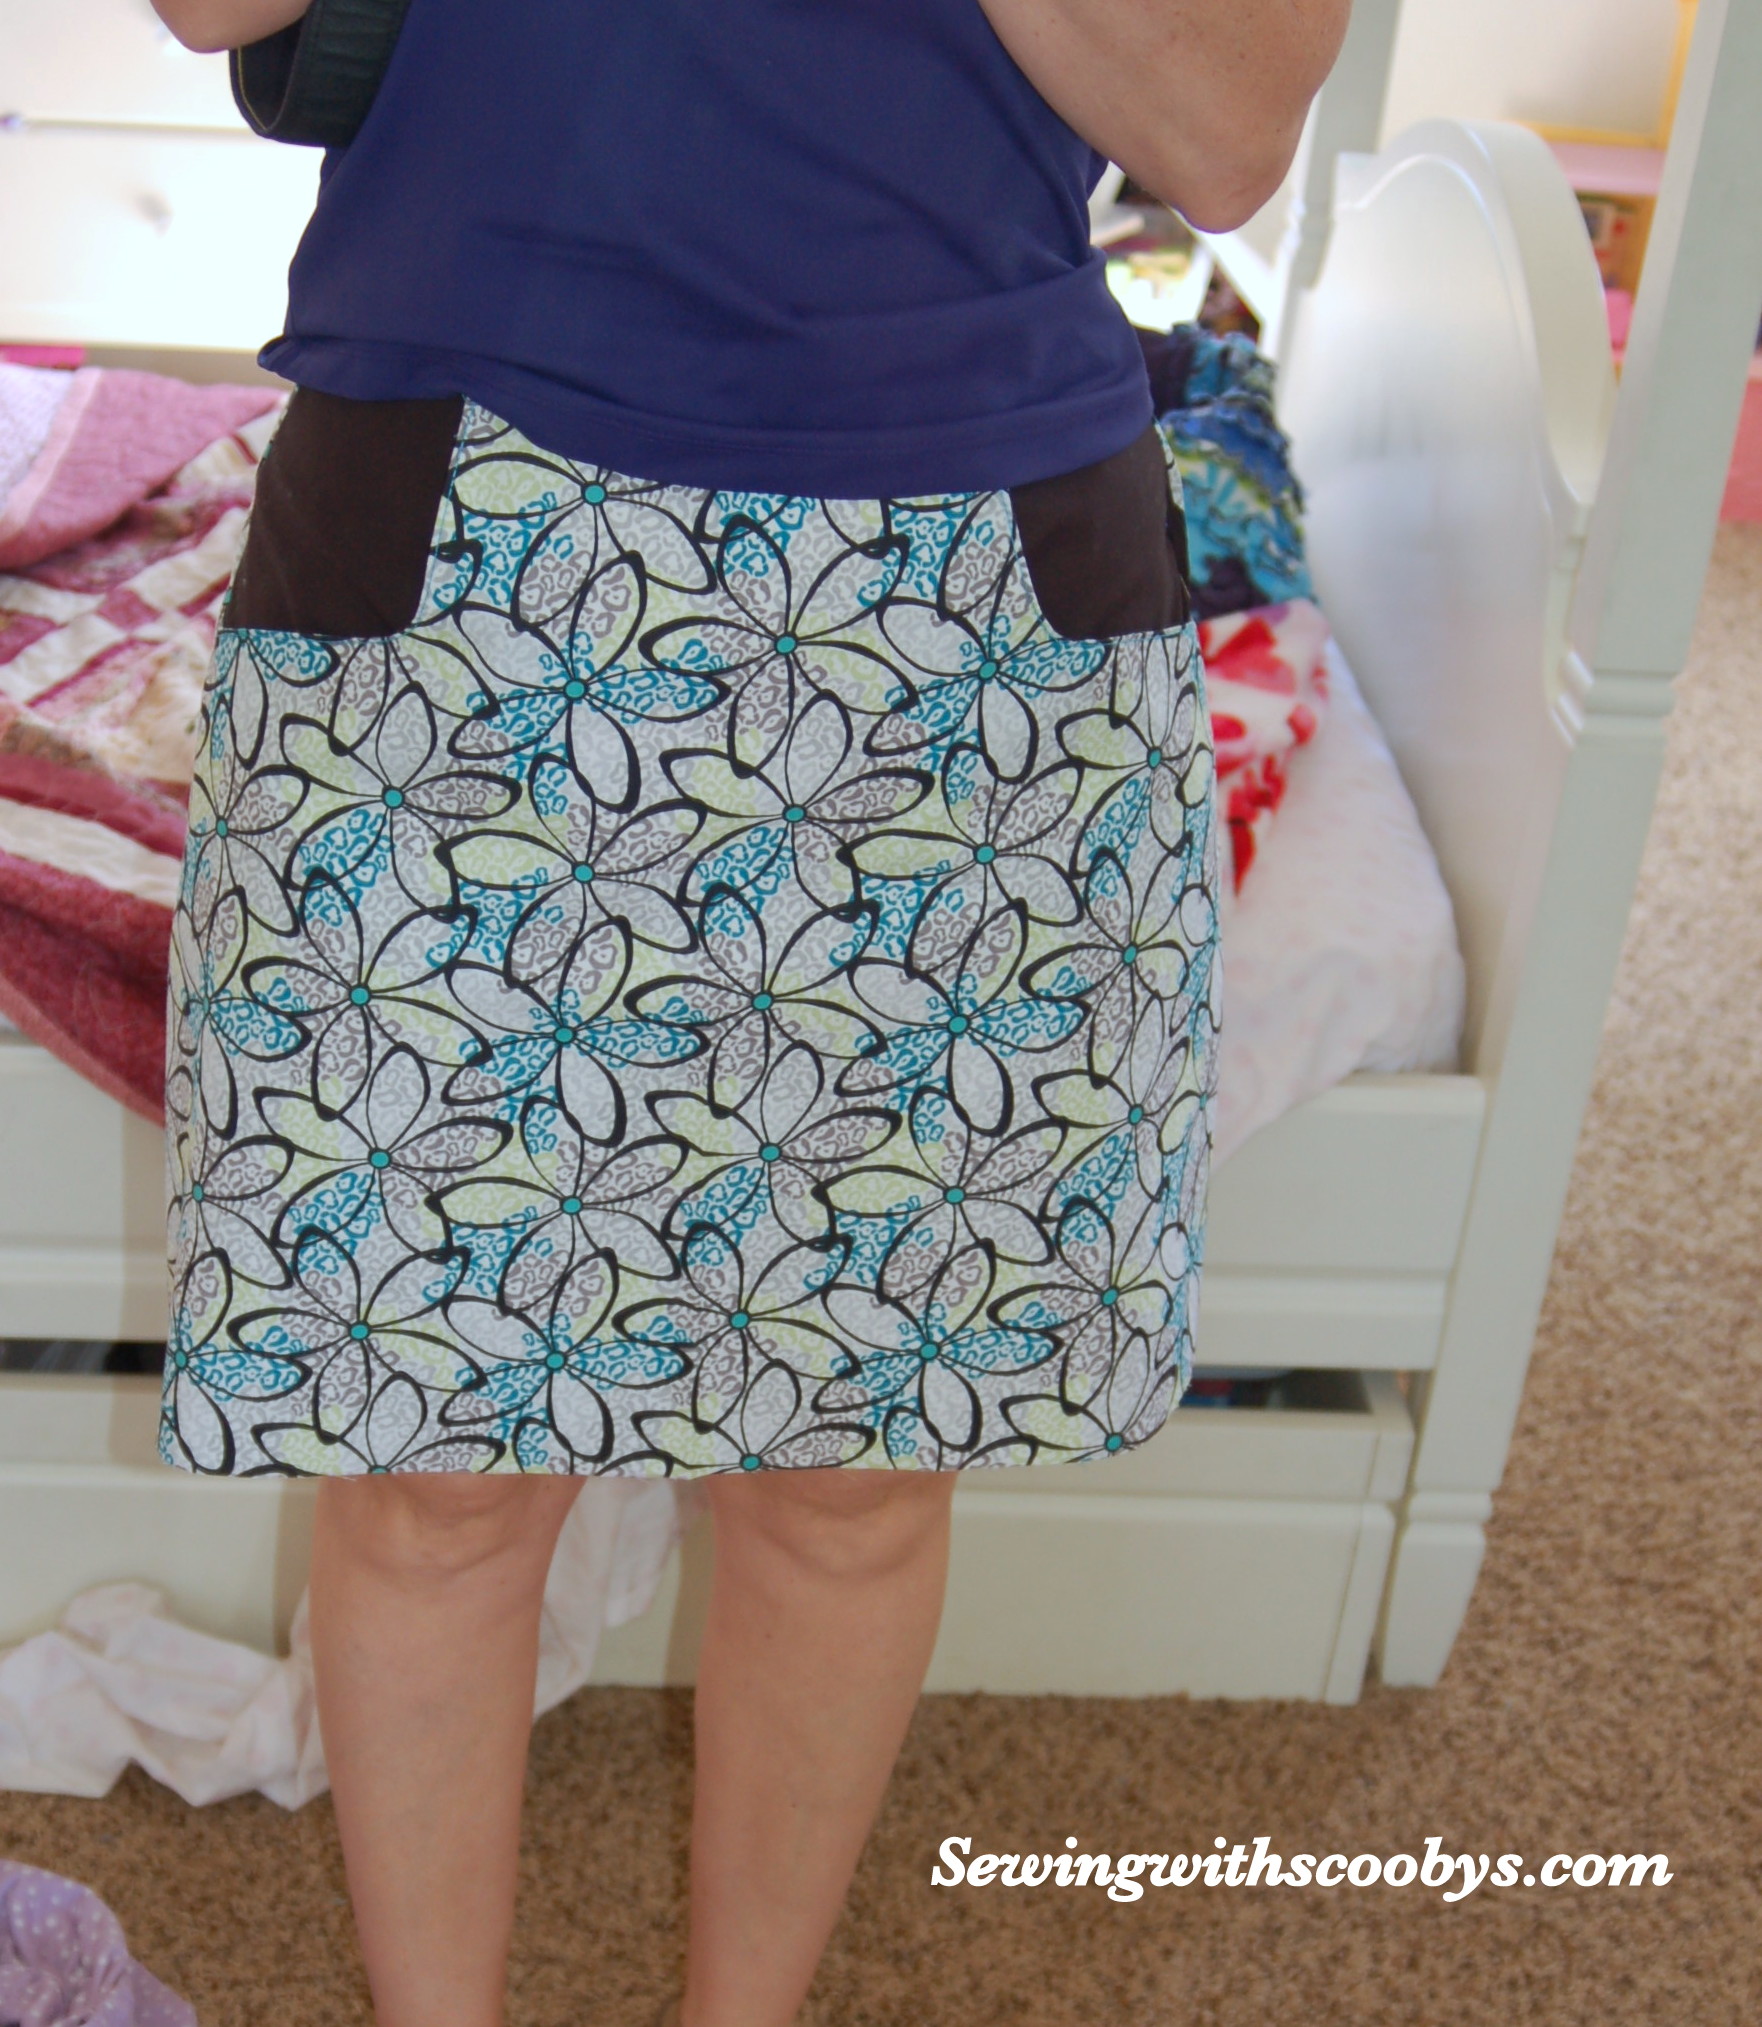
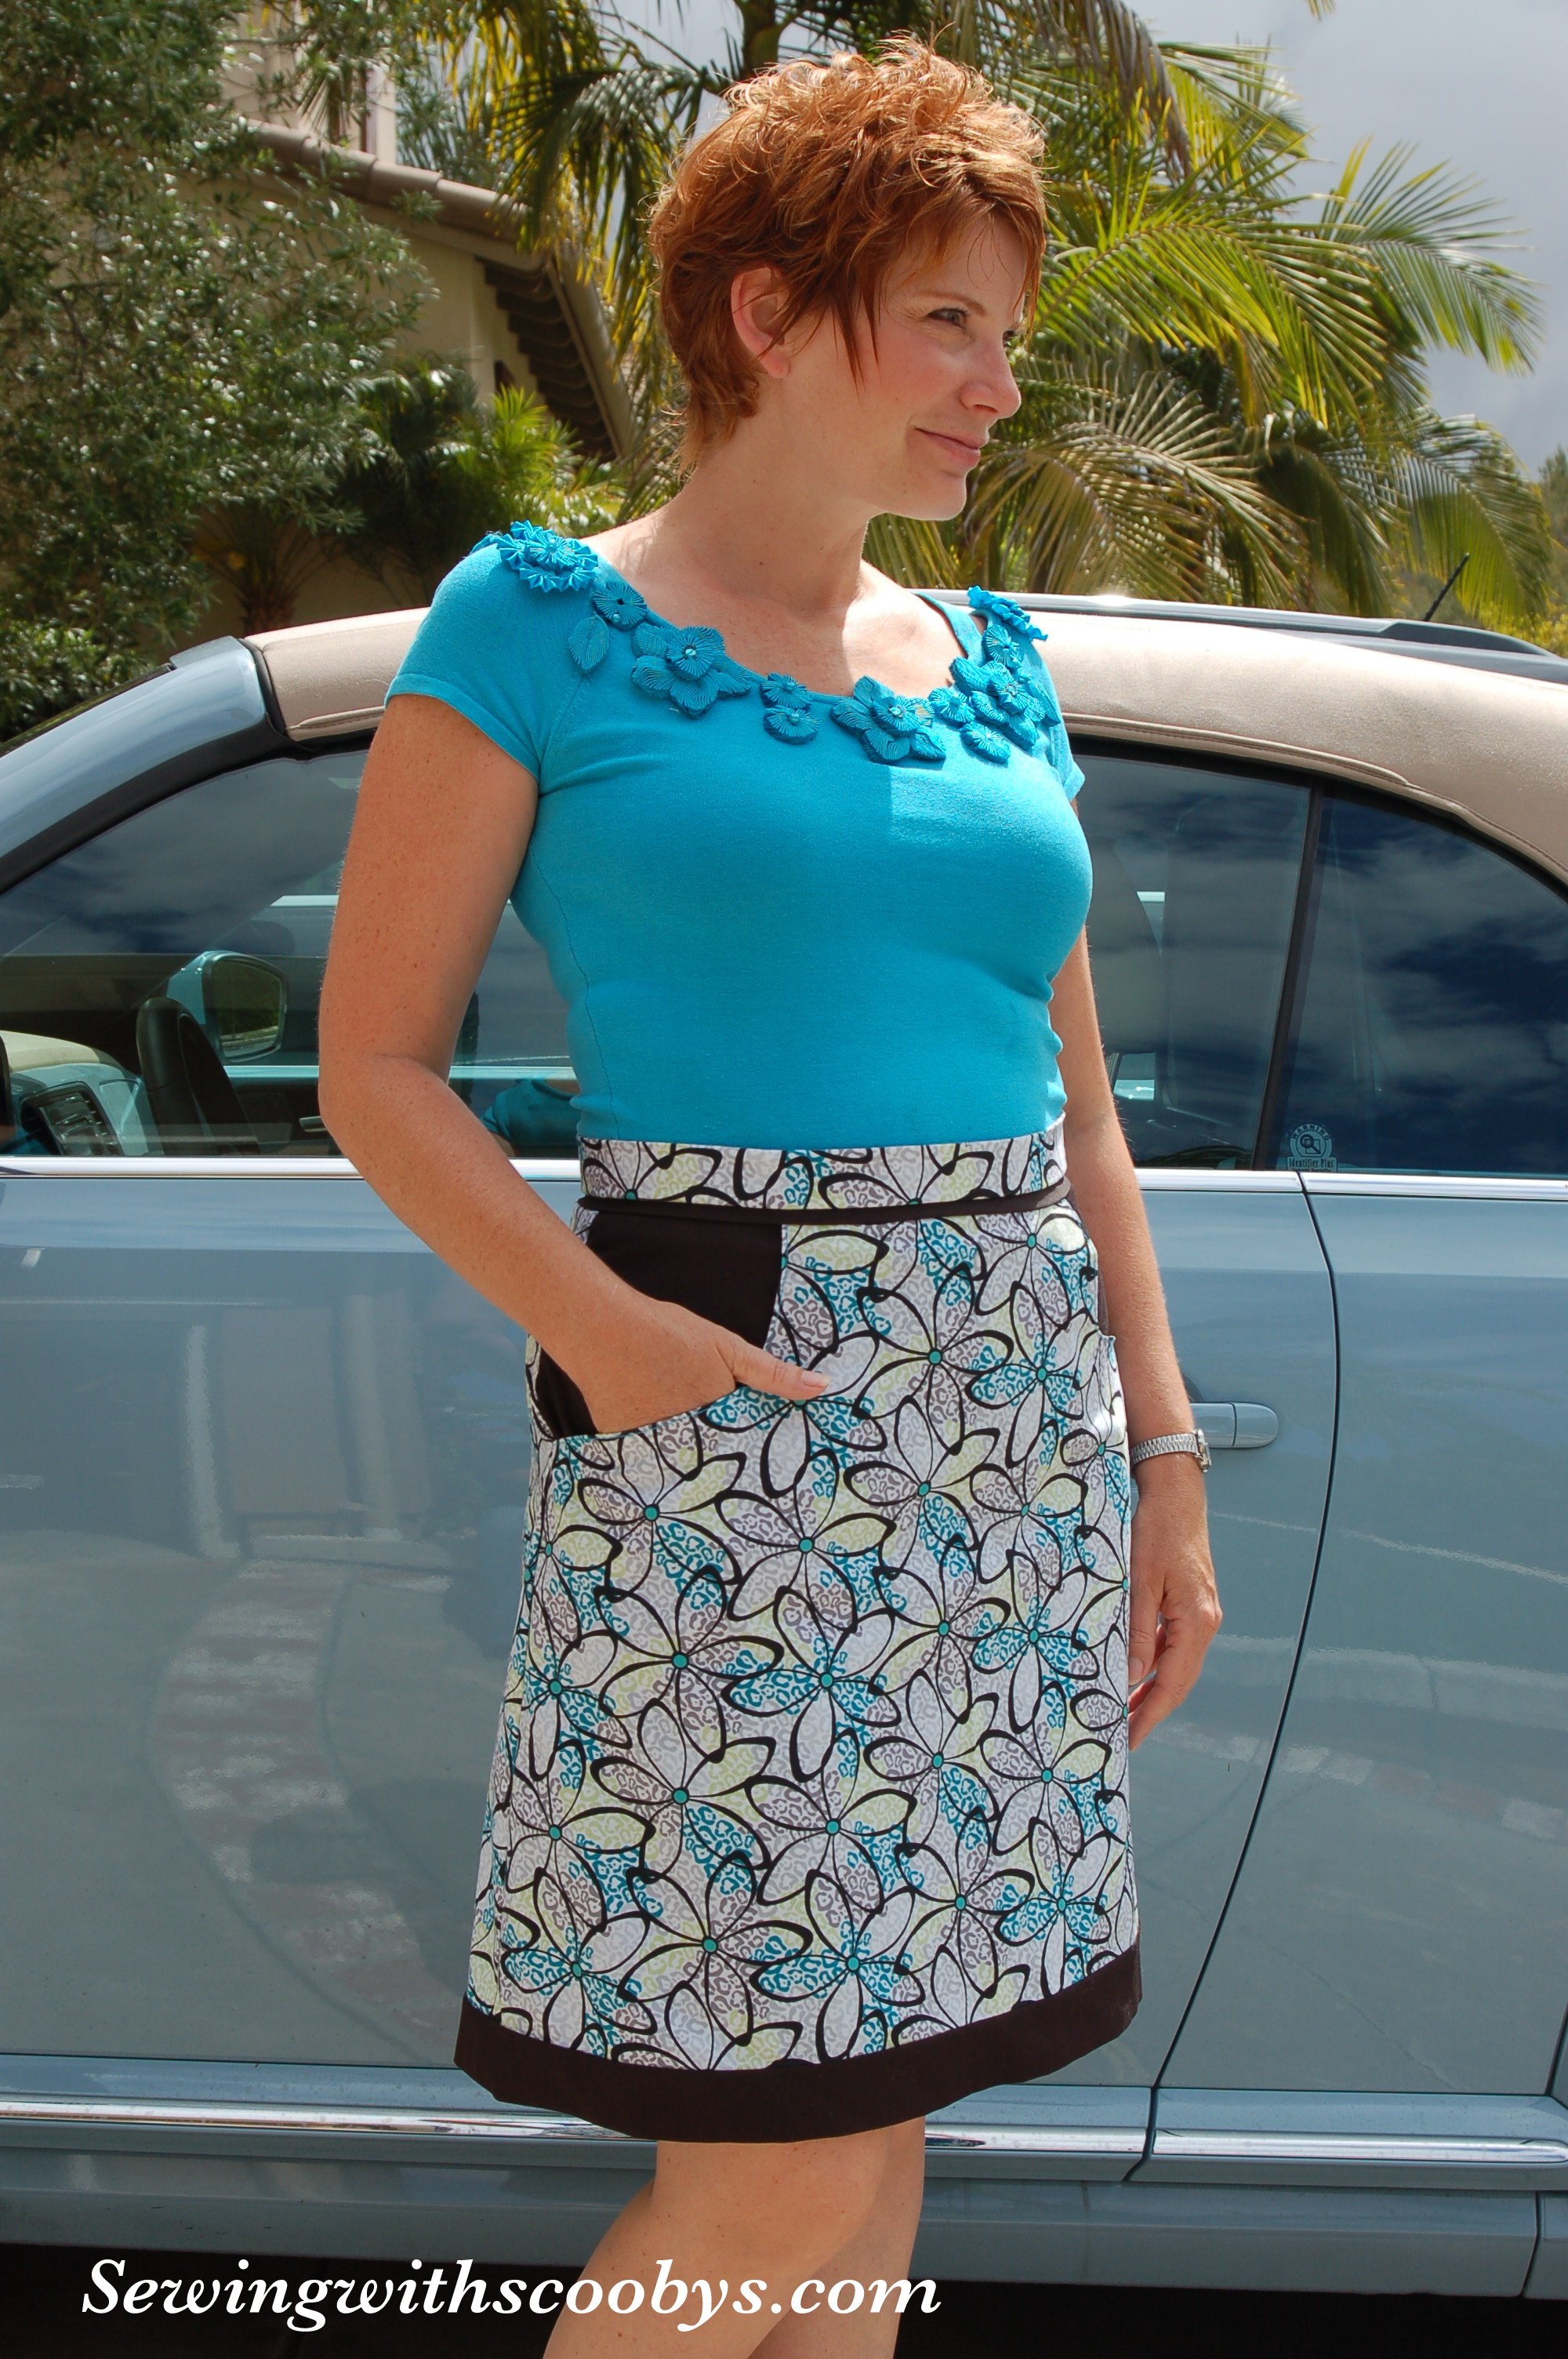
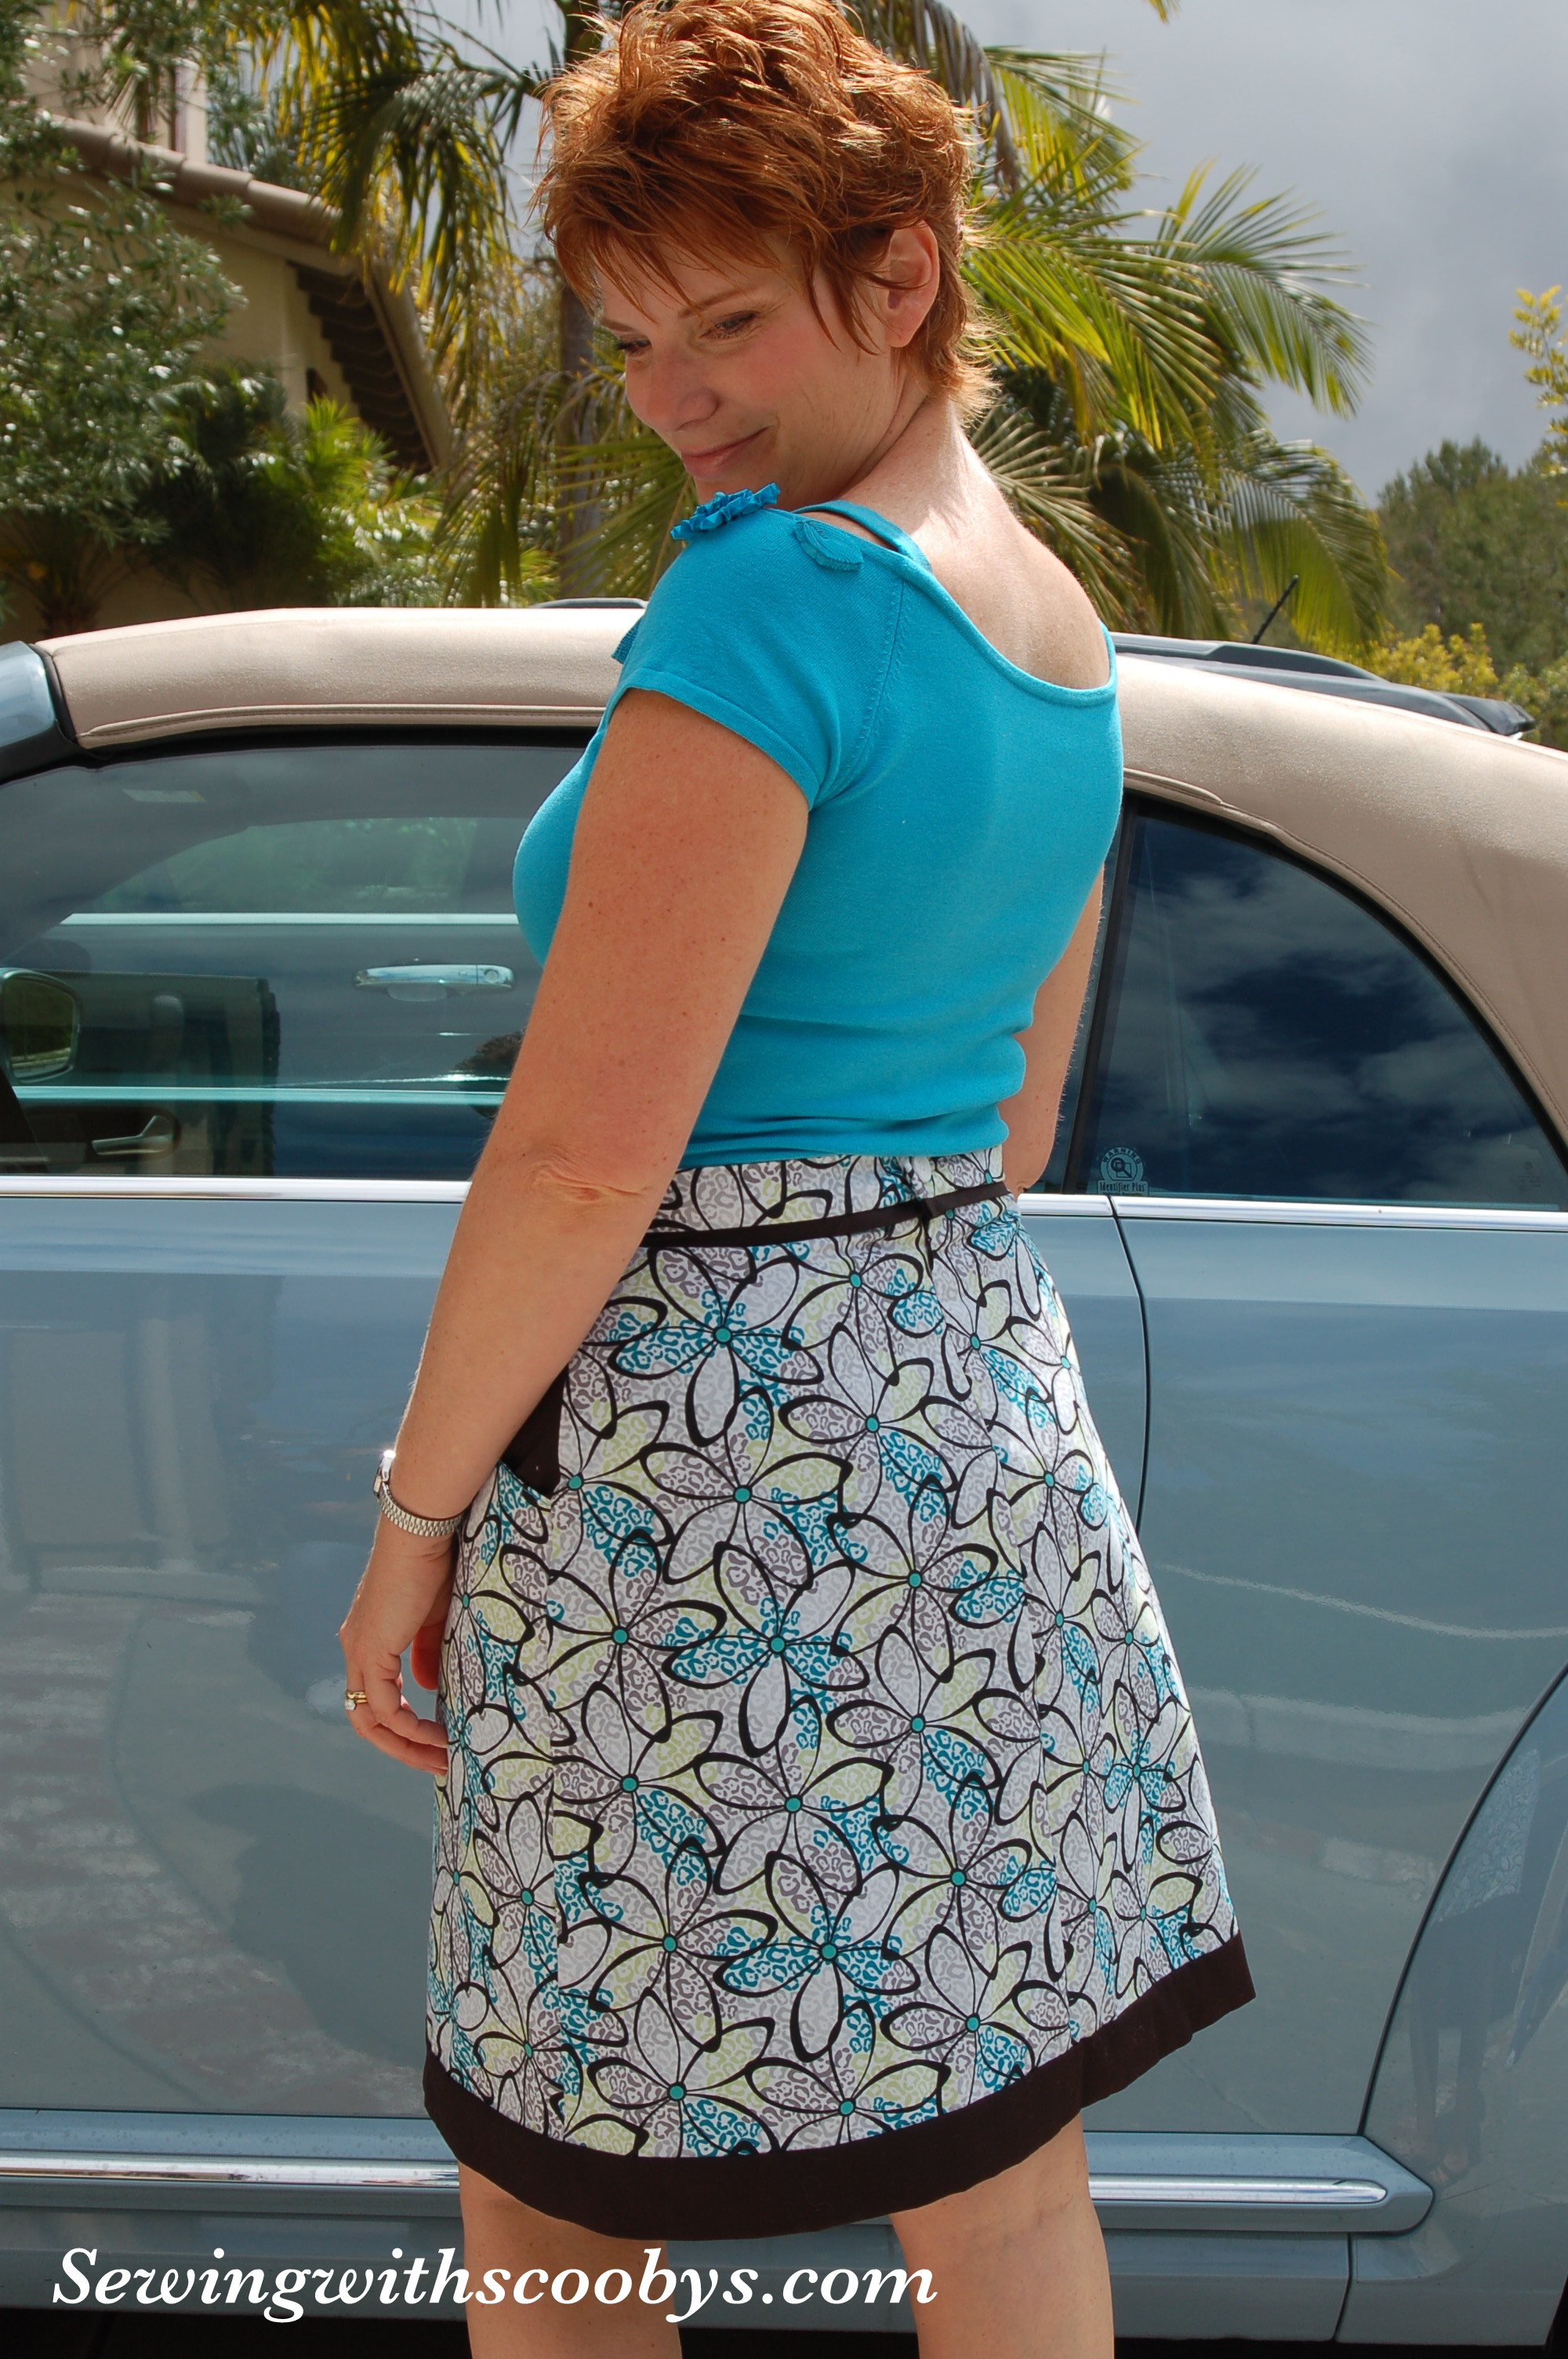
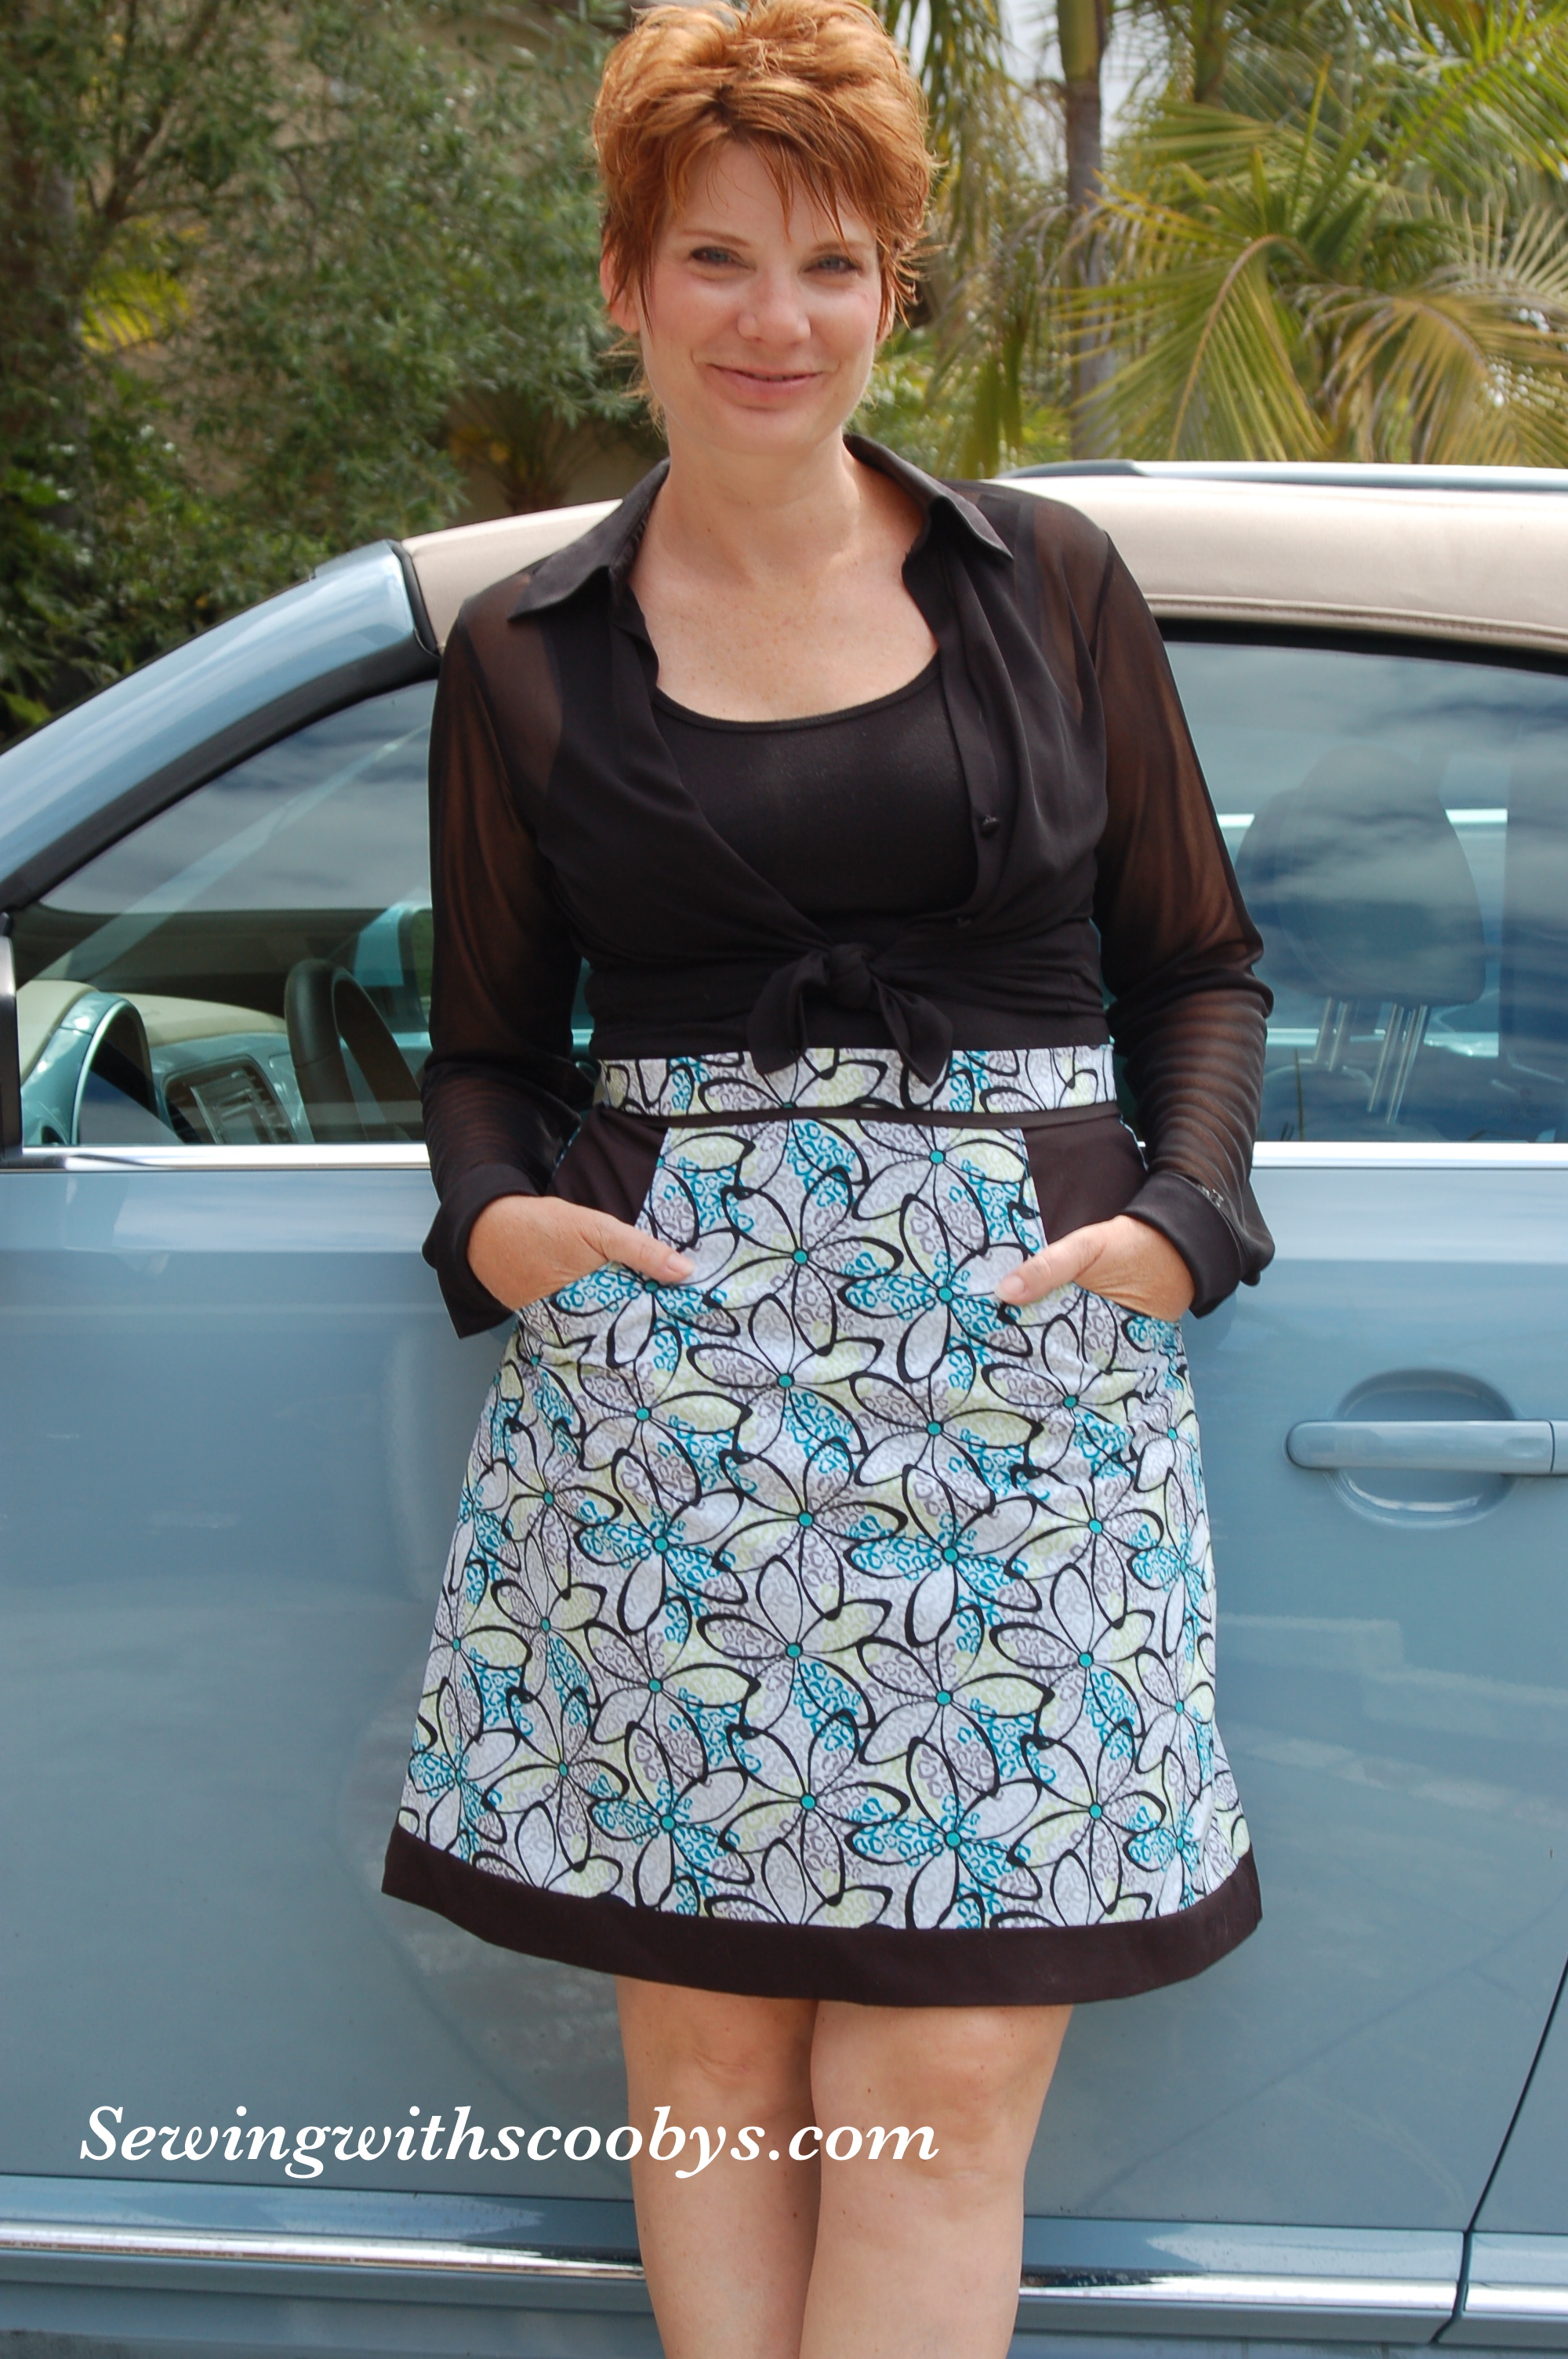
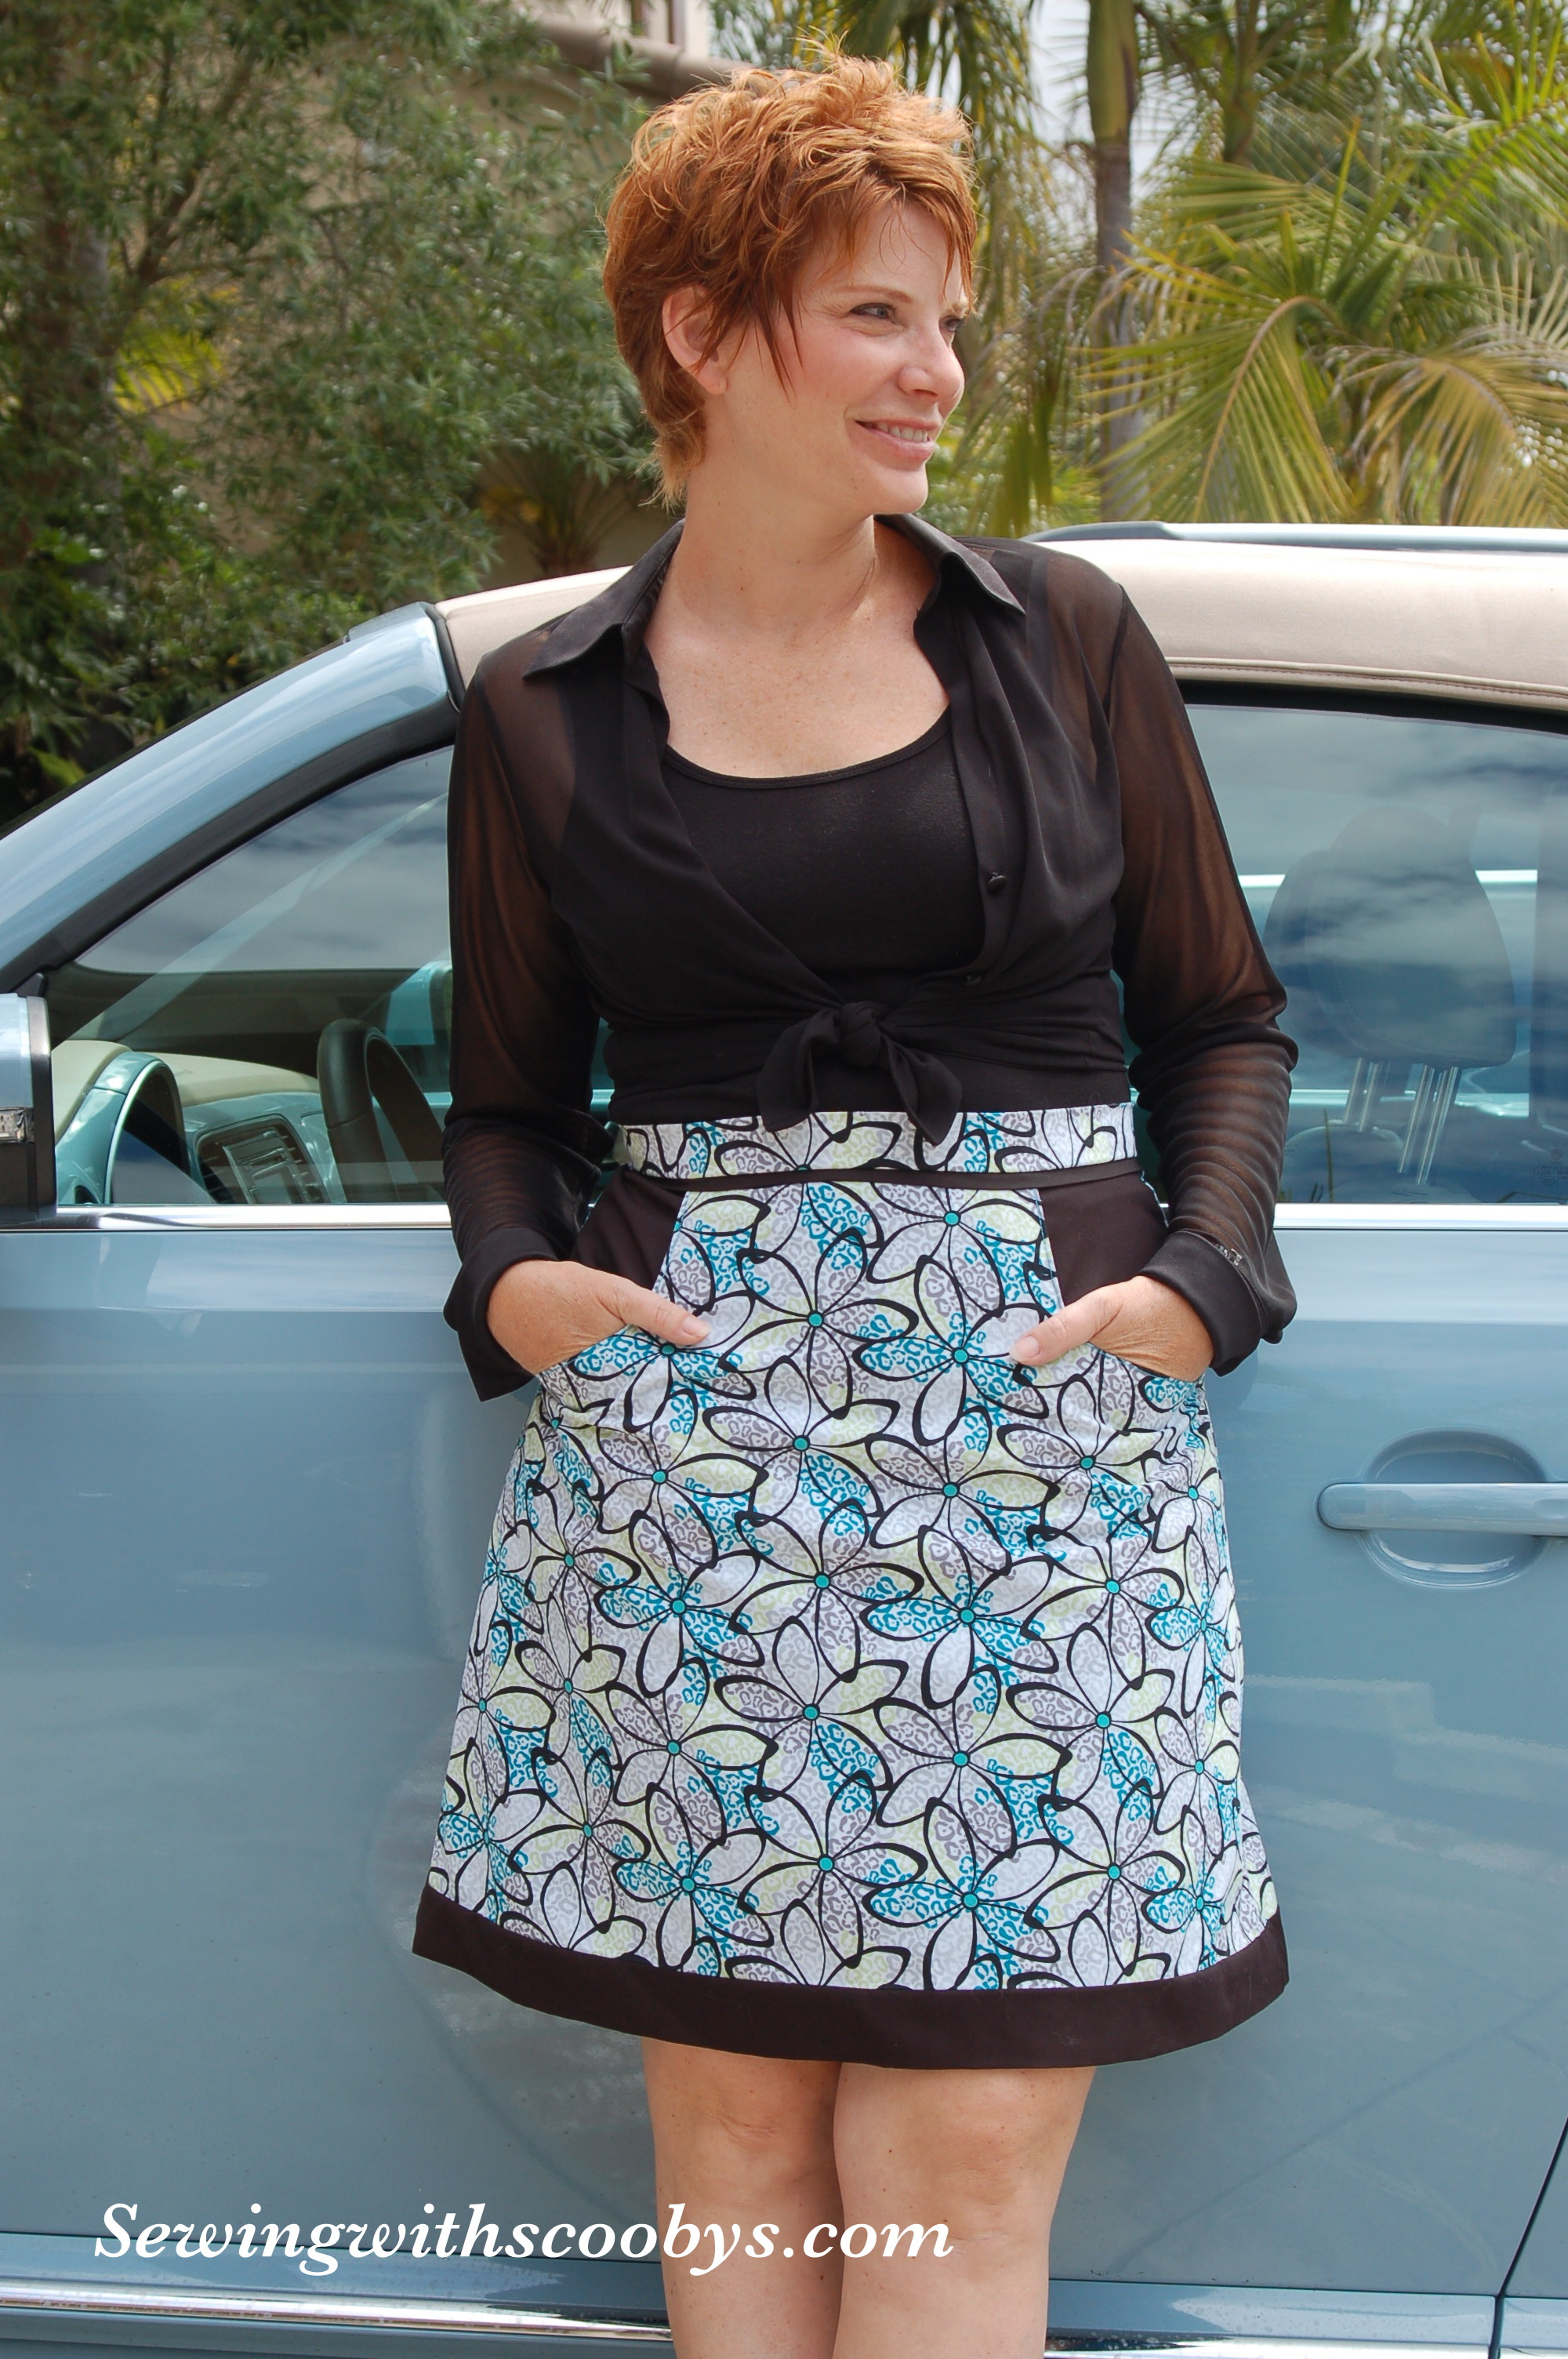
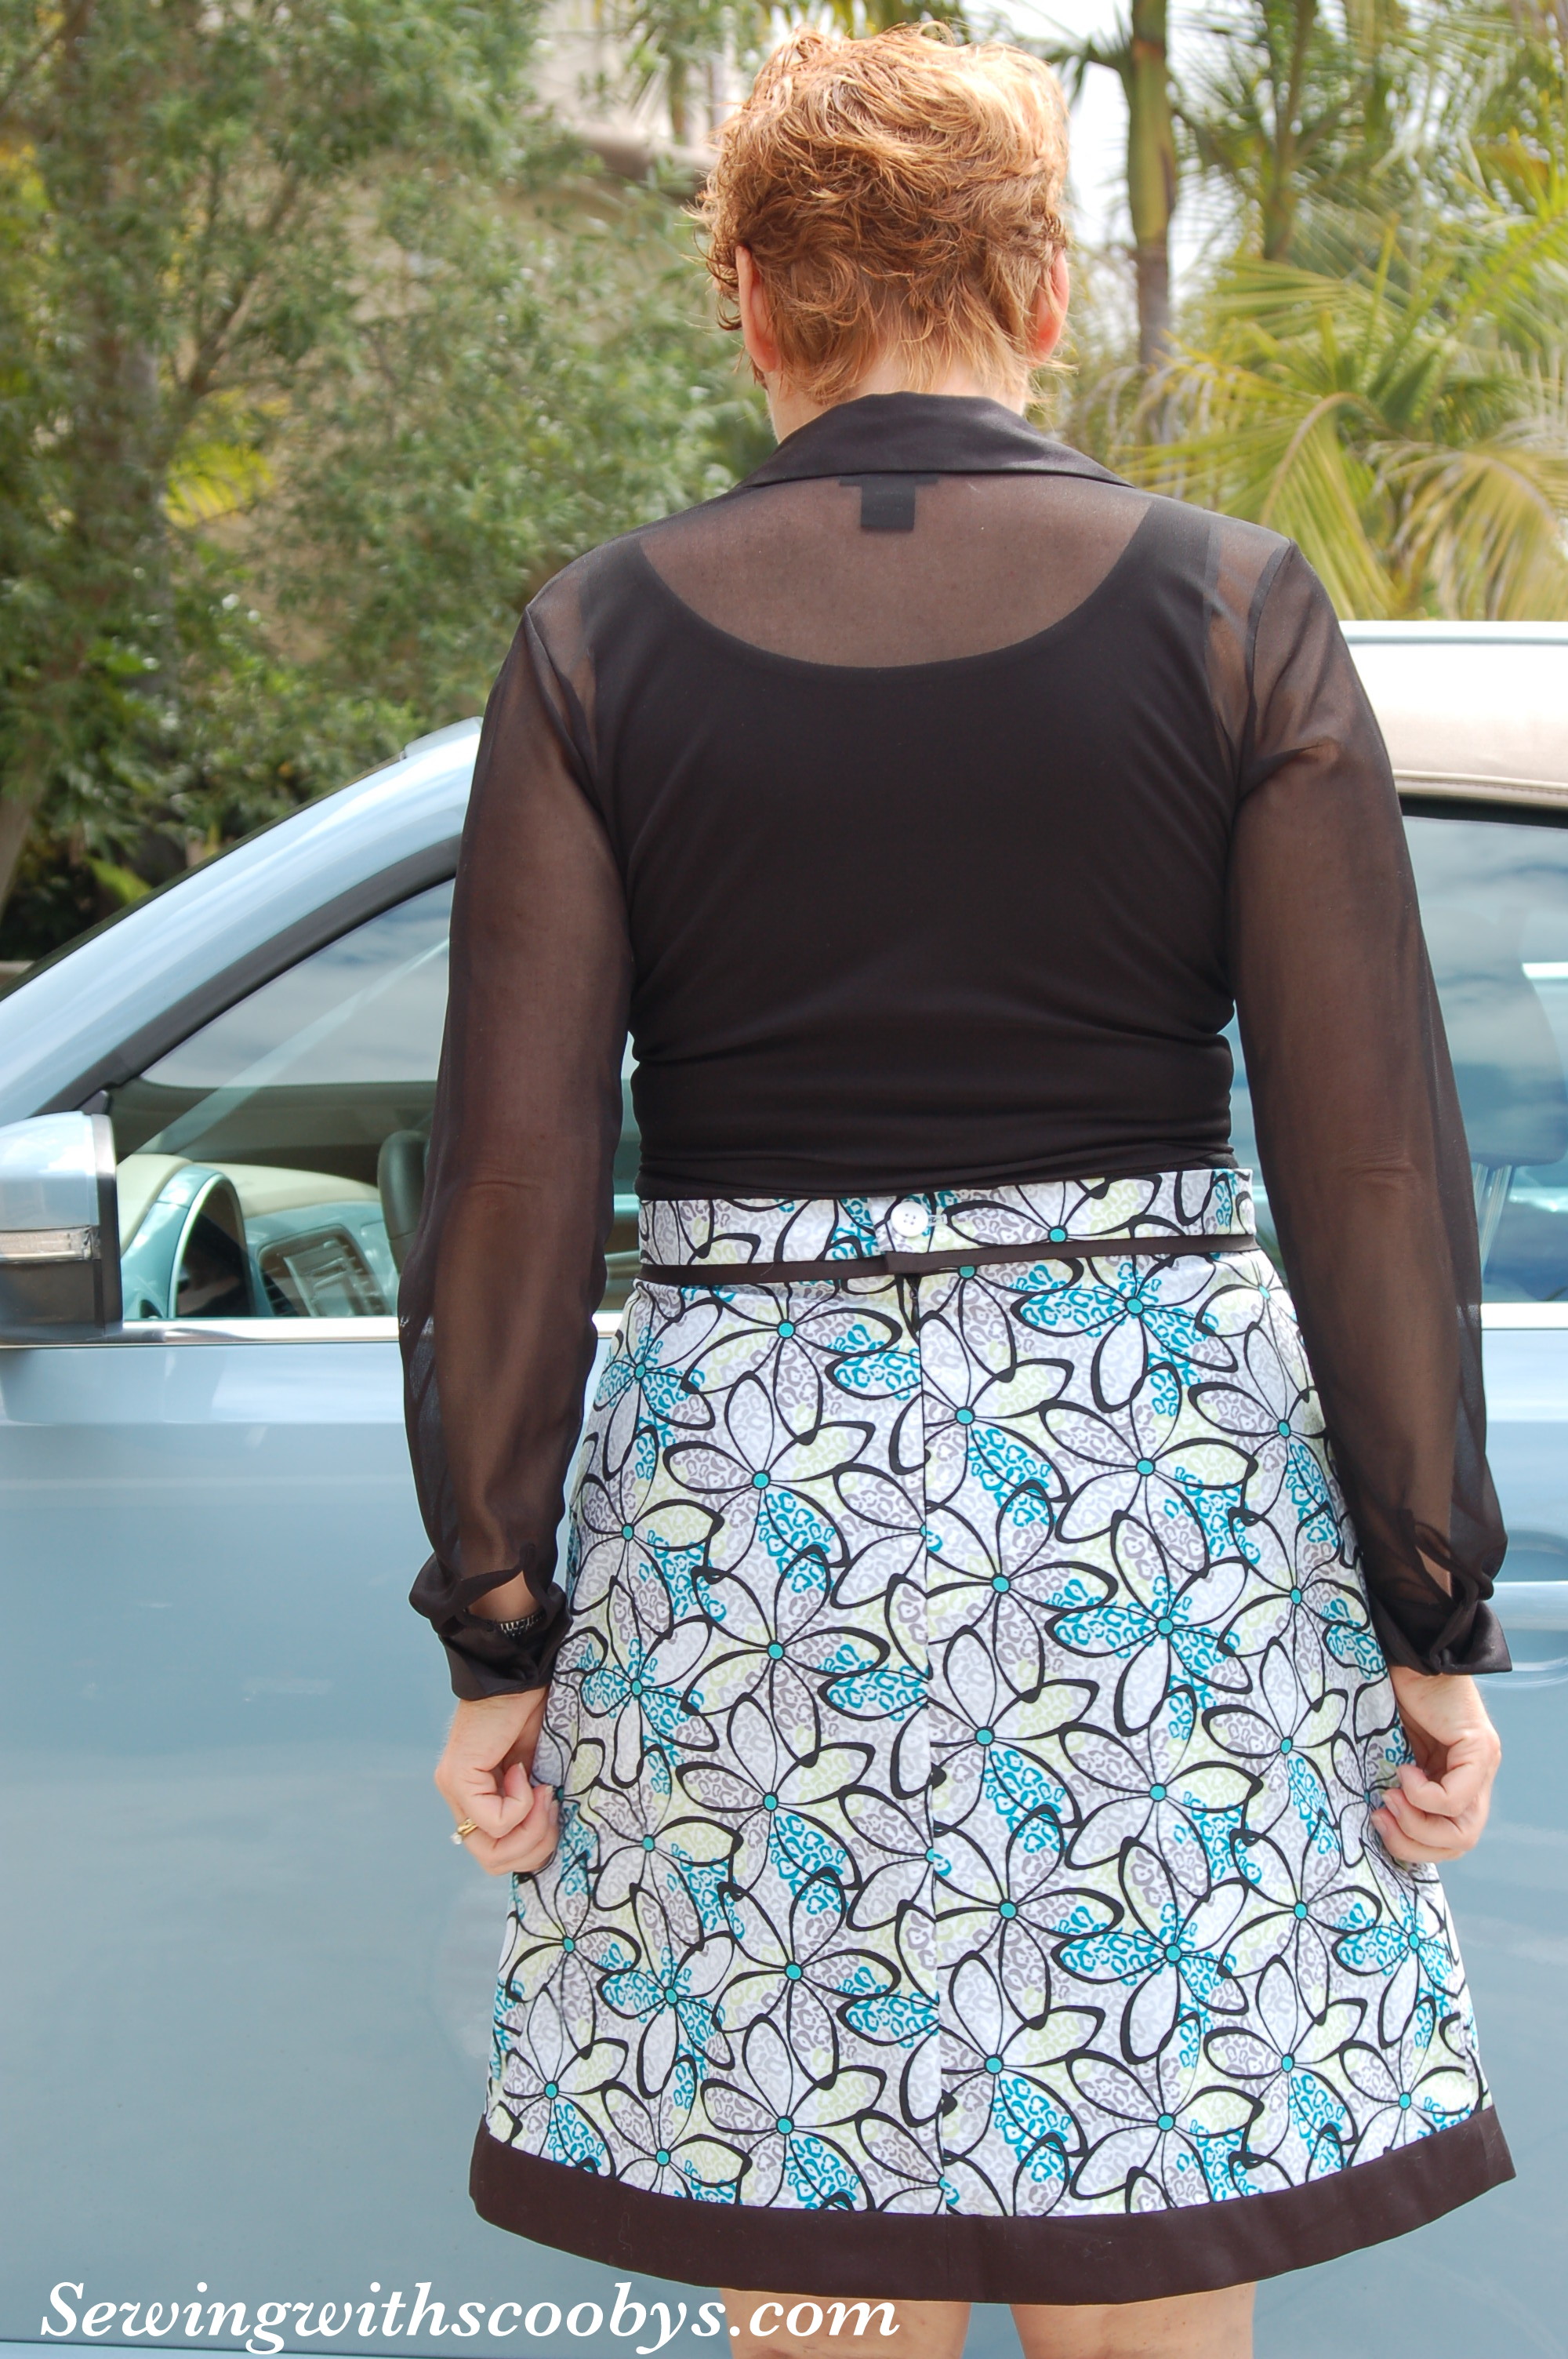
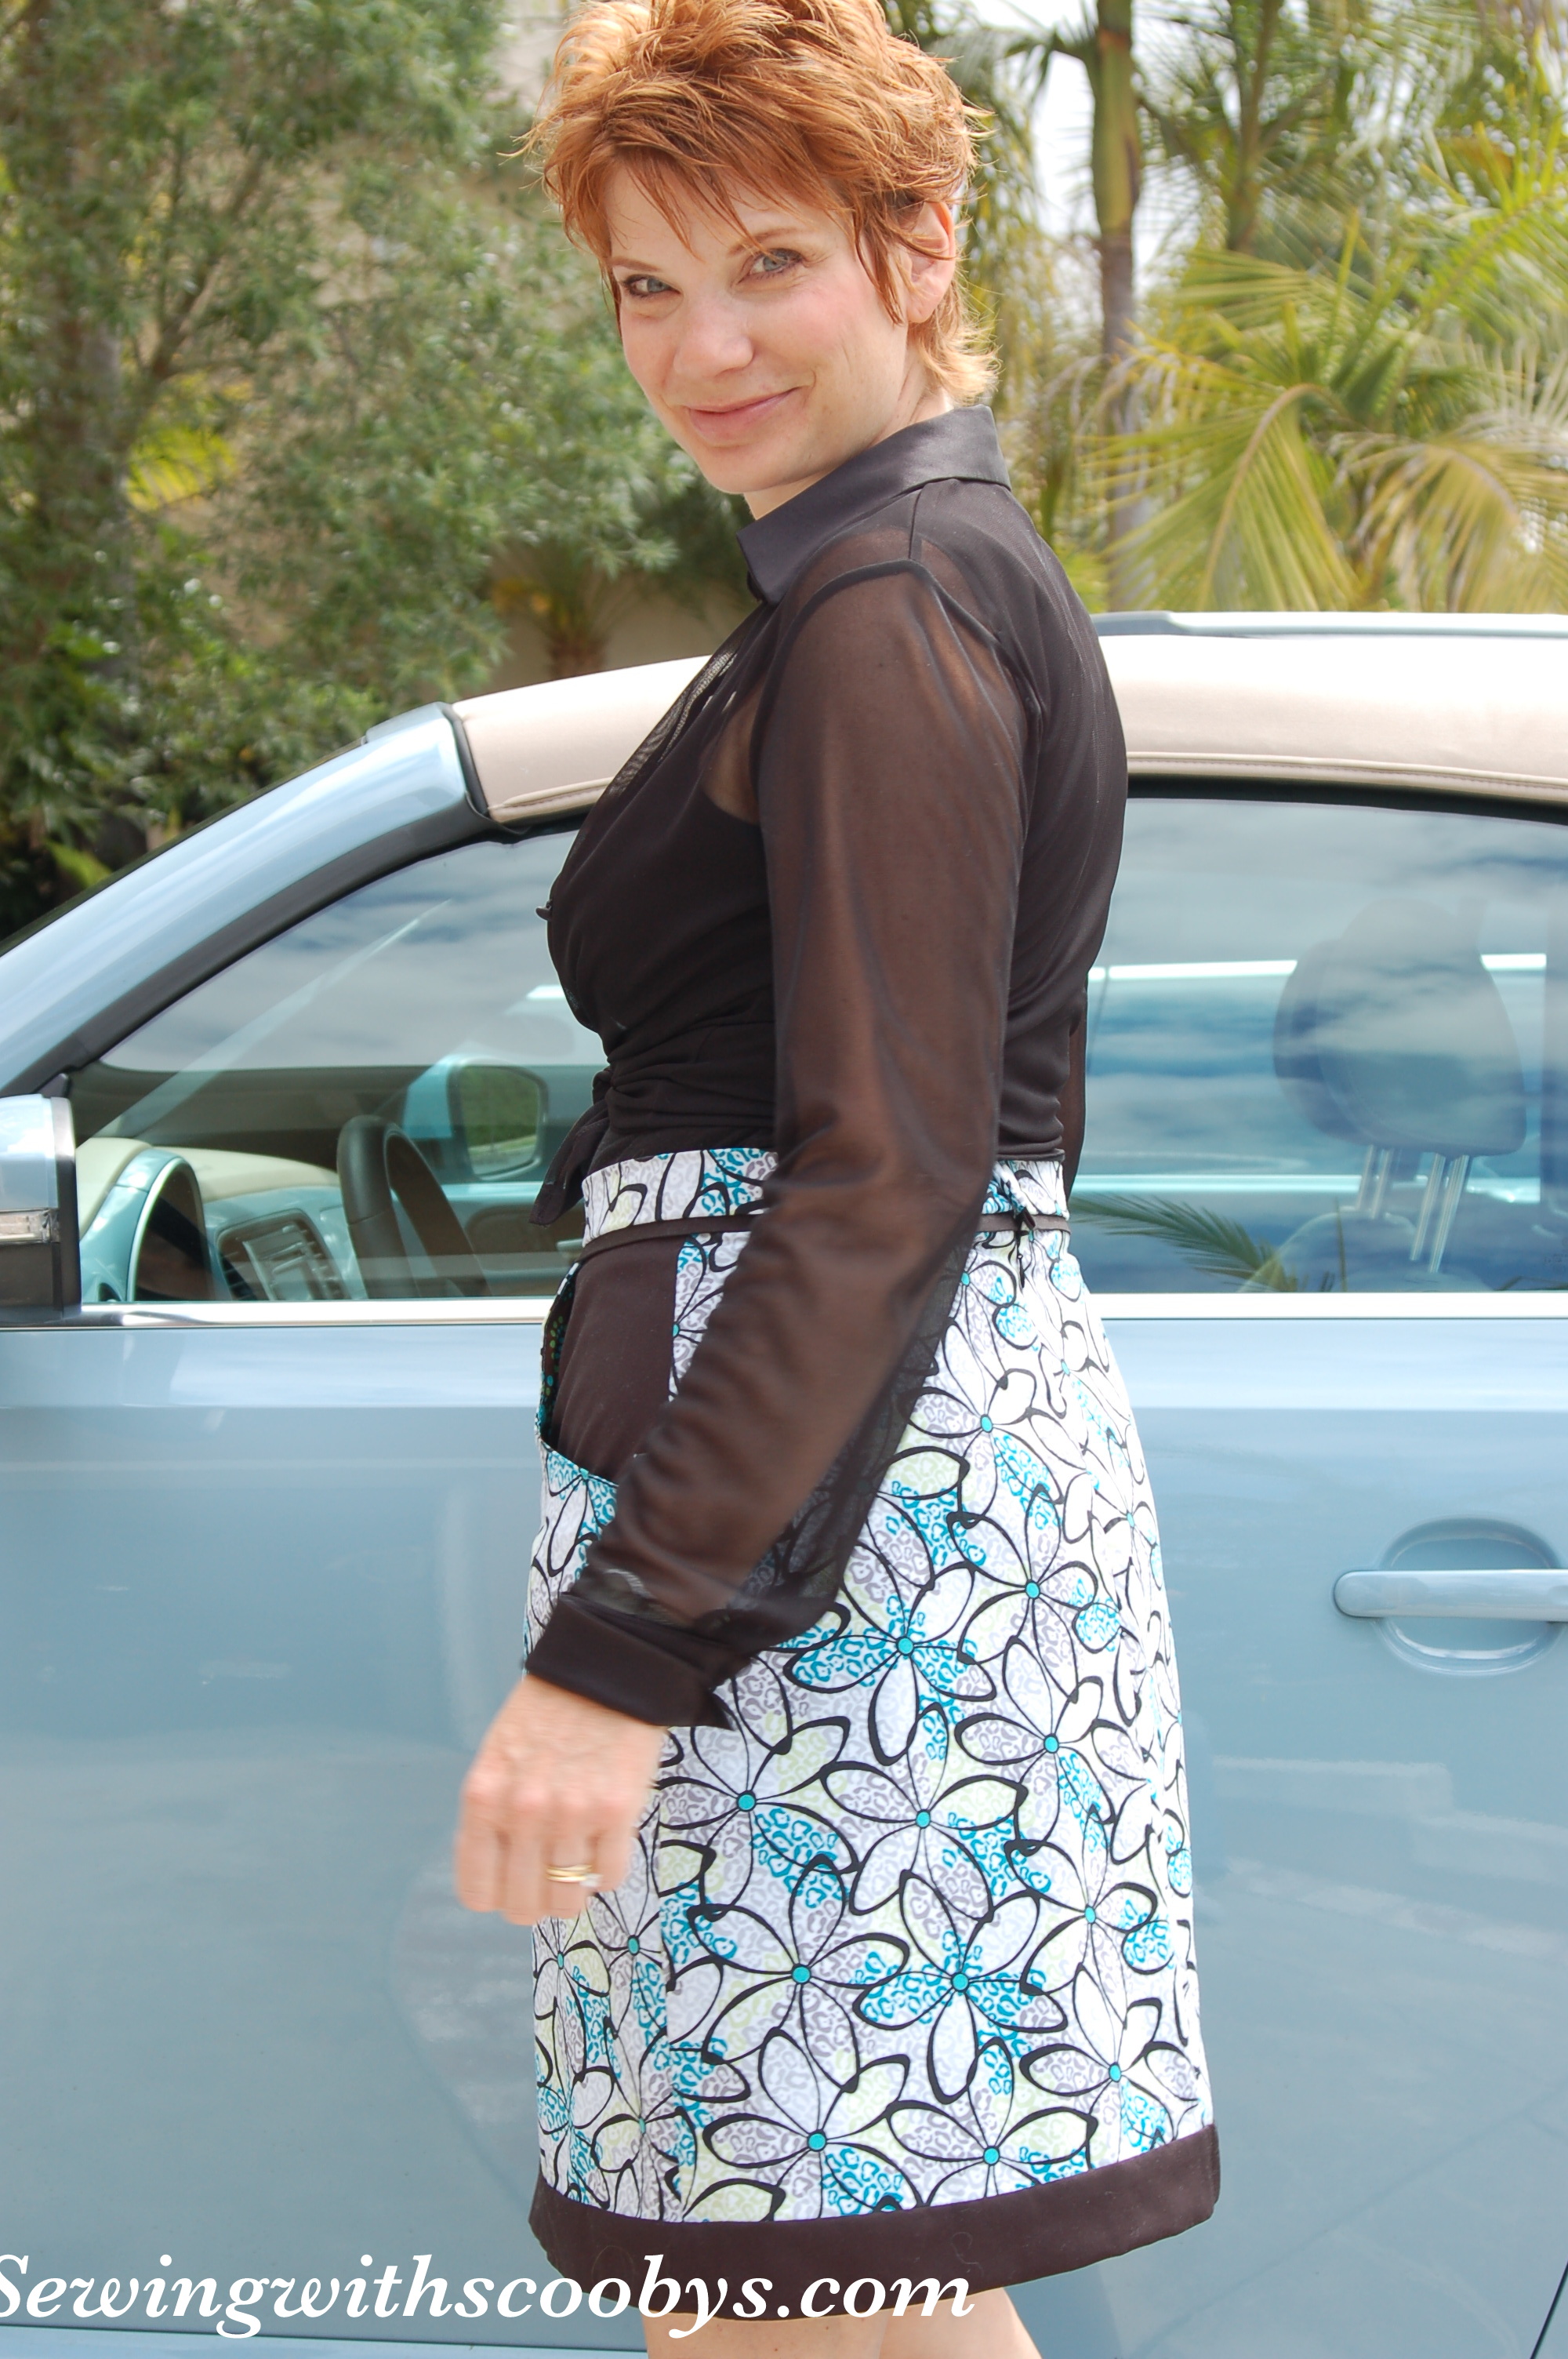
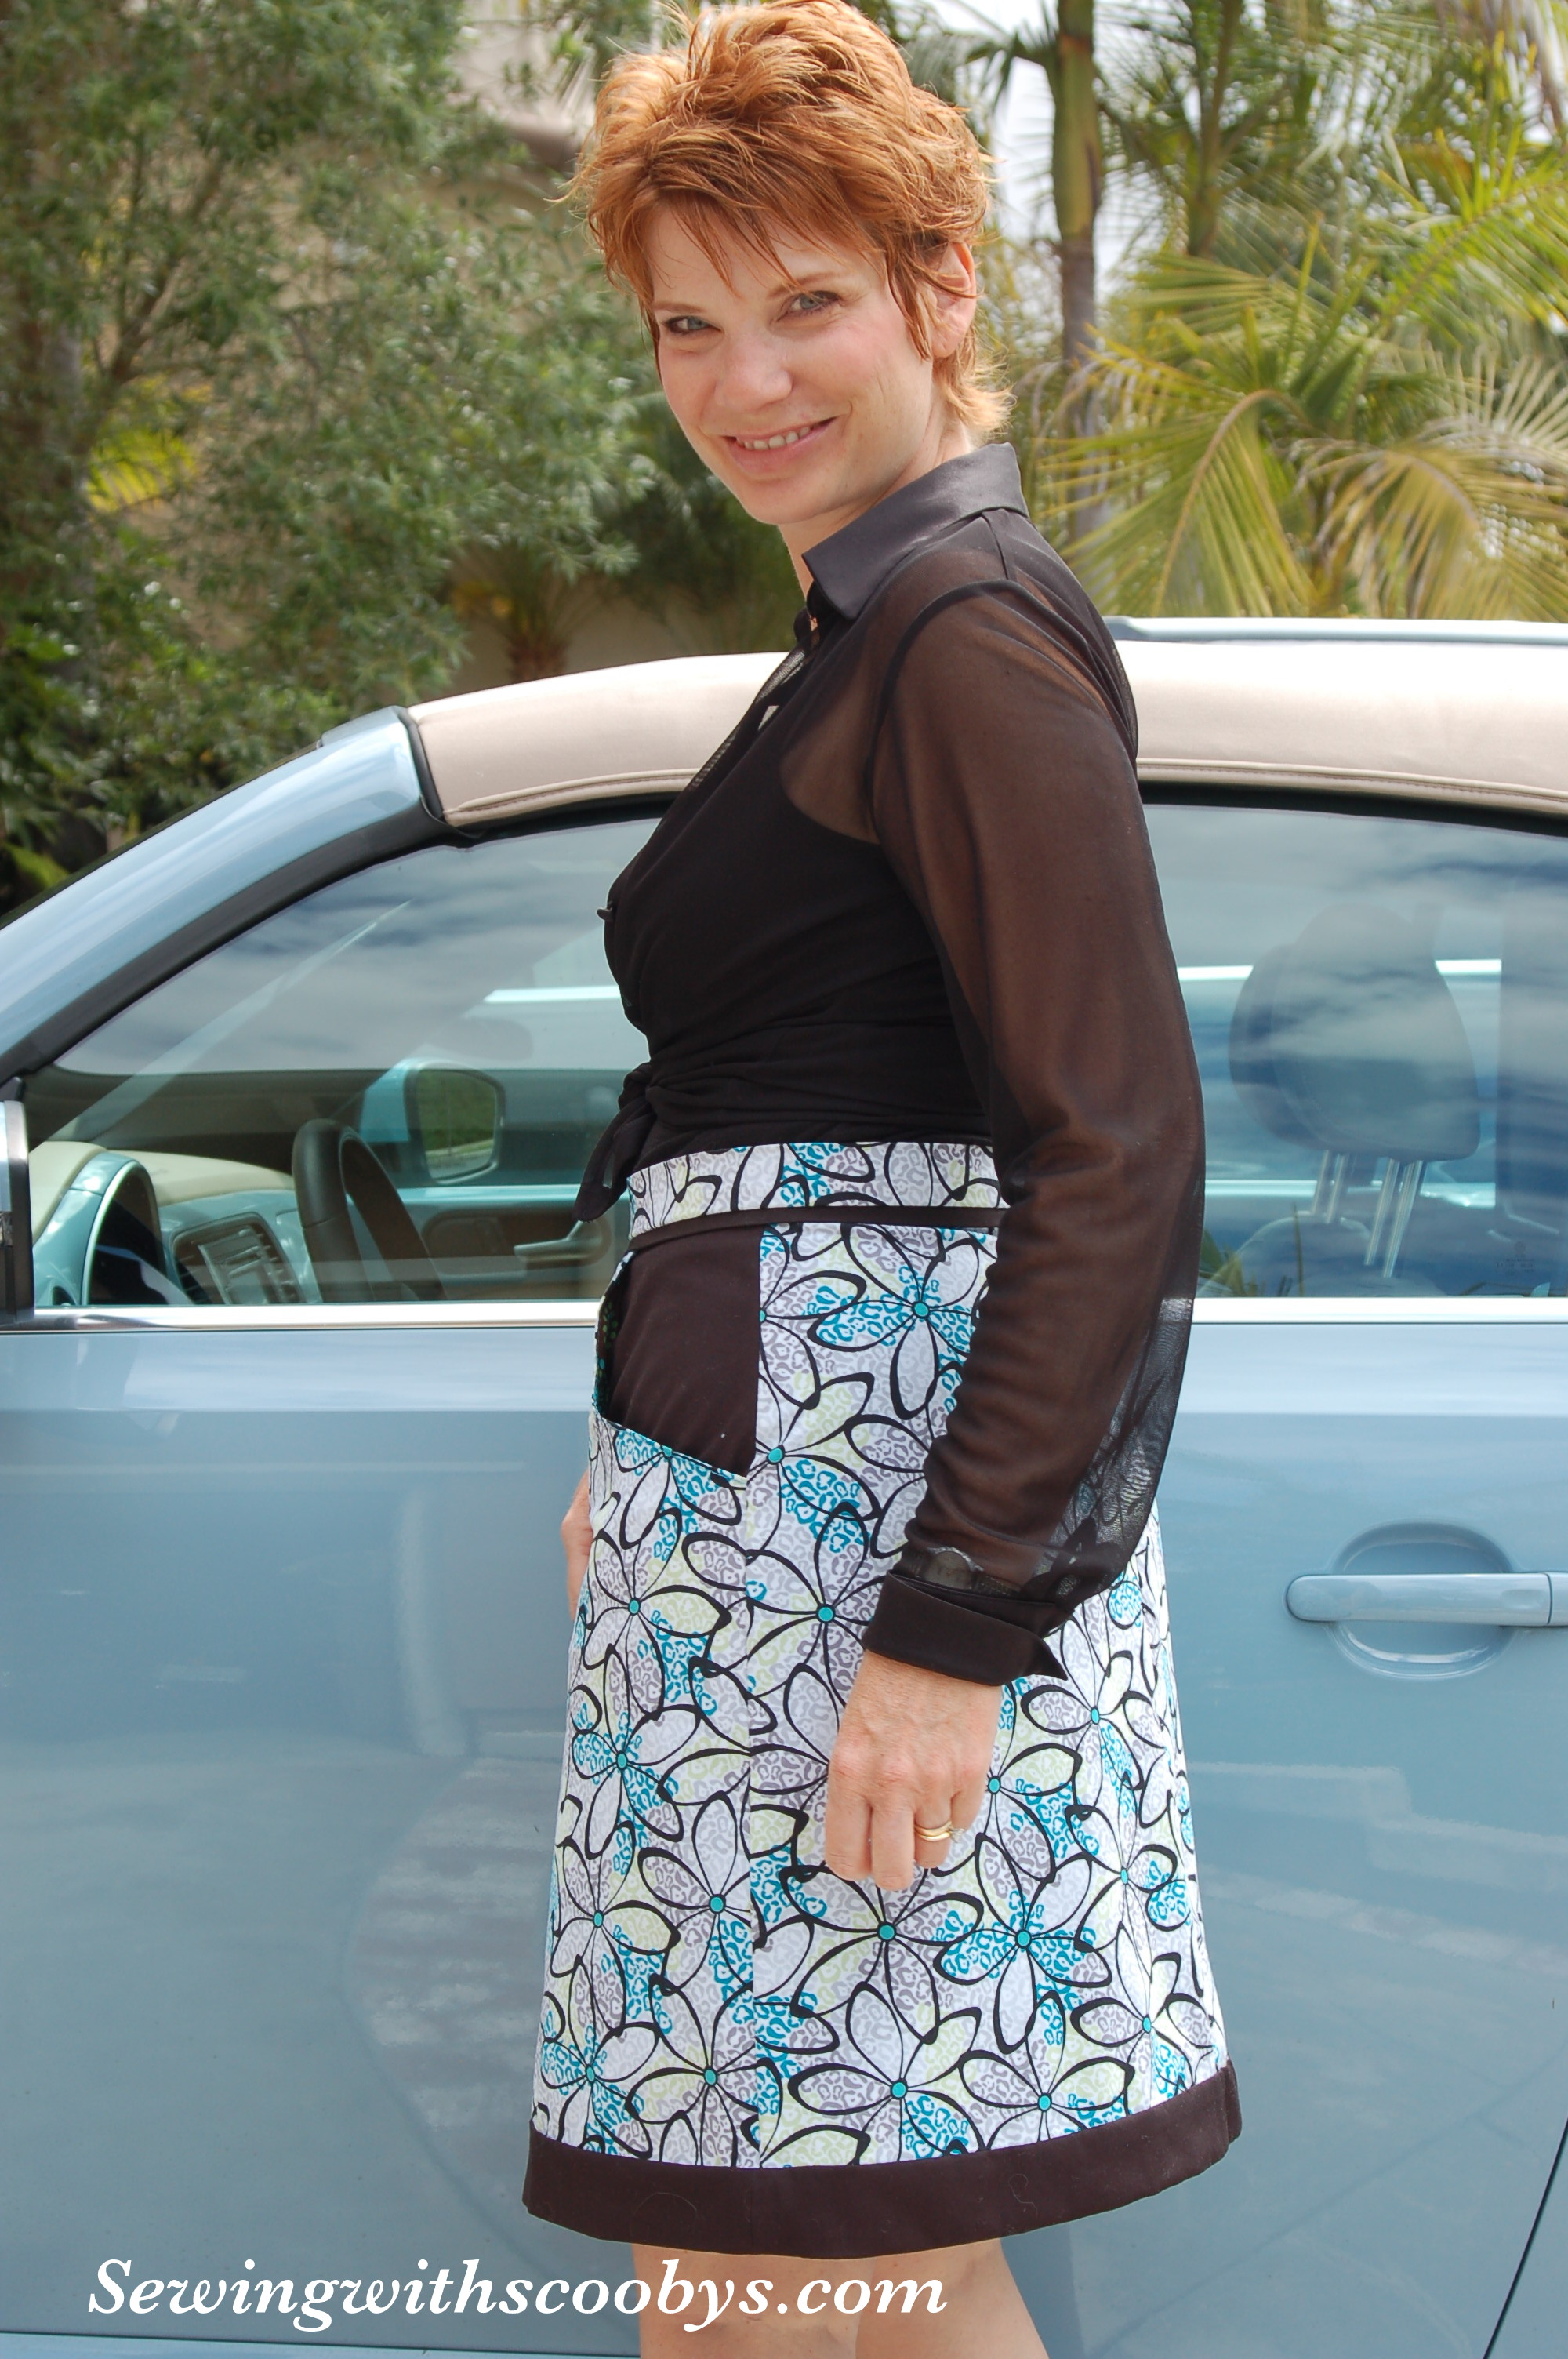
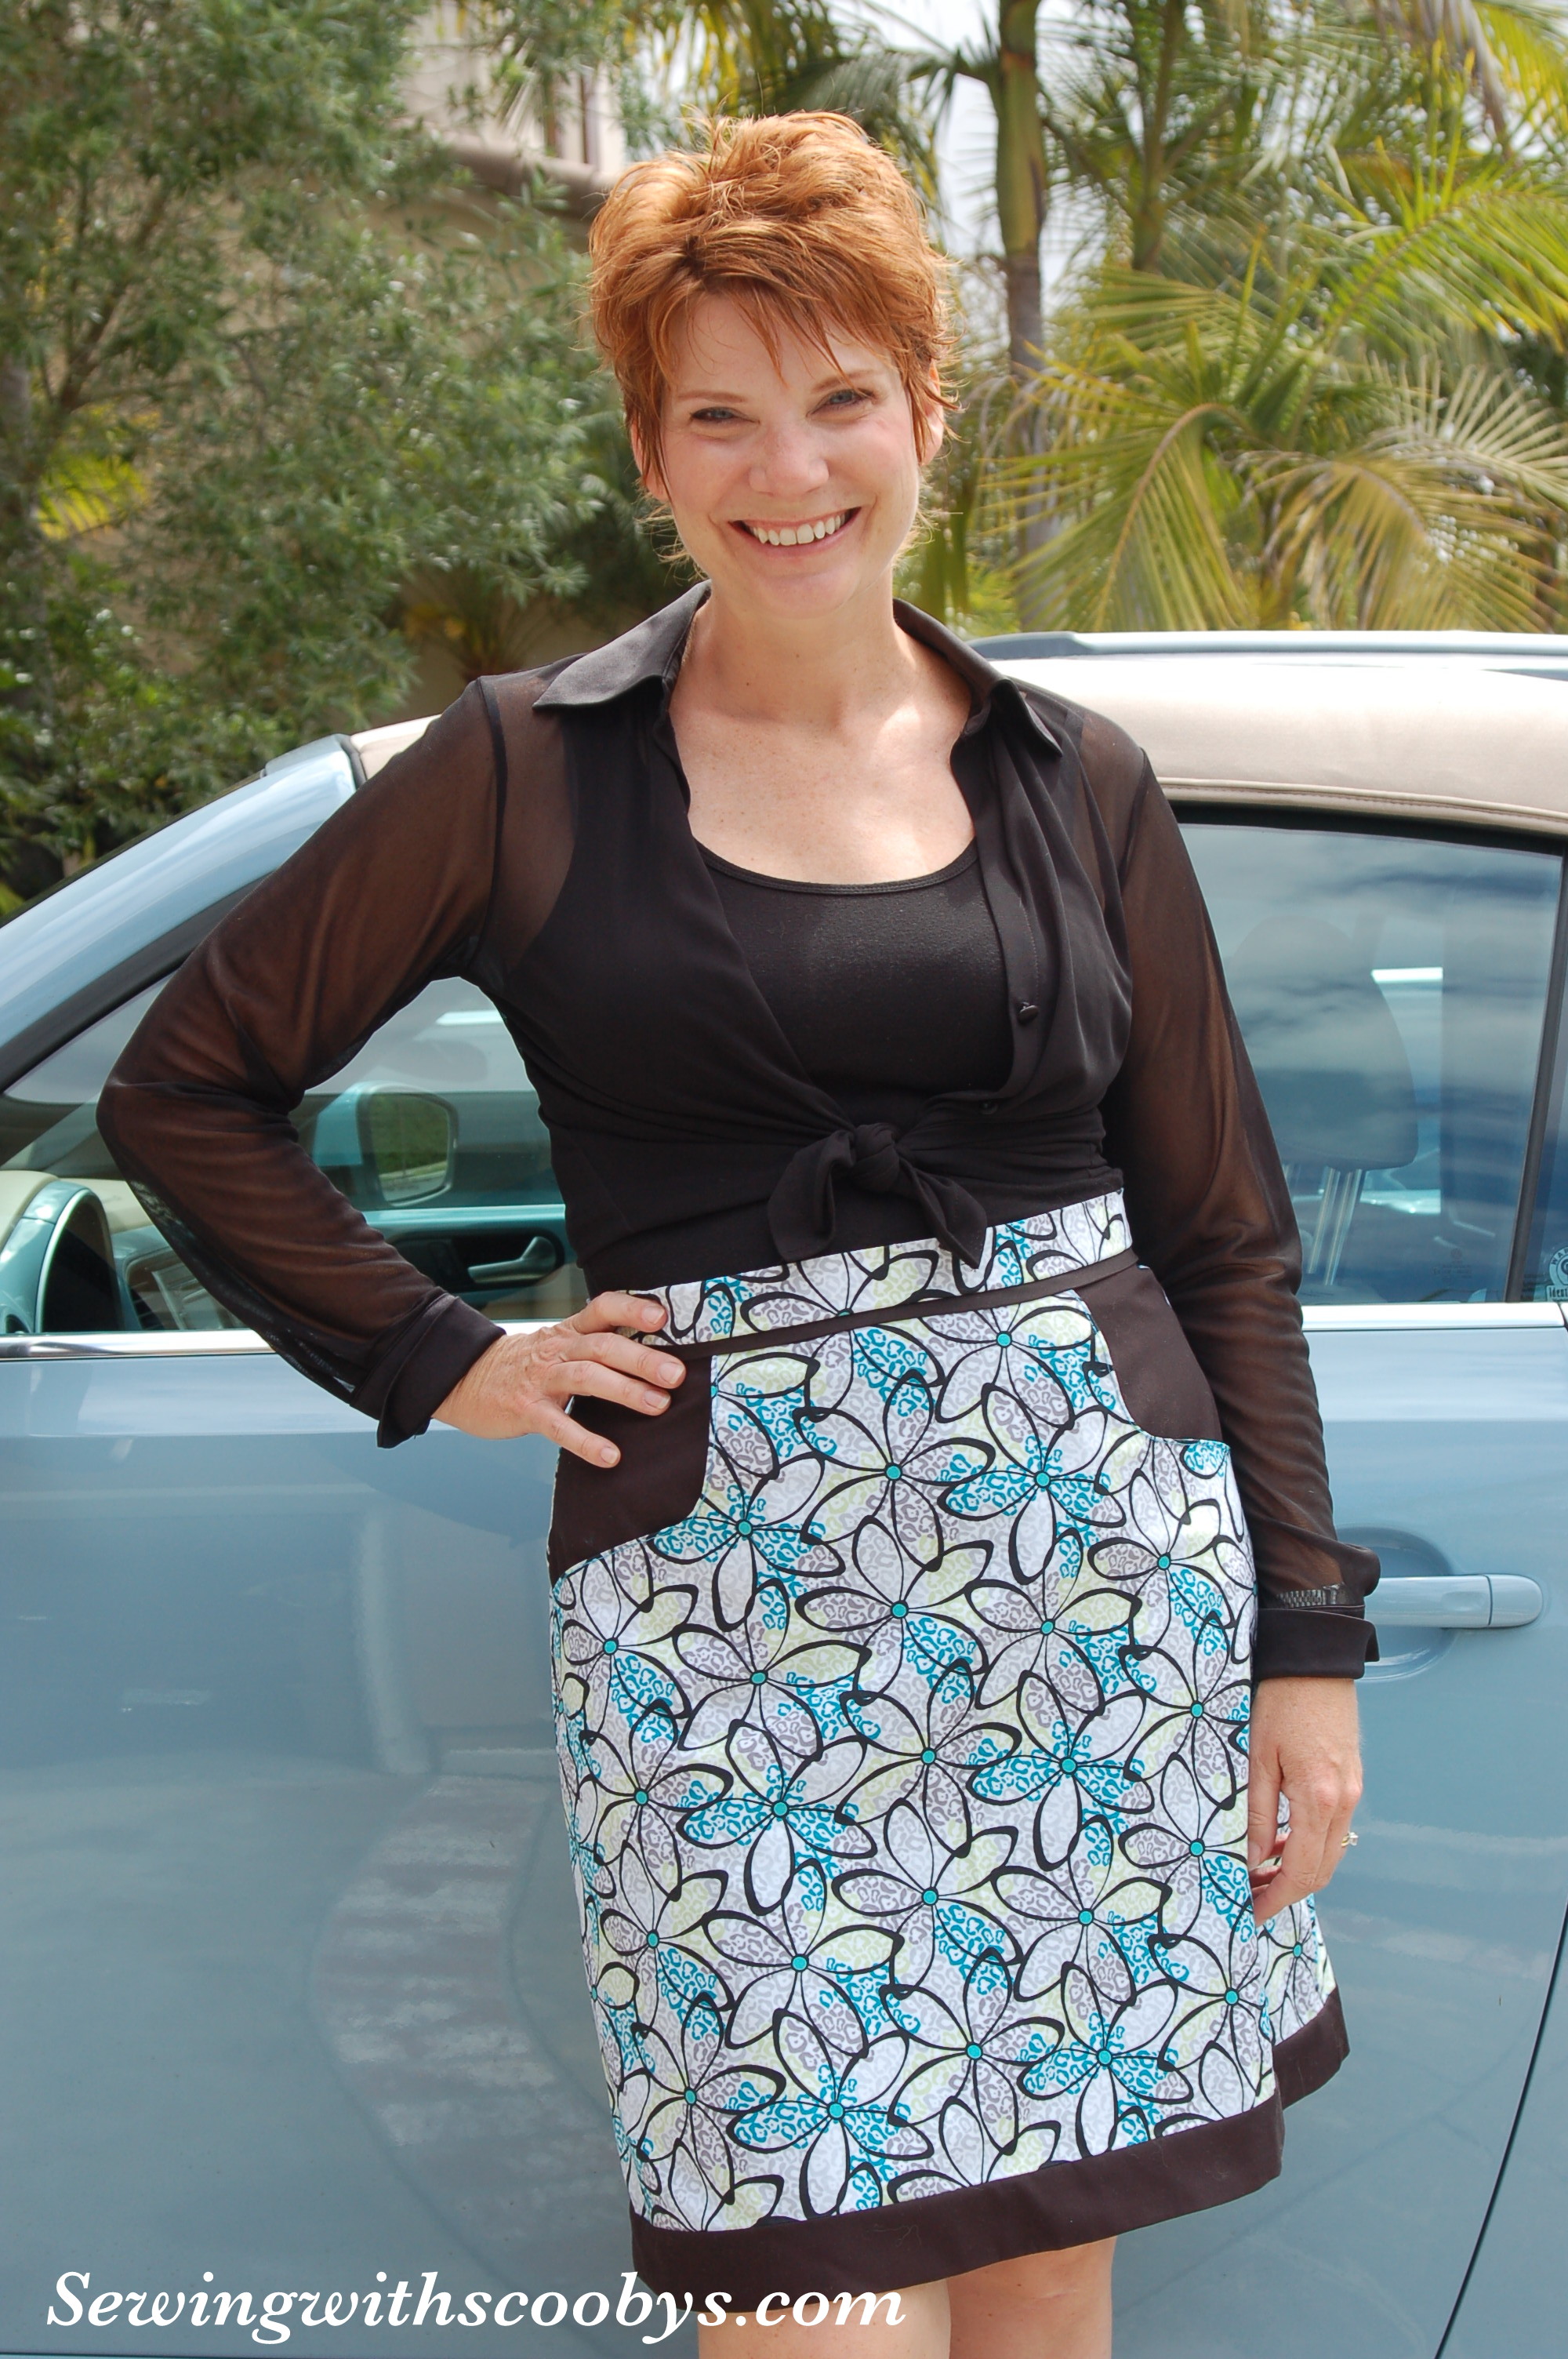
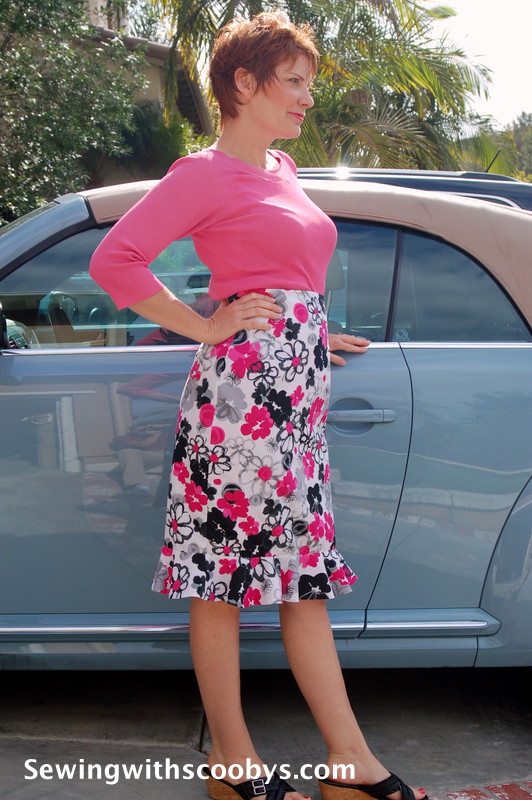
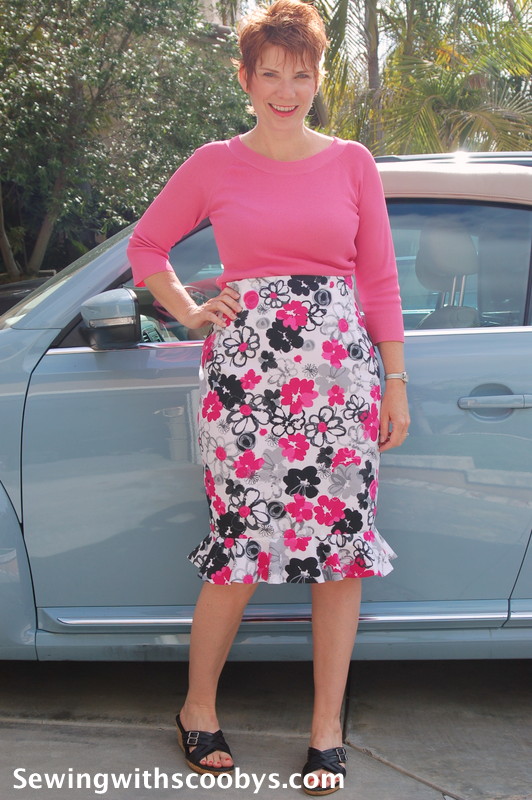
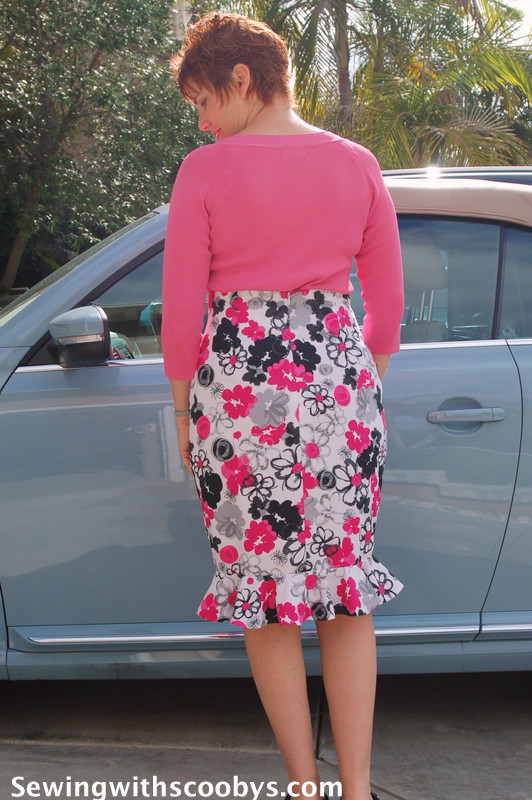
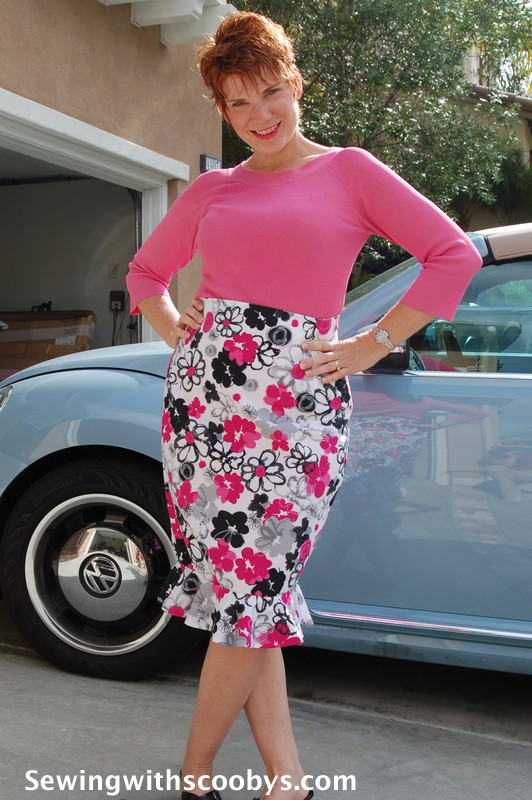
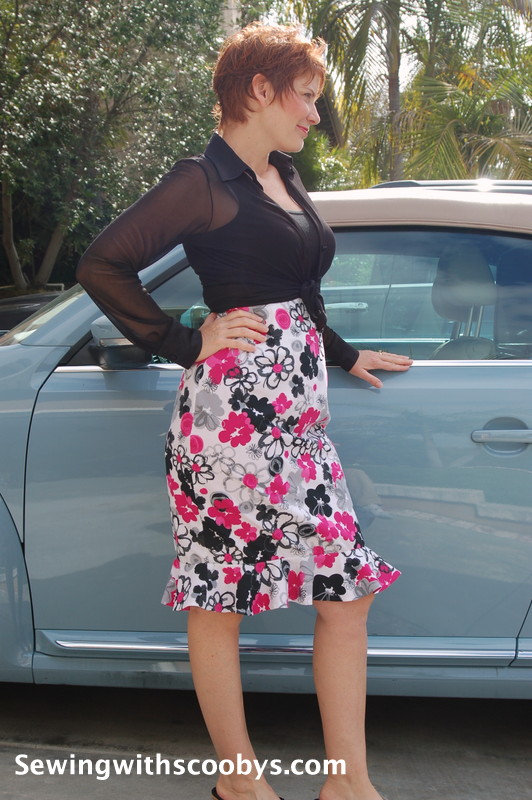
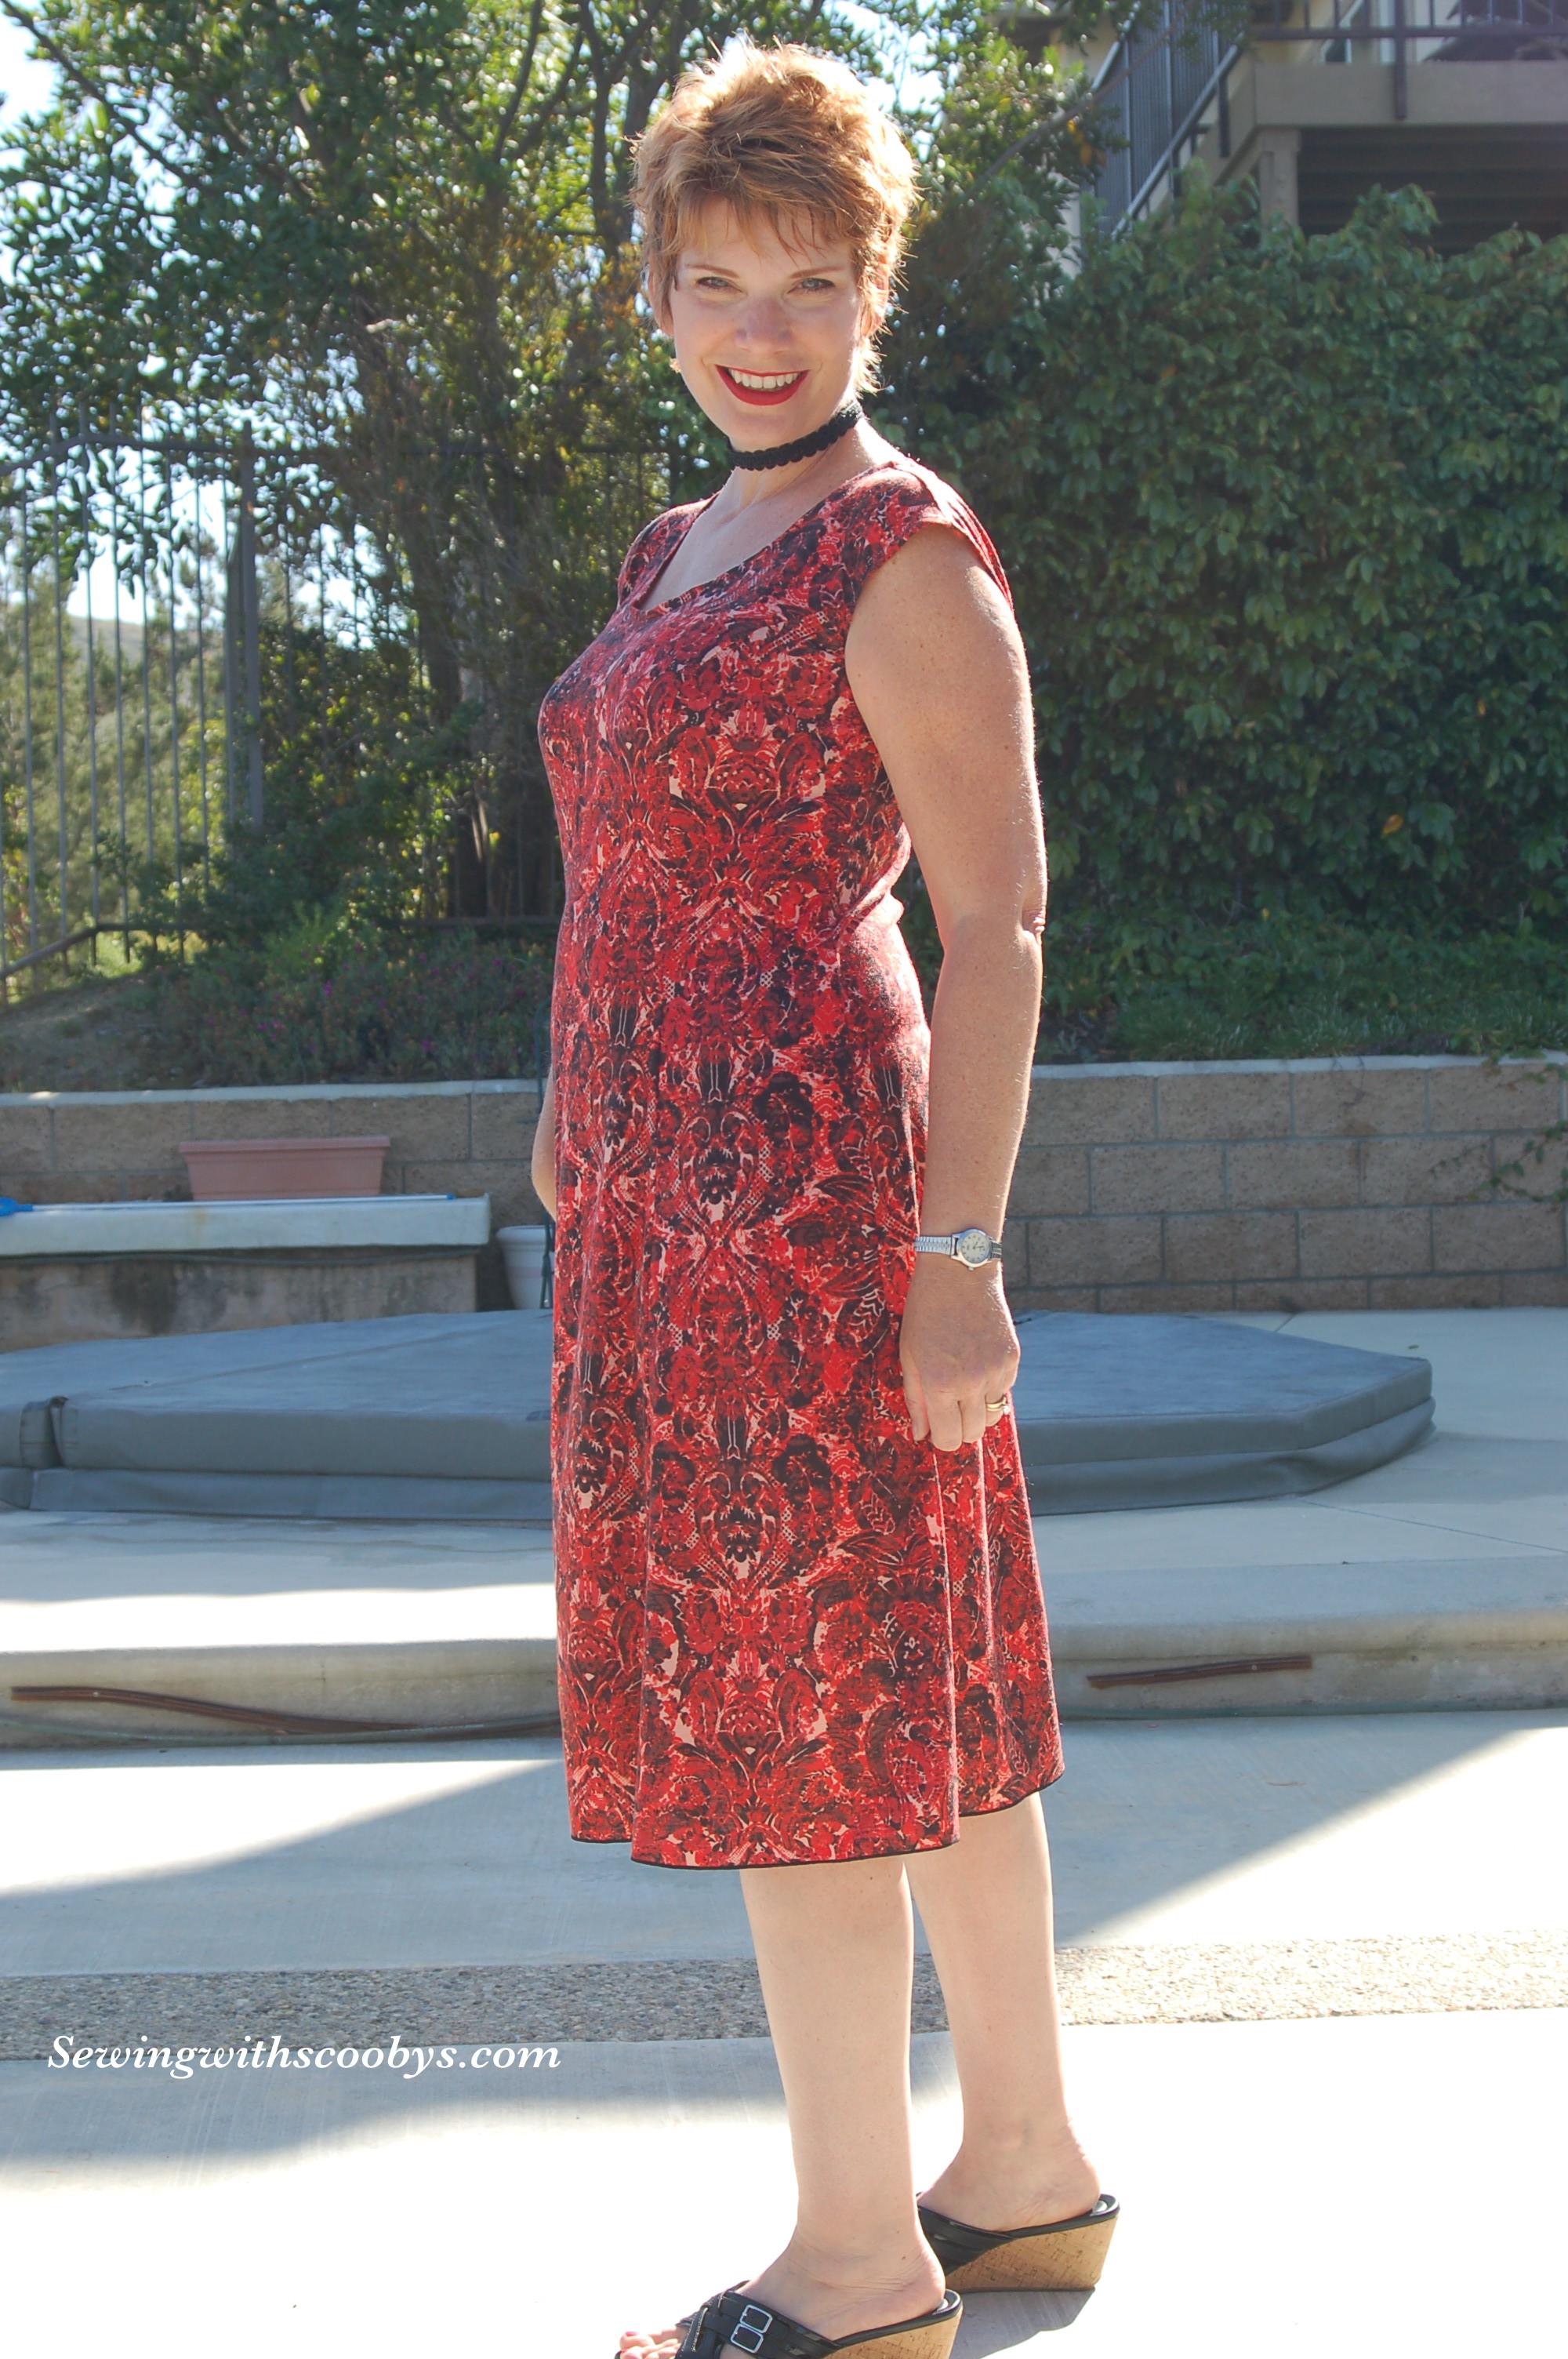
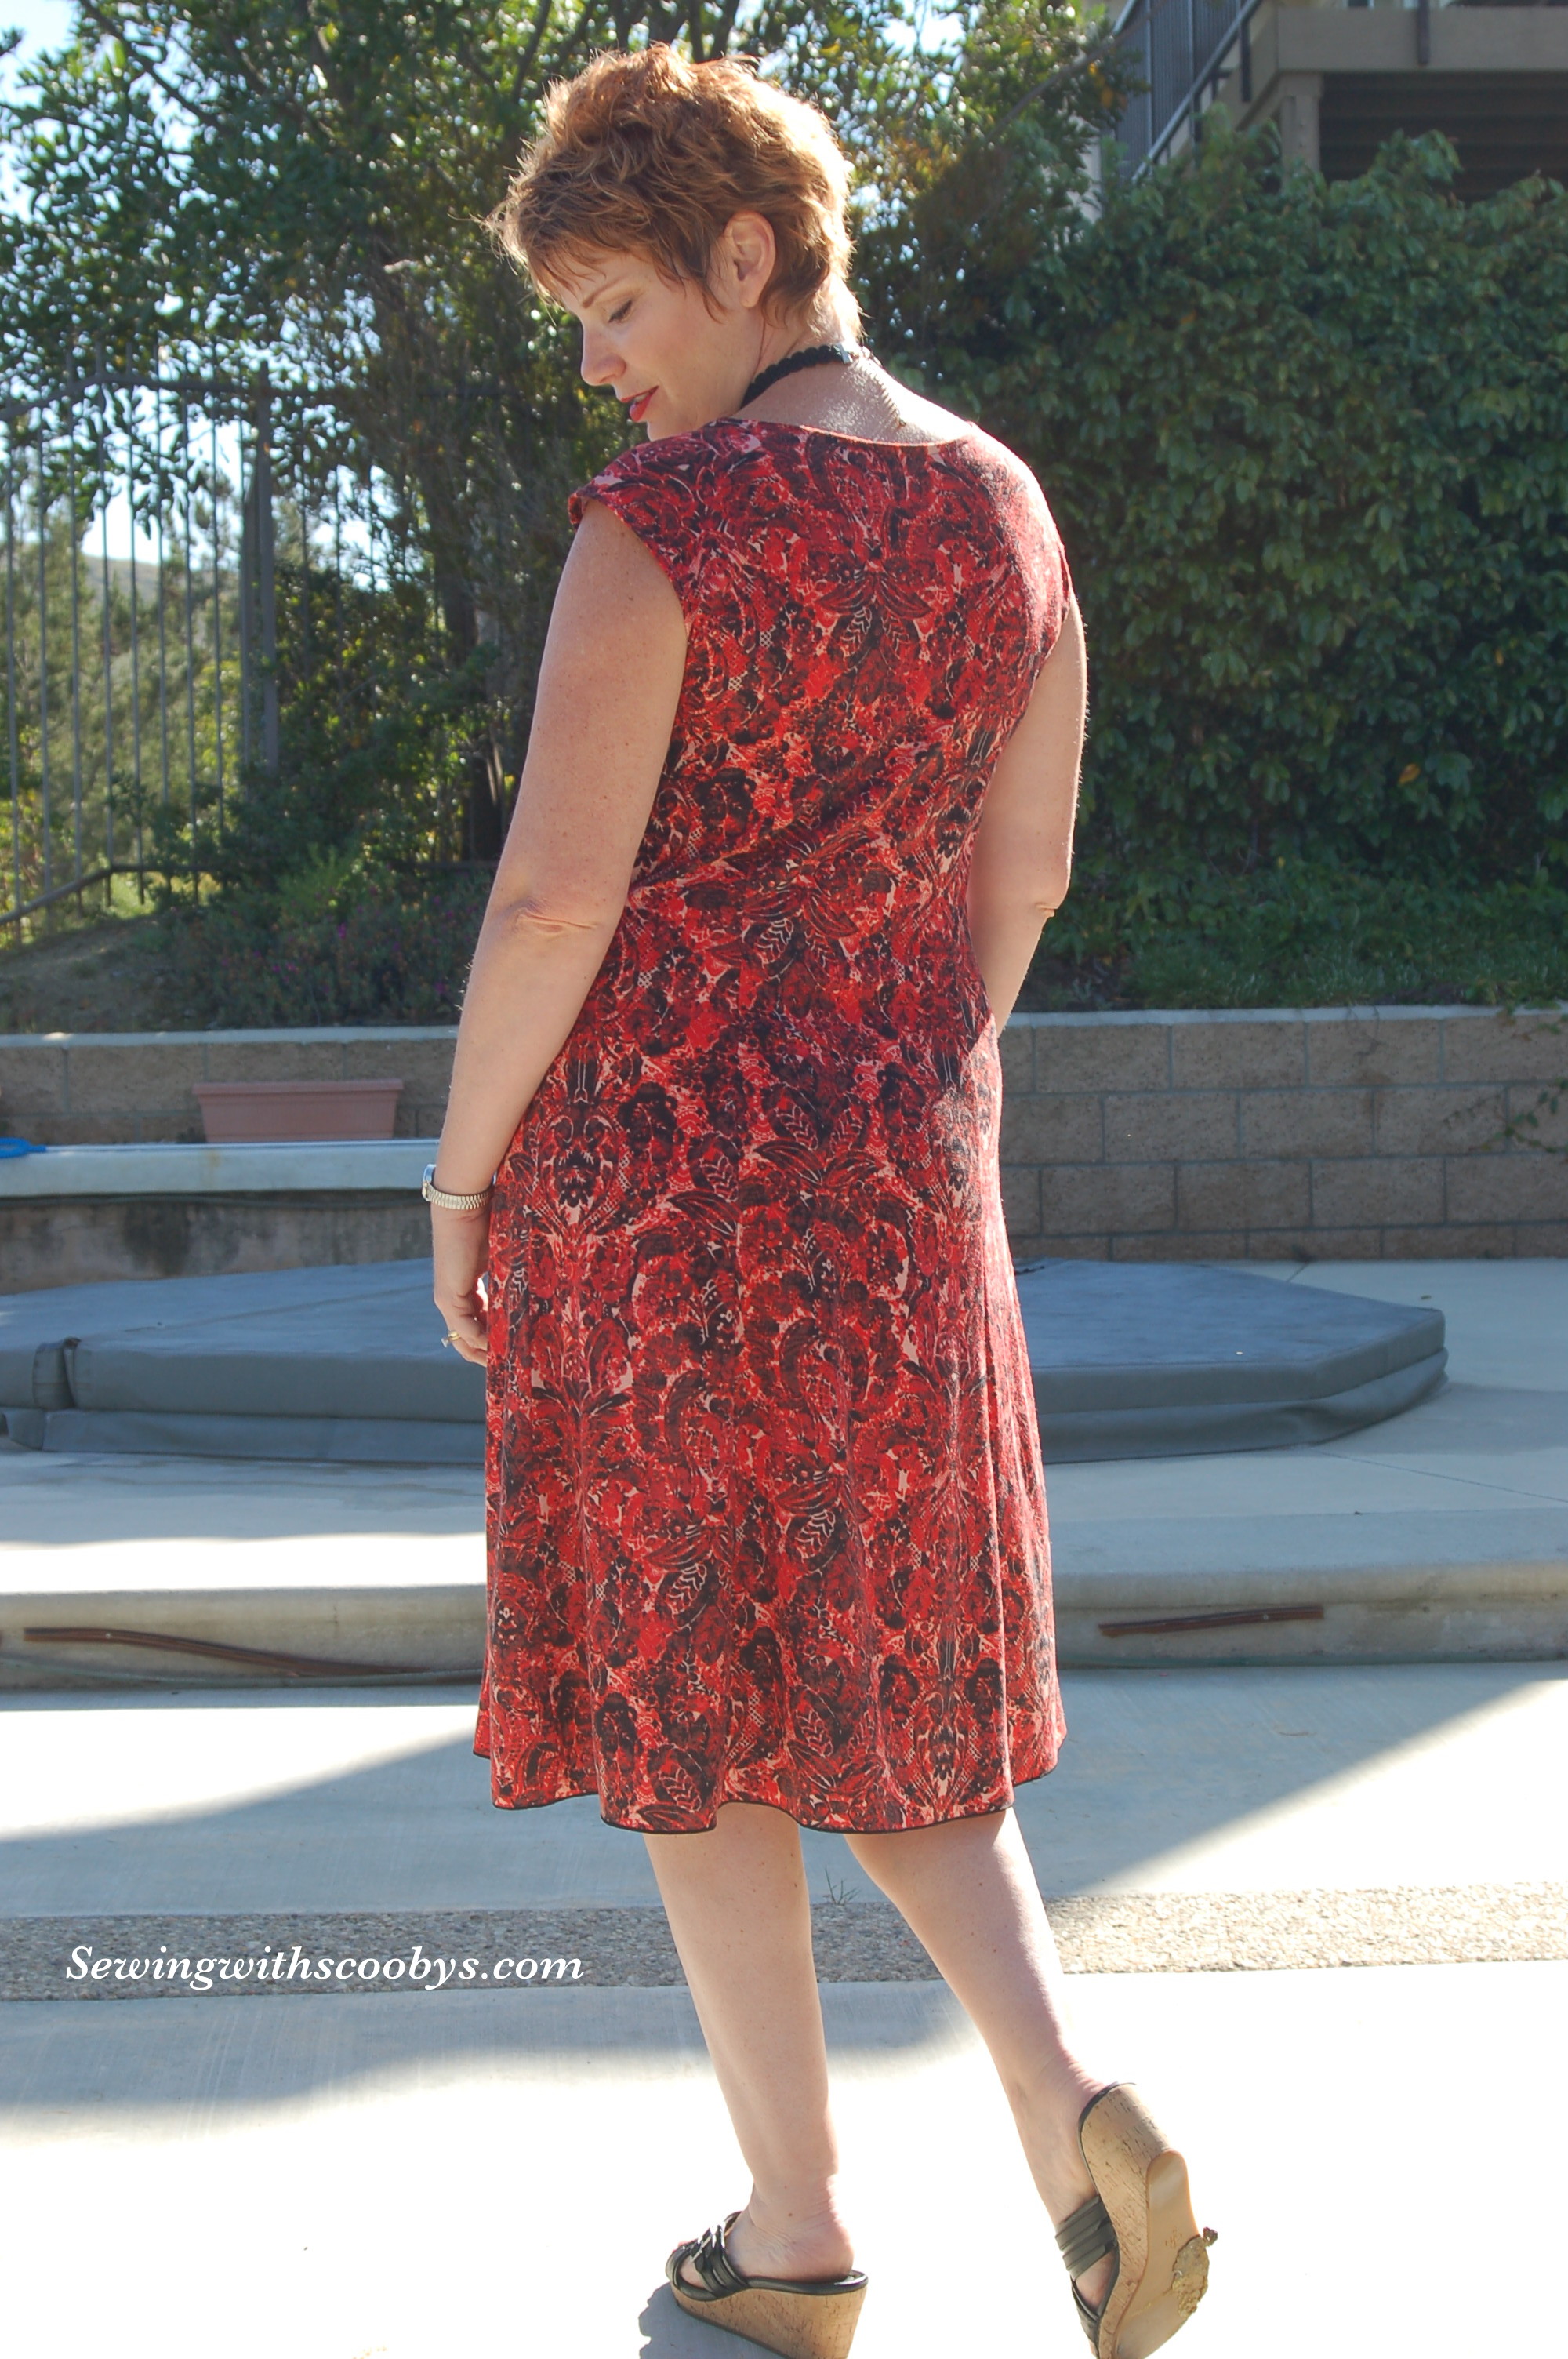
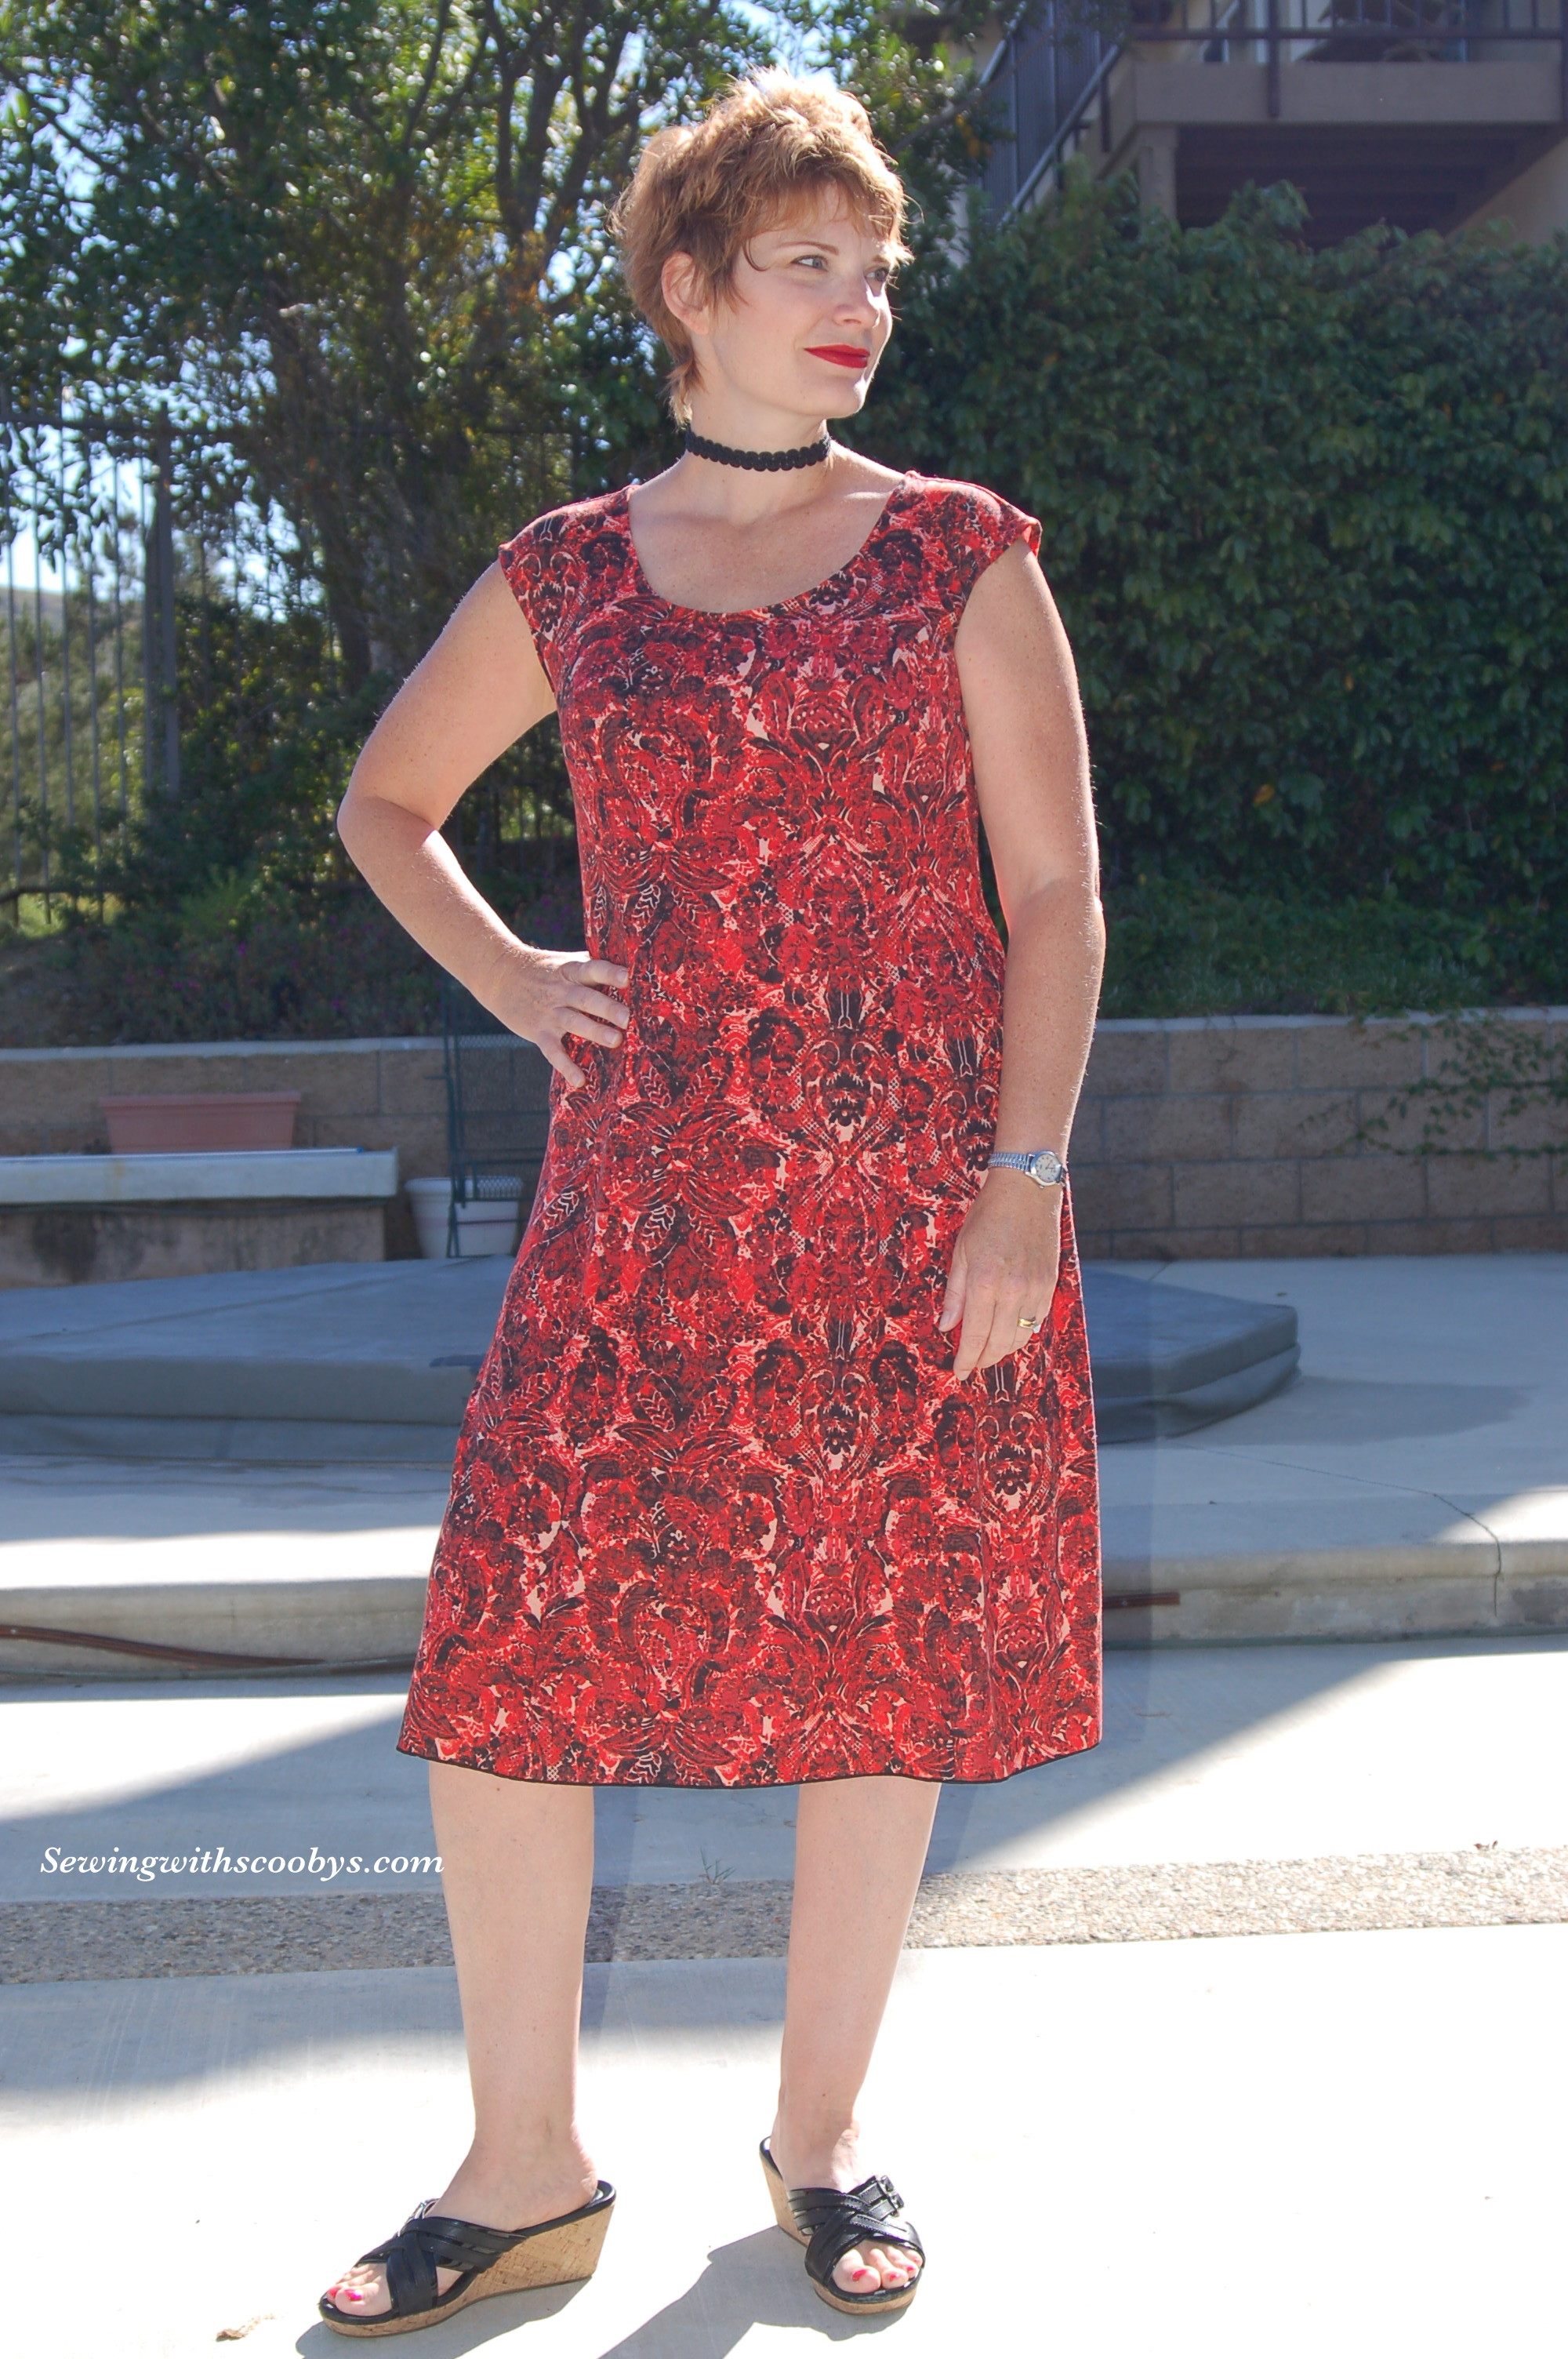
Ok here are some pics of me wearing it so you can actually see the fit 🙂 I have a major hole in my wardrobe to find a top that will go with this high-waisted style but what I had wasn’t too horrible.