My mother’s new fancy pants!

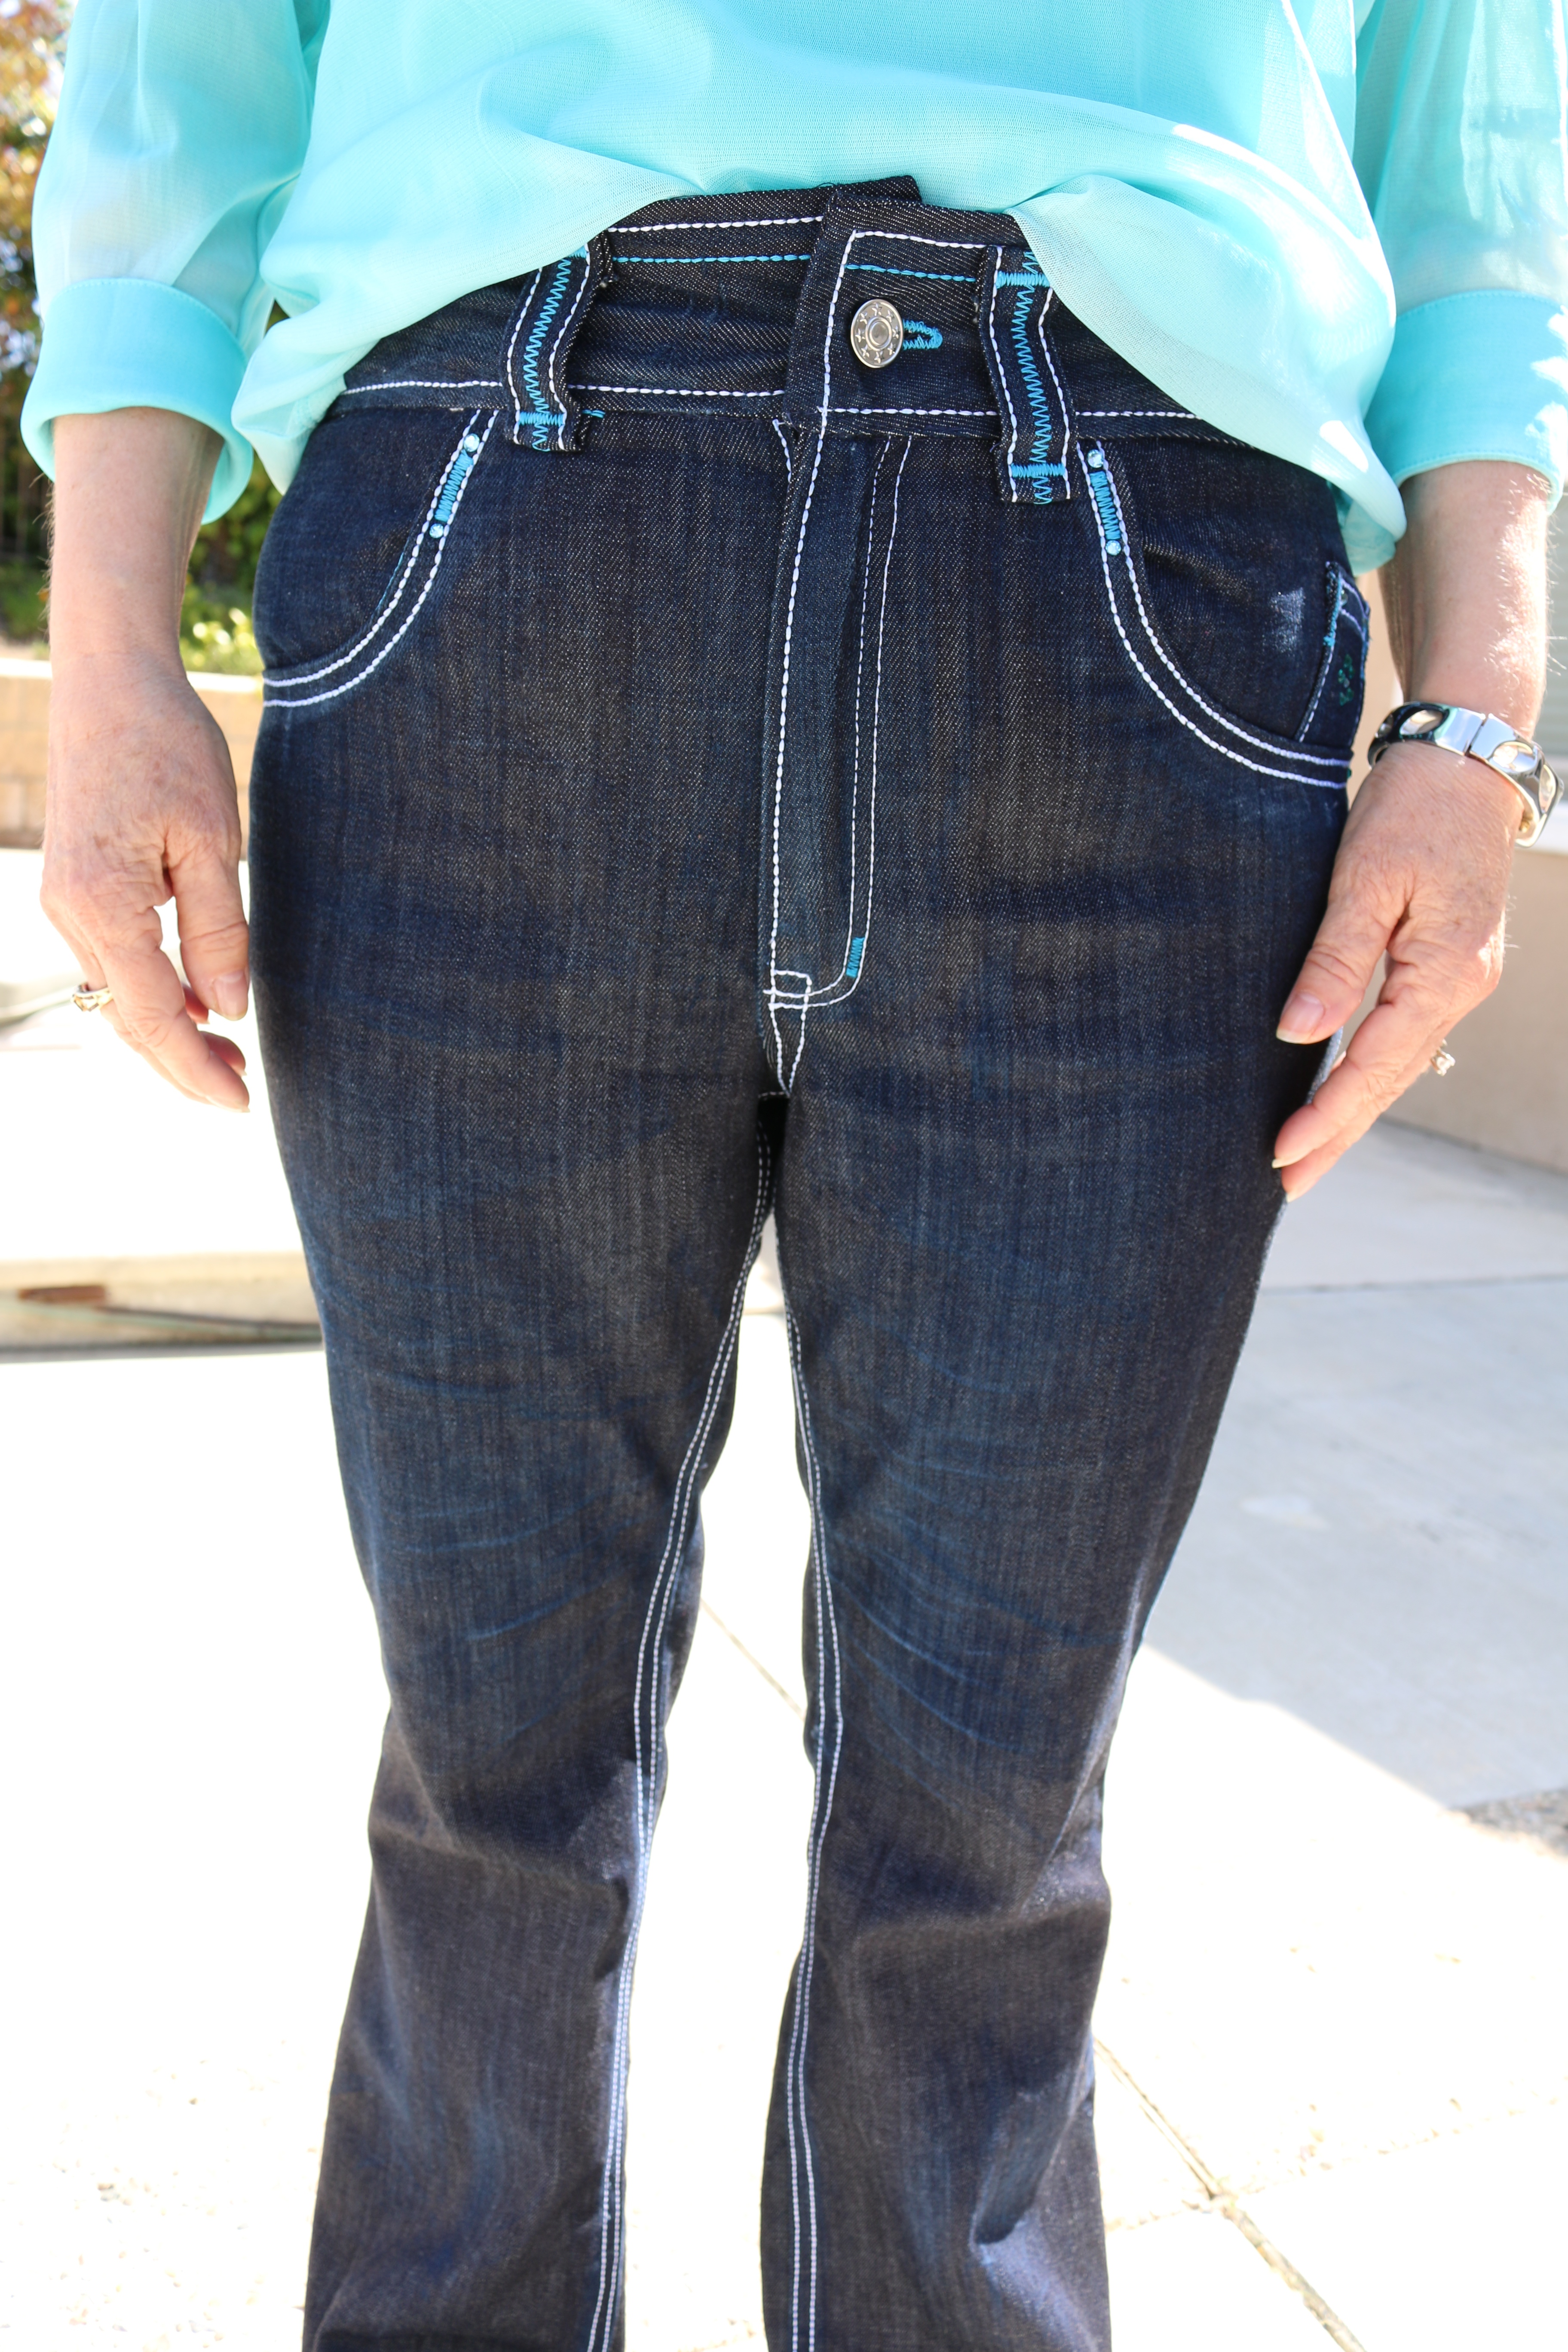
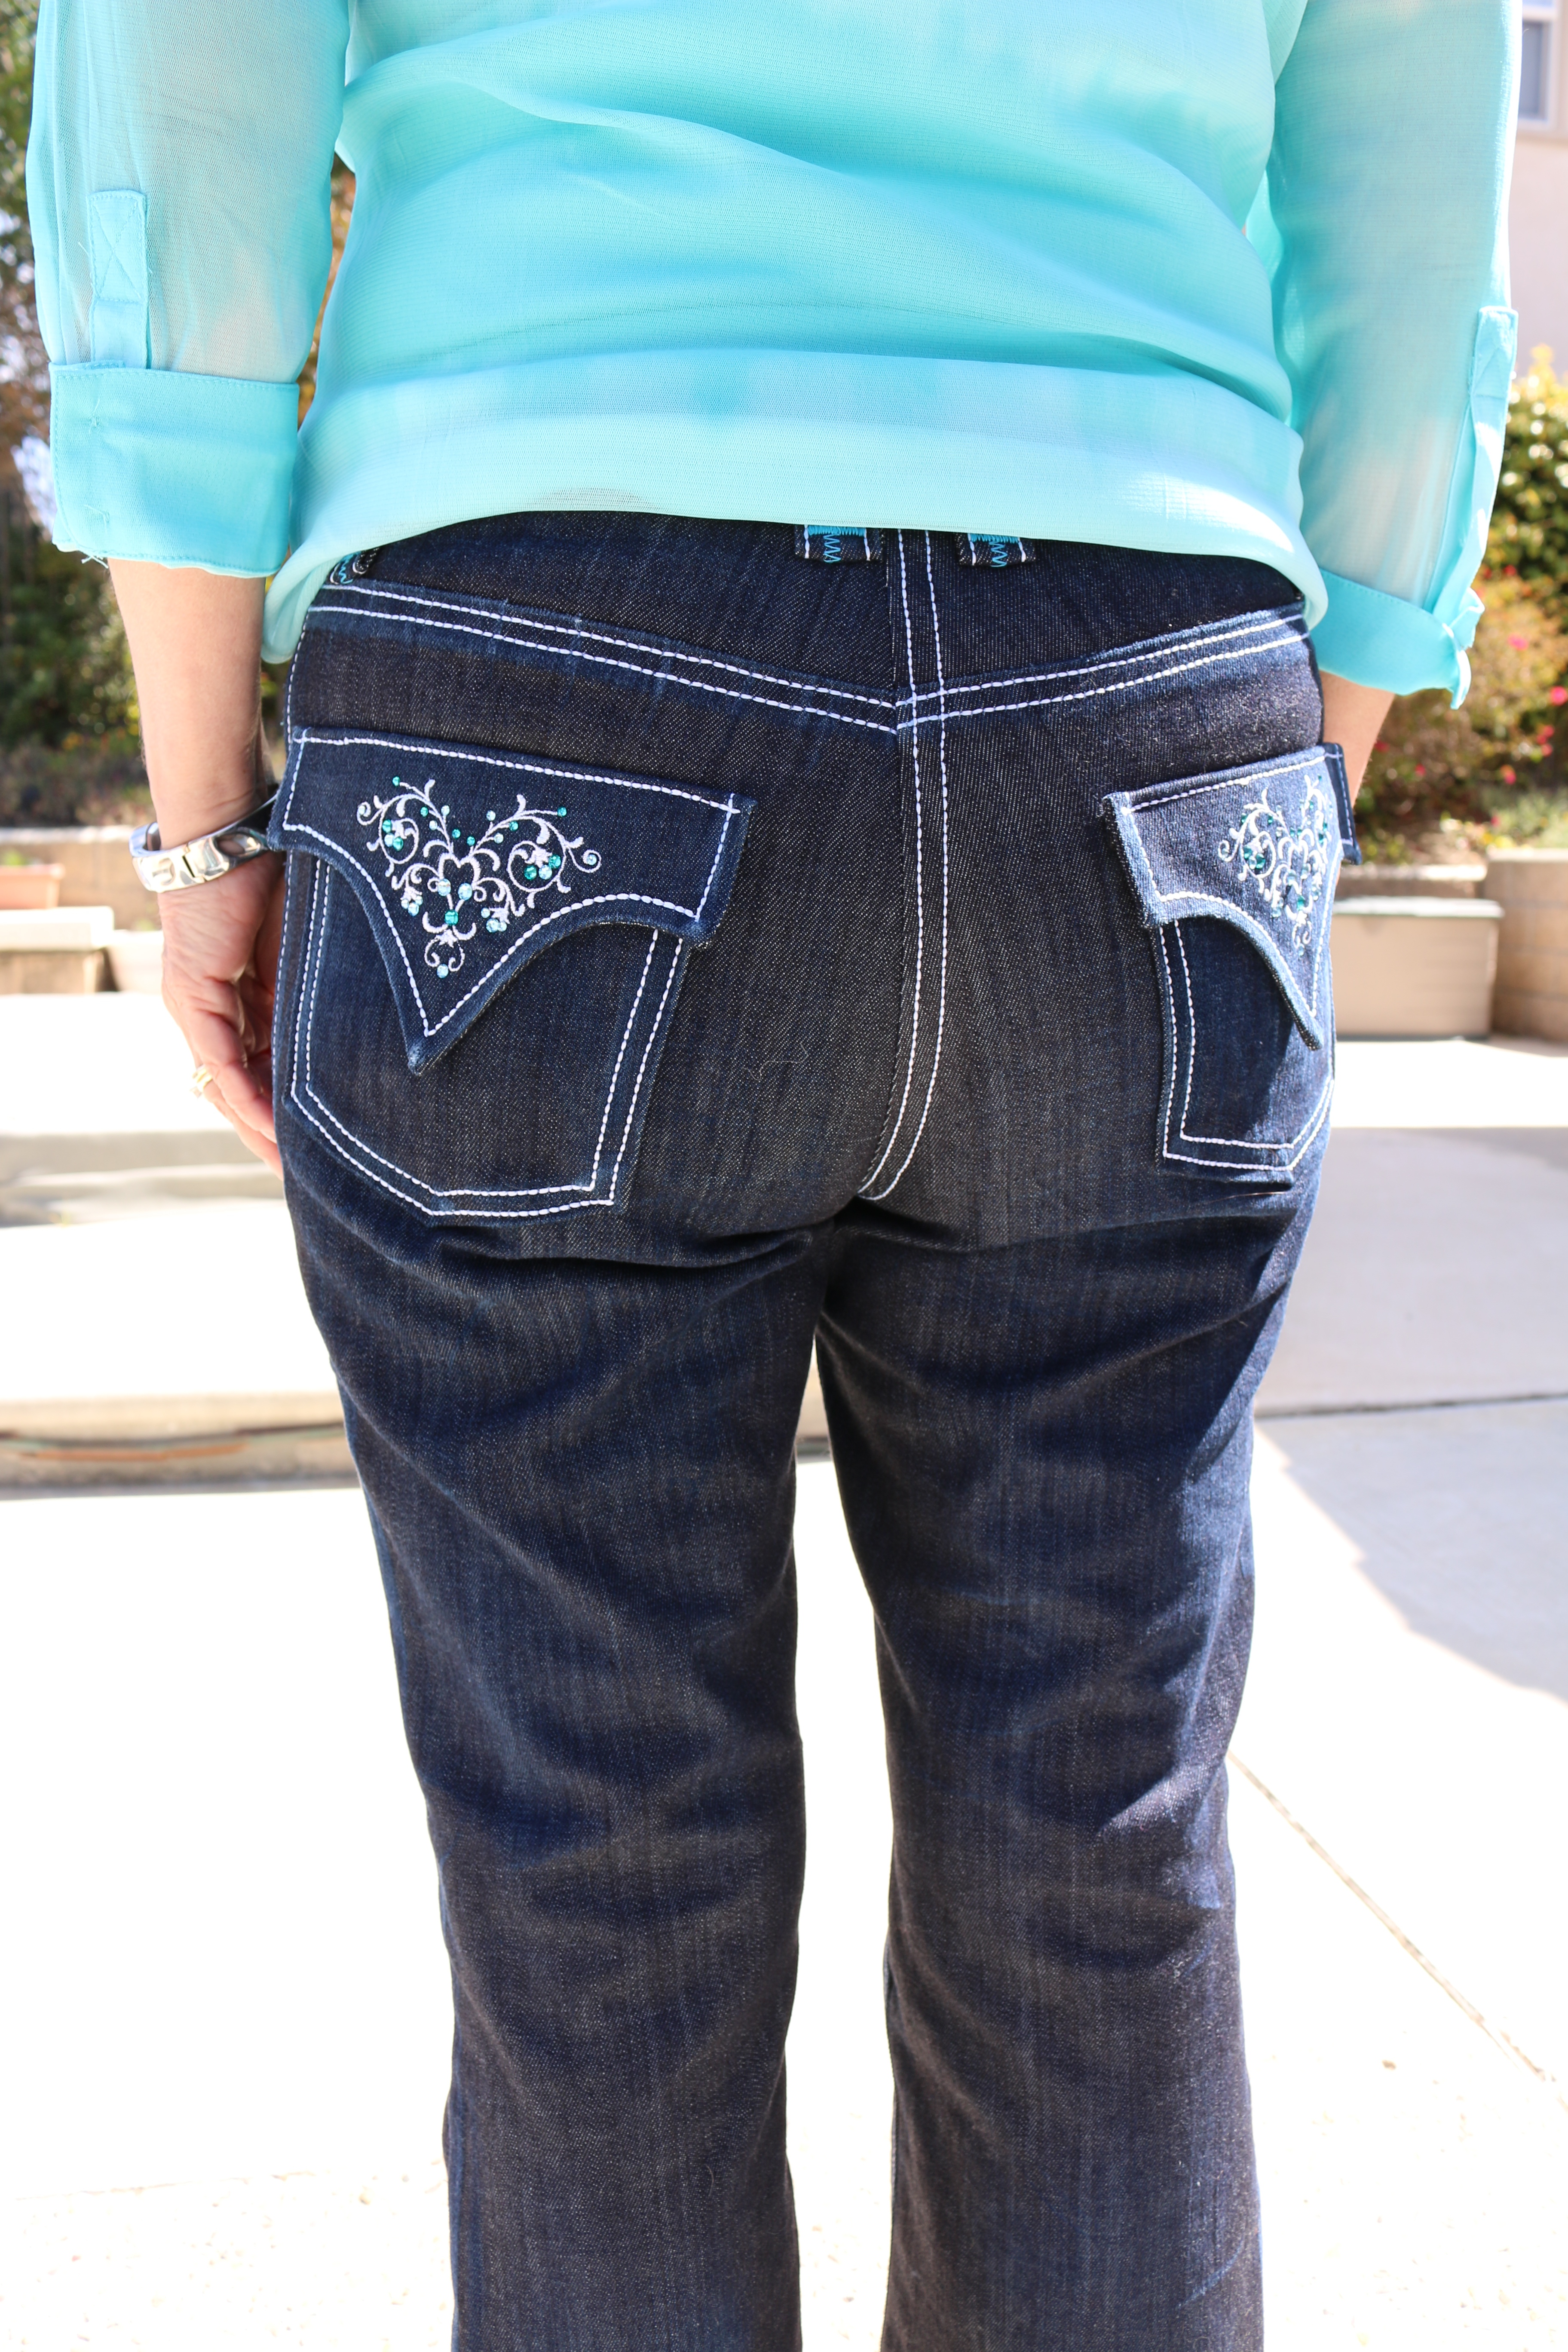
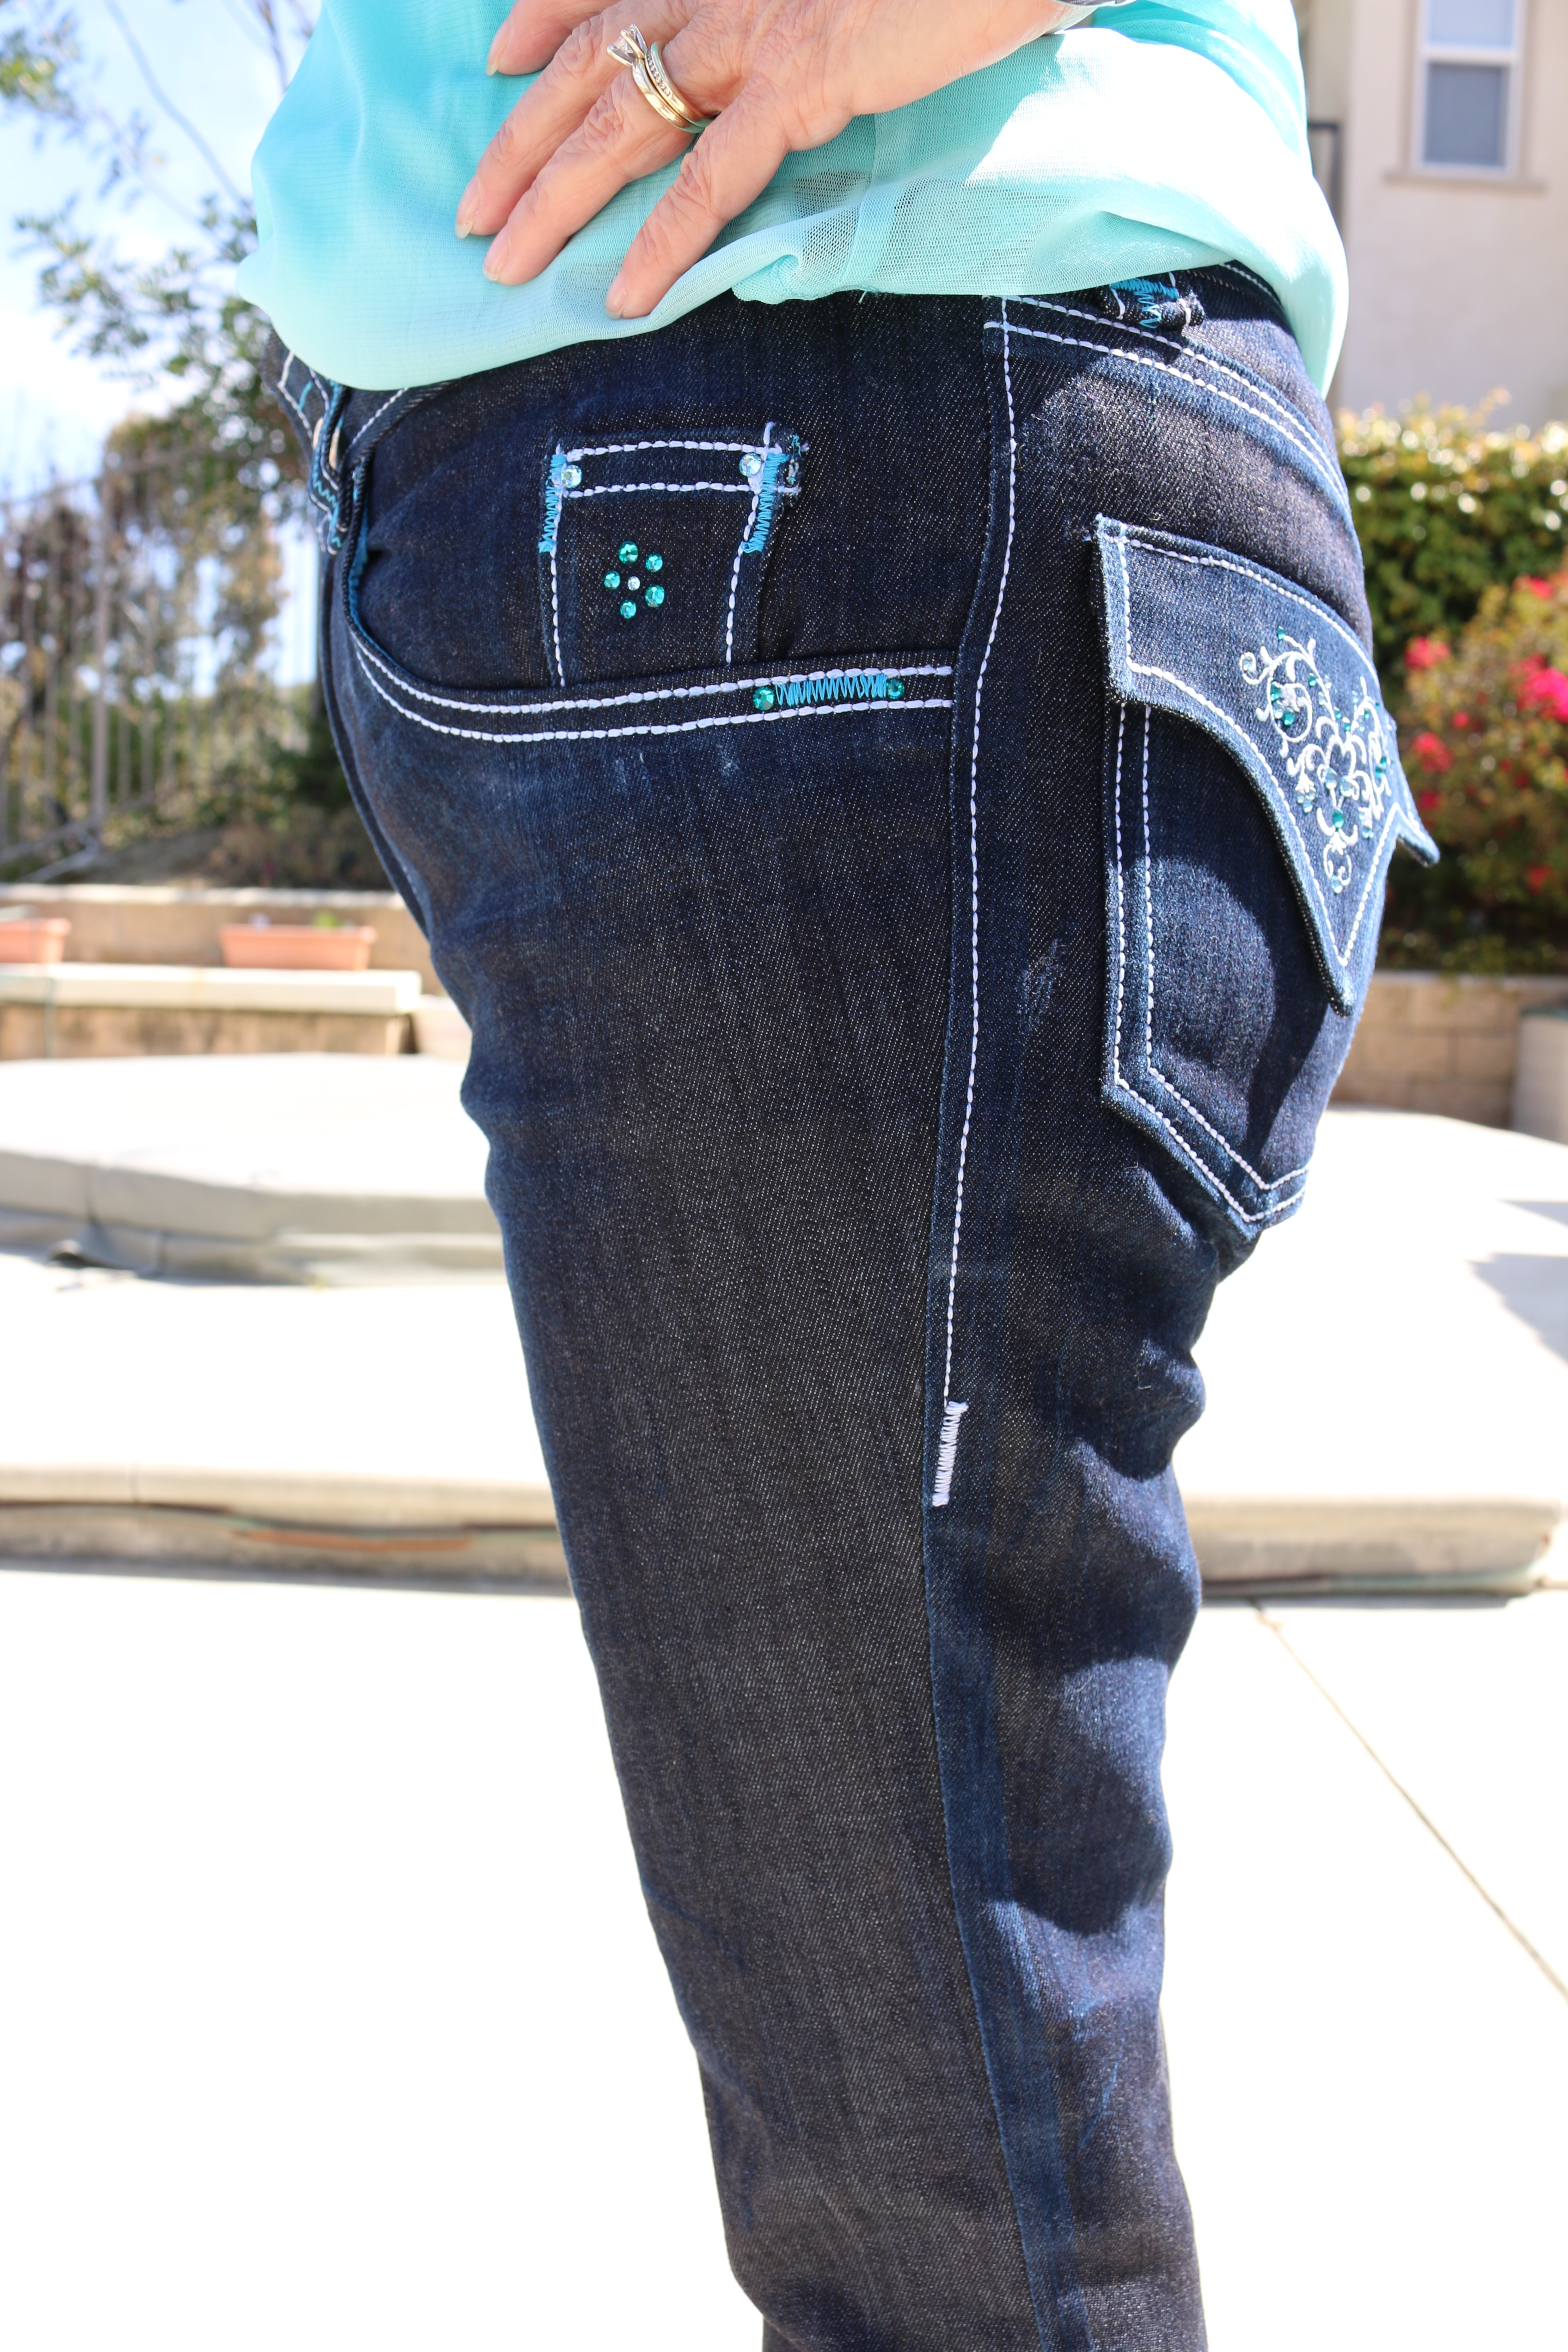
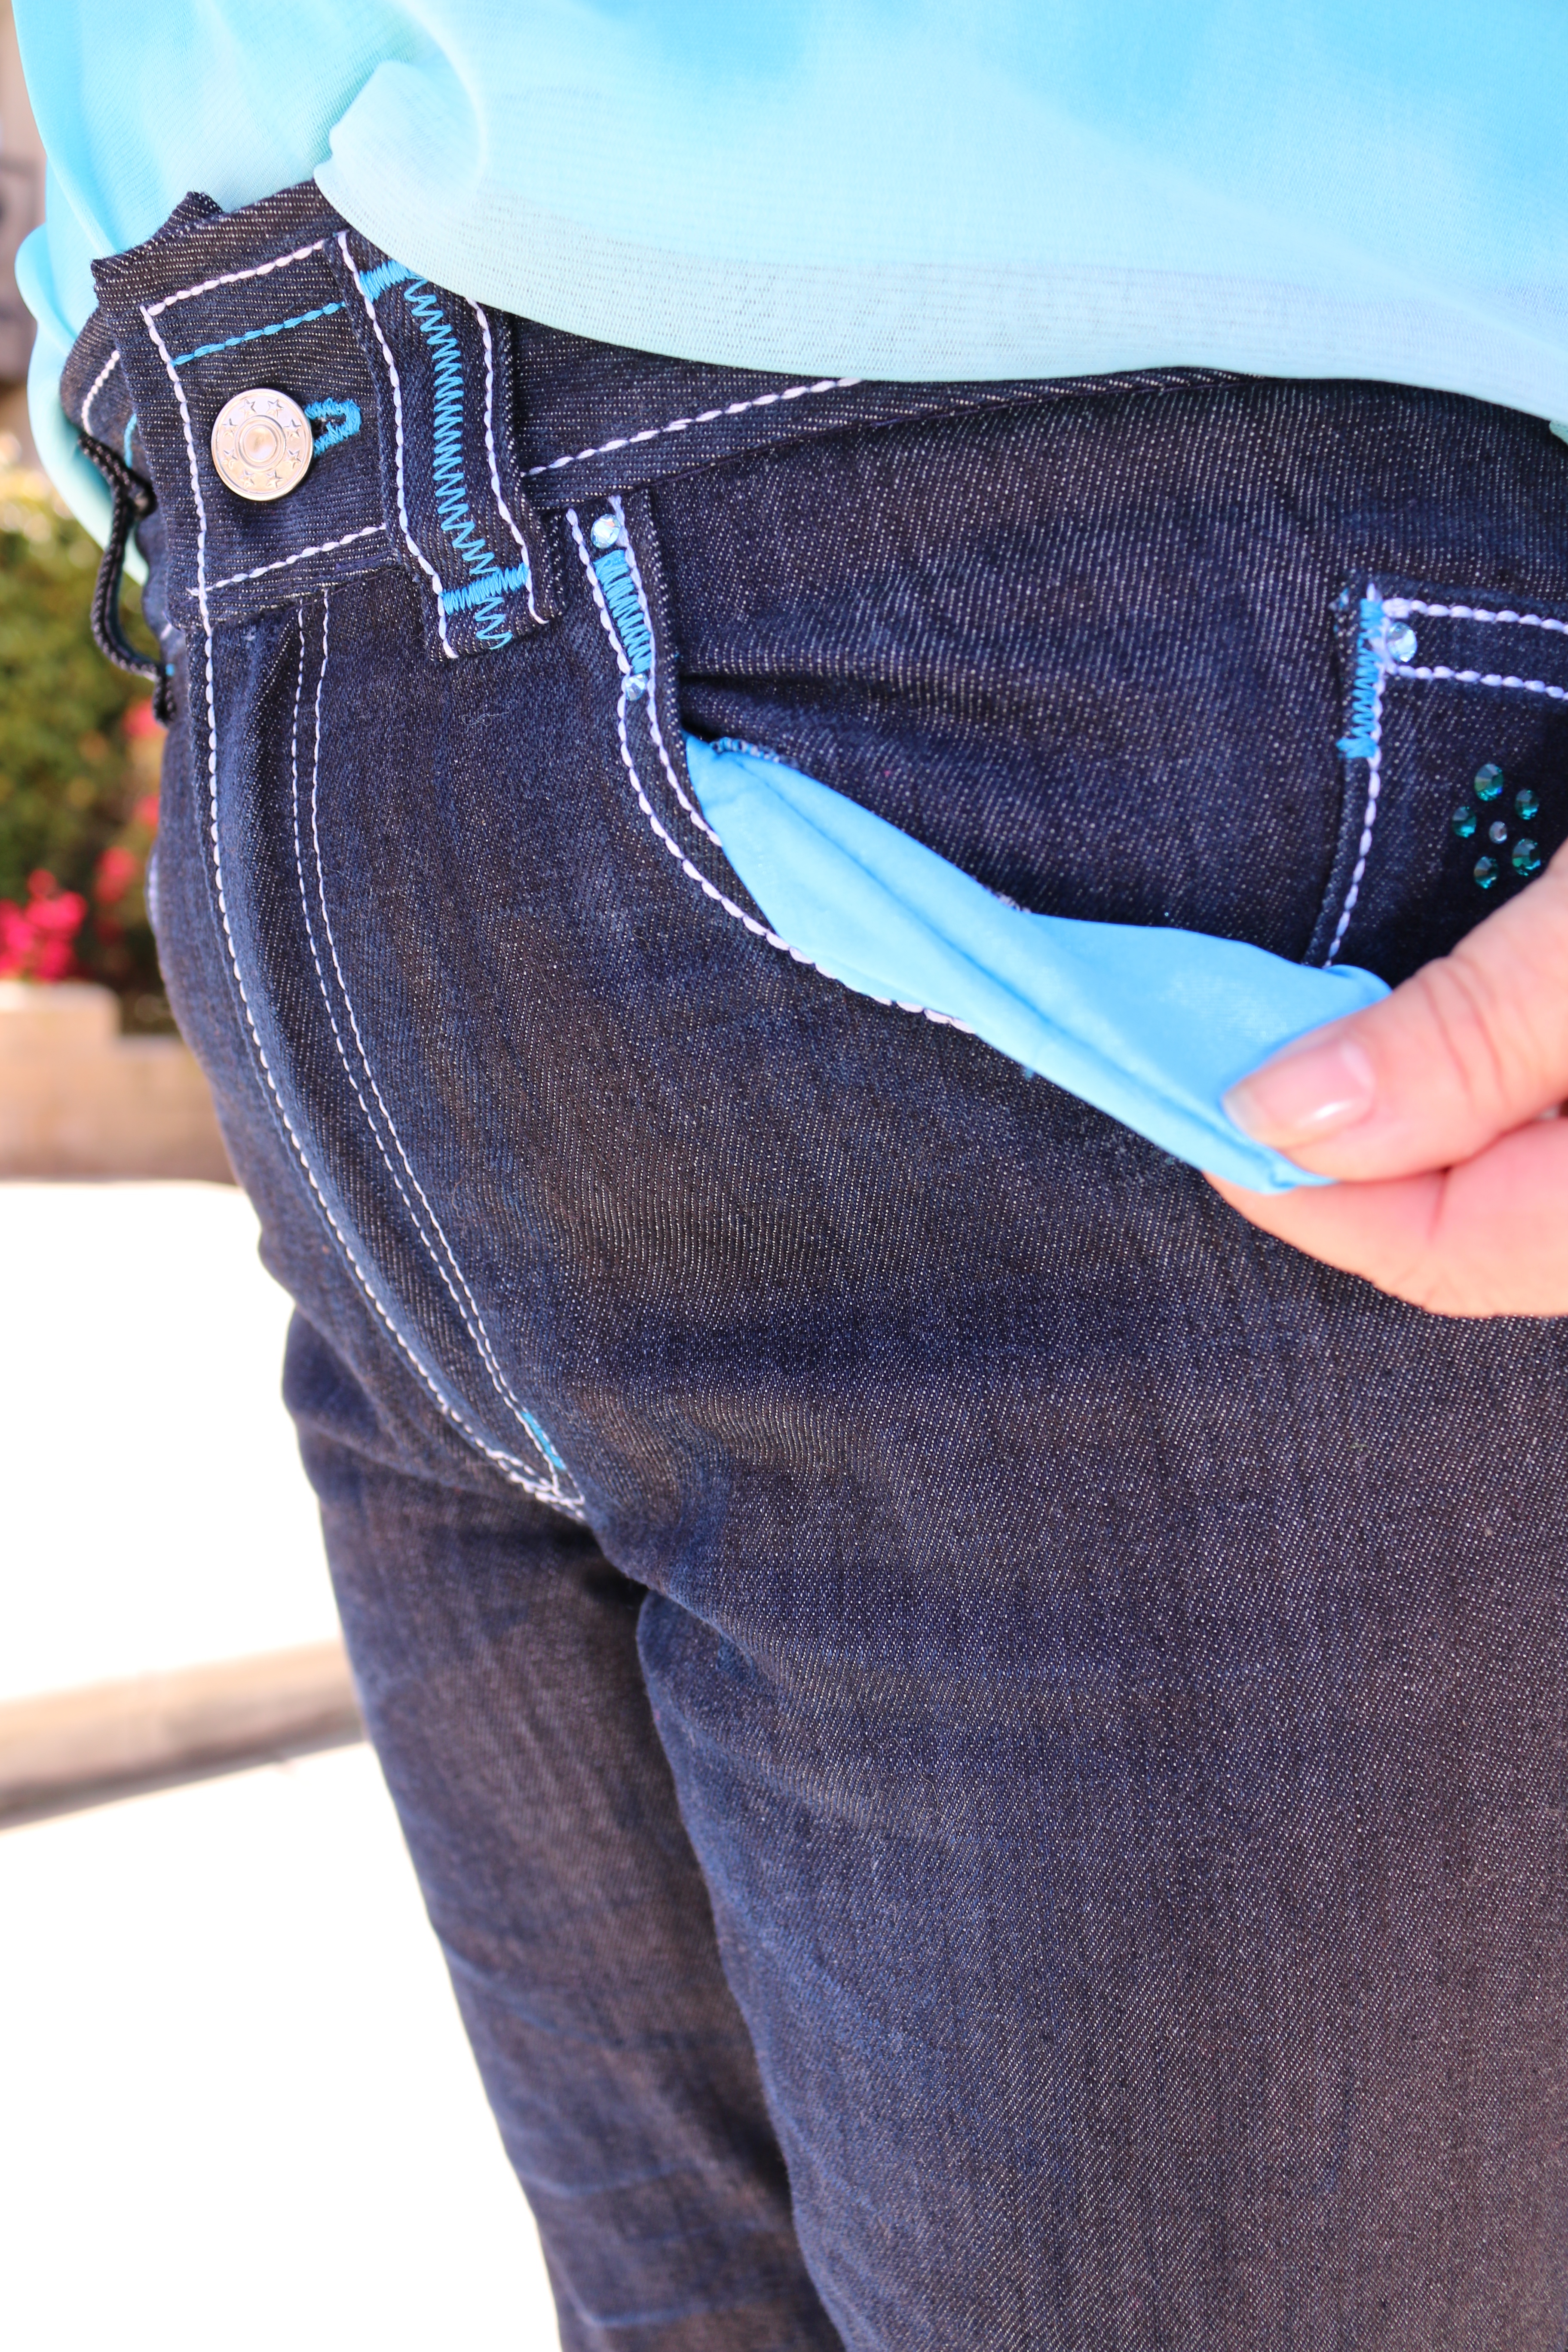
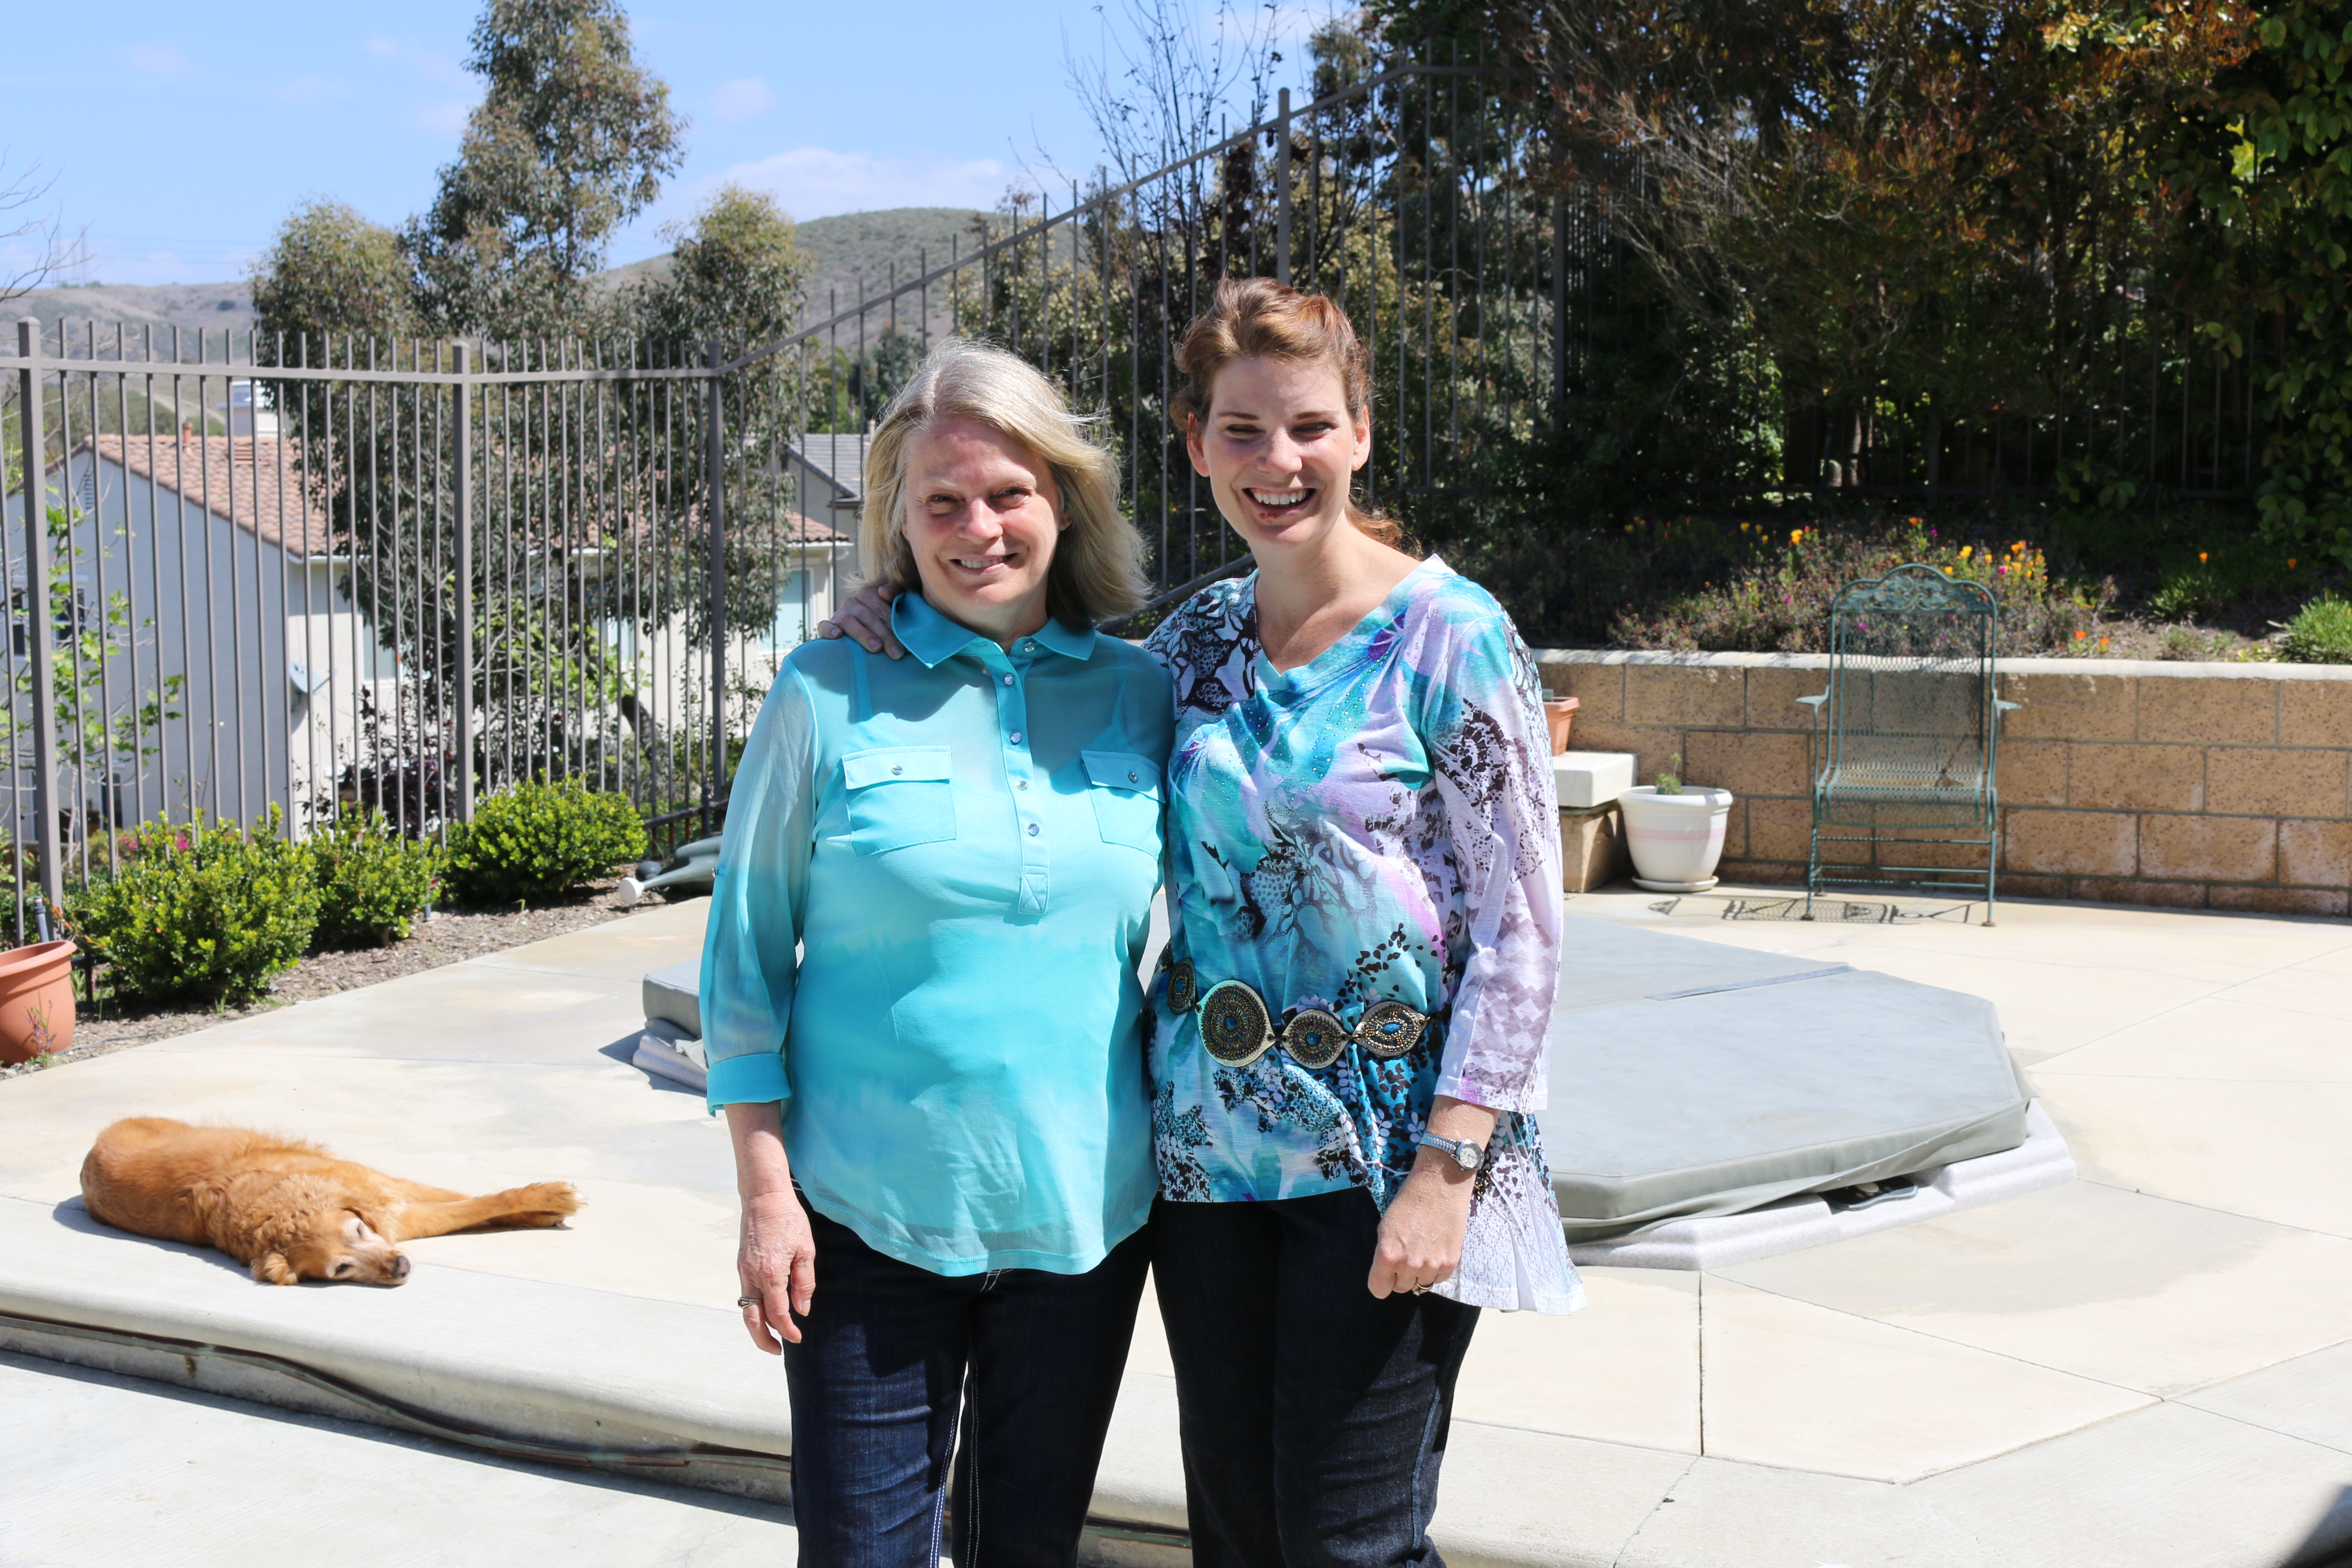
My mom loved my jeans and I loved making them, so I made a muslin up for my mother and proceeded to make her a pair too! I learned a lot when I made mine, so her’s turned out even better! I did not botch up the fly area like I did with mine! I used turquoise thread 2 spool in order to mimic top thread so I can add some color highlights to these jeans to match the gorgeous soft satin I bought for her pocket lining.  I also bought turquoise crystals for the pocket flaps and around the coin pocket for embellishment.

Here are some pics of her jeans and us together.

IMG_2294 IMG_2295 IMG_2296 IMG_2297

IMG_2306 IMG_2373

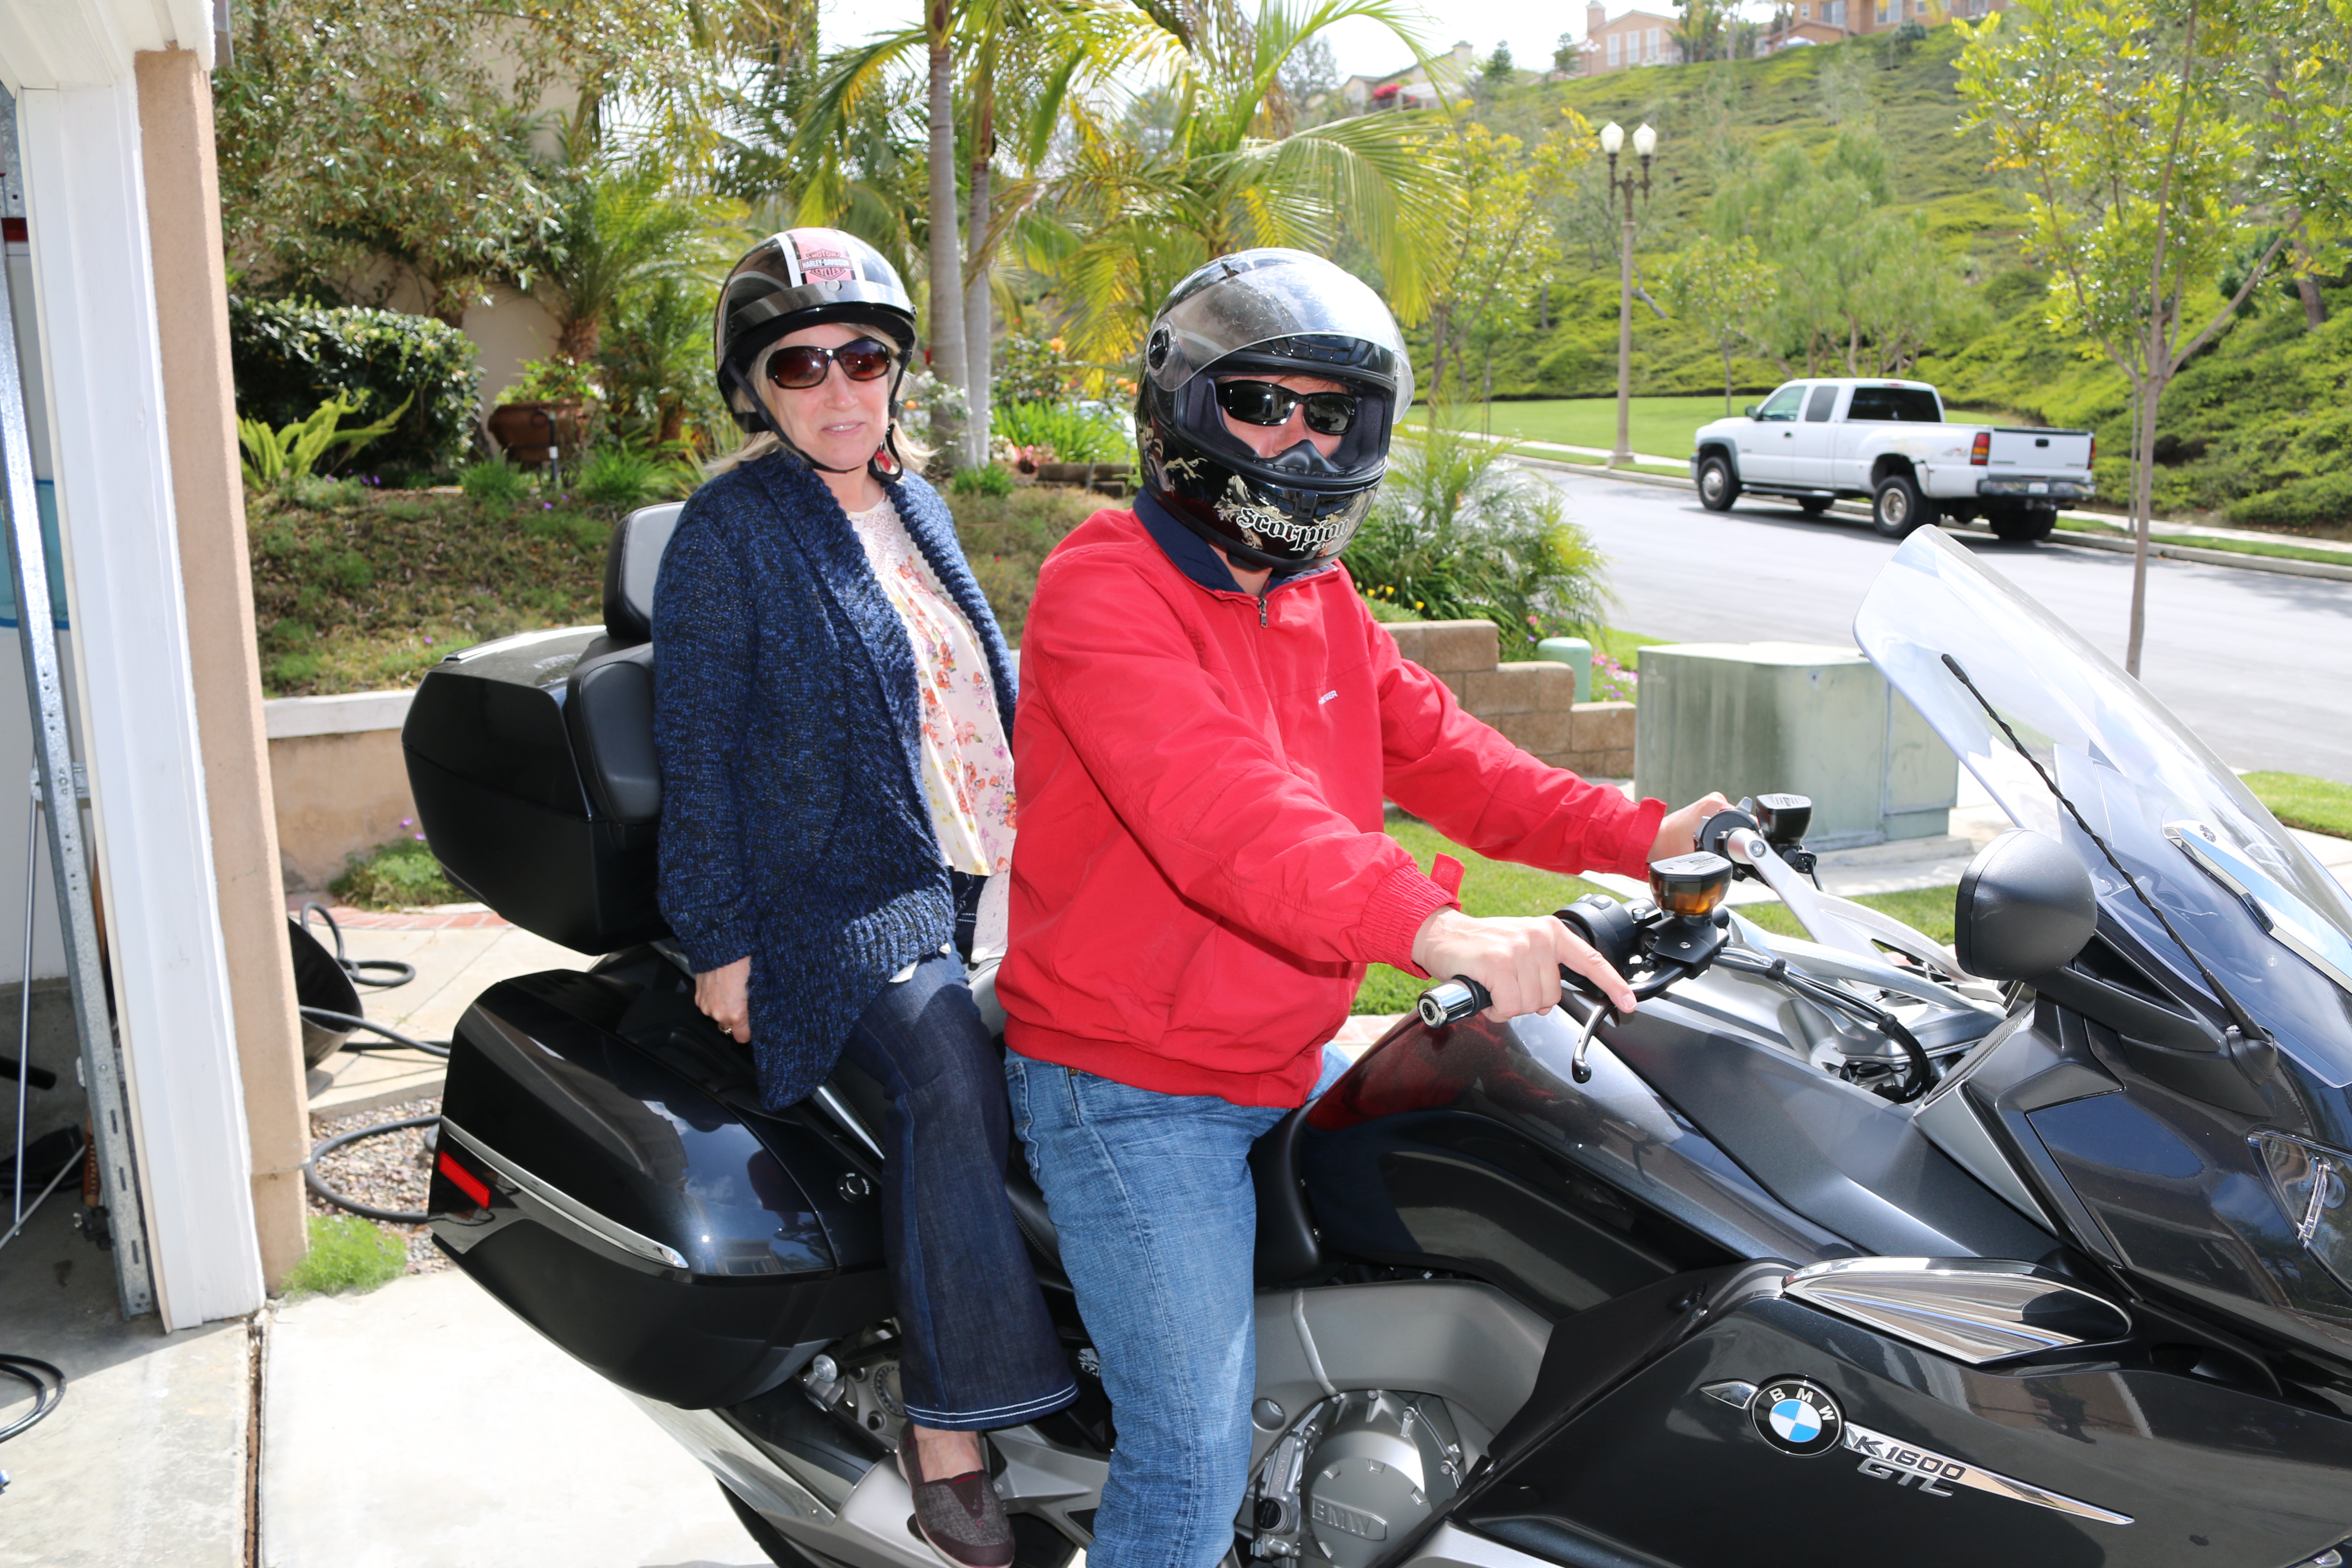
My hubby bringing my hip mom for a ride 🙂

Designer Jeans Completed!!!

I am so excited! I finished my jeans after 3 long weeks of alterations and cutting, distressing, blue fingers from the dye ahhhhh. lol

My parents are visiting from Canada. I’m so blessed I am able to see them it’s been almost a year. So I may not get many posts up in the next little while….if I do they will be short and sweet 🙂

Here are some pics. Excuse the wrinkled fabric I have been wearing them all day so the close-ups are from this afternoon 😉 Forgot to take pics when they were nicely pressed.

IMG_2232 IMG_2233 IMG_2234 IMG_2245 IMG_2246 IMG_2247IMG_2228 IMG_2229 IMG_2230 IMG_2231

Jean Try On’s

The moment of truth!! I was so excited to baste the side seams and try them on! Wow this stretch denim is ridiculous!! I could lose 2 more inches in the side seams. Note to self (do not use stretch denim for next pair of DIY jeans)

I can’t take these in that much I lose the shape of the jeans and the pockets in the back prevent me from getting rid of that much fabric. I will be lucky if I can get away with taking 1 inch off from the hip down.  Unfortunately because they are so big I know my waist band will gape with this stretch fabric.

Here are a few pics.

IMG_2200 IMG_2201 IMG_2202 IMG_2203

I’m still excited about finishing them. It was so much fun and I learned a ton. I am going to fiddle a bit more with the side seam before I make it a final serged edge then distress the side seams. After that I am on to the waist band and almost done my first pair of jeans!!

Constructing the Back of the Jeans

IMG_2176

Ok Yesterday and this morning I have been working on the back of the Jeans.  Here is a step by step what I got done.

It was a little nerve-wracking cutting into the jean material but I did it with much enthusiasm!

IMG_2157

I attached the back yokes ran the seam allowances through the serger. Distressed my seams and topstitched.

IMG_2159 IMG_2160 IMG_2161 IMG_2162 IMG_2164

Then I distressed the back toosh area where the pockets are going to go and then sewed up the back center seam and repeated the process of pressing to one side, distressing and topstitching.

IMG_2167IMG_2169 IMG_2170 IMG_2171 IMG_2172

Then I played around with the pocket placements for a while and once I was satisfied I topstitched these in place along with the flaps.

IMG_2174 IMG_2175 IMG_2176

Today I hope to cut out my fronts and start working on them. Holy Cow you go through a whole spool of denim thread in no time!! Hmm might have to go to Joann’s I am almost out of thread.