Boot Cut Custom Pattern

I have been working hard trying to get this pattern perfected from my sloper. I did a post on this here and used this book to draft a pattern.

DSC_3863DSC_3889


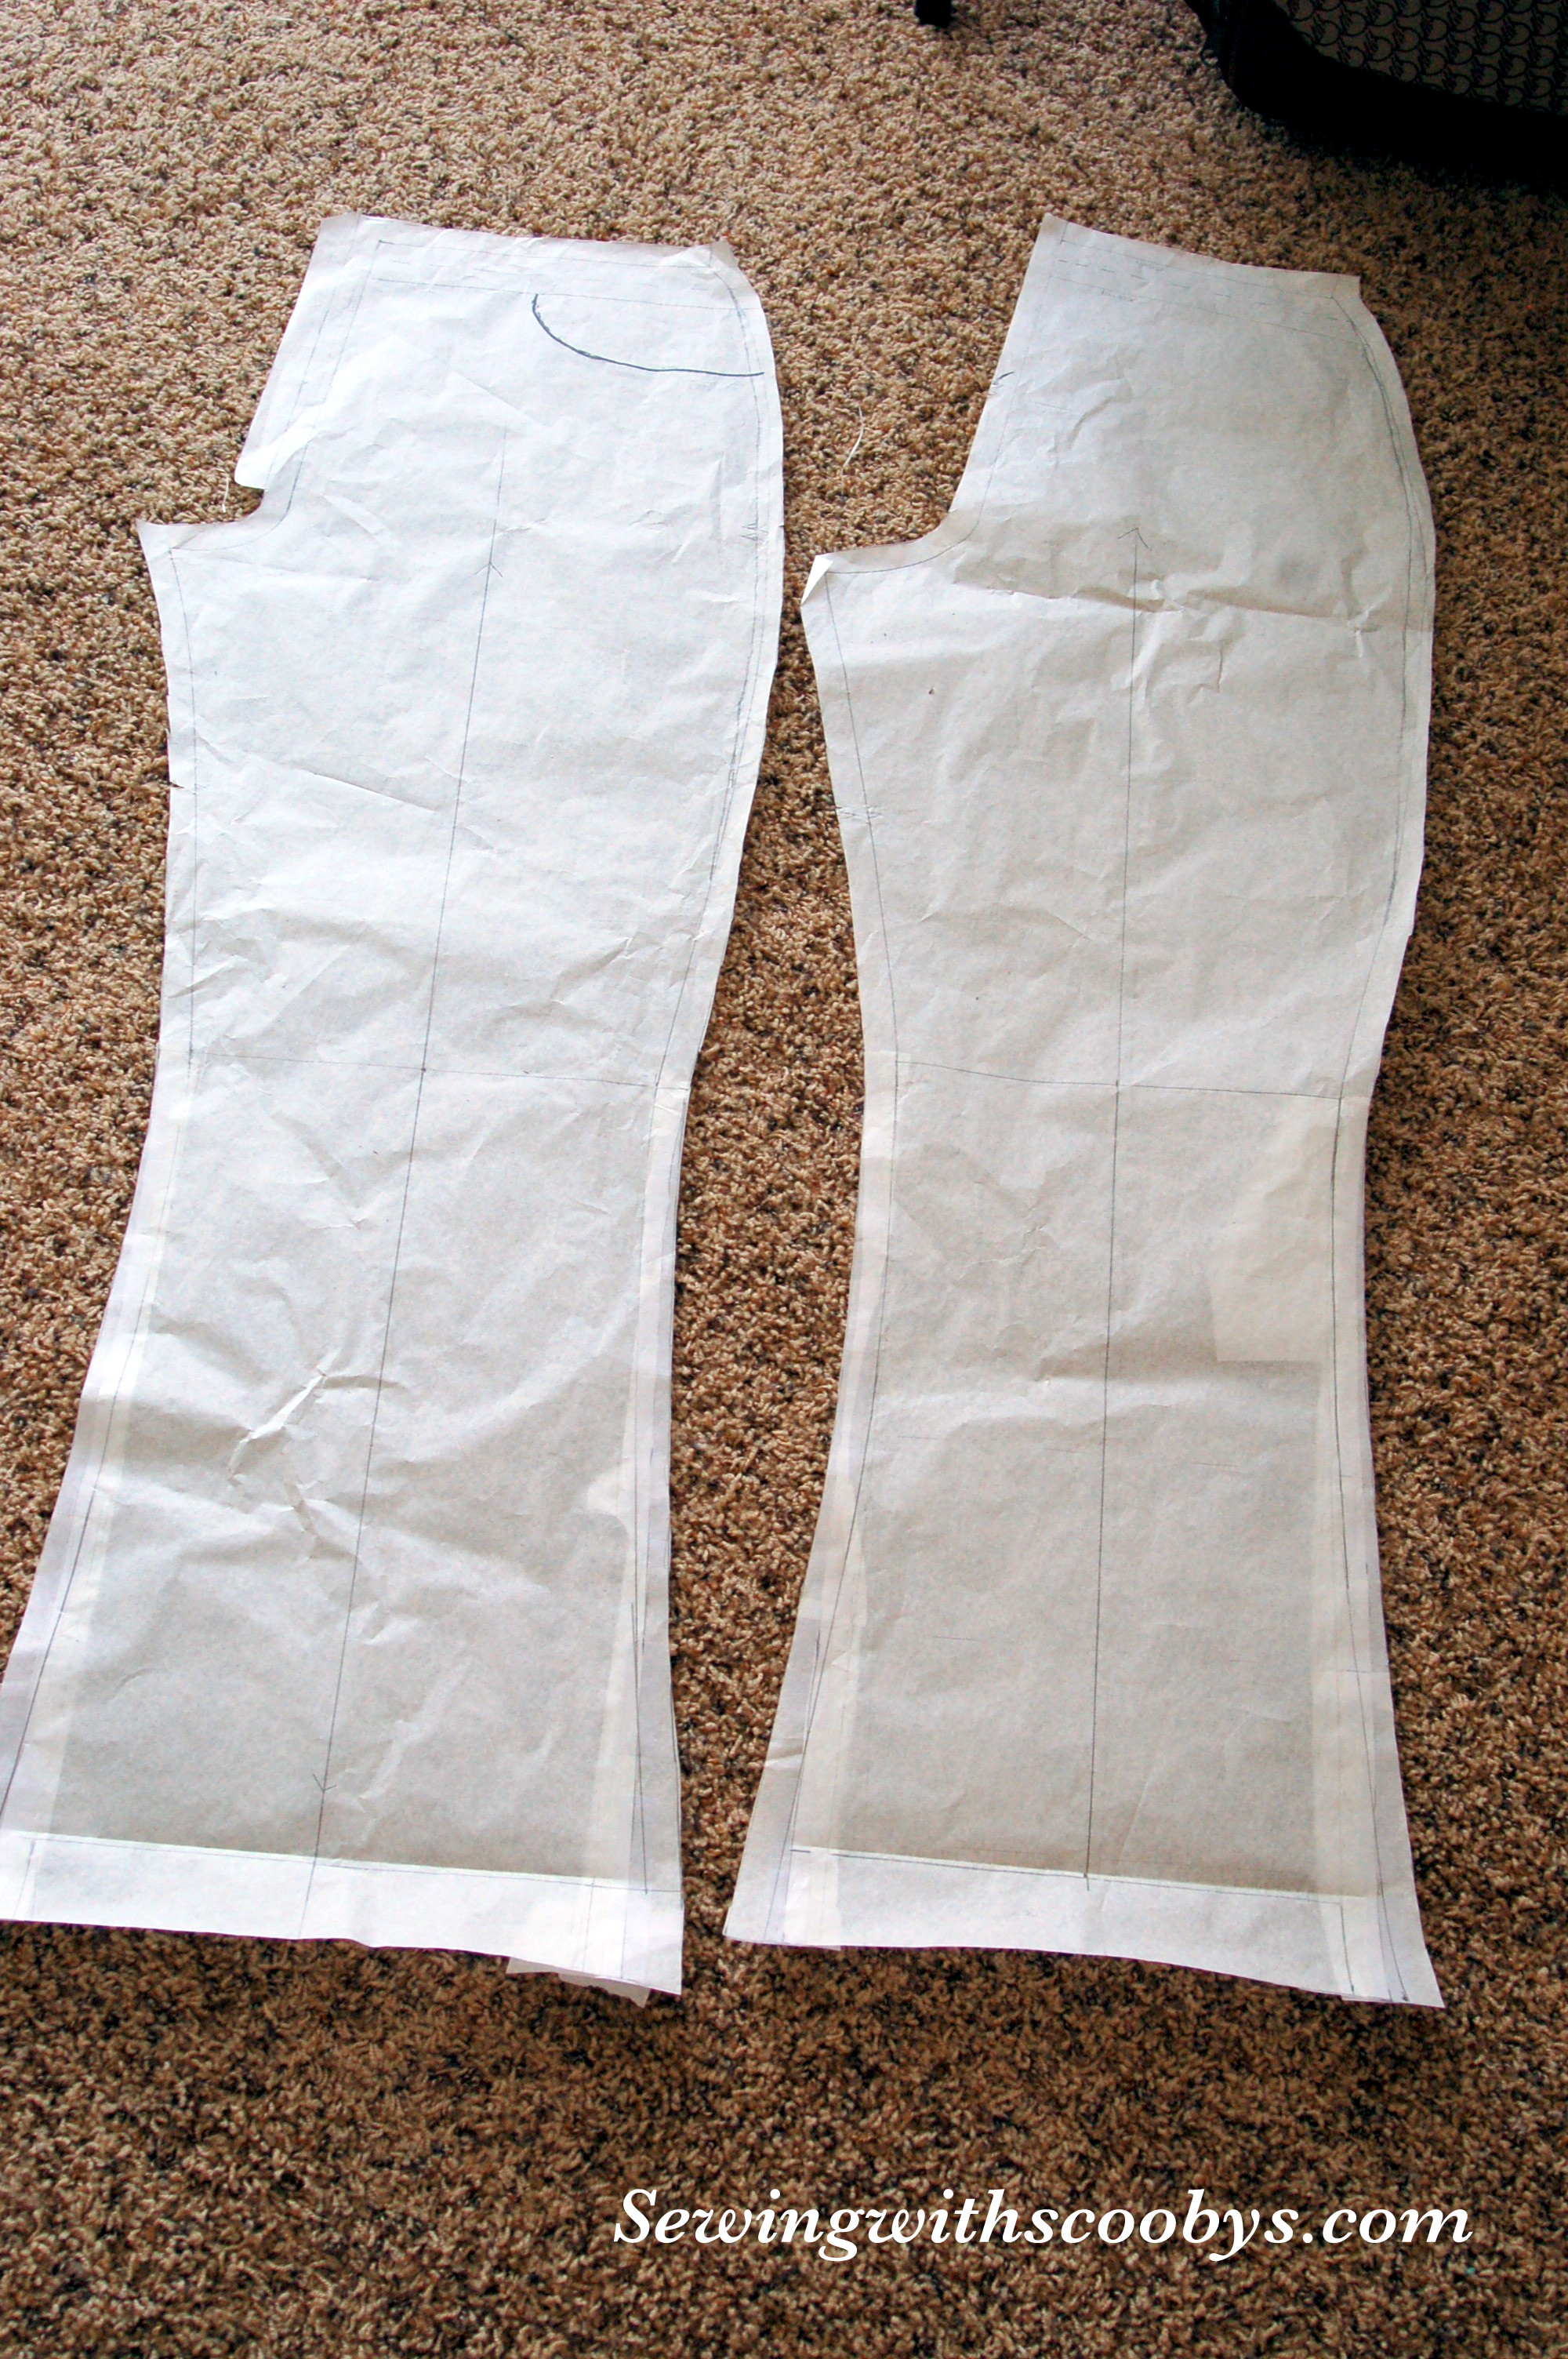
Here are a few pics of my fitting stage, these are basted up with my dissolving thread that I can just iron out instead of unpicking!

DSC_3916 DSC_3915 DSC_3913

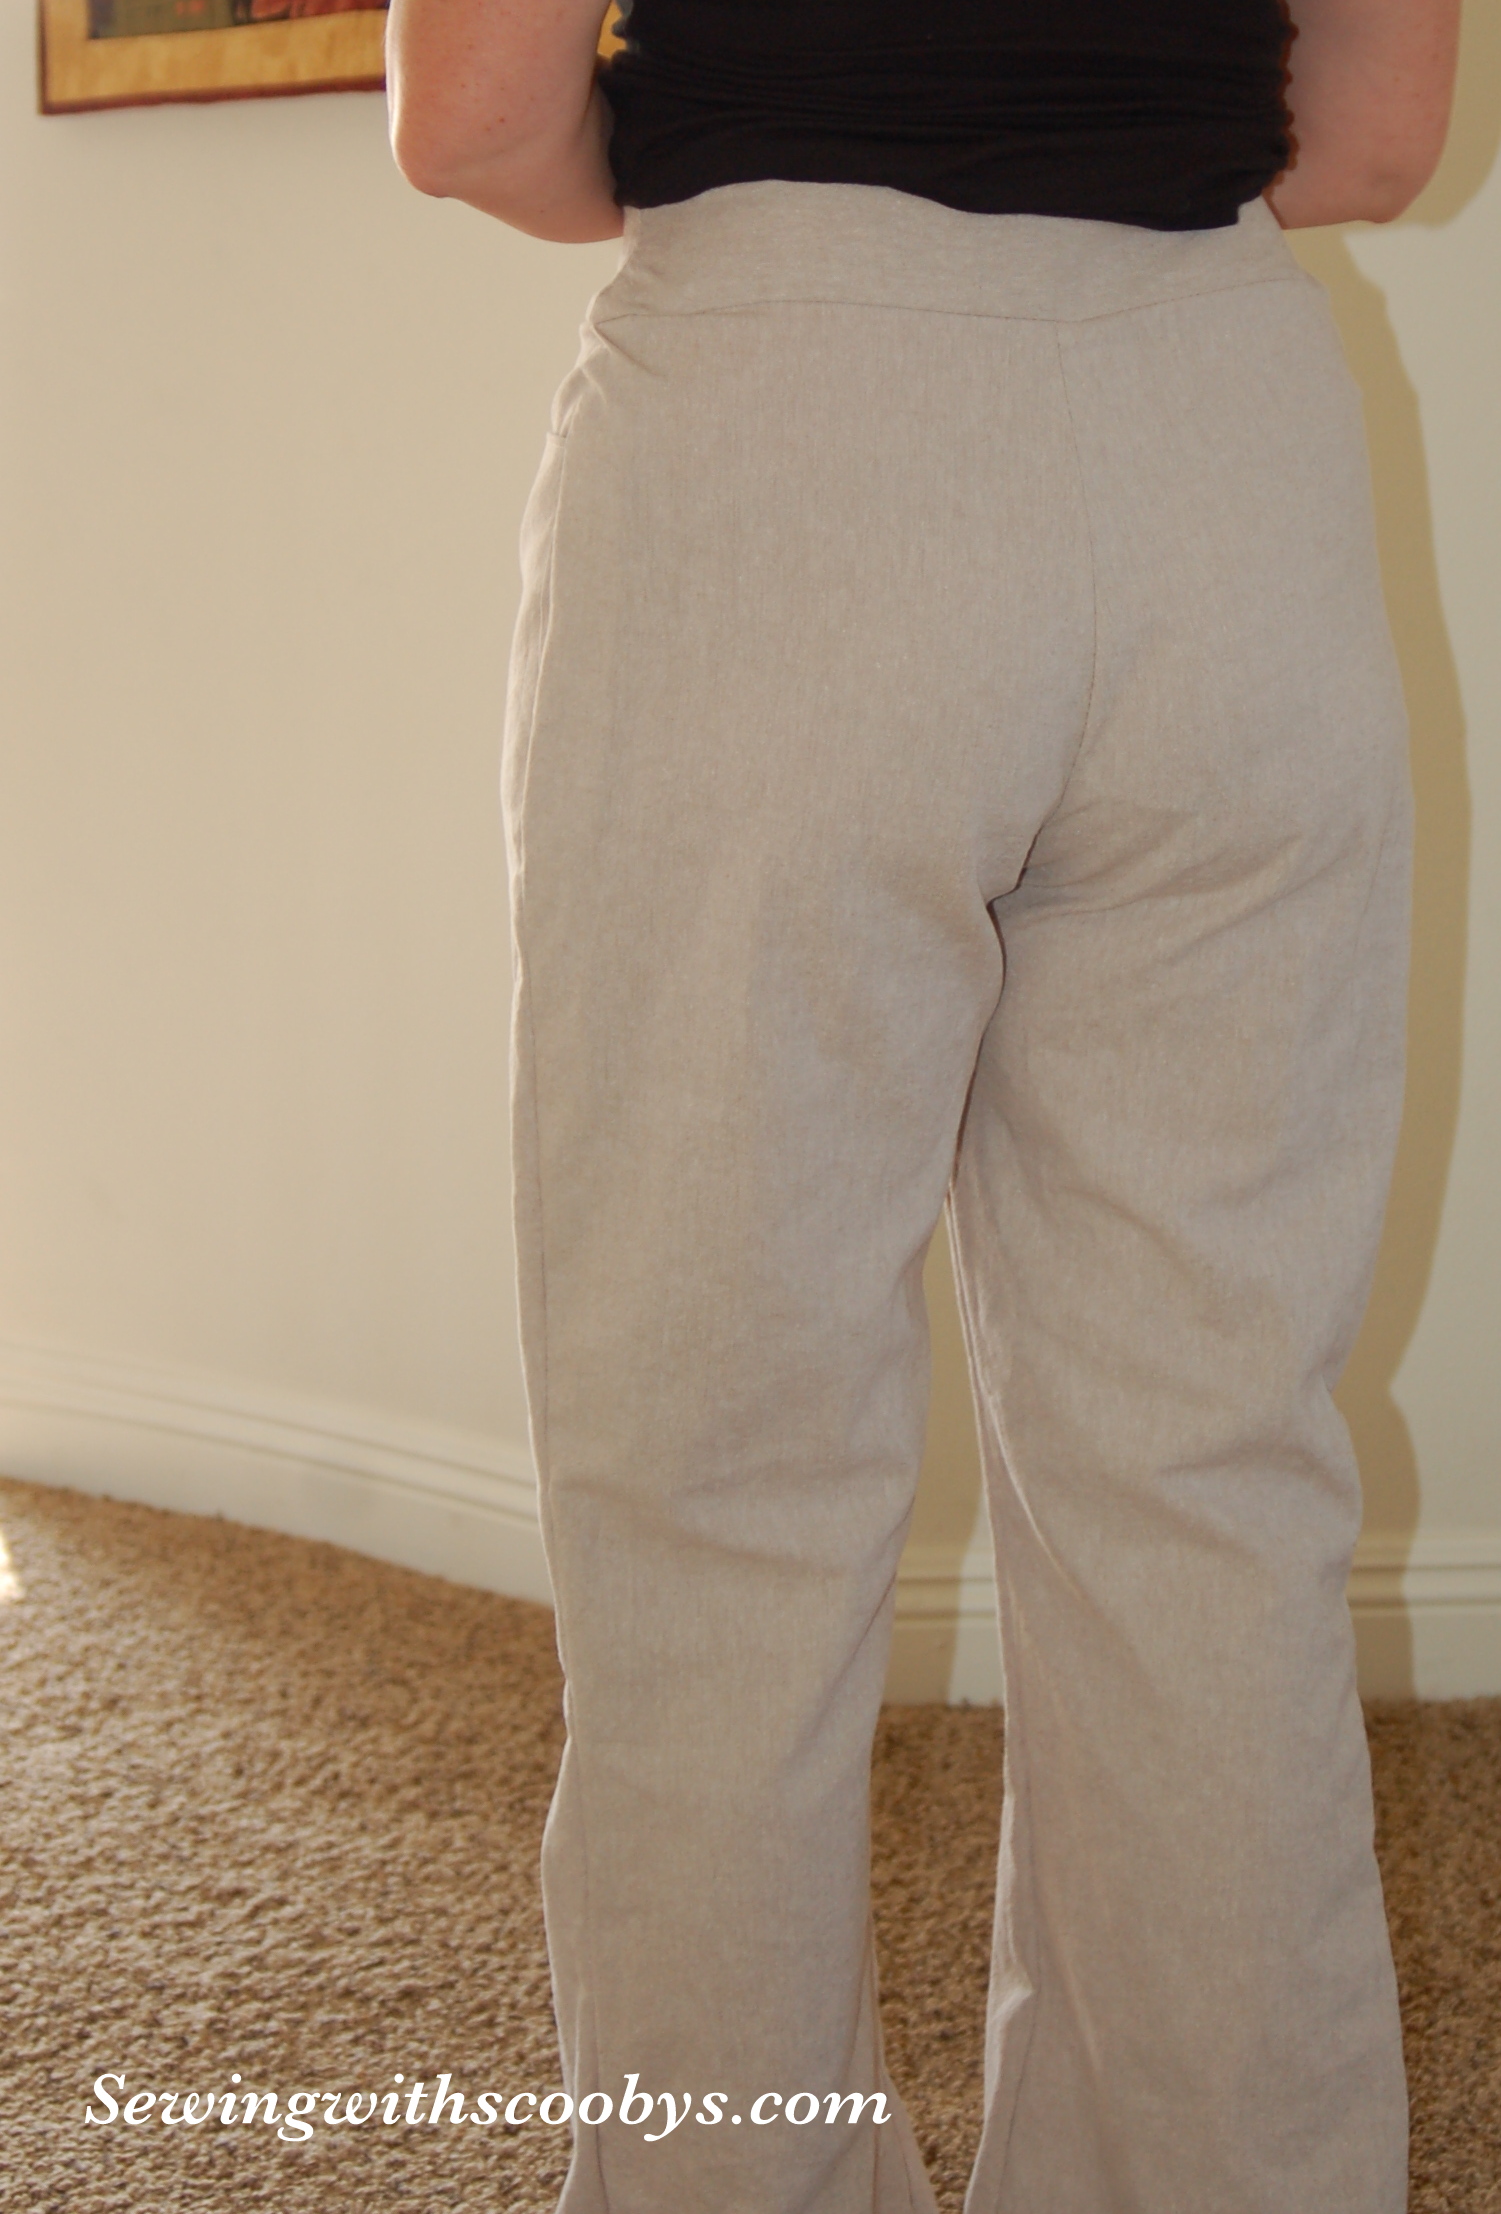
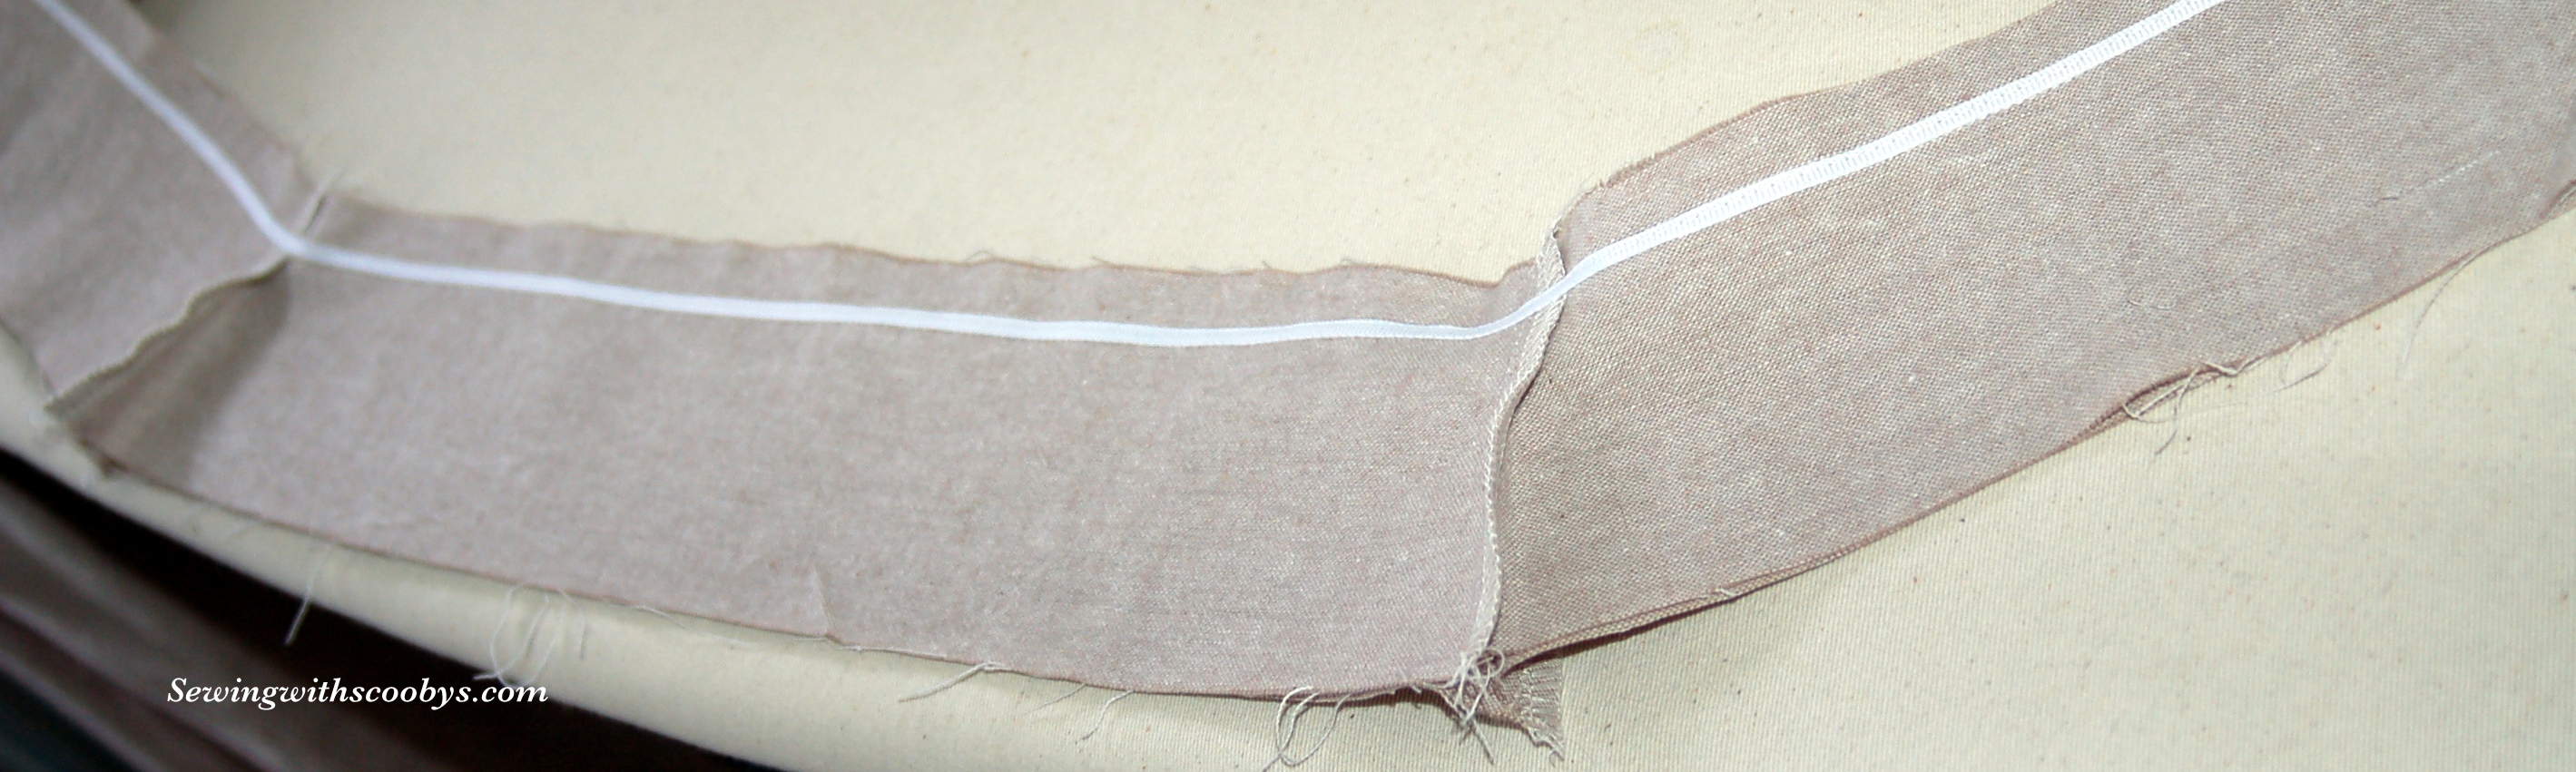
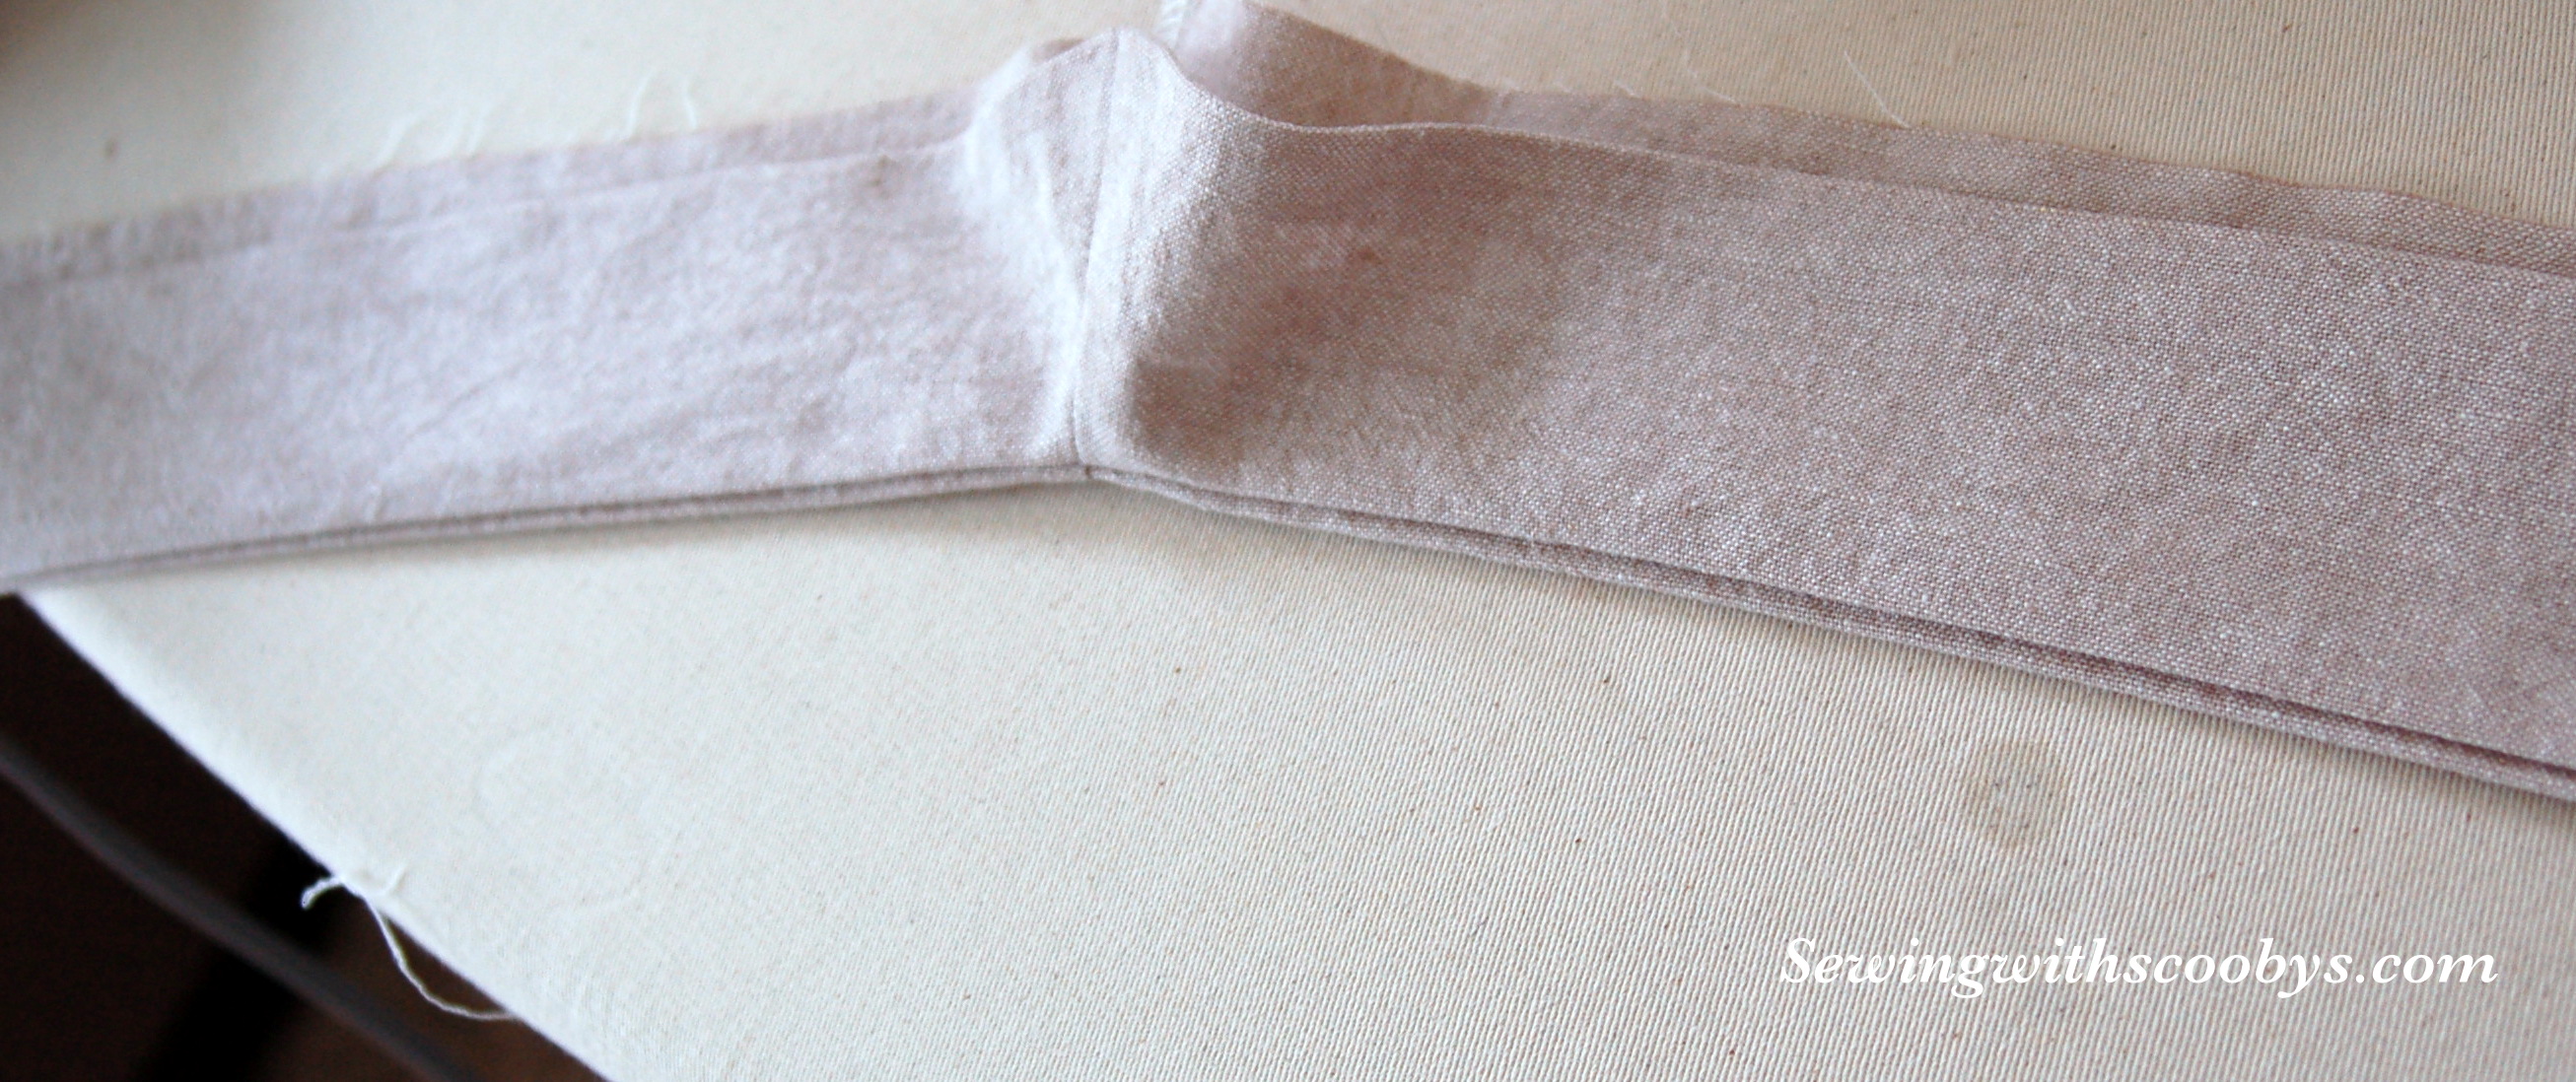
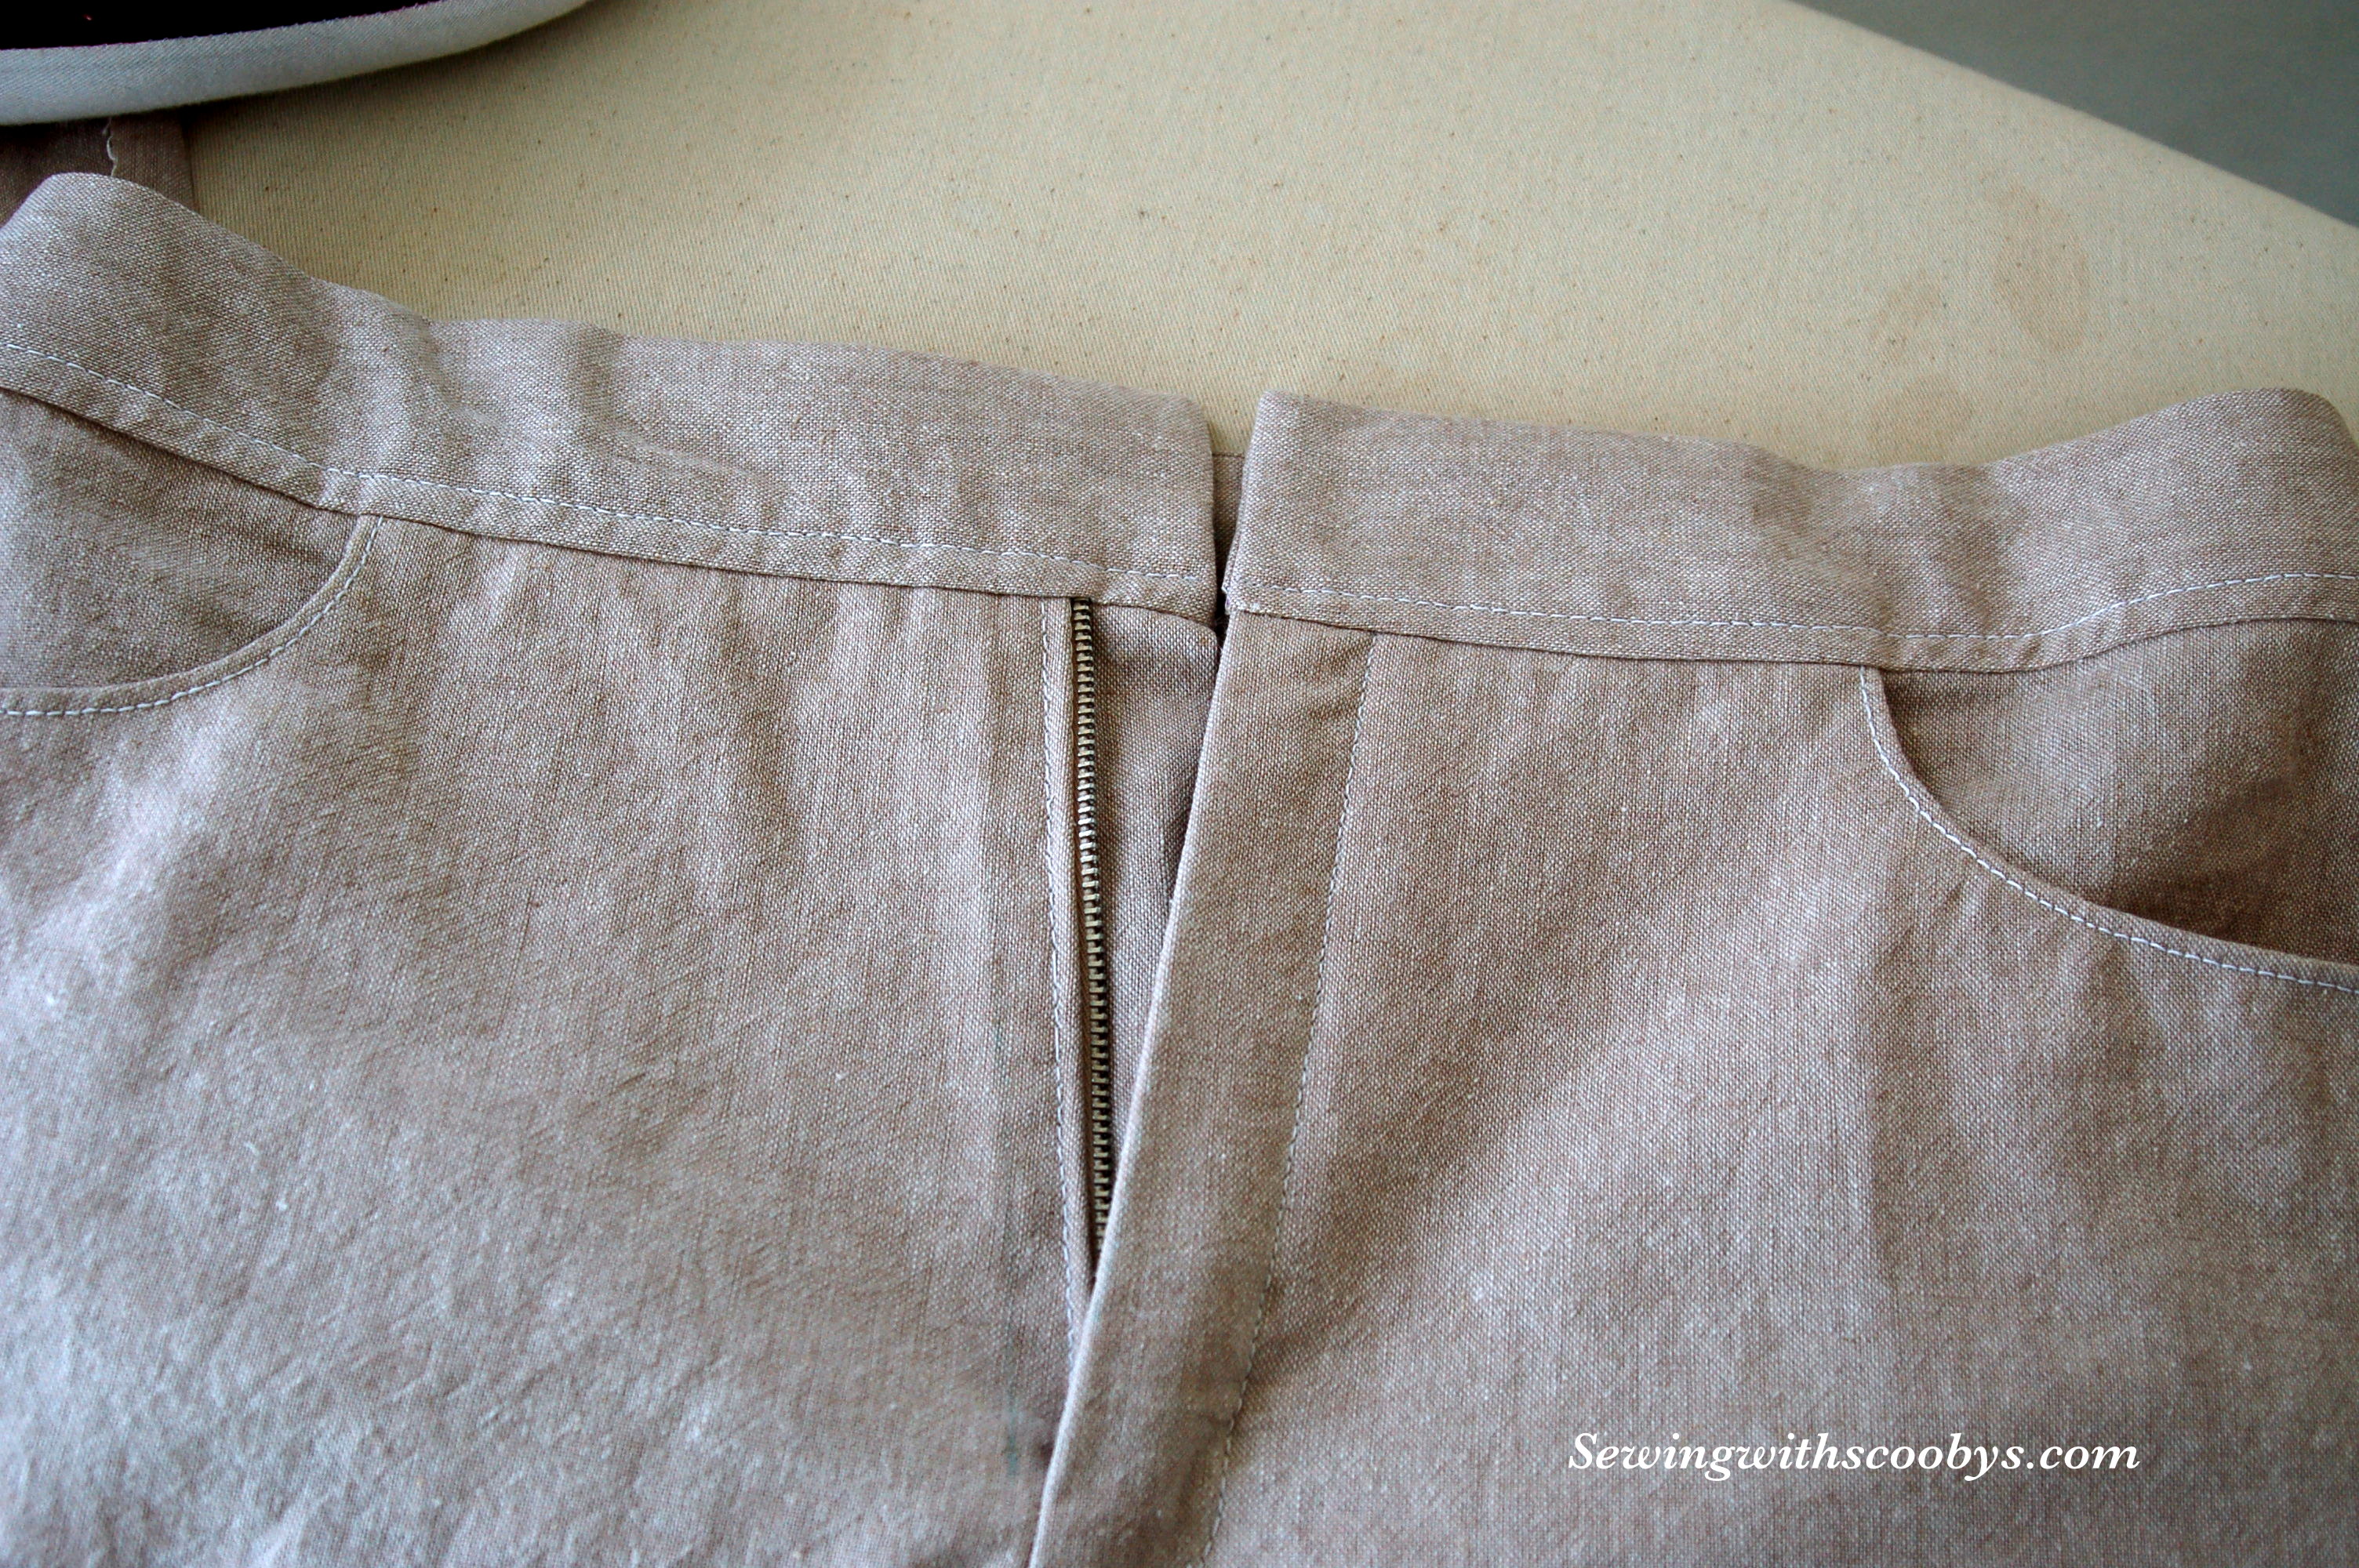
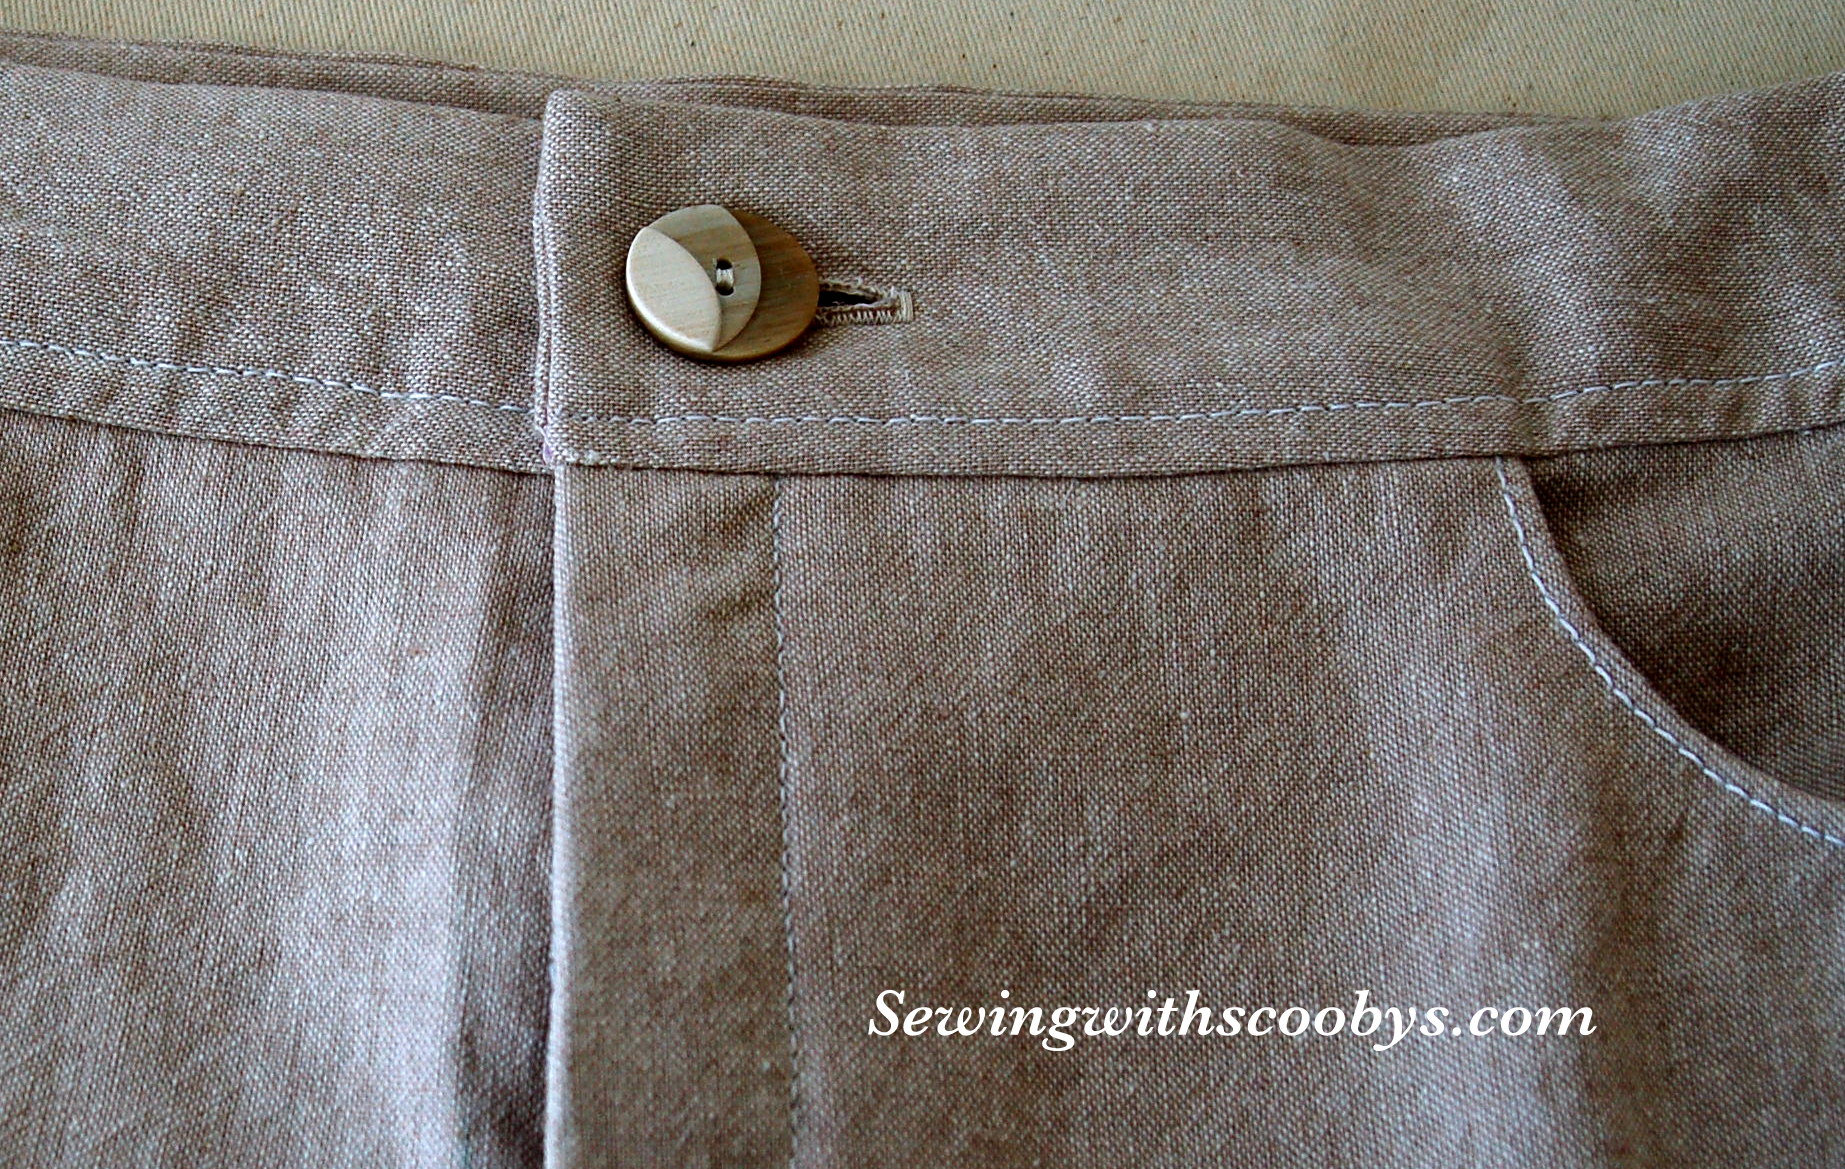
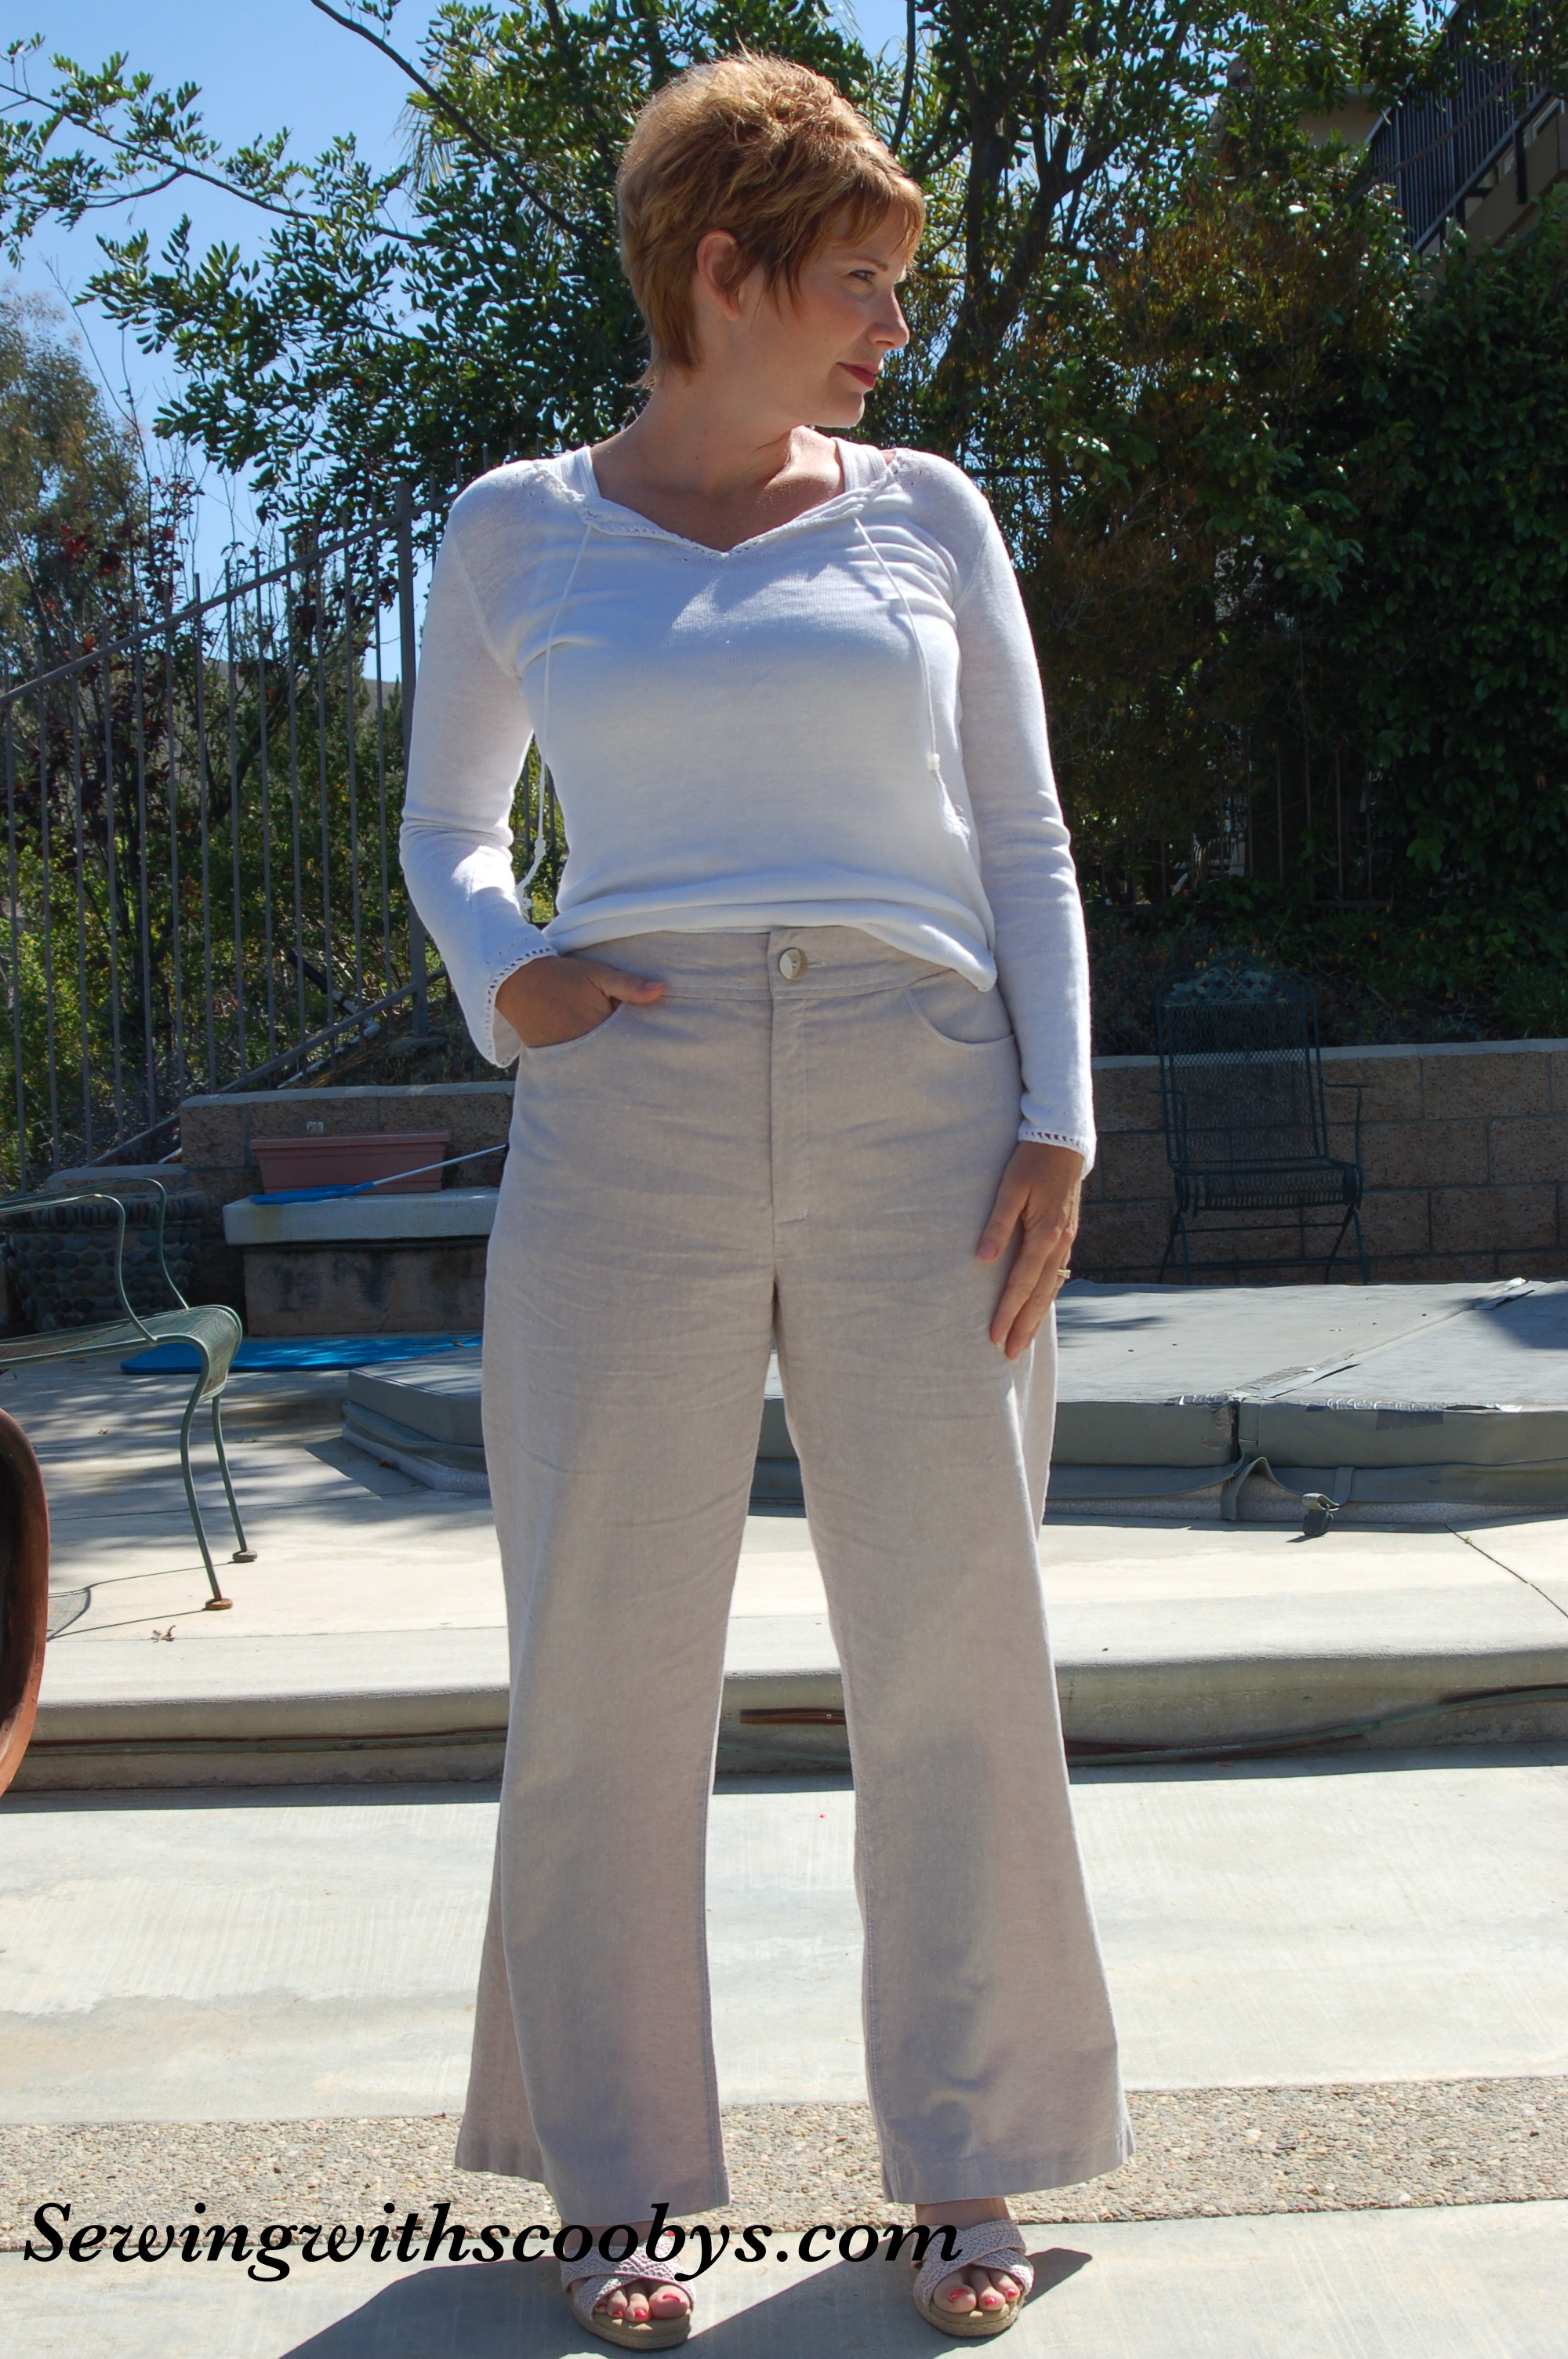
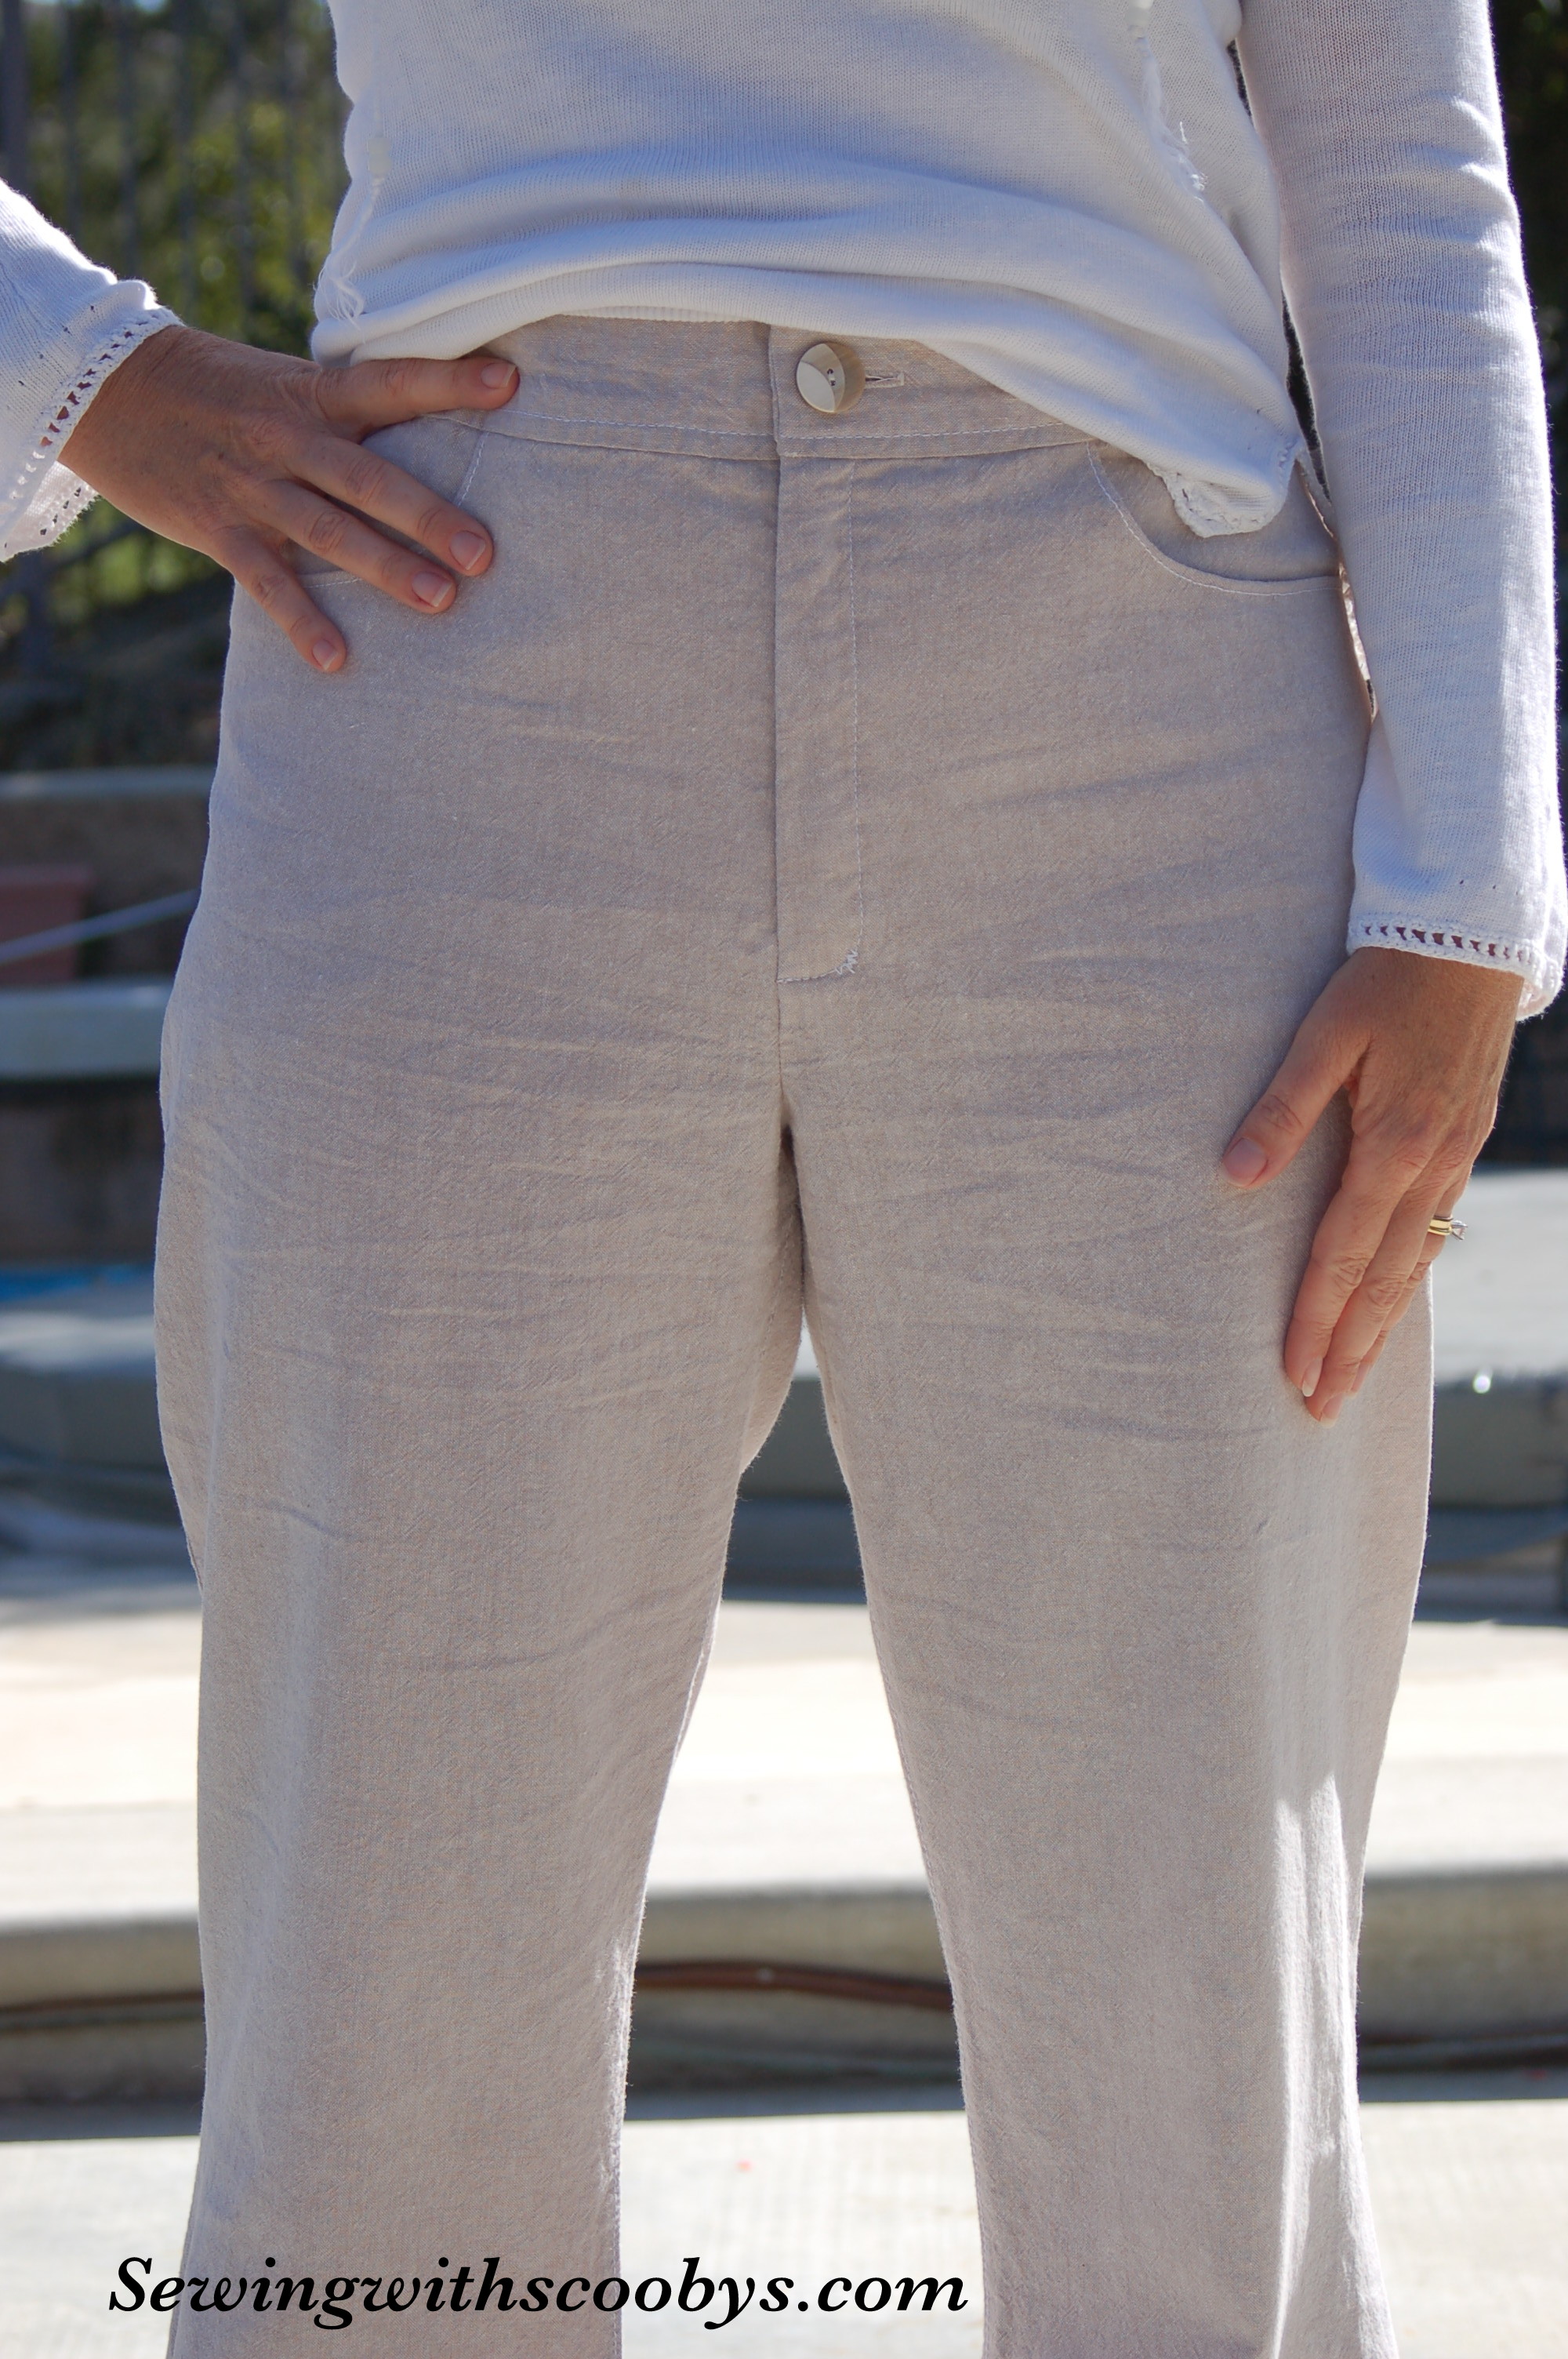
So initially I wanted the waist band to finish at the waist but look like a low-rise …in the end it just looks like a normal waist band lol. Not sure how to construct a waist band,  I did my best and thought it didn’t turn out so bad. I added twill tape to make sure the waist does not stretch. I also interfaced the areas where the button and buttonhole will go for added sturdiness.

DSC_3943 DSC_3944

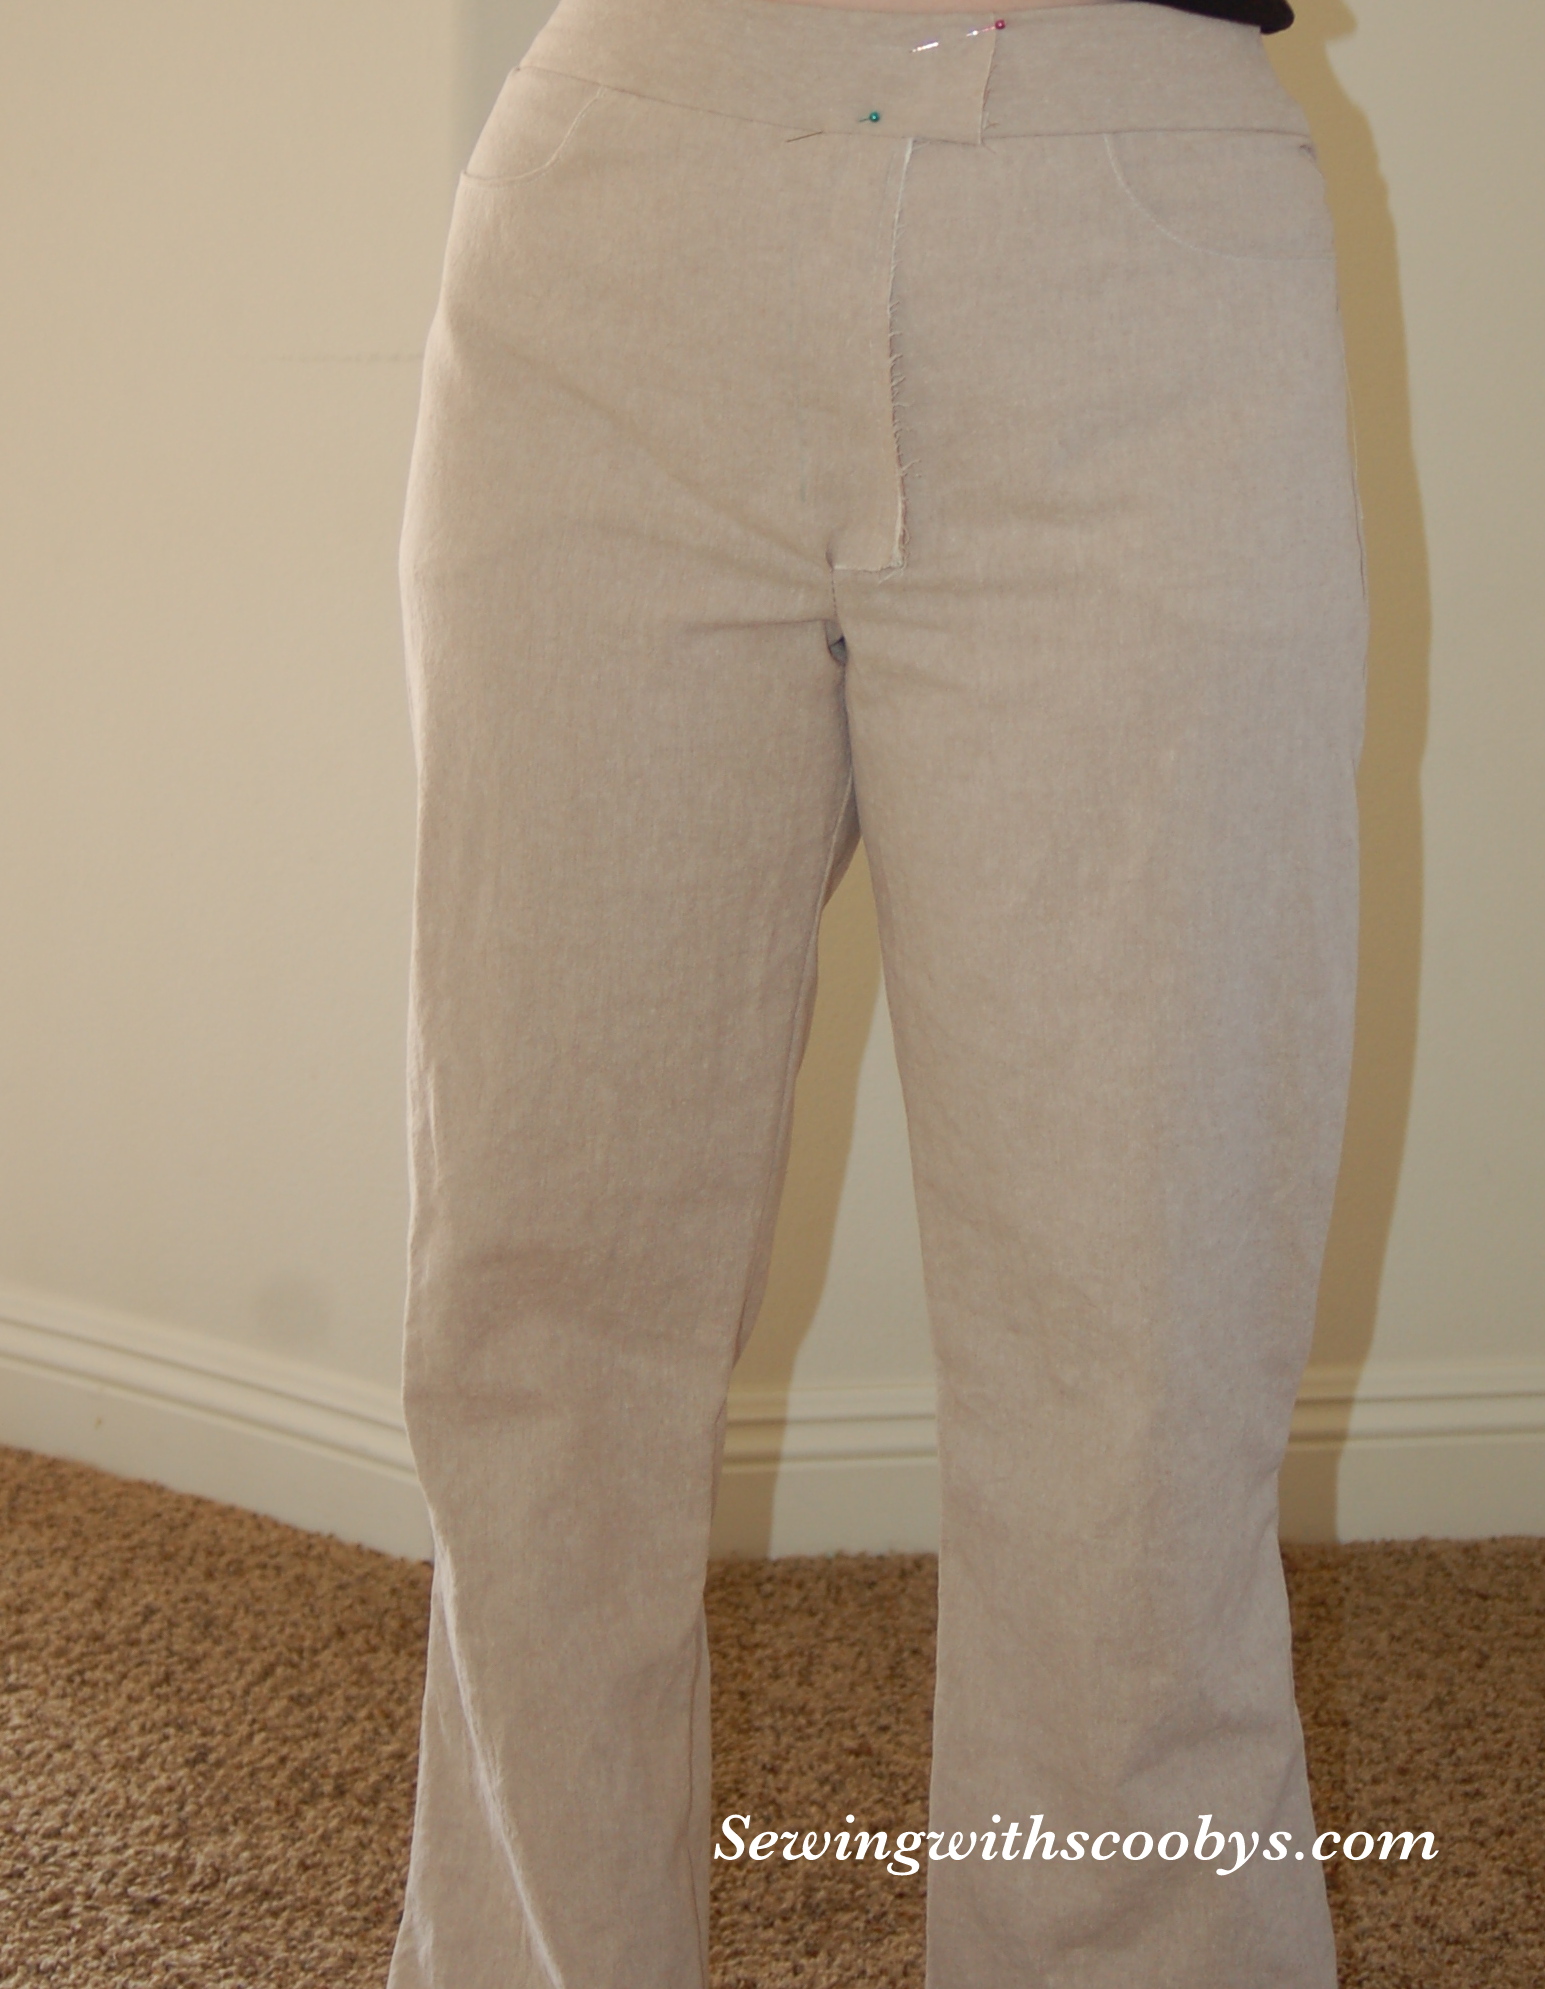
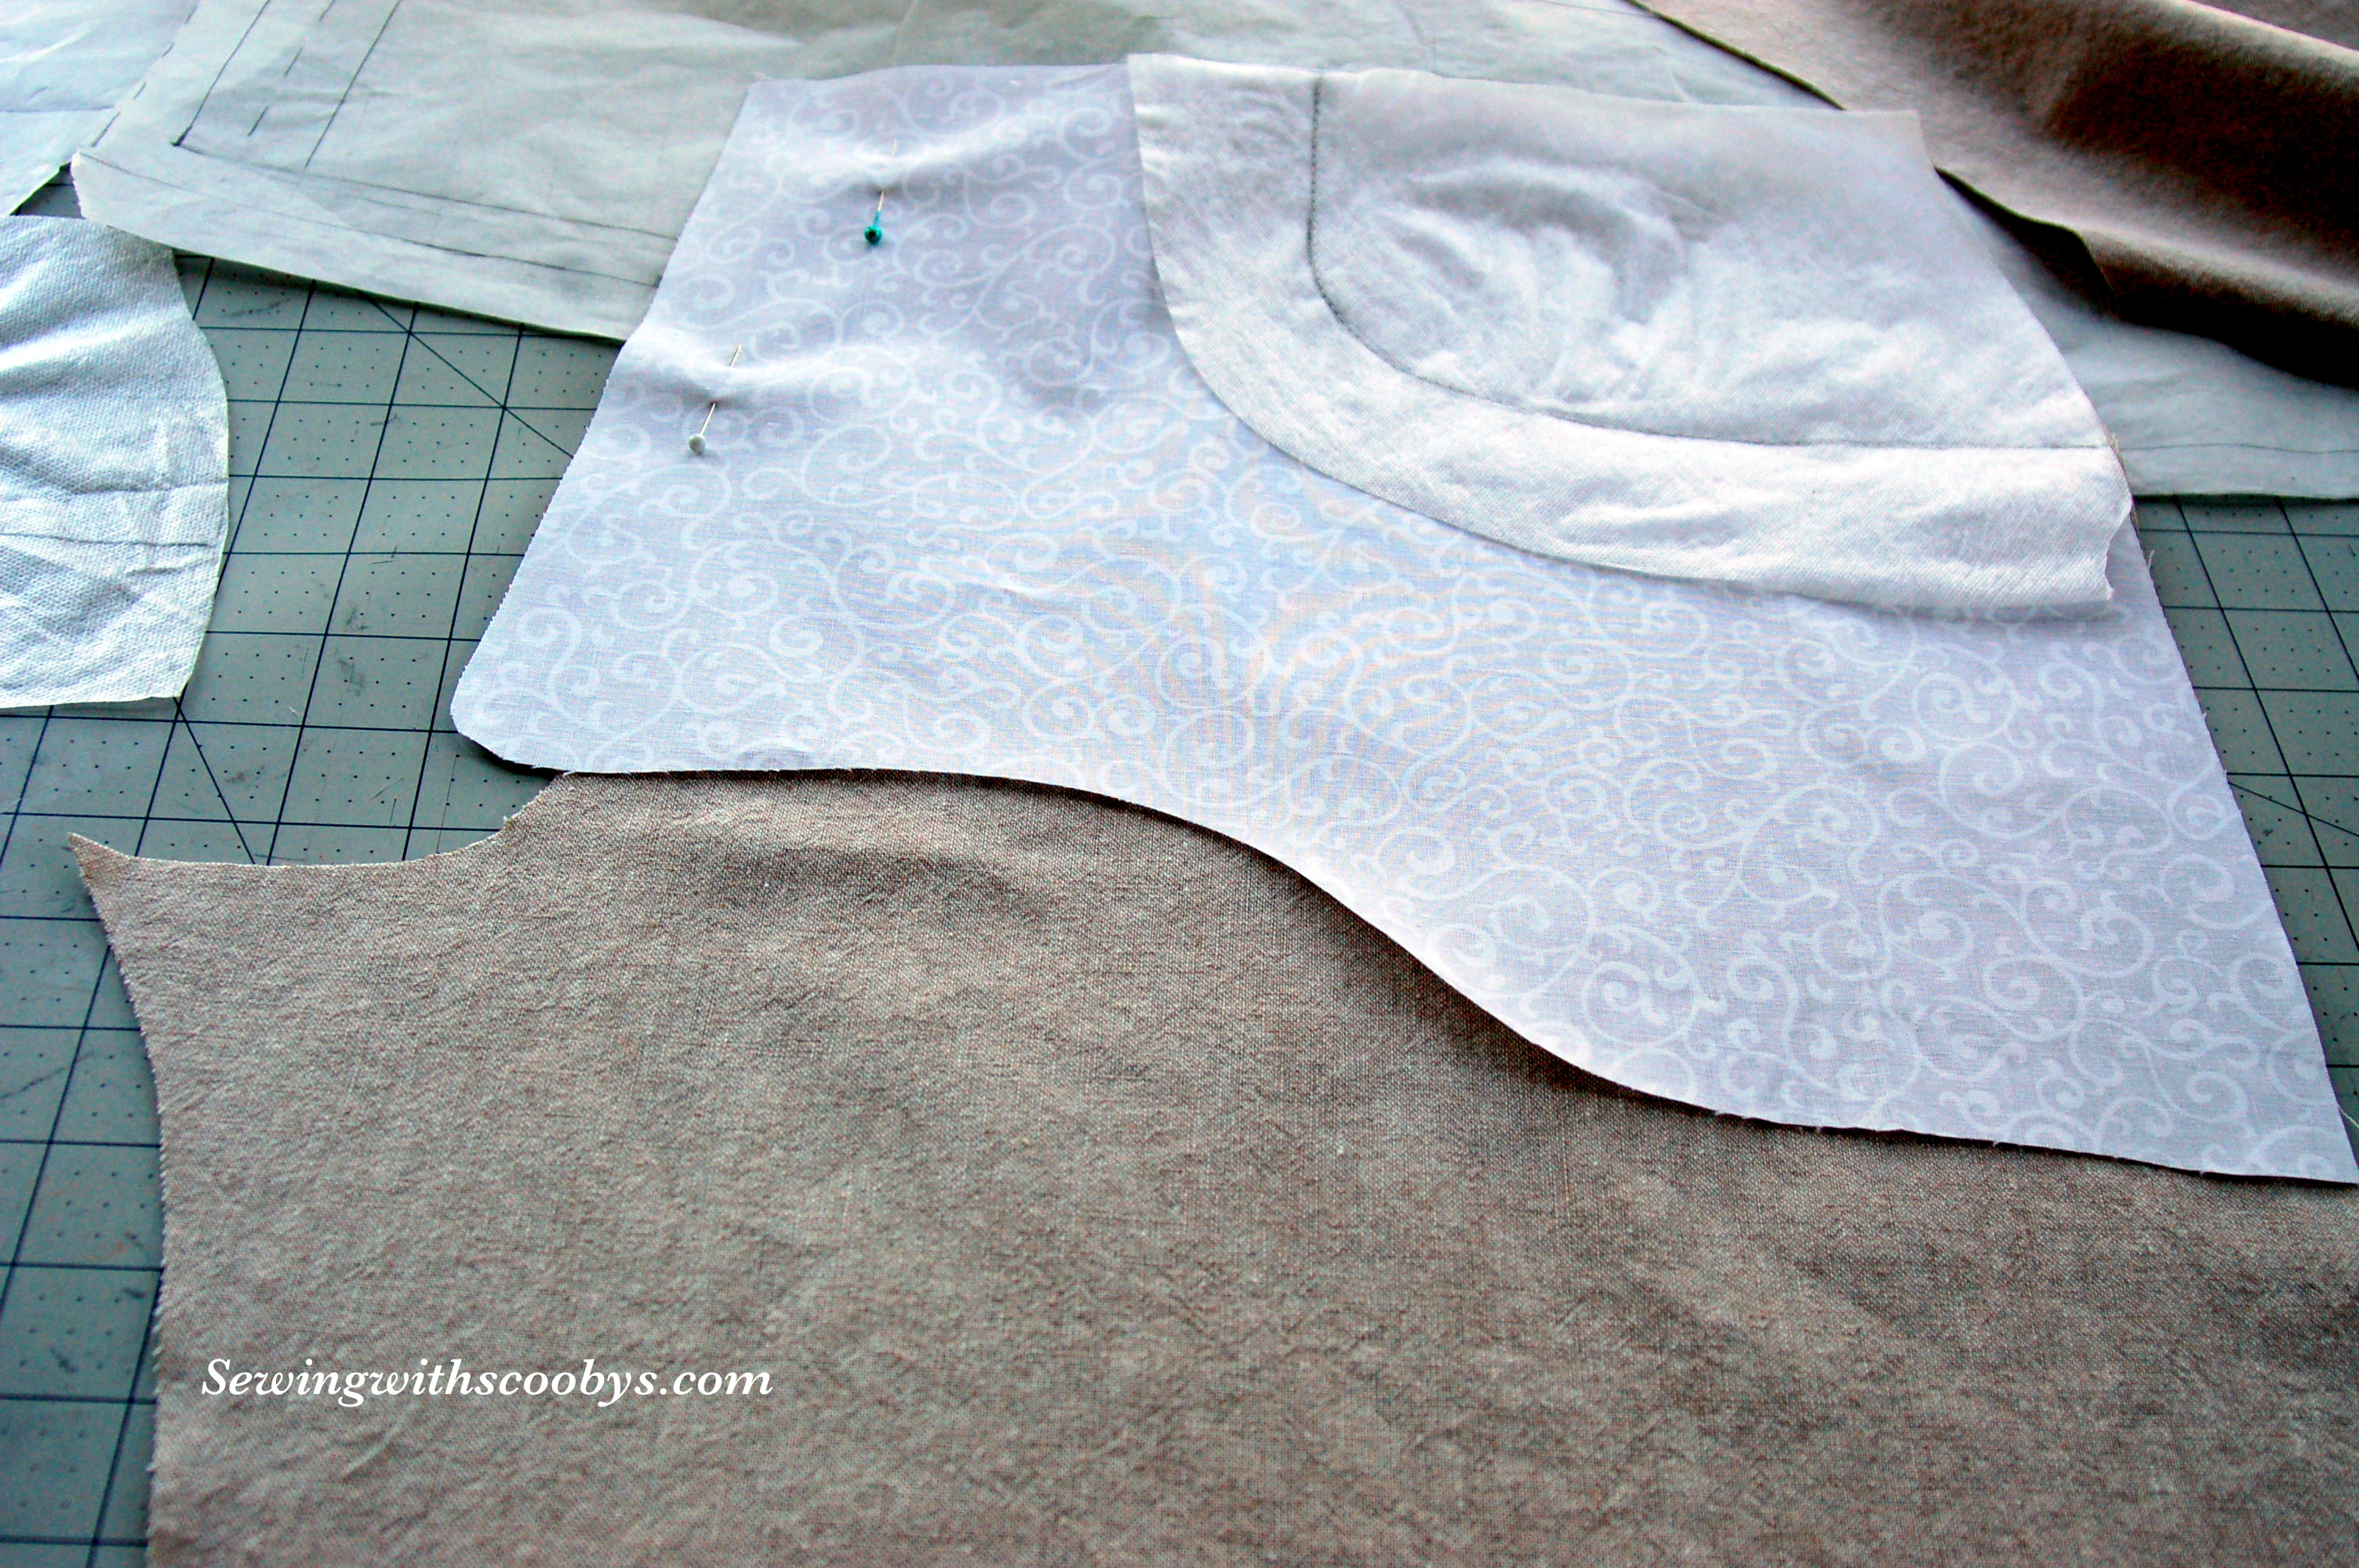
I designed these pockets by taking a wax paper impression of pockets from a favorite pair of jeans I have.  I blogged about that here.

DSC_3939

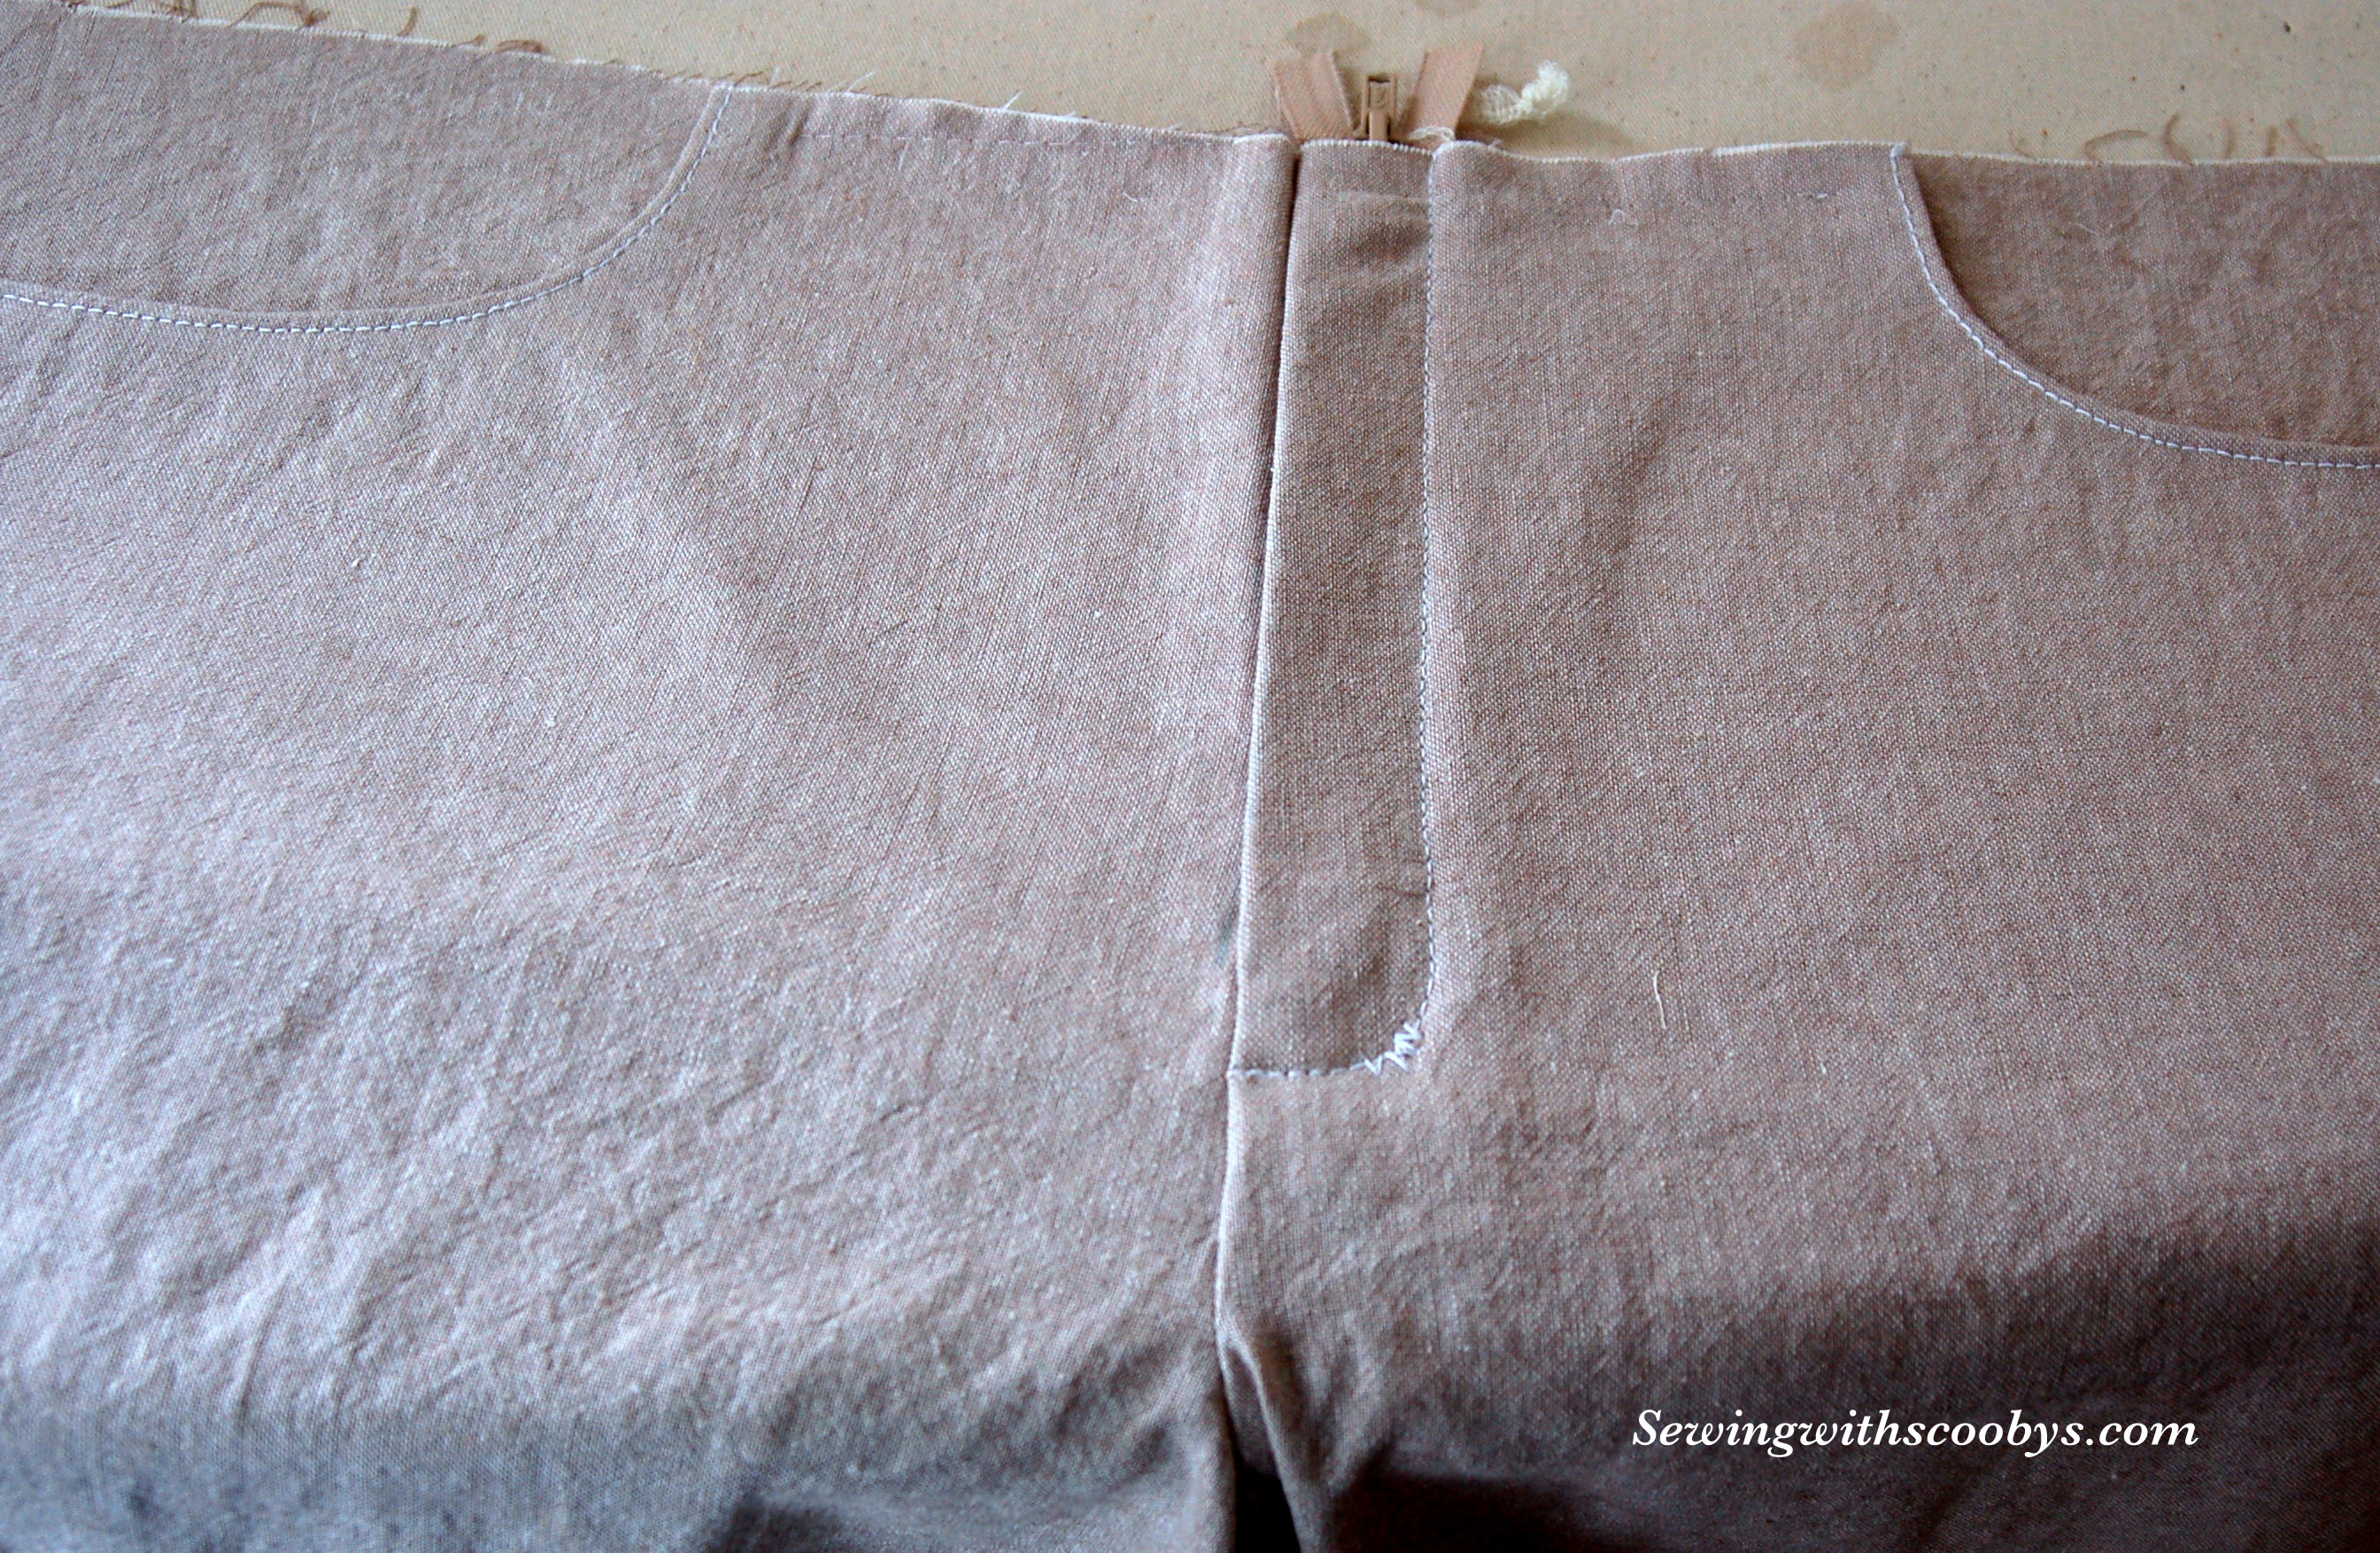
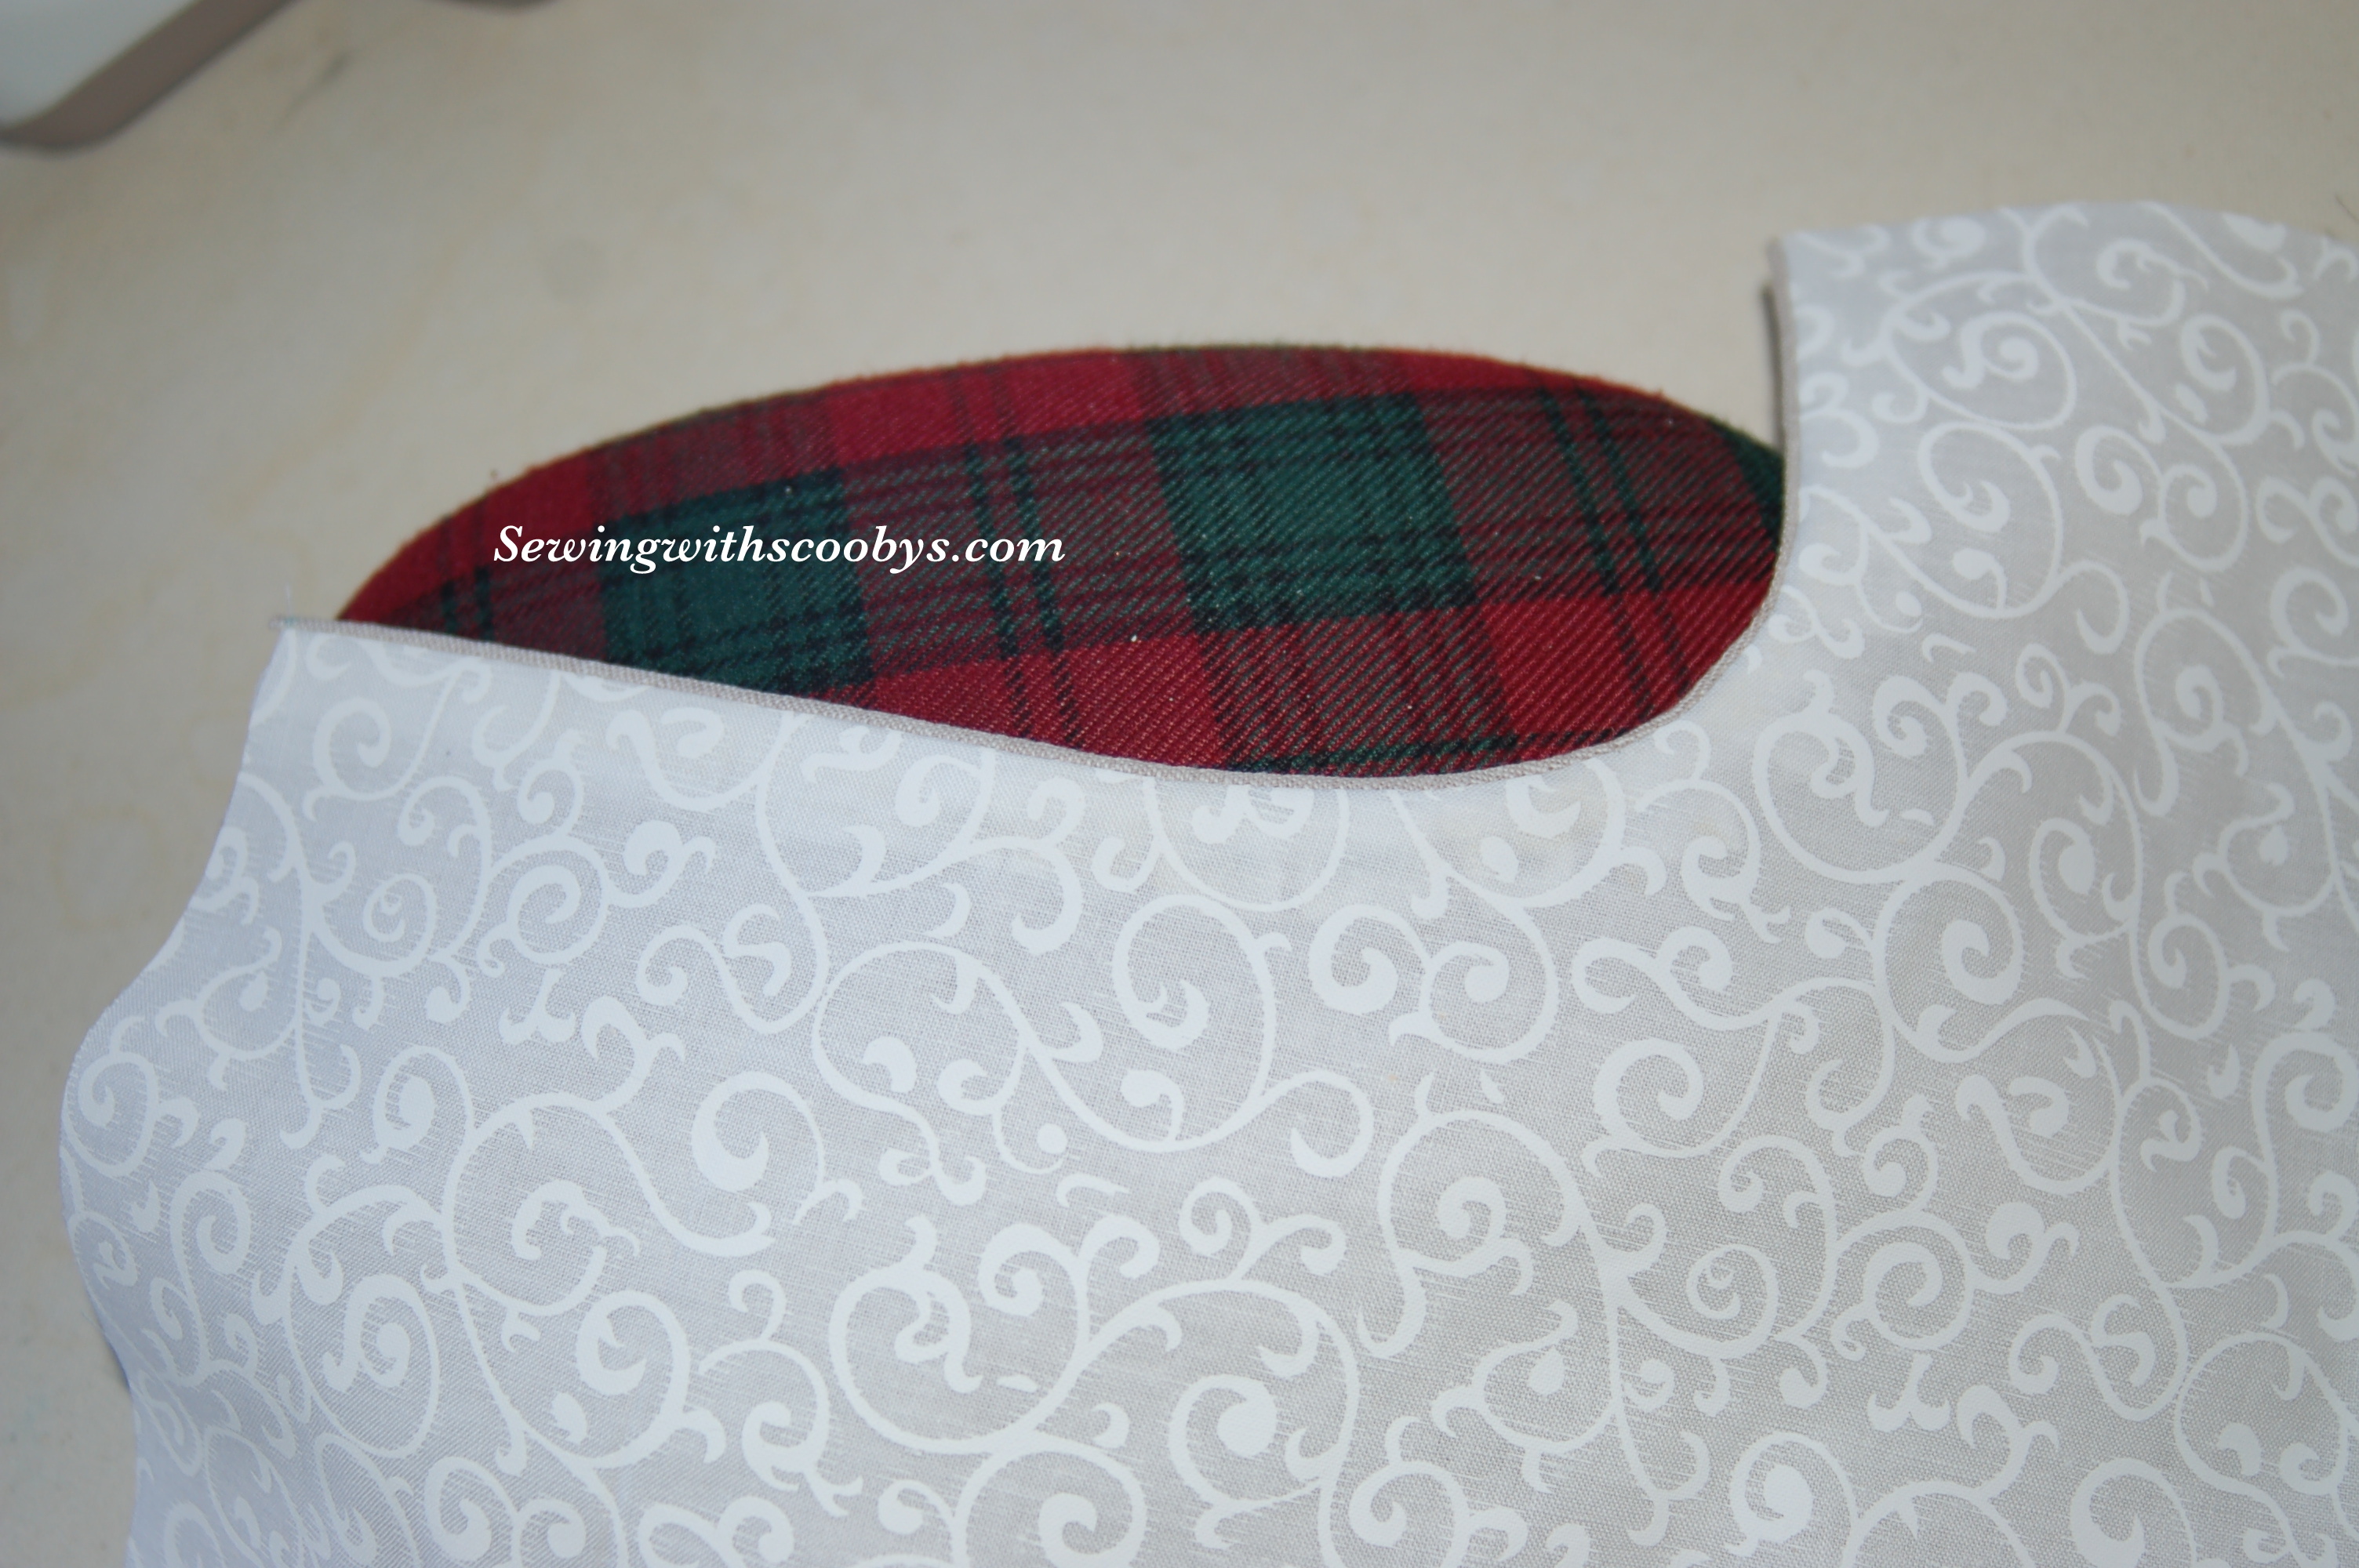
I made these pockets extend all the way to the center front so that gives them some “tummy tuckin’ strength”  I used a pretty white swirly print cotton for the pocket lining.

DSC_3903DSC_3897

I used a metal zip so it is nice and sturdy to go along with the tummy tuck pockets that will surely keep all my jelly donuts in place. The fly zip went in beautifully and I could not have had an easier time with that thanks to the craftsy course I just completed on pants. Check out that course here.

DSC_3945

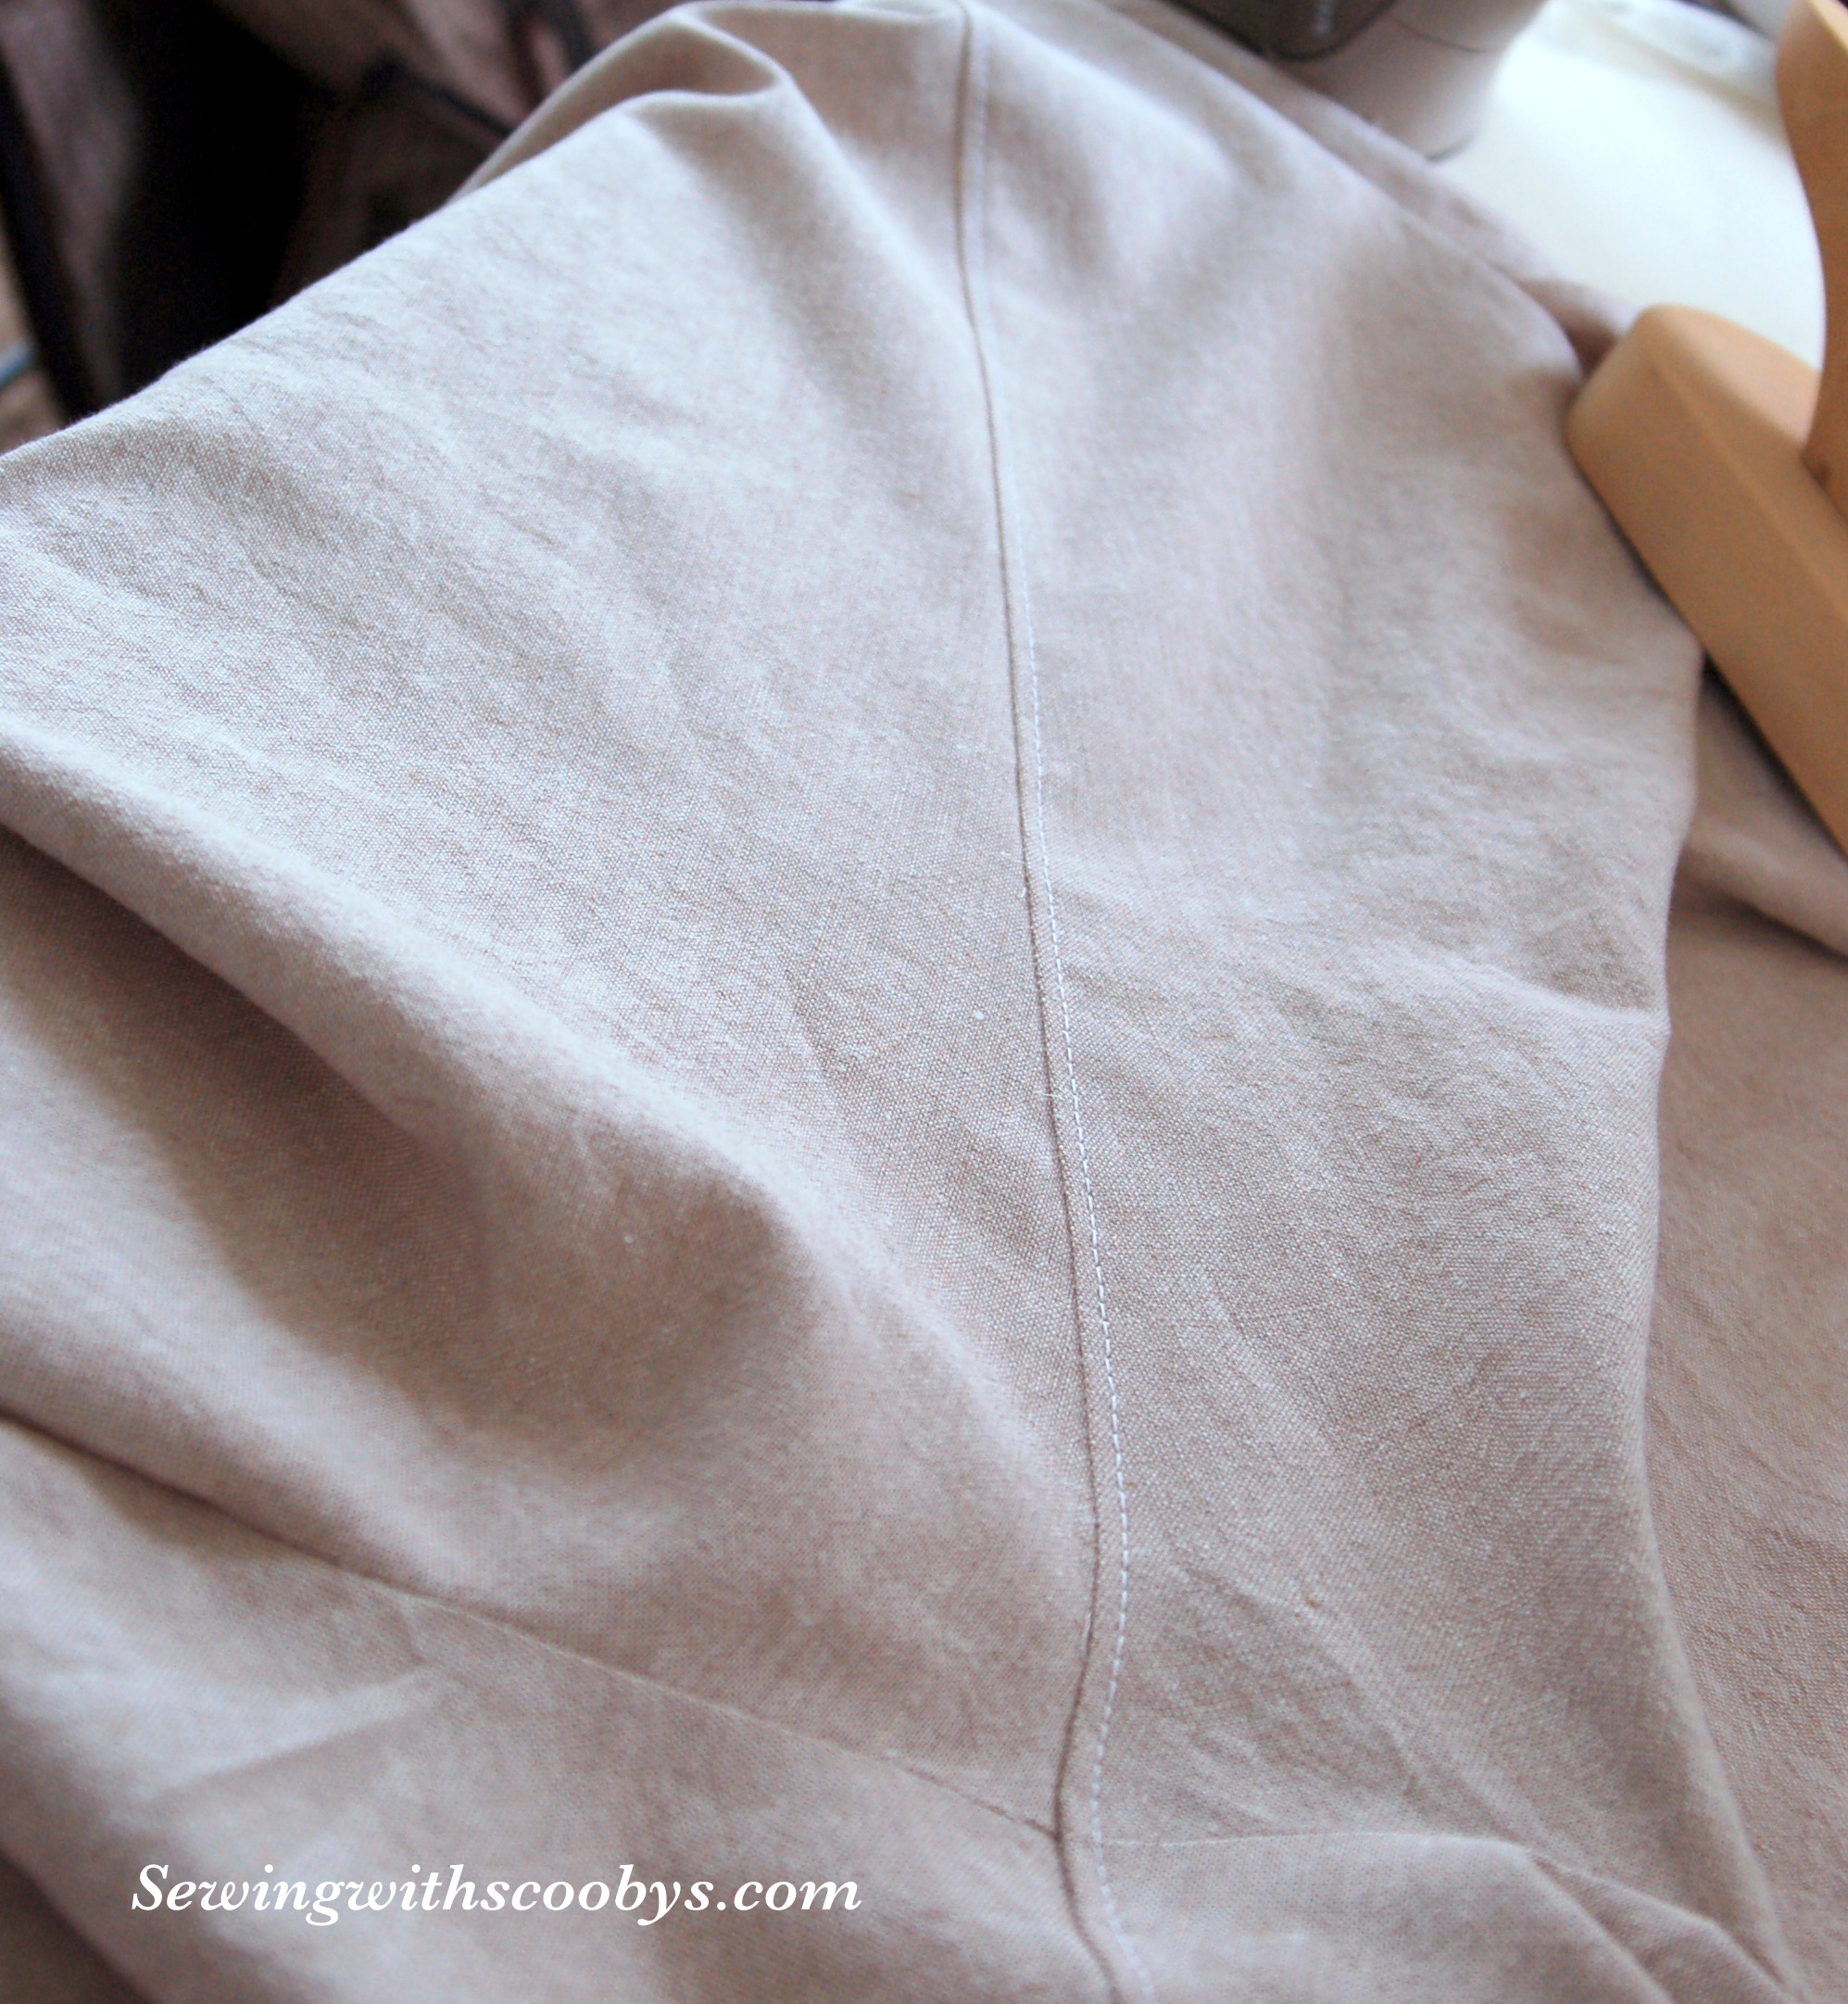
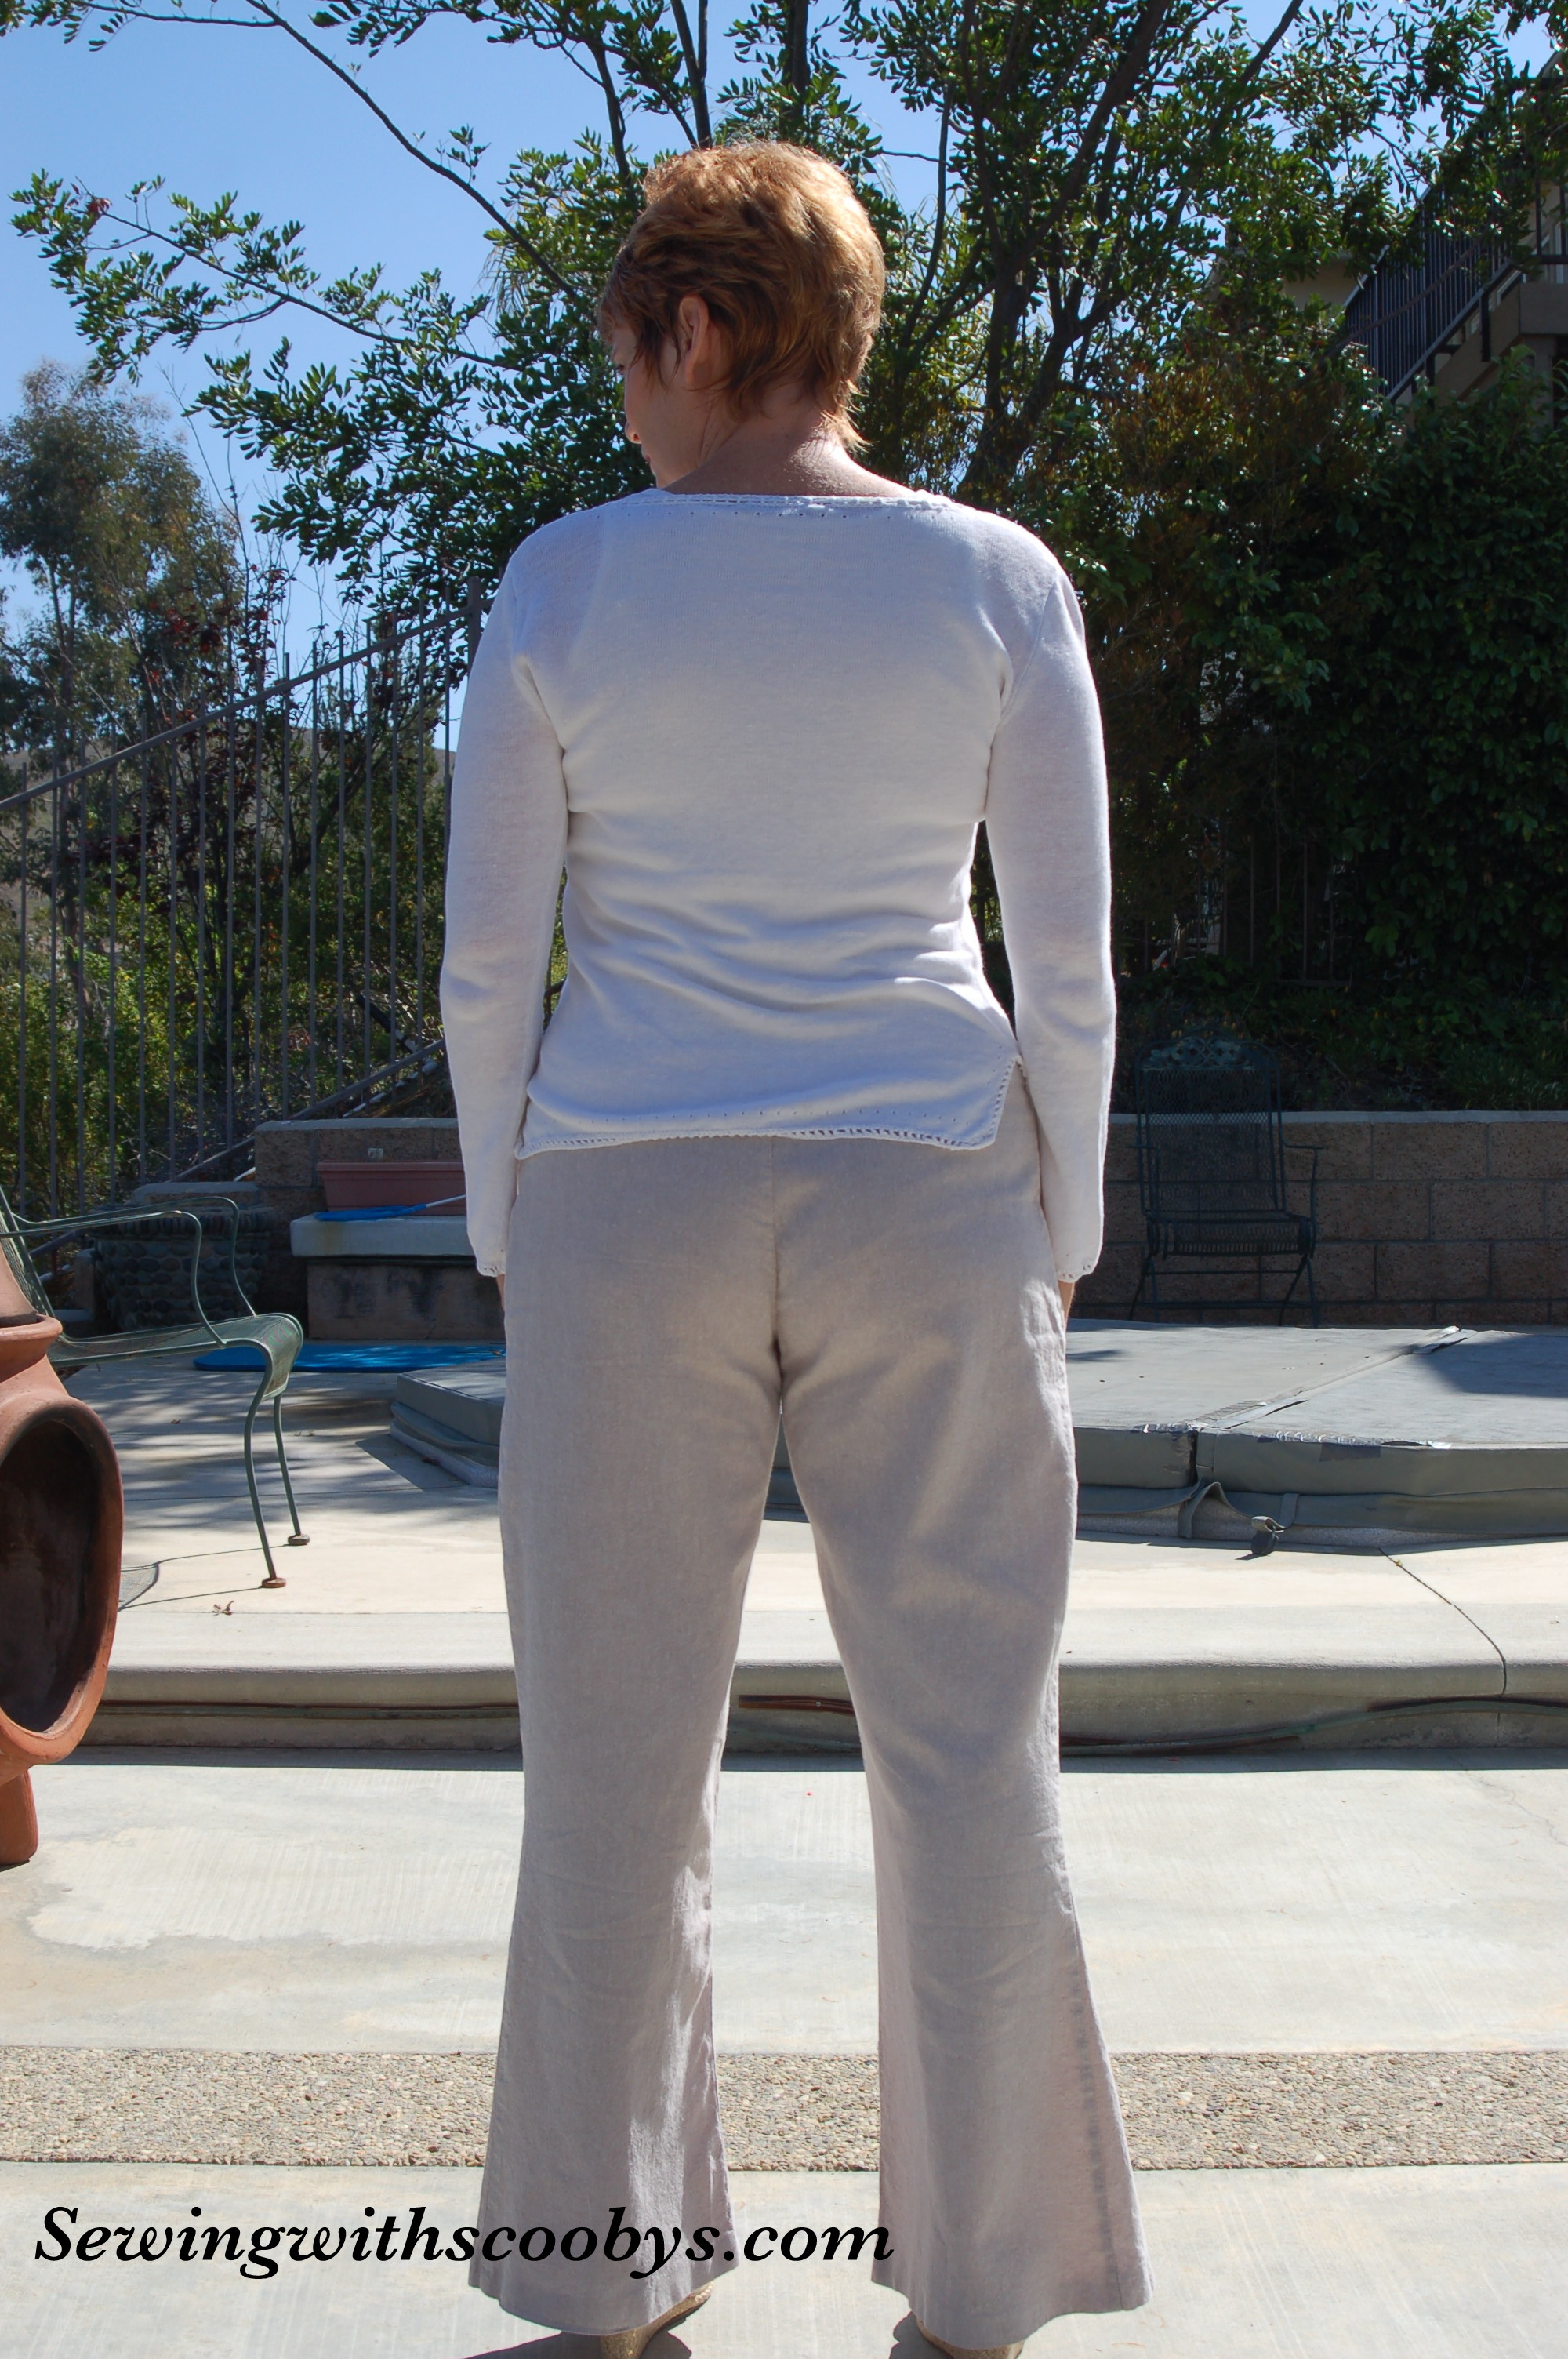
I wanted to do minimal topstitching so the pants had a semi dressy appearance to them. I used jean topstitching thread and a stitch length of 4.0.  completed with doing a blind hem. Again I love to hem them super long so with my everyday shoes they are just barely off the floor. Hoping it gives the illusion of lengthier legs.

Initially during construction I was going to attach the outer legs first and top stitch them in some pretty decorative stitch…..but I chickened out! Wasn’t sure if this would look good with a boot cut? Maybe it would have just looked cheesy lol.  In the end I did nothing creative and just topstitched the inner leg seam.

DSC_3941

I love this button I found for these pants!!

DSC_3946

These final pictures I decided to wear these pretty high heel beige sandals and it turns out there is way too much of a heel for the length I made these pants. So after boasting about how nice and long they are …..I’m wearing floods!! My go to pair of comfy shoes do look great with the length of these pants. I should have looked in the mirror first before I got my hubby to snap the photos!

DSC_3951 DSC_3949 DSC_3950 DSC_3952 DSC_3956

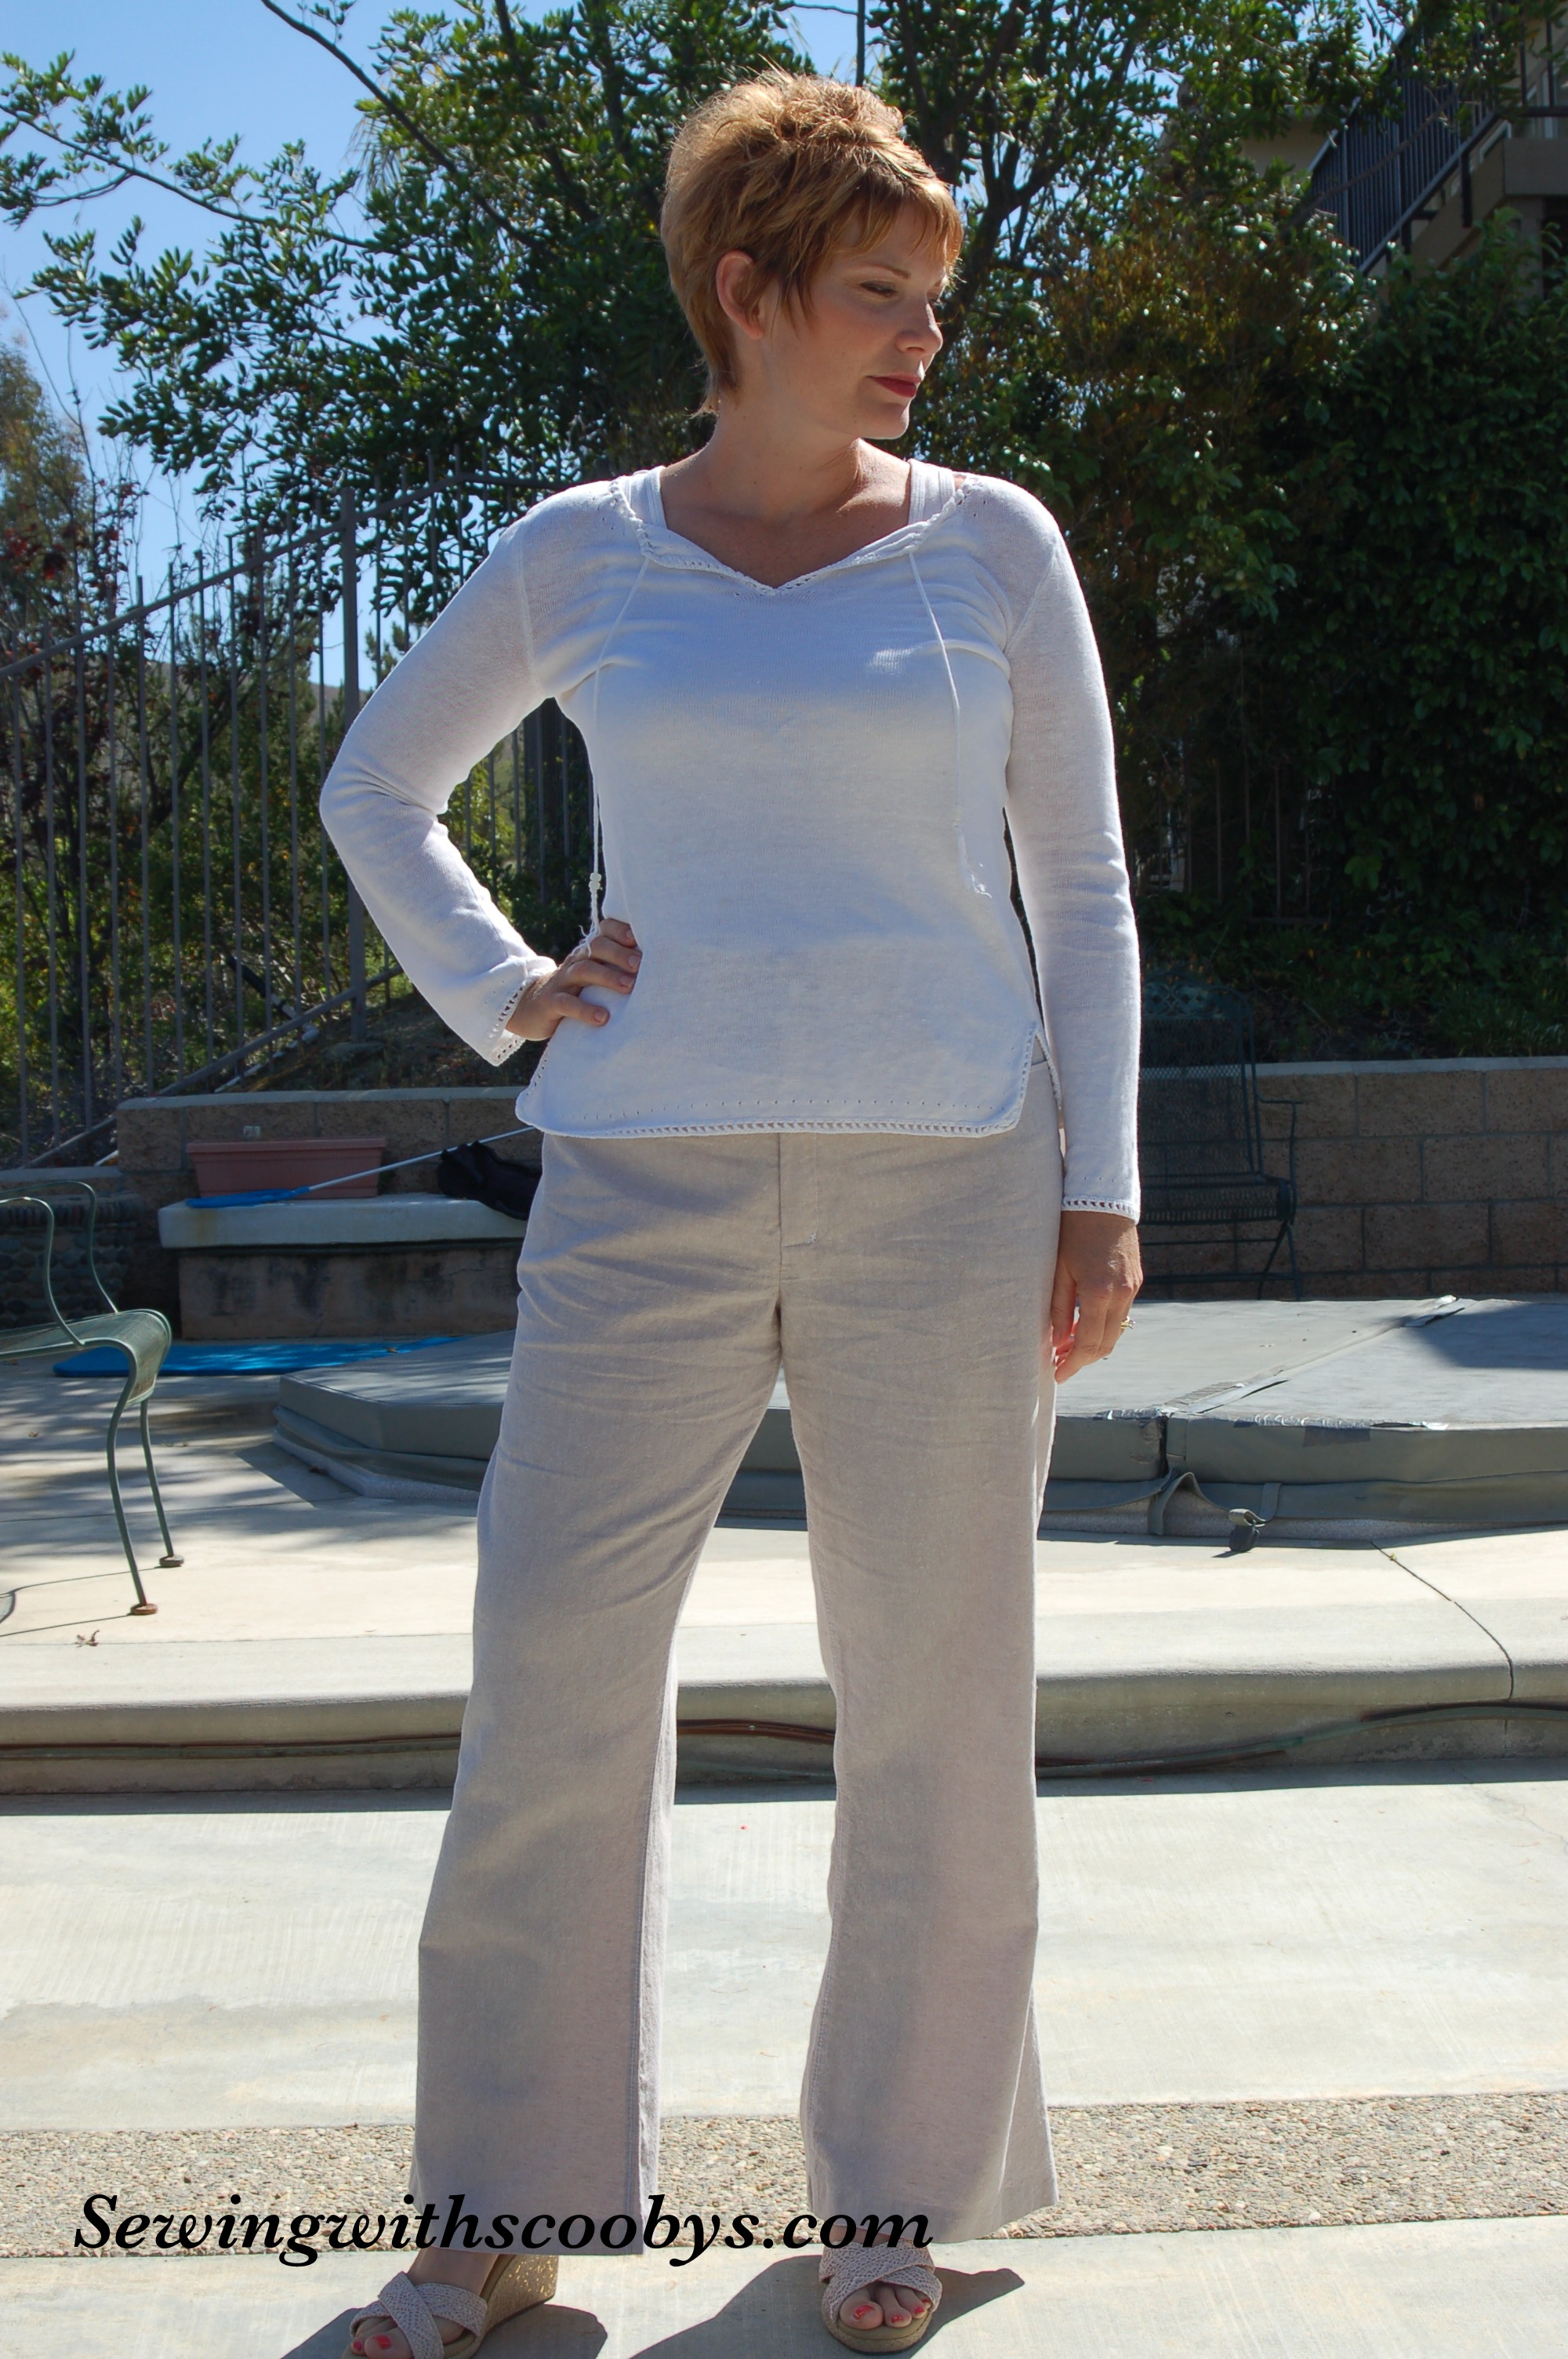
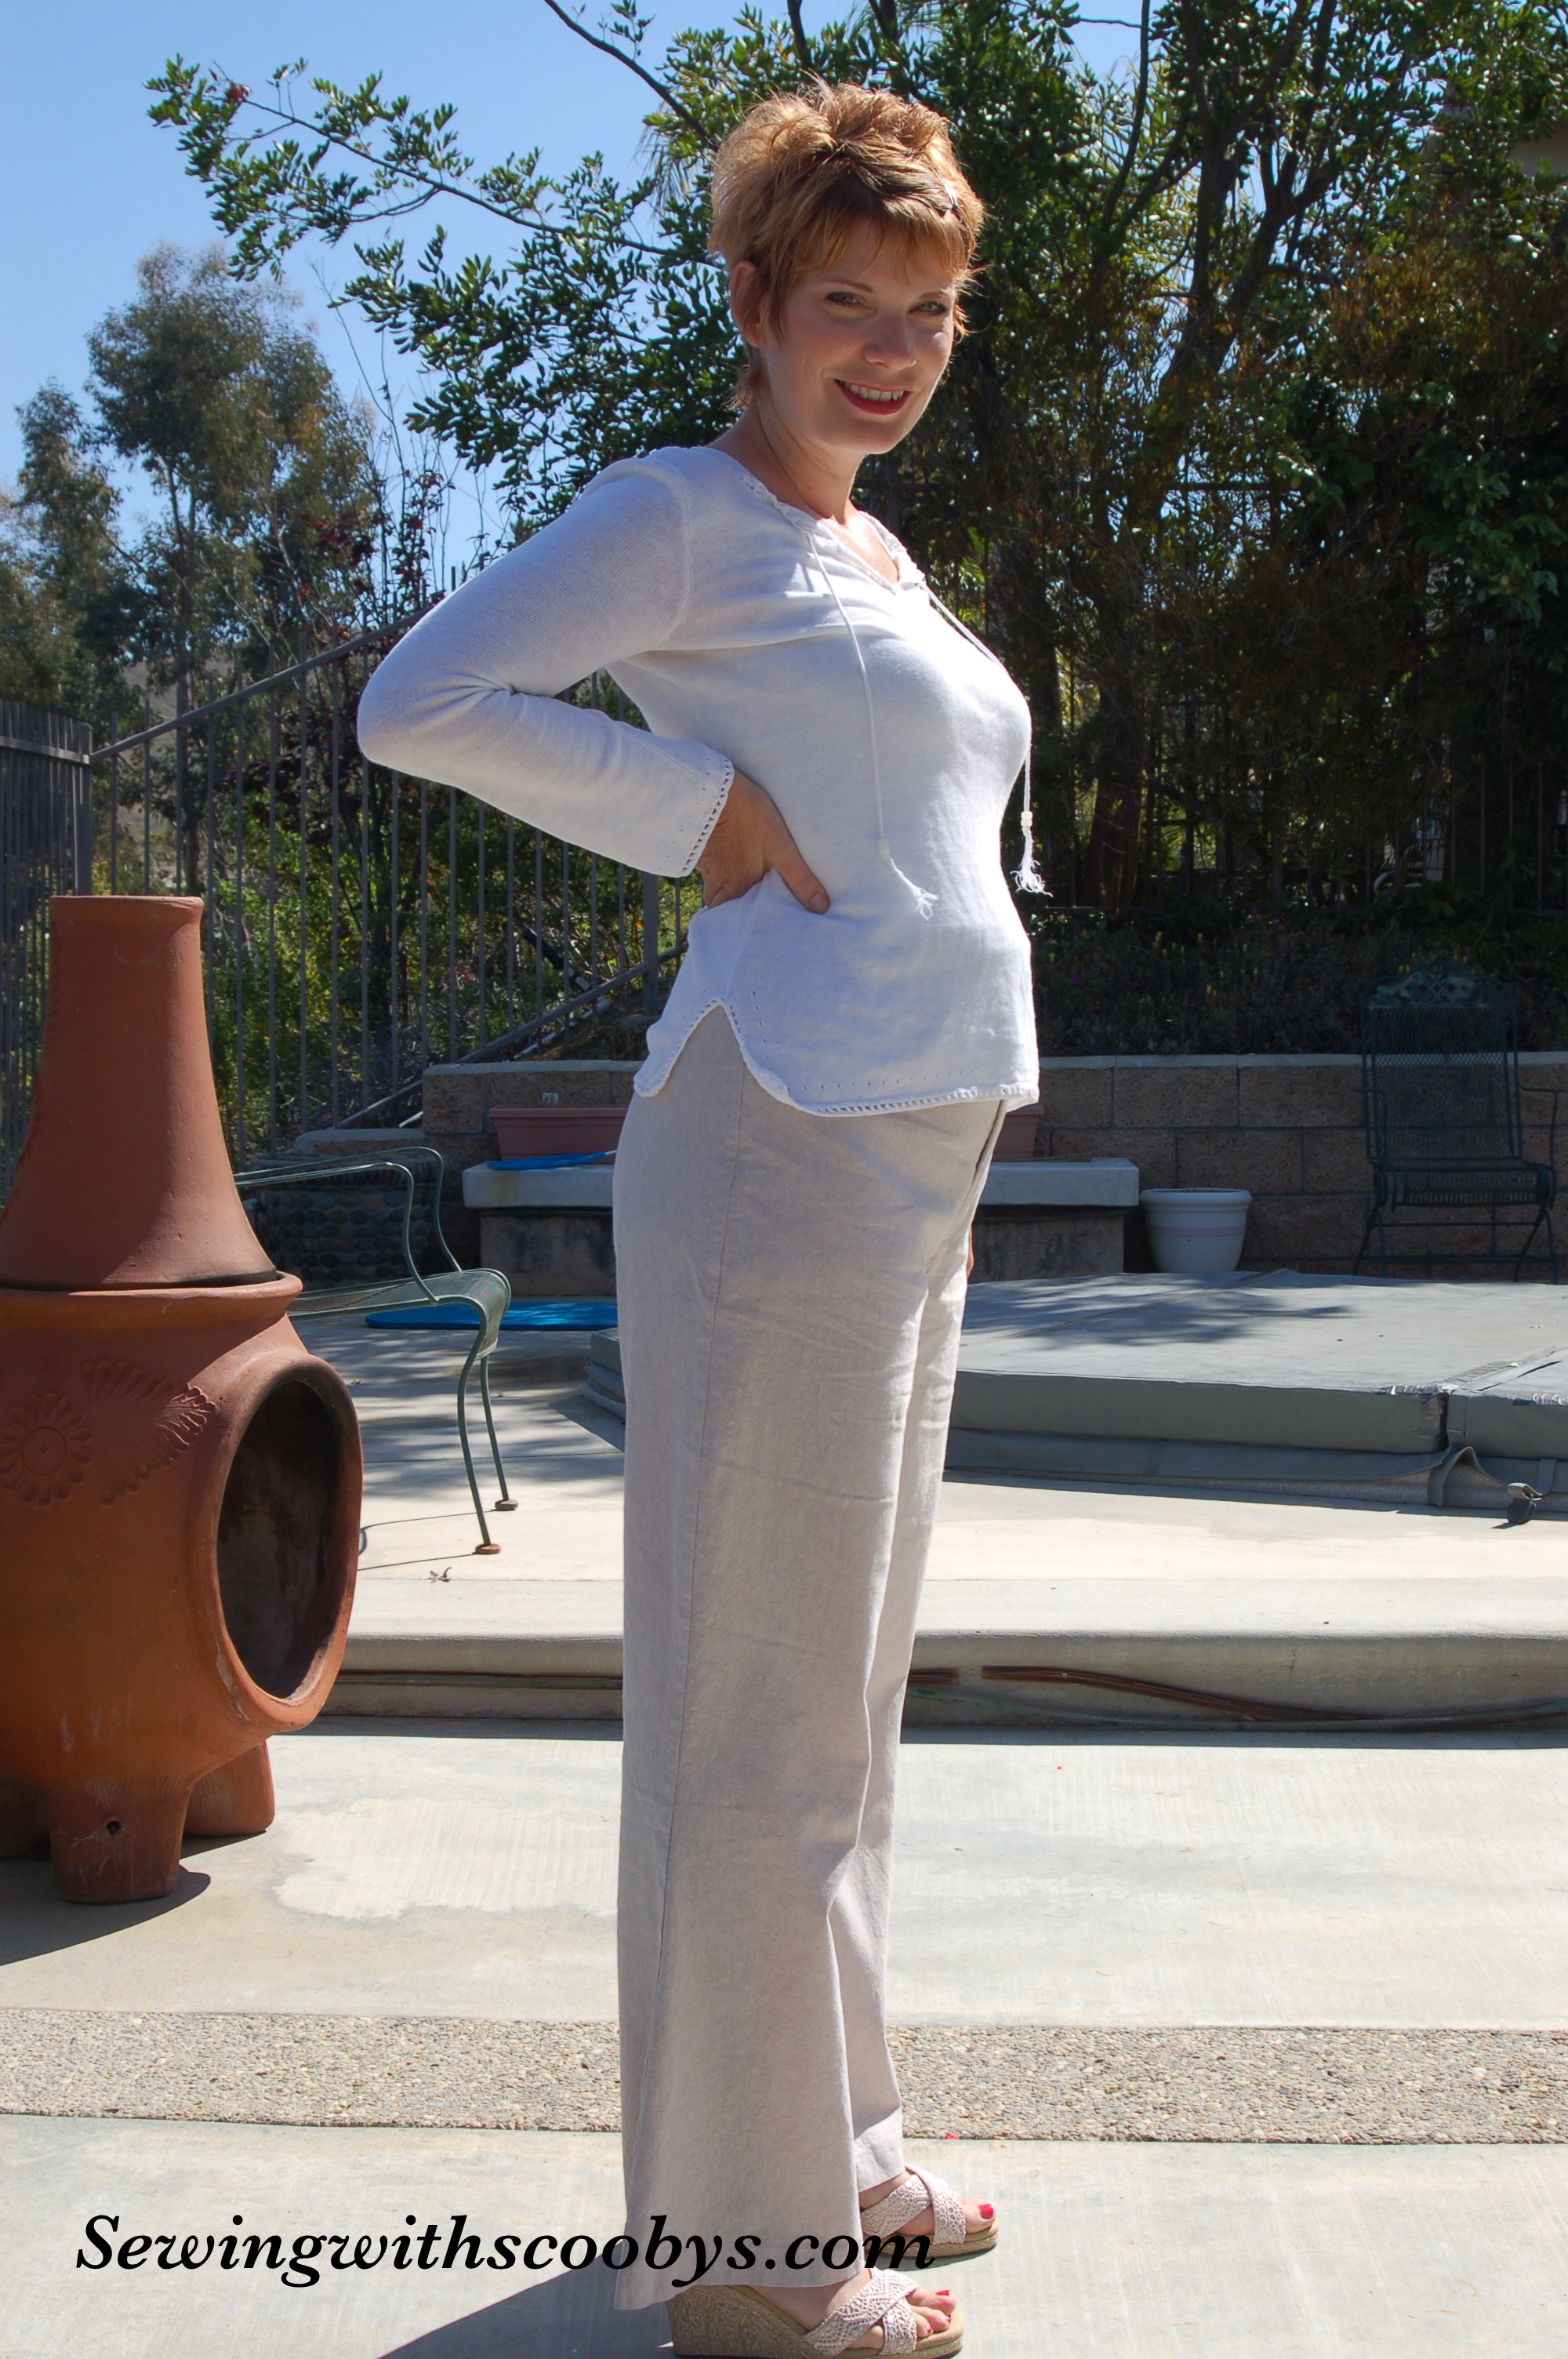
So what do you guys think? Do they look wonky because it is my own pattern or do they look like normal pants?

I must say they are super comfortable and have become my new favorite pants!!!

My next course I started is making your own bodice pattern. Yes it is yet another Craftsy course!! I hope it is as successful as my pant sloper.

I did try to graph out the bodice sloper from the book I have: How to make sewing patterns.

I must have done something wrong though, because the pattern even looked wonky. When I cut out the muslin and tried a pin fitting, well…….lets just say it had me in stitches(I know what a groaner of a joke) hardy har har!! (to embarrassed to even show you a pic) So maybe I will get a more visual idea of what I am doing with this course!

I am in love with the drafting process of making a pattern! I find it as much fun as sewing!! So as I mentioned before if anyone wants to send me measurements for me to construct a pant sloper for you with your exact measurements you can email me at nicole.grigor@gmail.com and I will let you know what measurements I need. I will do it free of charge of course I am no expert and I just want to practice and get better at doing this. You may fall in love with this book as I have 🙂

Happy Sewing

The Vintage Dress Completed!

DSC_3076


I finally finished the retro vintage Tia dress by sewchic.com!! It has an excellent twirl factor especially with the petticoat I made for this dress.

DSC_3083

It’s flirty and fun.  I love the way it turned out for my first time. I also added horsehair braid to the hem of the skirt for added fullness especially if I wear it without the petticoat this gives it a beautiful drape and finish.

Pattern

  • by Laura Nash from sew chic.com
  • why? Because I love vintage clothes!!

Scooby Snack Rating

  • imageimagenot more than 2 cocktails girls there are a few tricky, nippy parts.

Material

  •  I choose a bold cotton I found at M and L Fabrics in Anaheim CA 3.99 a yard! (More on that tidbit later)
  • I also needed one yard of fabric for the trim at 4.99 a yard. I always prepare my fabrics first before sewing them. To do this I simply washed and dried them as I normally would any other cotton clothes.
  • 1 yard of iron on interfacing 2.99 yard.
  • 3 yards of netting for the petticoat
  • 1 (1/4 inch) bias white binding for the petticoat.
  • I used cotton thread in matching color, 80/12 needles
  • regular sewing foot and use of a serger for the seams on the skirt portion and petticoat.
  • marking tools (tailors chalk, rulers, pins)
  • cutting tools: snips, scissors and I love to cut out my pattern pieces on a large quilting mat with a rotary cutter using large washers to hold down the pattern and fabric.
  • pressing tools such as seam roll, tailors ham, clapper and of course an iron with steam setting for the cotton.  I also love my silk organza  pressing cloth.
  • 14 inch regular zipper
  • Stay tape for the waist

Stitch length

  • 2.5 most of the time but I love to baste certain pieces to double-check fit than redo with the 2.5 length

Seam Finishes

  • The bodice I just used pinking sheers because it is lined. The skirt is sewn with regular seams pressed open and a 3 stitch overlock on the raw edges for a nicer finish.
  • Hand sewn modified blind hem stitch on the horse hair braid for the bottom of my skirt and the armhole bias finishing as well.

DSC_3078 DSC_3081

Total length of time to complete project

  • hmm tough one I was following along with the craftsy course to make this outfit and I think it took me 2 weeks  of working on it for average few hours a day during the week so …. 20 + hours

Snafu’s Girl?

  • ya the f$#%@*  bodice!!!! I think I needed a larger cup size in-hindsight and could have went down 1 size because I had a lot of ease in the waist.
  • f’@#&*n  fabric. It was 3.99 for a reason I had a hard time truing up the grain on this sucker!! Plus in my frustration I did not pay attention to the directional nature of these birds!! (PSST don’t tell anyone but my lining inside is all upside-down) Thank goodness I realized my error before I cut out more pieces for this dress or I would not have had enough fabric
  • sewing the triangular piece to the front bodice was a complete bitch to sew in order to get it nice and straight and completely center. Absolutely no room for error on this part.
  • zip with the facing…not sure why but it was a bit of struggle to get in.

I omitted the sleeves in the  pattern and just made my own bias trim to finish the arm holes. Why, you asked?…..Alrighty you got me on another snafu girl ….. I ran out of fabric 😛

DSC_3067 DSC_3068

The zip for the dress is on the side seam and has a great fly facing so the zip isn’t directly against the skin.

DSC_3082

My husband helped take the pictures and I thanked him for that 😉

DSC_3055 DSC_3054 DSC_3053


Here are a few pictures of the back profile of this dress.

DSC_3063 DSC_3070 DSC_3071


And a few more on the twirl factor. Little do you know in these pictures I am trying not to fall on my ass. lol

DSC_3074 DSC_3075 DSC_3076

Fabric shopping in LA fabric district

I am so super excited about my finds in the LA fabric district!! Not sure if I would venture out their again alone  as this area is a bit rough, but it was fun.  If you live near LA and have never been I recommend grabbing a sewing buddy and checking it out!

IMG_0070 IMG_0071

Tips:

  • There are some parking areas that are 5 bucks for the whole day, find one of these lots the street parking is only for 15 minutes
  • Bring cash most stores only deal in cash!!
  • Hardly any restaurants just food vendors BLAH pack a lunch
  • Restrooms are hard to come by …pee first before you get there lol (there are restrooms in Michael Levine’s fabric store though)
  • Bargain with the fabric stores you can save a lot of money
  • have a definite plan of what you want, there are so many stores and bolts stacked to the ceiling!! It gets a bit overwhelming.

Here is my stash and plans:

Various knits for making more summery dresses and skirts 2 bucks a yard!! I started making one, this is my progress so far:

IMG_2941 IMG_2944 IMG_2943

IMG_2942IMG_0087


I signed up for a craftsy course to make this vintage dress and here is the fabric I choose 3 bucks a yard.


IMG_2946 IMG_2947


I have had this cute pattern for a while and want to make the skirt and jacket.  I choose a herringbone lightweight linen in steely blue color 5 bucks a yard.


IMG_2949 IMG_2950


A very drapy light cotton voile for this pattern:


IMG_2951 IMG_2952 IMG_2954


I don’t have plans for this but when I touched this faux fur mink I fell in love with it!! I will make some vests for the winter for me and Abby 🙂

IMG_2948


Denim of course!!! More jeans and capris 2 bucks a yard 9 ounce weight!!

IMG_2955


More knits I bought these at M & L fabric store in Anaheim they have a soft hand and beautiful drape.


IMG_2957 IMG_2958


This is rayon 3 bucks a yard and I love the print there was just a bit of this left and I snatched it up to make a top.


IMG_2945


I am sure that will keep me busy for some time 🙂   I plan to bring some stuff to my mother’s so we can sew together this summer.  My kids are getting out of school soon so I will be posting very little over the summer months so I can enjoy my children 🙂 Have a great summer everyone!


Sew and Tell

I went to Jo-Annes yesterday and they had a sale on patterns.  I can’t help myself when regularly they are close to 20 bucks and I can get them for $1.50 it is too hard to resist 😉

Here are the patterns I bought:

IMG_2593 IMG_2596 IMG_2595 IMG_2594IMG_2592

I am getting “antsy” to make my daughter some clothes and I bought some new patterns, few for me and 3 for her. I have a lot of cute cottons to use up here are some of my ideas:

IMG_2603 IMG_2604 IMG_2605  IMG_2607 IMG_2608 IMG_2609 IMG_2610 IMG_2611

I could use some advice. Anyone have any thoughts??? I am a sucker for polka dots!!! I love love polka dots but I also have some great summery flower fabric too. Hmm? Let me know…What pattern would you like to see first?? And out of what fabric???

Ok currently I am working on a pair of black pants for myself. I do not have any nice black slacks so I bought some twill black fabric and satin charmeuse for this princess seam pant pattern:

IMG_2597

I have already made a muslin and done all the adjustments necessary. I made my satin binding and sewed the front and back panels:

IMG_2599 IMG_2600

Today I sewed the inseam and crotch seam, reinforced the crotch seam with twill tape as per the instructions in this pattern. I love how thorough Sandra Betzina is in her instructions. I have taken both of her classes at craftsy.com

IMG_2601 IMG_2602

I have to prepare the waistband and make bias tape with my satin charmeuse.  I hope to work on this a bit more today.  Don’t forget to let me know about Abby’s summer outfit. Which one? and which fabric?  🙂  Thanks and have a great day!