My daughters favorite cookie is a meringue cookie so when I have a ton of egg whites left over from making custards or ice-cream I save the whites for her favorite treat.
These sweetened egg white fluffy clouds are easy to make and can be further flavored with extracts, zests, chocolate bits etc.
There are 3 different kinds of meringues:
French
- the most widely used by us home chefs. Egg whites are beaten with sugar till stiff peaks form. The french meringues are the least stable of the three and need to be piped or shaped and placed in the oven right away or they will start to fall. A pinch of salt or cream of tartar helps to stabilize the mixture.
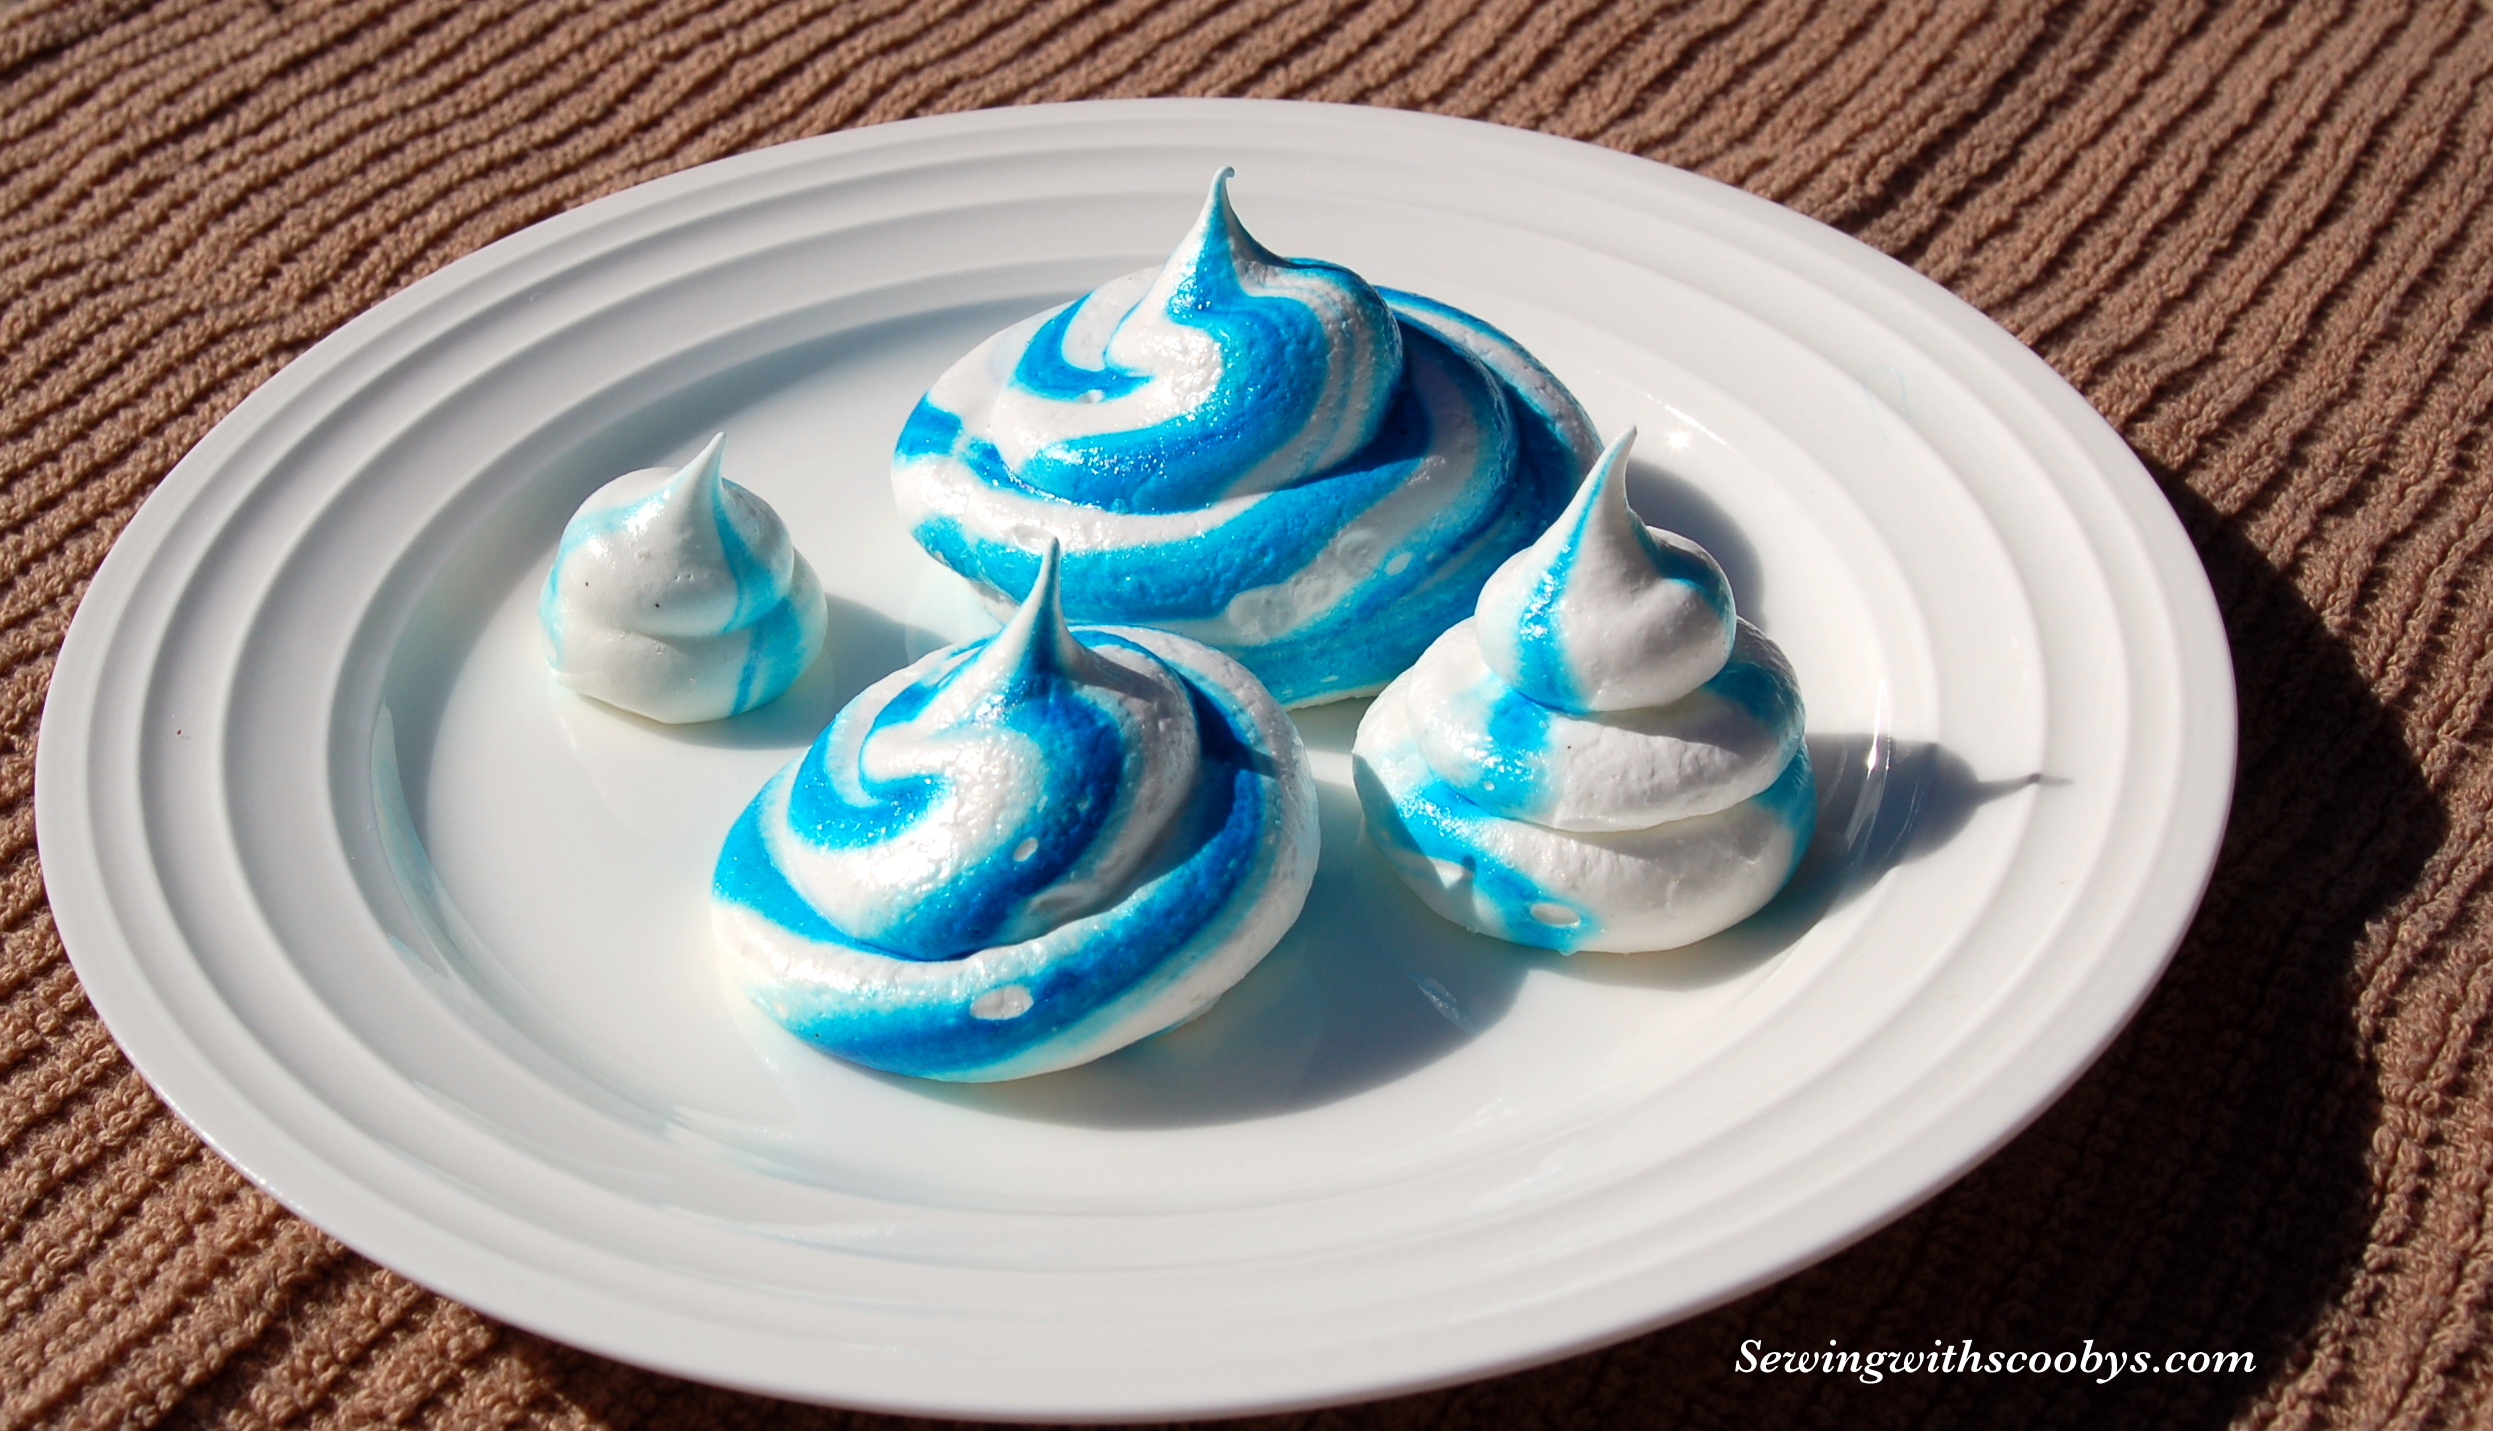
- the resulting mixture produces light, crisp exterior, soft interior cookies that are delicious 🙂
Italian
- a hot sugar syrup is beaten into the egg whites till stiff peaks form. This is a more stable meringue and can be used in various desserts without collapsing. This is a more dense meringue that is well suited for frostings, pies etc.
Swiss
- the egg whites and sugar are whisked over boiling water (double broiler type of method) till the sugar dissolves, then taken off the heat and beat till stiff peaks form. This is also more stable then the french method but produces a denser cookie.
My Secret Base Recipe for French Meringue’s
Basically it is all about ratio’s for the meringue. Two large egg whites is equal to a 1/4 cup. You need to add a 1/2 cup of sugar to this or to simplify things you need to add 1/4 cup of sugar to every large egg white used. To this recipe add a pinch of salt or pinch of cream of tartar to help stabilize the mixture and any flavoring you would like.
I had:
- 6 large egg whites
- 1 1/4 cup of sugar
- pinch of cream of tartar
- pinch of salt (yes I used both because this will make a large batch of cookies)
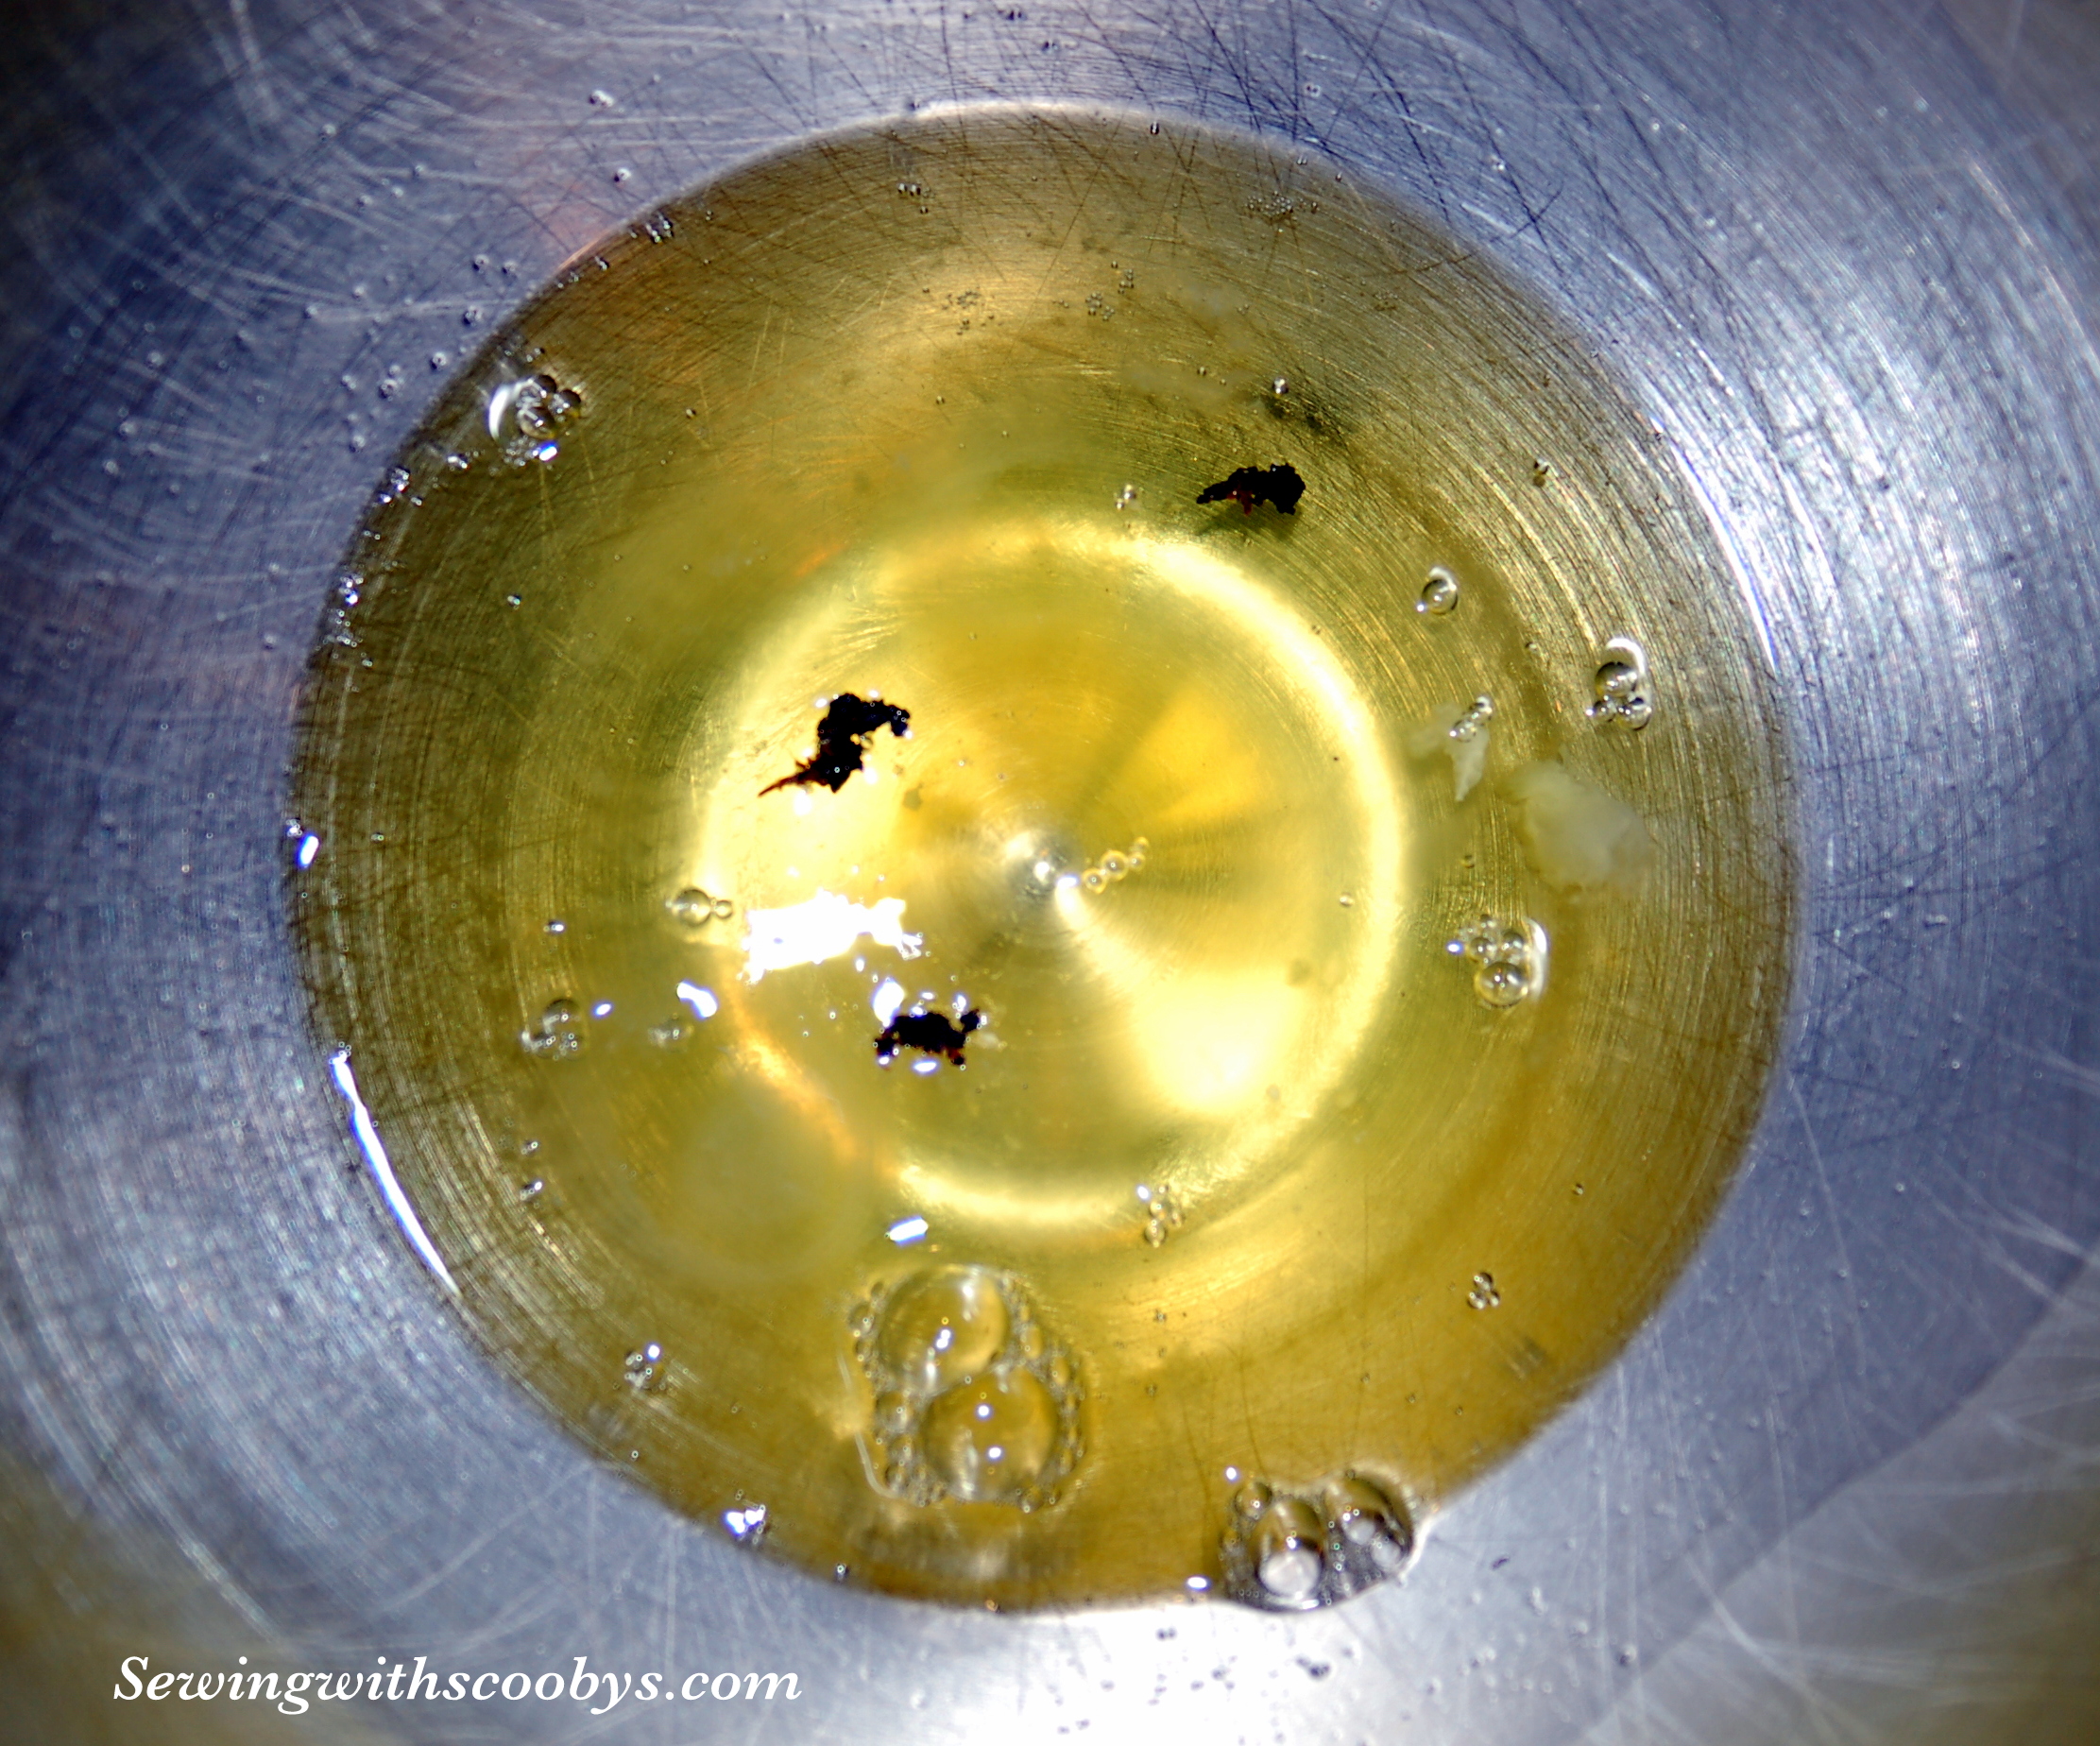
- 1/2 vanilla bean scraped
Directions:
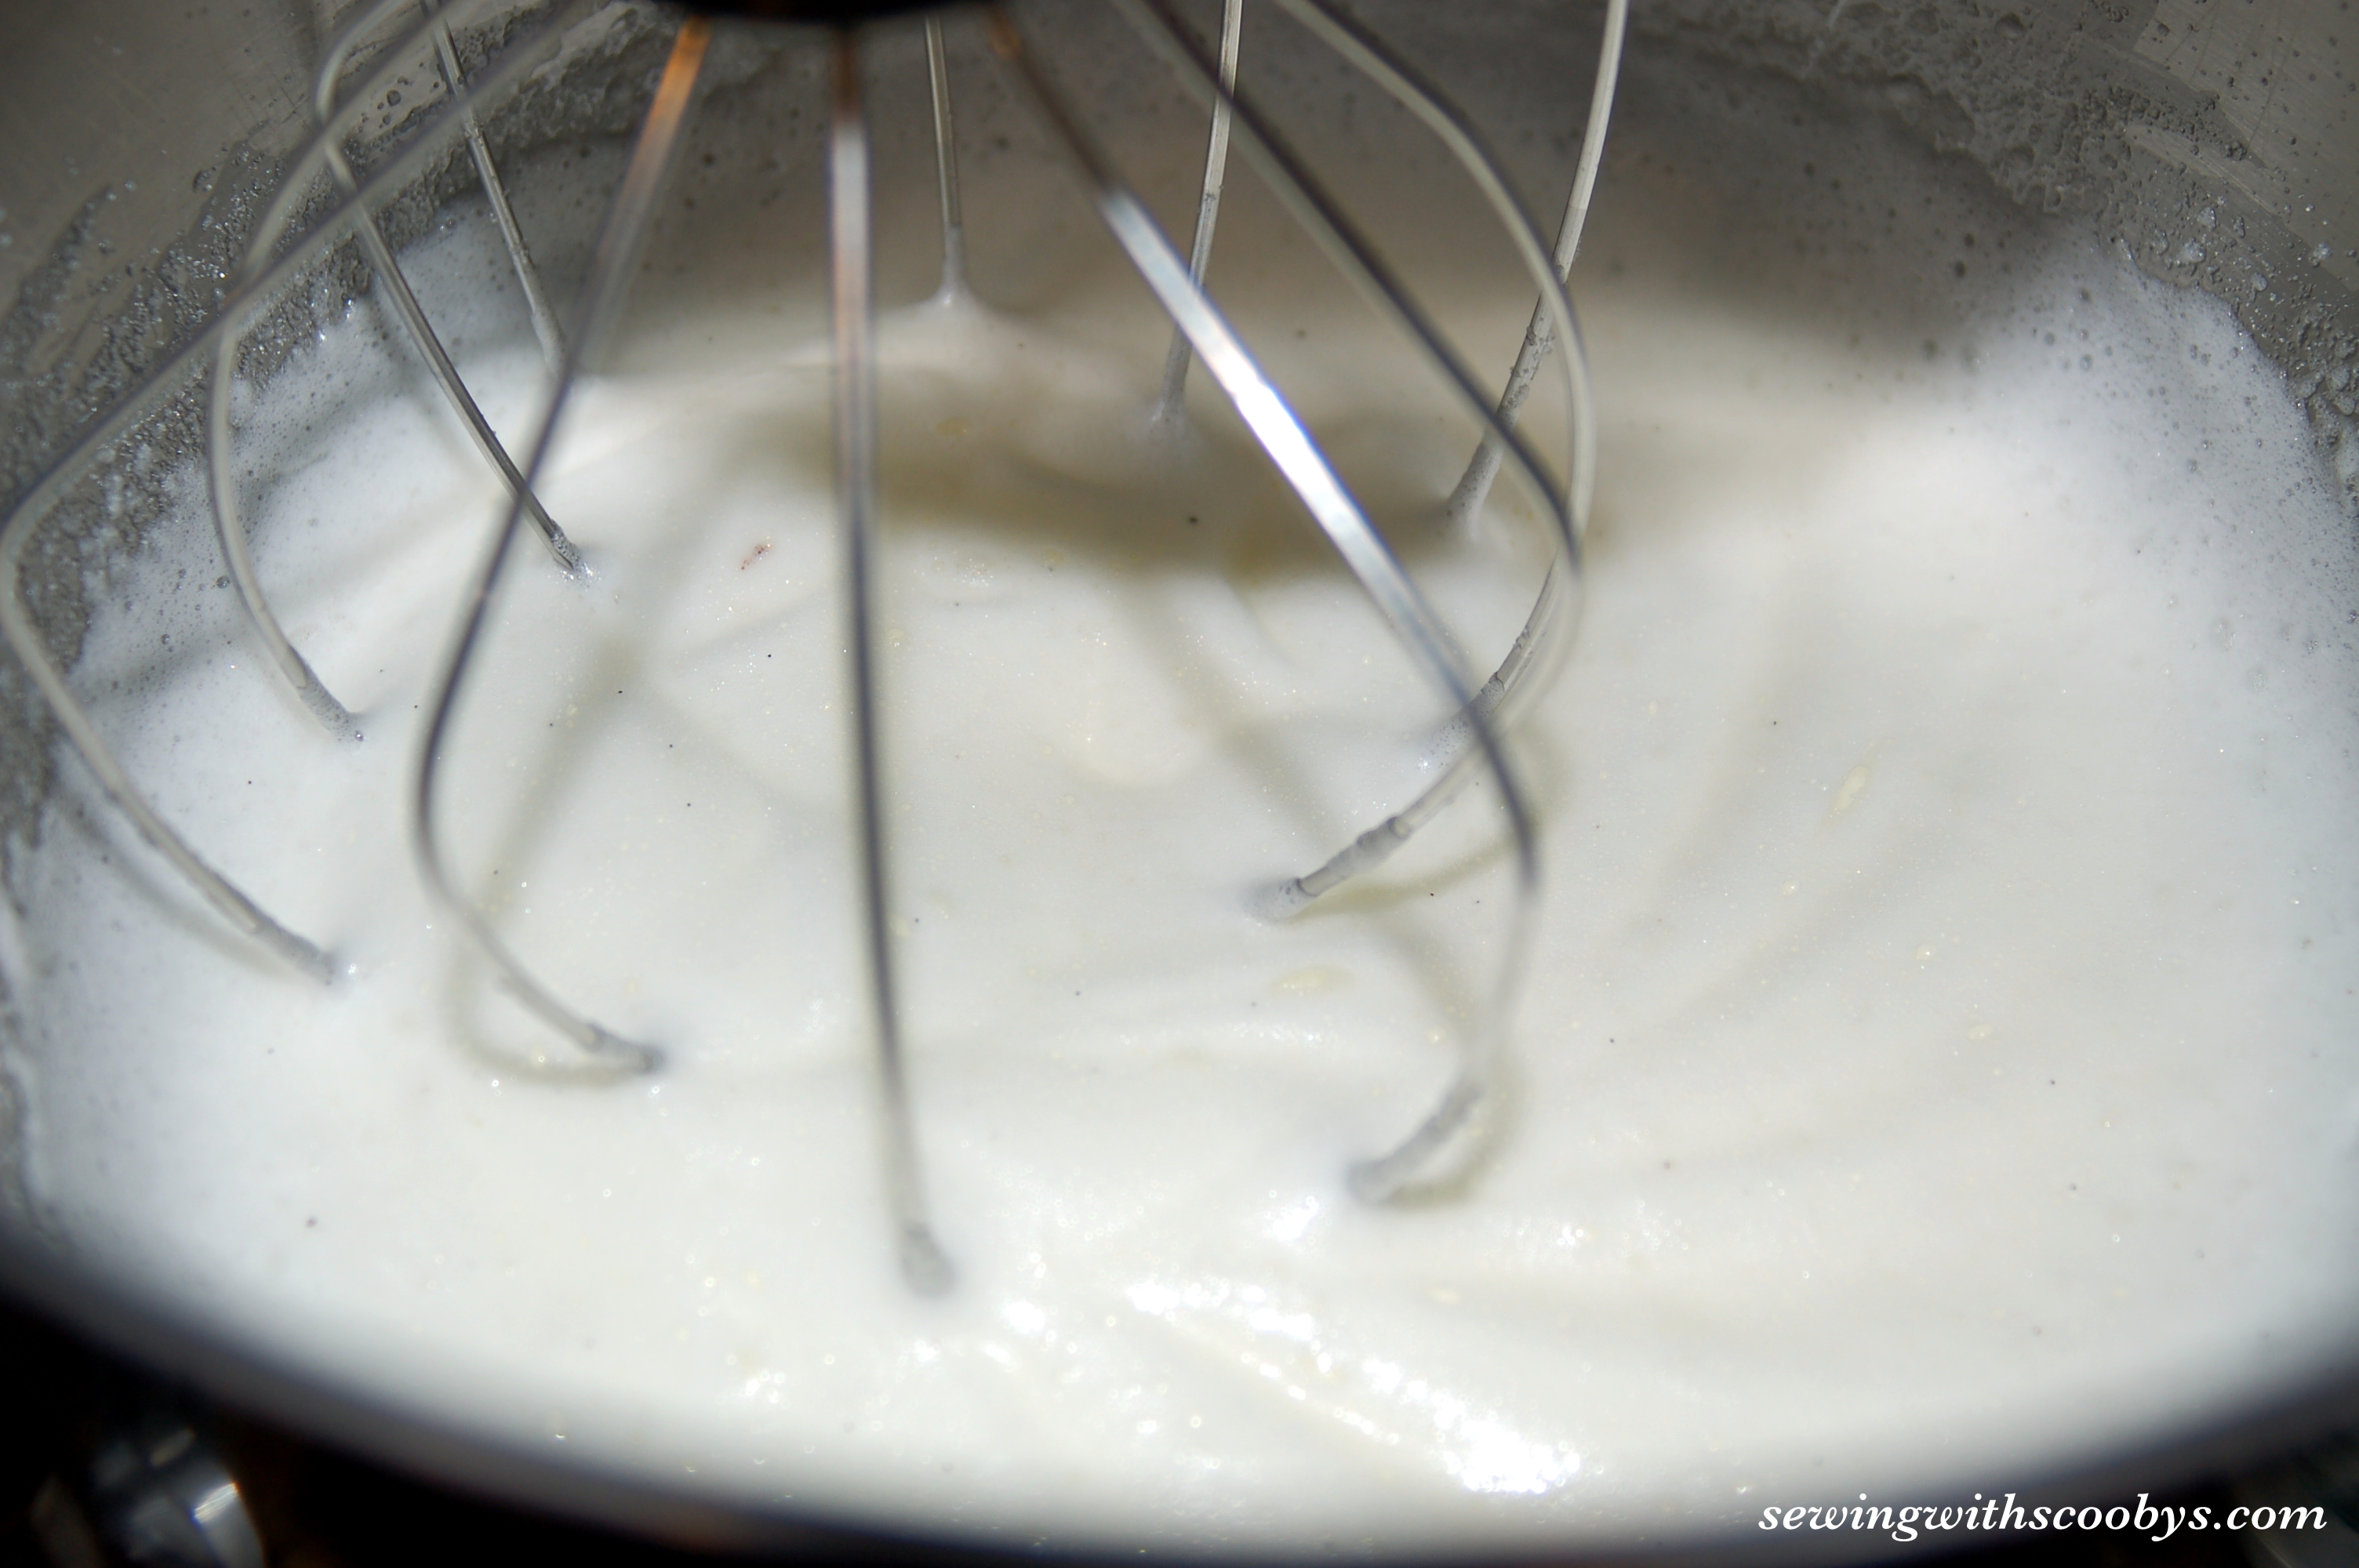
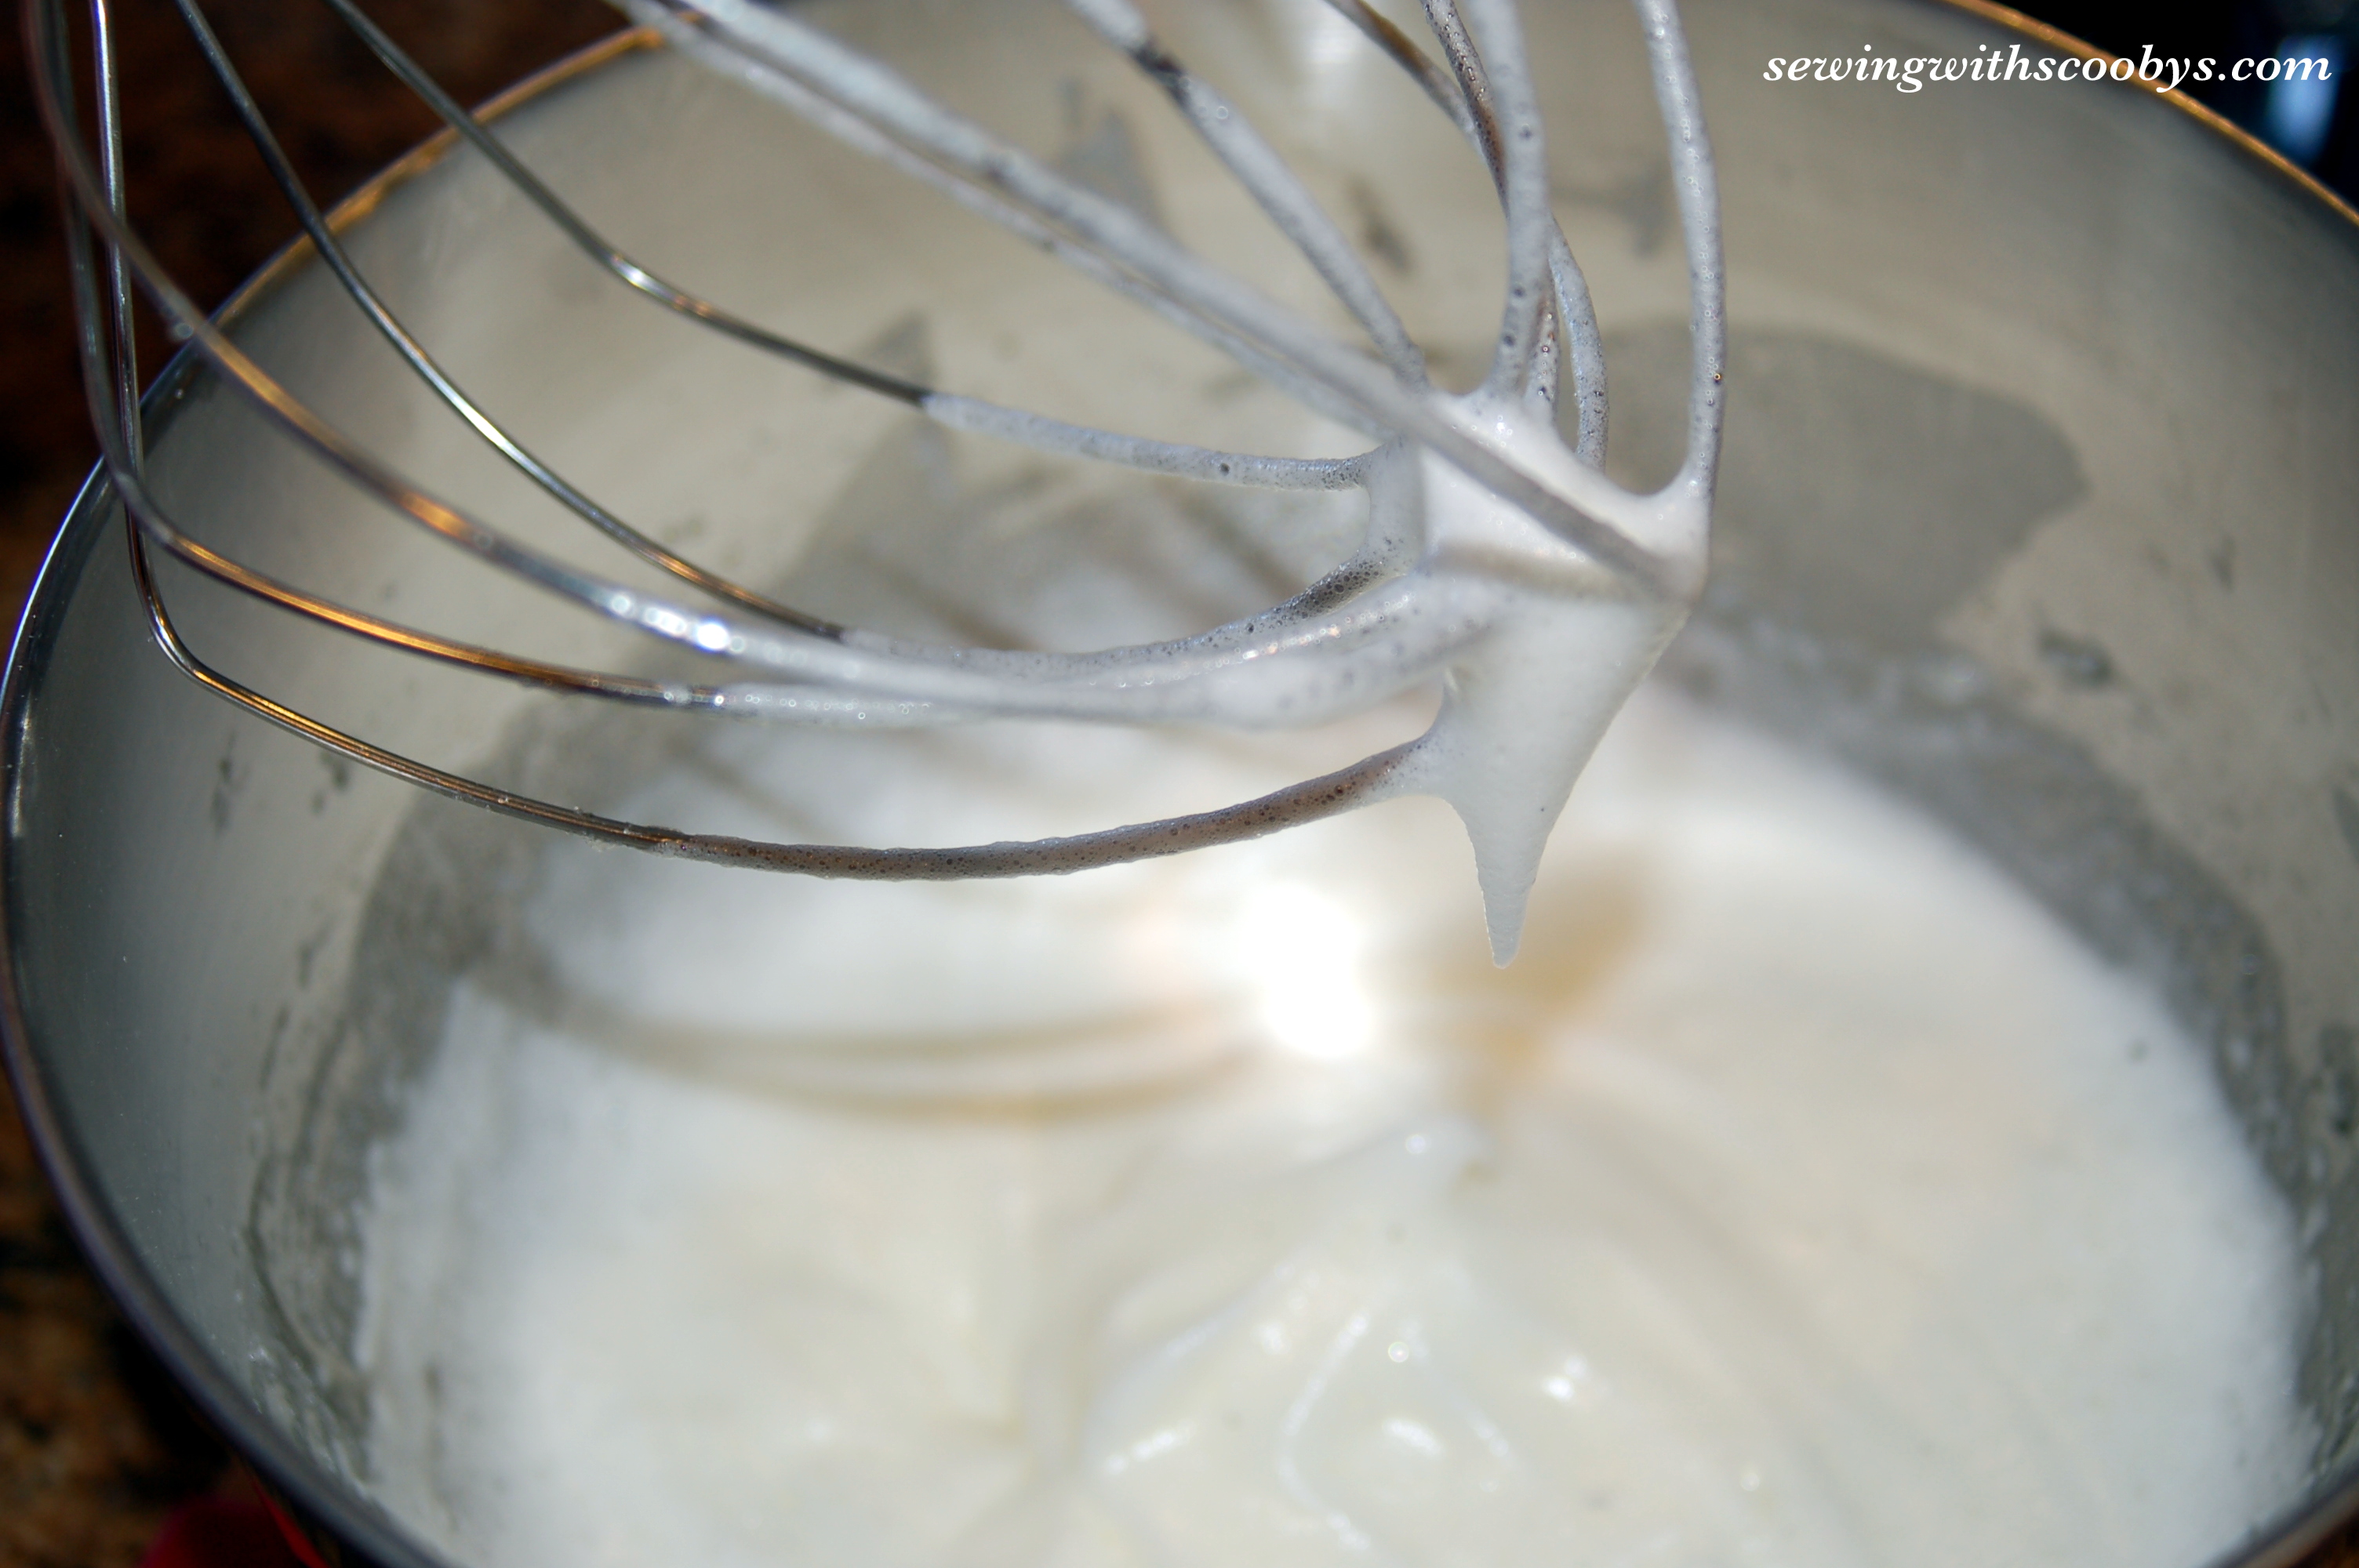
Place egg whites and vanilla bean in clean bowl with whisk attachment and blend till soft peaks form.


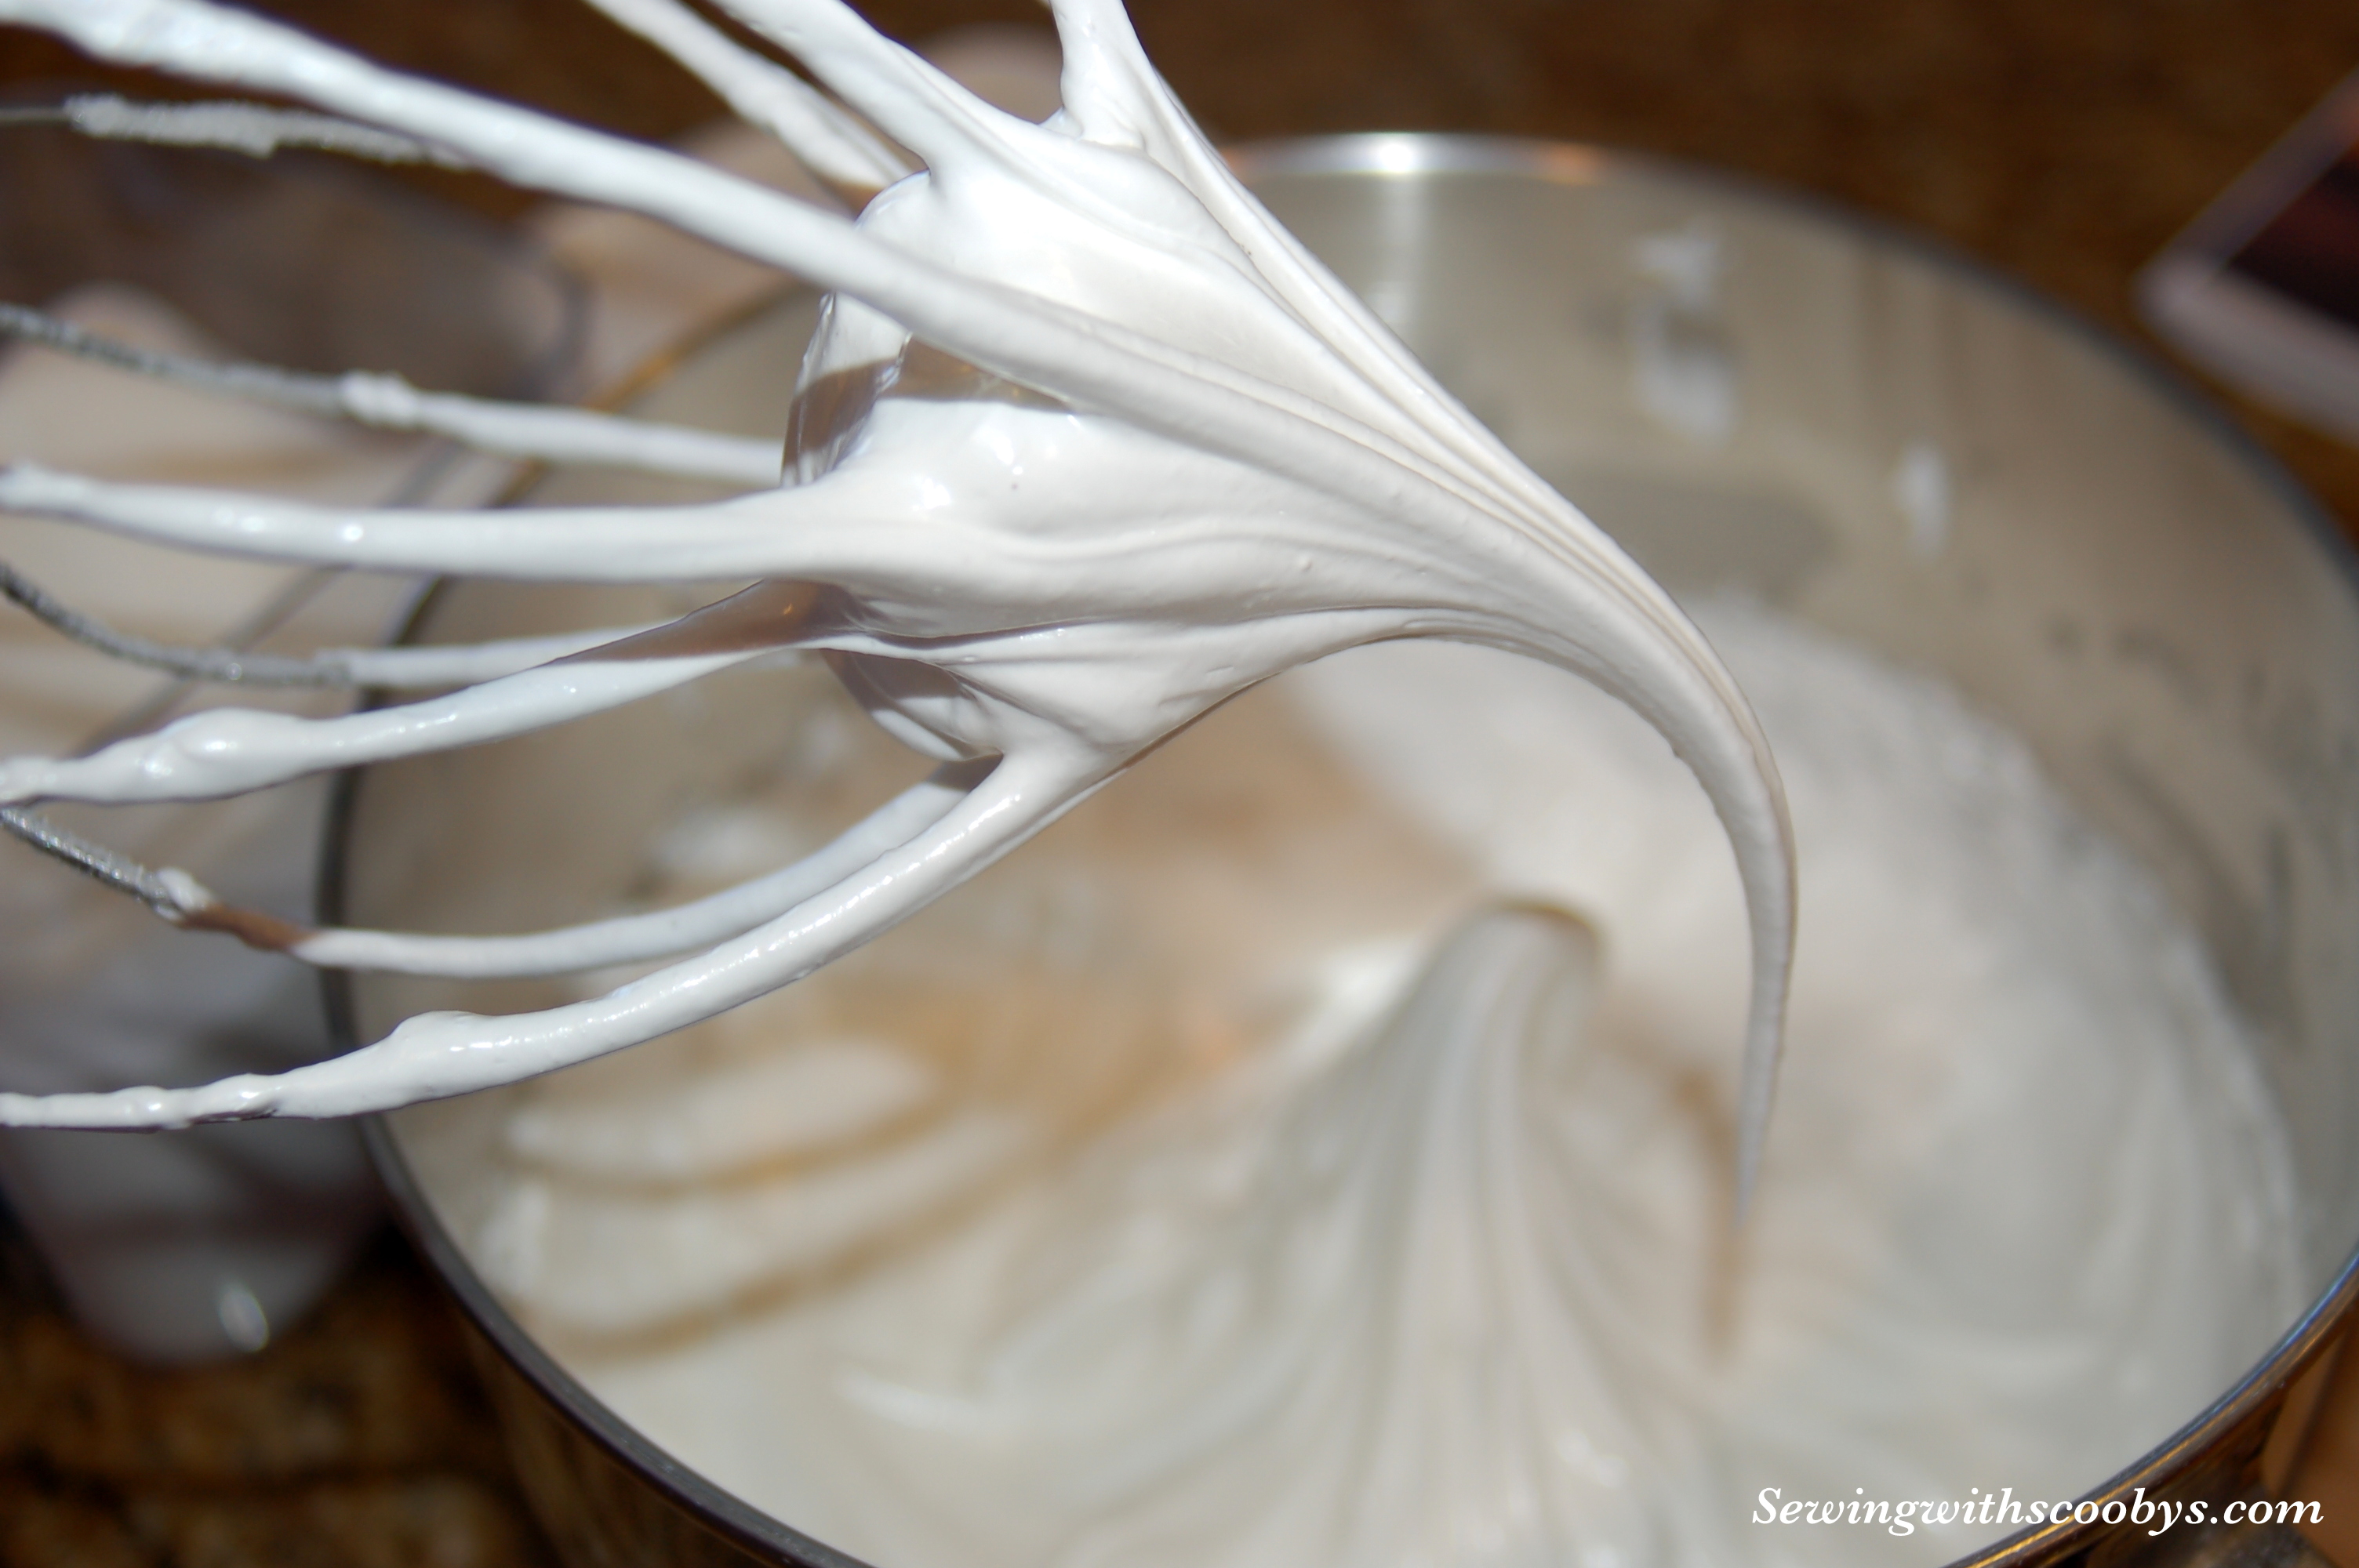
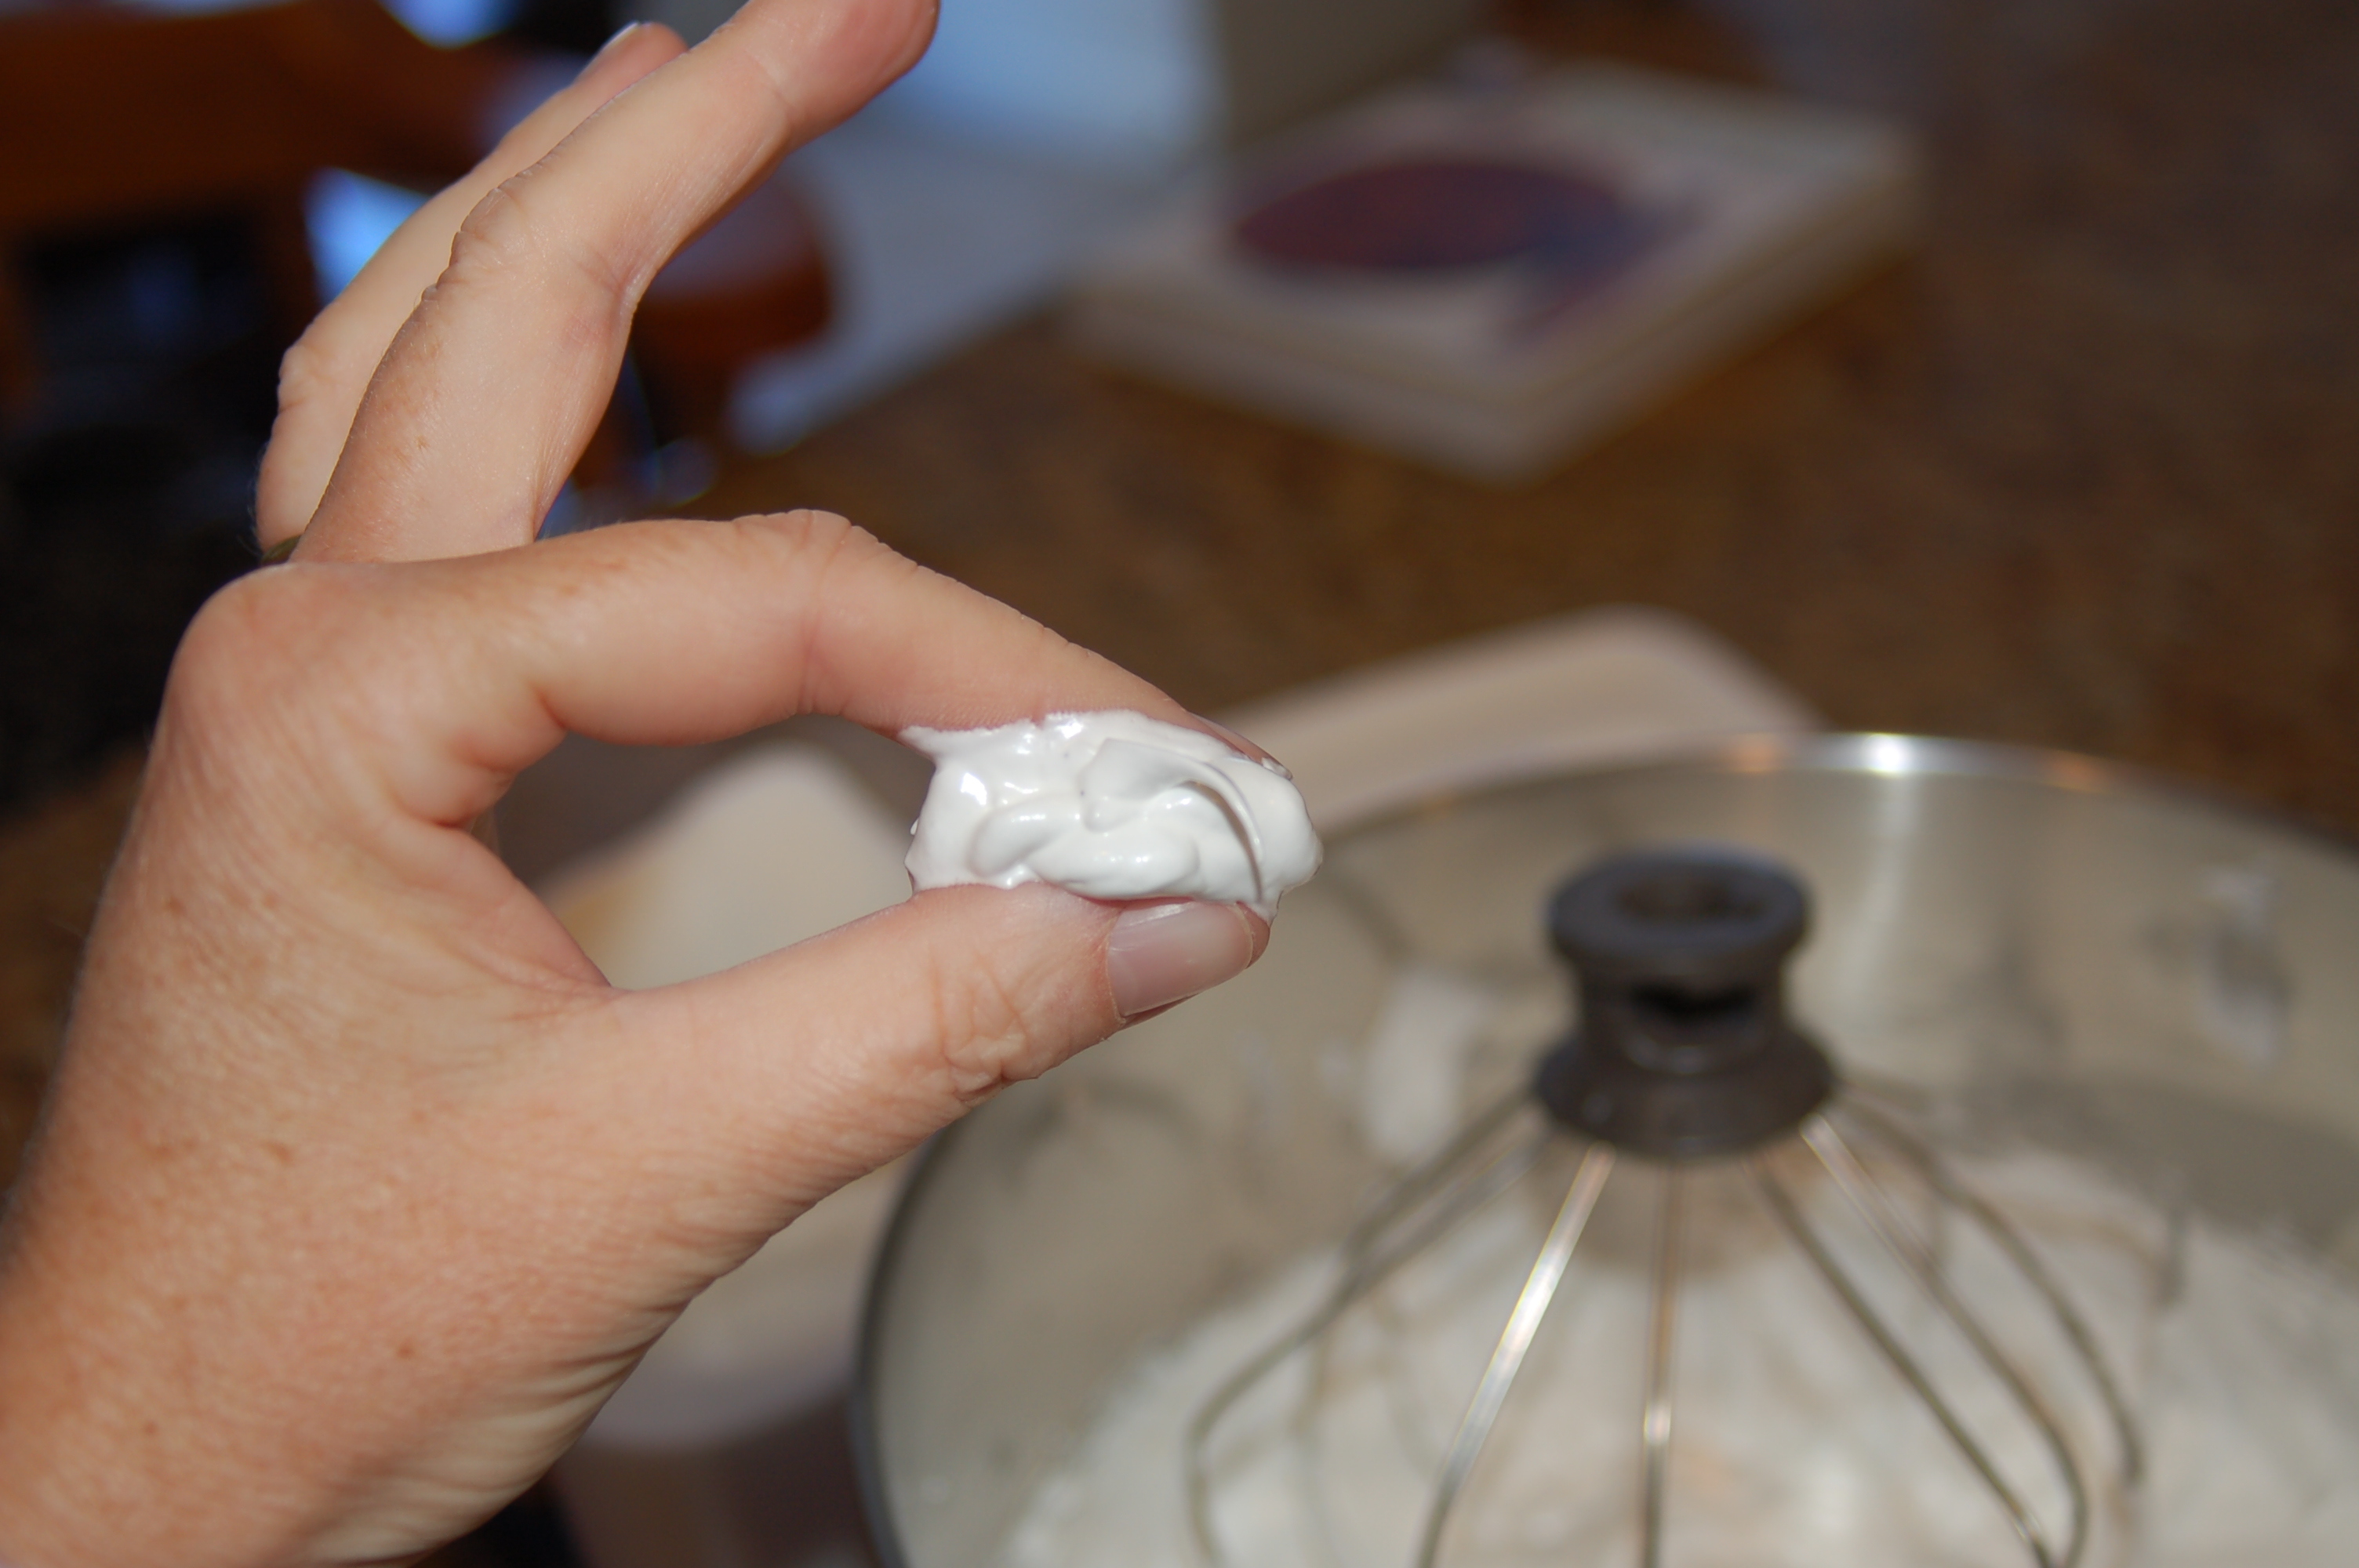
Add your salt, cream of tartar and mix for 30 seconds. Now start mixing in your sugar a couple of tablespoons at a time till it turns glossy, increases in volume and stiff peaks form.

You can check to see if all sugar is dissolved by rubbing a bit of the batter between your fingers, if it feels gritty then back to the whisking for another minute or so.

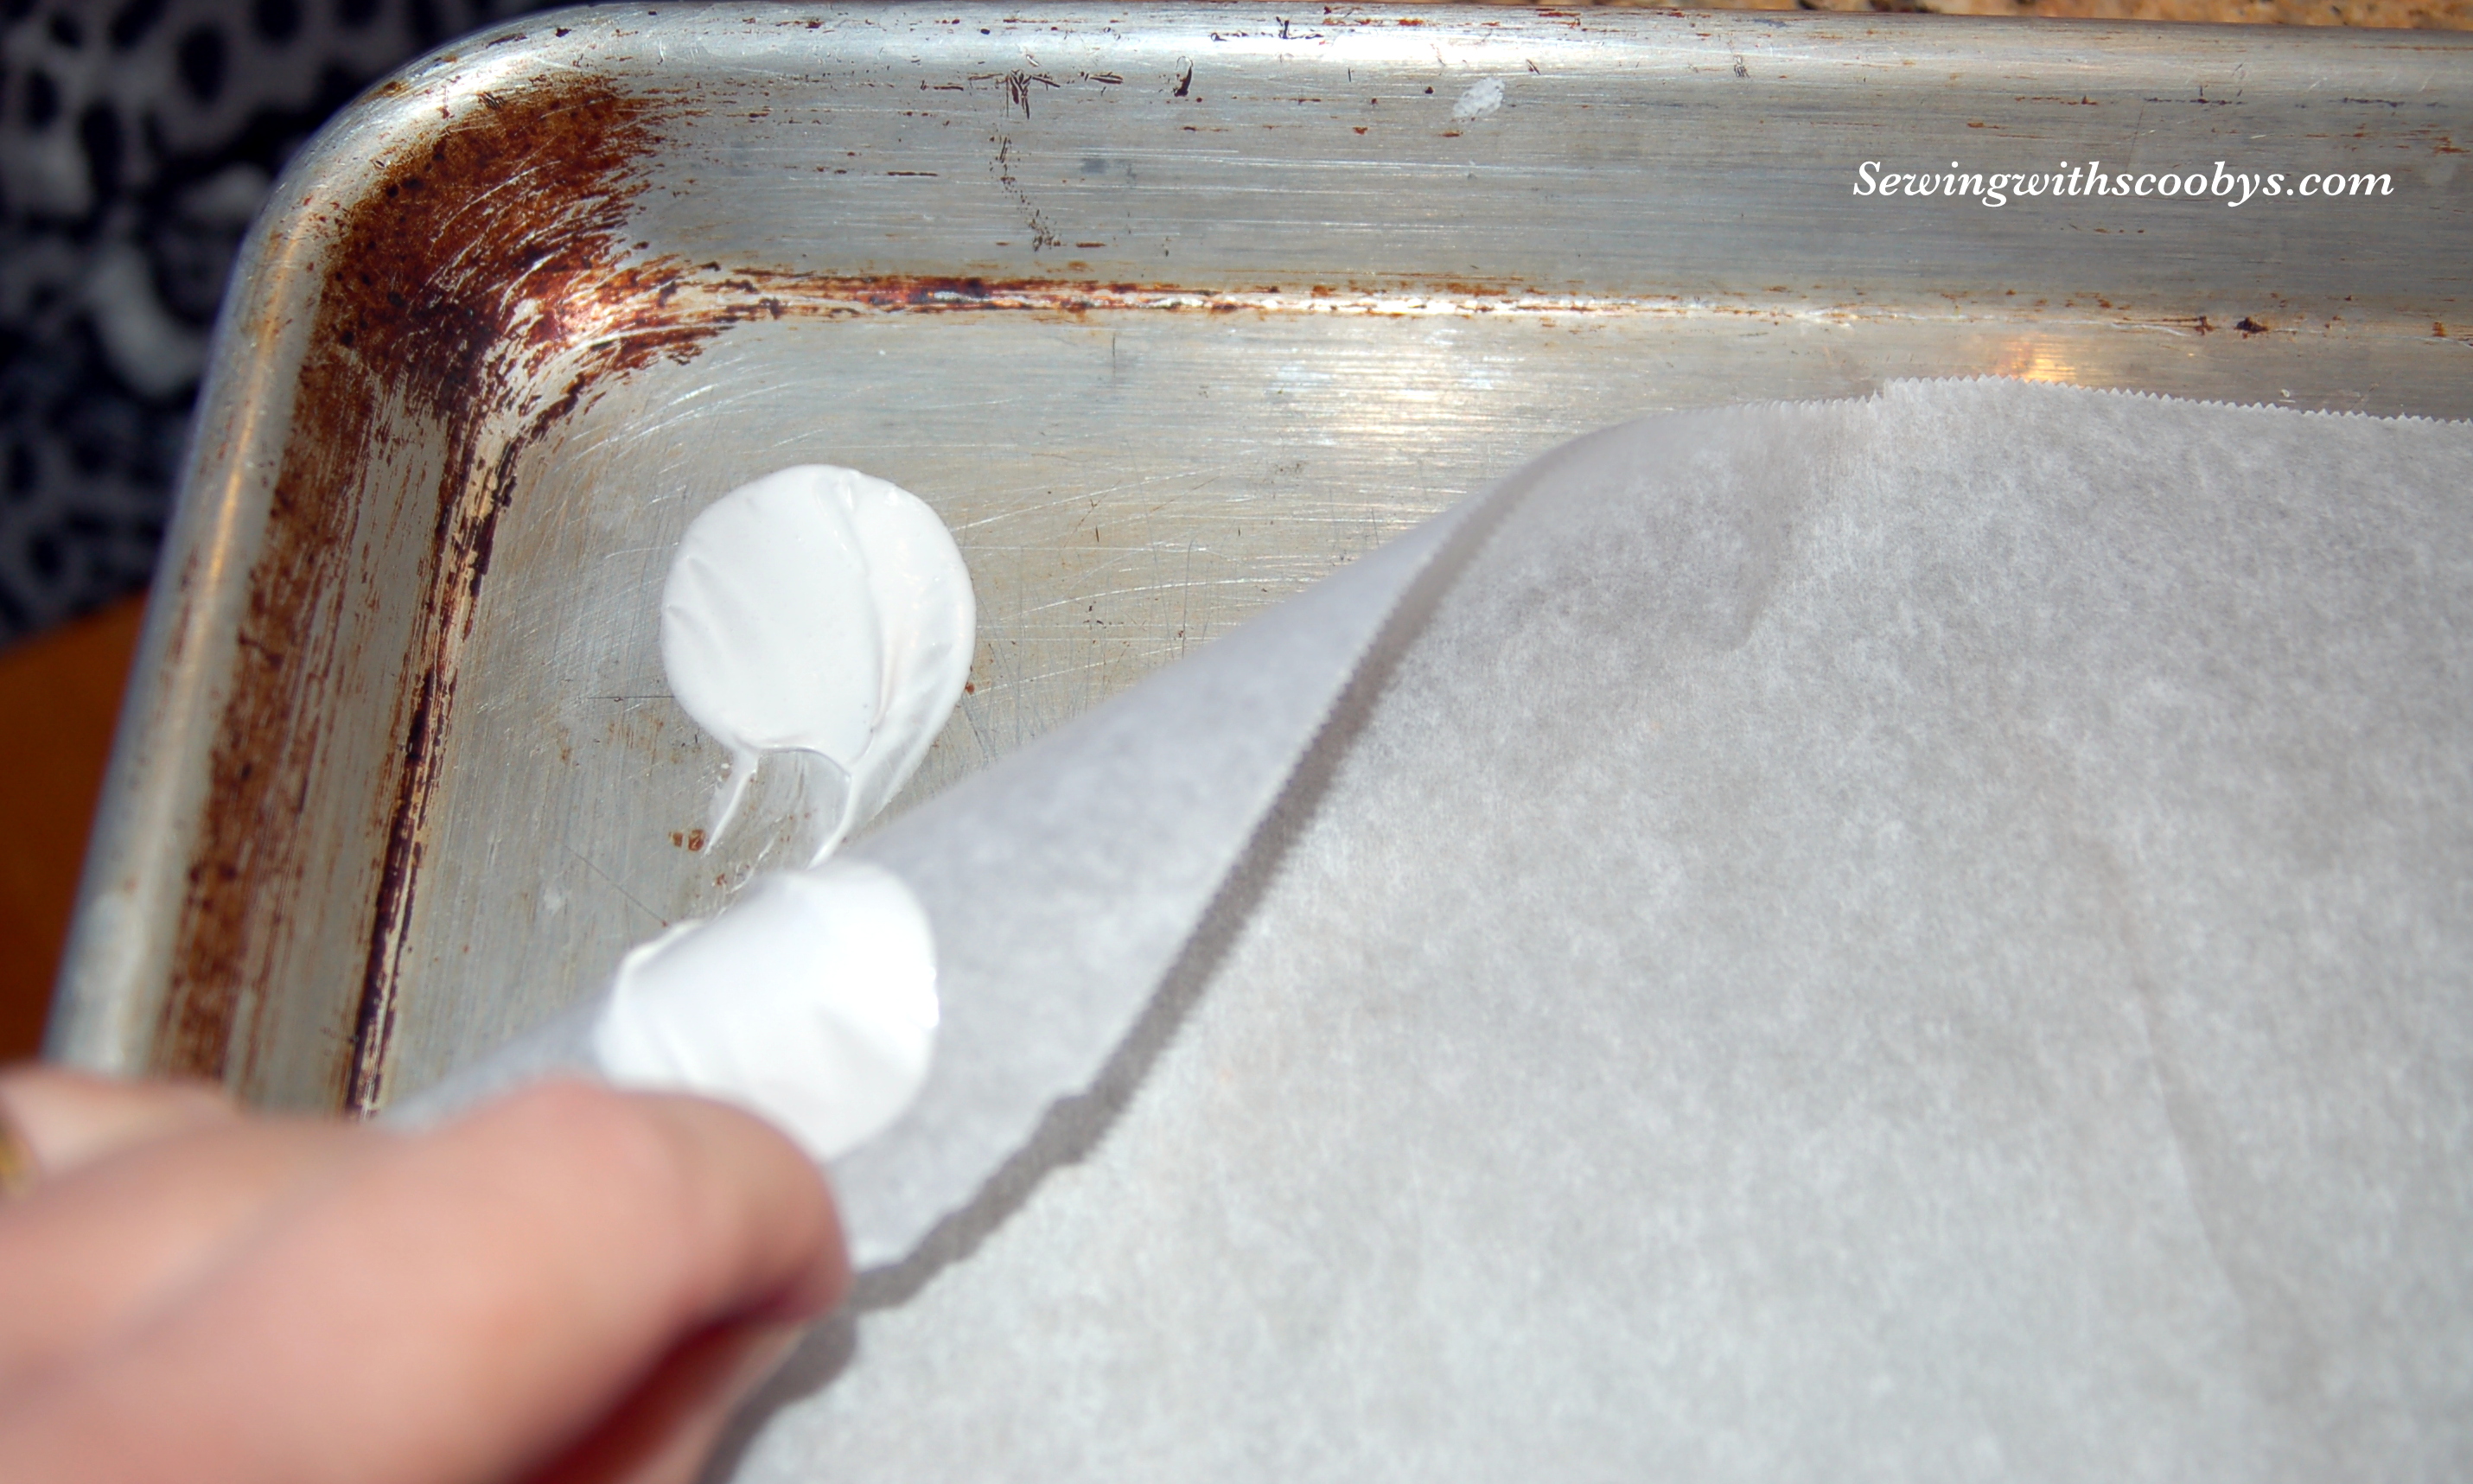
You MUST MUST use parchment paper!! Not wax paper but parchment paper. Place a dab of your mixture on each corner of the sheet pan to hold down your paper.

Pipe cookies onto parchment paper and bake in 200 degree farenheit oven for 1 1/2 hours. Turn stove off and crack open the oven and let rest in the oven for another 30 minutes. The cookies should come off parchment paper easily, if they are sticking they are not dehydrated enough and you need to cook them a bit more.
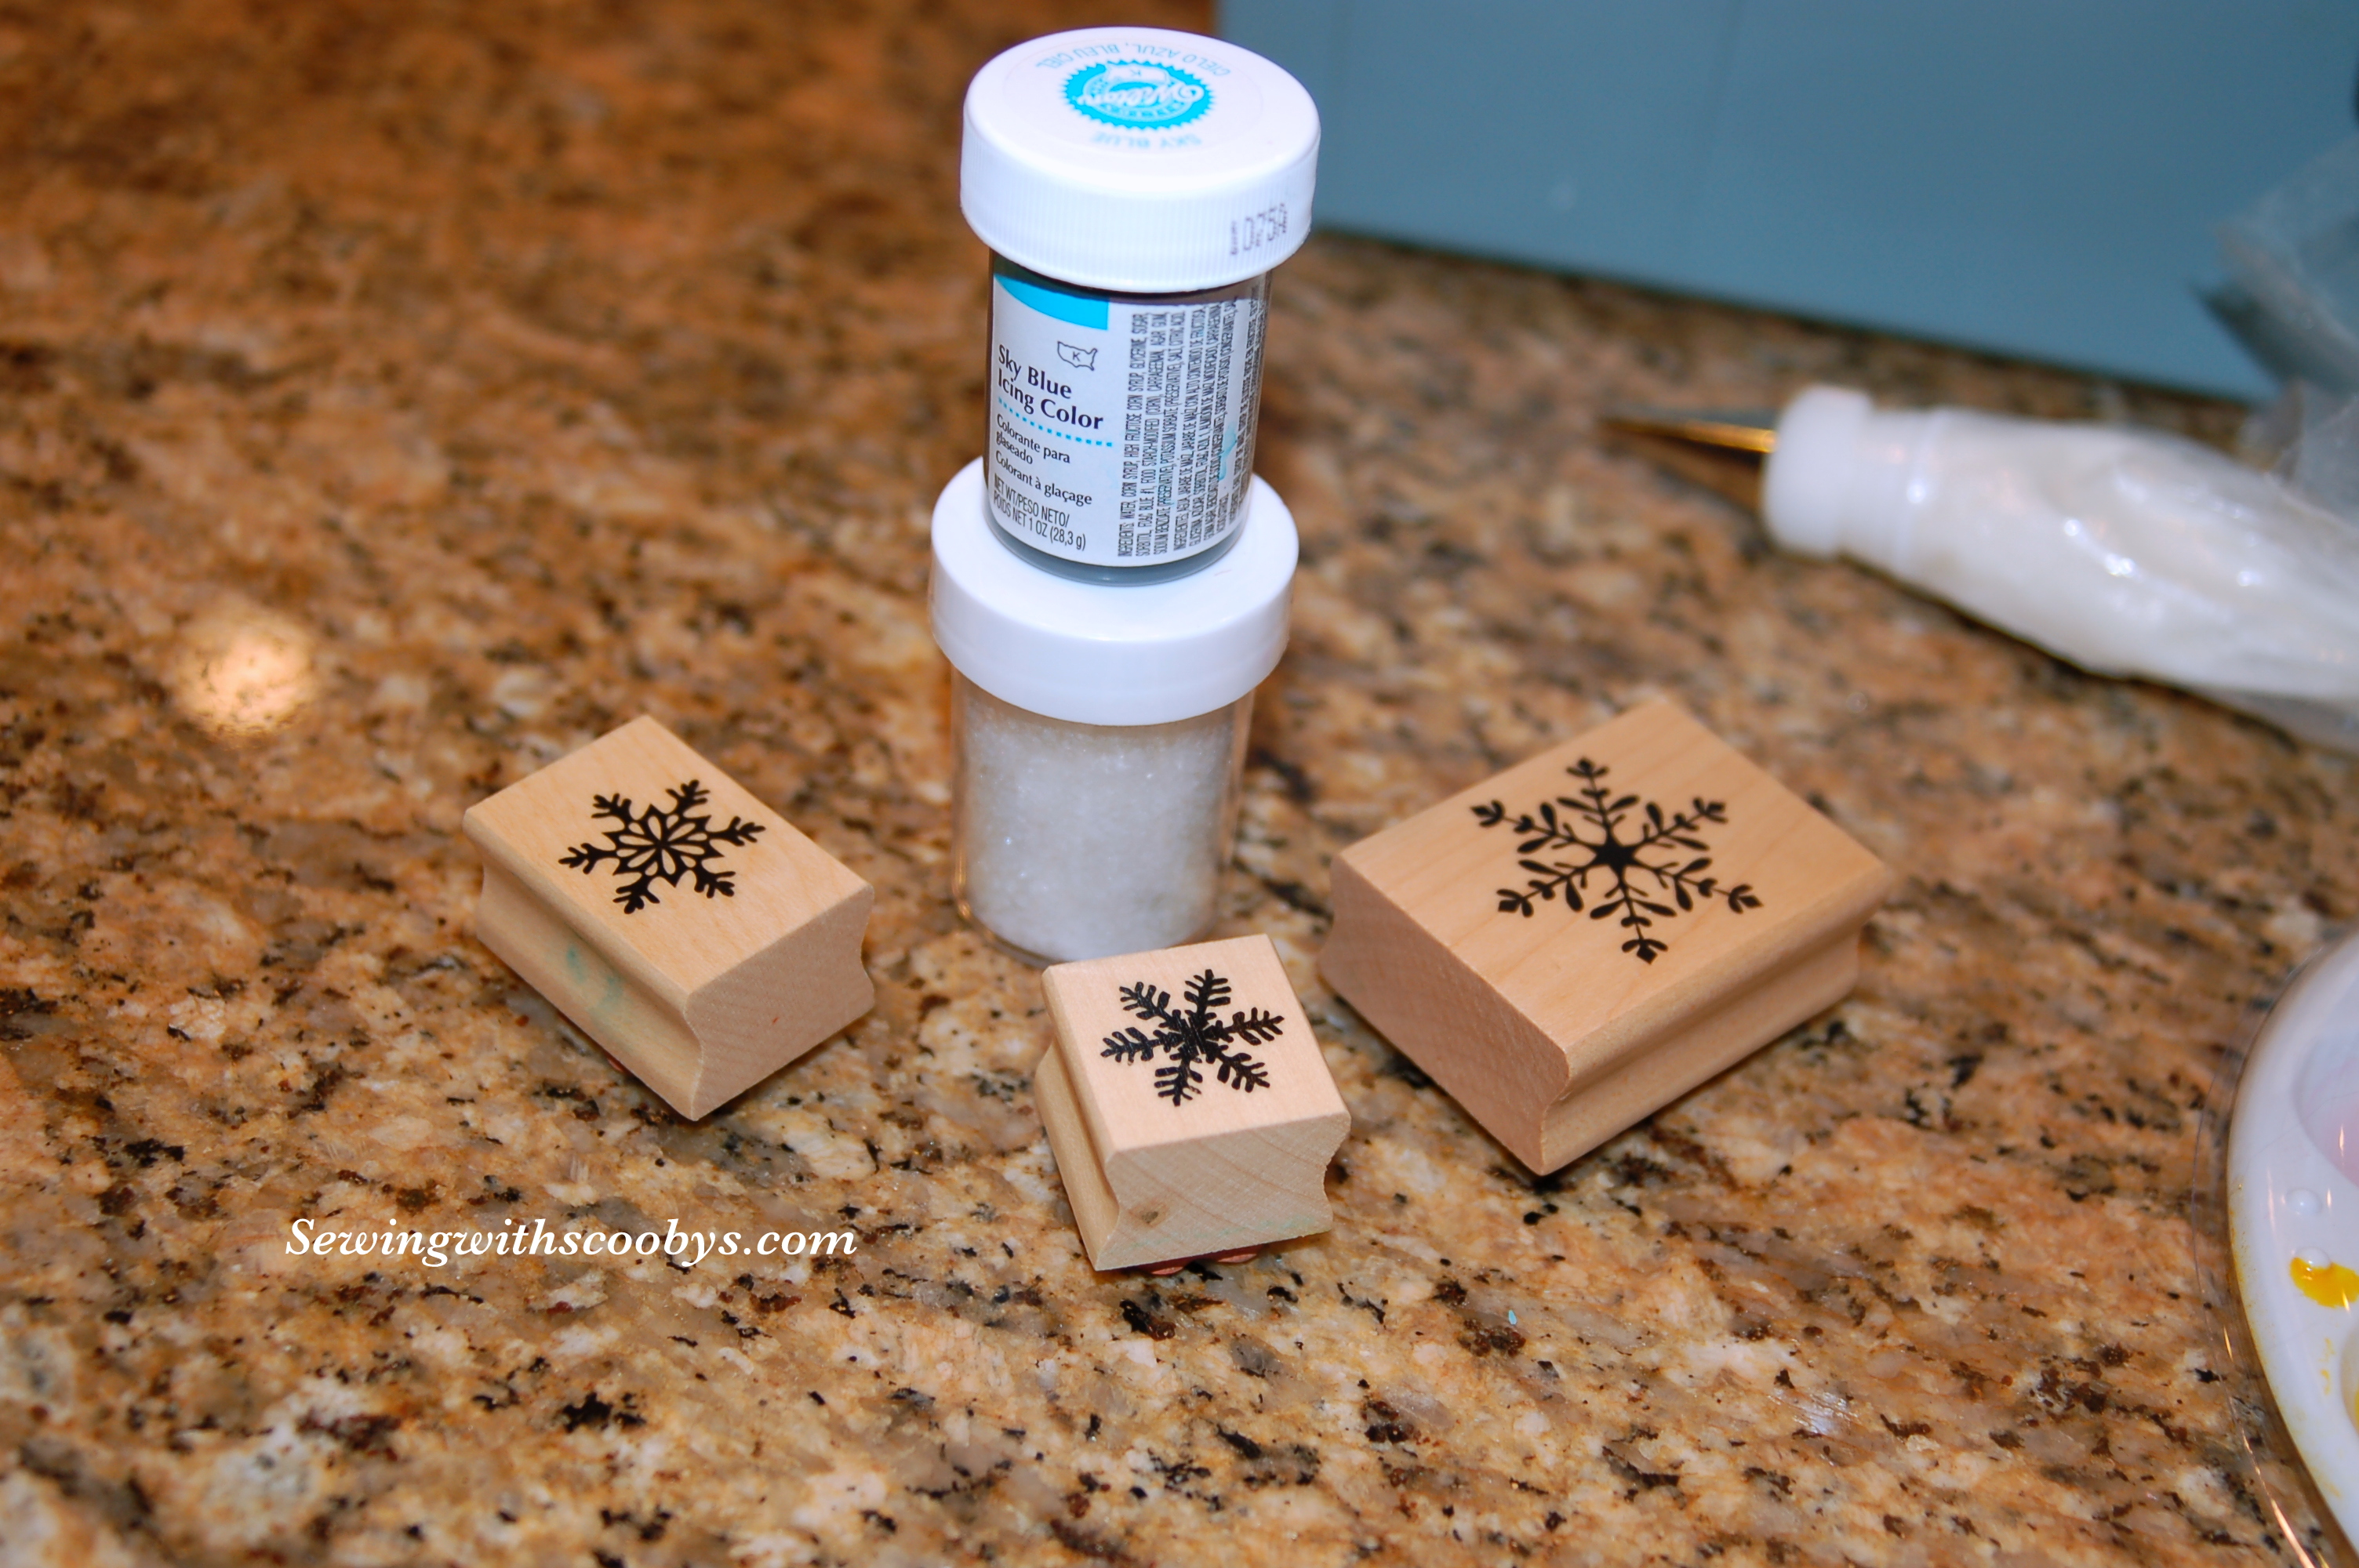
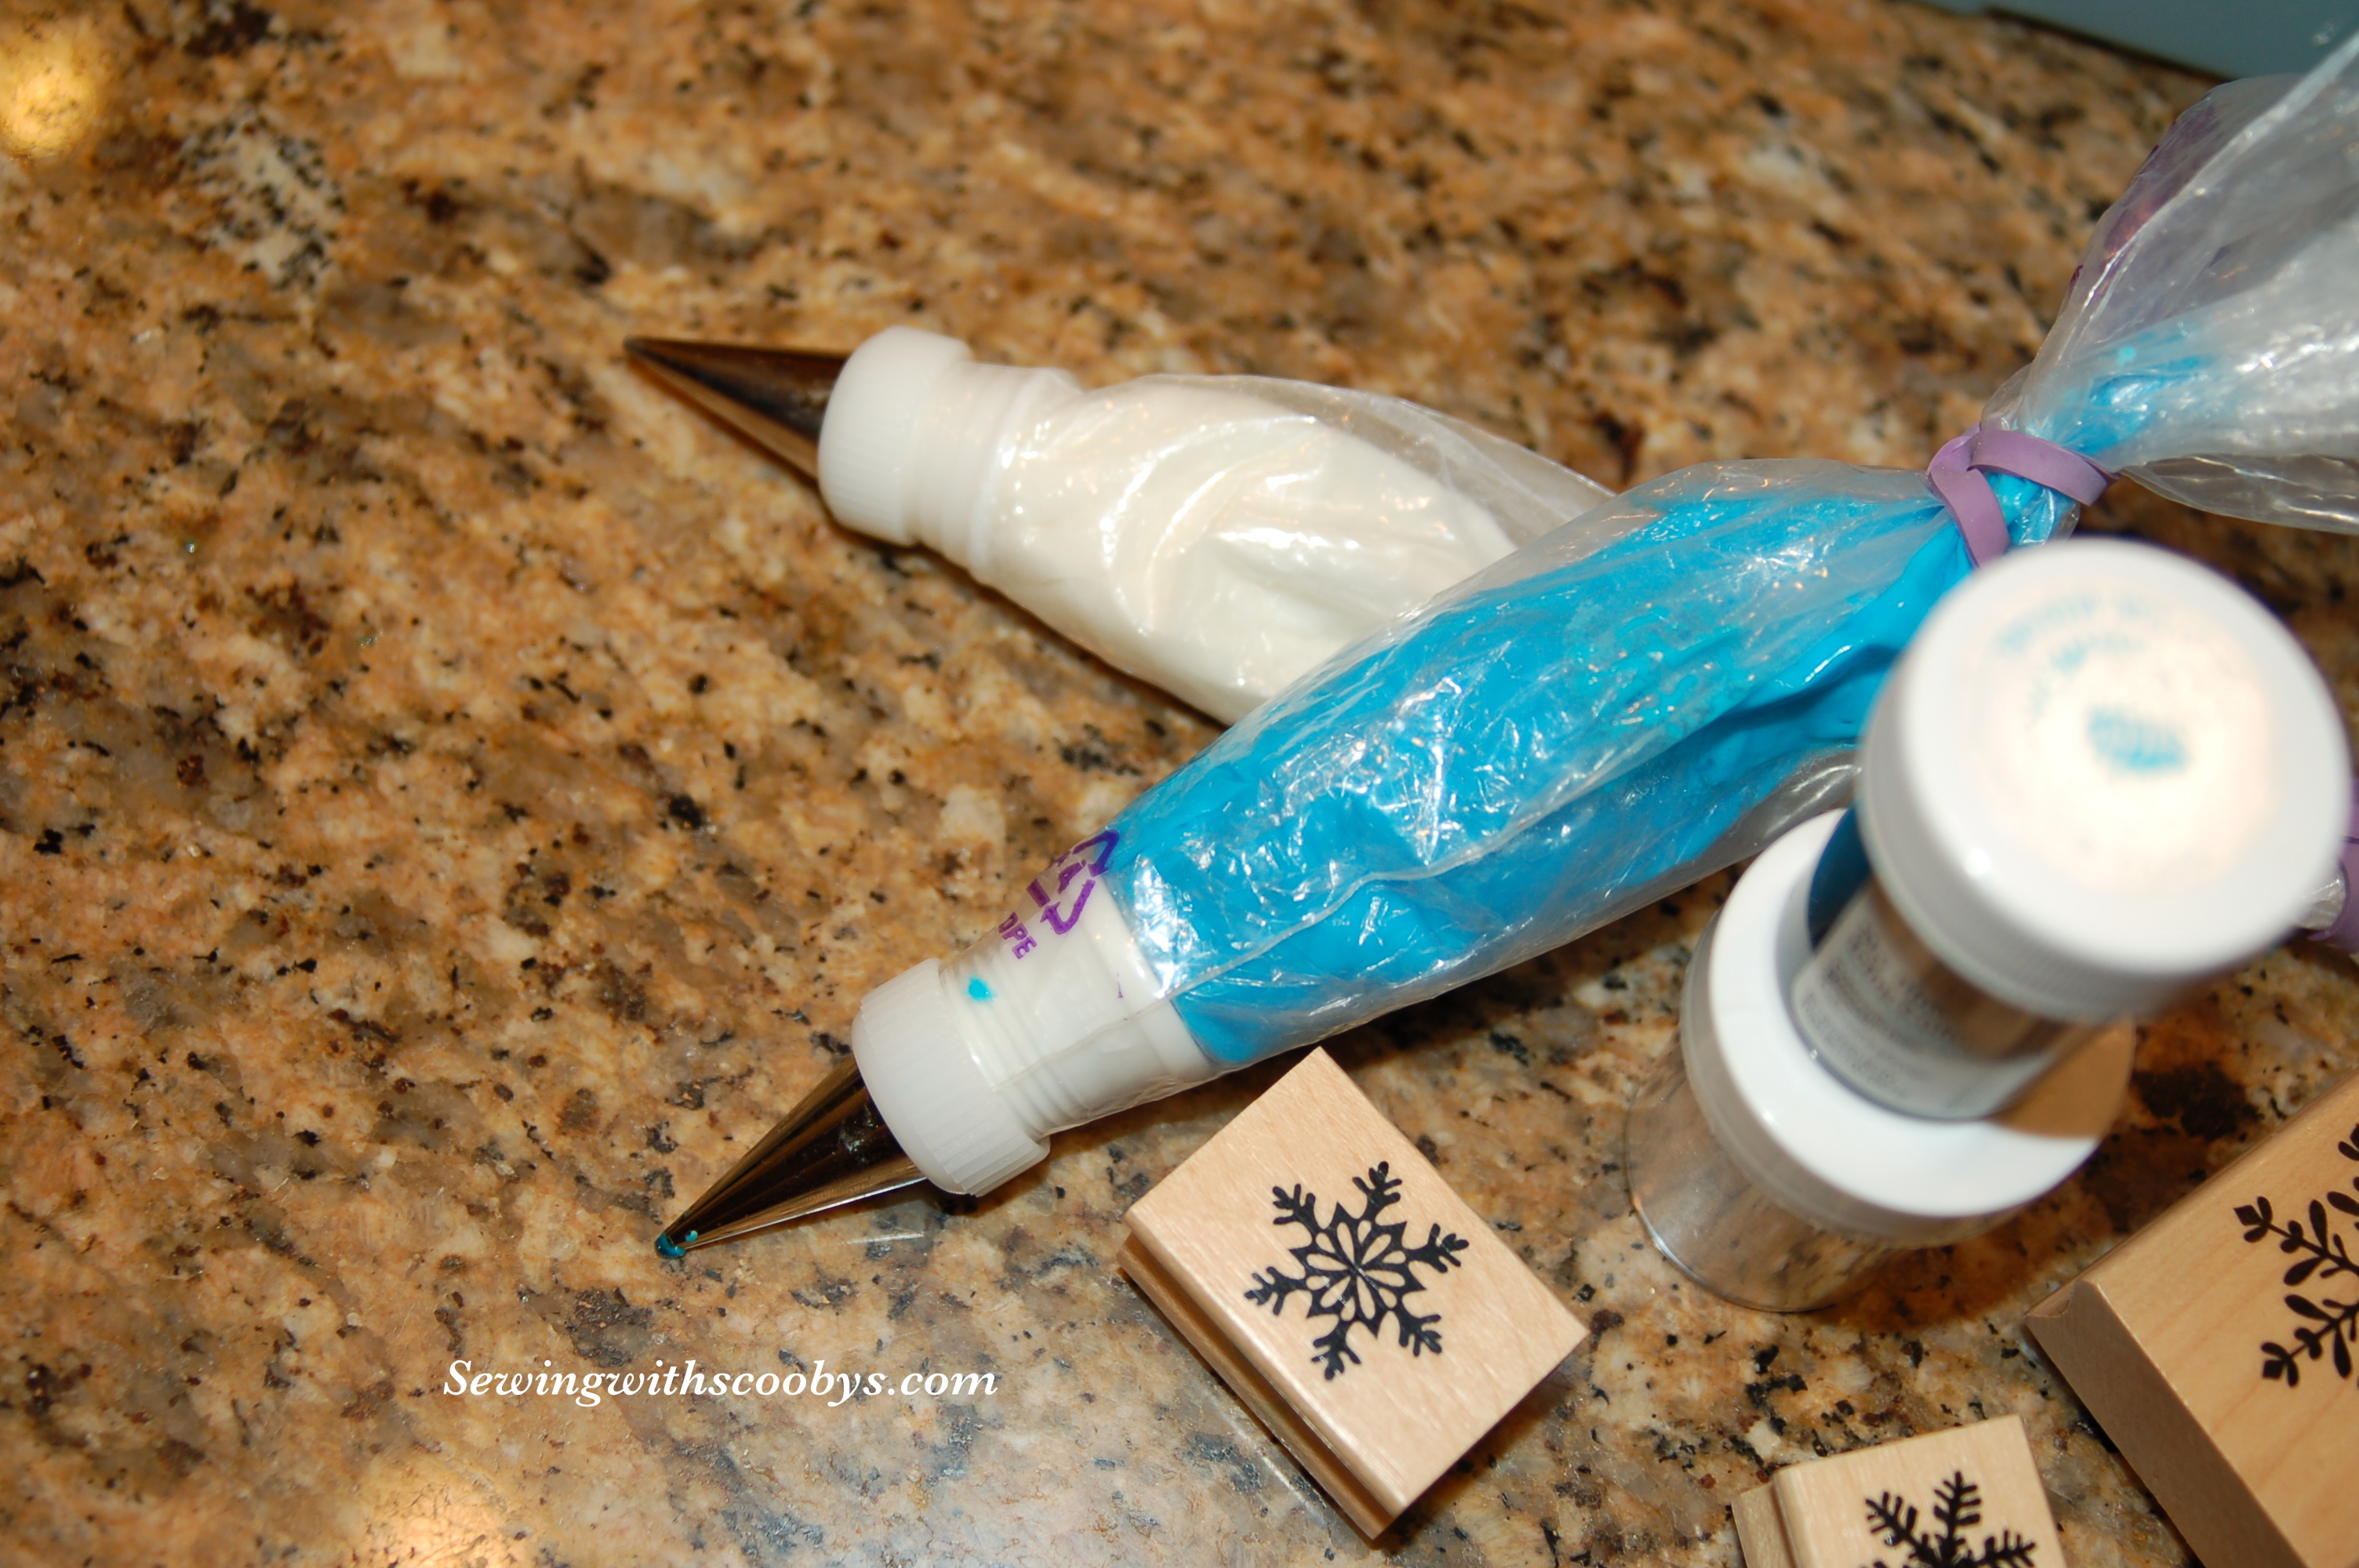
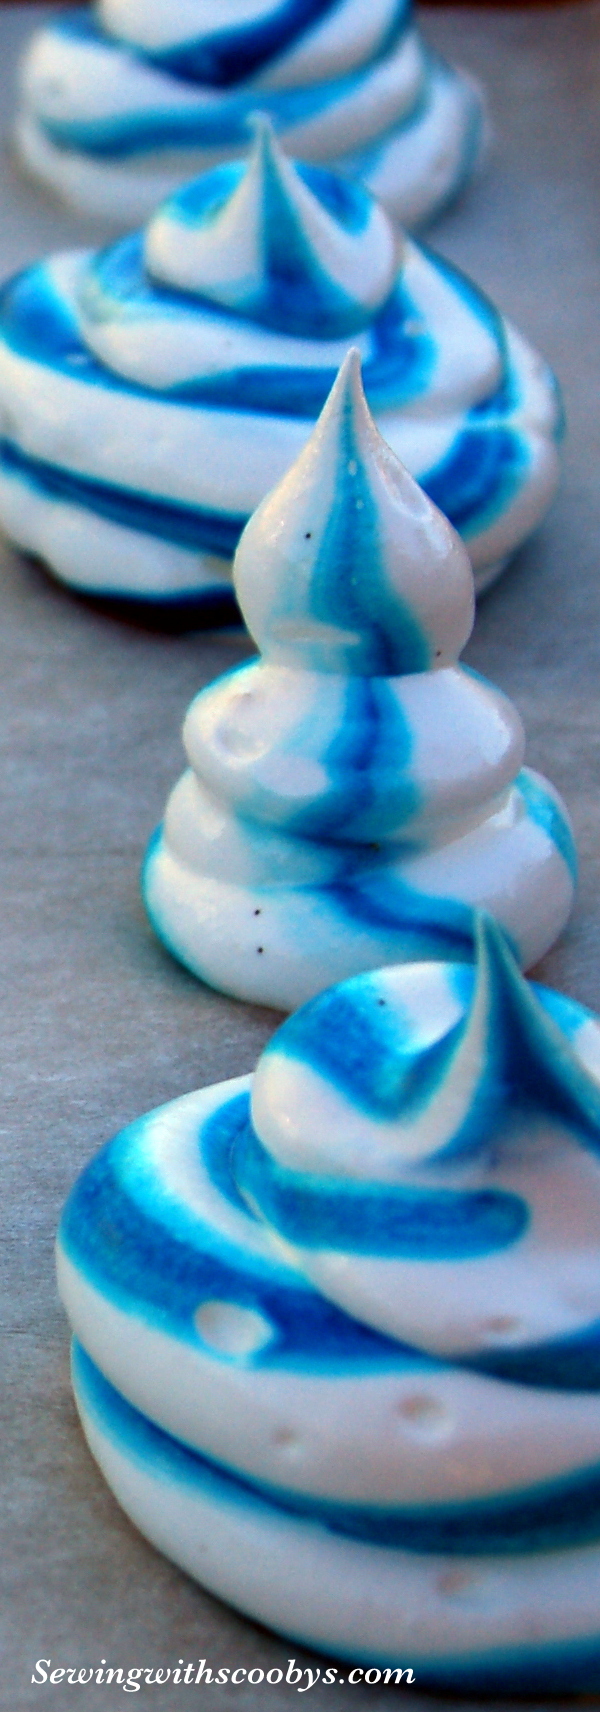
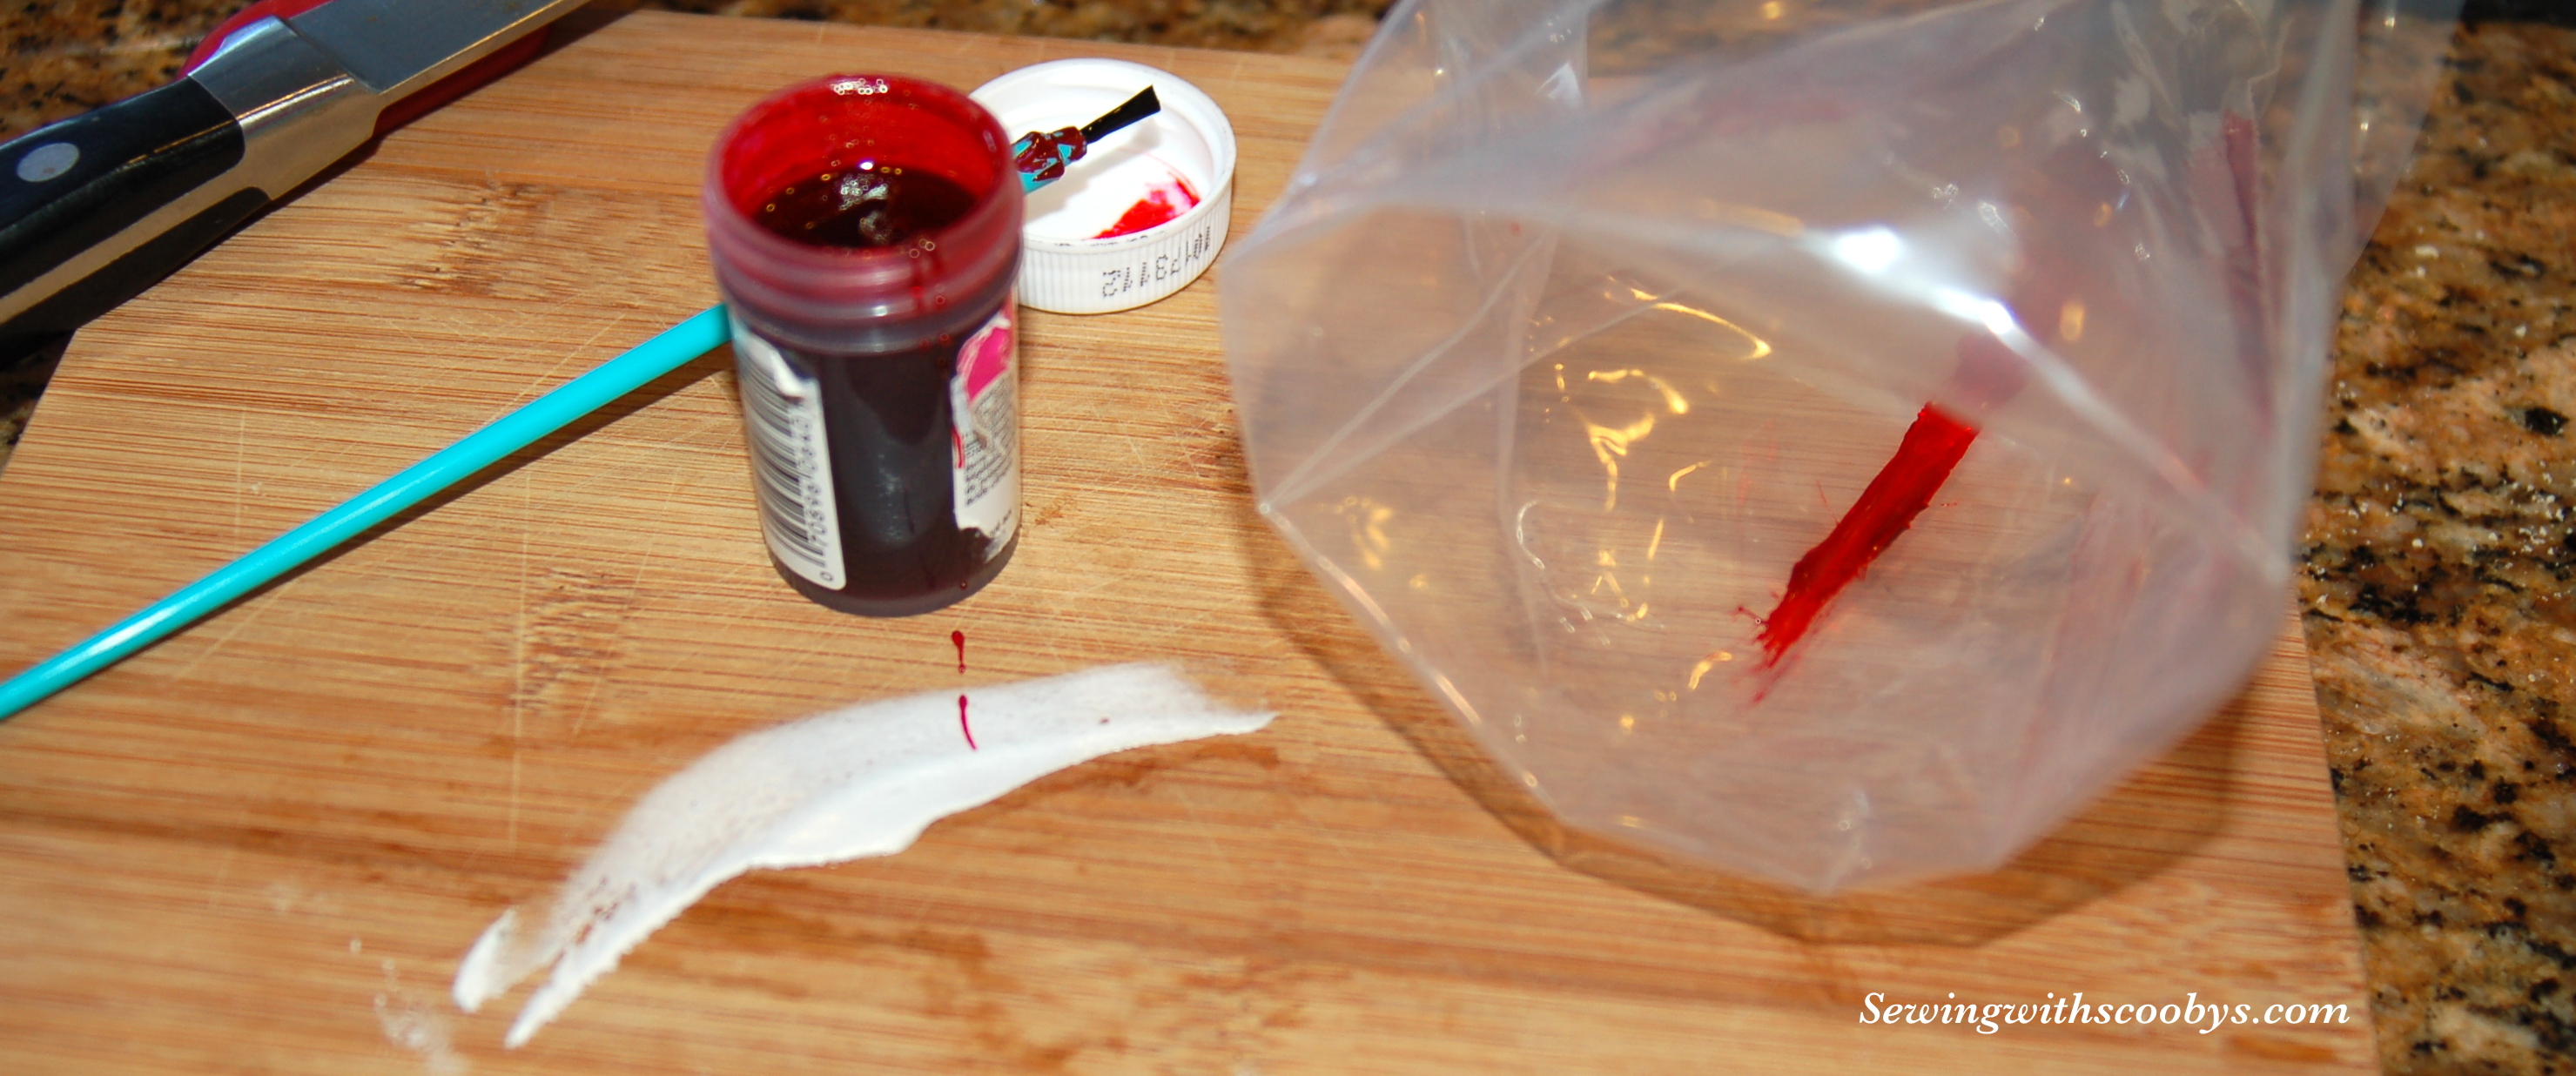
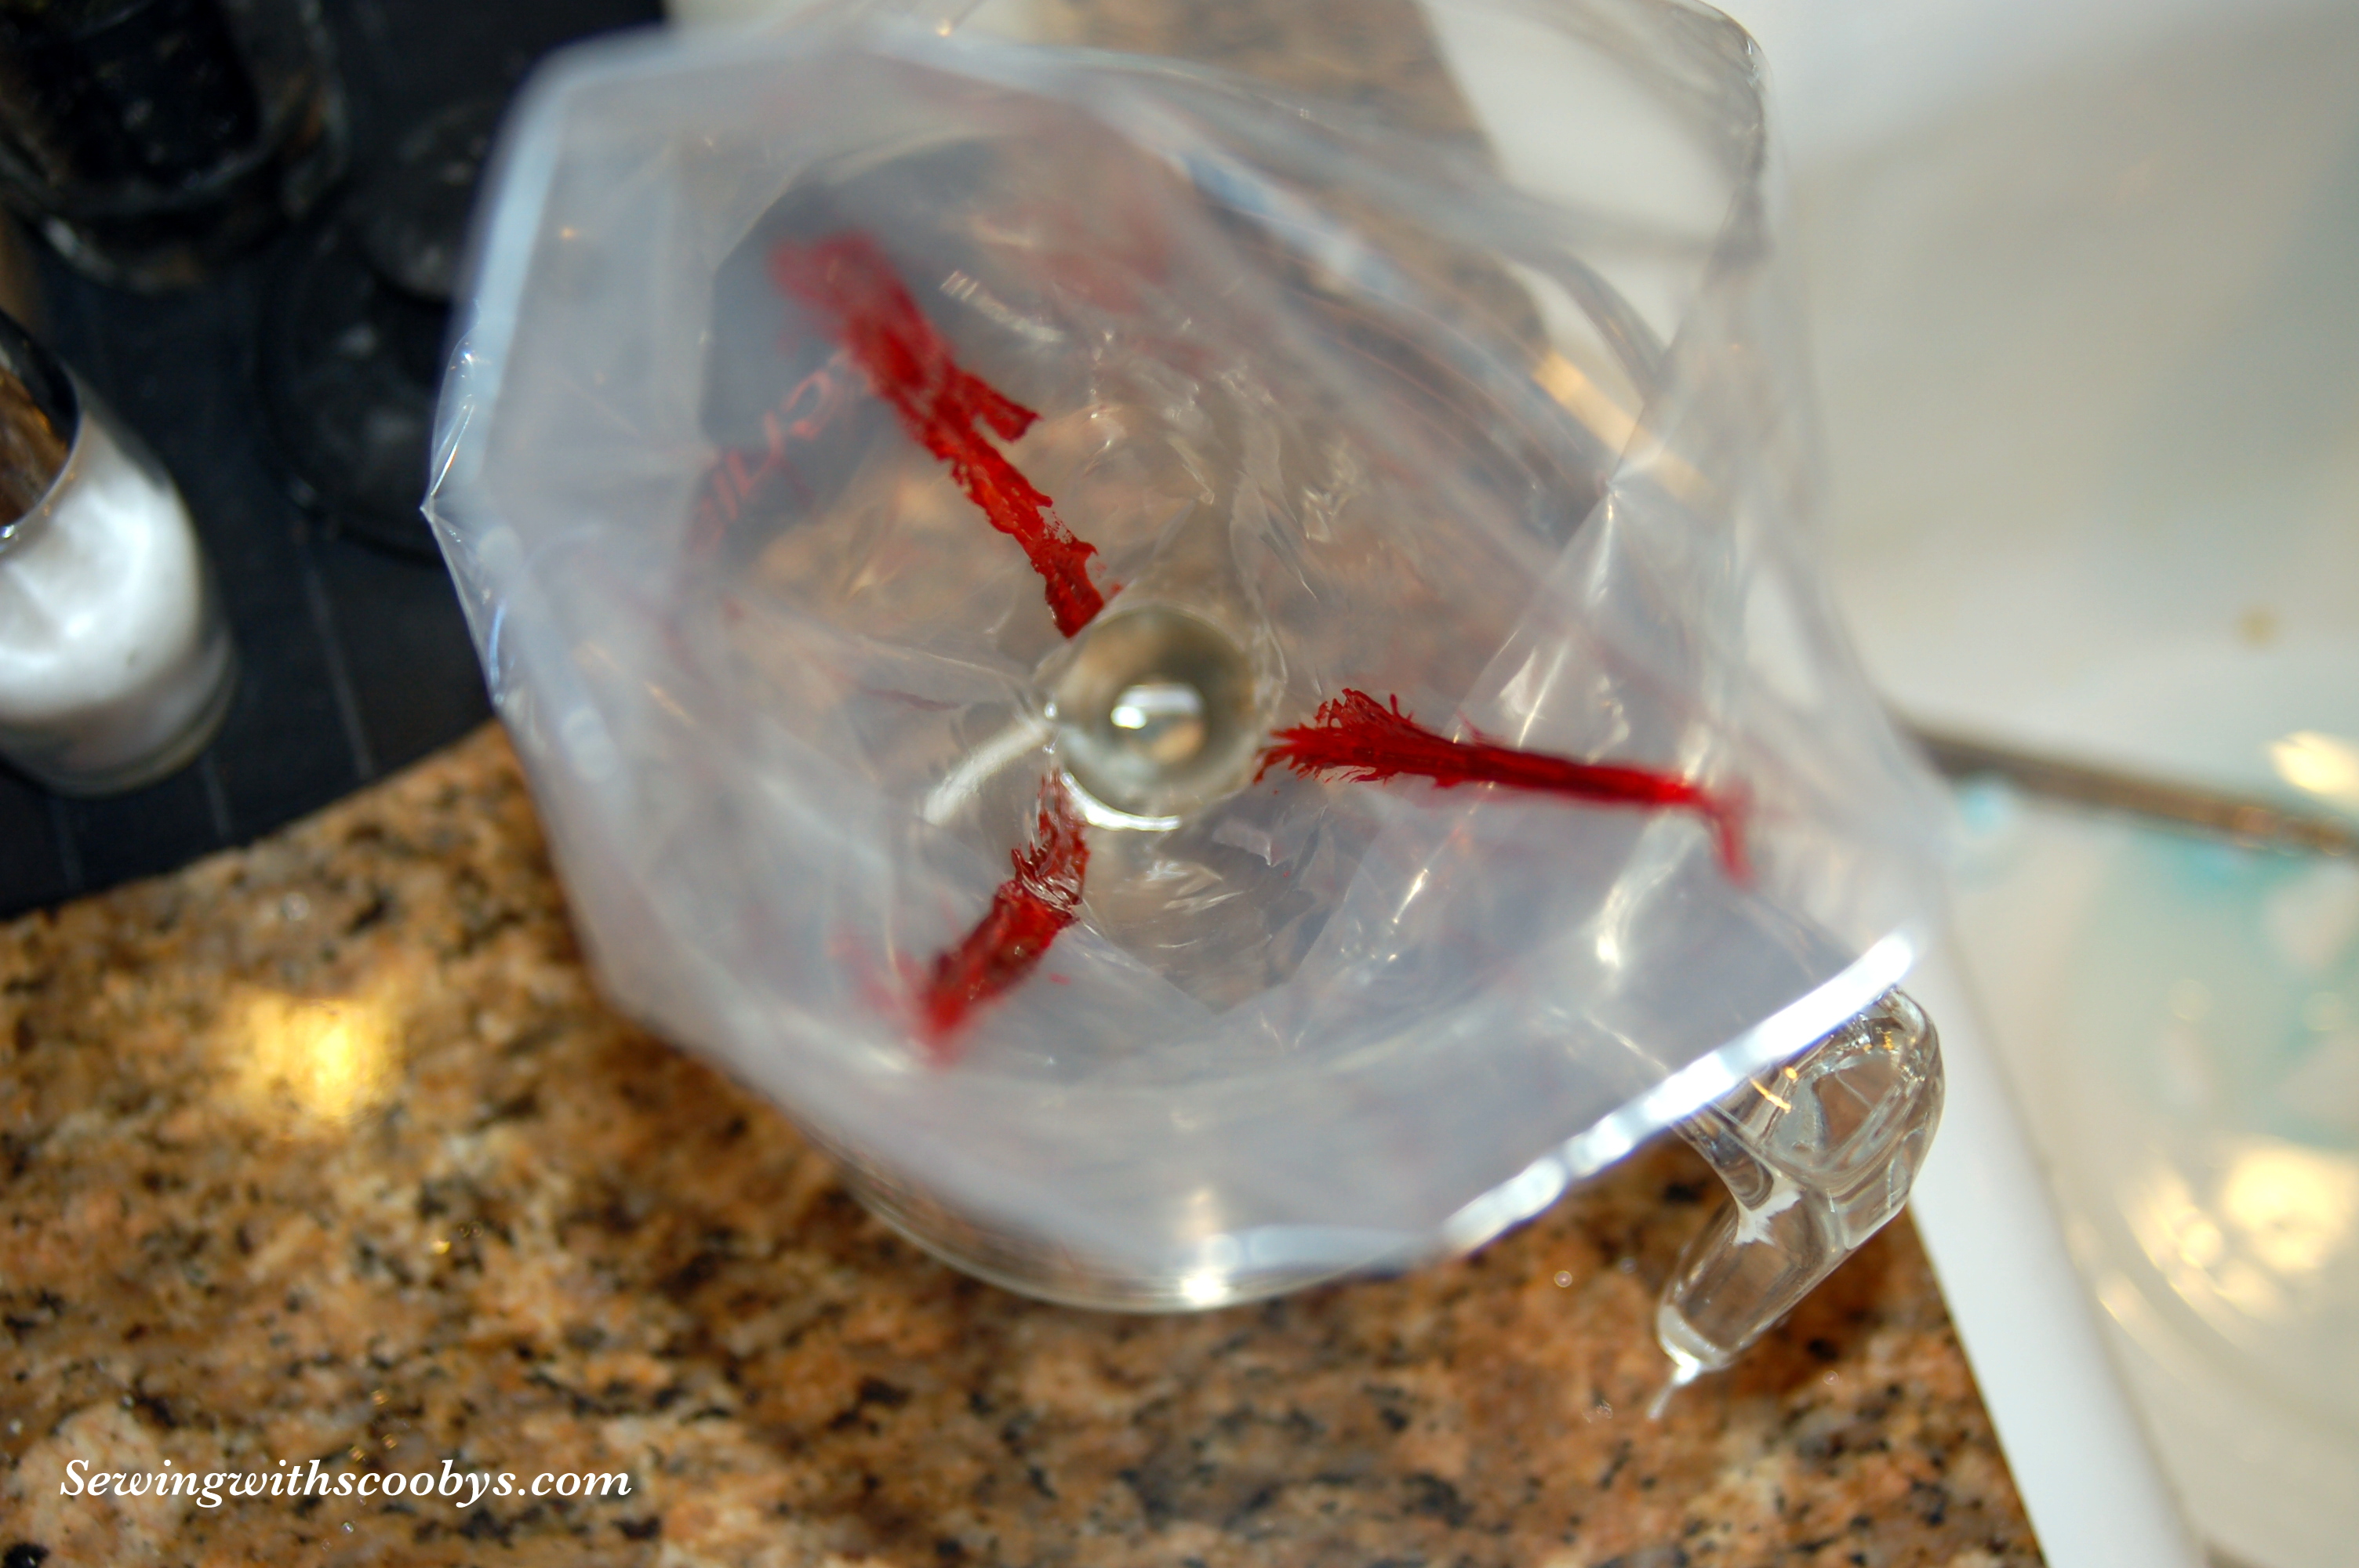
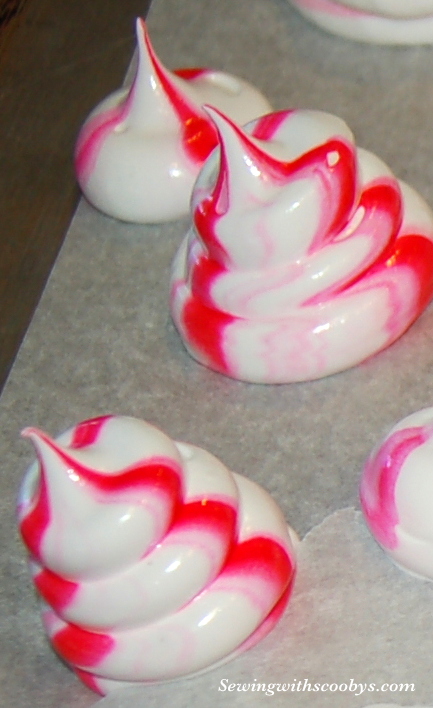
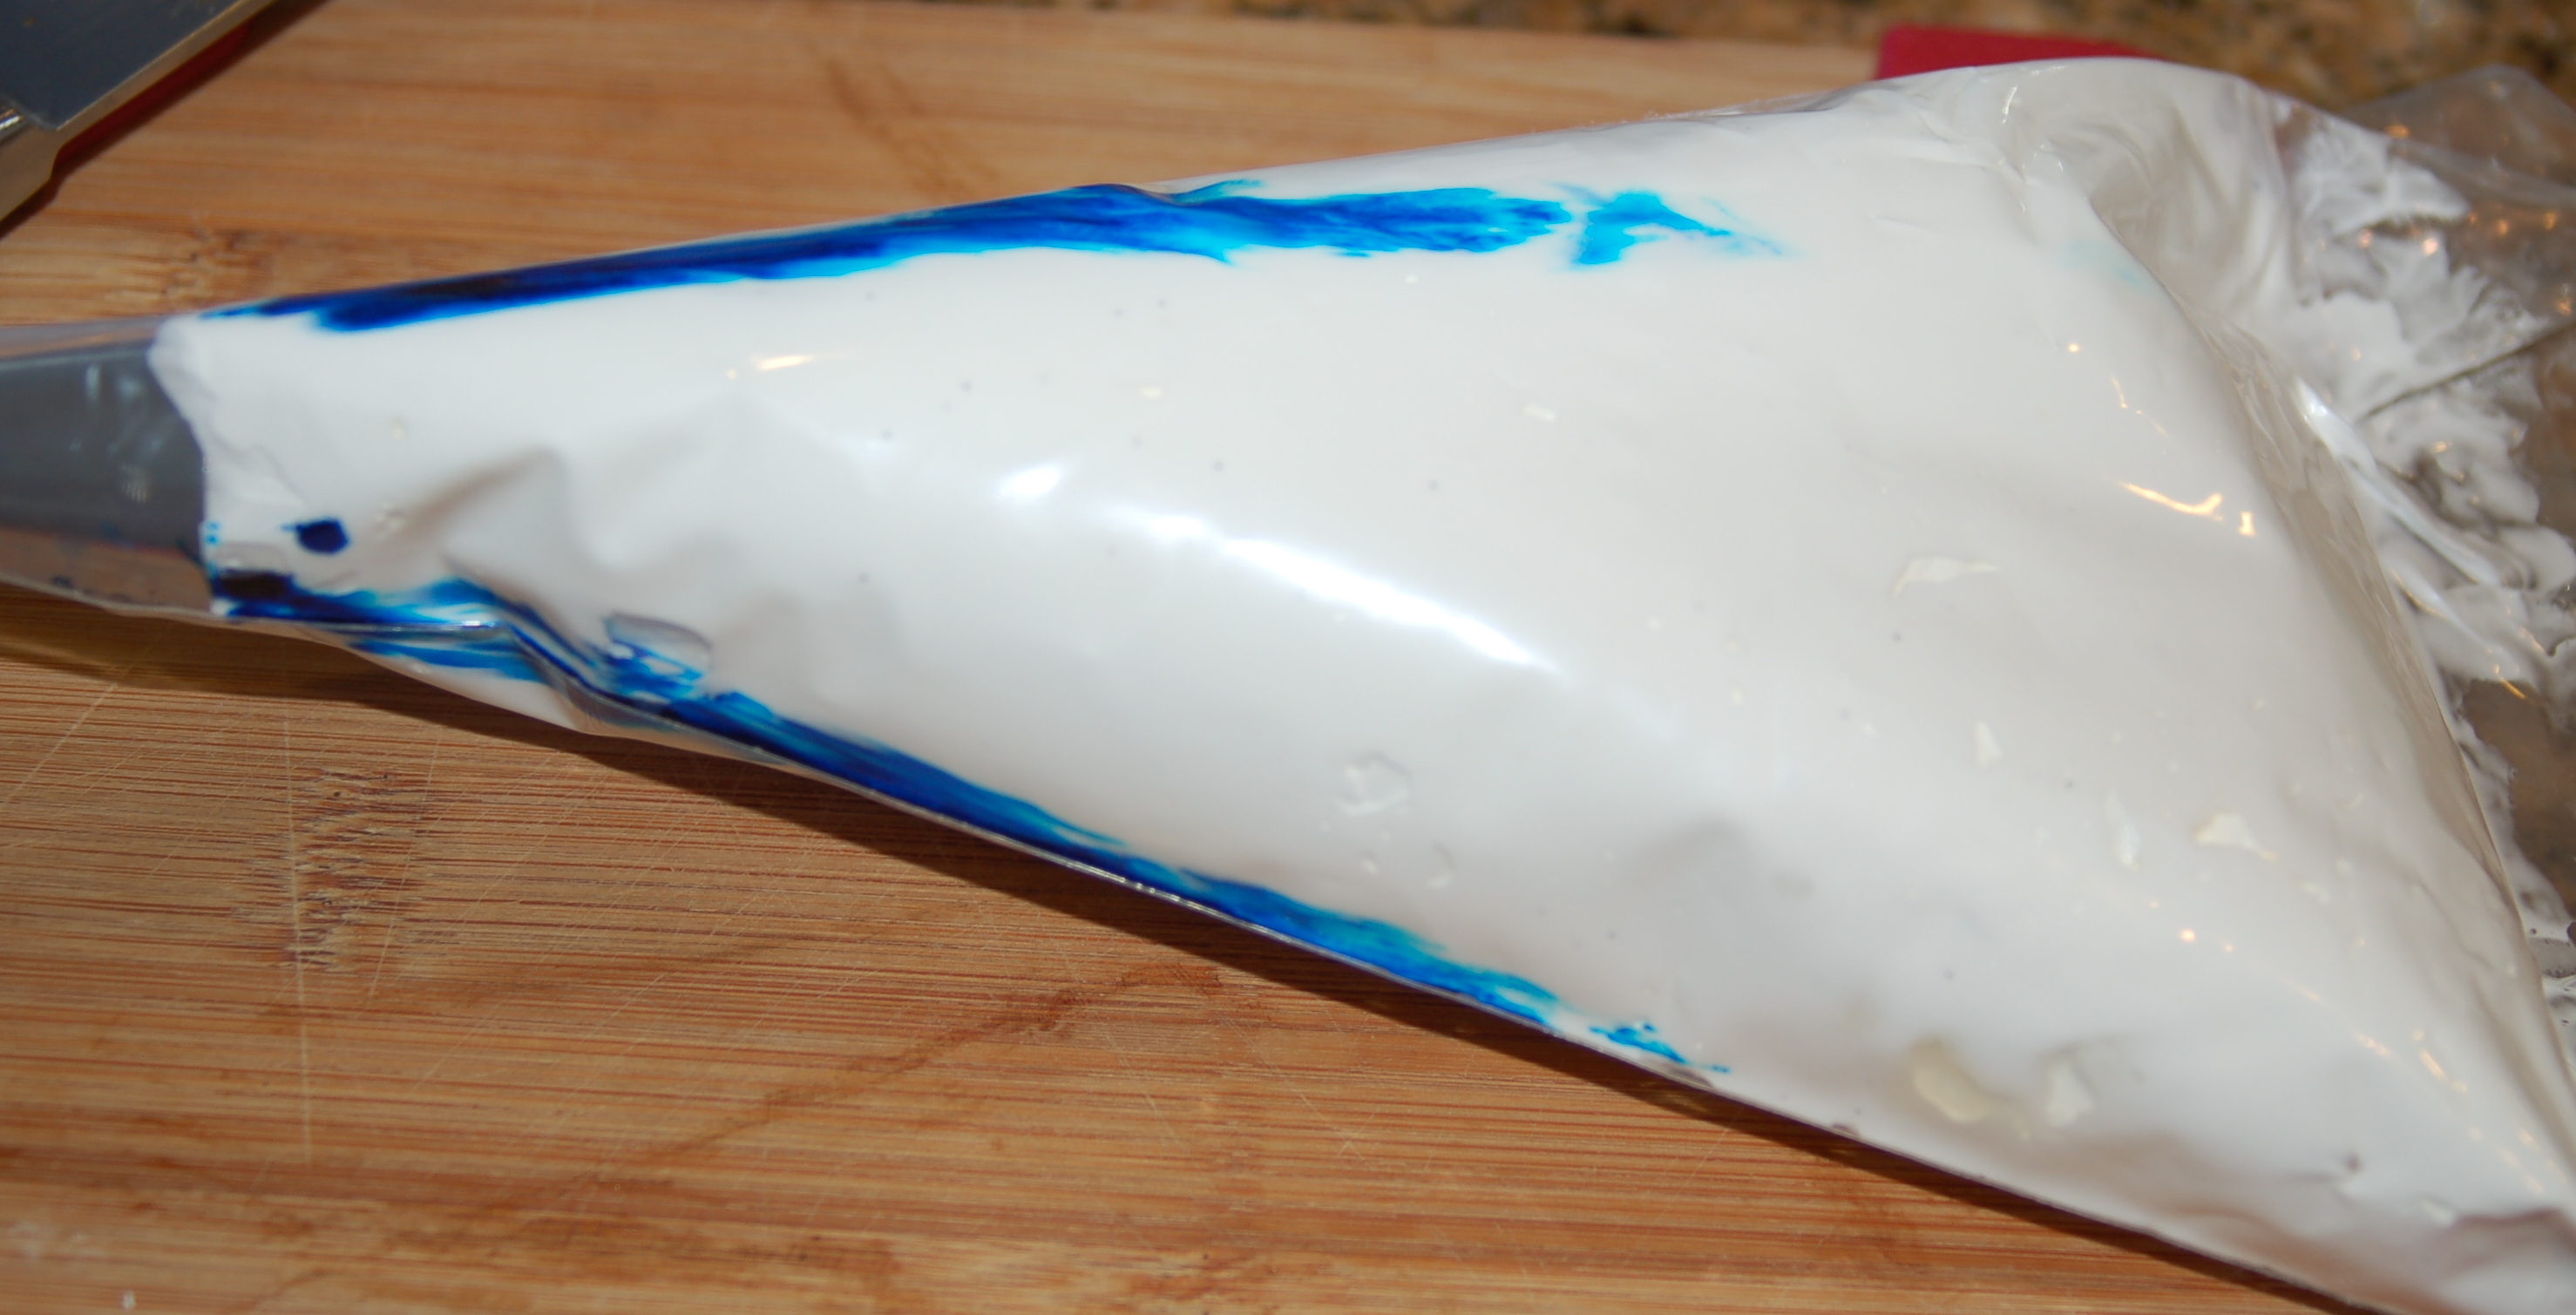
To add some fun I painted 3 lines in my piping bag of some food coloring and then added my fluffy goodness to the bag.
Pretty huh?


Now here is an important tip. Once your cookies are completely cooled store immediately in an airtight container or they will become tacky.
Happy Baking!!

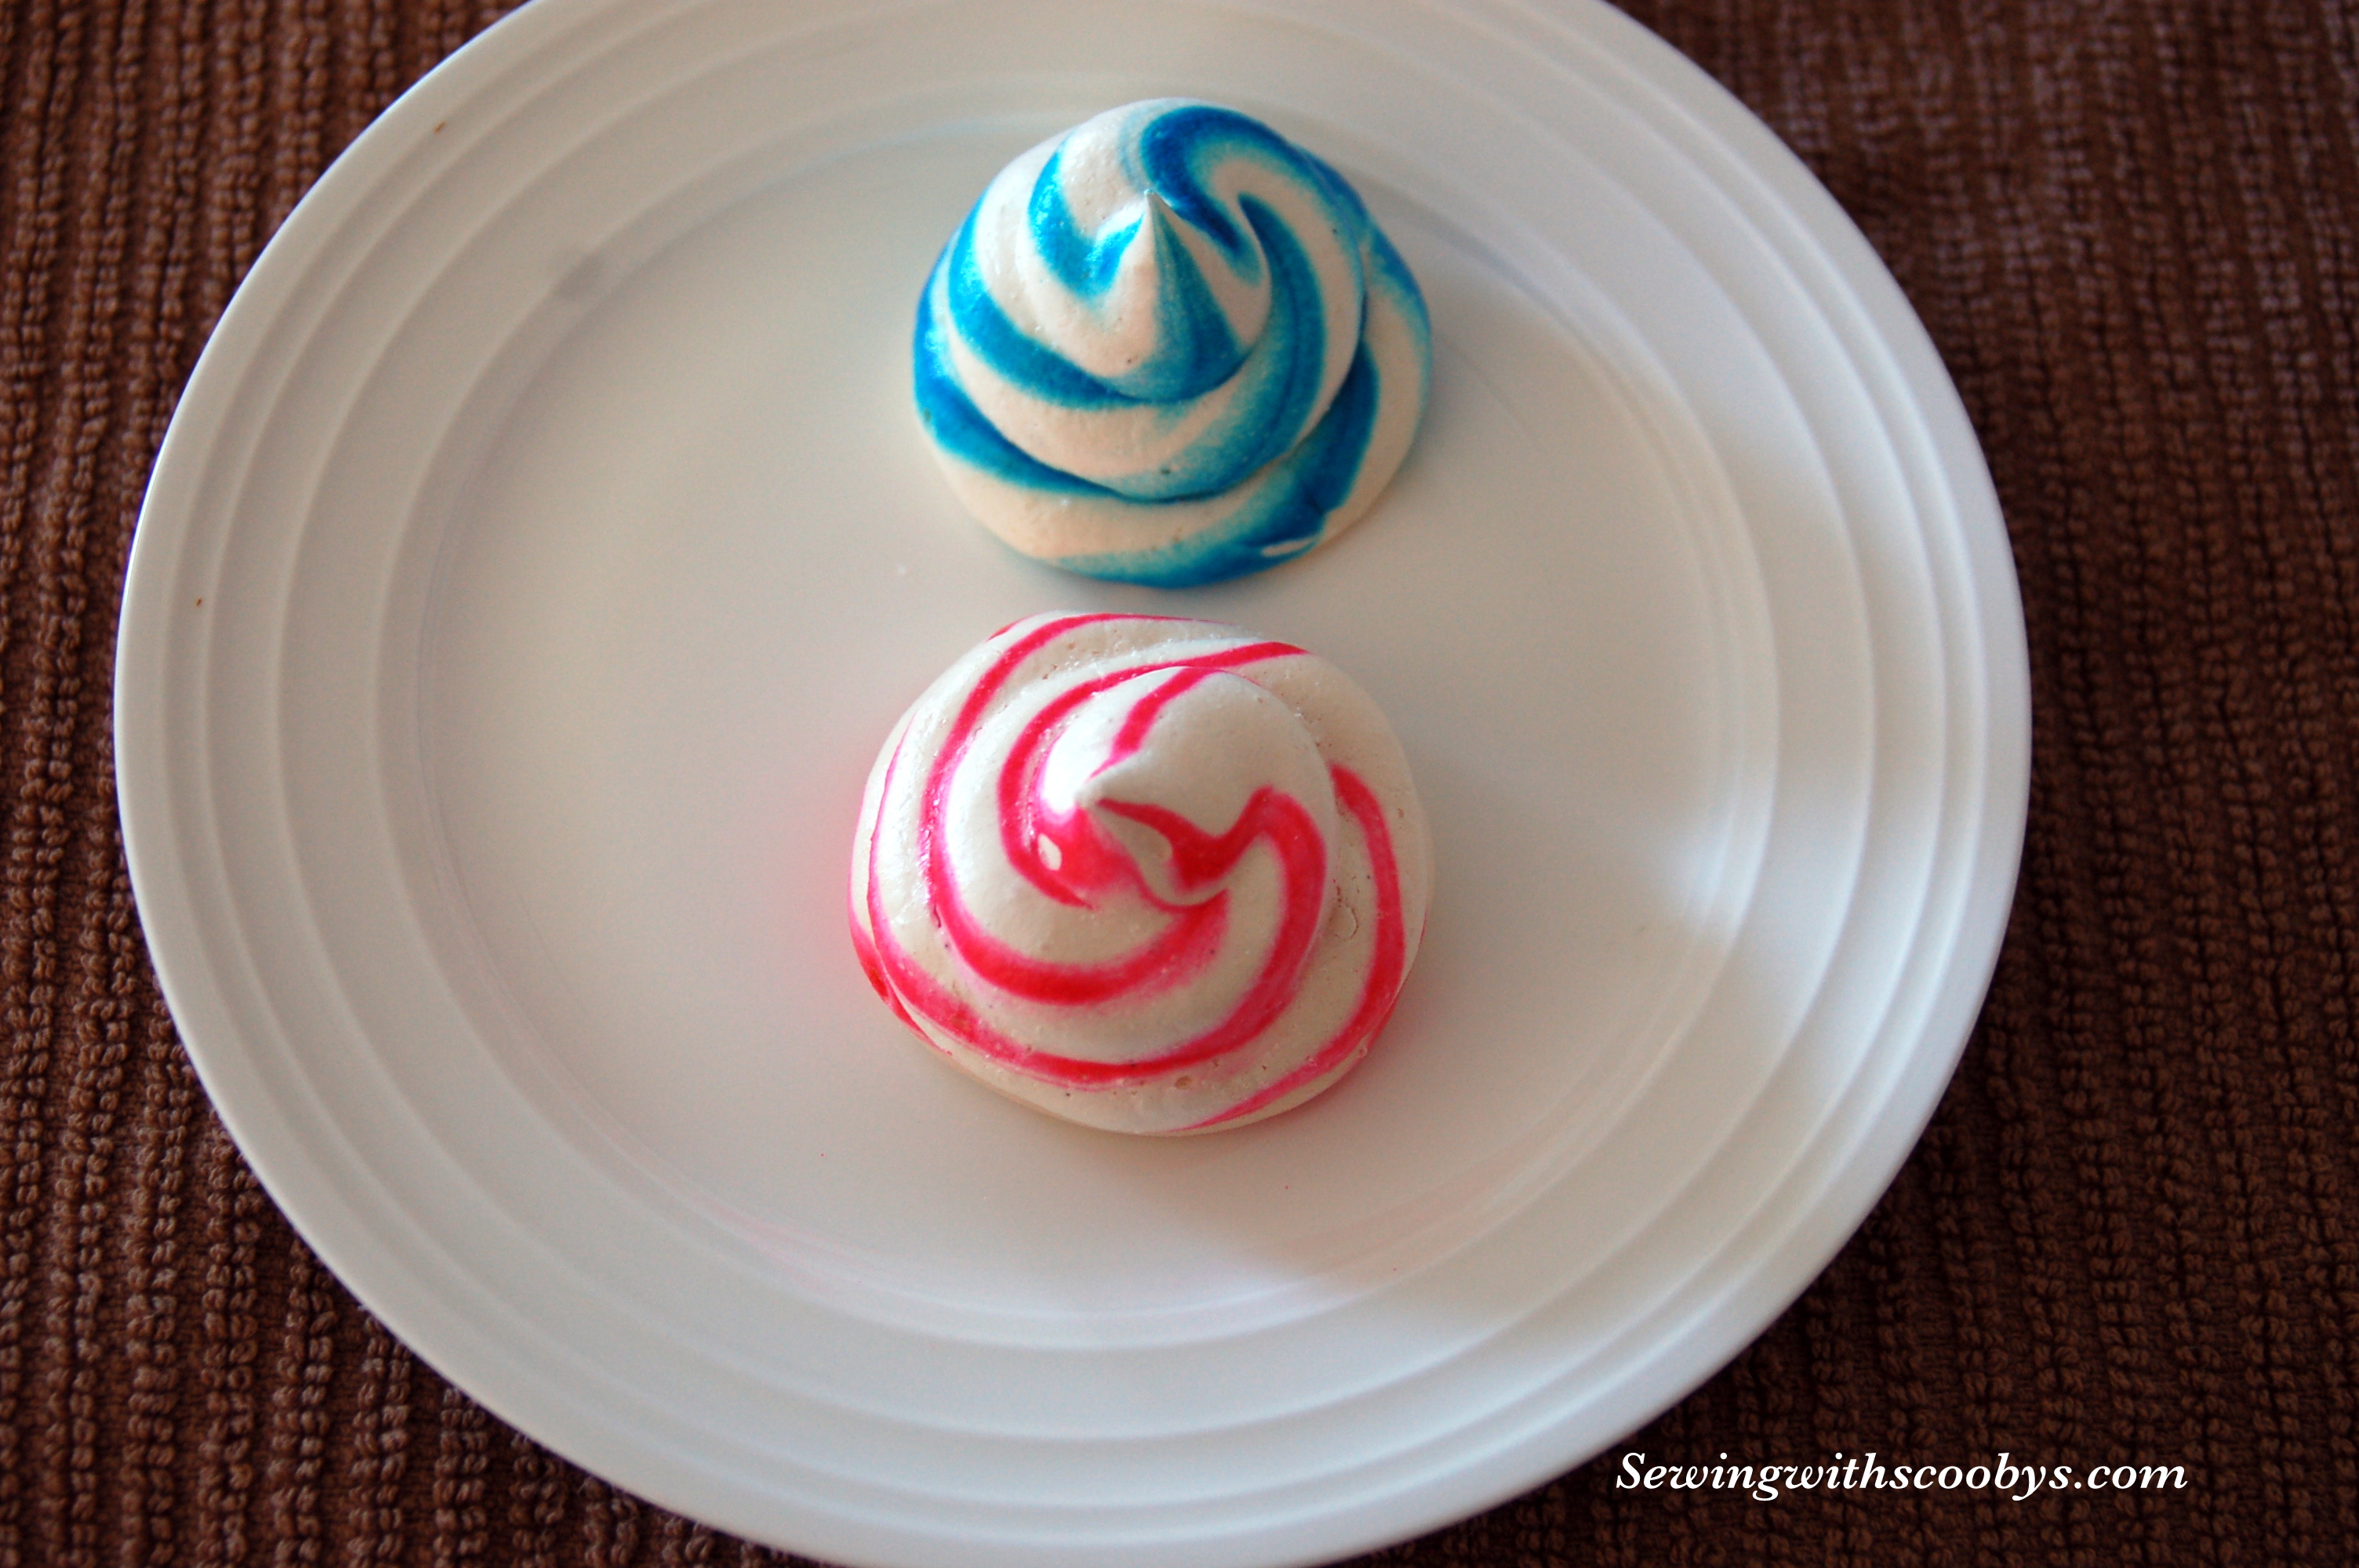
Hmm pink and blue……great to make for a baby shower!!

Meringue Cookies
Ingredients:
- 6 large egg whites
- 1 1/4 cup of sugar
- pinch of cream of tartar
- pinch of salt (yes I used both because this will make a large batch of cookies)
- 1/2 vanilla bean scraped
Directions:
Place egg whites and vanilla bean in clean bowl with whisk attachment and blend till soft peaks form.
Add your salt, cream of tartar and mix for 30 seconds. Now start mixing in your sugar a couple of tablespoons at a time till it turns glossy, increases in volume and stiff peaks form.
Pipe cookies onto parchment paper and bake in 200 degree farenheit oven for 1 1/2 hours. Turn stove off and crack open the oven and let rest in the oven for another 30 minutes. The cookies should come off parchment paper easily, if they are sticking they are not dehydrated enough and you need to cook them a bit more.