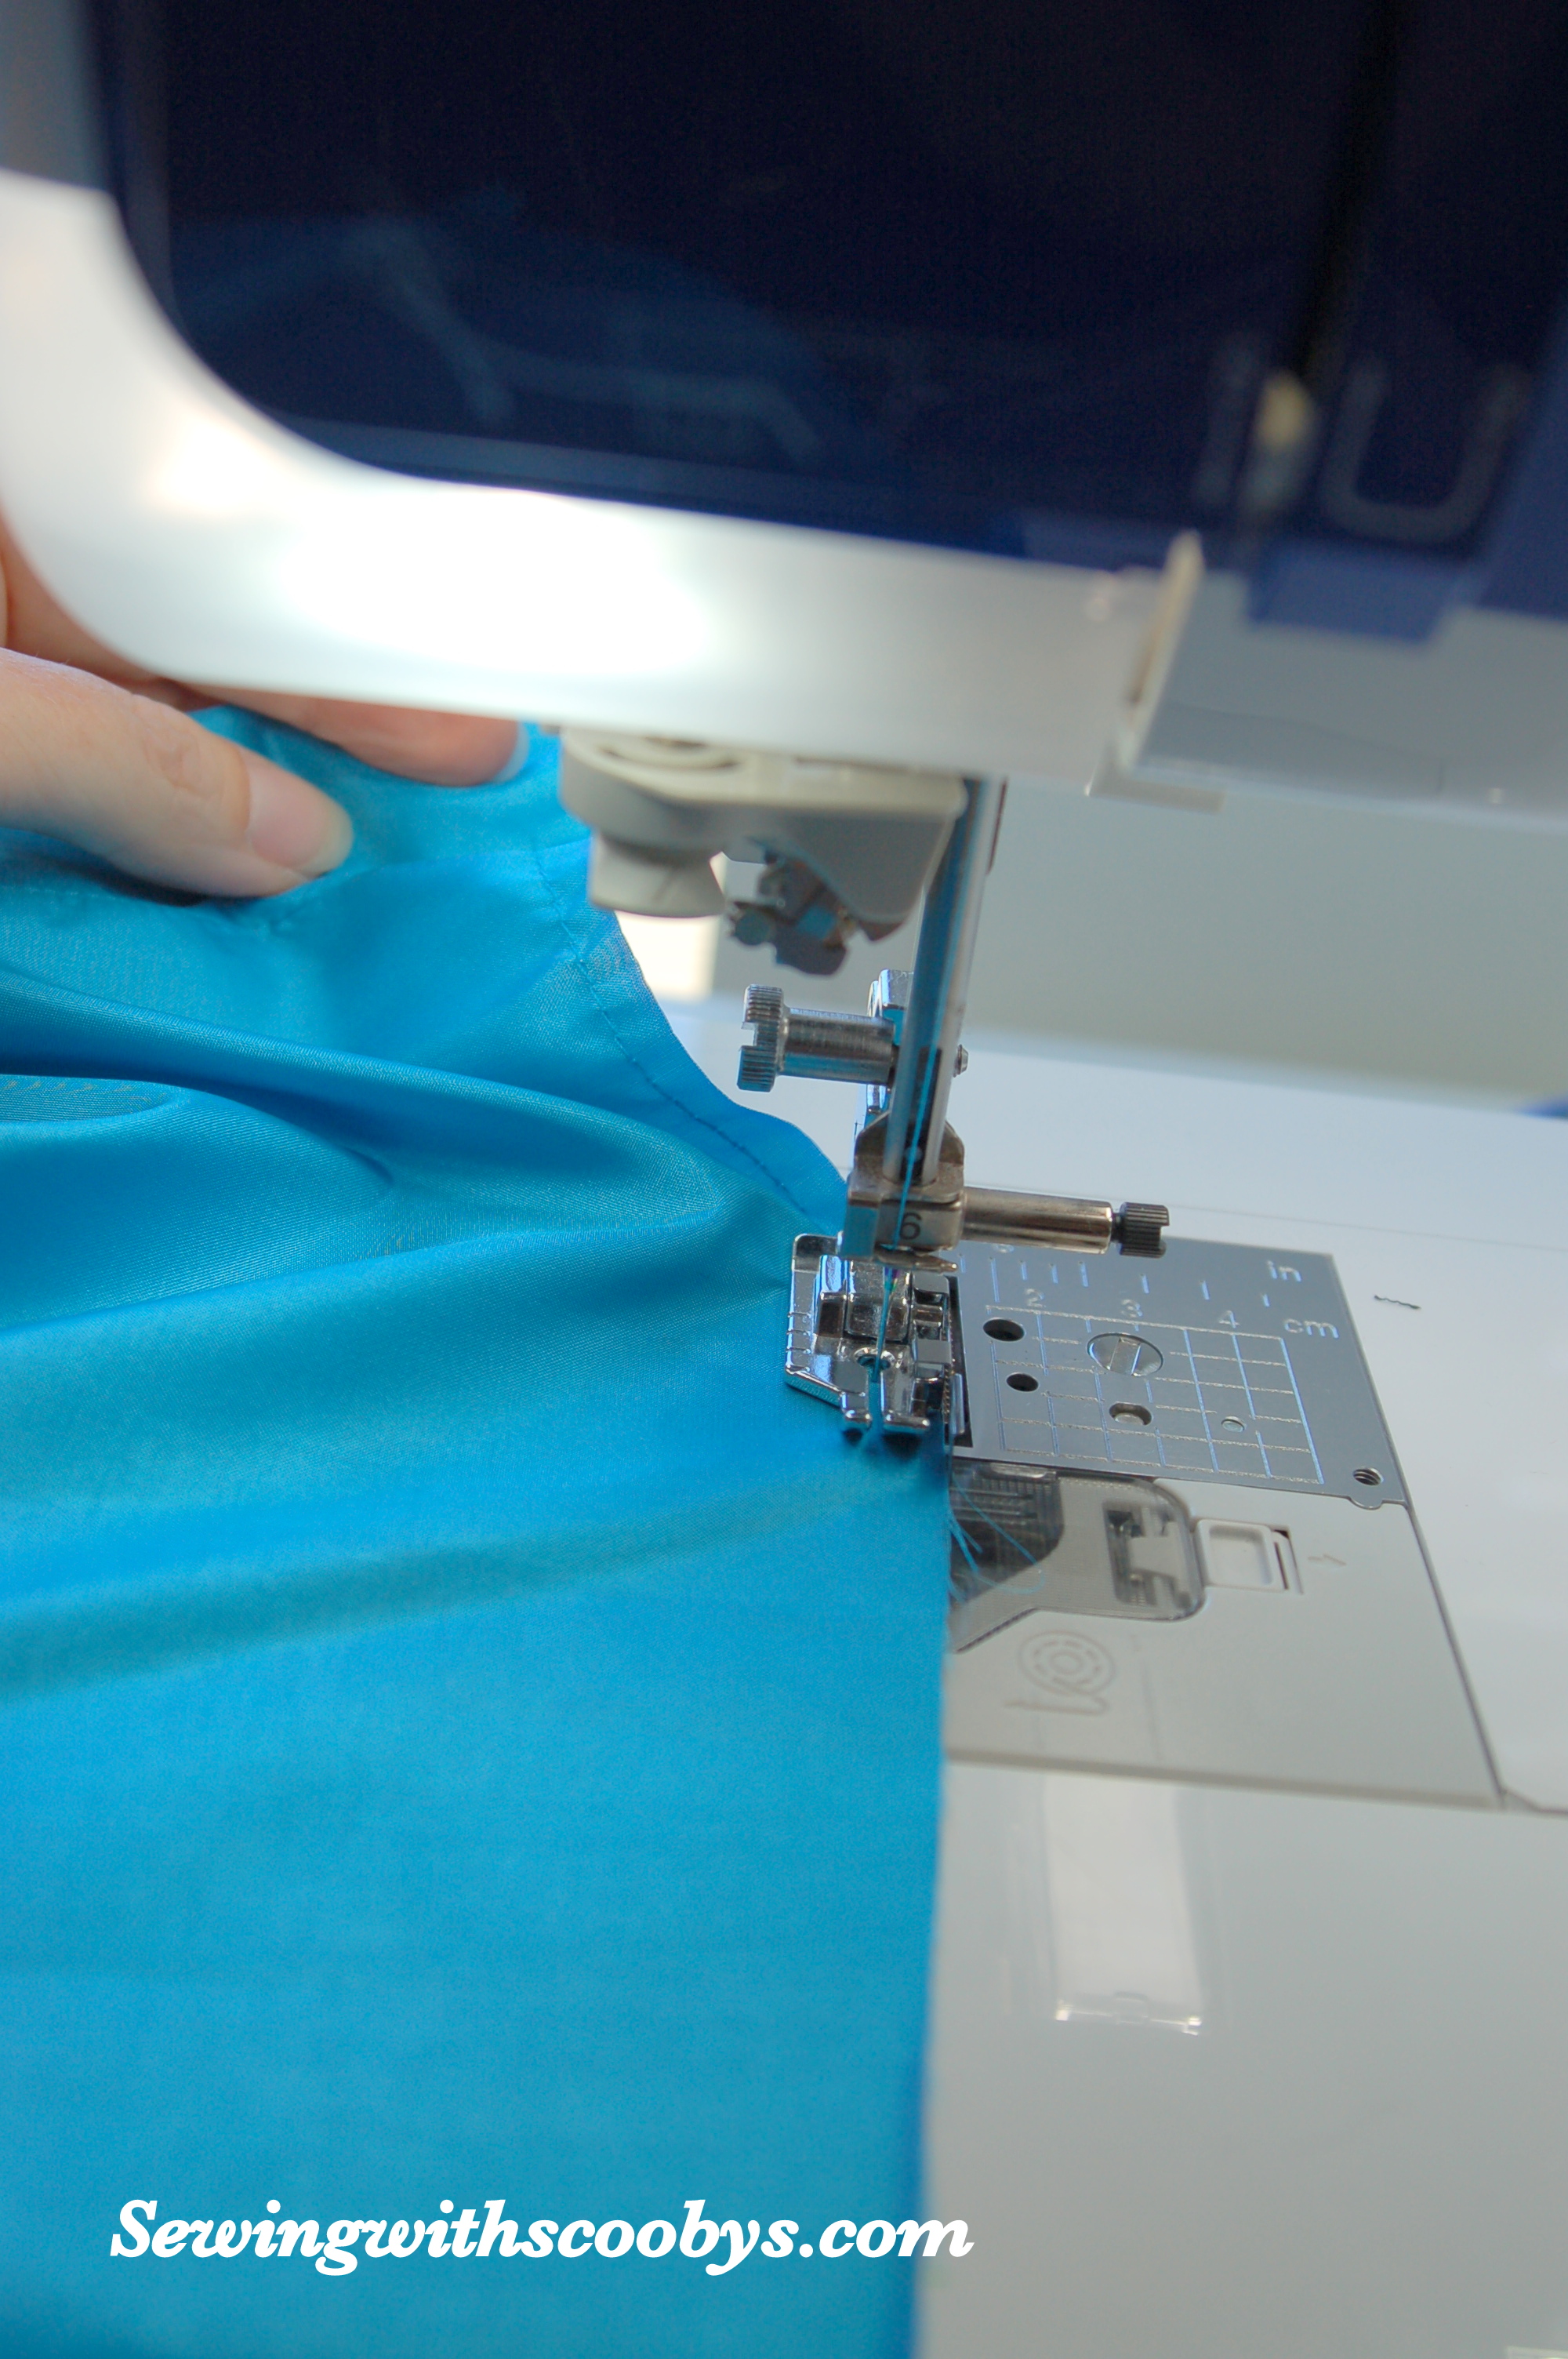
A clean finish on a hem that is not straight is tough. The curve tends to pucker a hem. To prevent this you can staystitch while applying your finger to the back of the foot thus applying resistance to the fabric from coming out freely. This is also known as staystitch plus. This eases the fabric as noted by these tiny accordion type looking pleats:
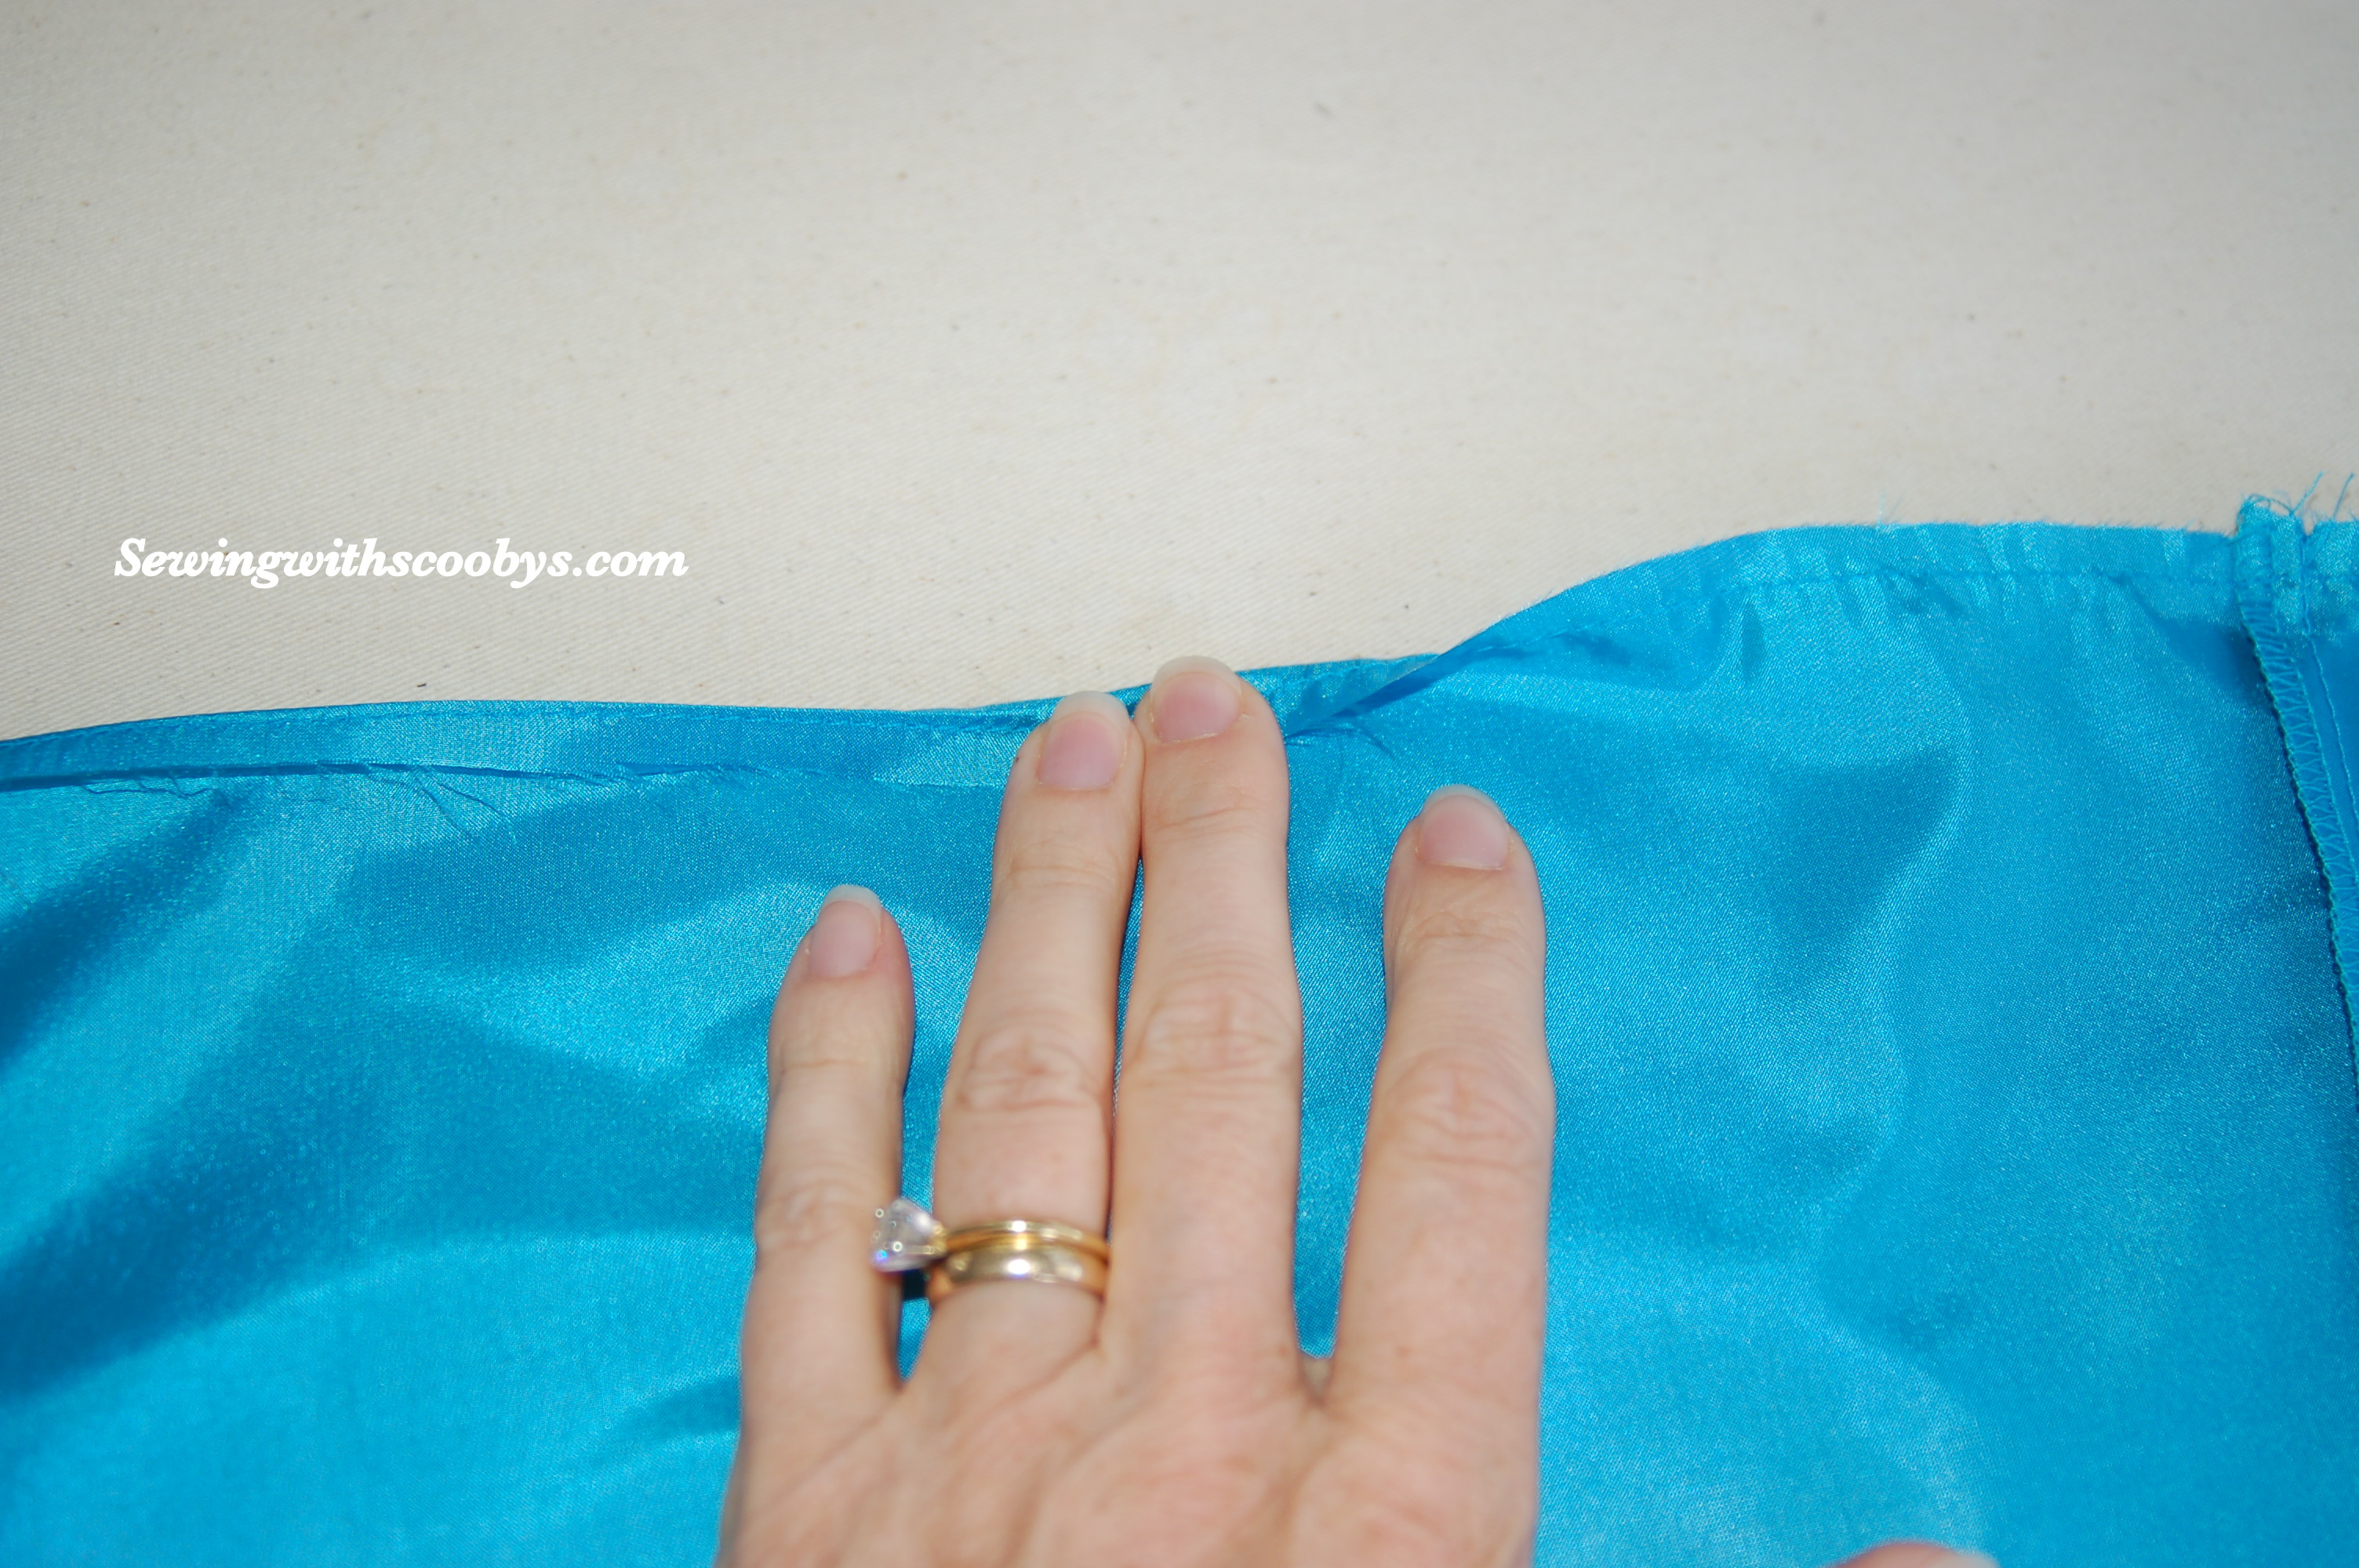
If your fabric is very convex then you may want to run a basting stitch and pull up the fabric to gather it even more in order to fold it in neatly.
Now turn your raw edge up right at the stay stitching line, using this as your guideline for folding and pressing, press under once more so you have a nice clean edge:
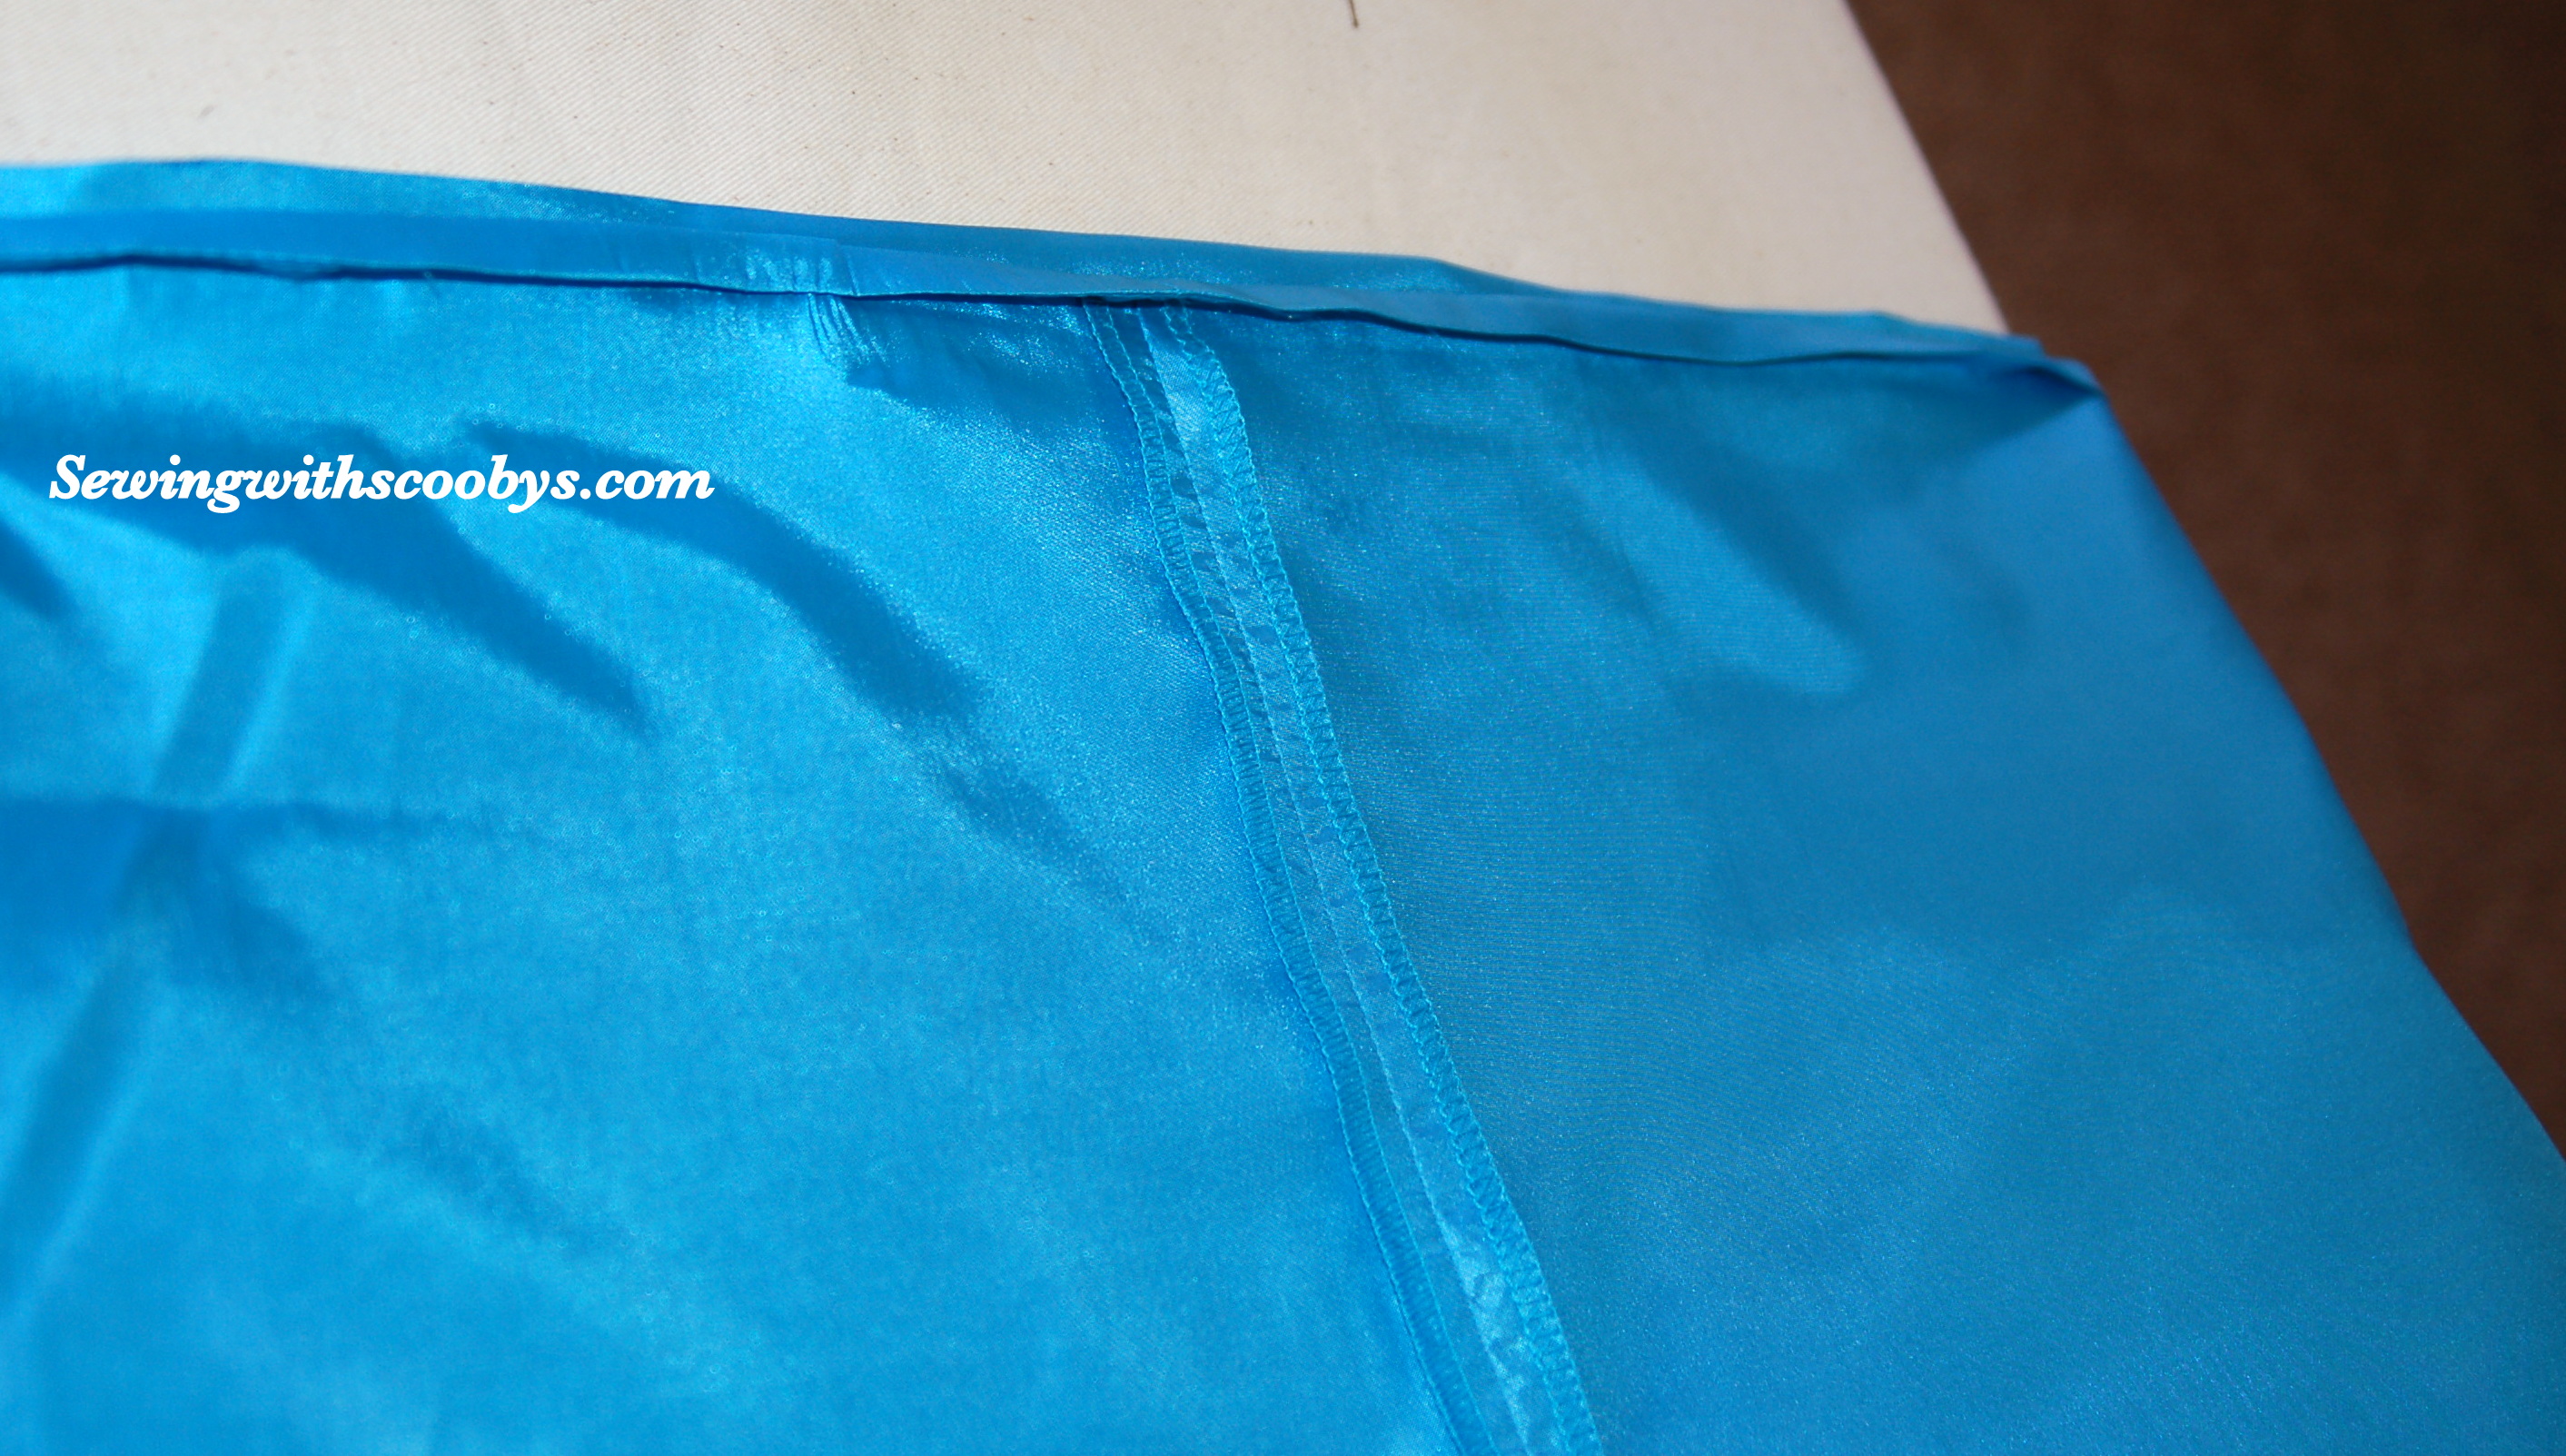
Now I use my overlocking foot to do hems a lot of the time. This is my cheat method. There is a knife like projection in the middle of this foot. This is your guide that you place the fold next to as you sew you get a perfectly straight and even hem!

How easy is that?

Great tutorial! Wish I had an overlock foot. That would help with topstitching as well.
LikeLiked by 1 person
Now then, that makes perfect sense thank you! Good excuse to make something up just to try this out 🙂
LikeLiked by 1 person
I just bought a foot like that and I love it. I use for topstitching, works great for that. Great tutorial – I would never have thought to gather the fabric like that to get a nice curve, but it makes sense. I always have trouble with those curved hems.
LikeLiked by 1 person
I know before I learned this my curved hems were horrible 🙂
LikeLike
Nice job! Wait until you see my next post… Can you fix my seam pucker (that is driving me nuts!)
LikeLiked by 1 person
I am just reading on your seaming adventures right now 😉 My serger has done that to me too! I know it is a tension issue and inserting brand new needles that are the right size for that type of fabric will also help tremendously 🙂
LikeLiked by 1 person