I have oodles and oodles of pictures to share with you!! I am so excited about how this skirt turned out! Thank you CRAFTSY and your drafting courses!!
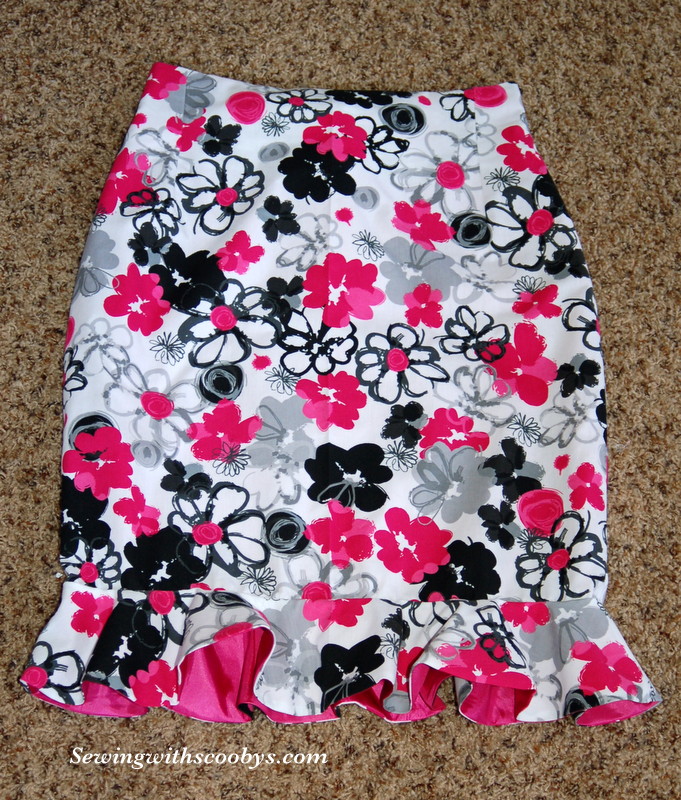
Ok so I drafted a high-waisted pencil skirt, with a flounce and facing. It was so nice to cut into REAL fabric for a change and not MUSLIN!
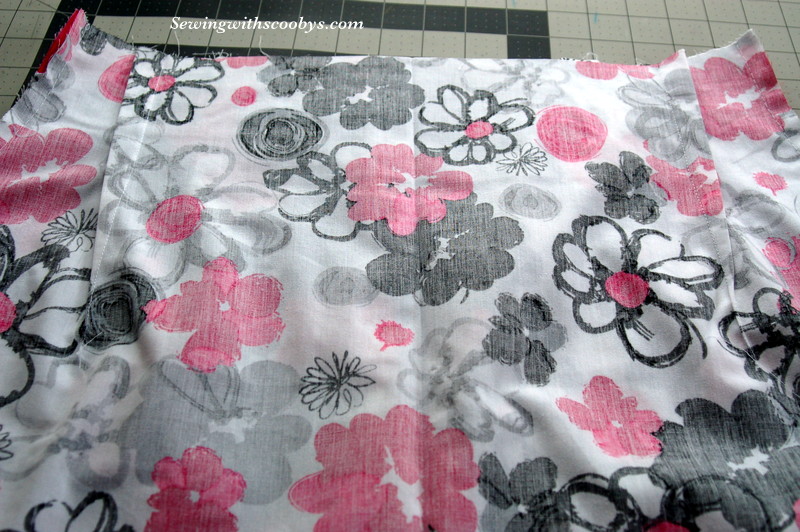
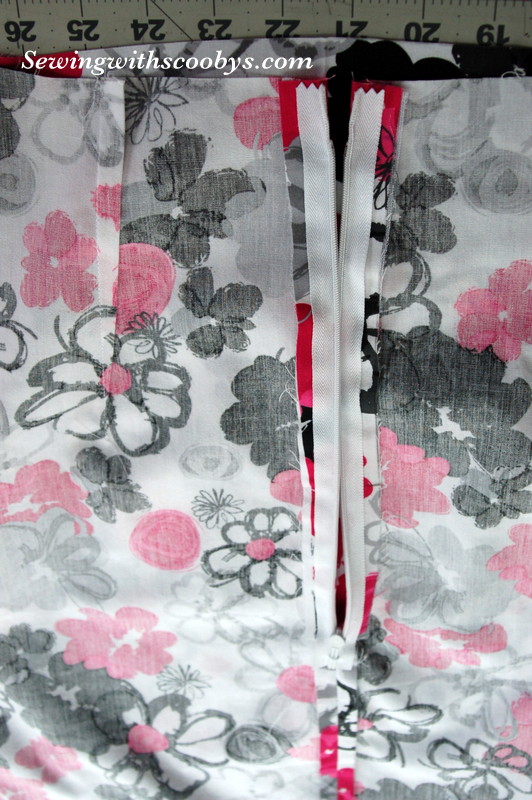
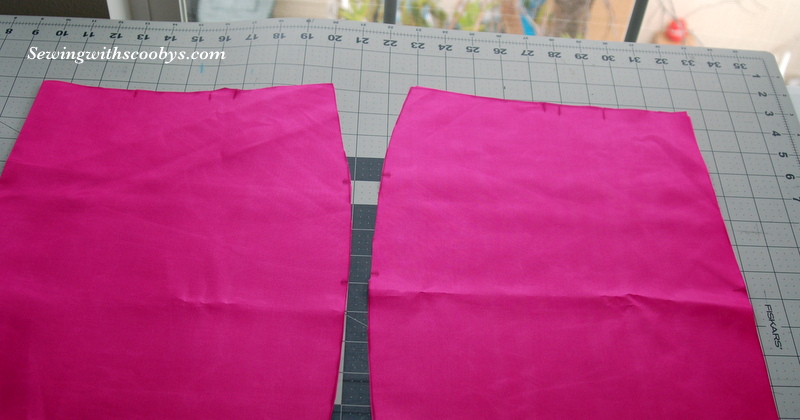
Here is the skirt shell: Check out my darts, no bubbles on the vanishing point of the darts! YAY! These courses will make you really good at darts and confident with your construction.
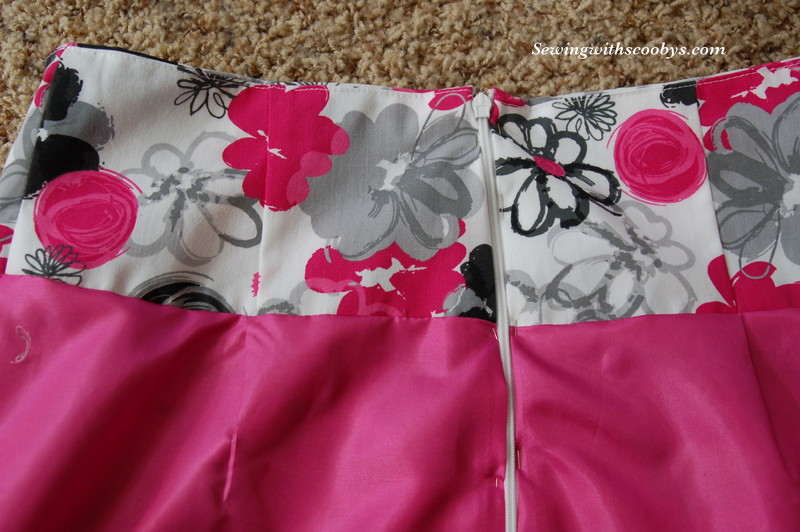
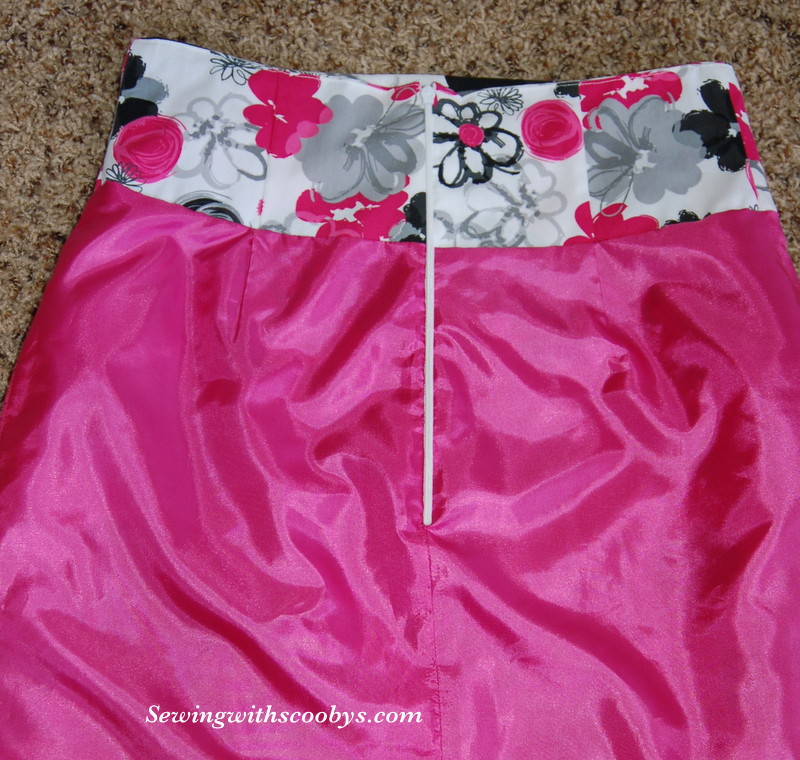
The invisible zip went in surprisingly well. I don’t know why but zippers always make me nervous and are usually a bitch to put in! I interfaced this area with fusible interfacing.
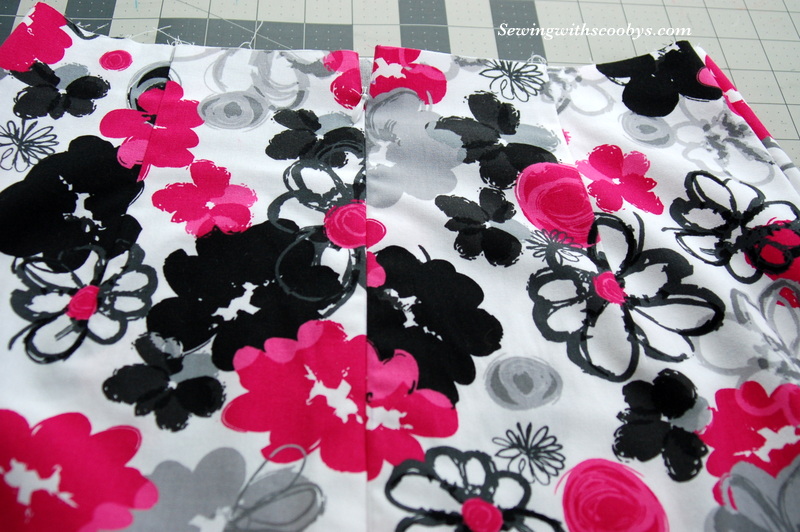
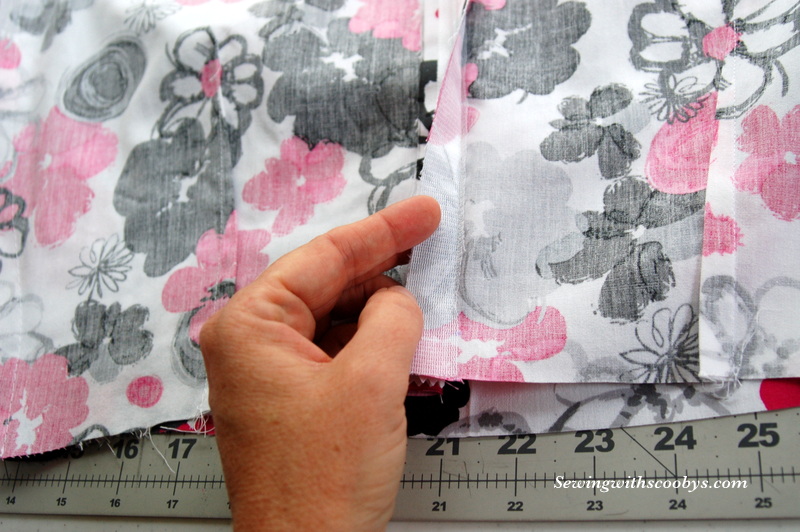
I basted the side seams and tried it on, it was perfect so I went ahead and sewed it for real. I also serged the edges to get a clean look.
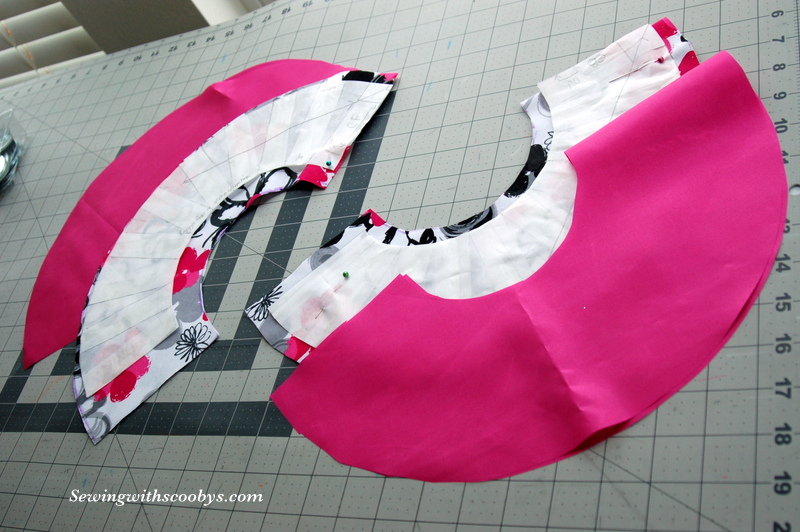
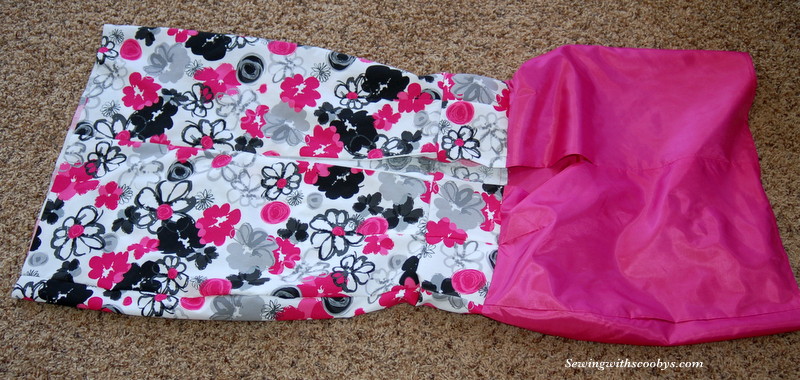
I prepared my flounces and facing:
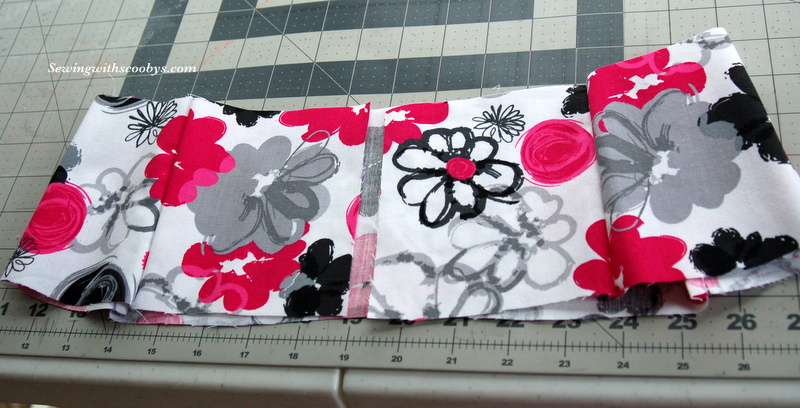
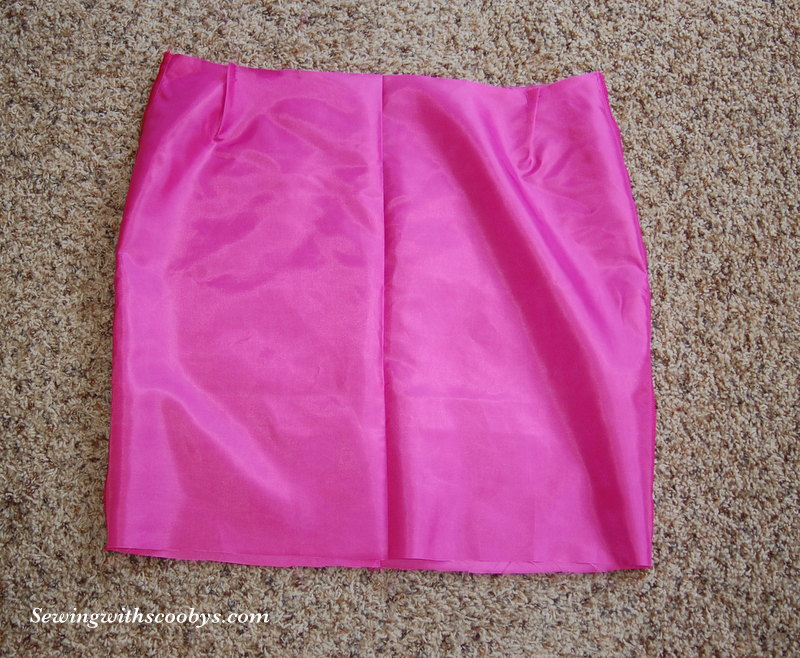
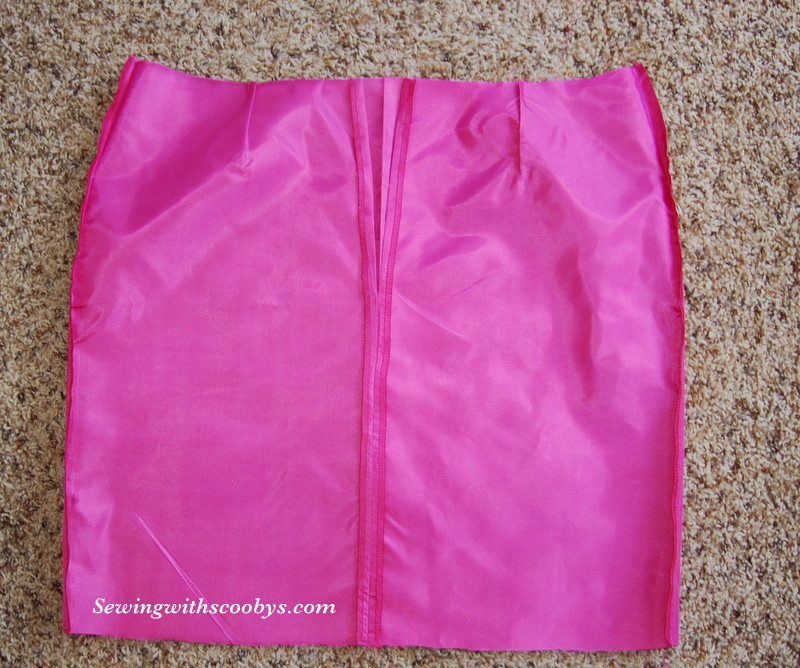
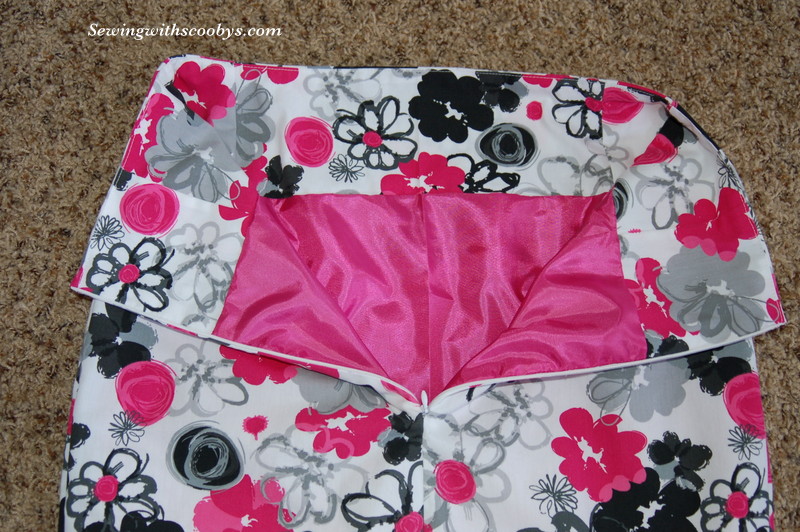
I cut out my lining and pleated the dart areas. I serged it and pressed it ready for applying the facing:
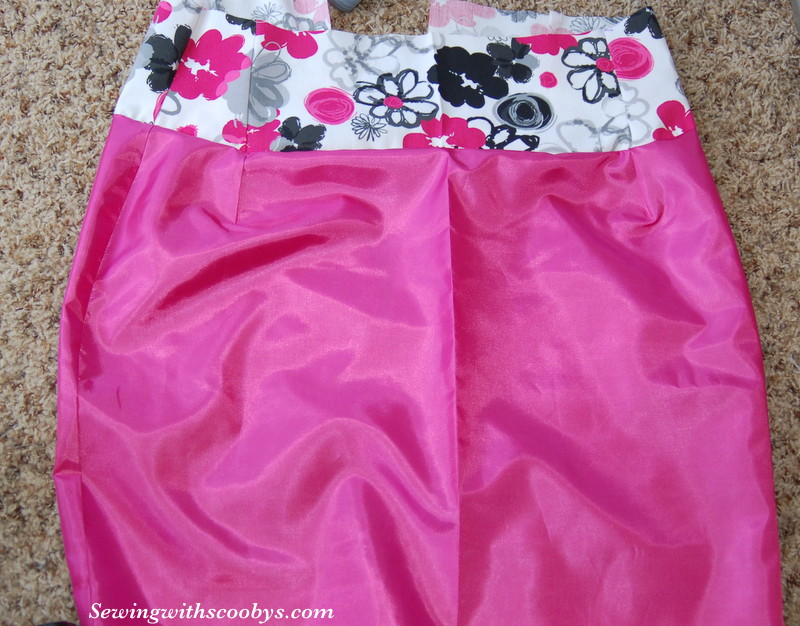
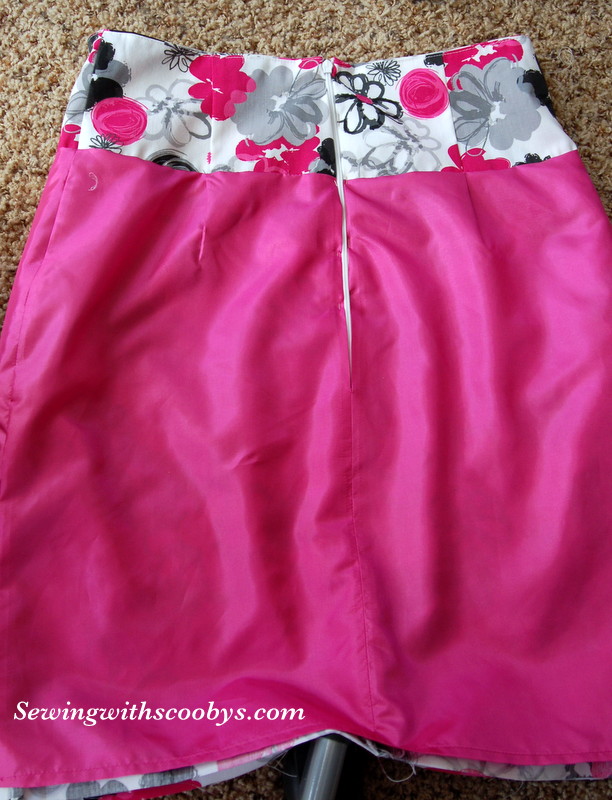
The facing got sewed onto the skirt, everything matched up very well. I edged stitch along the facing so that it would stay put better. The lining is folded up a 1/4 inch twice for a clean finish:
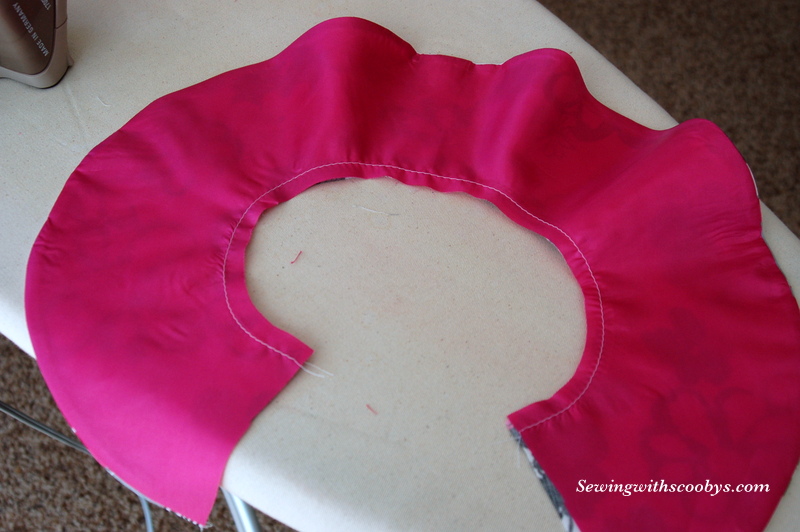
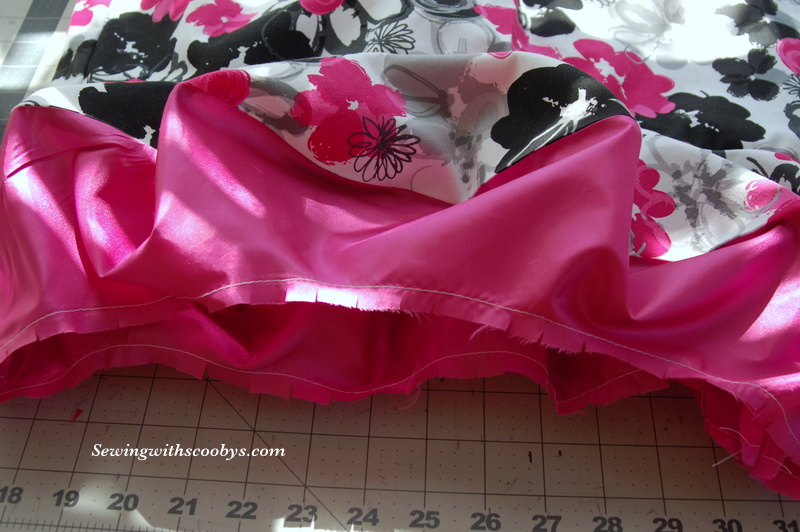
Now comes the flounces:
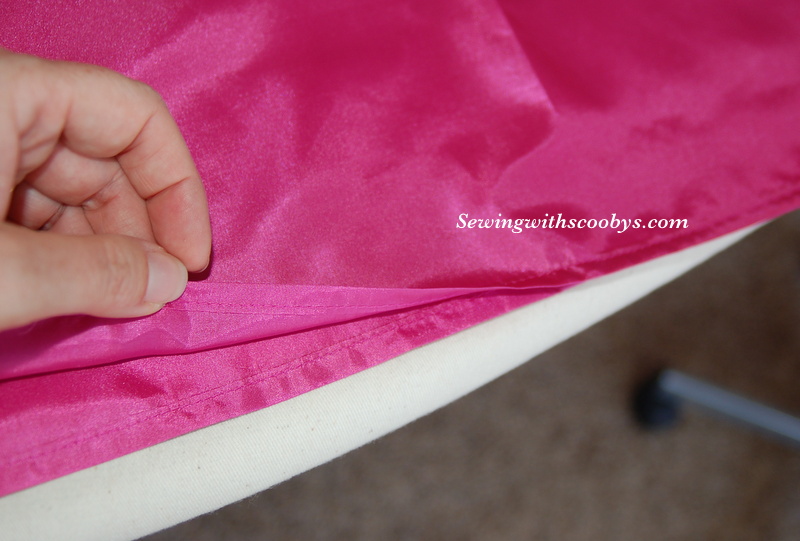
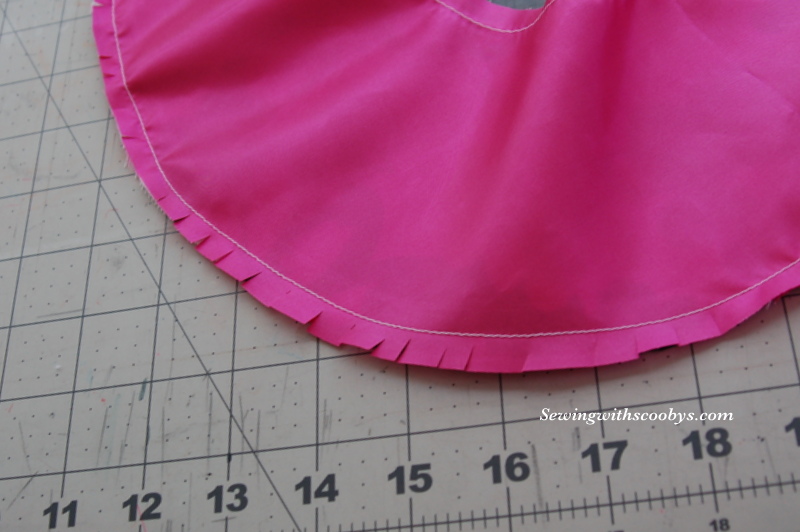
I prepped these by stabilizing the inner circle by stitching both the material and the lining. I stitched them together along the outer edge with a 1/4 inch seam allowance. I took my time to clip the lining and fashion fabric, staggering the clips so that when they are turned they will fan out nicely with no “gaposis”
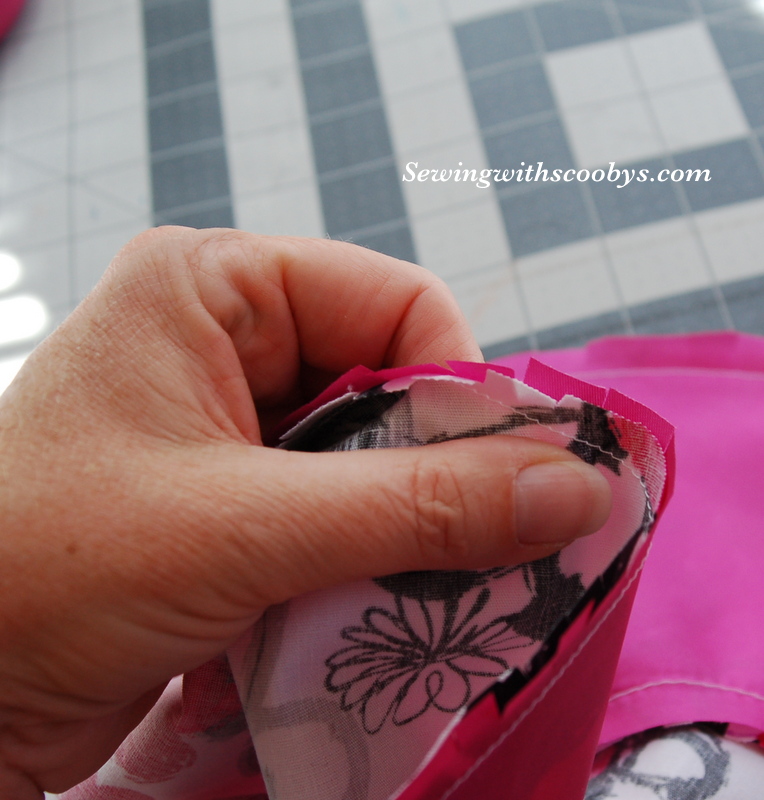
It’s a bitch to do but if you open up the seams first on a pressing hem before turning you will get a nice finished smooth look. A clapper helps with that too 🙂
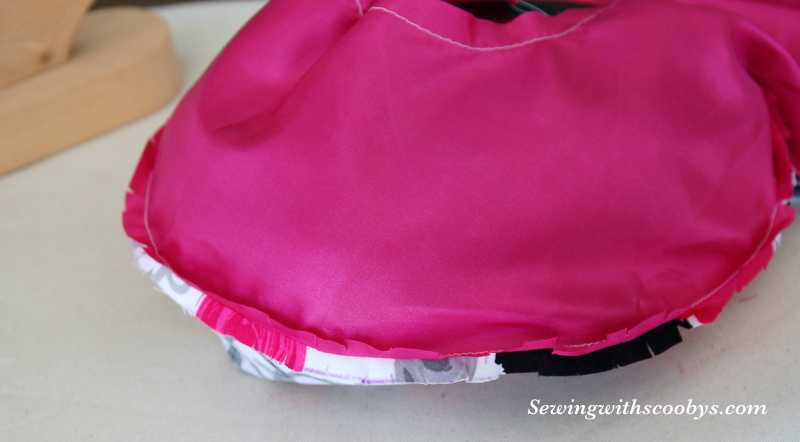

I attached the flounce to the skirt then clipped gently into the lining to help turn under to sew in place.
I was so excited to finish this skirt I hand sewed the lining around the zipper and the whole lining of the flounce in place all in one night doing the tiniest slip stitches. It took 3 hours! Ta da!!
Close up of flounce…..

Lining near the zip…
Inside out, upside down, sunny side up!!!!!! I know, I know, I have a ton of pictures. Can you tell I am excited or what??!! ;)…..
and another close up for giggles…

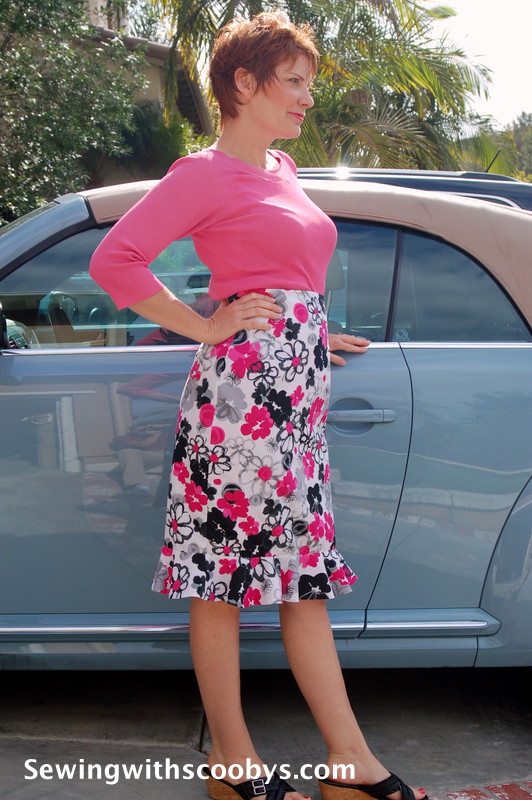
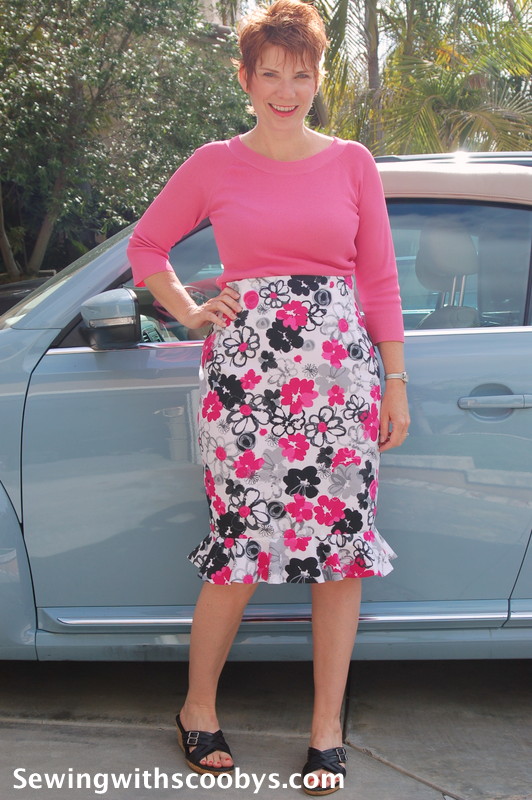
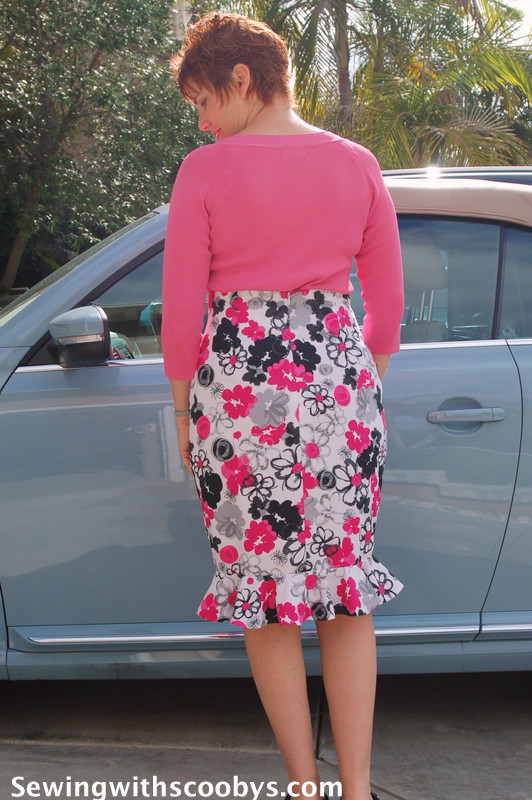
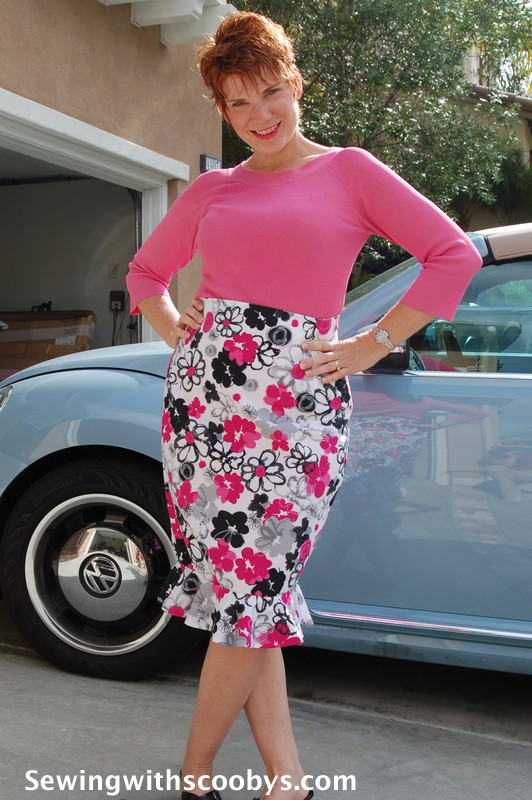
Ok here are some pics of me wearing it so you can actually see the fit 🙂 I have a major hole in my wardrobe to find a top that will go with this high-waisted style but what I had wasn’t too horrible.

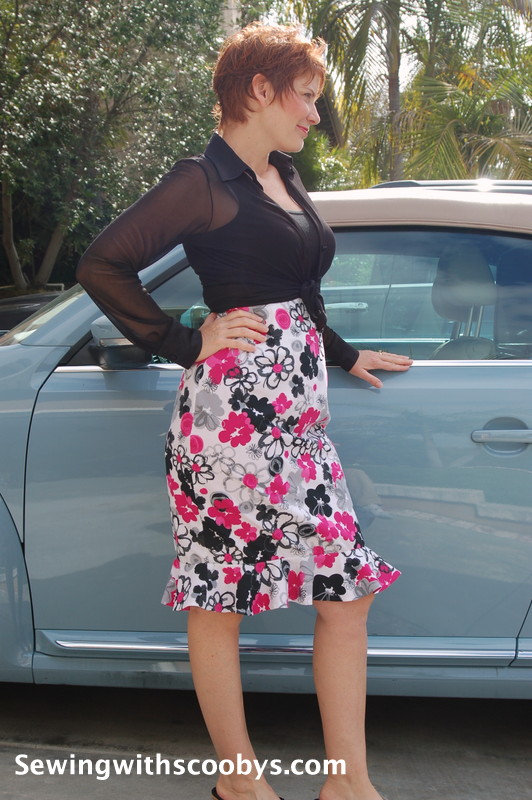

I love it! The black top really sets it off beautifully. You have really made great use of the class!
LikeLiked by 1 person
Thank you very much that is so sweet 🙂
LikeLike
This skirt is so beautiful and looks GREAT on you! Well done!
LikeLiked by 1 person
Thank you so much.
LikeLike
Excellent! I am so happy to see you have a successful finish to you skirt sloper course. I’m not a fan of pink BUT I love your fabric. I must keep an open mind and mix my pink with black next time because it is really cute! Looks like you nailed the fit! Did you get the flounce idea from your own imagination or a pattern or a course? Nicely done!
LikeLiked by 1 person
The pencil skirt with the flounce is in the course. After the sloper, there are a few chapters that show you how to construct different skirts such as A line, pencil, bias,circle skirt etc. She also shows you how to construct linings, facings, waistbands, slits, pleats, etc. So I am going to just follow along with the course and try these different skirt variations. And thank you for all your kind words 🙂
LikeLiked by 1 person
That’s great then, that she follows through. With the pants one, she does a pair then a skinny pair. I am thinking I will have to go to my “One pattern, many looks Pants” to add on welt pockets or anything else. I’ll have to try the skirt class too after I am satisfied with the pants and bodic one. Oh btw I can do her pants calculations, but she is blowing my mind with her bodice calculations. So I’m back to my pants course only – one at a time so I don’t get confused!
LikeLiked by 1 person
Ahhh yes the bodice course is the most difficult course I have taken by far, and I still don’t have my sloper up to par yet…grrr lol I have to start back to that before I can move on to dart manipulation, necklines and sleeves but man I am so frustrated with it
LikeLiked by 1 person
I was fine, sort of, until she started saying “…so AB should be 9 inches and BC should be 5 inches… “. Letters and numbers don’t mix well with new!
LikeLike
Bah now I can’t type… I was trying to type “mix well with ME!” Sorry!
LikeLike
Your skirt is fantastic. The fit is great, and I love your fabric choice.
LikeLiked by 1 person
Thanks 🙂
LikeLike
I’m excited for you!!! You look amazing in it…the style, the fit, the fabric… Everything! I confess to scrolling at super speed to the end to see it worn, then going back and reading and looking at all your pics. You can never have too many pics for me. How about, in the same fabric, a fitted top using your other sloper? 😀
LikeLiked by 1 person
ahhh yes the dreaded bodice sloper (my nemesis) I haven’t perfected the fit on that yet I hope to work on that a bit today but yes I may try that once I tweak the bodice fit. Thanks for the tip and the compliments 🙂
LikeLike
No wonder you’re excited. Gorgeous skirt, brilliant fit and looks wonderful on you!
LikeLiked by 1 person
Thanks so much 😀
LikeLike
I really really love this. Fabulous how all your work has paid off. Congratulations on this wonderful skirt.
LikeLiked by 1 person
Thank you I am so thrilled with the fit 🙂
LikeLike
Absolutely adorable! I love it.
LikeLiked by 1 person
Thanks 🙂
LikeLiked by 1 person
Pingback: The Abby A-Line Skirt | Sewing with Scooby Snacks
Oh my giddy aunt! I missed this on my feed till now! Stunning and beautifully made. The neat details and finish is amazing. And you look so lovely in it. I have to start work on an empire line too😃
LikeLiked by 1 person
Thank you so much, I am very pleased with these linings in the skirts I think I am always going to take that extra bit of time to do the fine details because it hangs better and ….the insides are just so pretty:)
LikeLiked by 1 person