As Good As It Gets

Ok after 2 months of tweaking and tweaking I surrender!! This is as good as it gets folks!

I am done my bodice sloper!! Yay I can finally move on and start practicing dart manipulation.

Last week I was so mad at myself because I went to pull out my moulage and compare the back moulage to the sloper guess what???? Its missing in action!!!!!! I think I accidentally threw it out. Son of a #@%%@@ I would basically have to start over again. So I did my best with what I had and decided to keep tweaking. Here is my sloper on tag:

DSC_4268

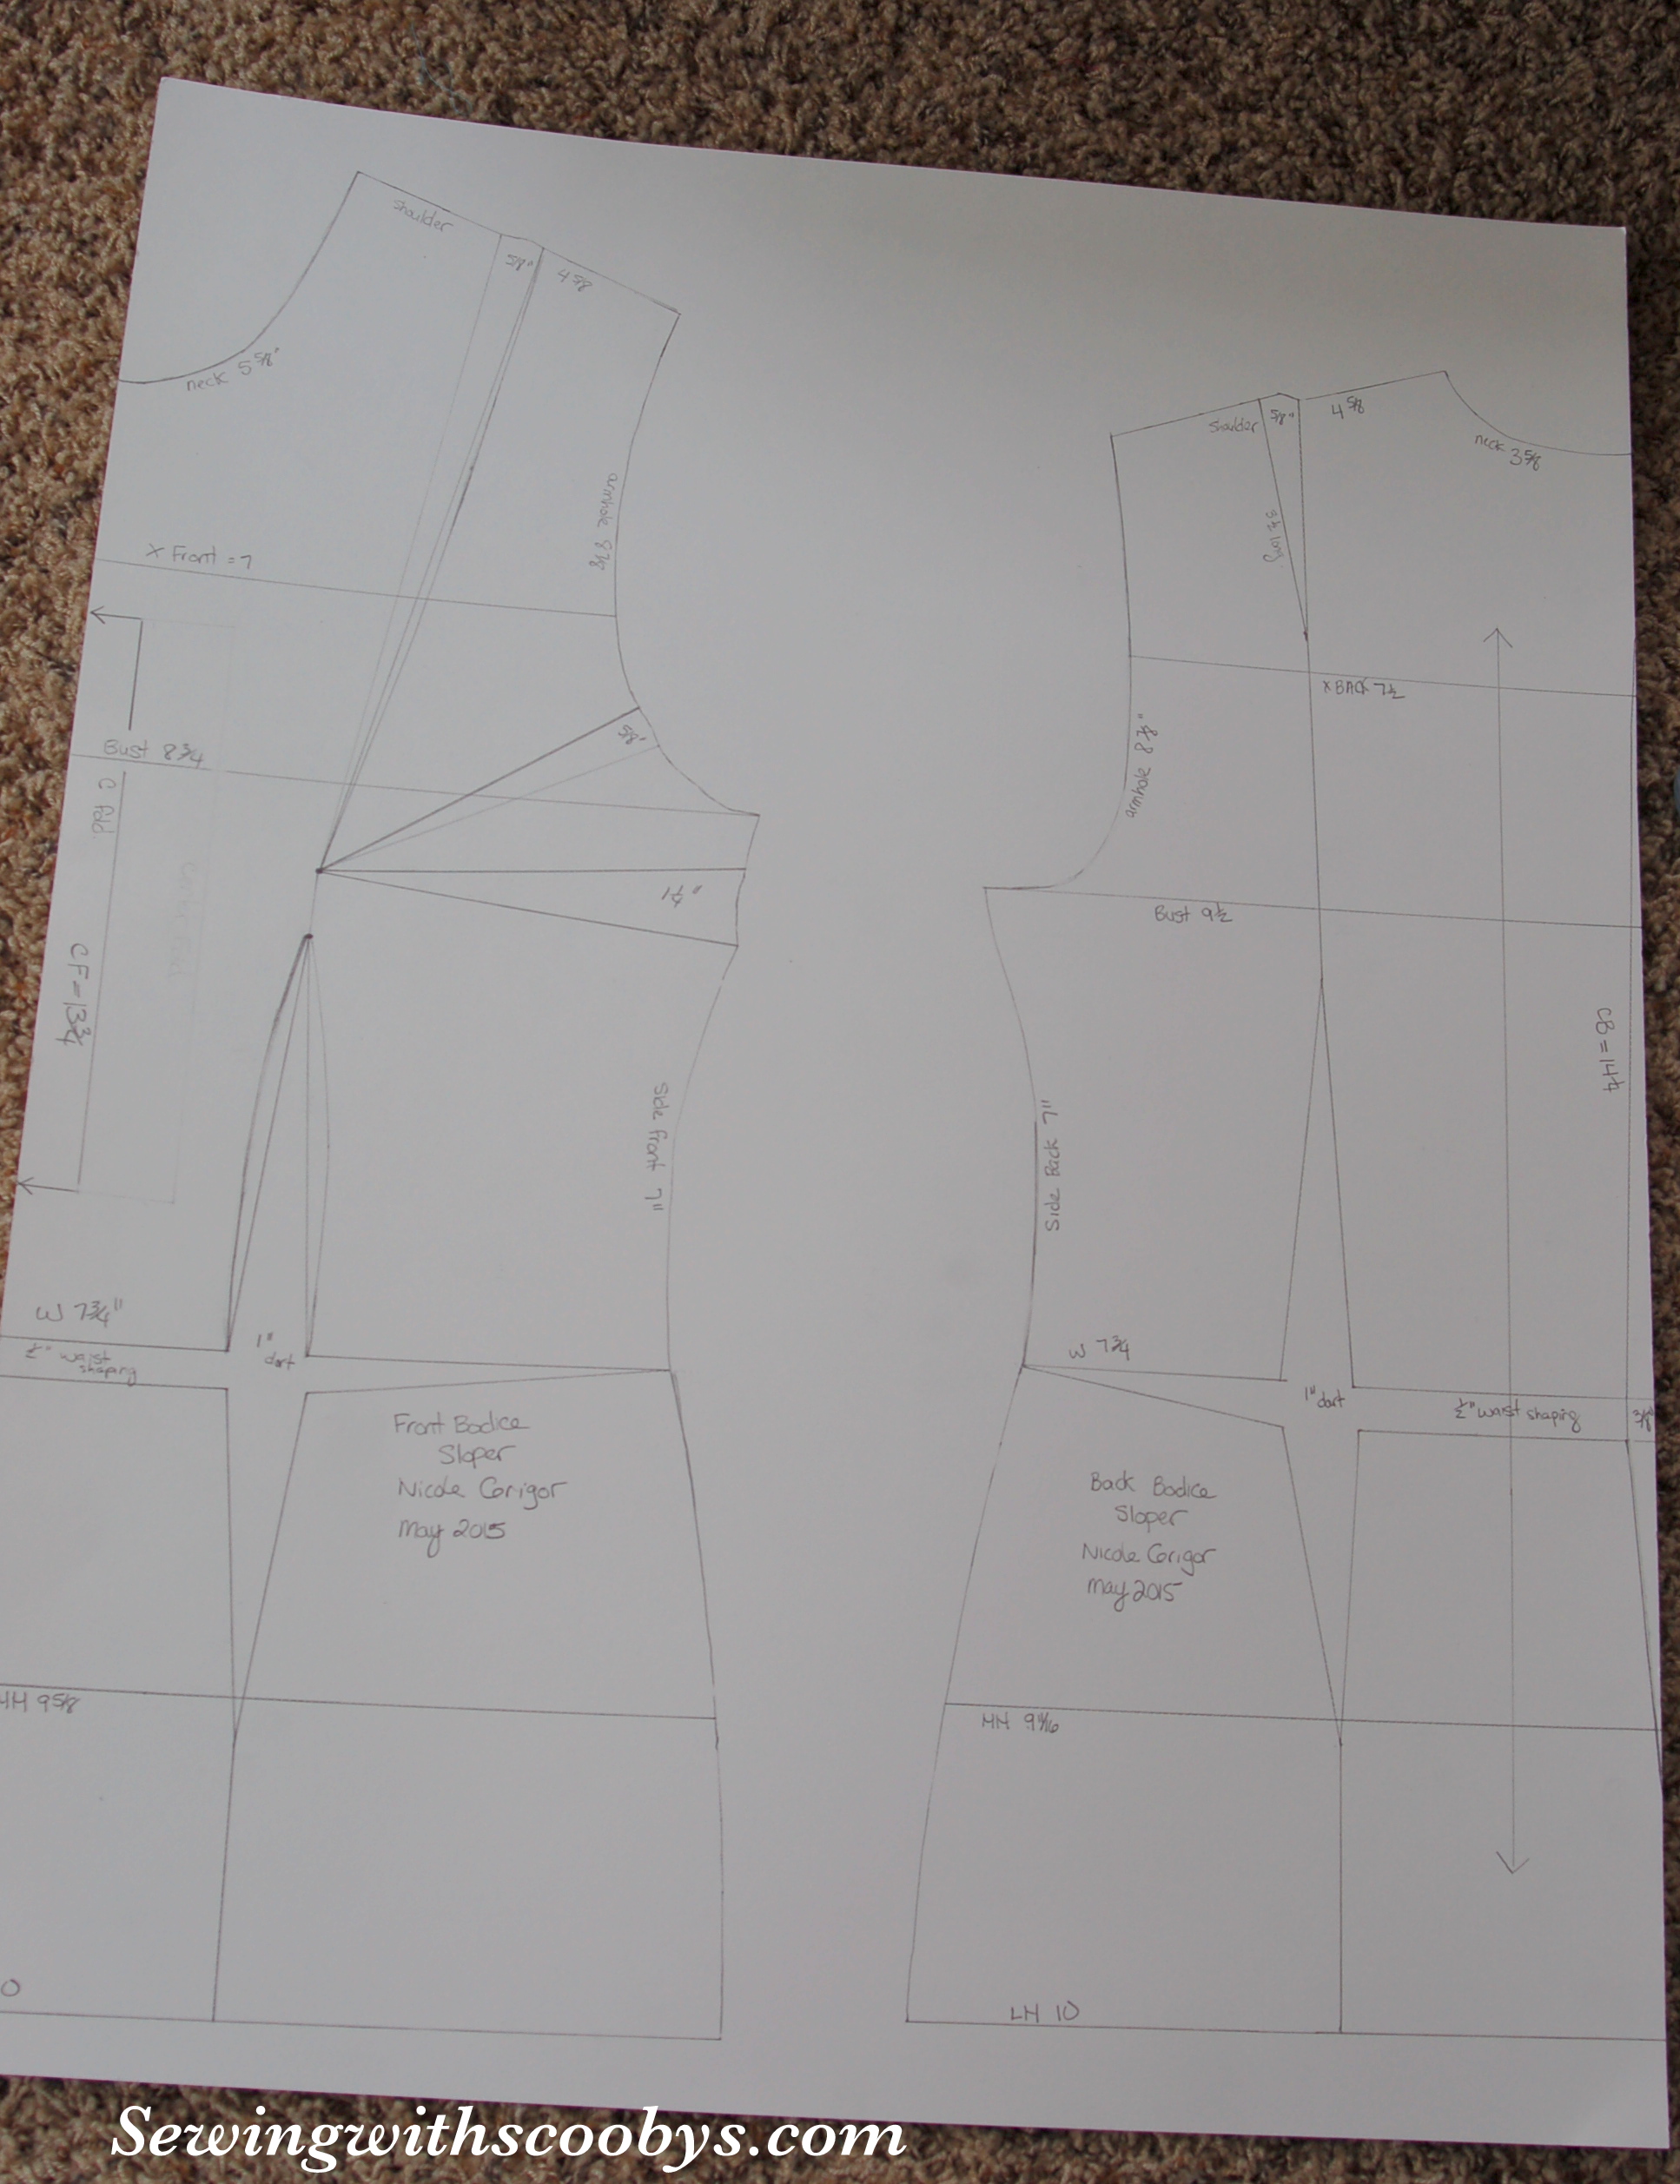
See how neat and organized I am! I have all the measurements noted  (as neat as I can in my left-handed chicken scratches lol)

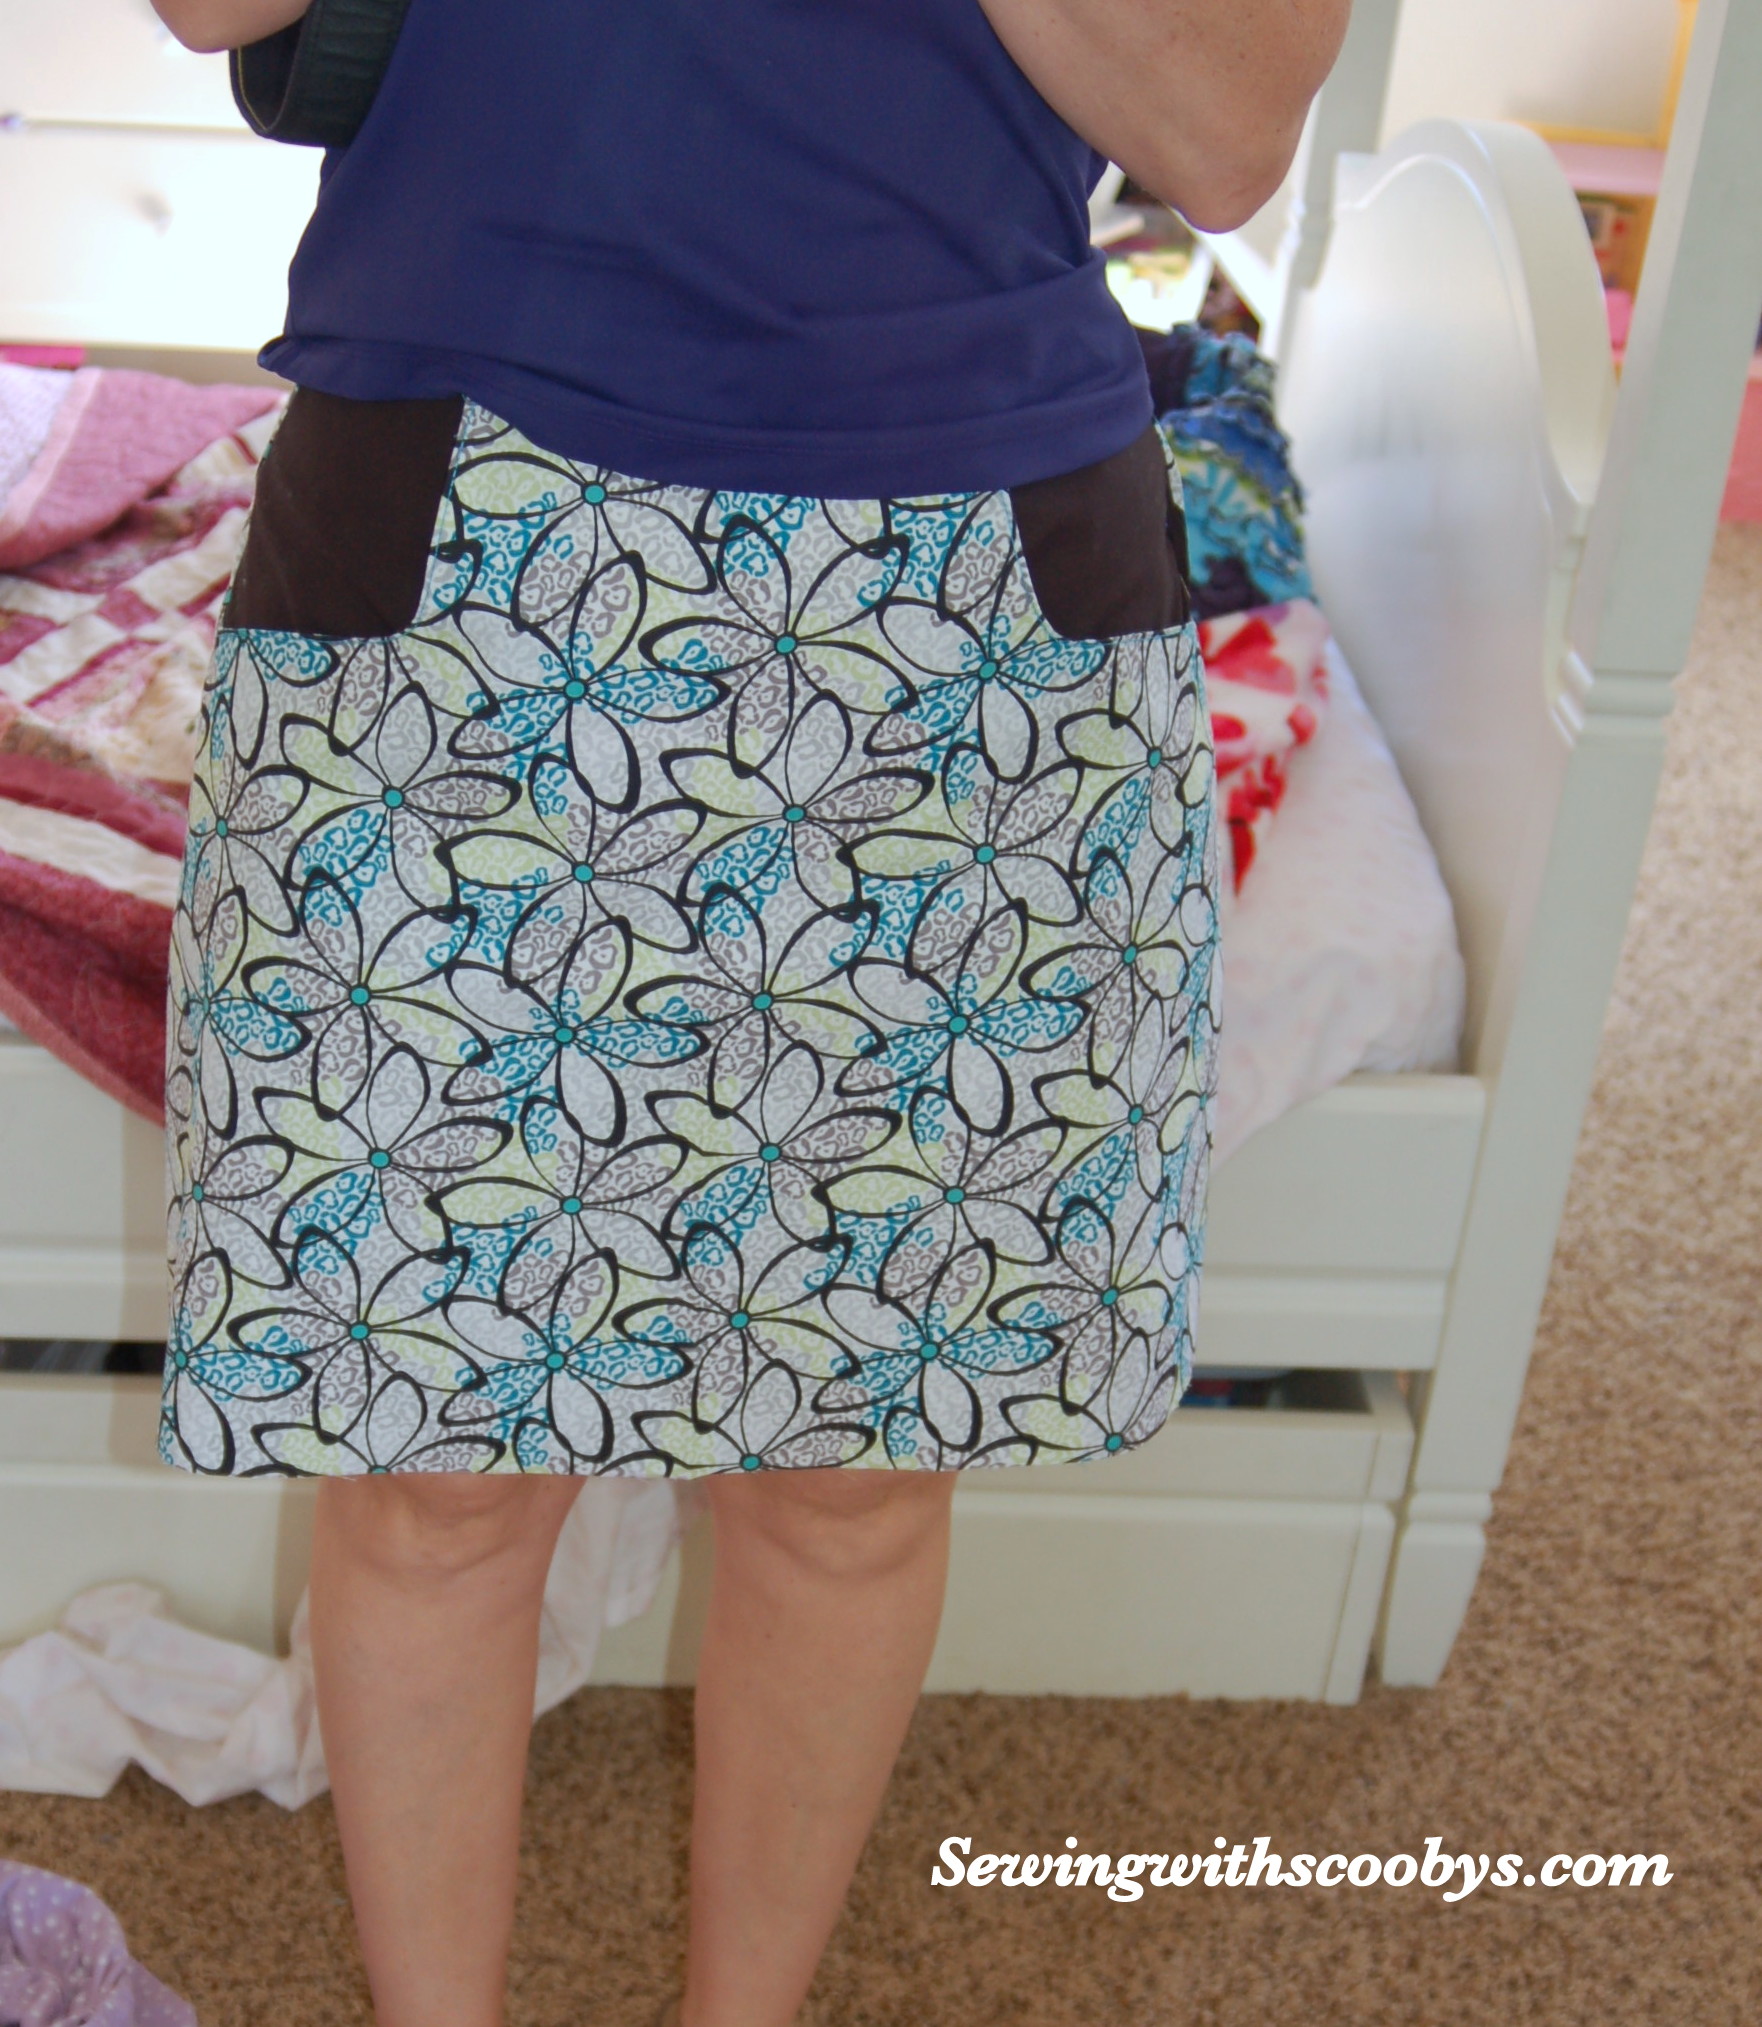
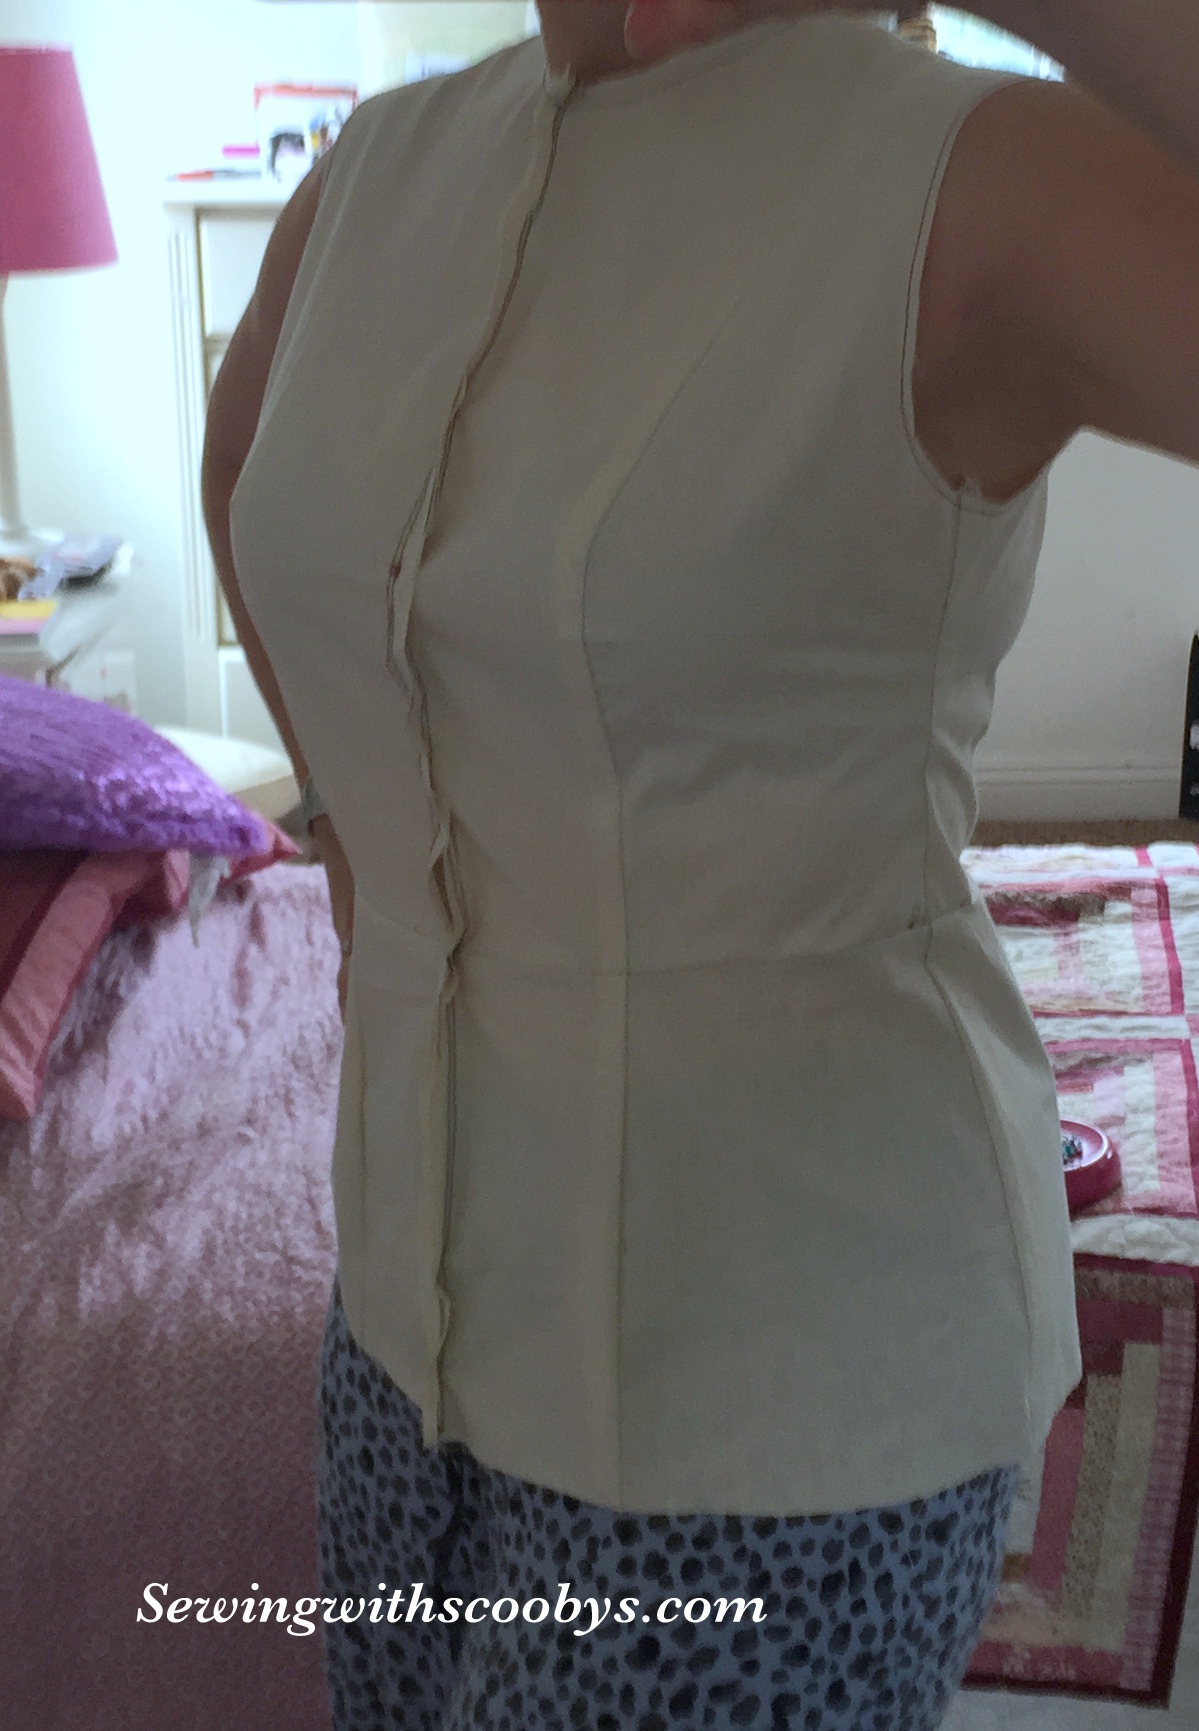
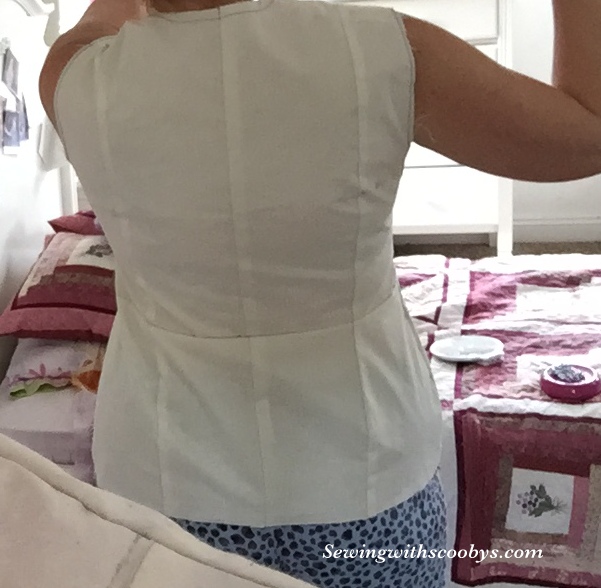
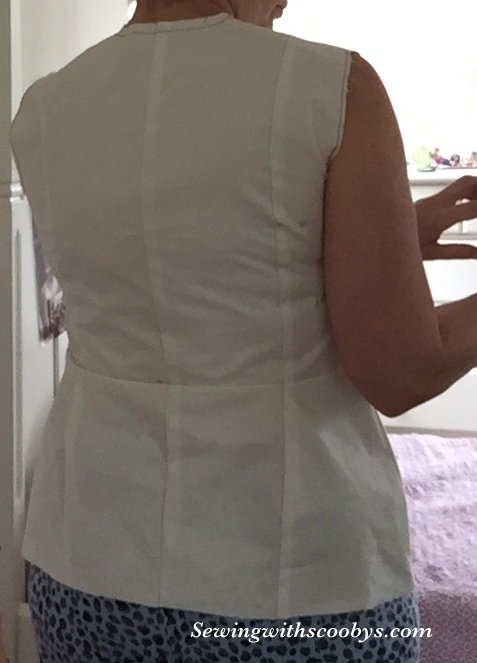
And some pics of me wearing the muslin sloper:

IMG_0442IMG_0443IMG_0444IMG_0446

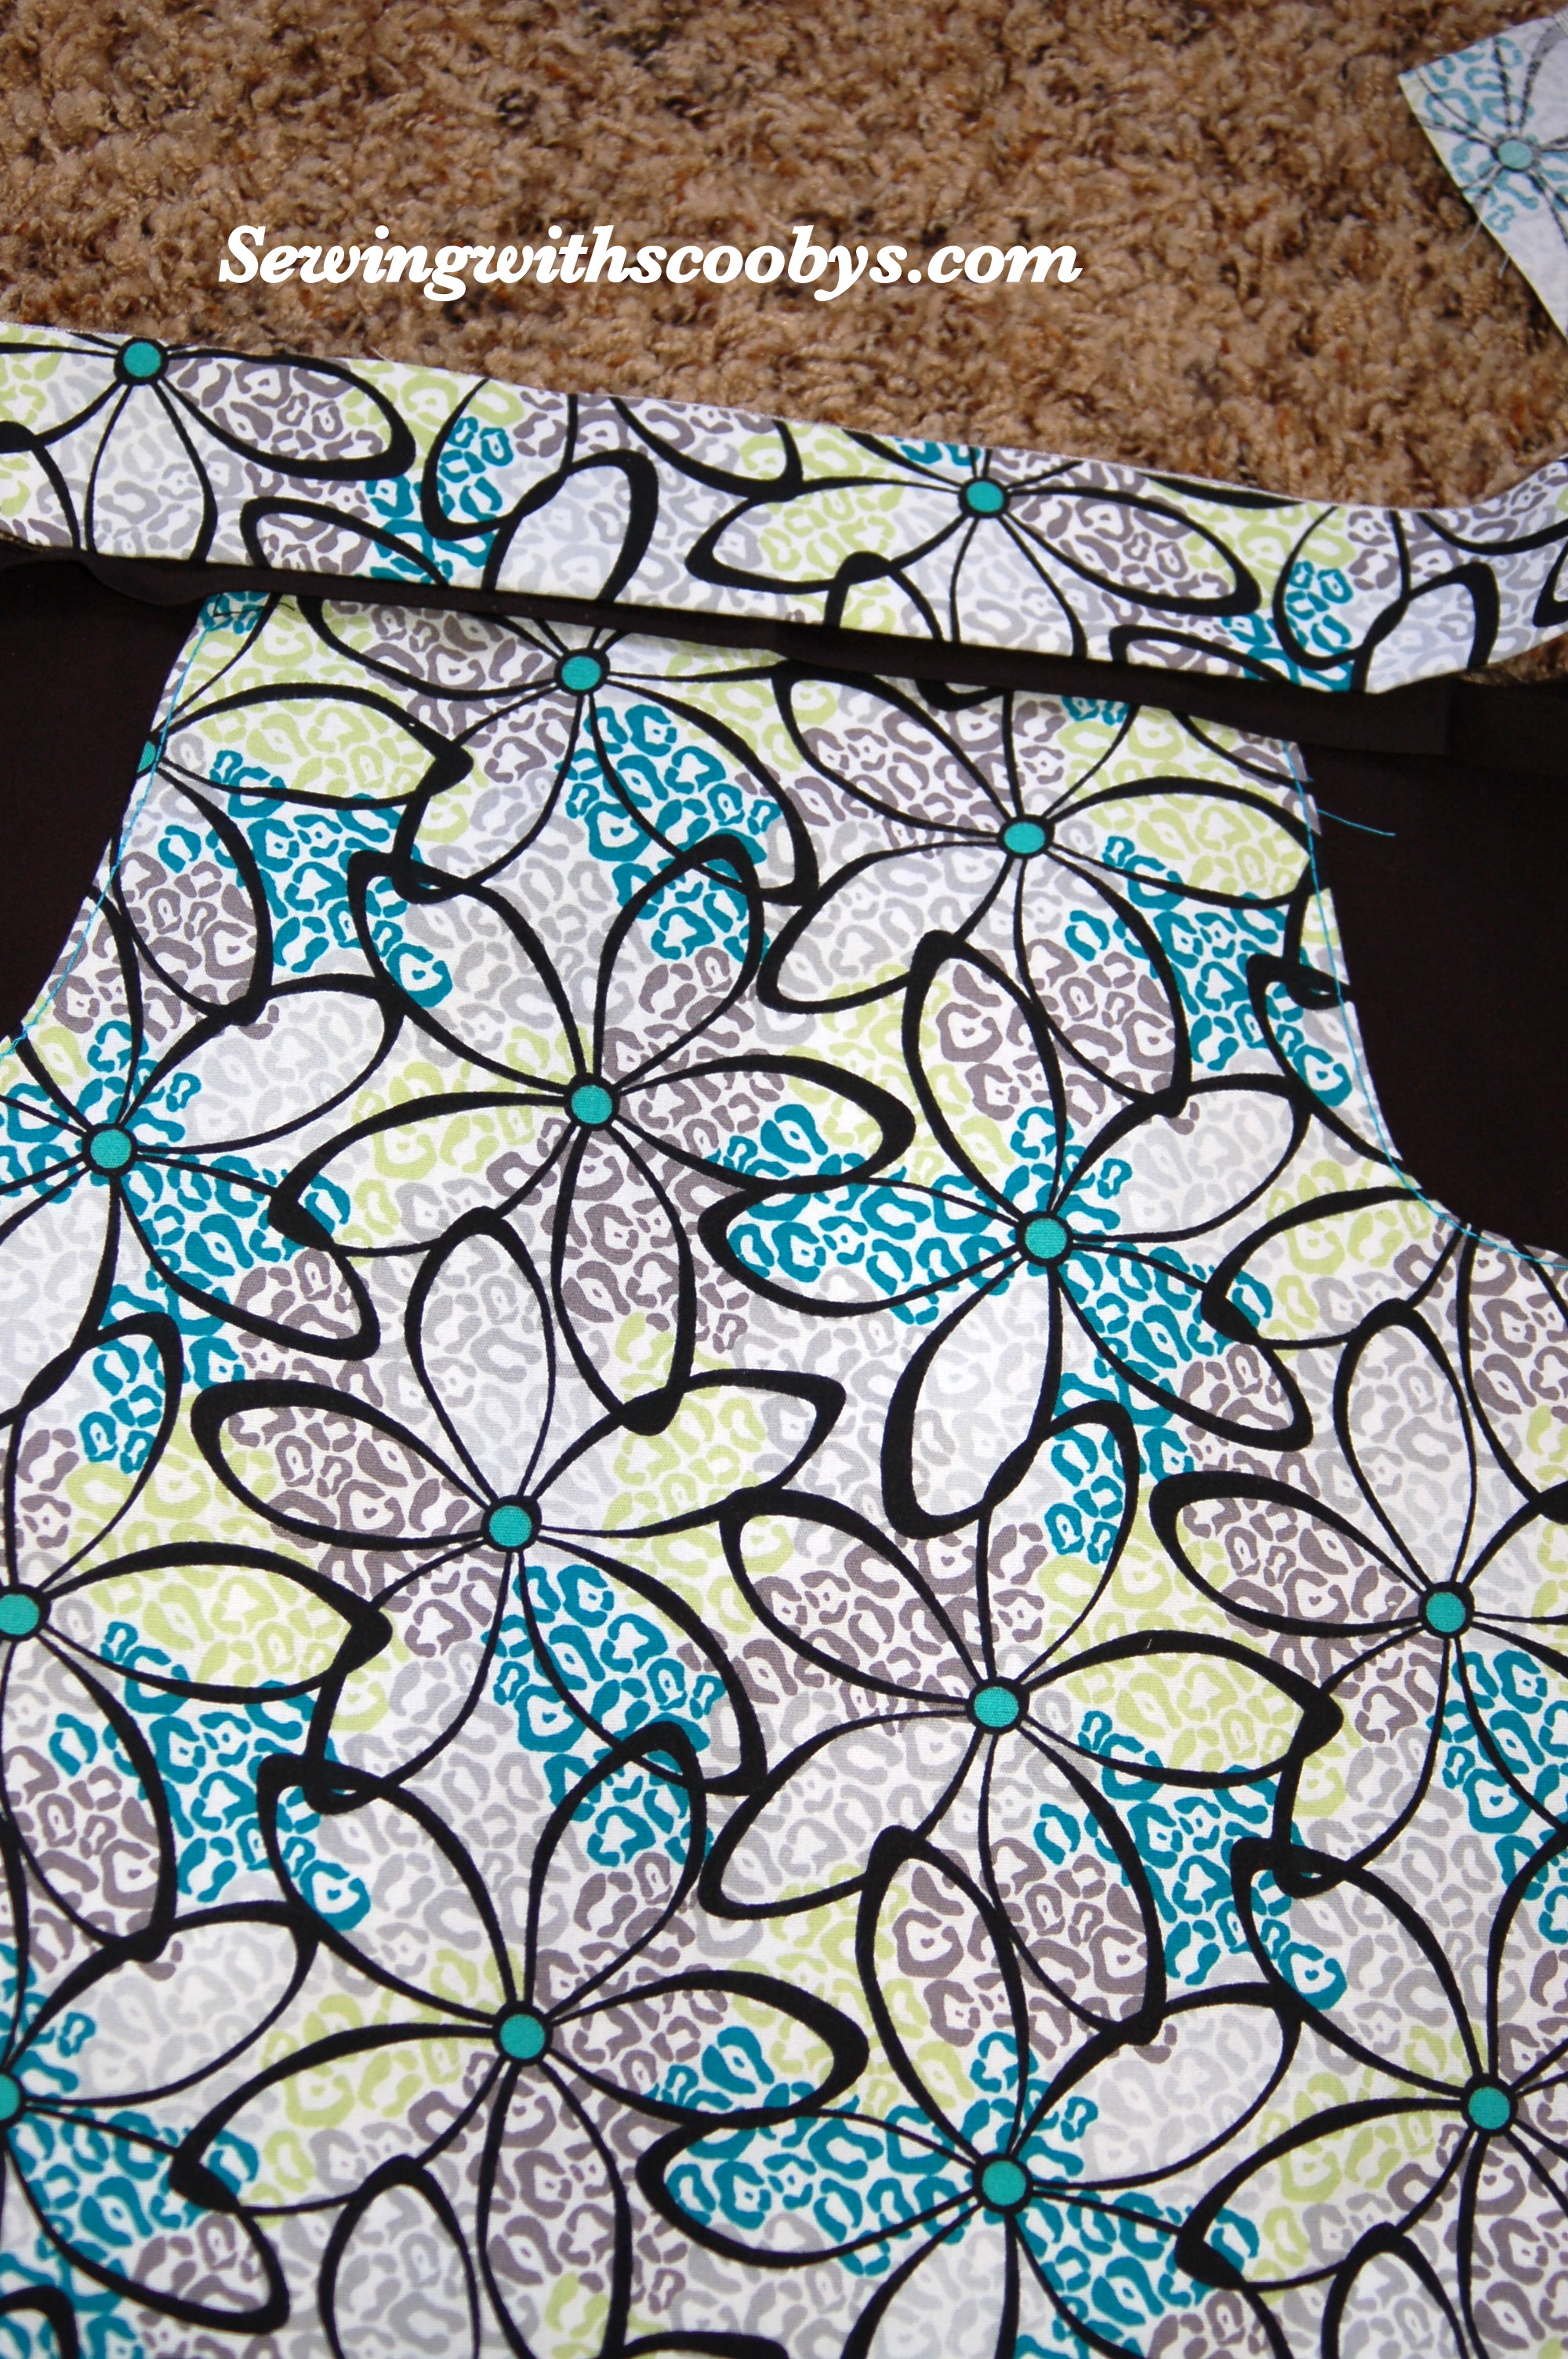
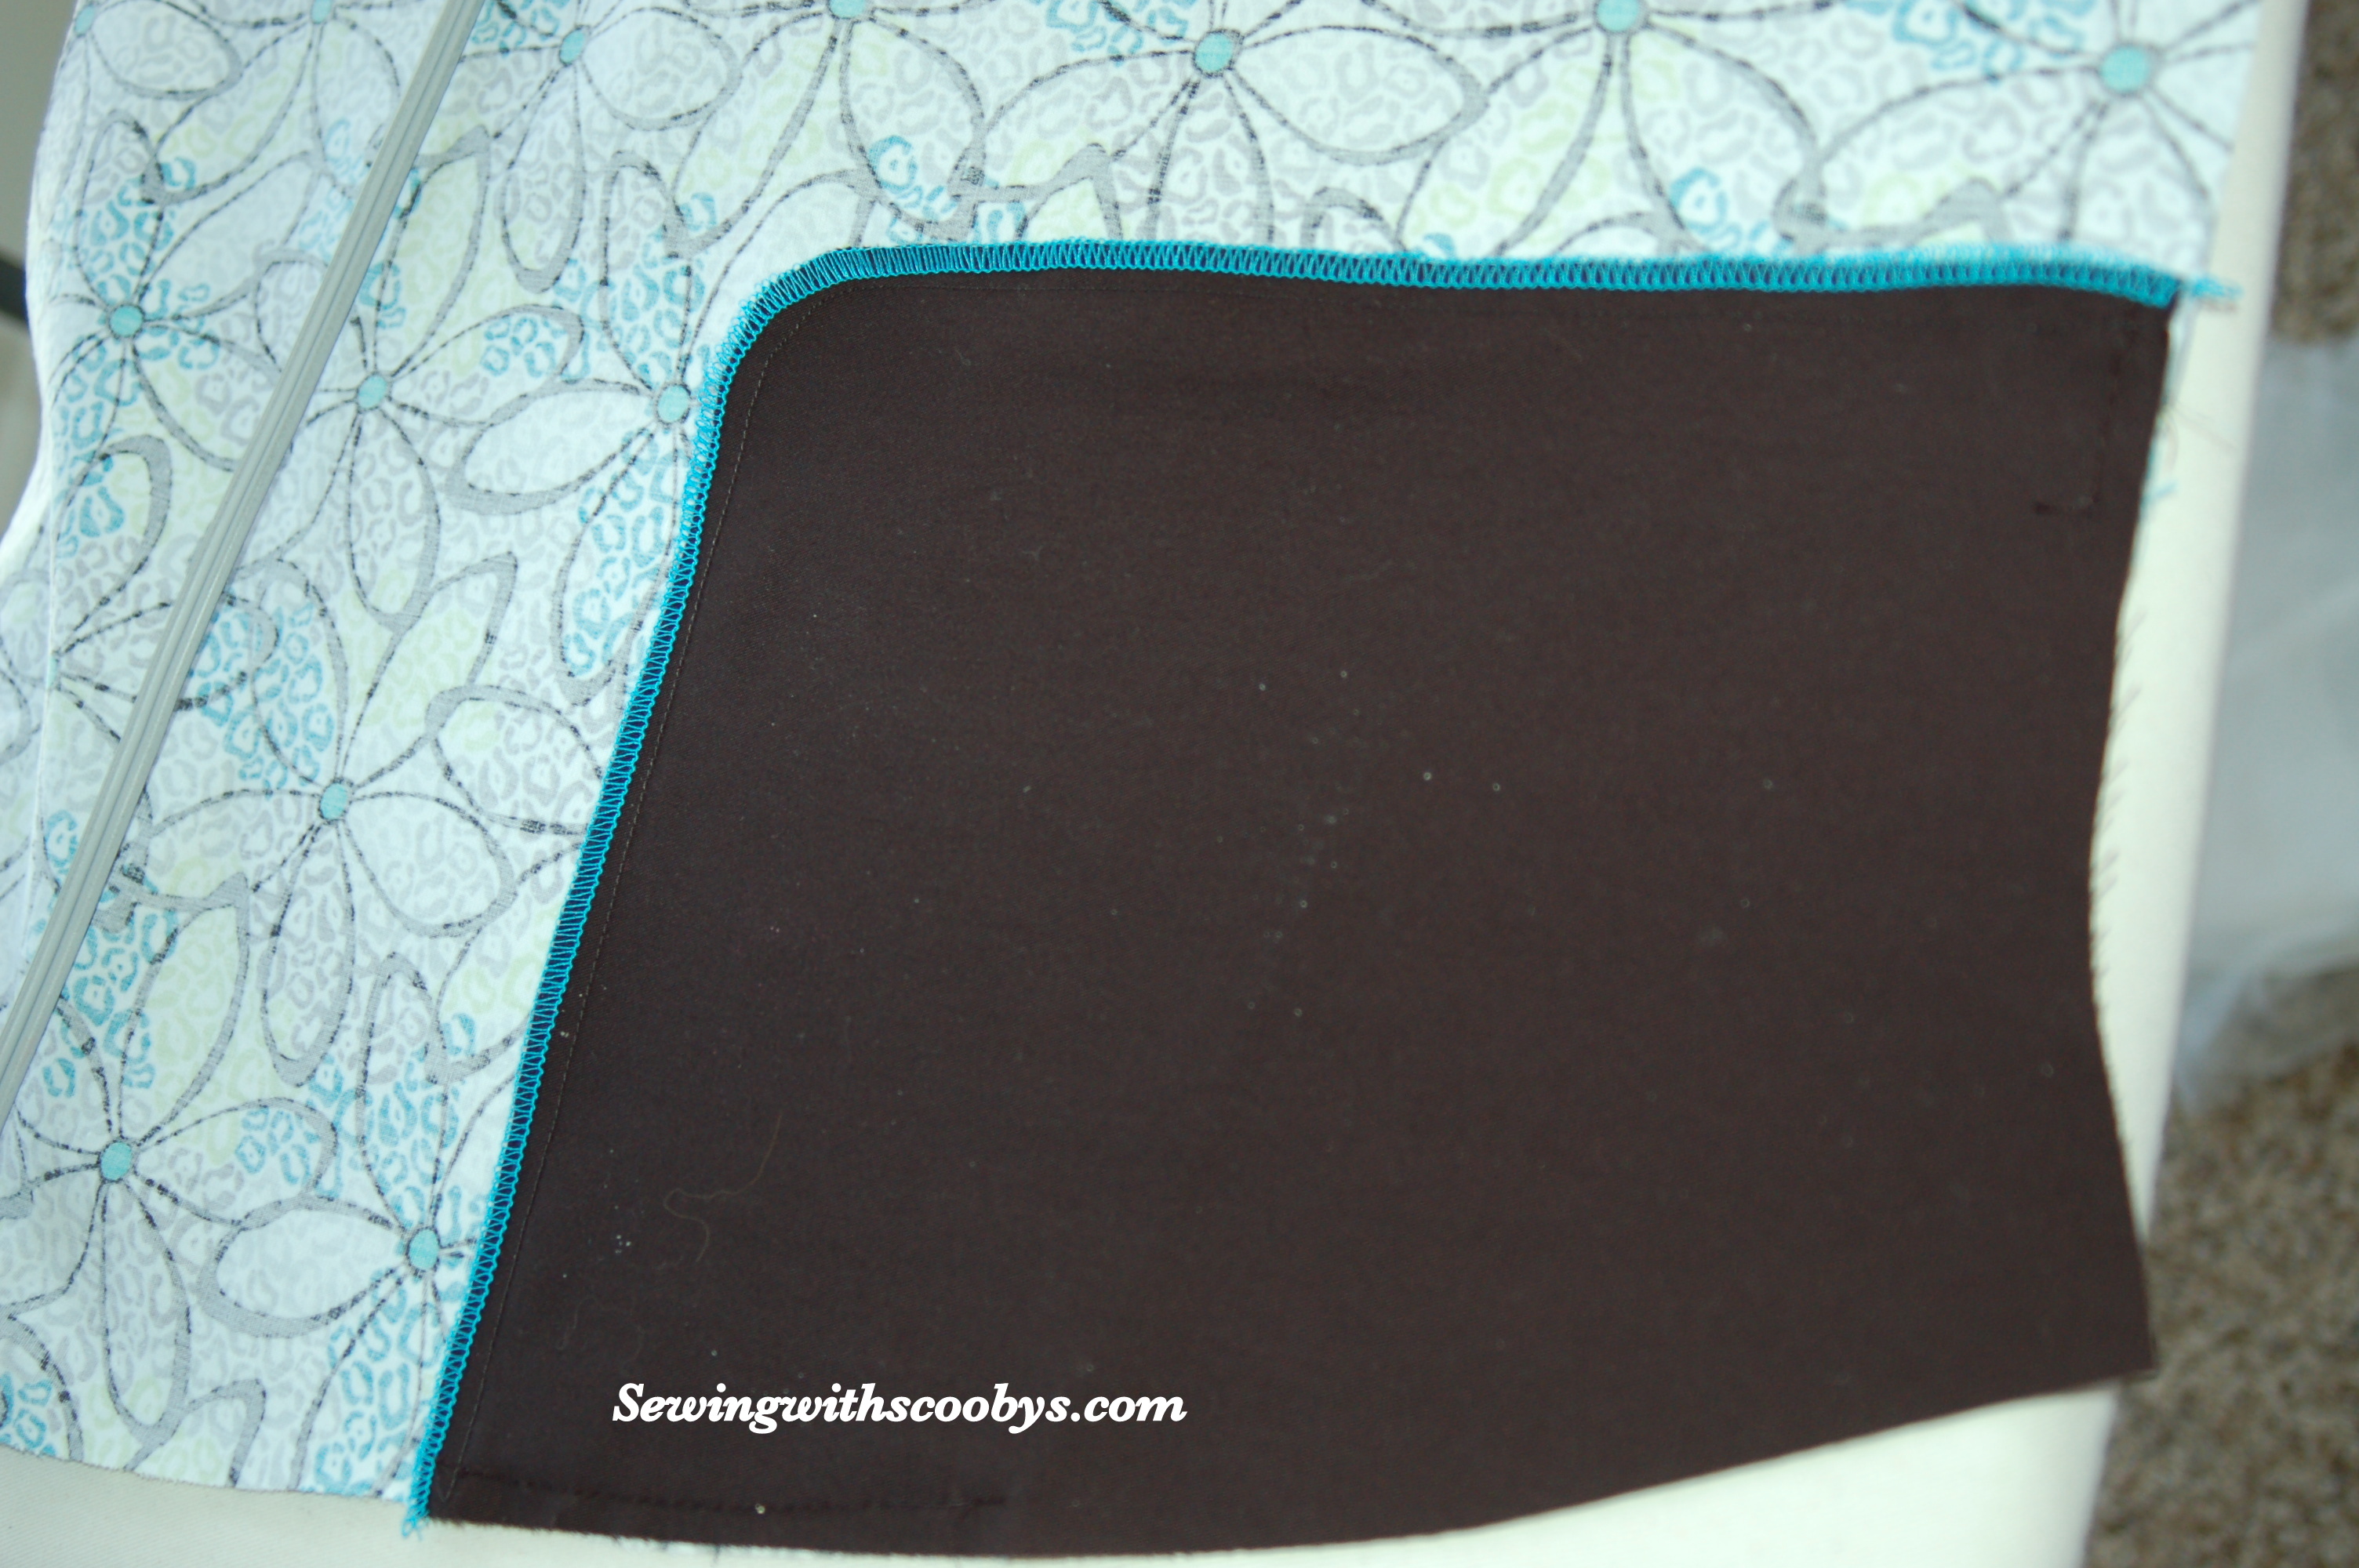
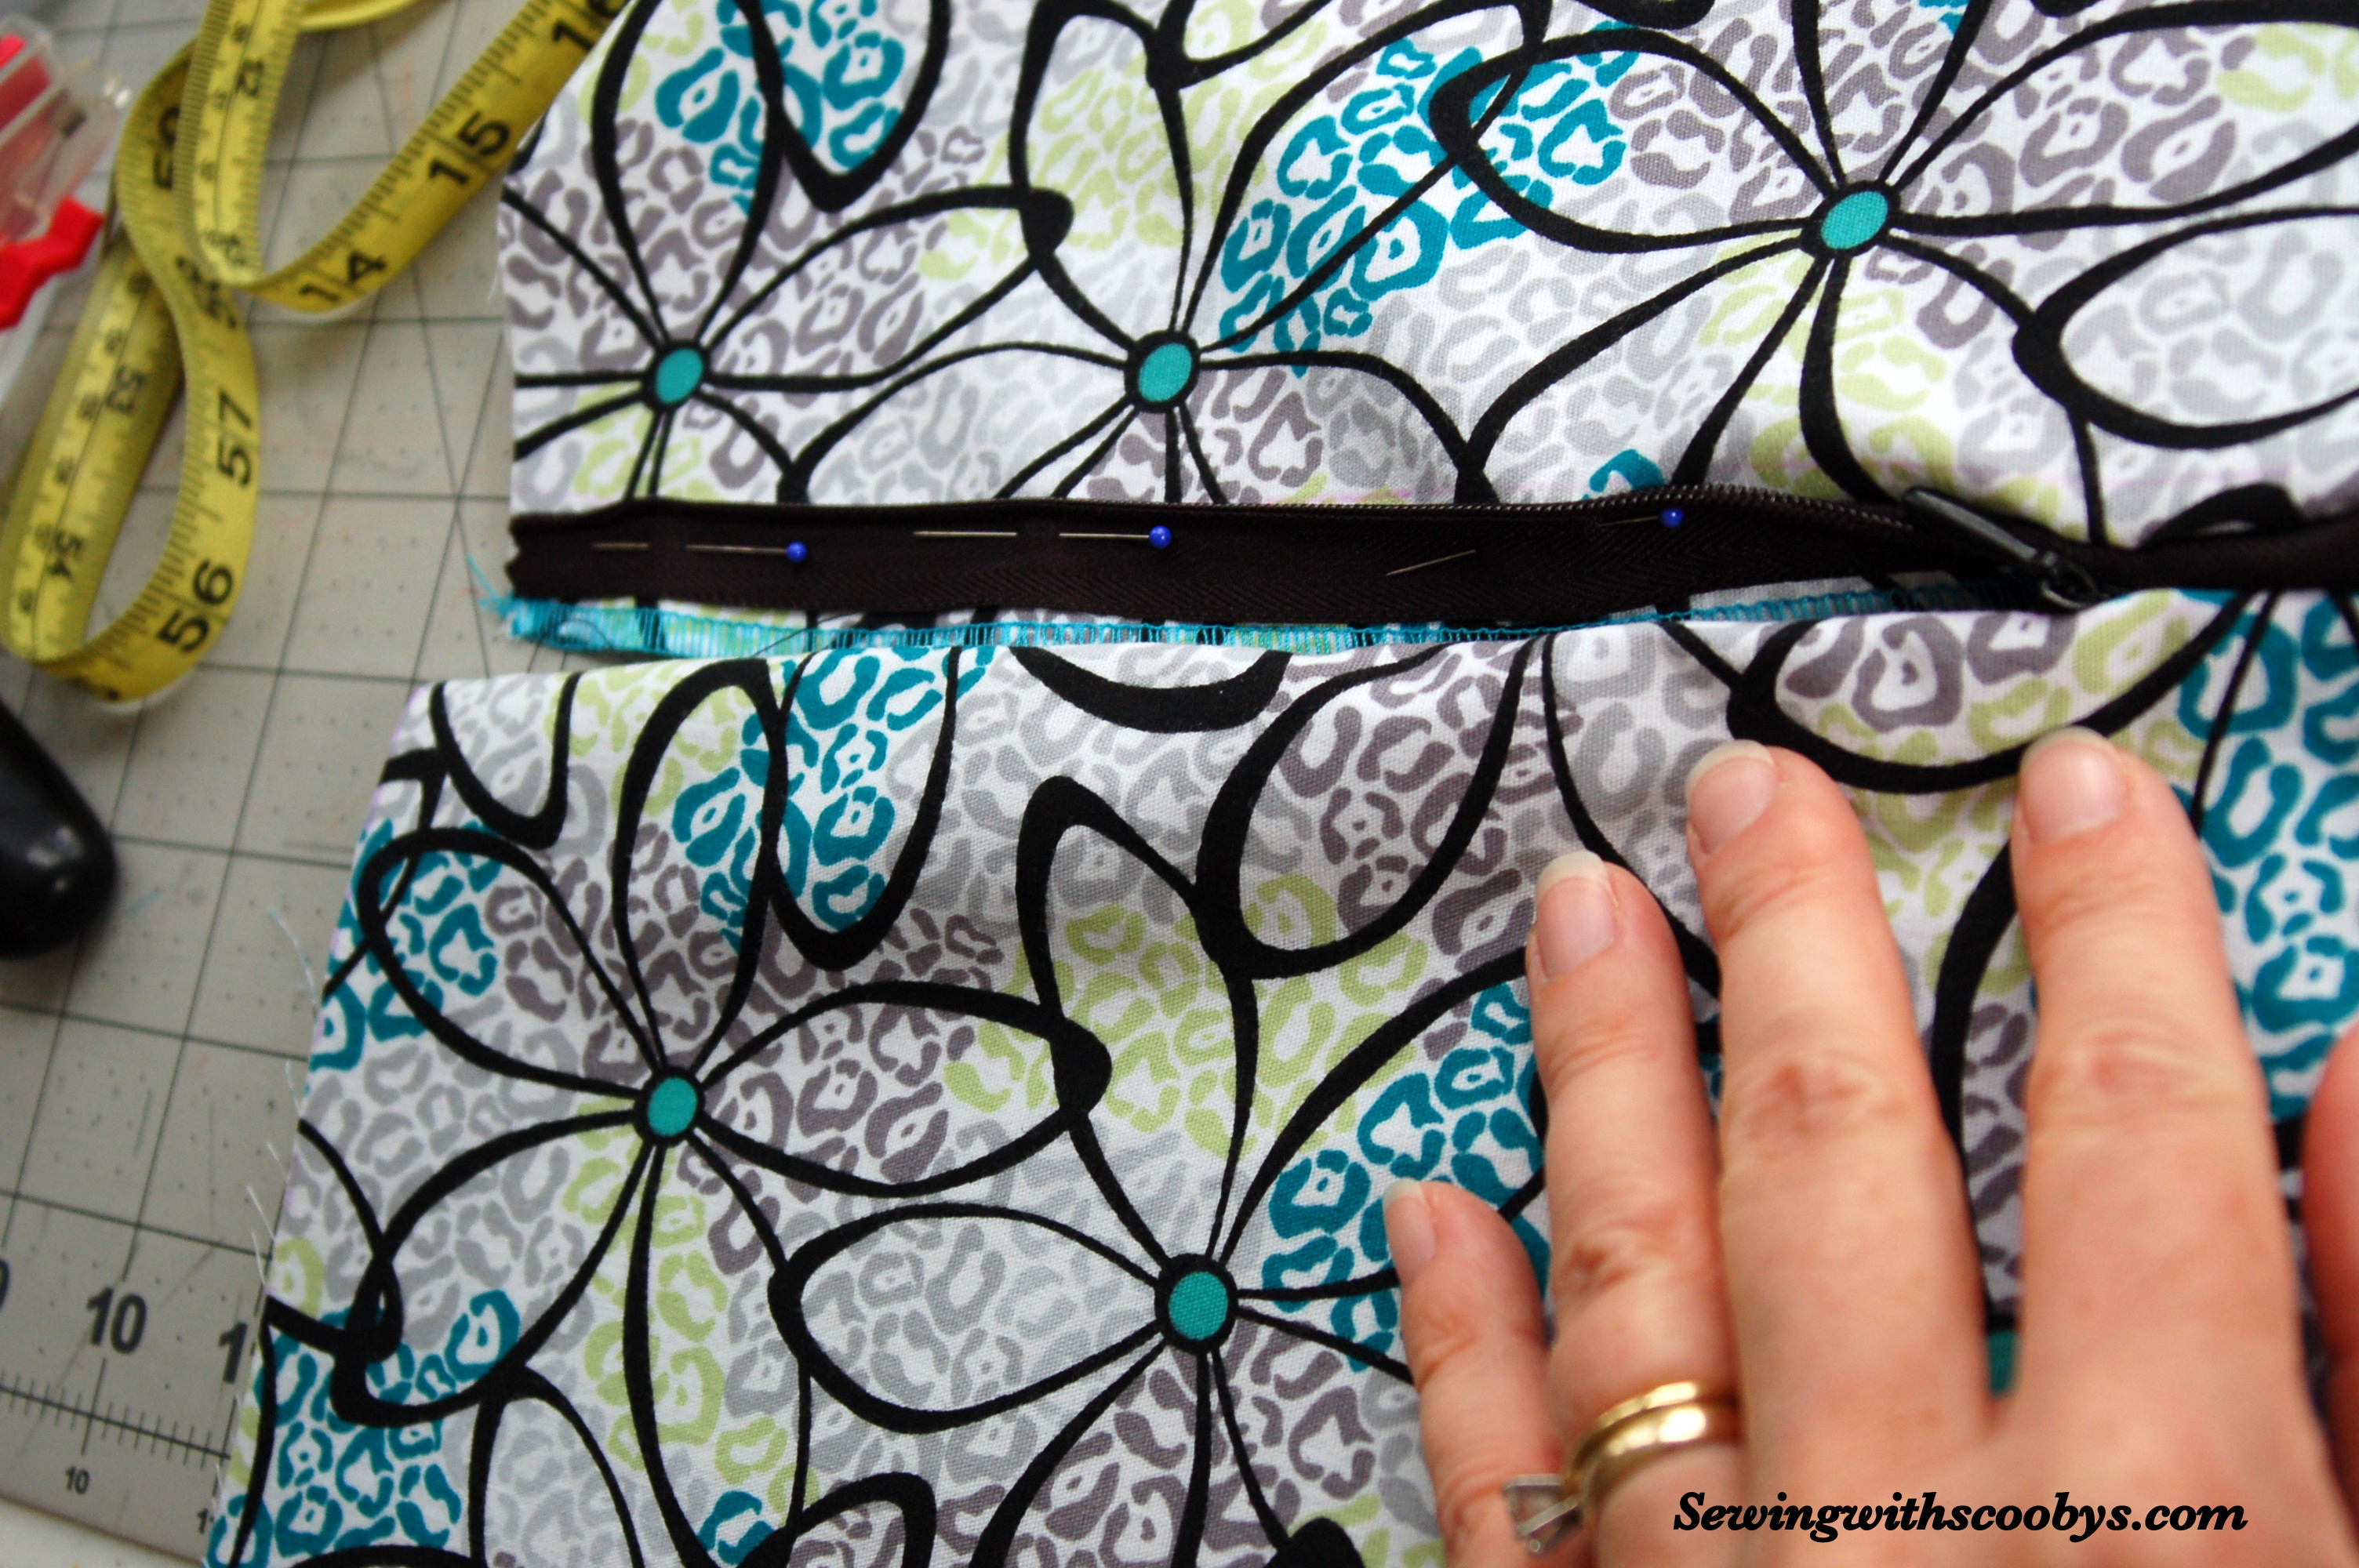
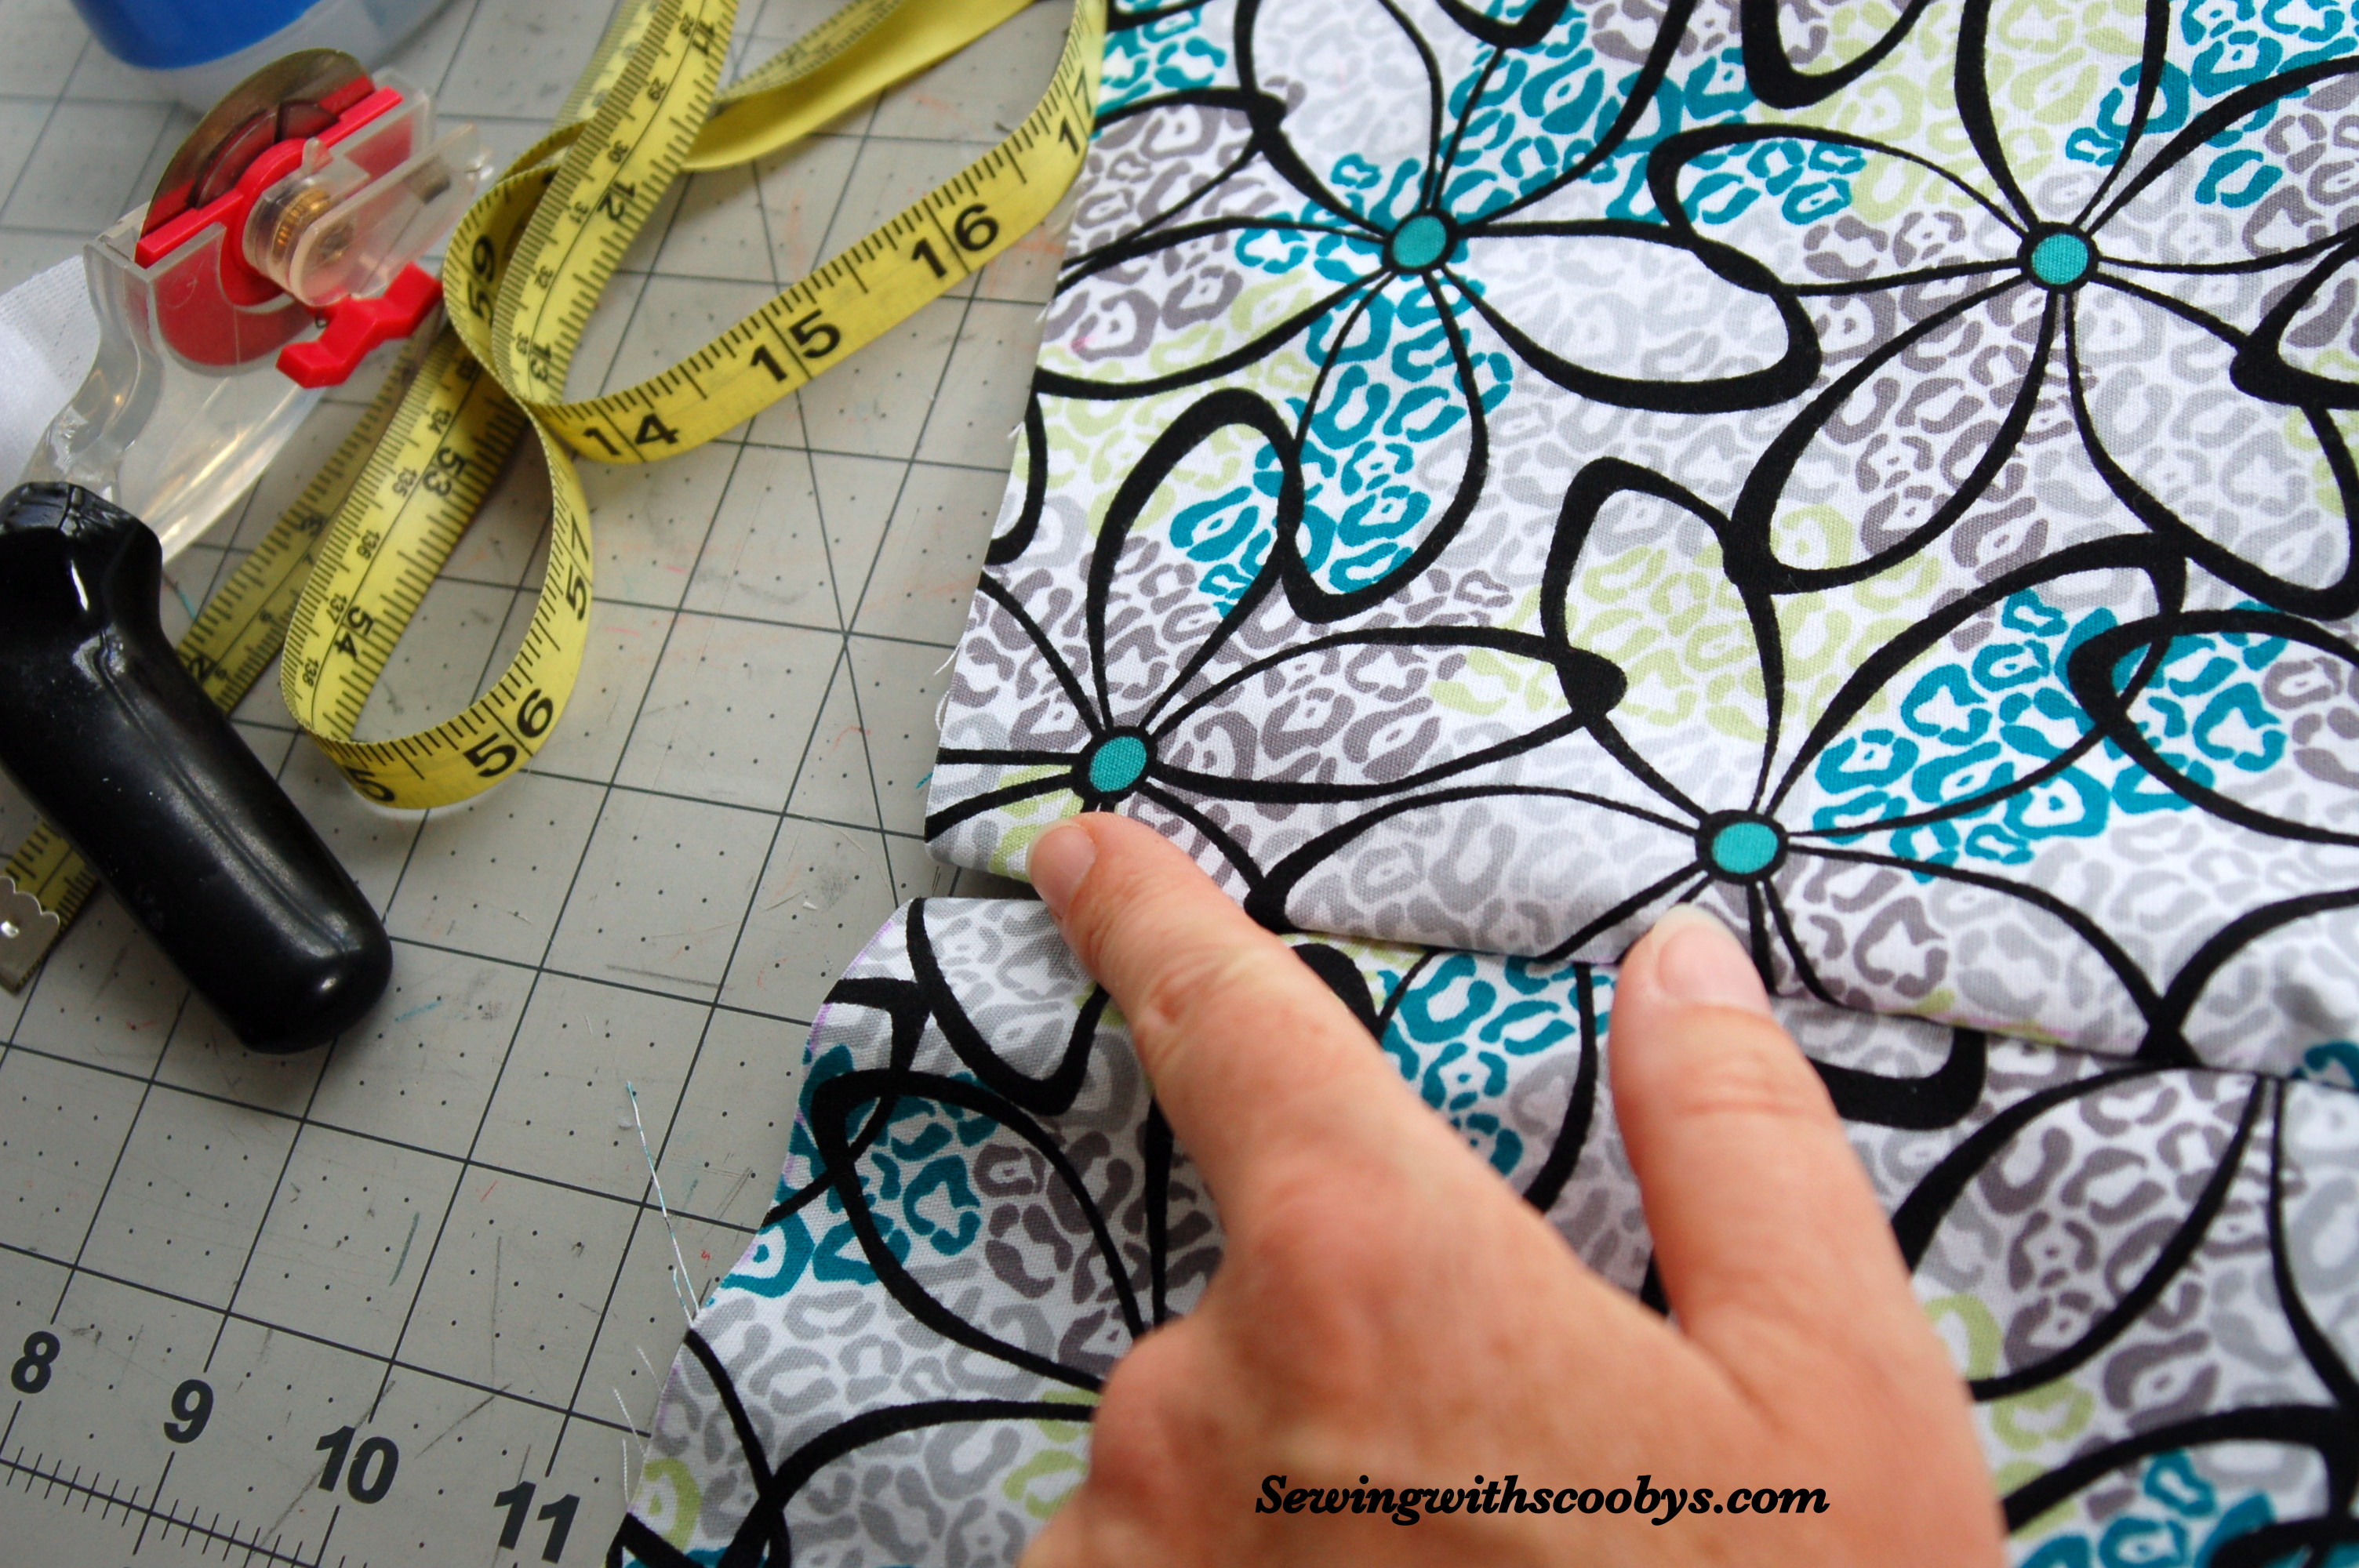
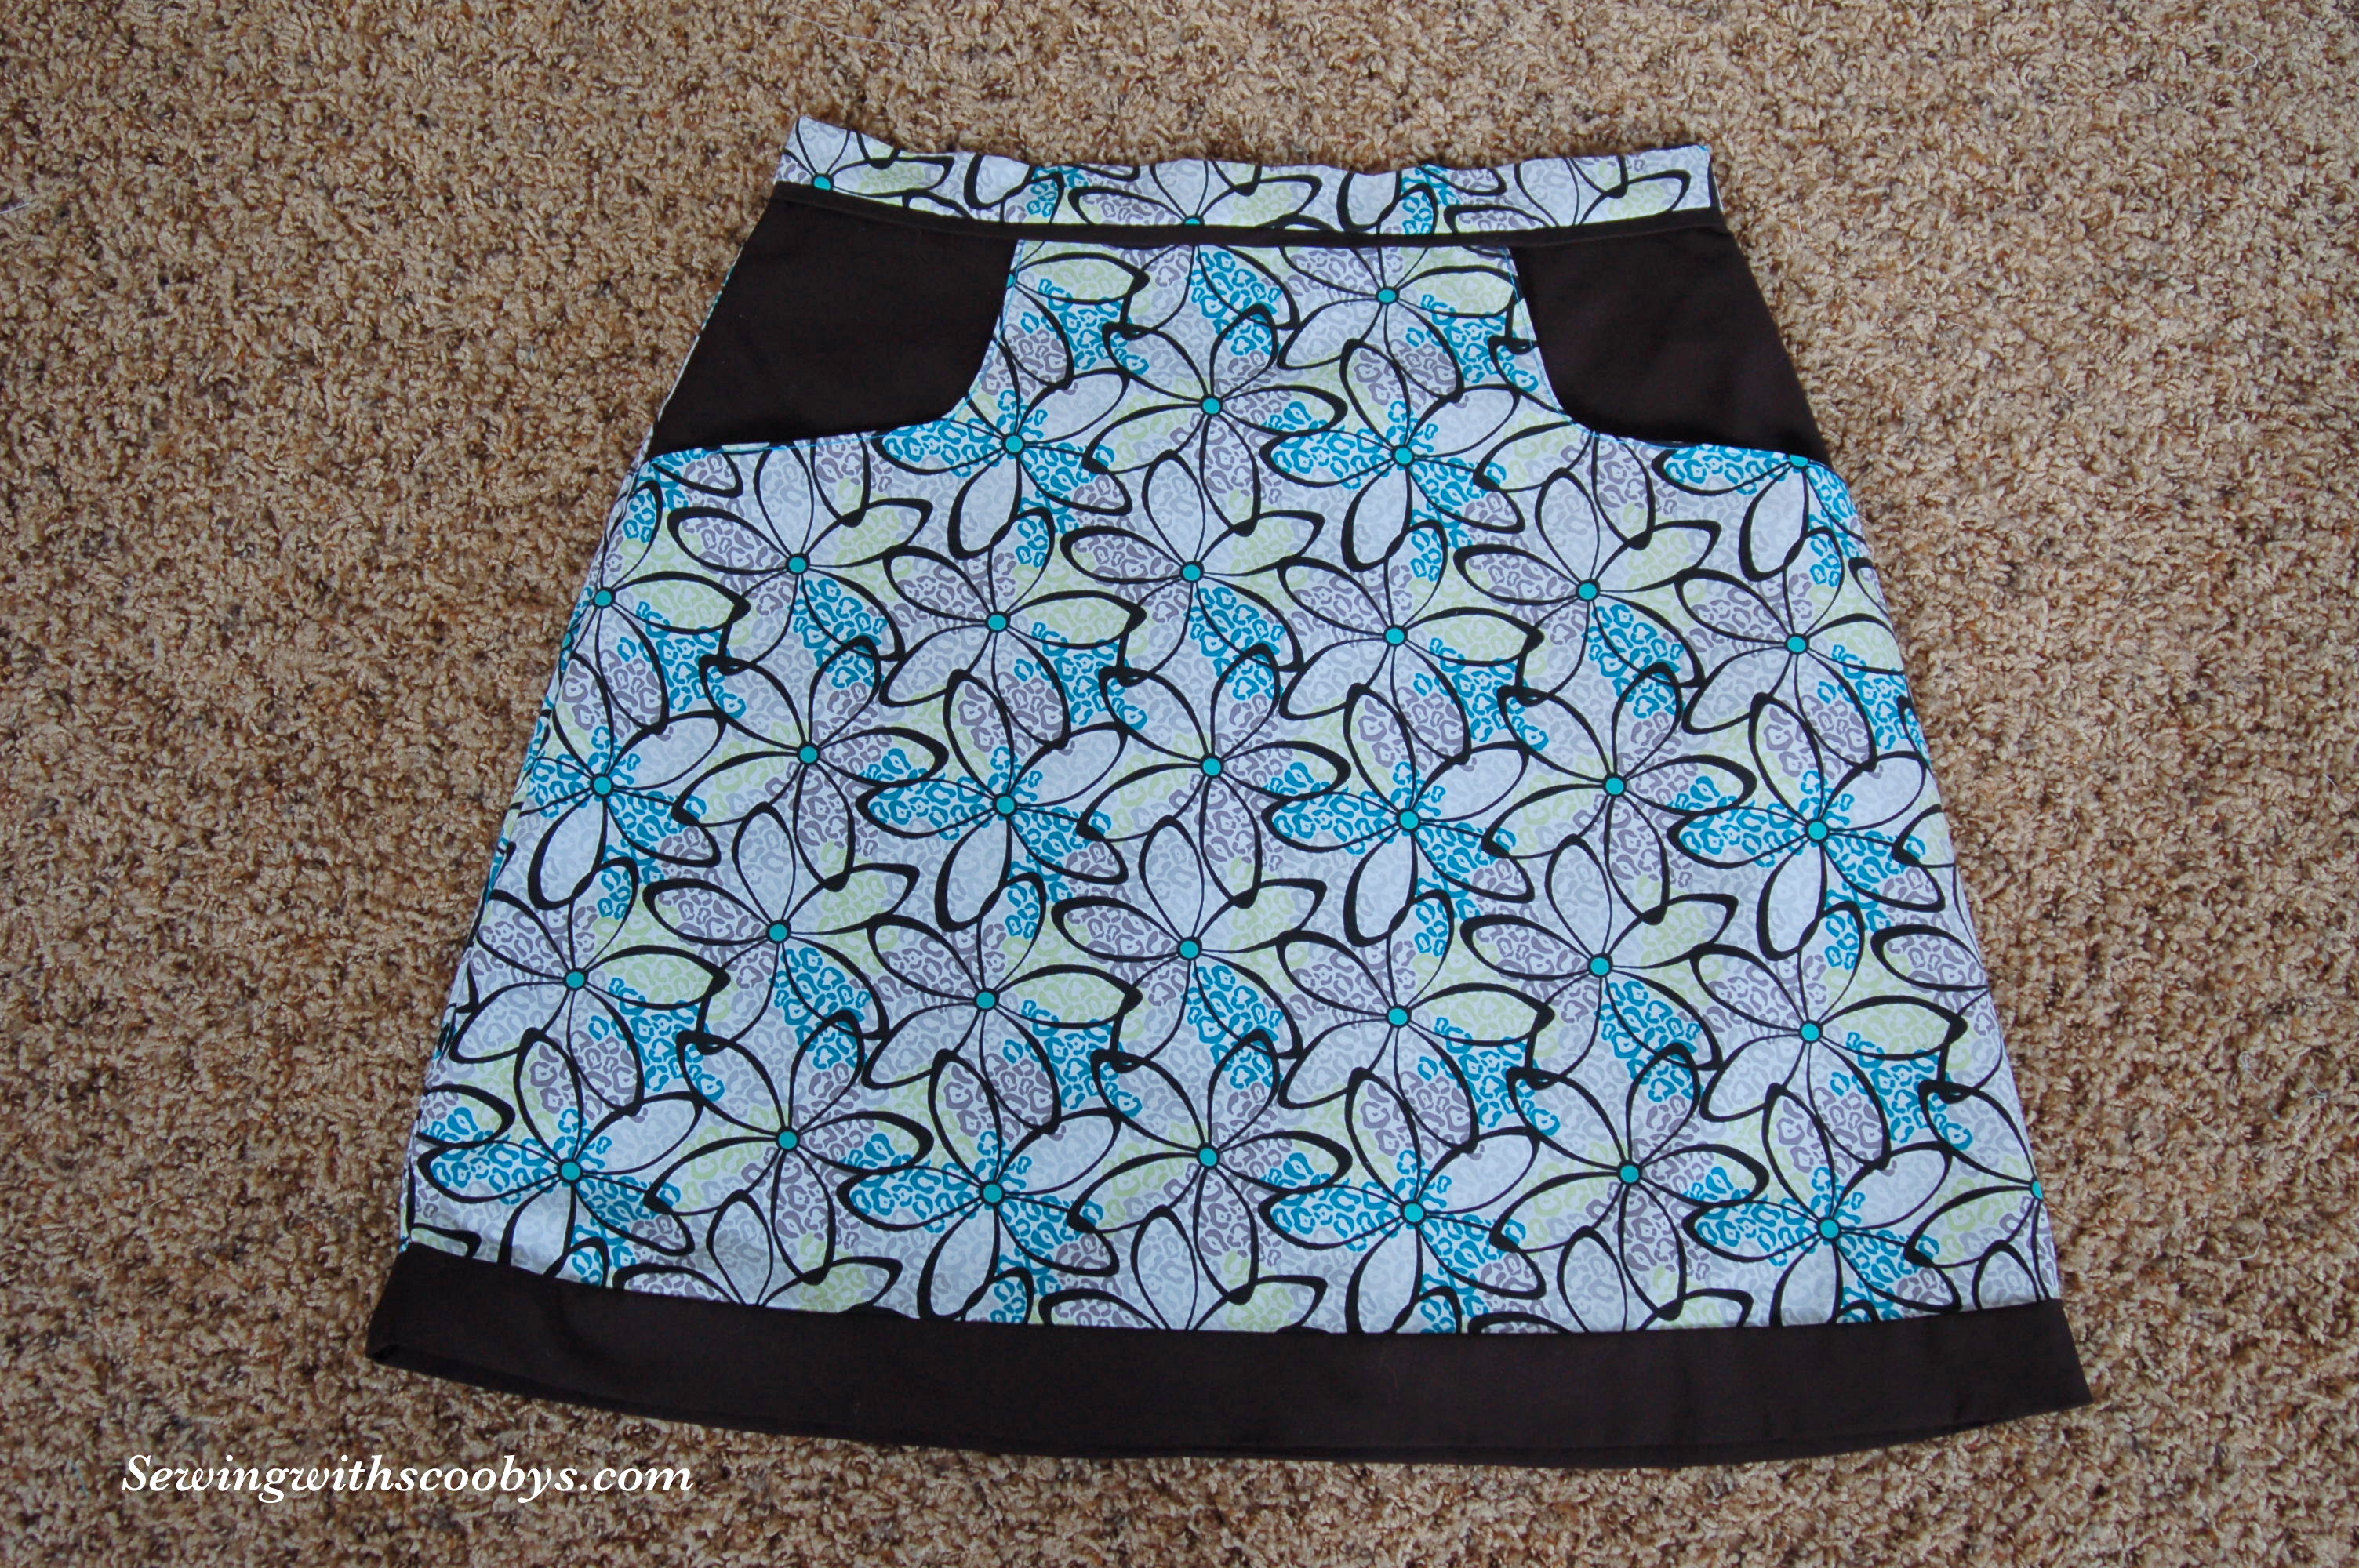
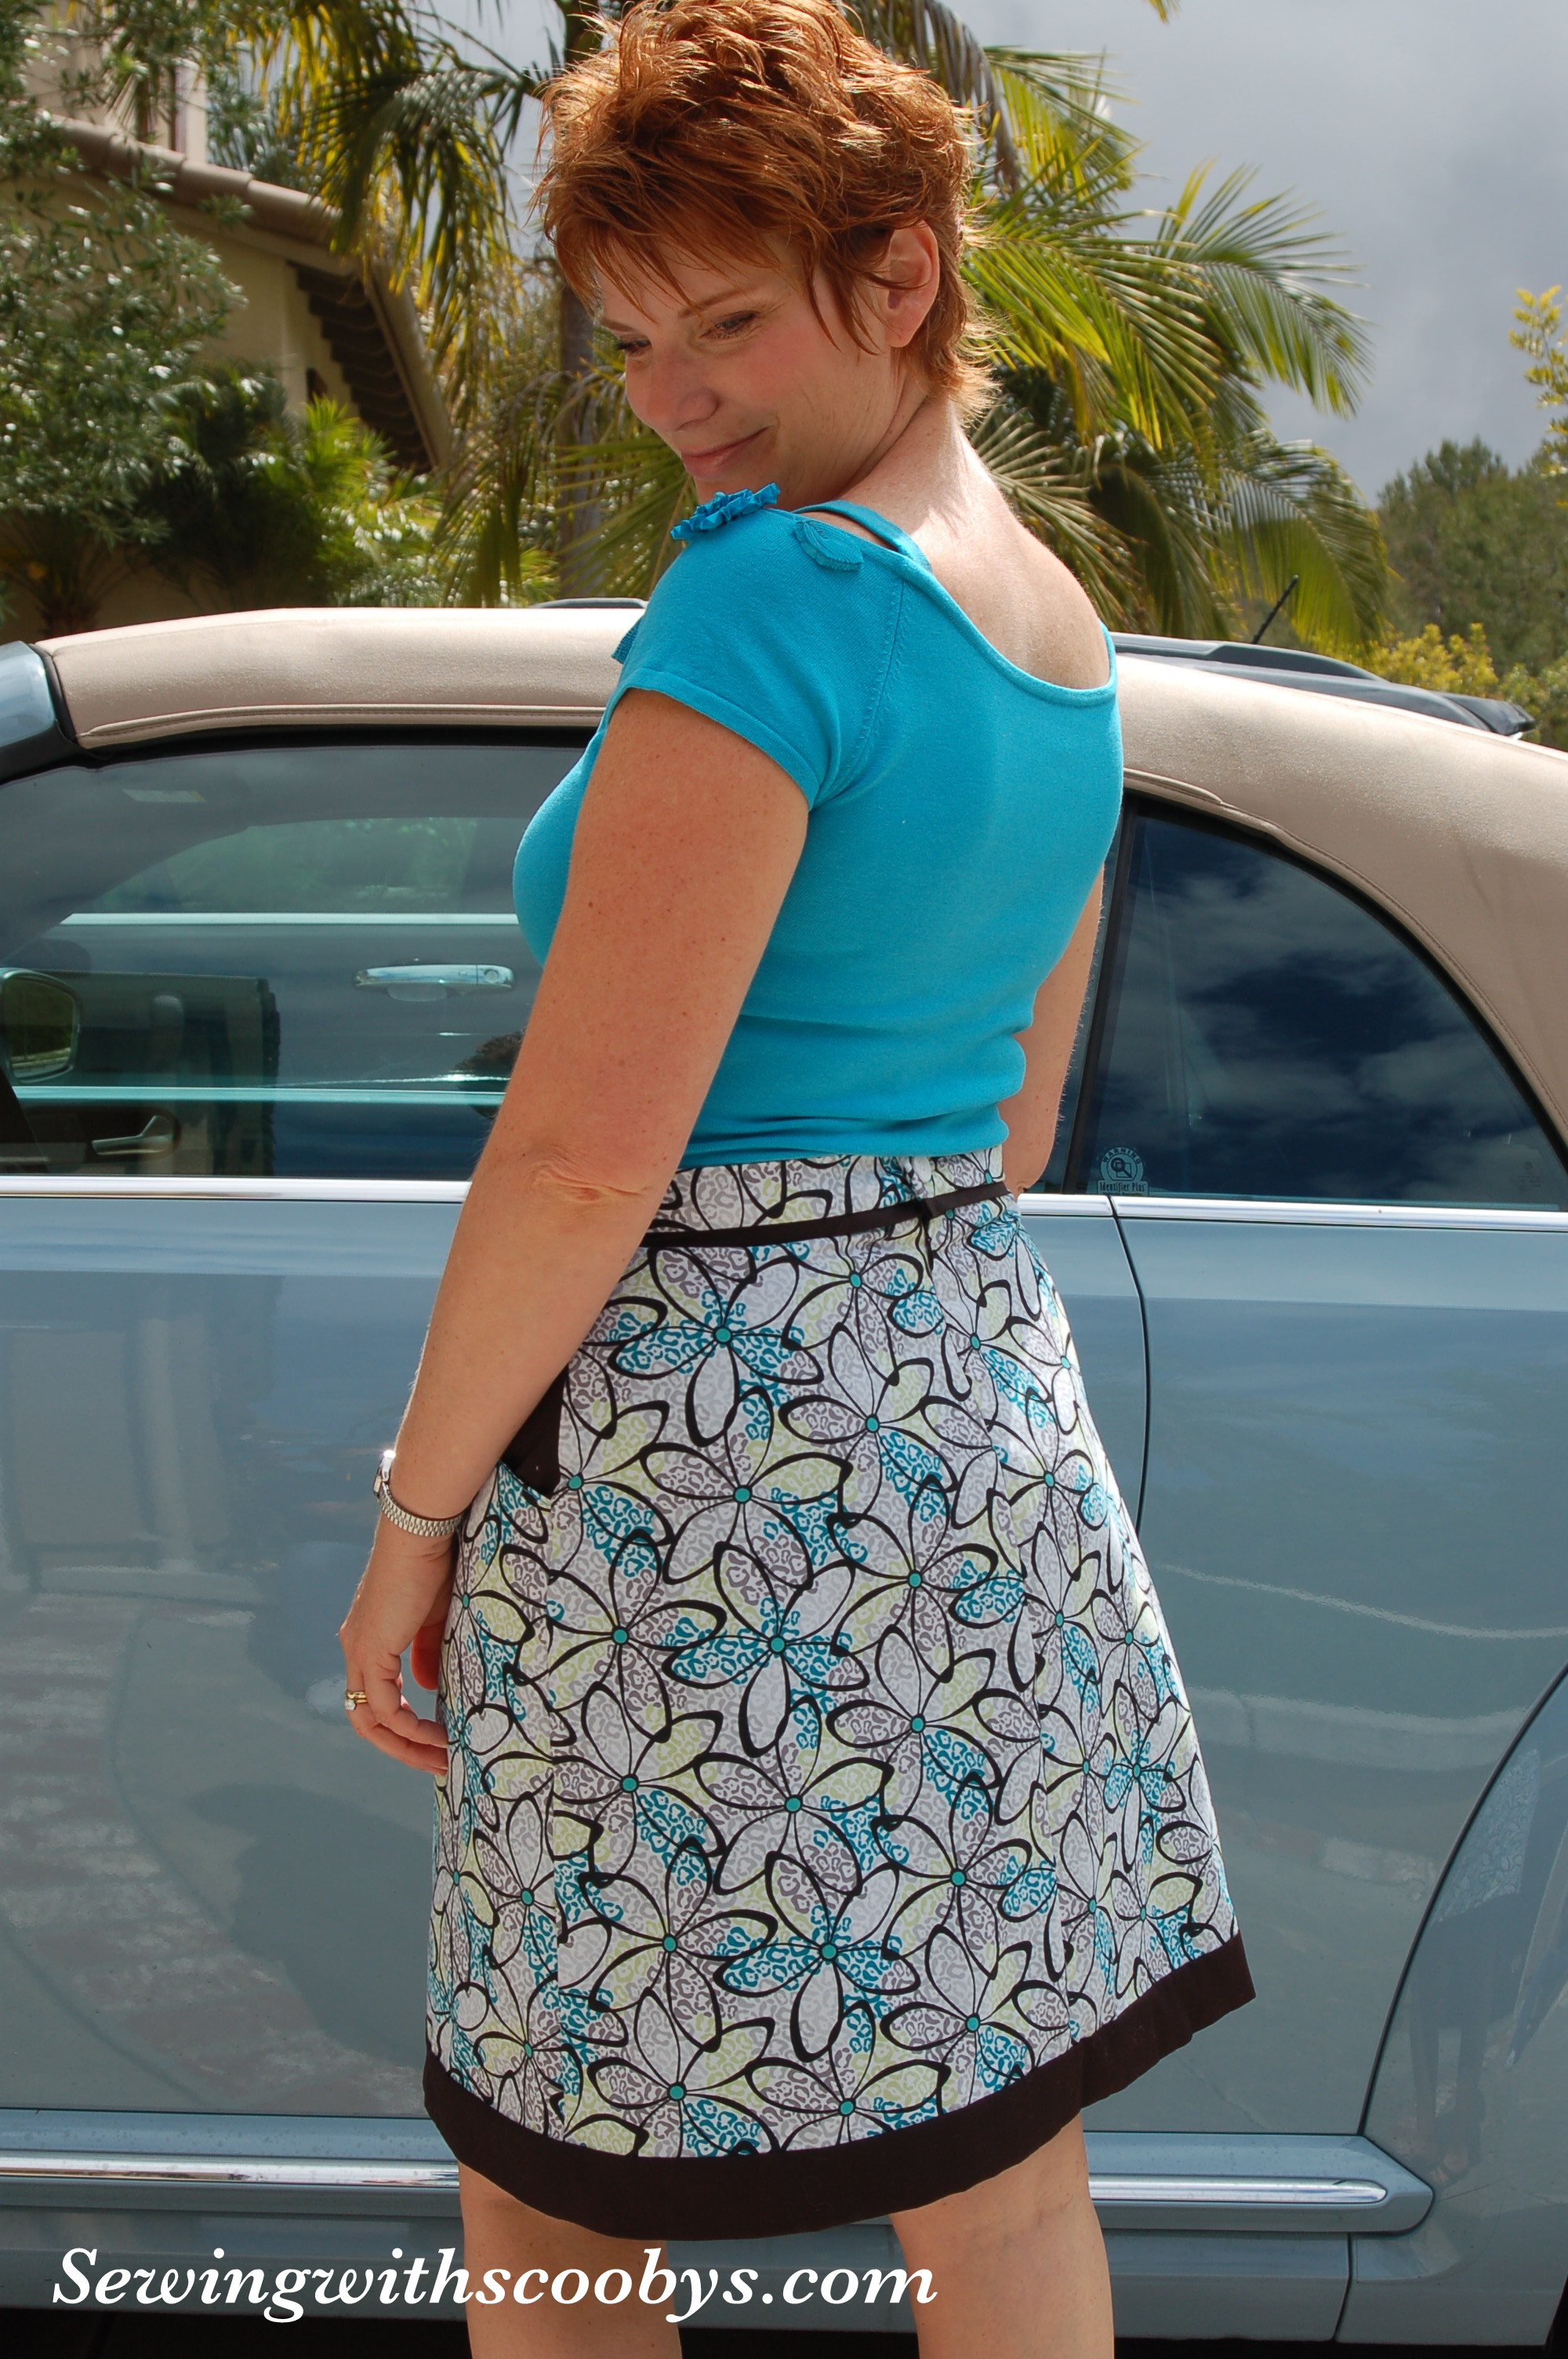
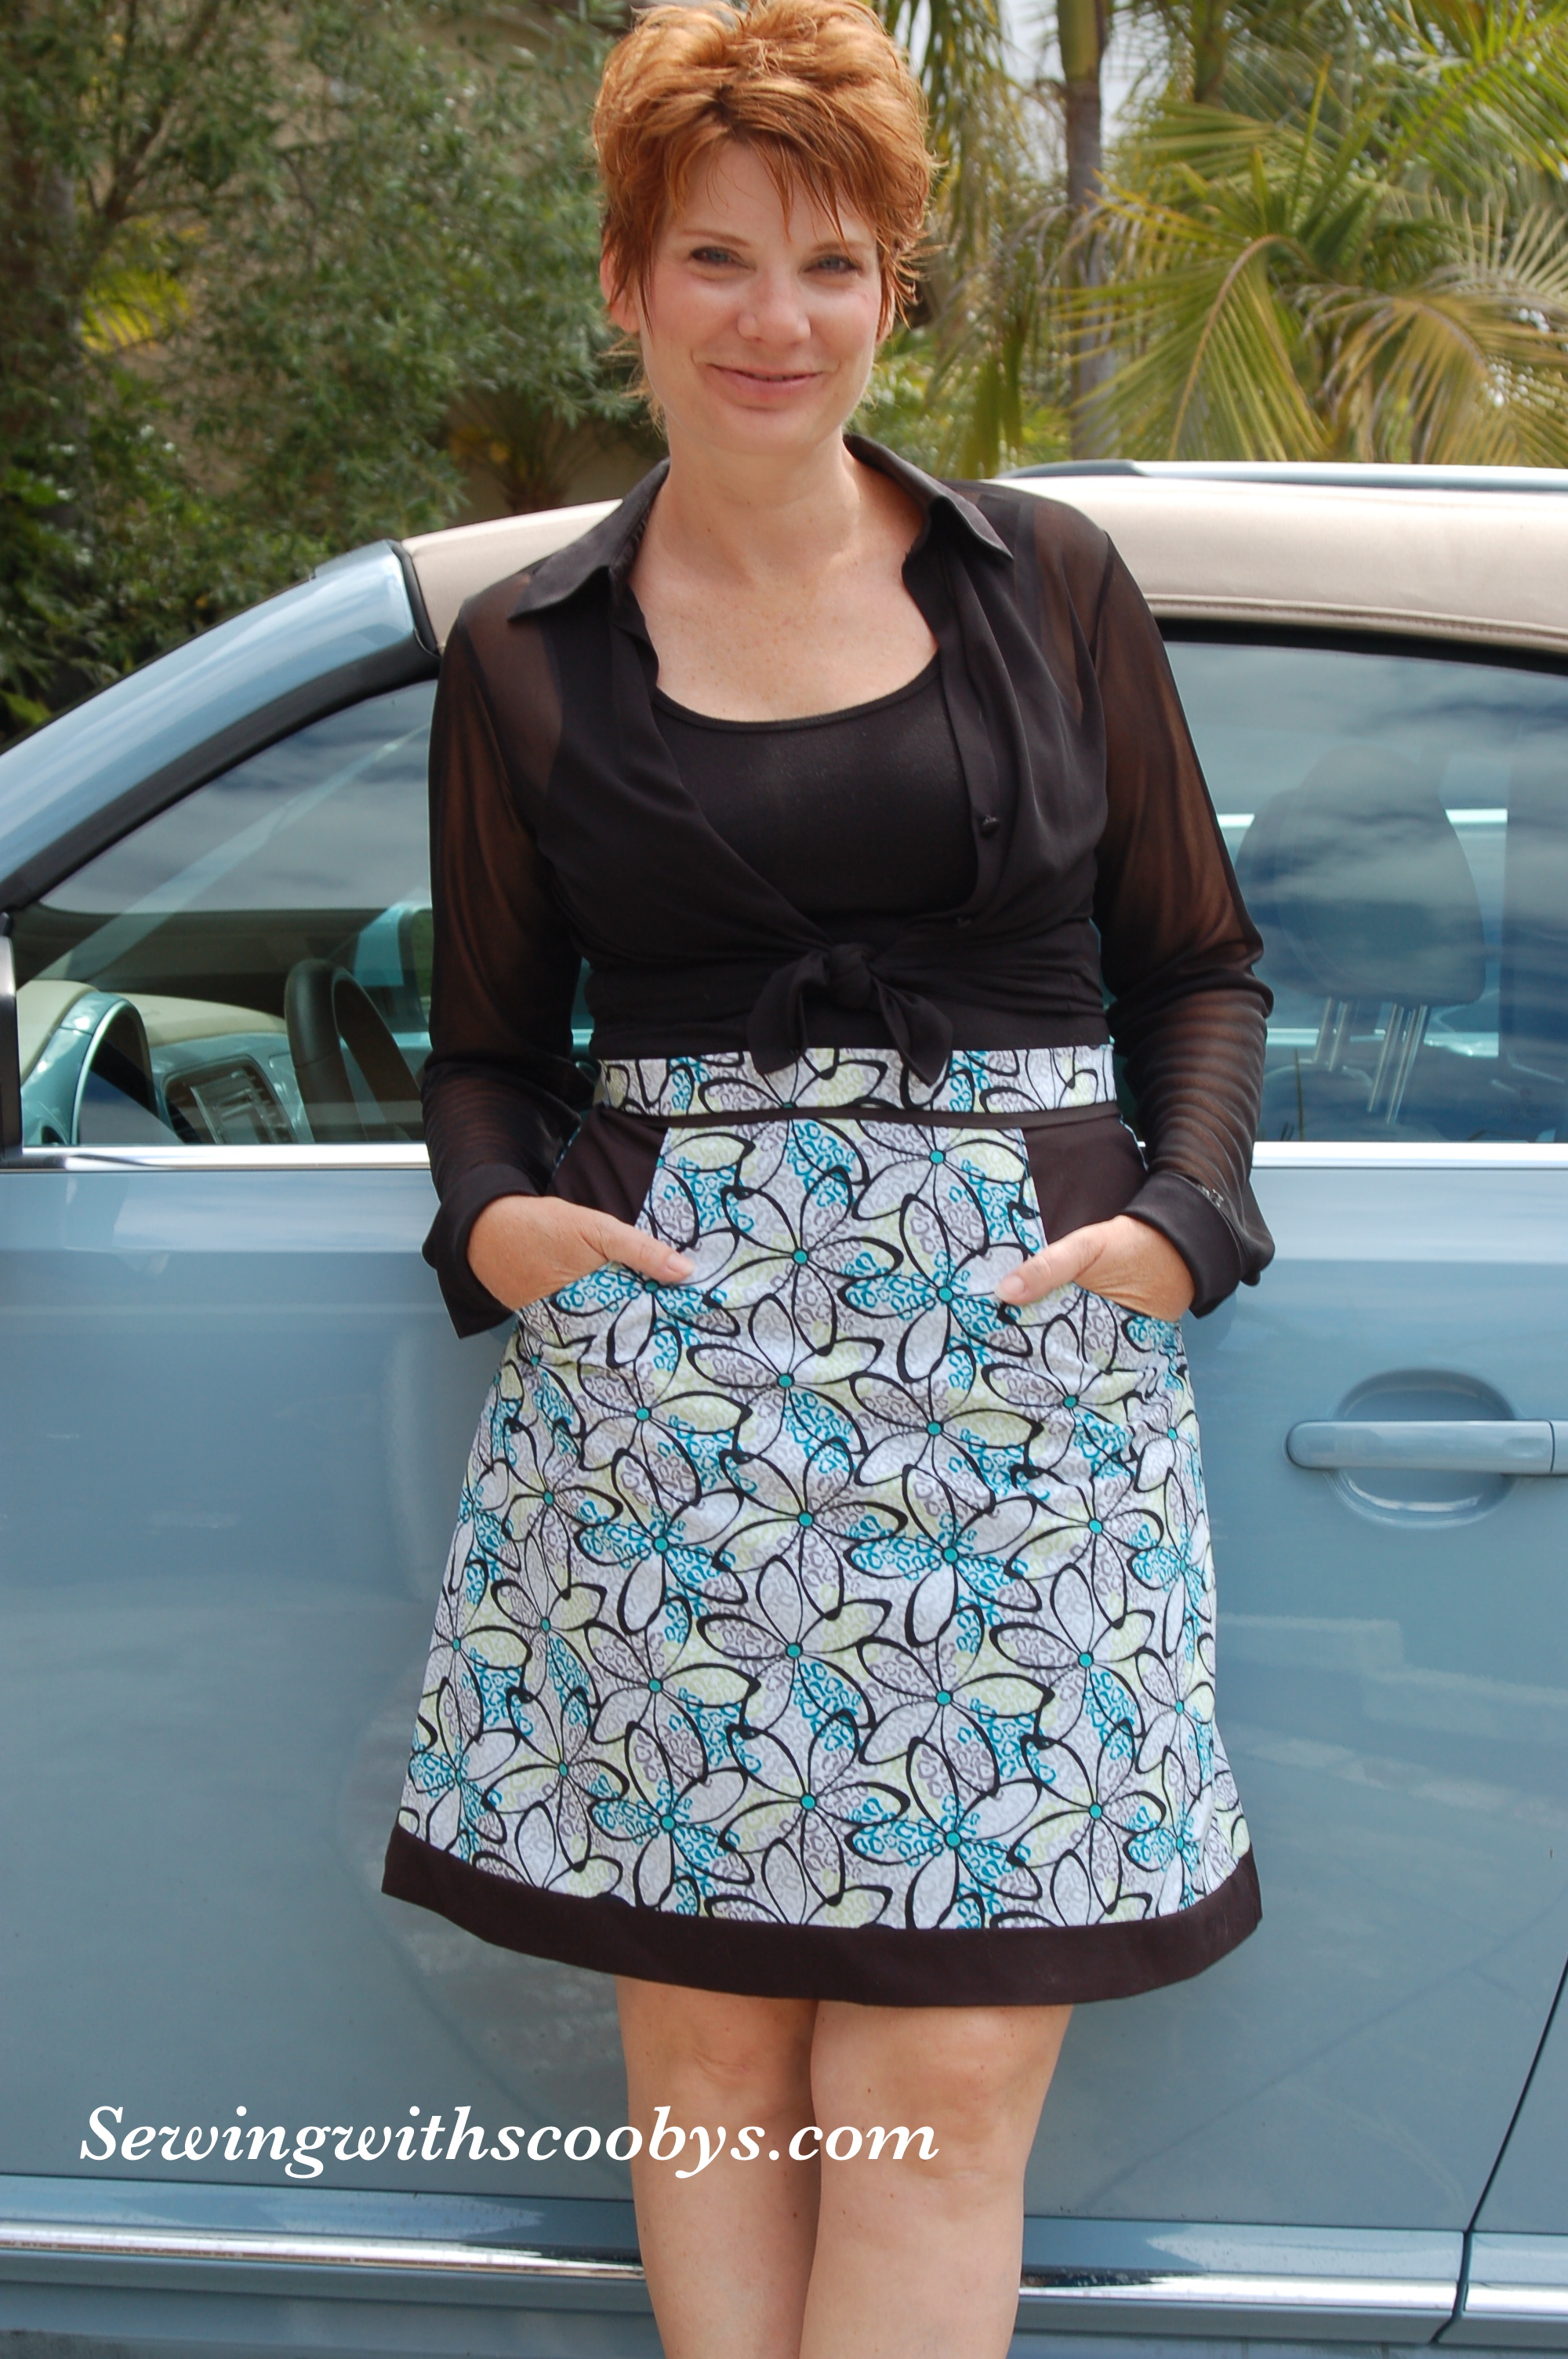
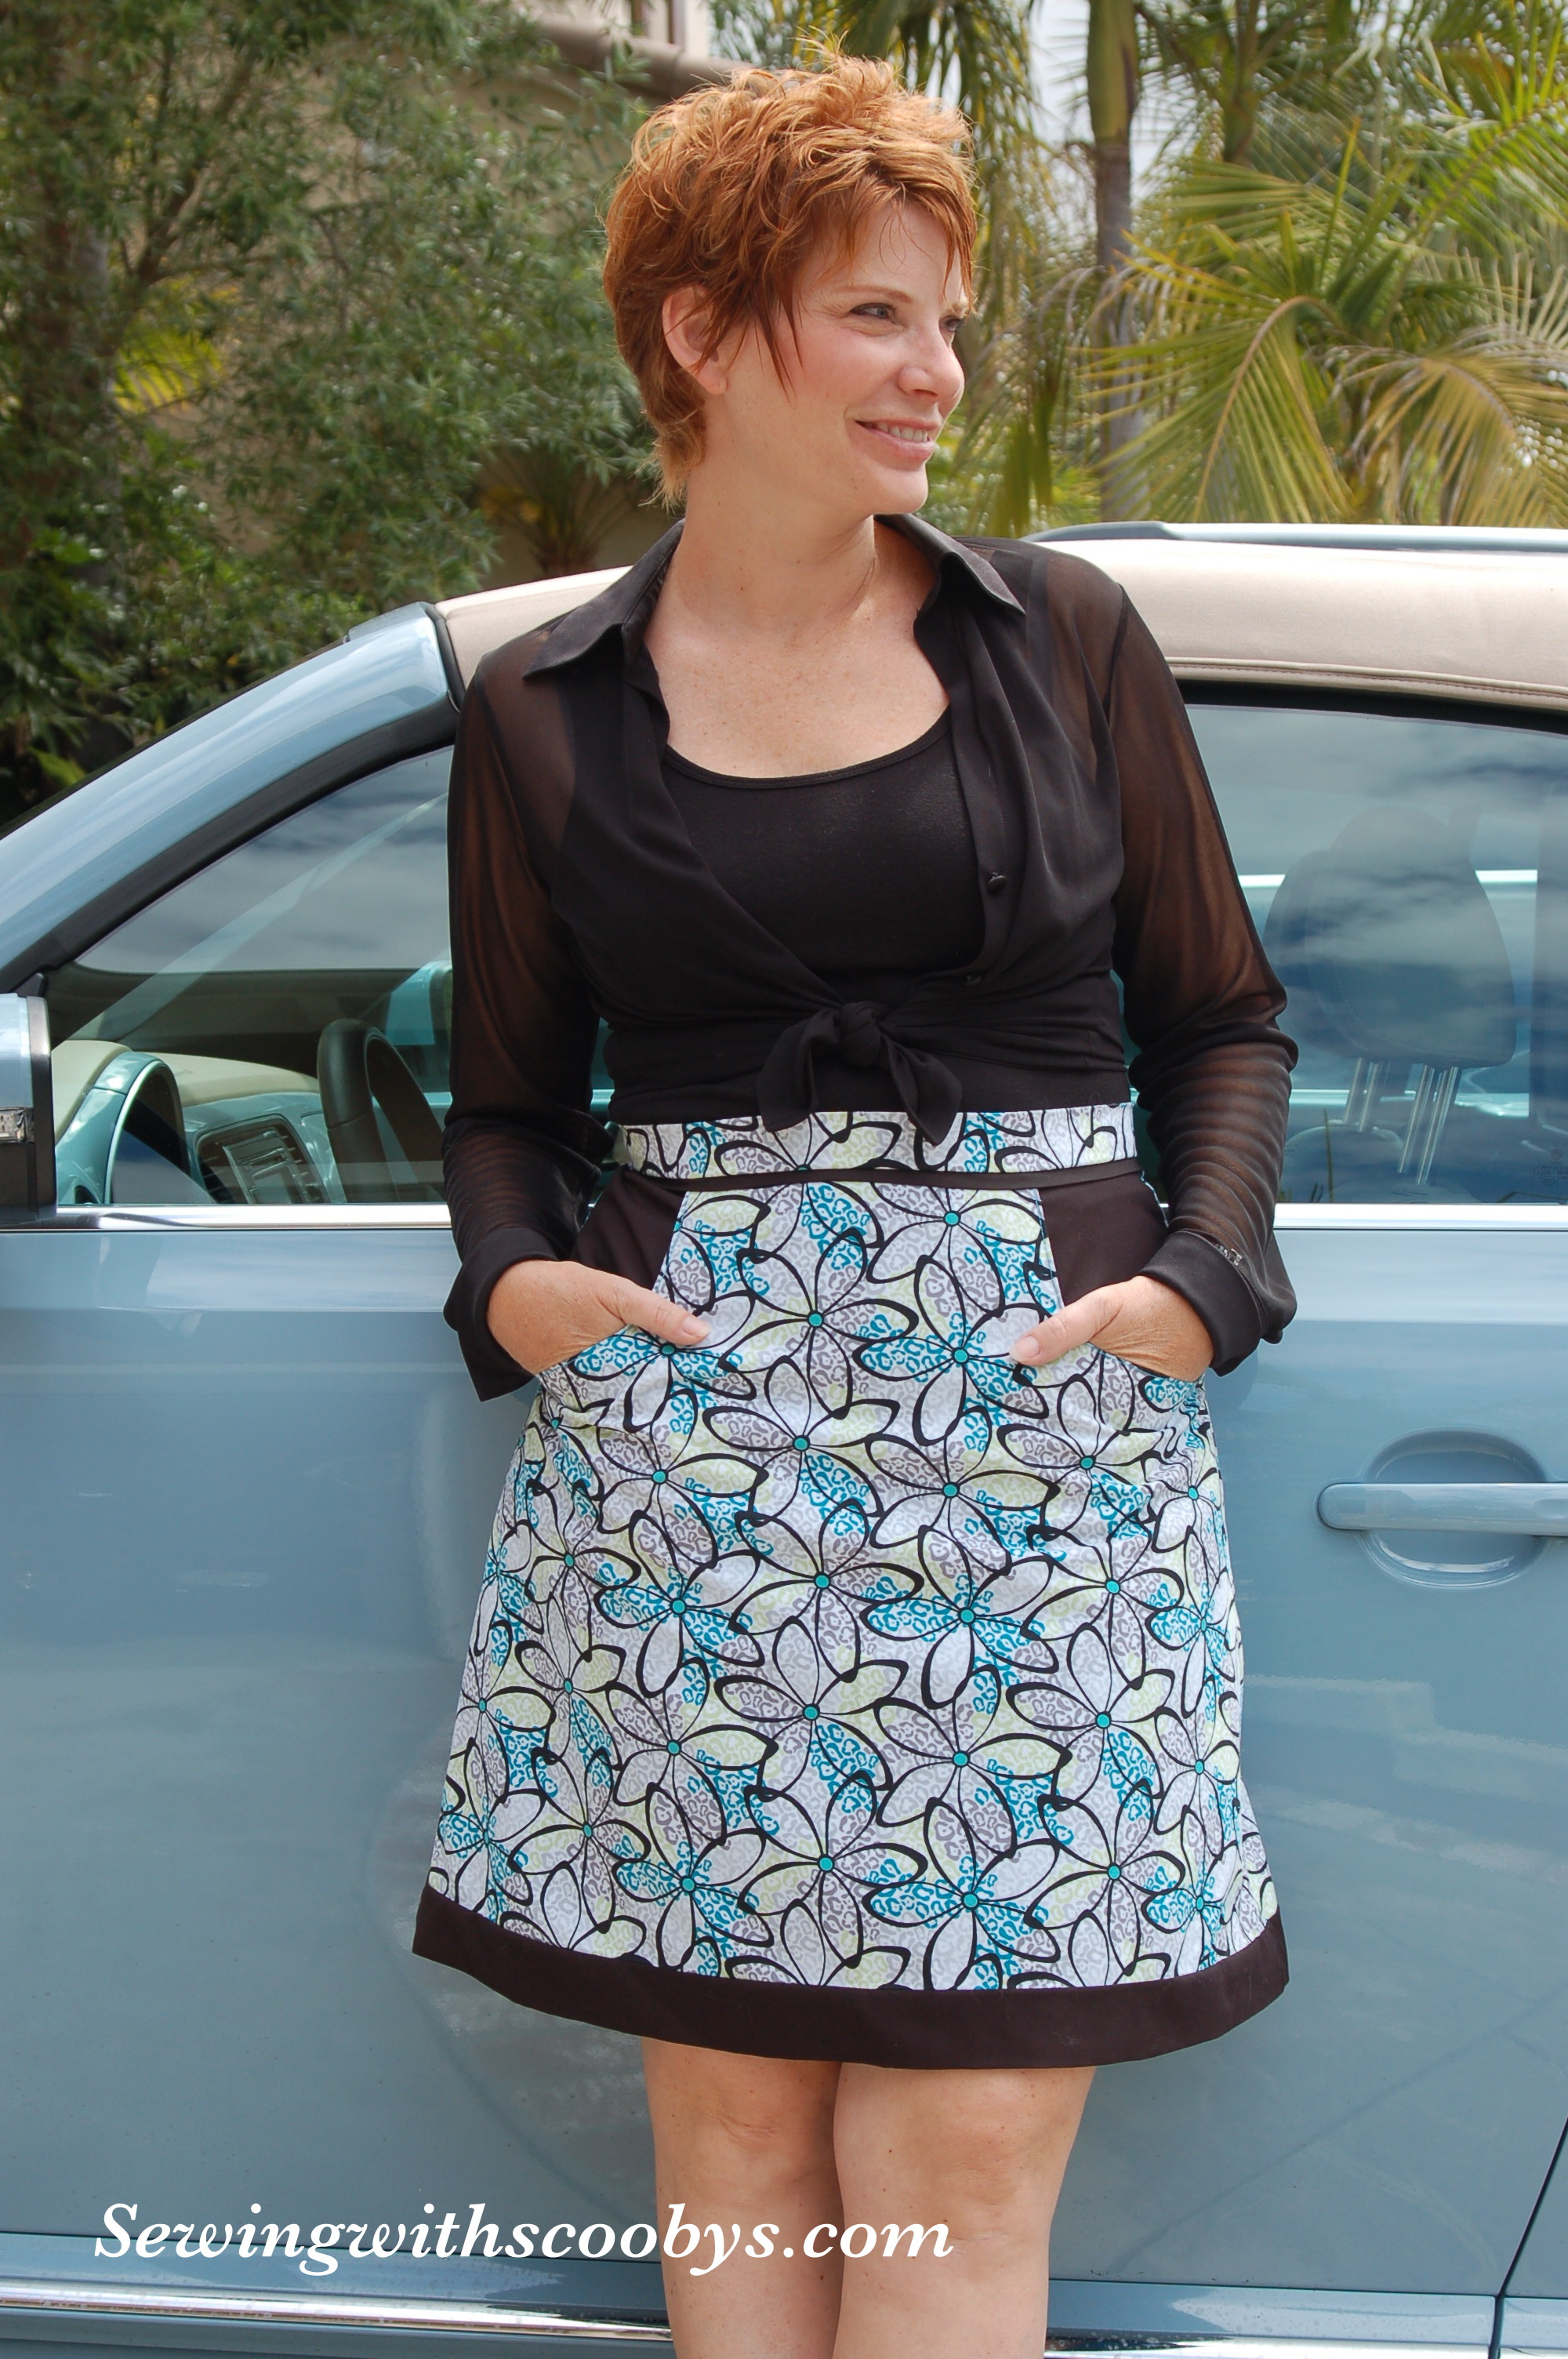
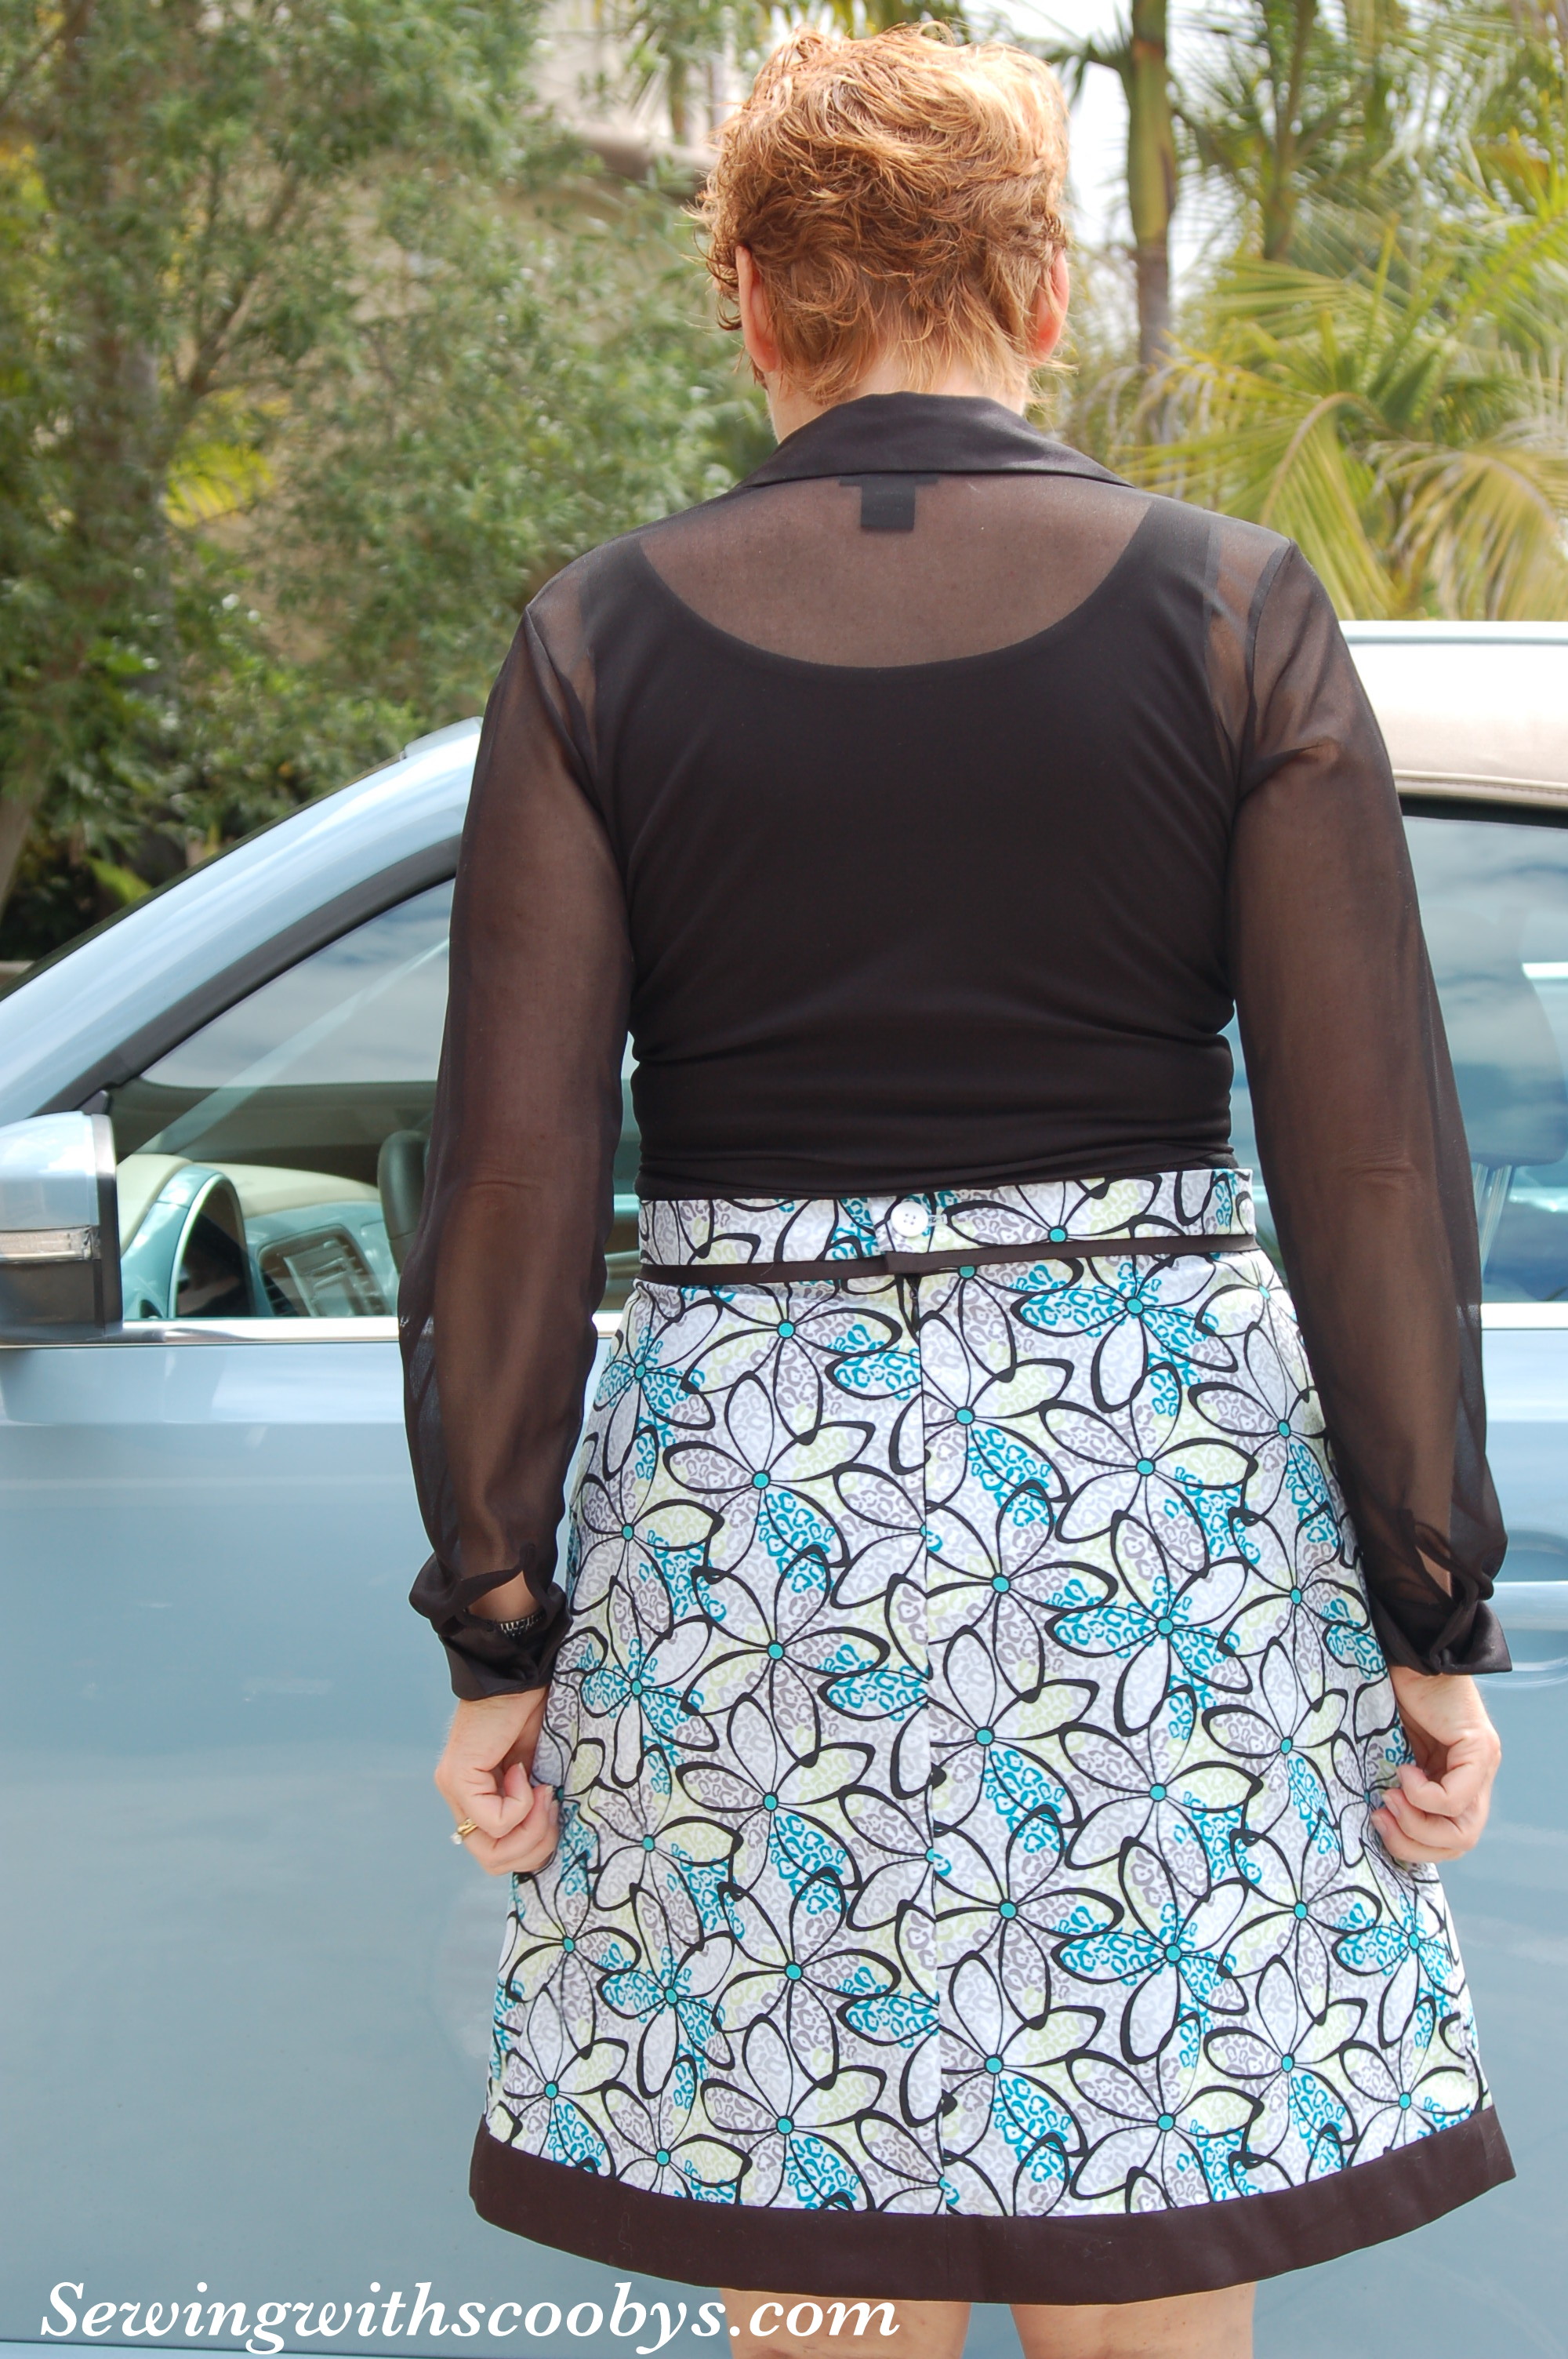
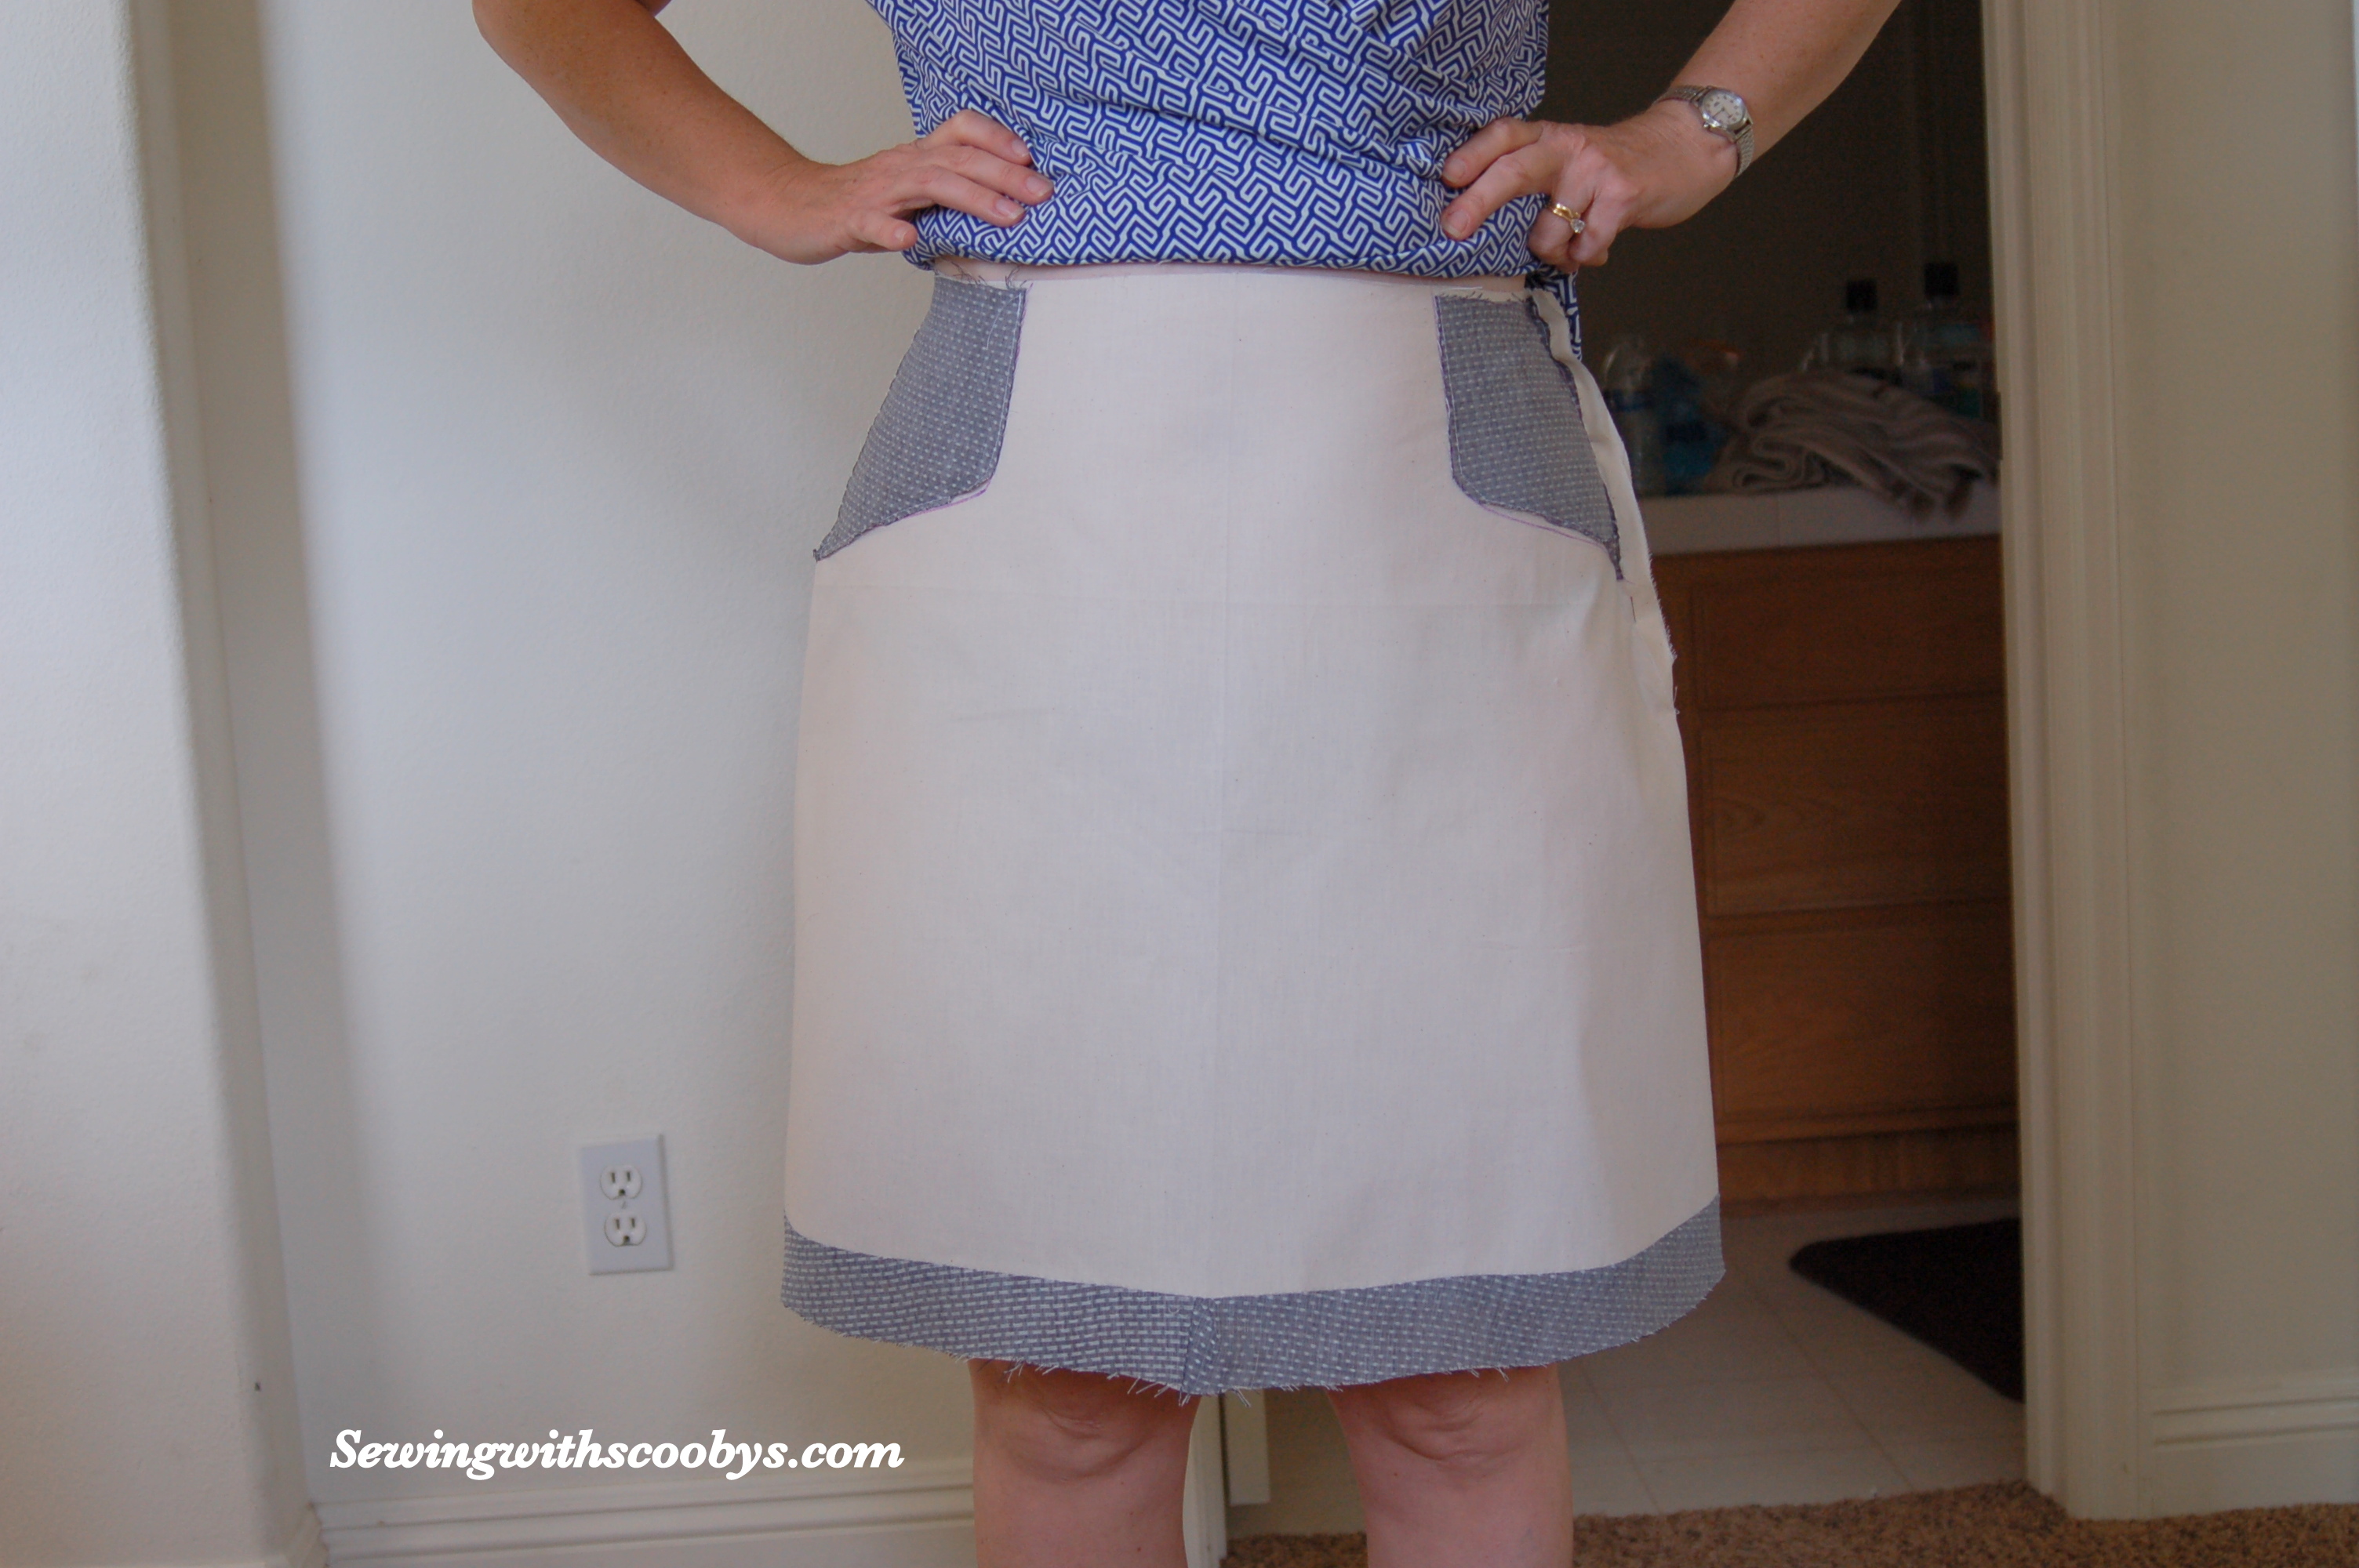
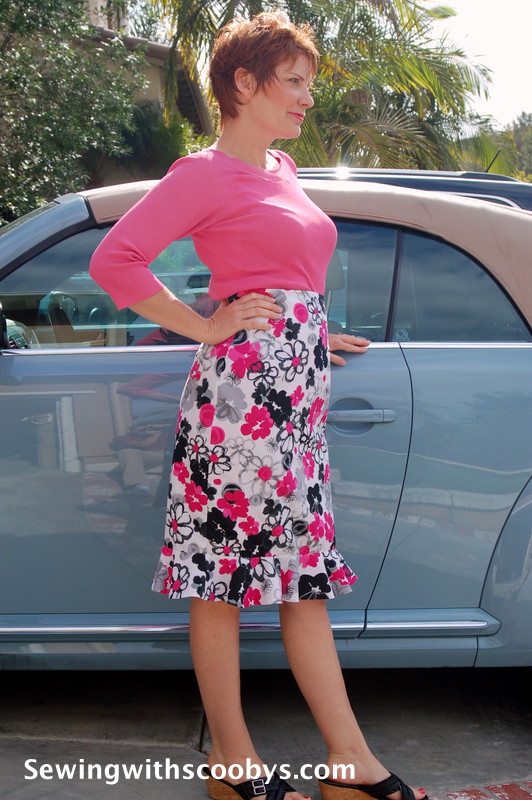
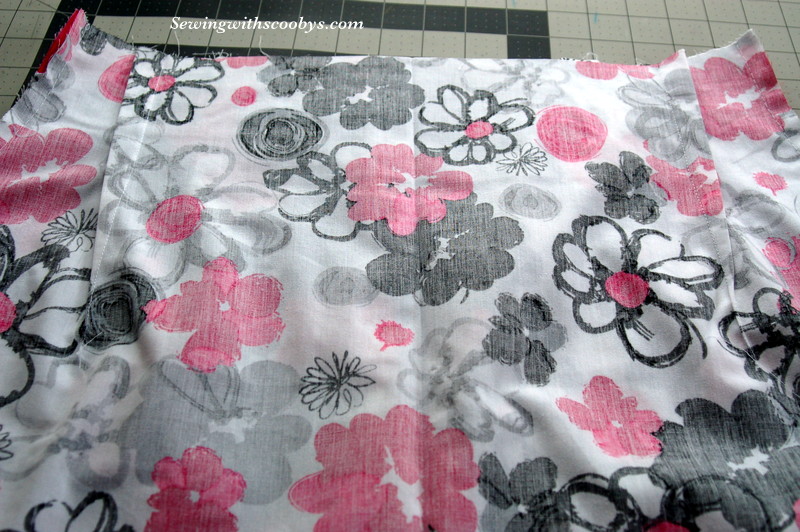
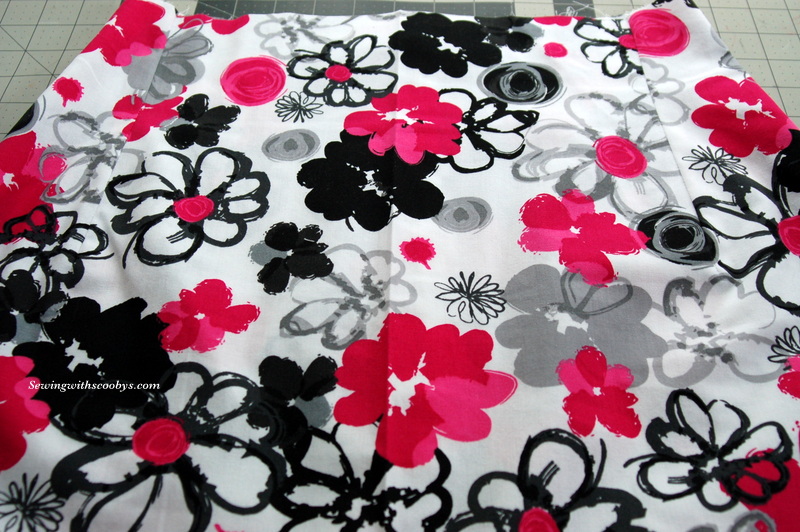
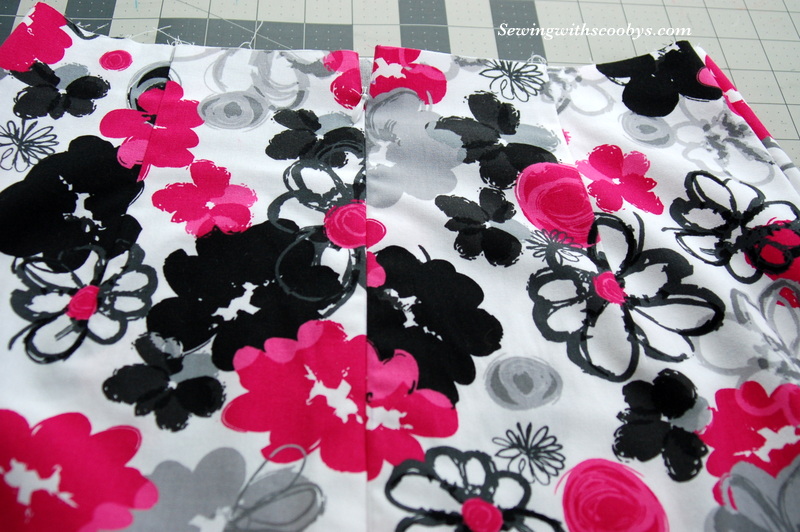
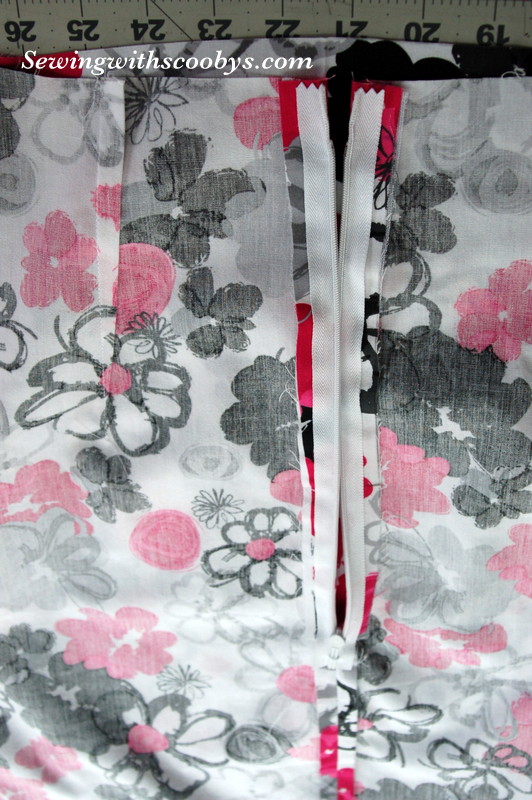
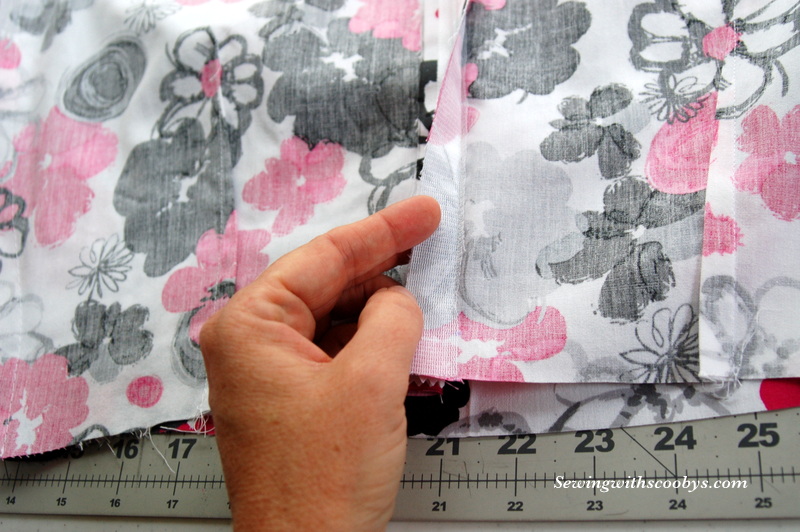
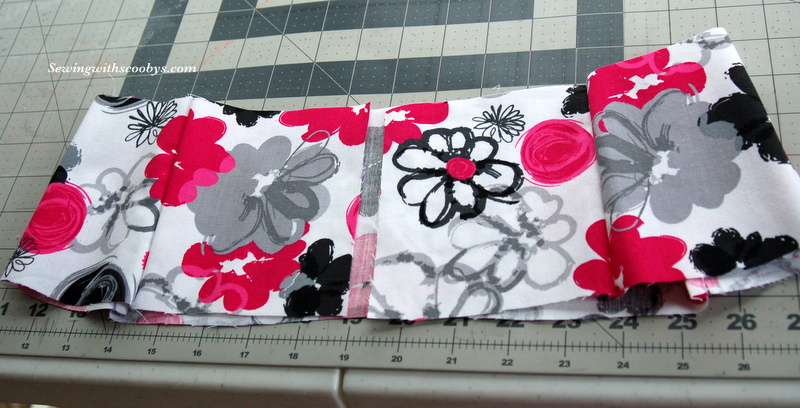
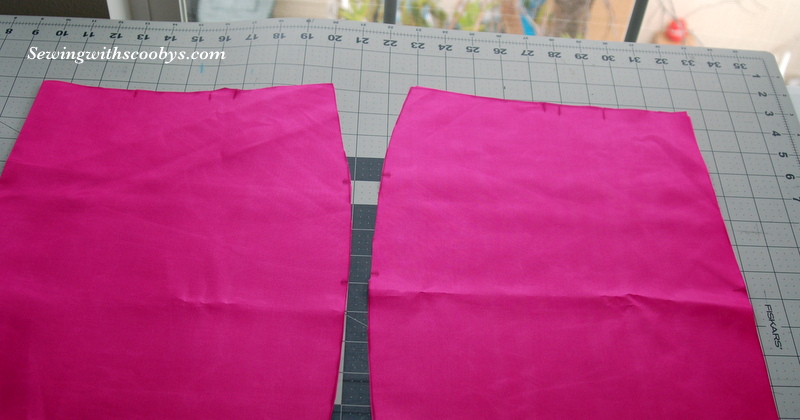
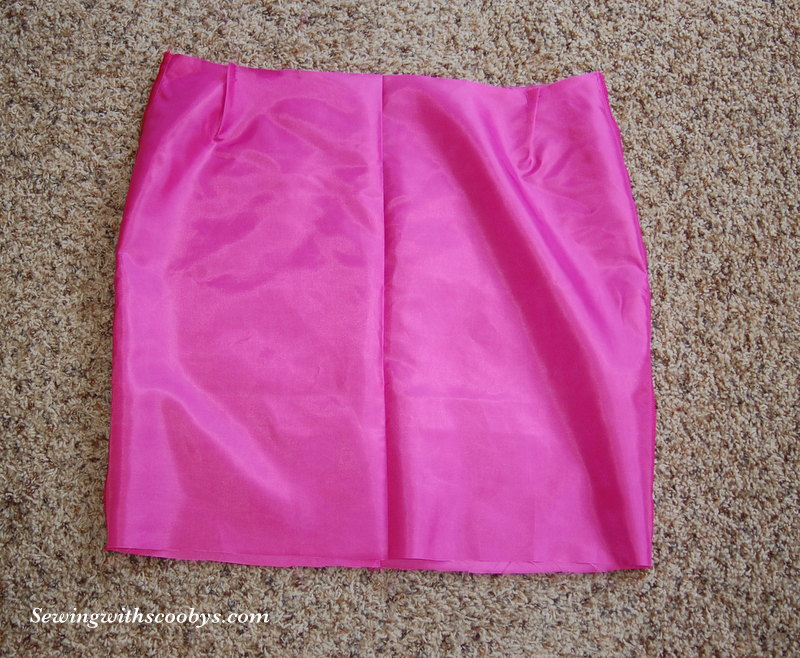
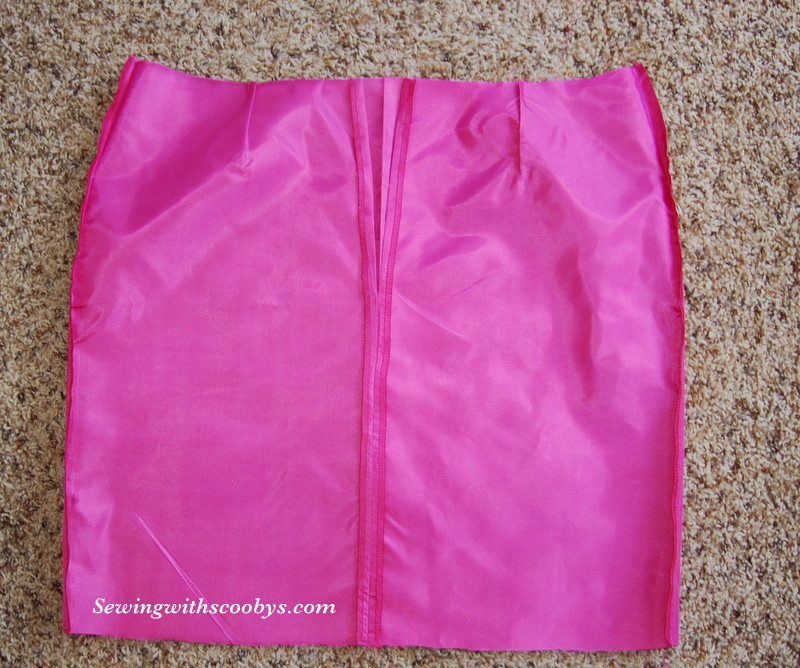
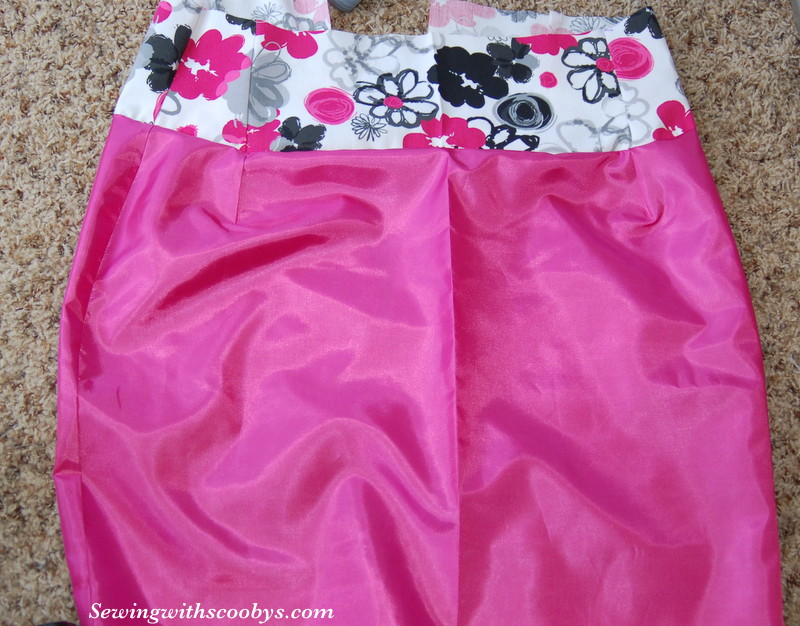
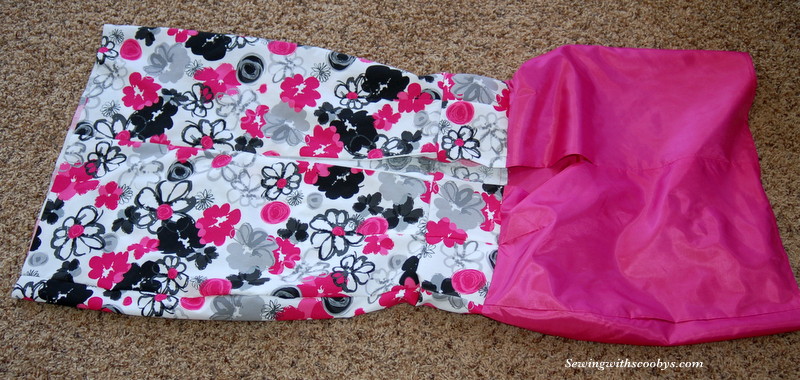
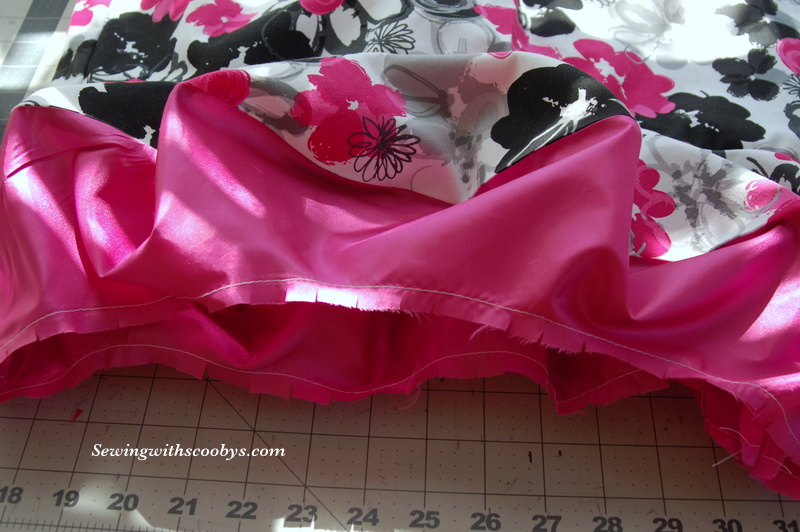
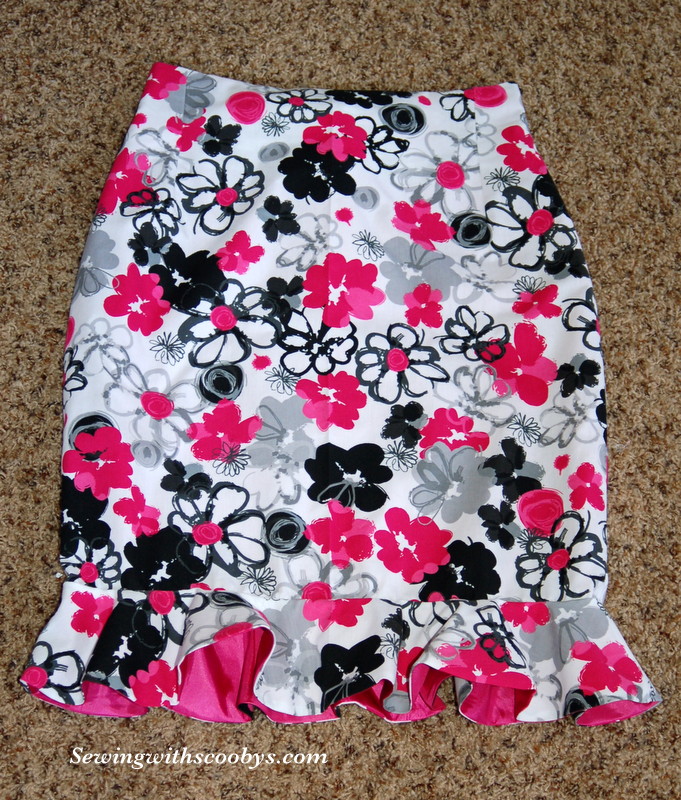
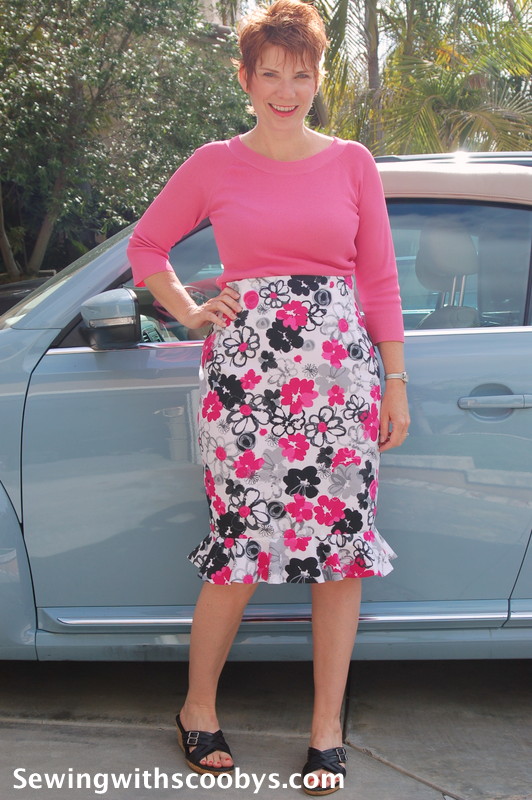
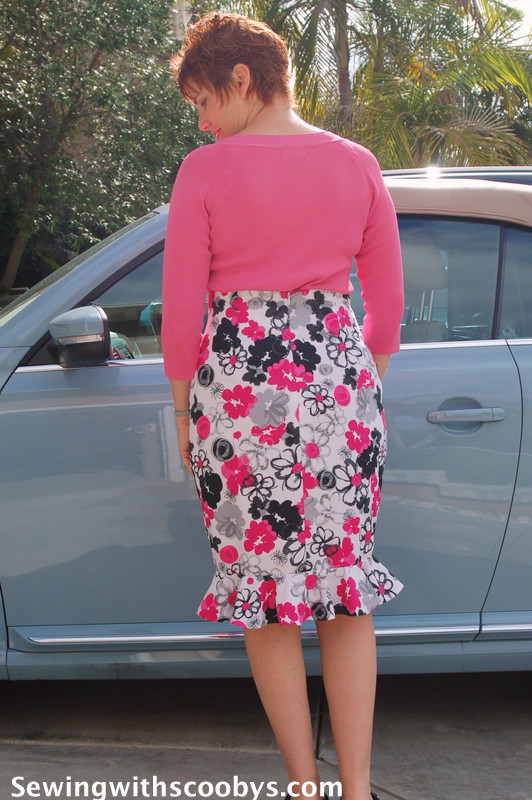
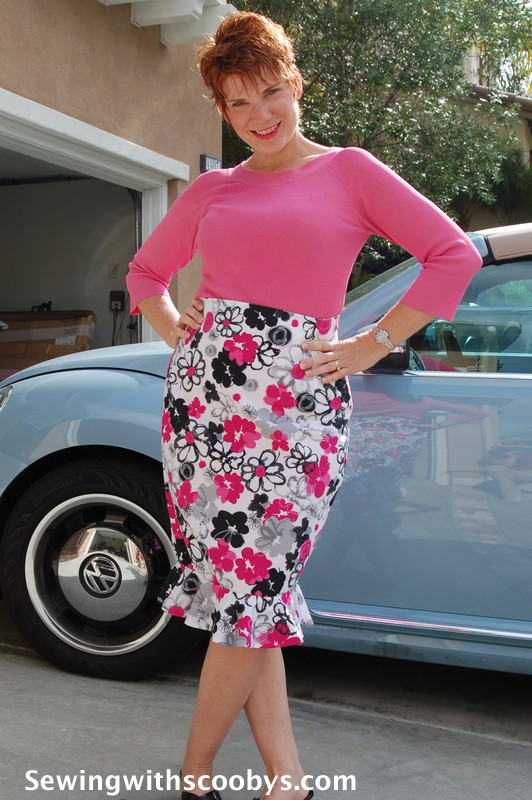
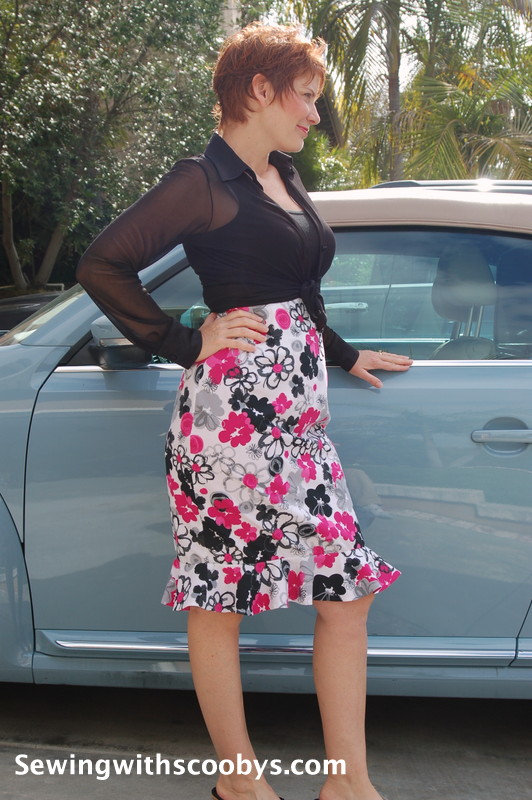
So I have one more piece of fabric I bought to make a skirt. I have drafted 2 long skirts that I love the shape but unfortunately I need 60 inch fabric for those two designs.  So I am on my 3rd drafted skirt and will be trying out the design in muslin soon.

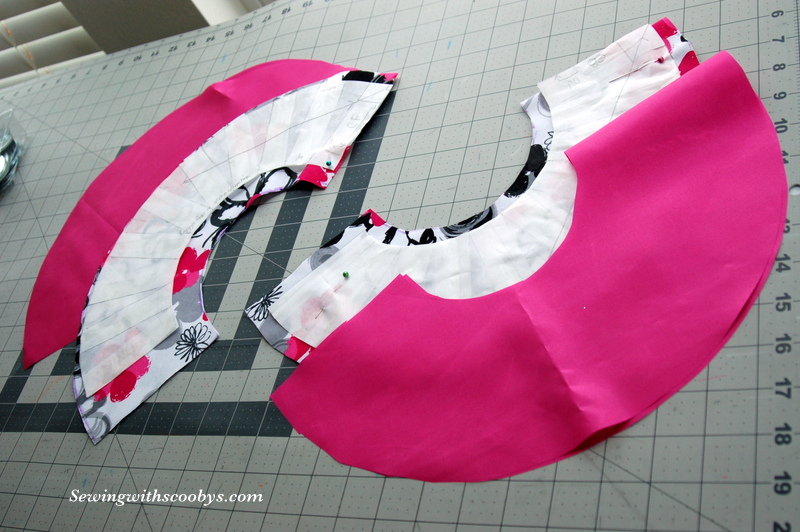
I started off in sewing by quilting and for the longest time would use quilting cottons for clothes for my daughter so now that I am starting to make myself clothes I am so “fiber inexperienced”.  What sort of fabric would you use for a circle skirt? Both my other designs take a lot of fabric and they both are on the bias. I have never made anything on the bias before and I am excited to give these skirts a try.  Any suggestions on fabric type? There is a gazillion different types out there lol.

How to do a Perfect Curved Hem

A clean finish on a hem that is not straight is tough. The curve tends to pucker a hem.  To prevent this you can staystitch while applying your finger to the back of the foot thus applying resistance to the fabric from coming out freely.  This is also known as staystitch plus.  This eases the fabric as noted by these tiny accordion type looking pleats:

DSC_4209


If your fabric is very convex then you may want to run a basting stitch and pull up the fabric to gather it even more in order to fold it in neatly.

Now turn your raw edge up right at the stay stitching line, using this as your guideline for folding and pressing, press under once more so you have a nice clean edge:

DSC_4210 DSC_4211

Now I use my overlocking foot to do hems a lot of the time. This is my cheat method.  There is a knife like projection in the middle of this foot. This is your guide that you place the fold next to as you sew you get a perfectly straight and even hem!

DSC_4212

How easy is that?

The Abby A-Line Skirt

I use to love using contrasting colors and different fabrics to construct clothes for my daughter Abby and being like a kid myself I thought this design element would be a bit fun to bring into adult clothes.

Thus the Abby A-line skirt it is 🙂

I used a fun cotton for the pocket facings too because I’m such a kid:

DSC_4254

The pocket backs are black as well as the band on the bottom of the skirt and unfilled piping along the waist band:

DSC_4206 DSC_4208

I lined this skirt with aqua to pick up the blue on the print of the skirt. Plus its my favorite color. My favorite thing to do is bring out the color I love about the fabric and use this in my serger as well!

DSC_4211DSC_4202DSC_4213

Before committing to the side seams I baste first and try it on just in case it needs some tweaking:

DSC_4203 DSC_4204

I put in an invisible zip and I think I finally have this zipper thing down! I am going to make a tutorial on invisible zips soon.

DSC_4193 DSC_4194

There will be no raw edges showing, I will be hand sewing the waist band in place, as well as around the zip, and the bottom of the band. I usually hate hand sewing but when I did my pencil skirt with hand finishing touches it was kind of relaxing and enjoying. Wow did I just say that?

I love the lining in these skirts, it hangs better and feels fantastic!

DSC_4214

And here is the skirt completed!! Yay, I spent 3 hours in total hand sewing and finishing touches AKA: button 🙂

DSC_4217 DSC_4218

DSC_4221 DSC_4225

and again I think a dark neutral top looks best with a busy print:

DSC_4231 DSC_4232 DSC_4235 DSC_4236 DSC_4237 DSC_4243


Drafting the A-Line

What sewing projects are you working on?

I have been using my skirt block and drafting a new skirt. This time I choose an A-Line shape. I started off with 2 inch insertions but it turned out a bit to flare for my taste. I redrafted with 1.5 inch insertions and was happy with the drape.

I want this skirt to be more casual but still fun so I decided on a color block design.

I am going to have the pocket area a contrasting color as well as a band on the bottom of the skirt. I had some scraps lying around and did a mock-up in muslin to see if I would like it.

DSC_4179 DSC_4181

I think it will be very cute in the fabric I bought. Here is a sneak peek (I am completely finished it except for hand sewing)

DSC_4206

I am still plugging away on my bodice sloper too! This was an absolute mess, I had so many copies I had tweaked lying around, ahhh why did I not consolidate these changes!!  That took 3 hours or so to recheck and recopy a master draft with careful measurements and ….yes yet another muslin…

DSC_4184 DSC_4183


It takes a long time for the instructor to get back to the student. She has so many classes she teaches and I can just imagine what her email box looks like! Yikes.

So what changes should I make?? I don’t know what else to do. My CB is shorter than my CF which is really weird and not really suppose to happen right? So I would hate to shorten it any more, but I think it needs some sort of tweaking??

Pencil Skirt with Flounce (custom made by me)!!

DSC_4152

I have oodles and oodles of pictures to share with you!! I am so excited about how this skirt turned out! Thank you CRAFTSY and your drafting courses!!

Ok so I drafted a high-waisted pencil skirt, with a flounce and facing. It was so nice to cut into REAL fabric for a change and not MUSLIN!

Here is the skirt shell: Check out my darts, no bubbles on the vanishing point of the darts! YAY! These courses will make you really good at darts and confident with your construction.

DSC_4129DSC_4126

The invisible zip went in surprisingly well. I don’t know why but zippers always make me nervous and are usually a bitch to put in!  I interfaced this area with fusible interfacing.

DSC_4125DSC_4128DSC_4127

I basted the side seams and tried it on, it was perfect so I went ahead and sewed it for real. I also serged the edges to get a clean look.

I prepared my flounces and facing:

DSC_4123 DSC_4124

I cut out my lining and pleated the dart areas. I serged it and pressed it ready for applying the facing:

DSC_4122DSC_4131 DSC_4132DSC_4134

The facing got sewed onto the skirt, everything matched up very well. I edged stitch along the facing so that it would stay put better. The lining is folded up a 1/4 inch twice for a clean finish:

DSC_4135DSC_4136DSC_4138DSC_4133

Now comes the flounces:

I prepped these by stabilizing the inner circle by stitching both the material and the lining. I stitched them together along the outer edge with a 1/4 inch seam allowance. I took my time to clip the lining and fashion fabric, staggering the clips so that when they are turned they will fan out nicely with no “gaposis”

DSC_4142 DSC_4139 DSC_4140

It’s a bitch to do but if you open up the seams first on a pressing hem before turning you will get a nice finished smooth look.  A clapper helps with that too 🙂

DSC_4141DSC_4143

I attached the flounce to the skirt then clipped gently into the lining to help turn under to sew in place.

DSC_4146

I was so excited to finish this skirt I hand sewed the lining around the zipper and the whole lining of the flounce in place all in one night doing the tiniest slip stitches. It took 3 hours! Ta da!!

DSC_4147

Close up of flounce…..

DSC_4148

Lining near the zip…

DSC_4149

Inside out, upside down, sunny side up!!!!!! I know, I know, I have a ton of pictures.  Can you tell I am excited or what??!! ;)…..

DSC_4150

and another close up for giggles…

DSC_4151

Ok here are some pics of me wearing it so you can actually see the fit 🙂 I have a major hole in my wardrobe to find a top that will go with this high-waisted style but what I had wasn’t too horrible.

DSC_4152 DSC_4153 DSC_4154 DSC_4155 DSC_4156 DSC_4157