My son wanted a Zelda party so I got started on making a Link and Zelda costume.
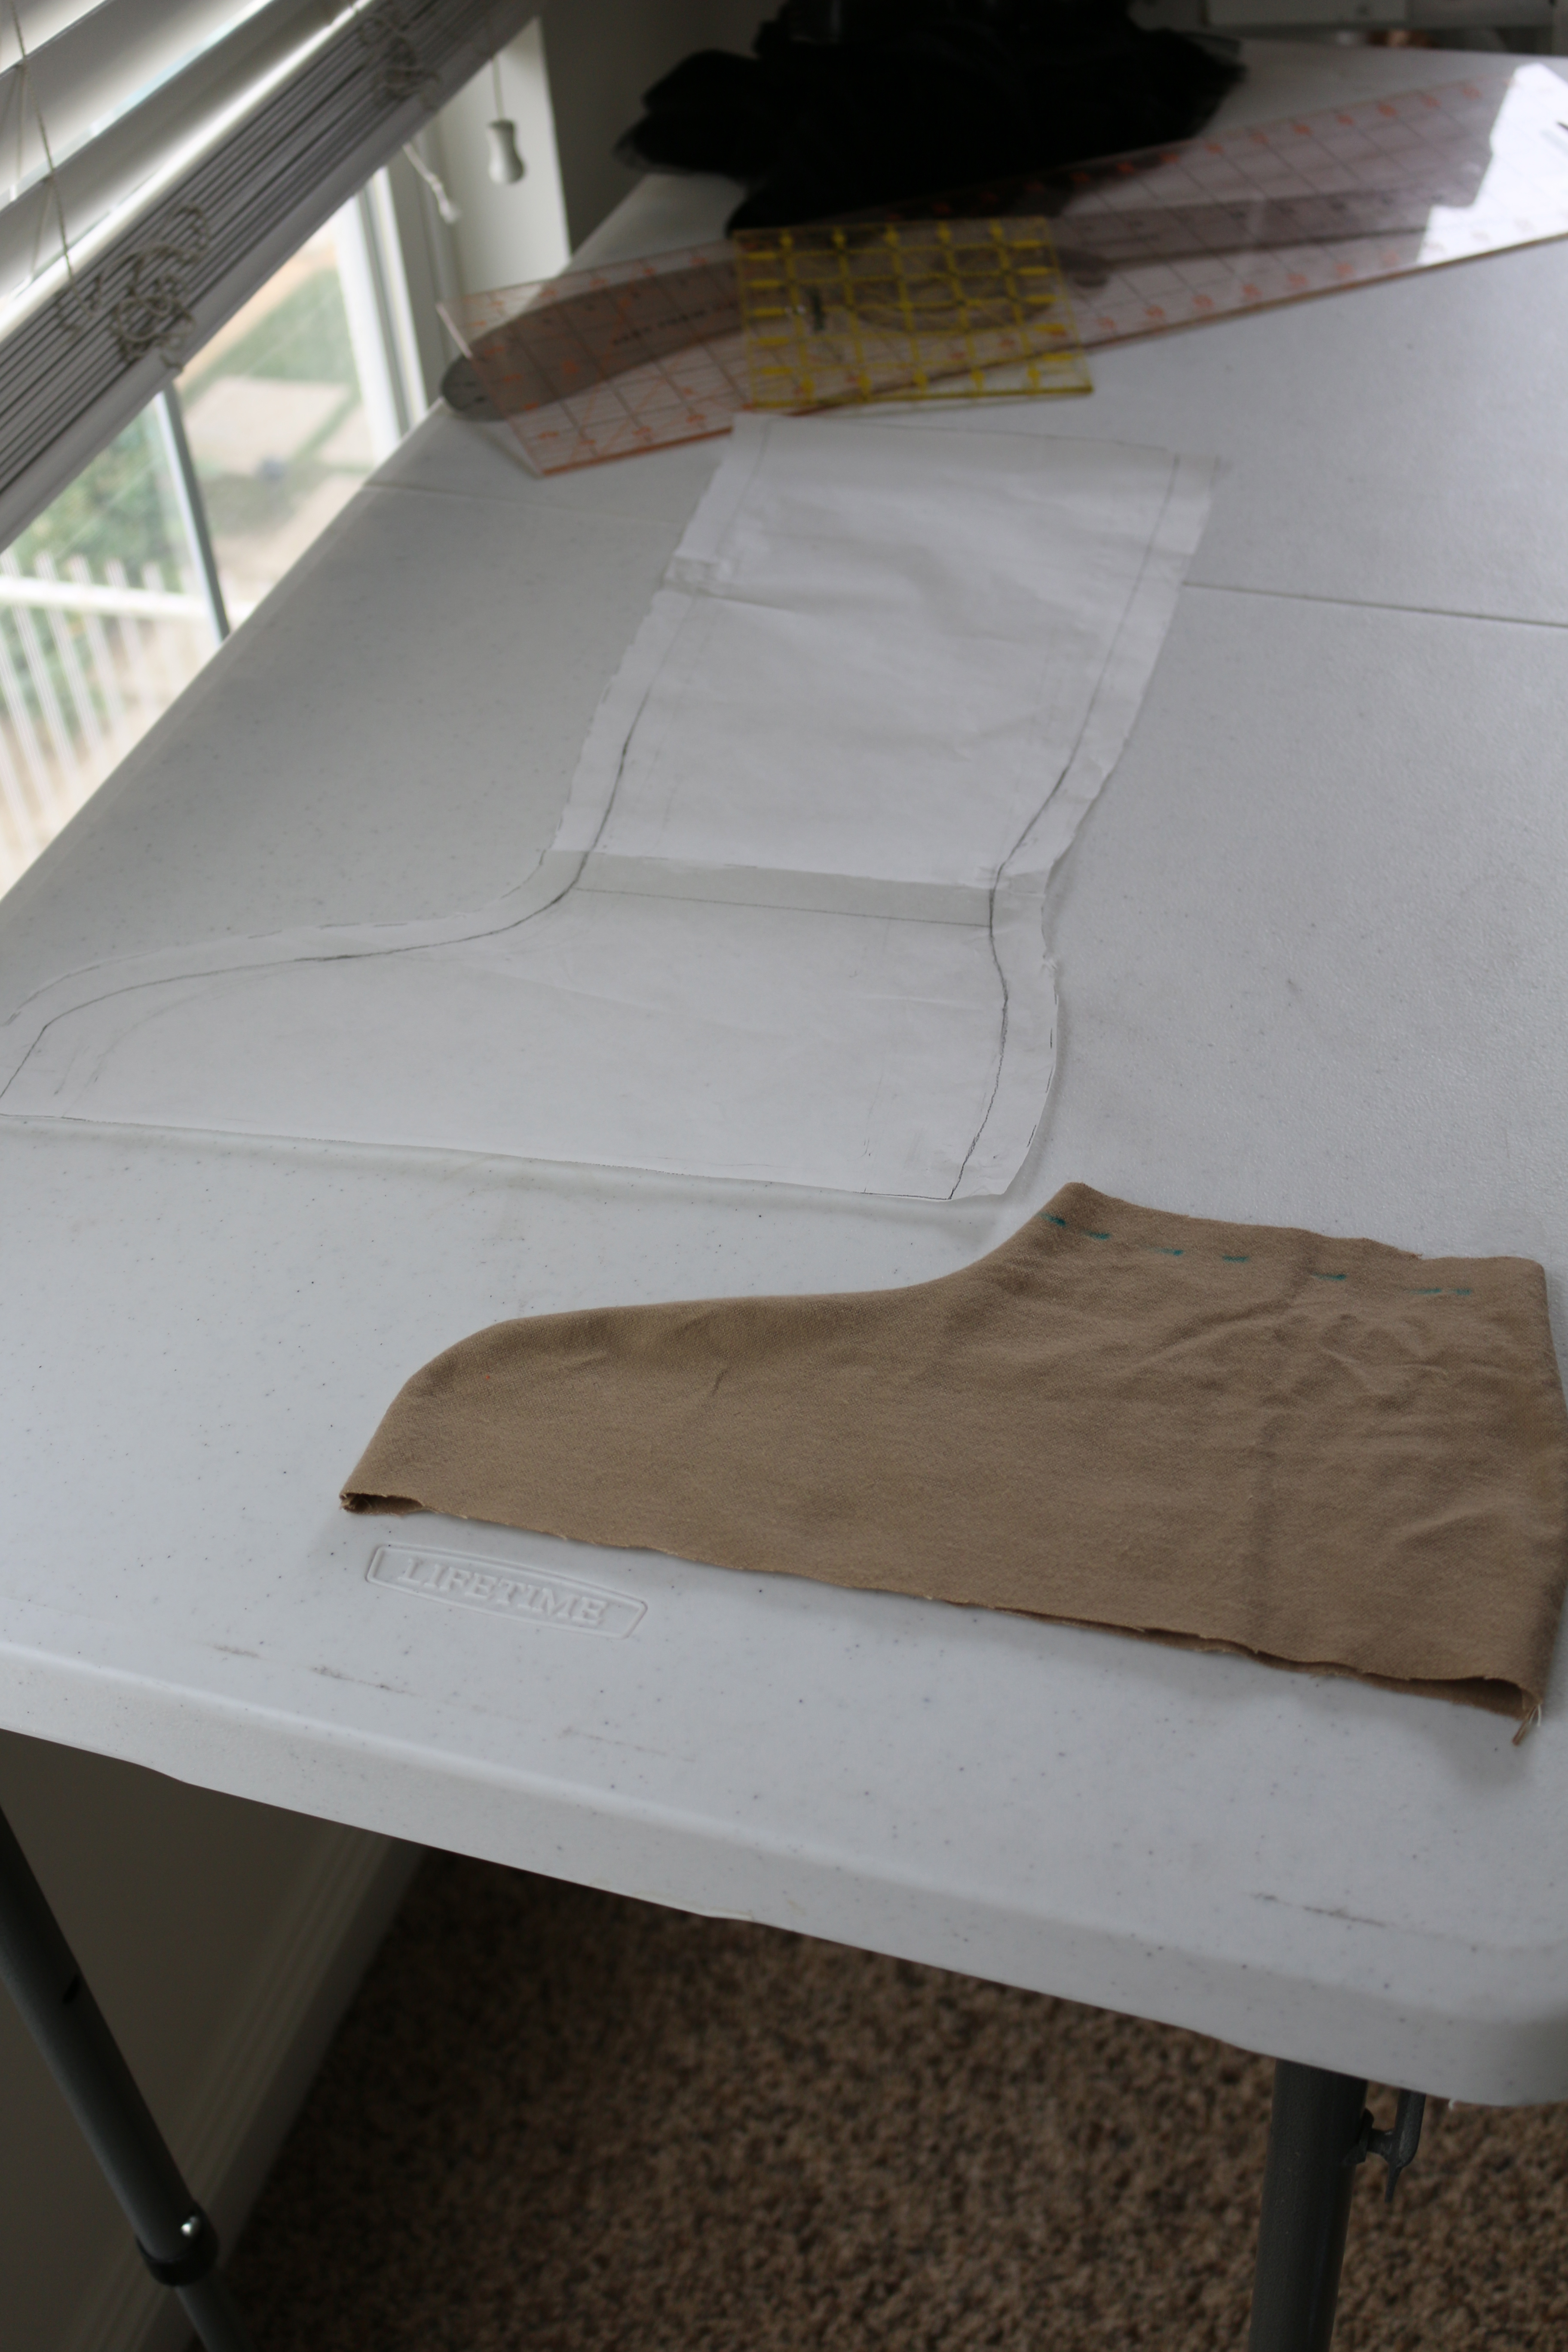
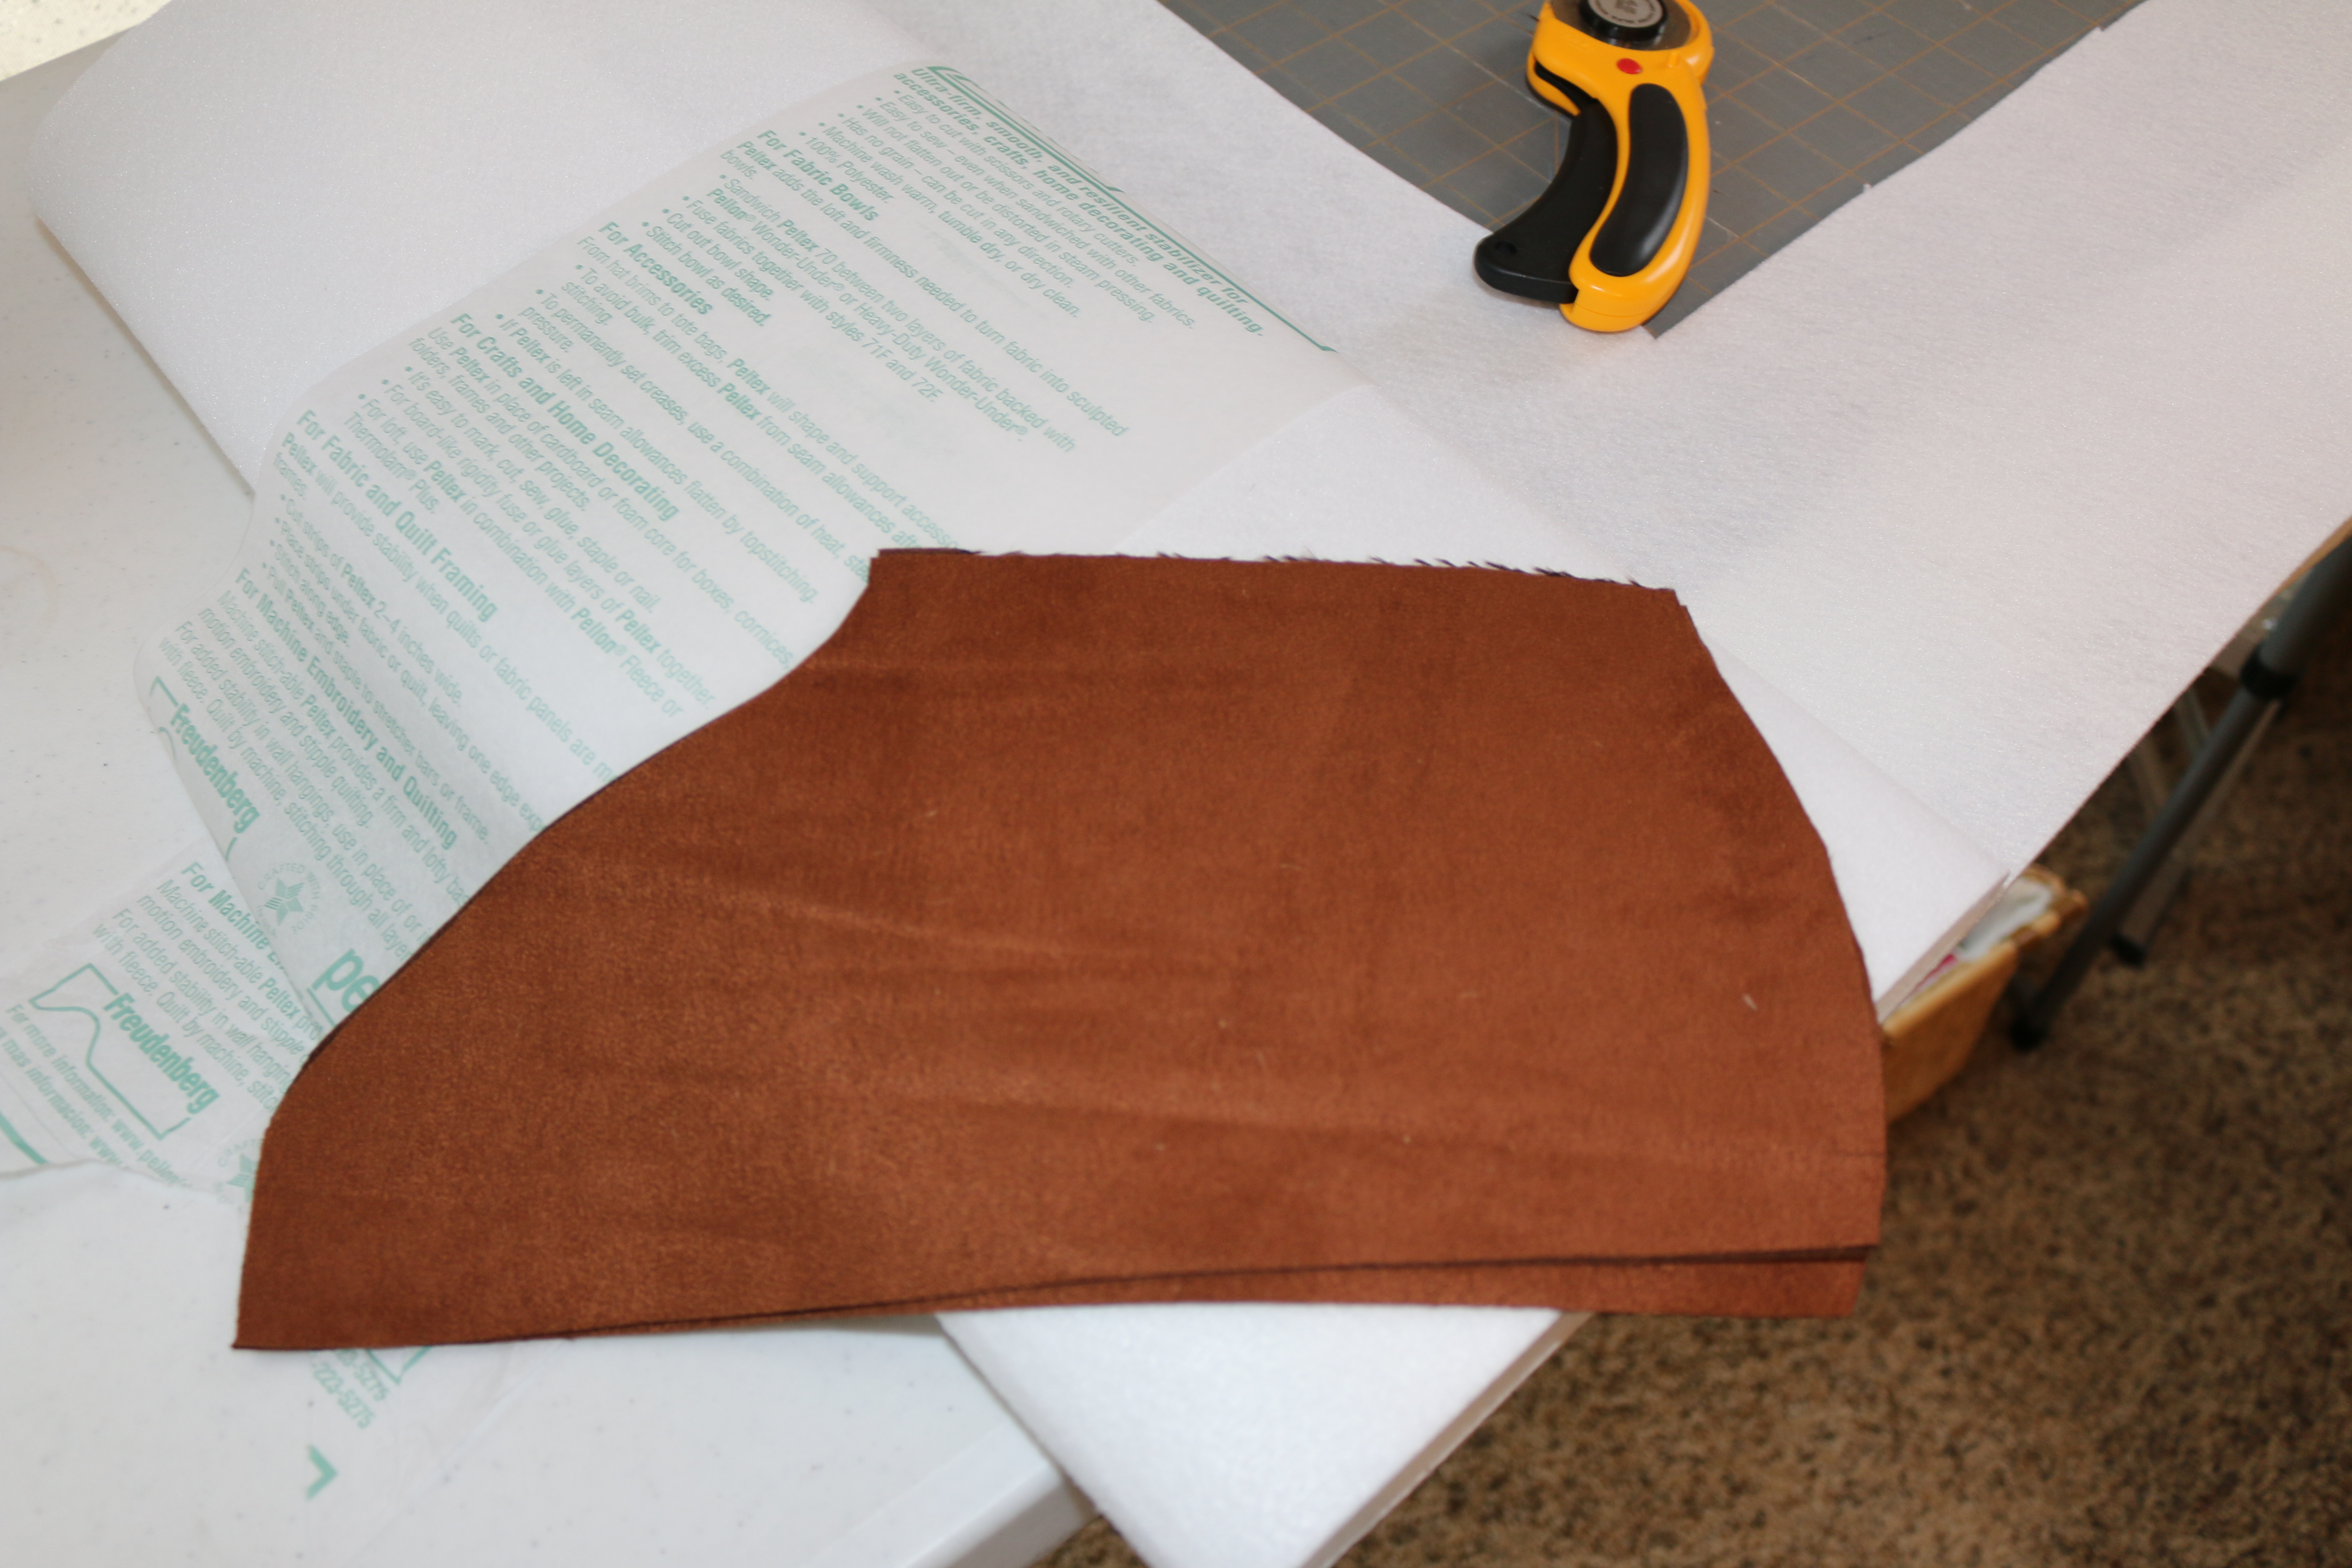
First I made boot covers using my sons shoes as a guide.
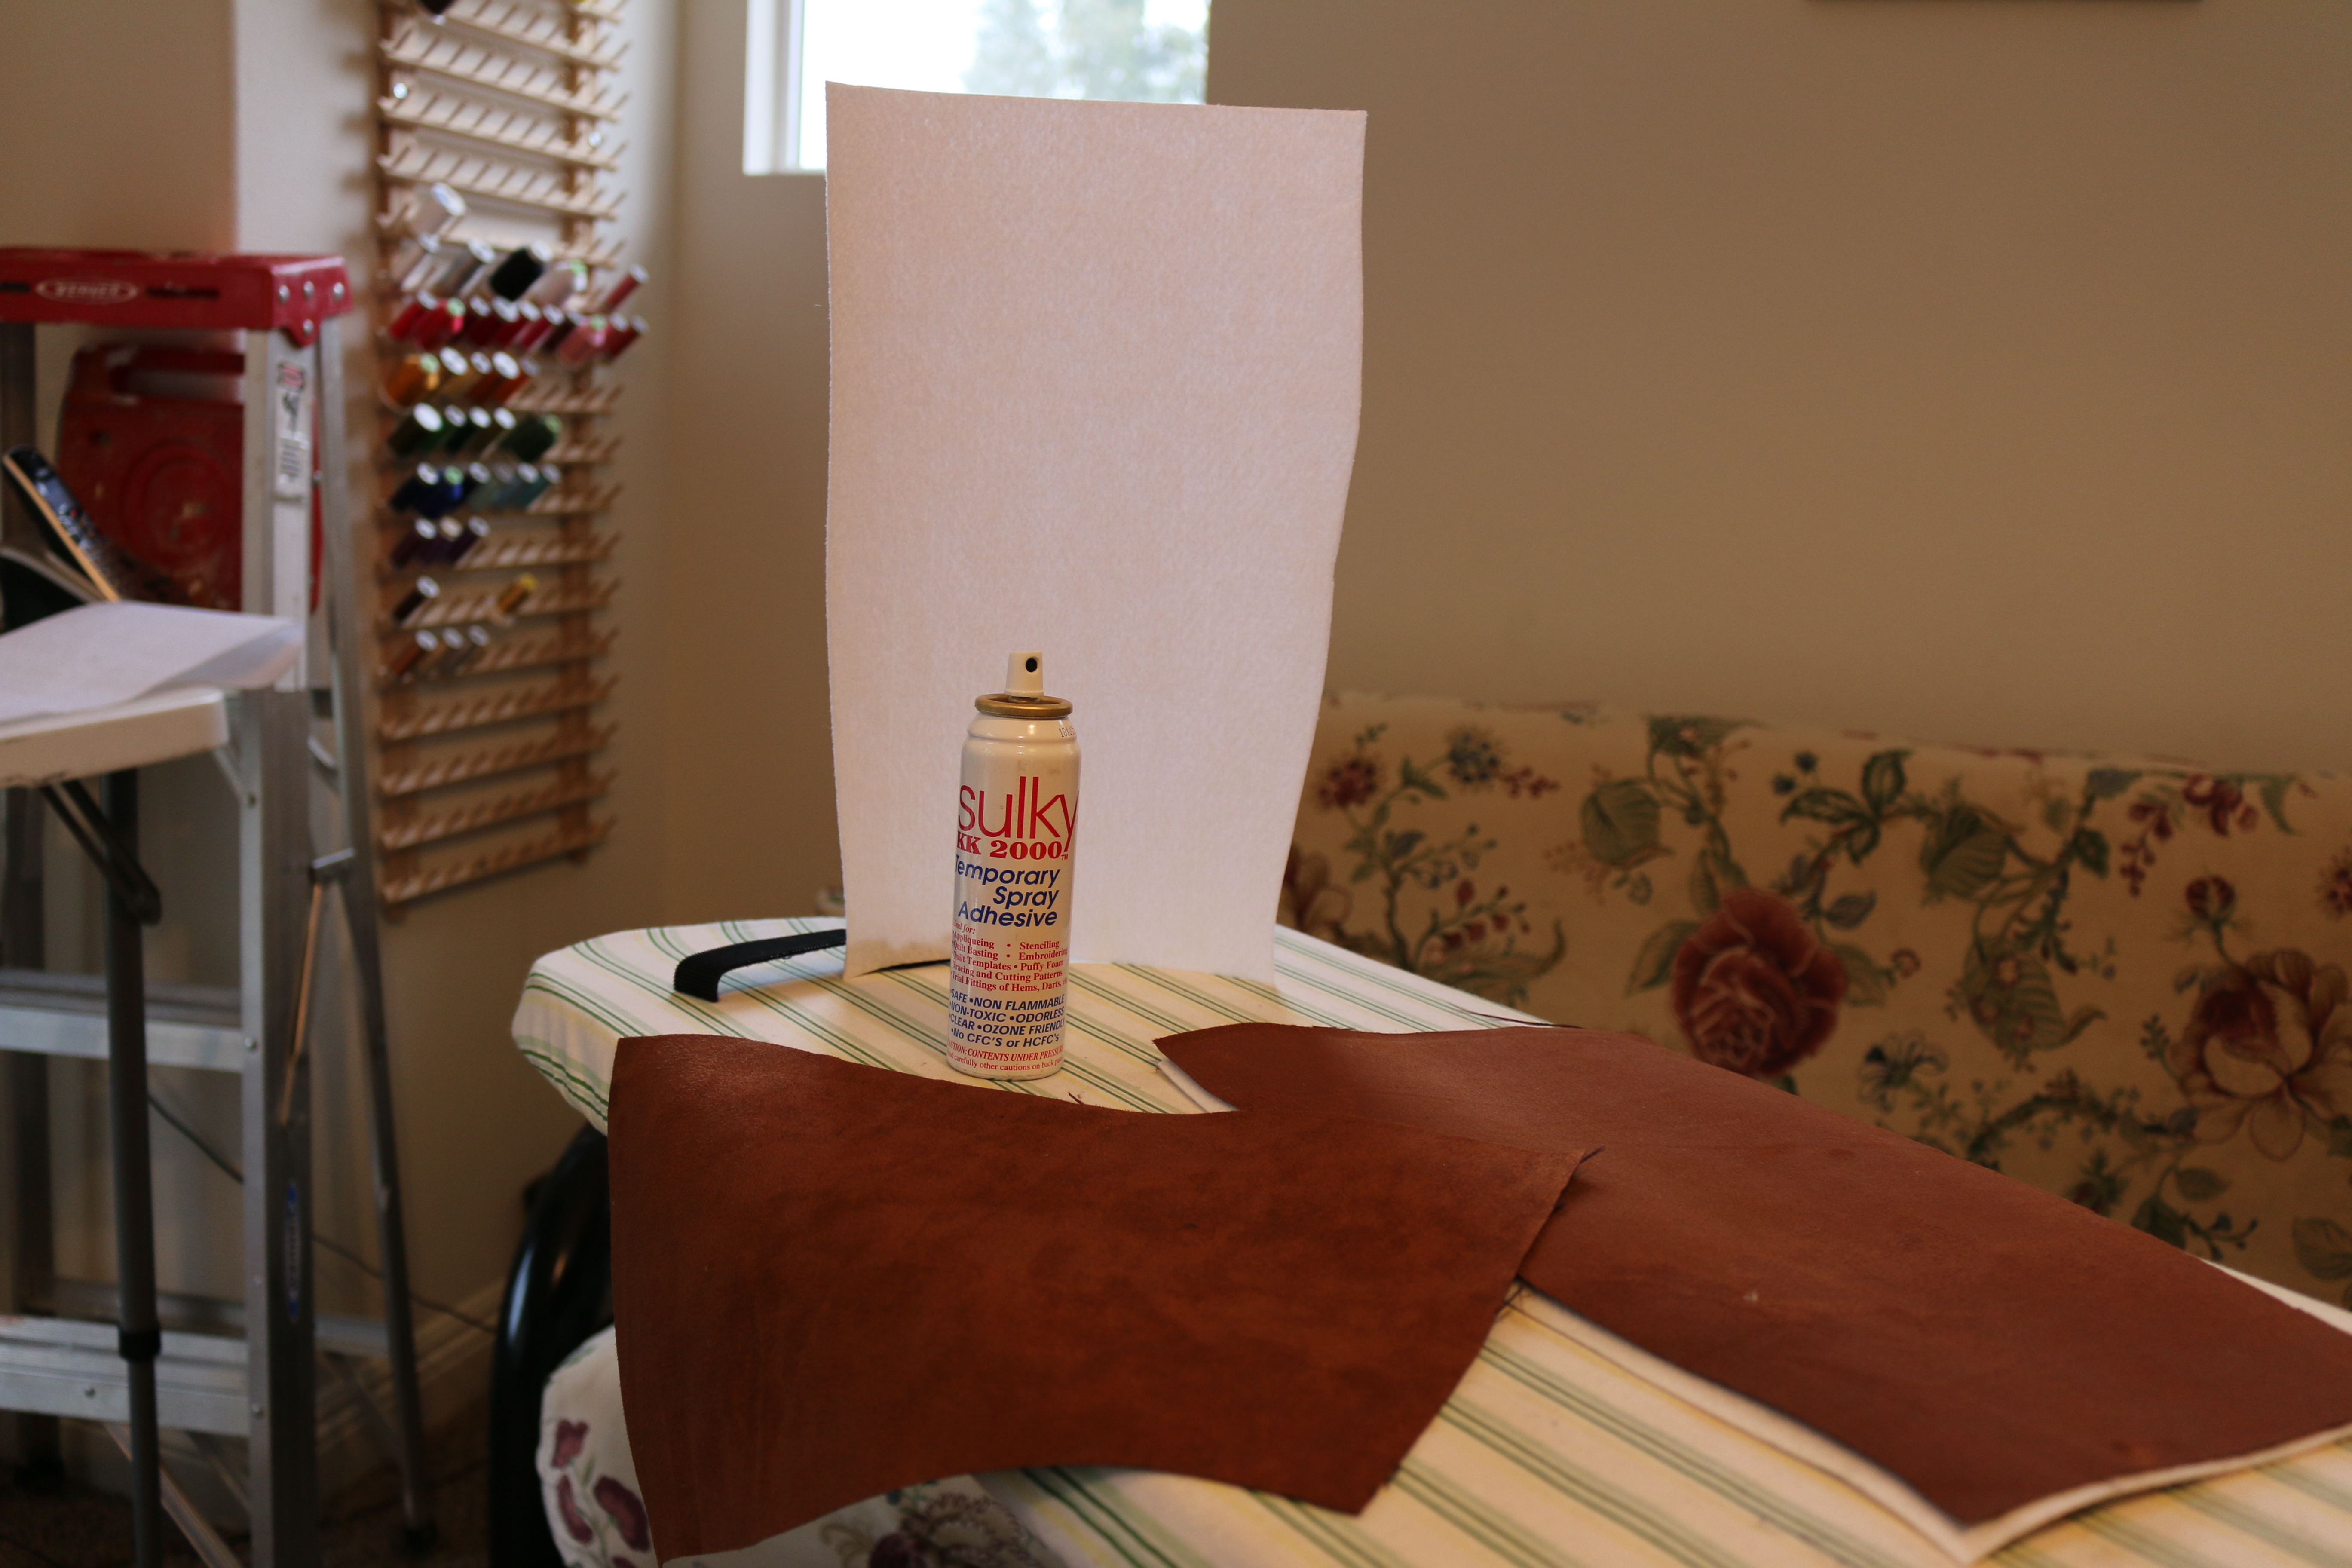
I checked the fit on his sneaker then started on the faux suede fabric to make the boot. I bought stiff interfacing for the top of the boot.
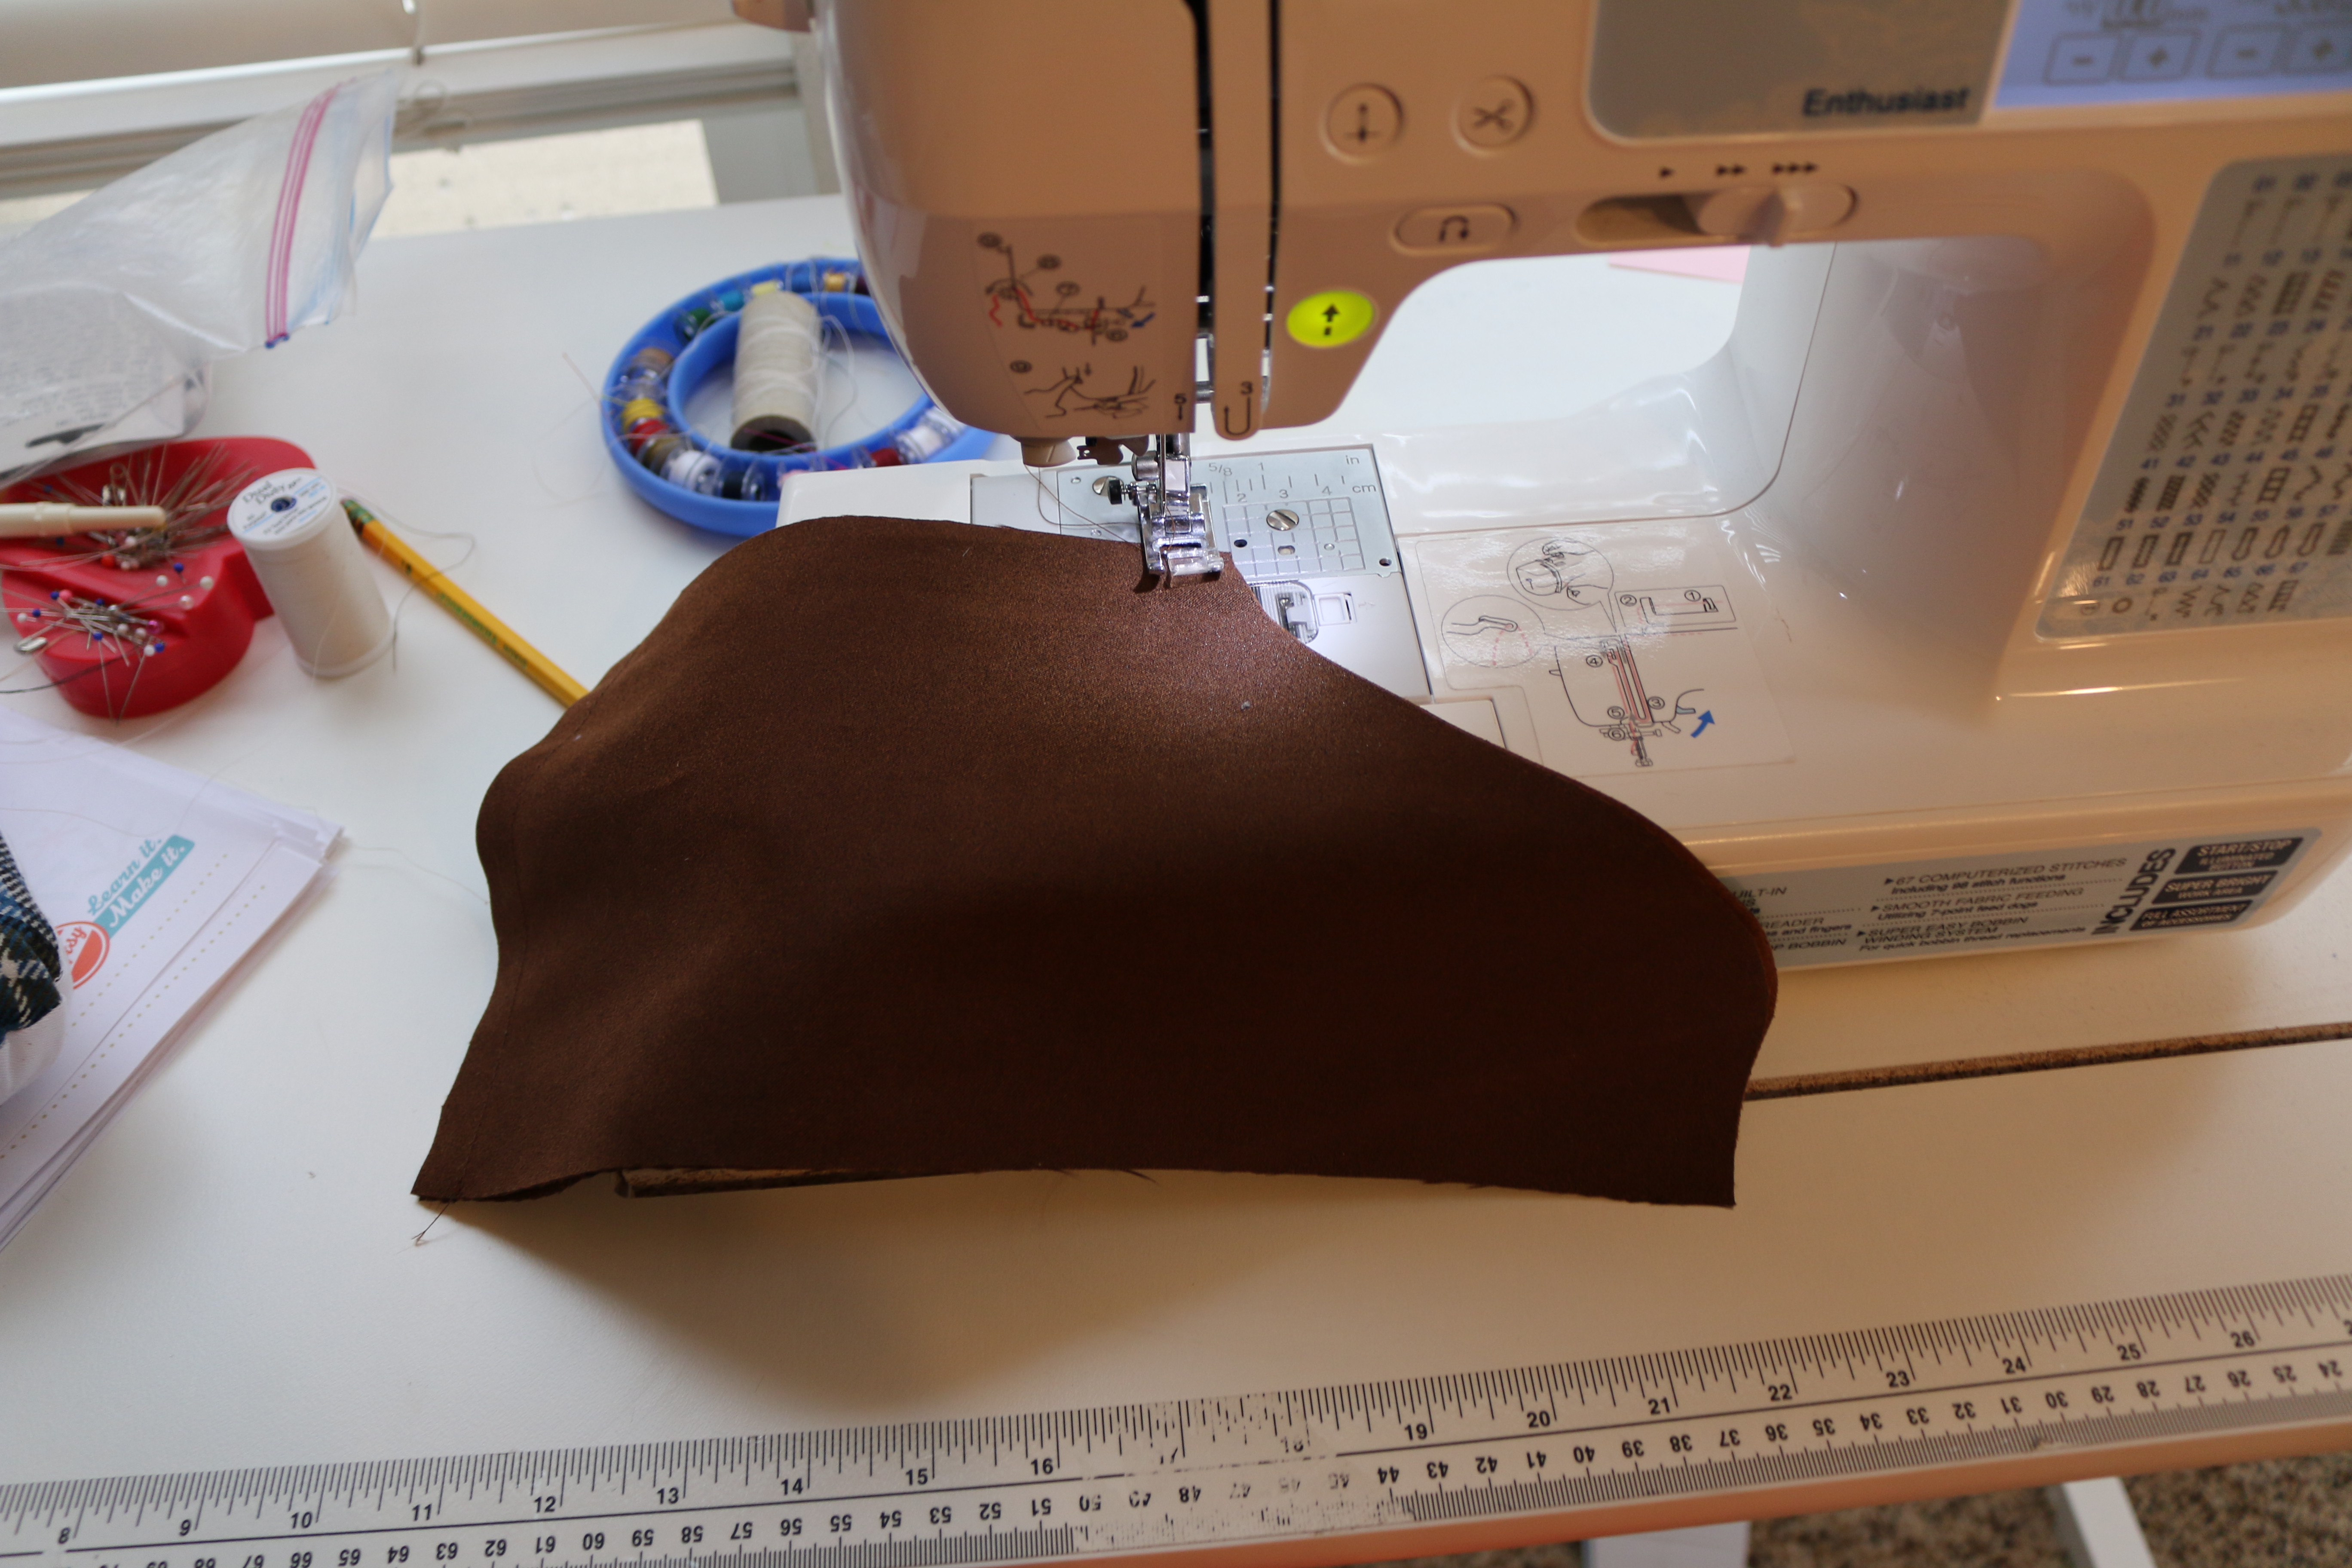
The bottom of the boot covers have just two seams front center and back center. Sew these up and press them.
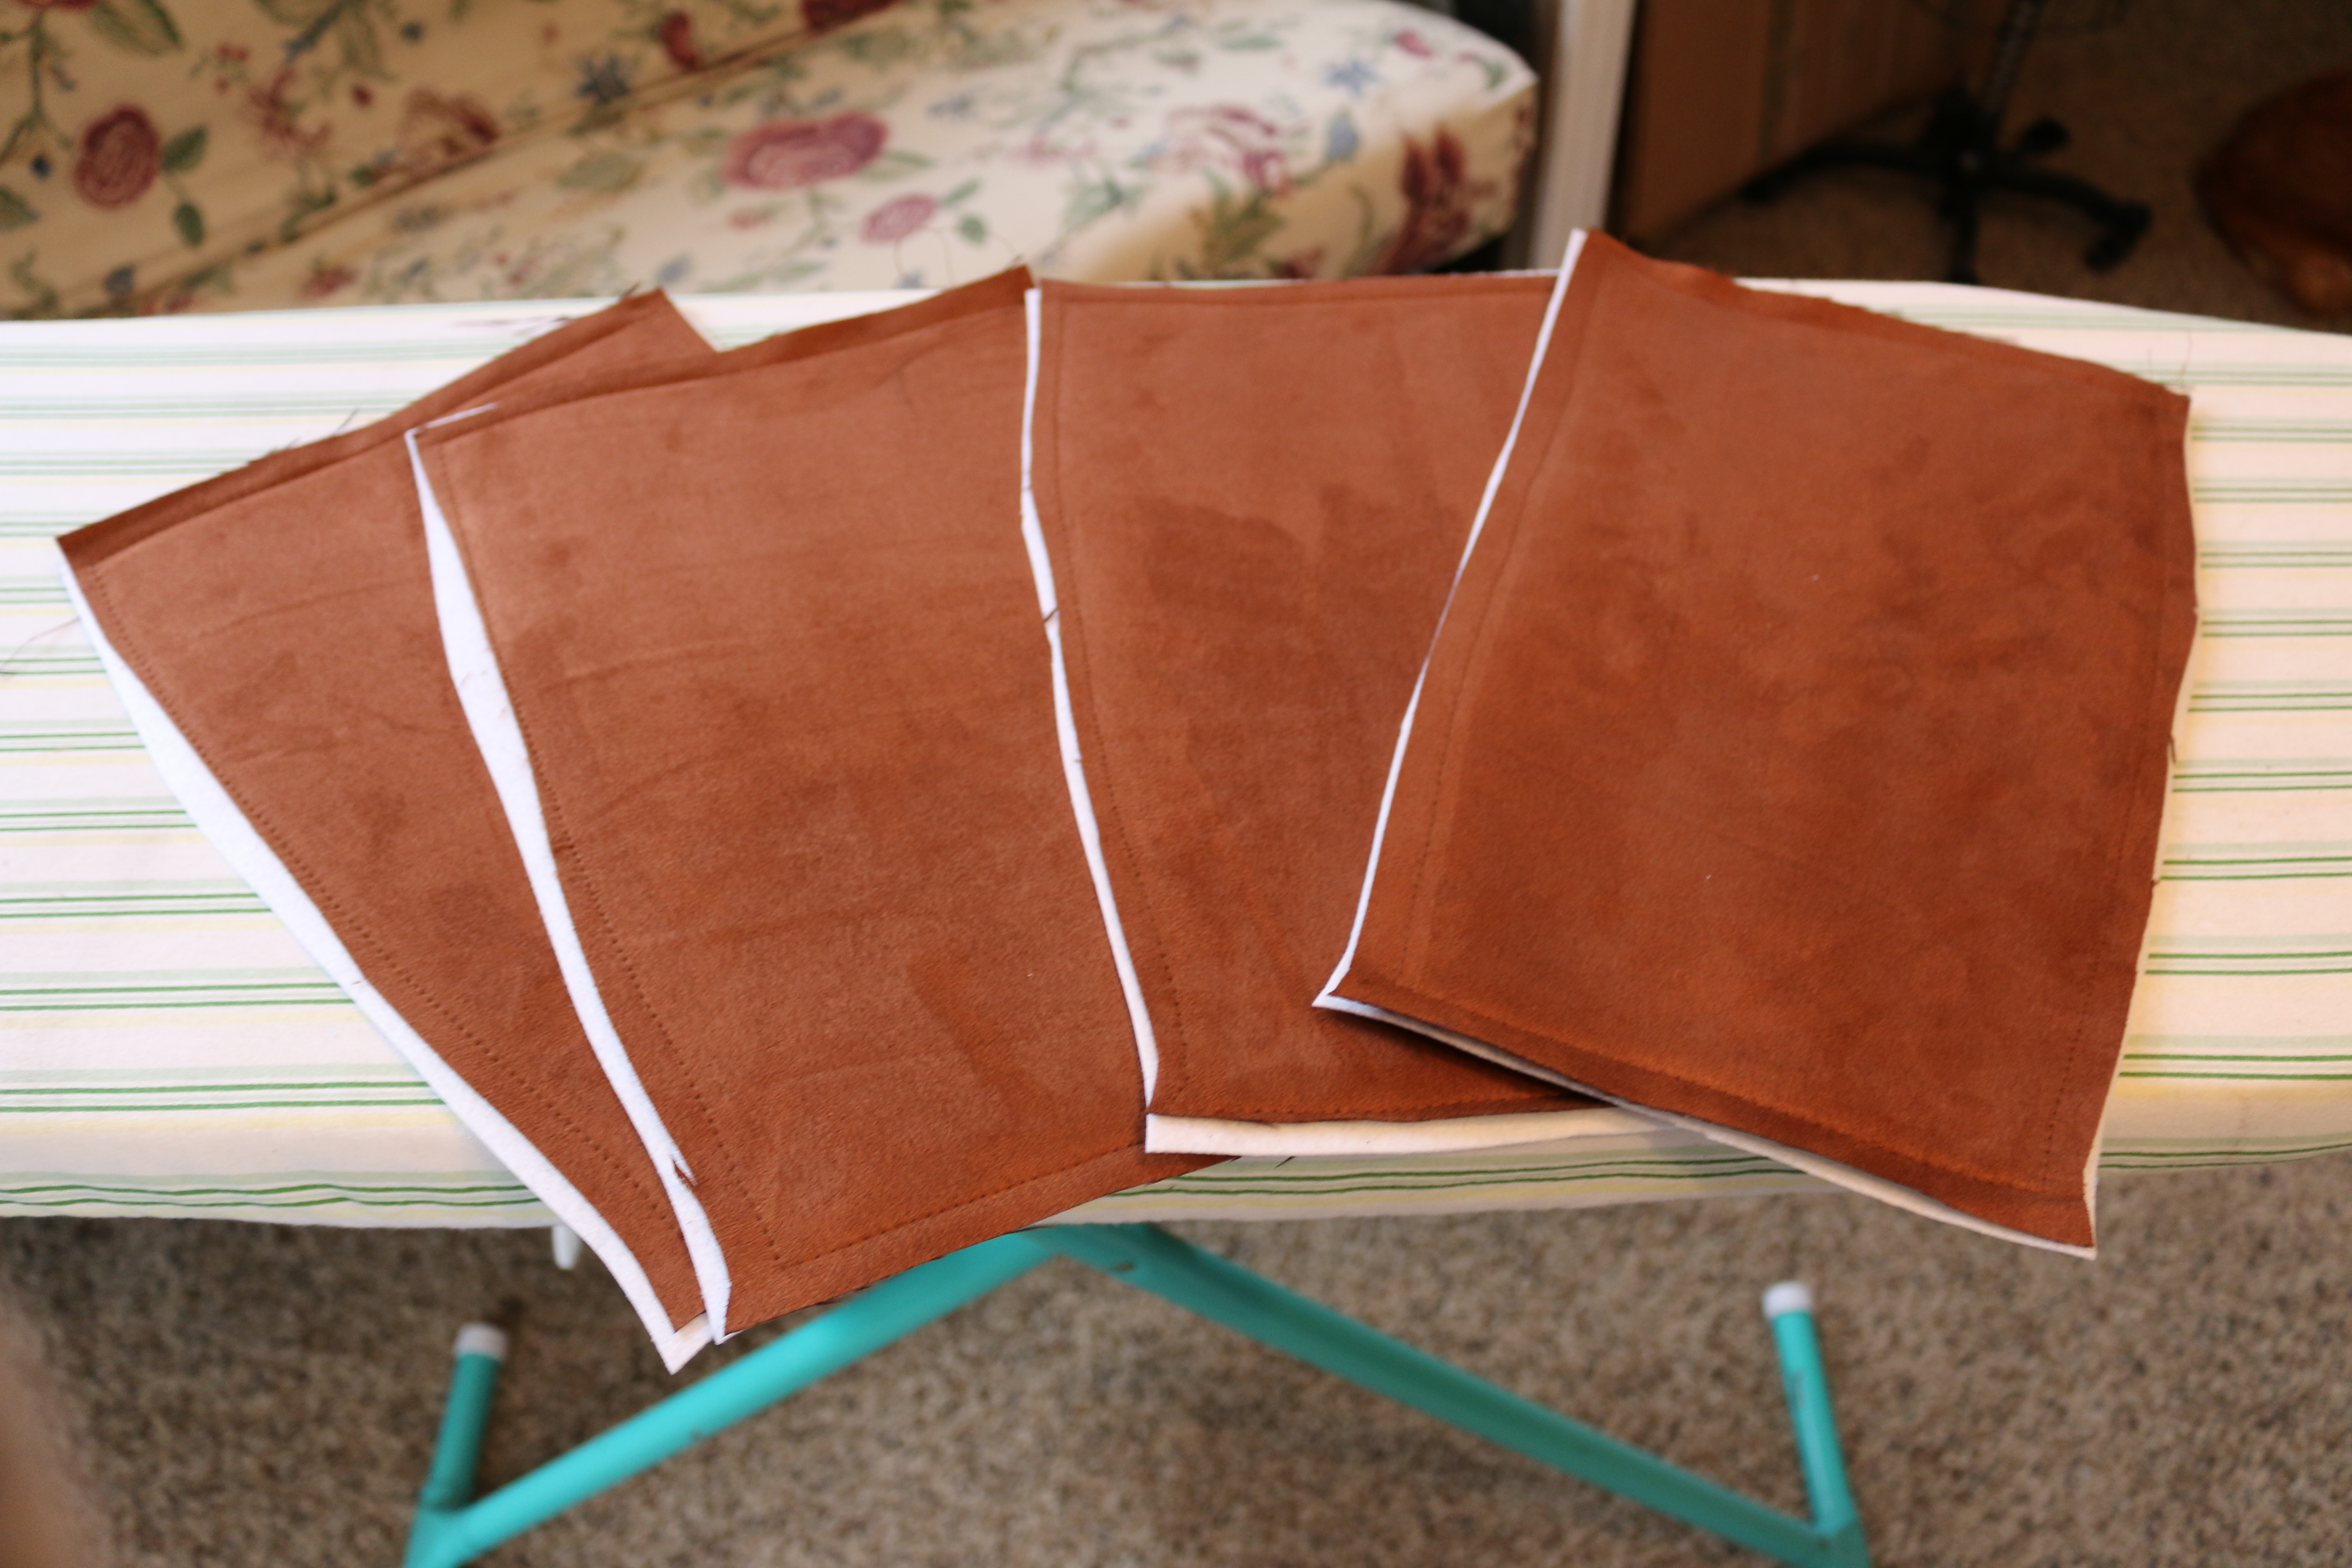
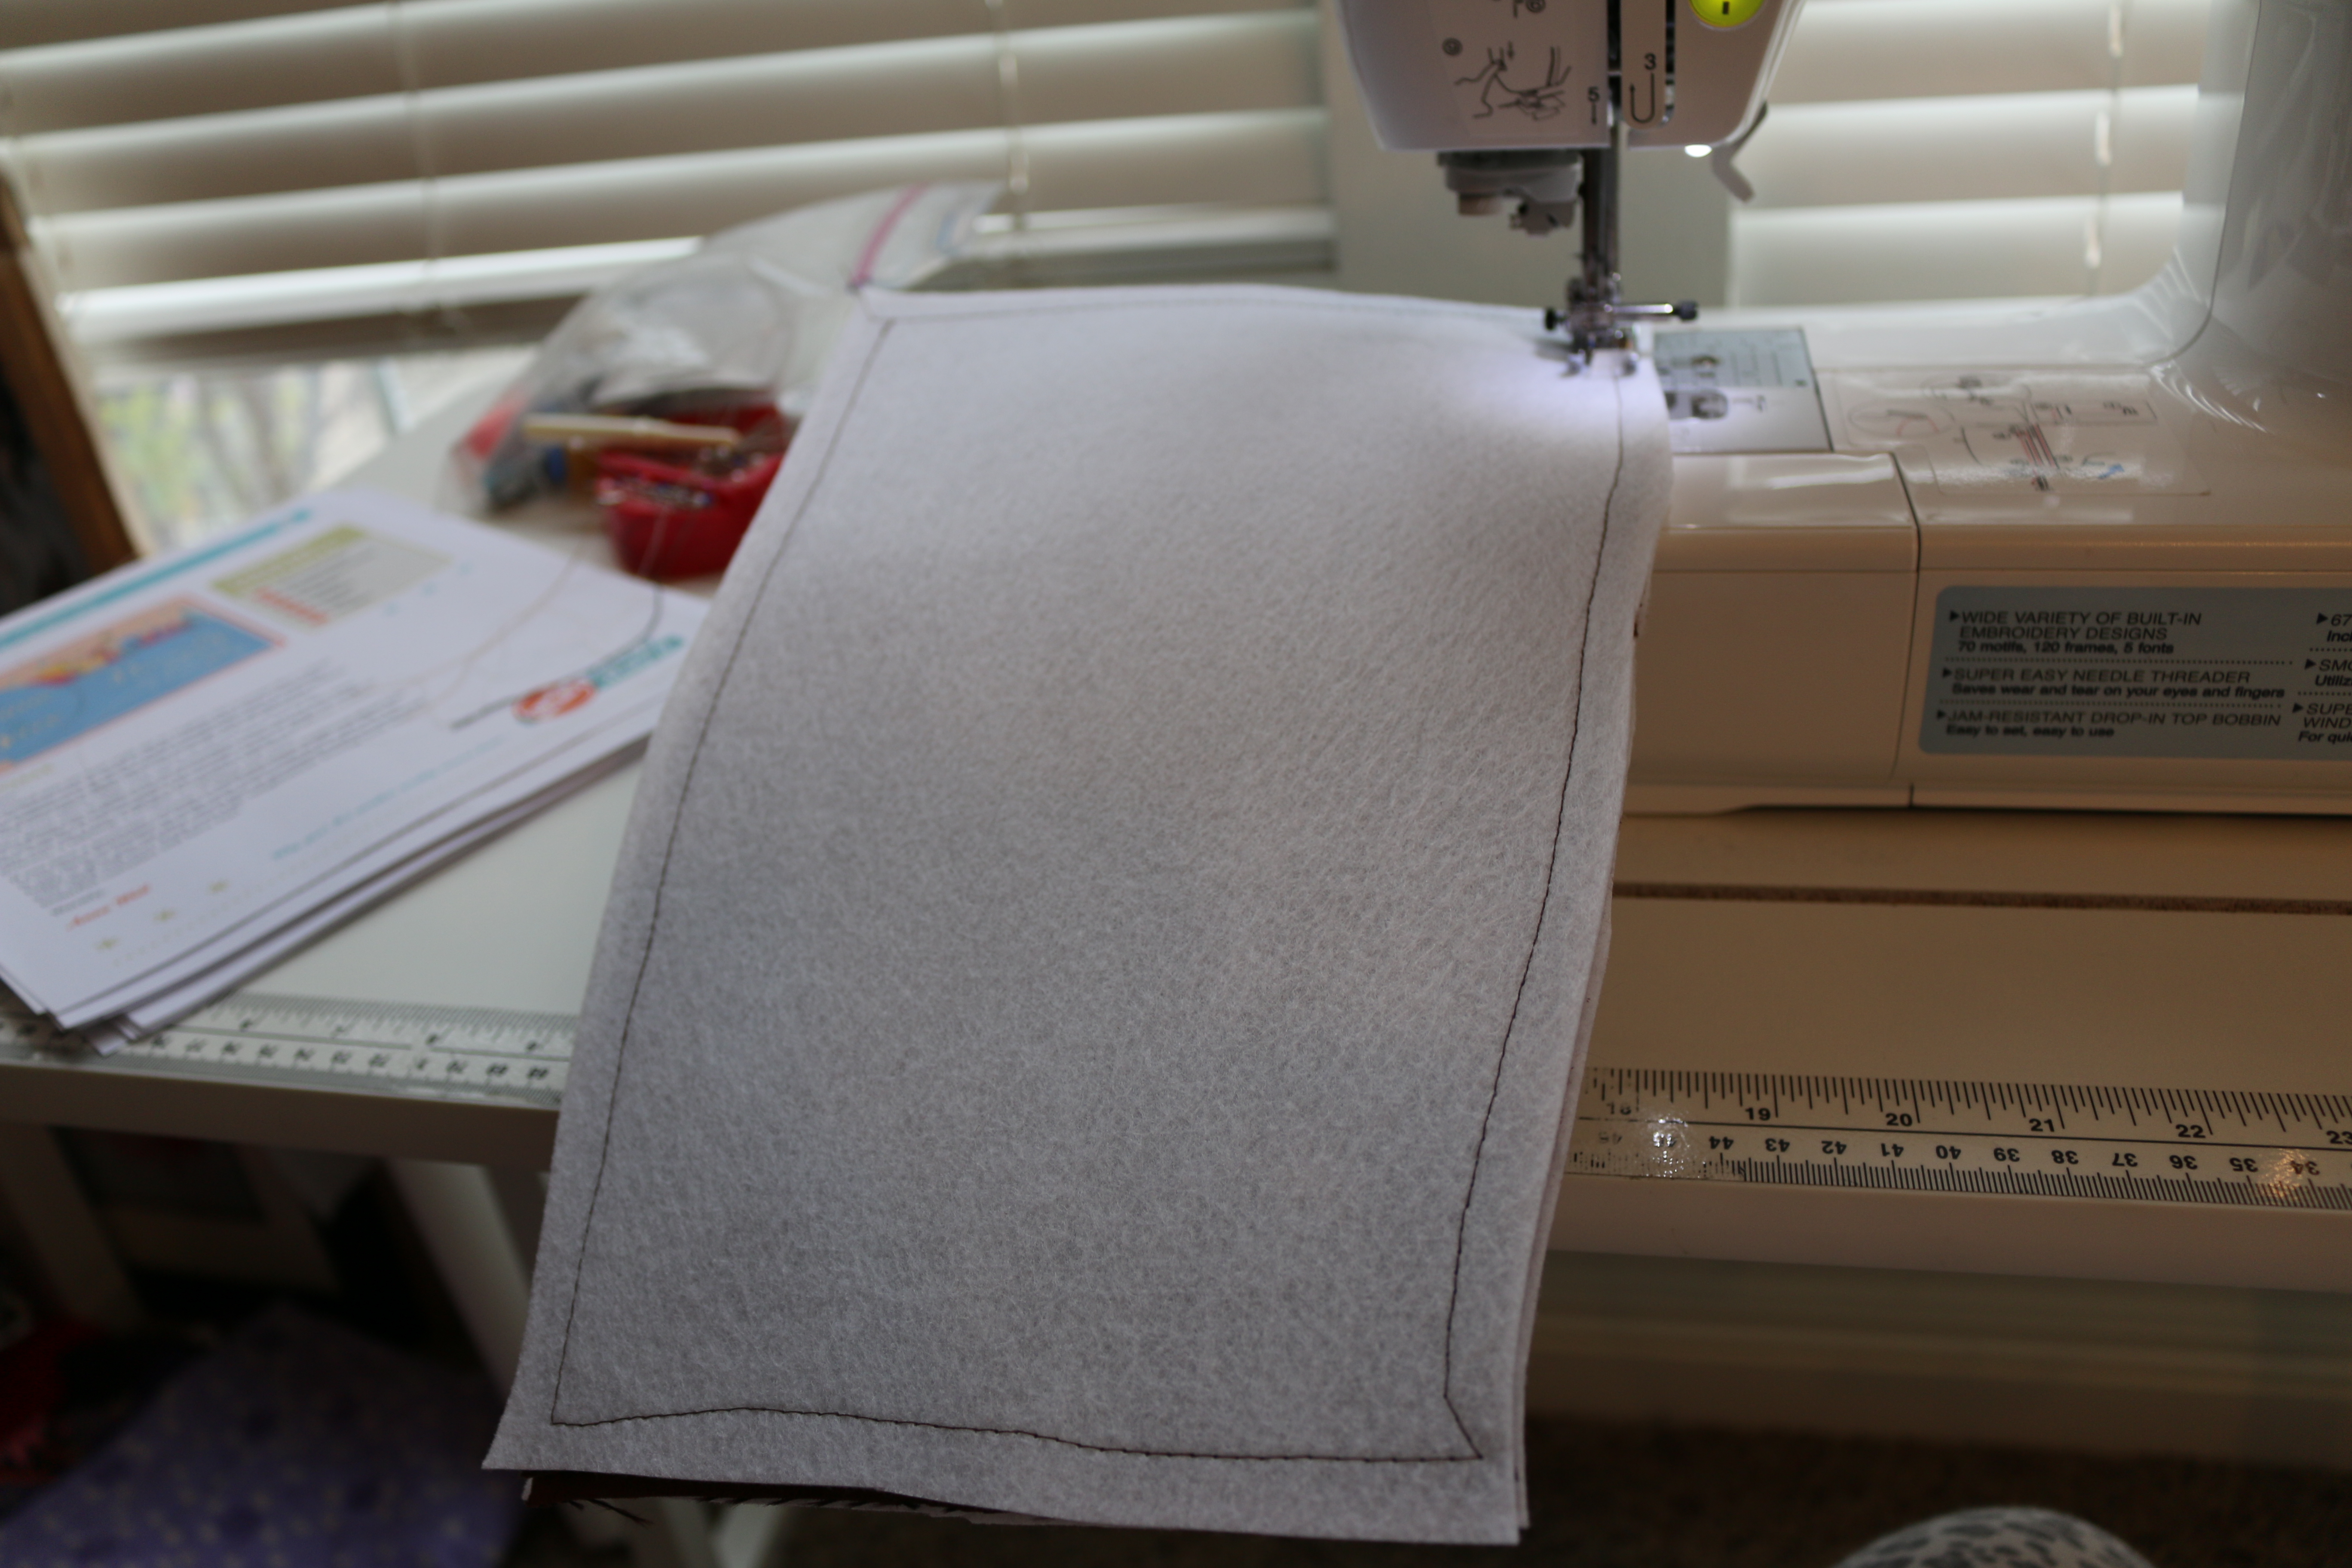
Then sew the stiff interfacing on the top of the boots.

Once the interfacing is on, I serged center front and back seams and pressed them

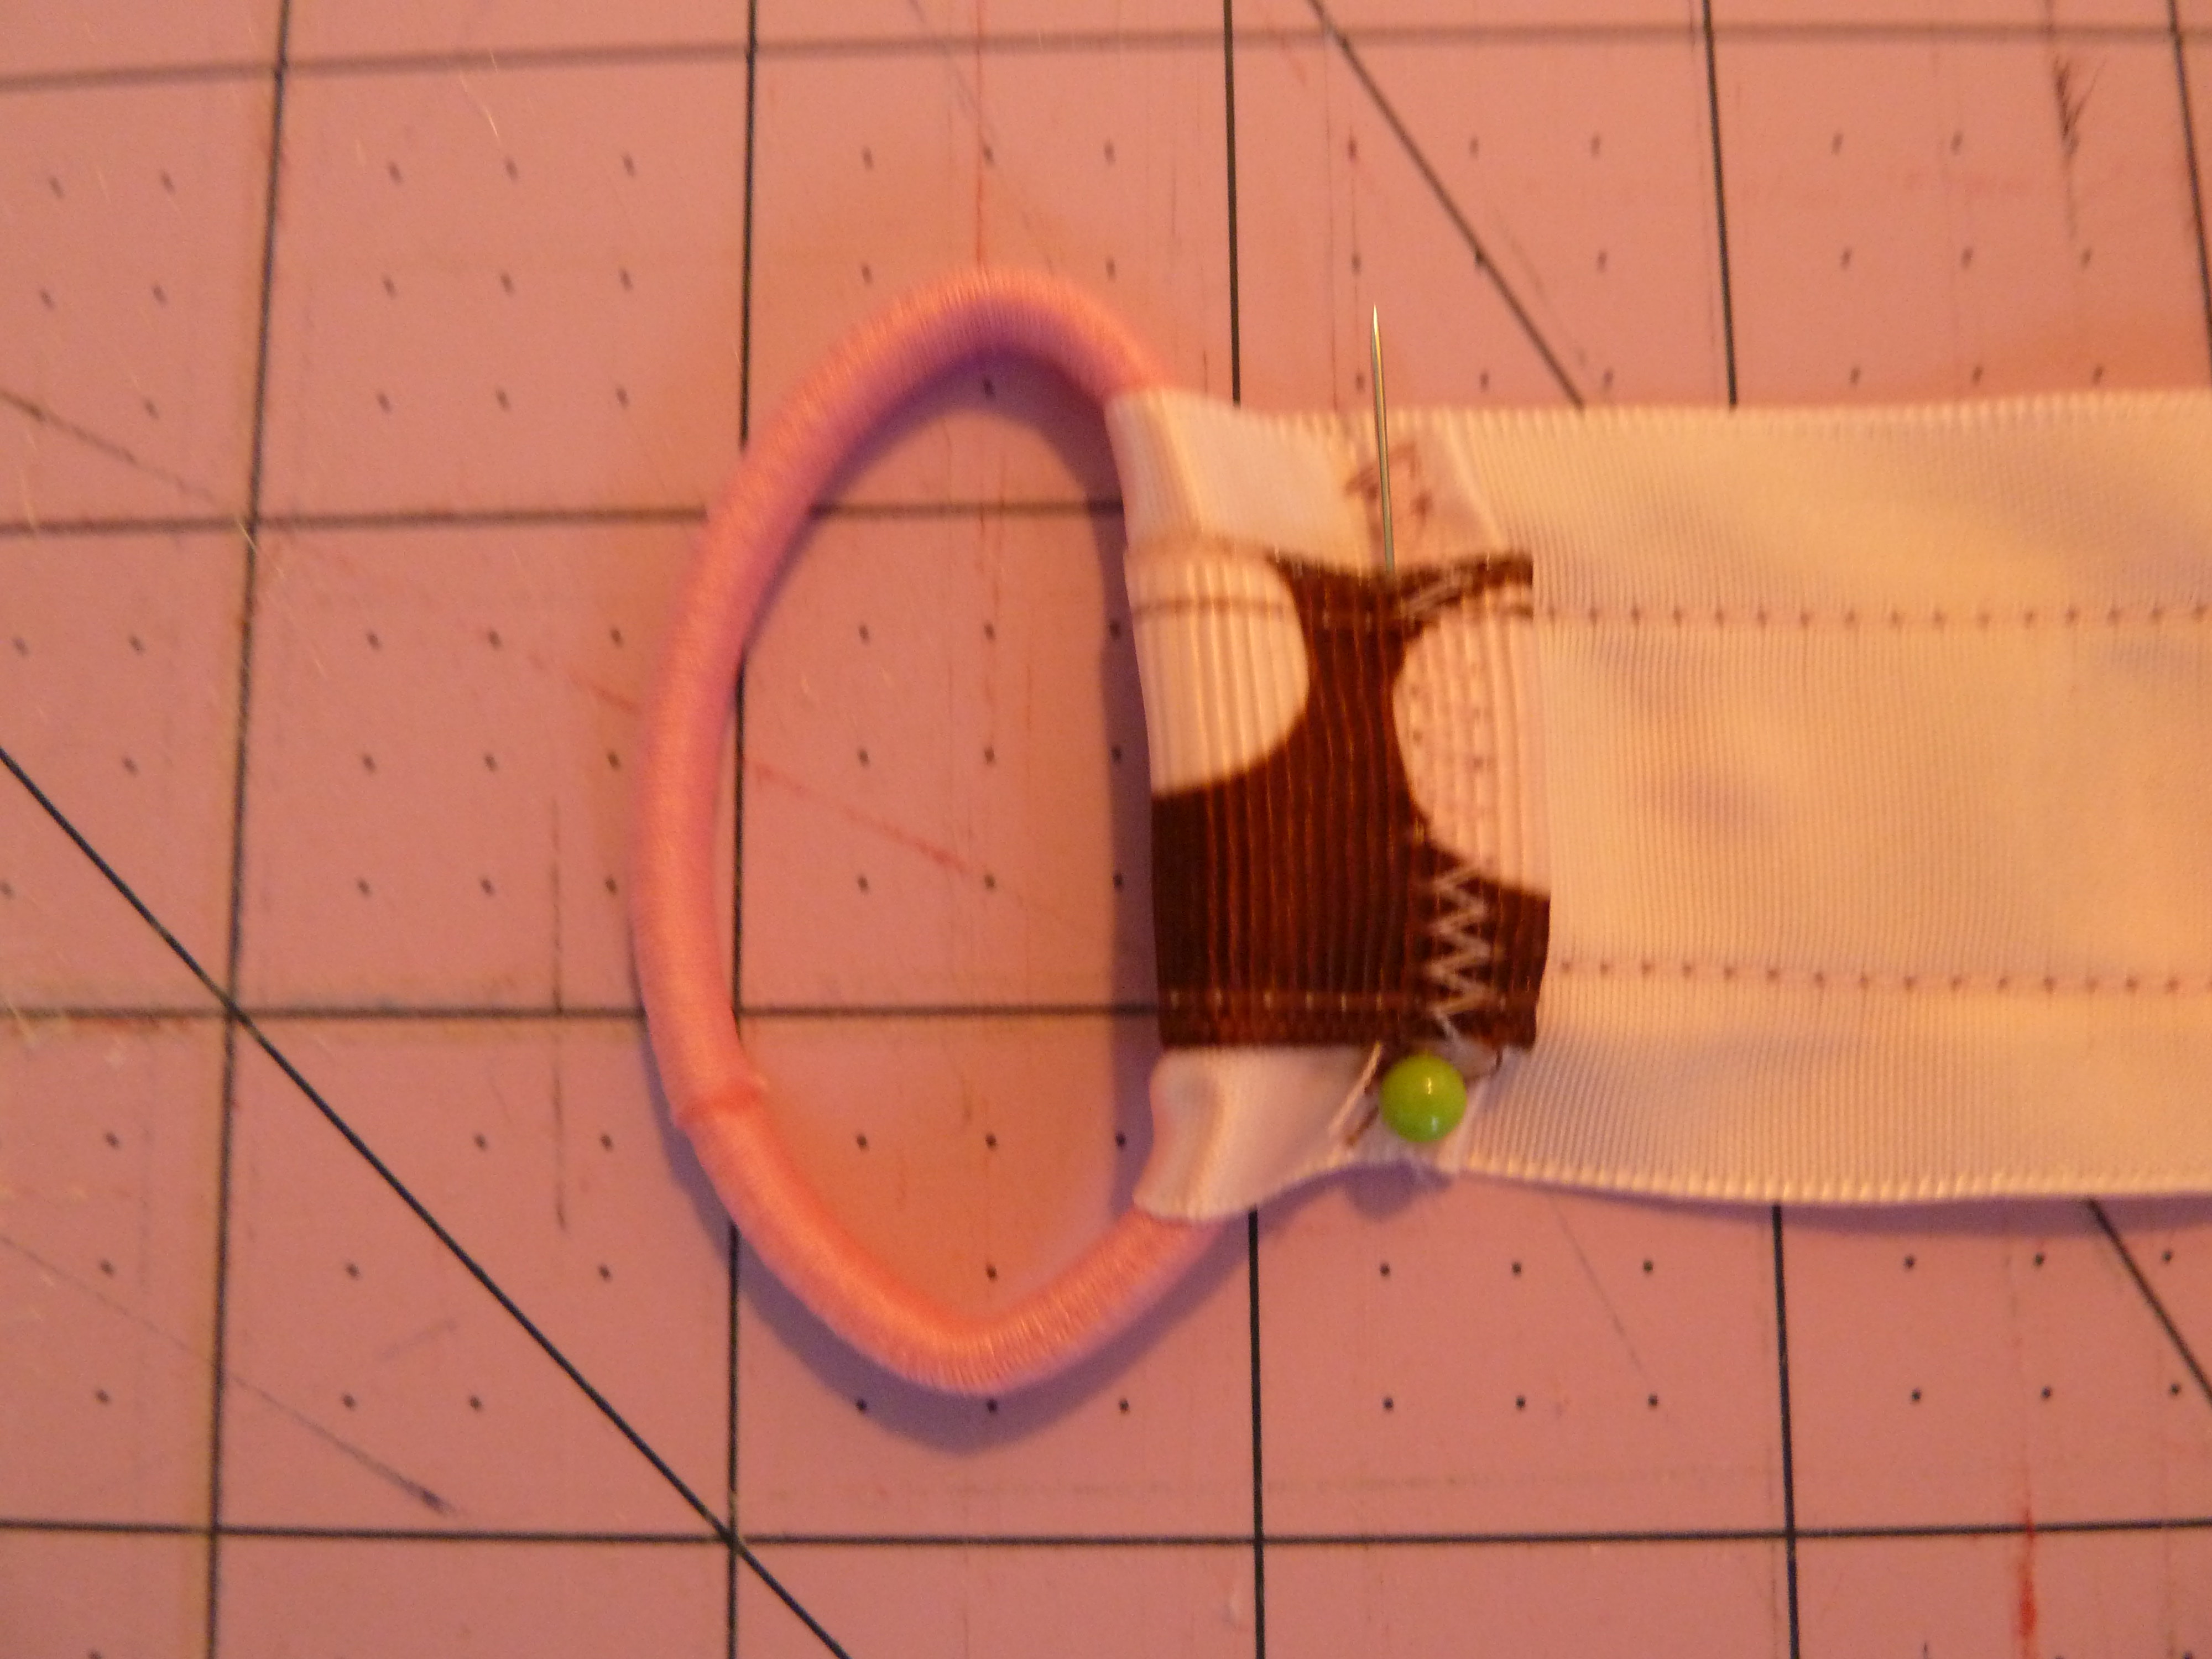
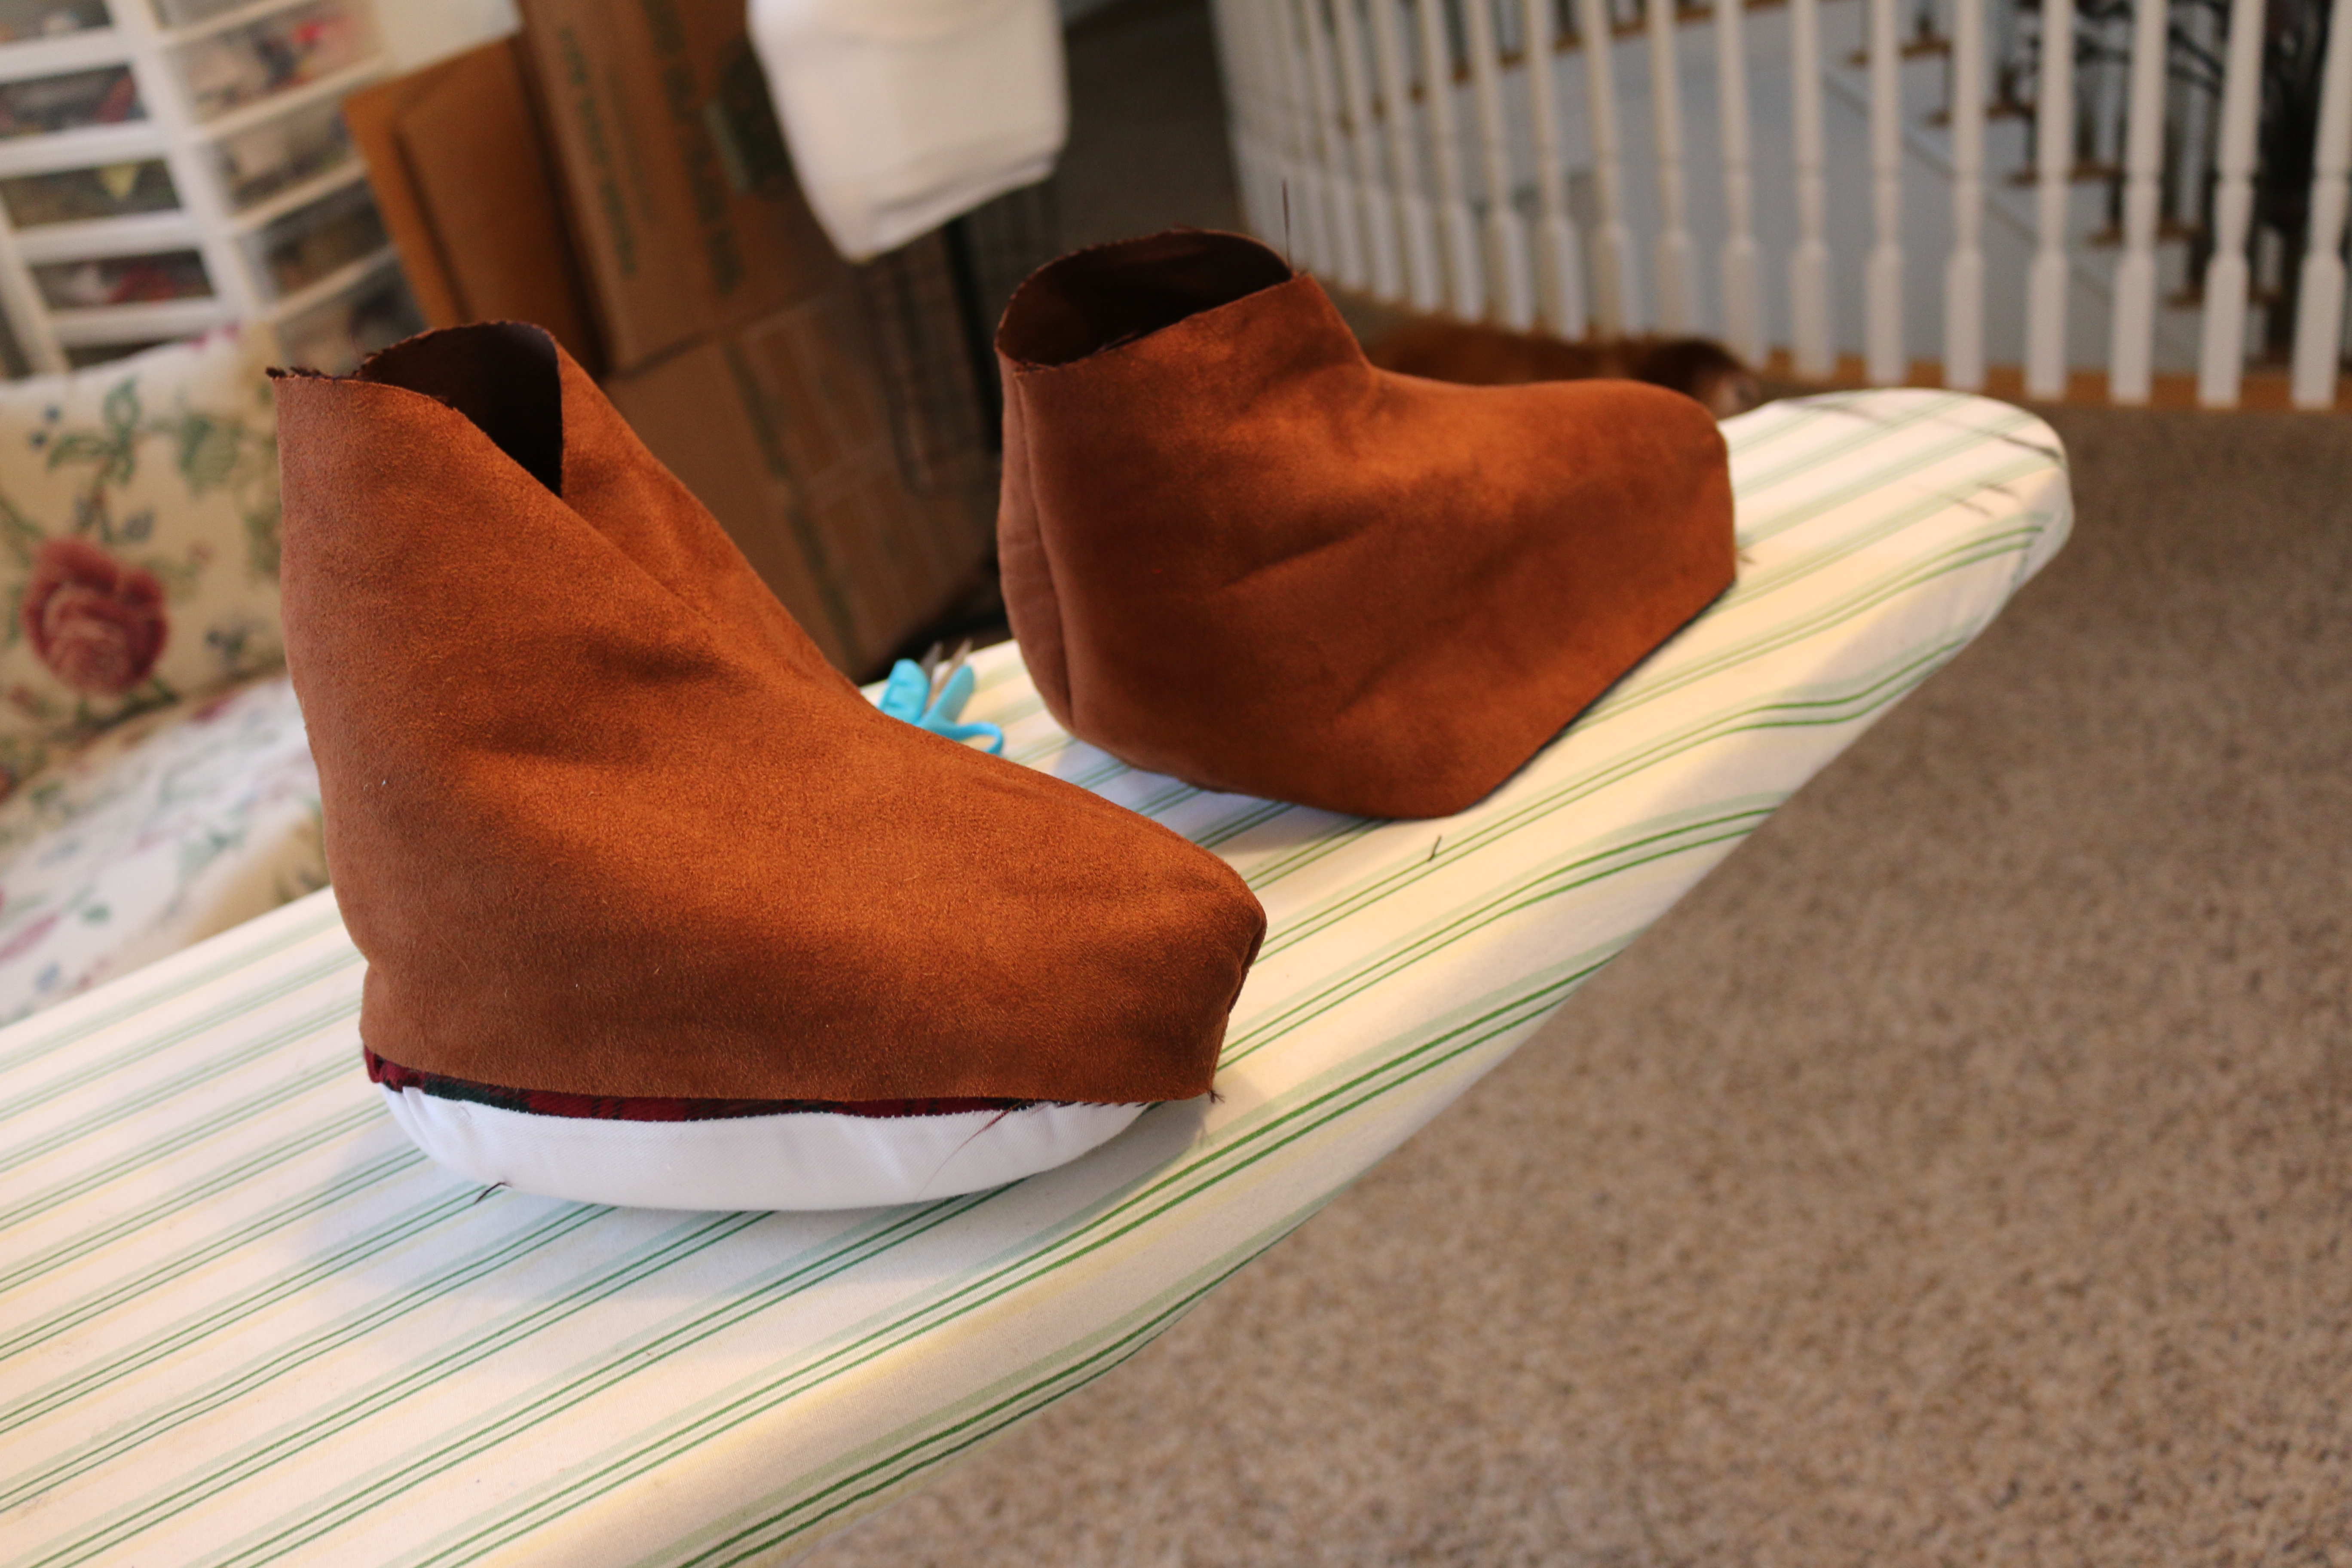
Now attach them to the bottom of the boot with right sides together like this 🙂
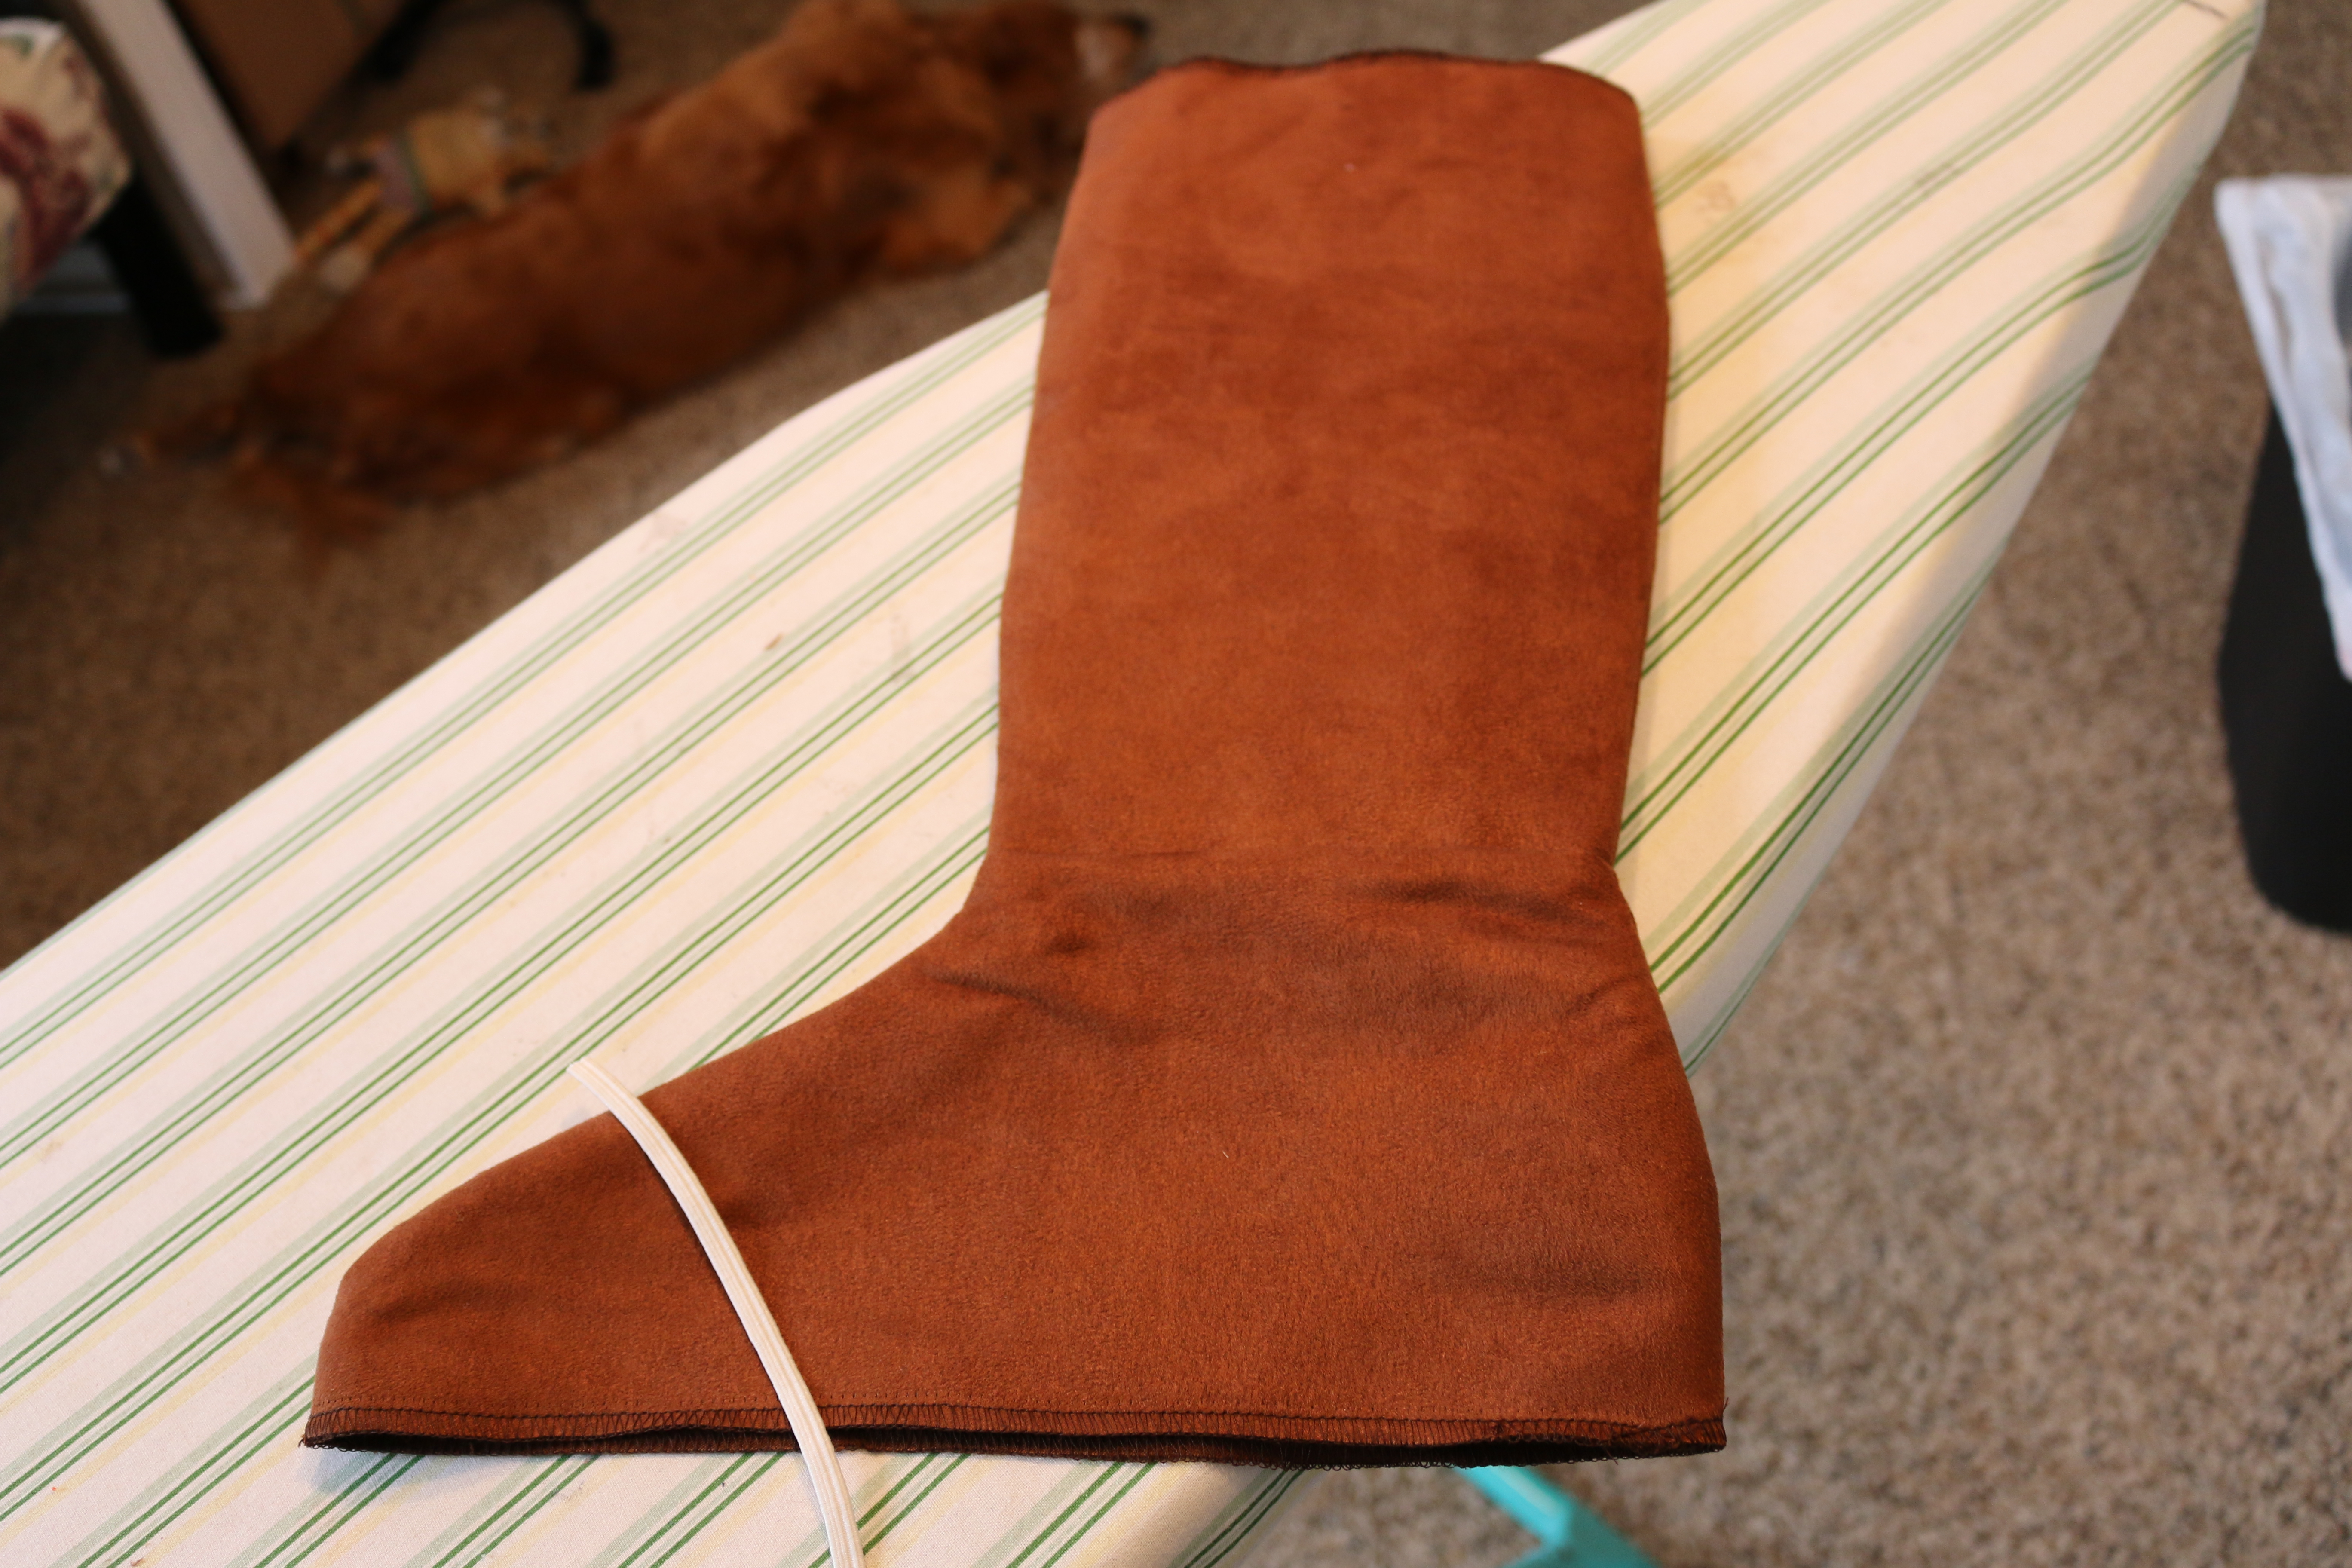
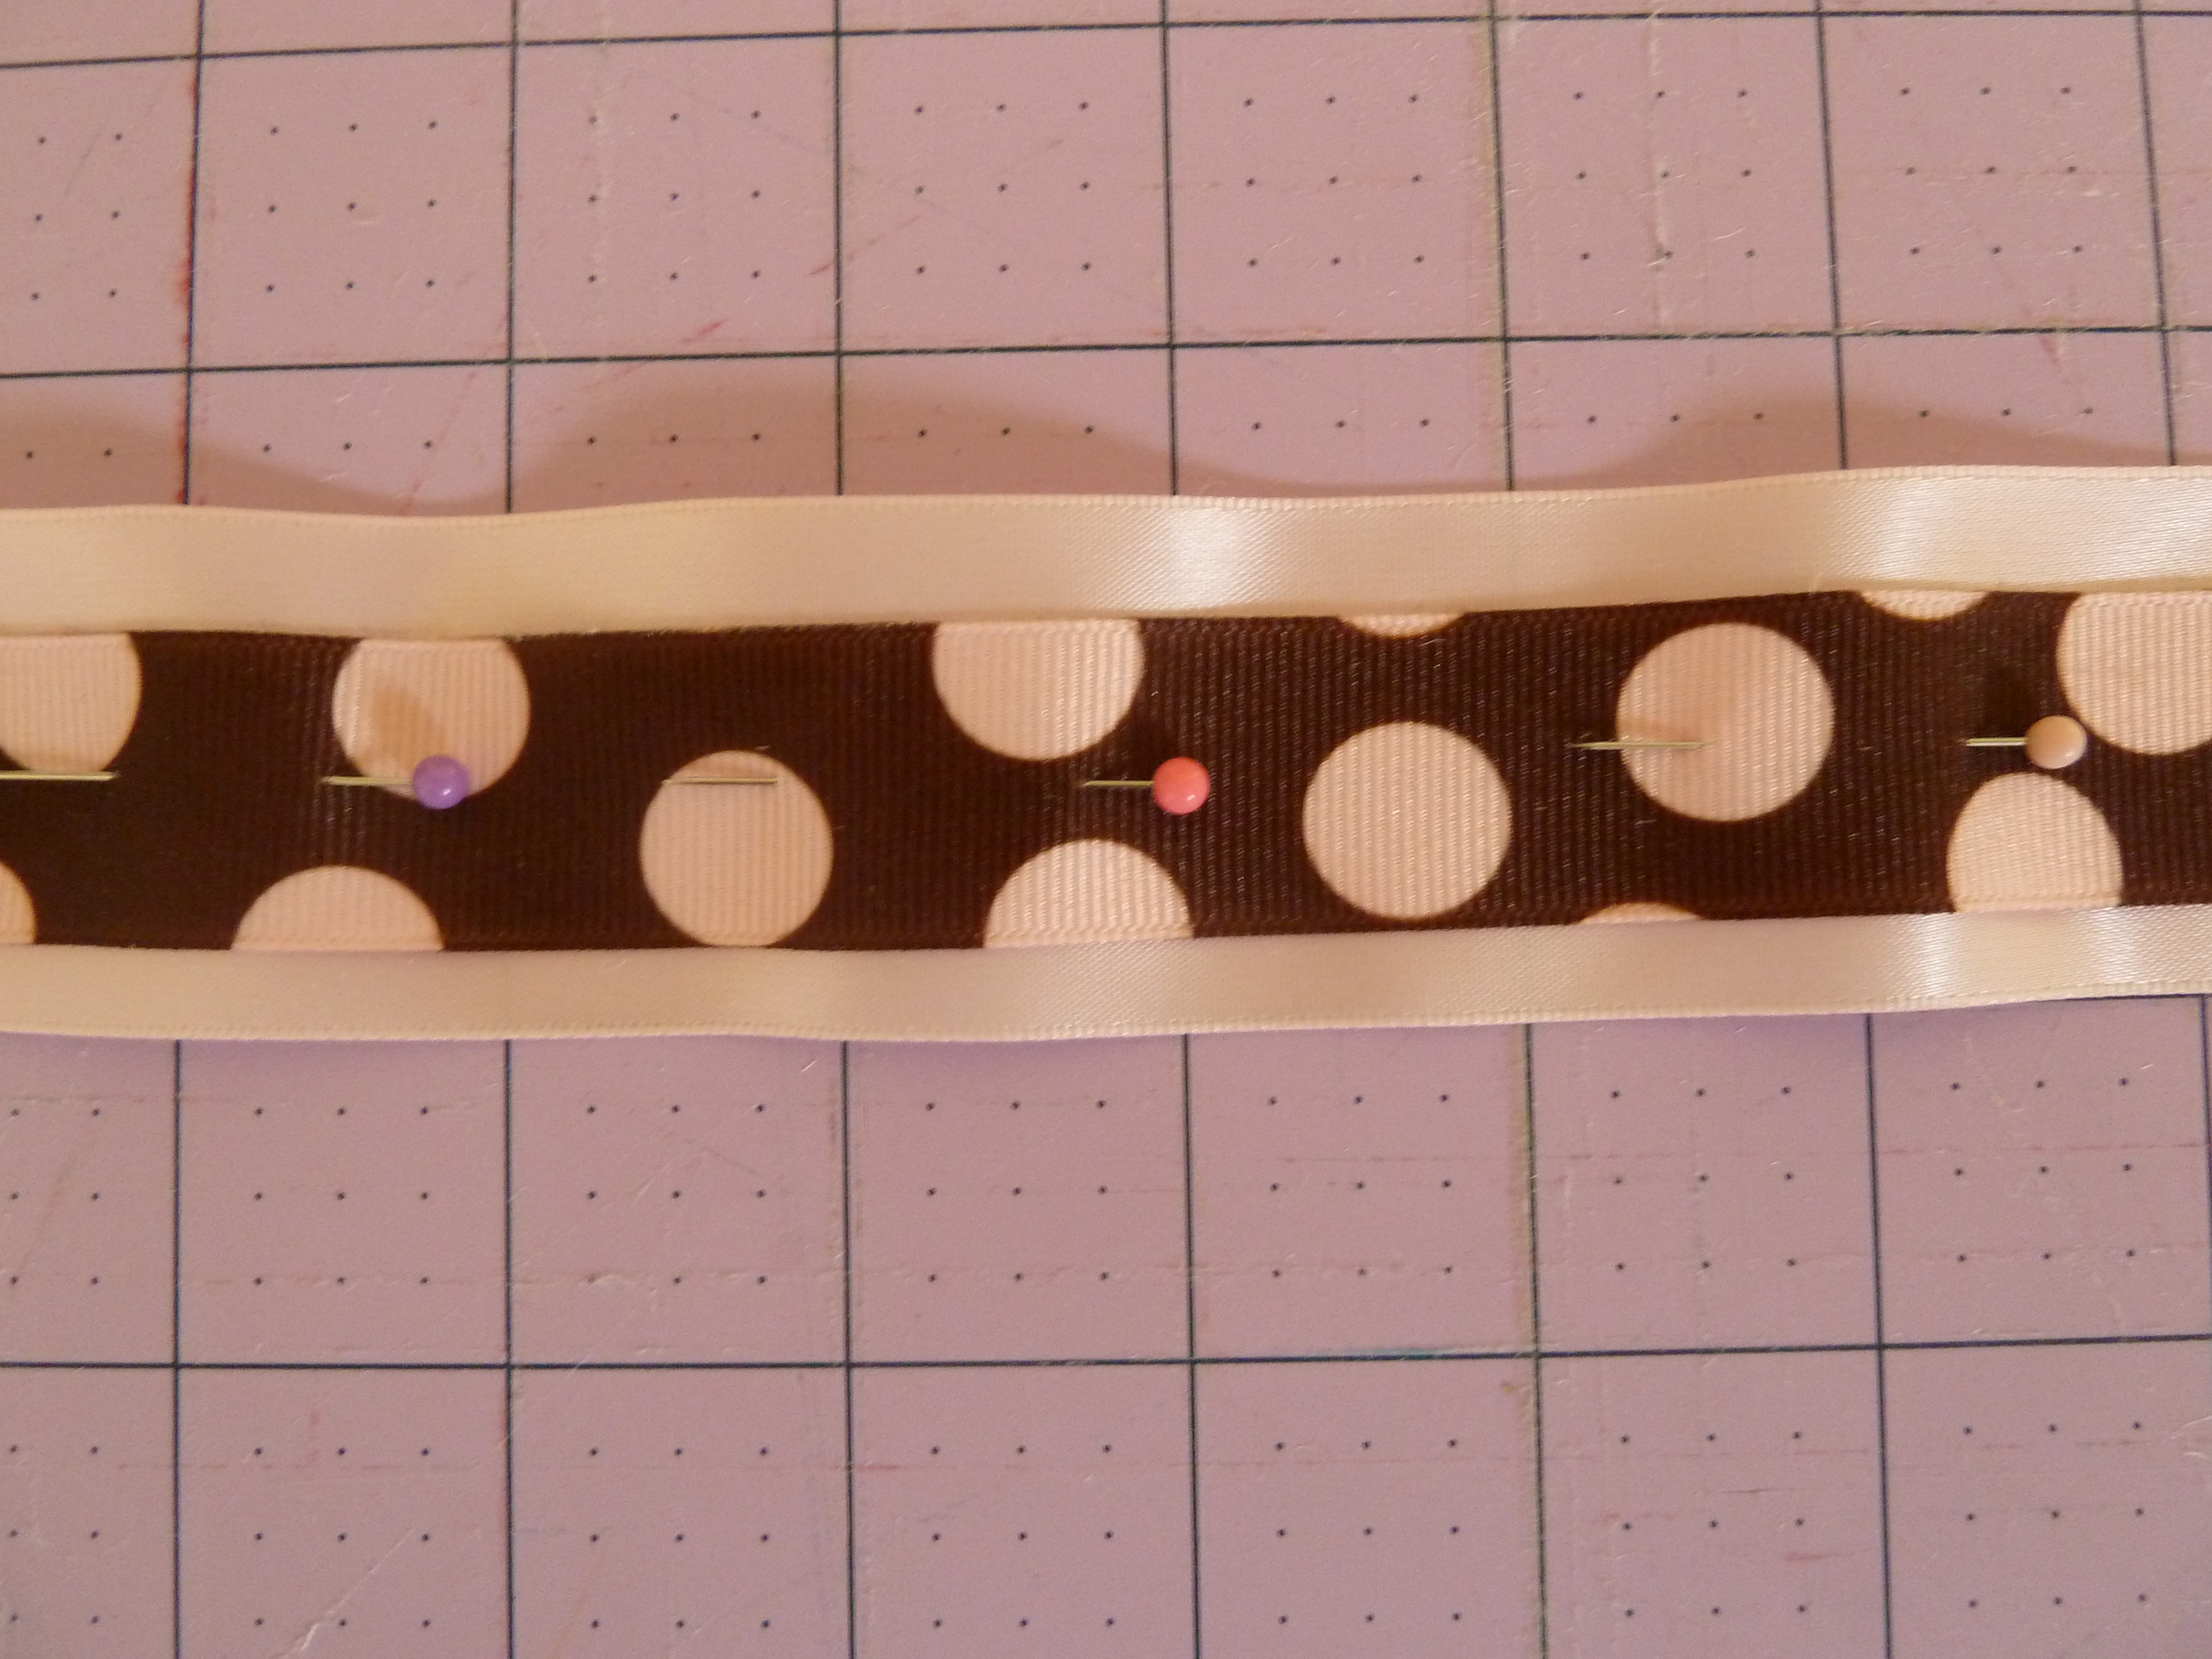
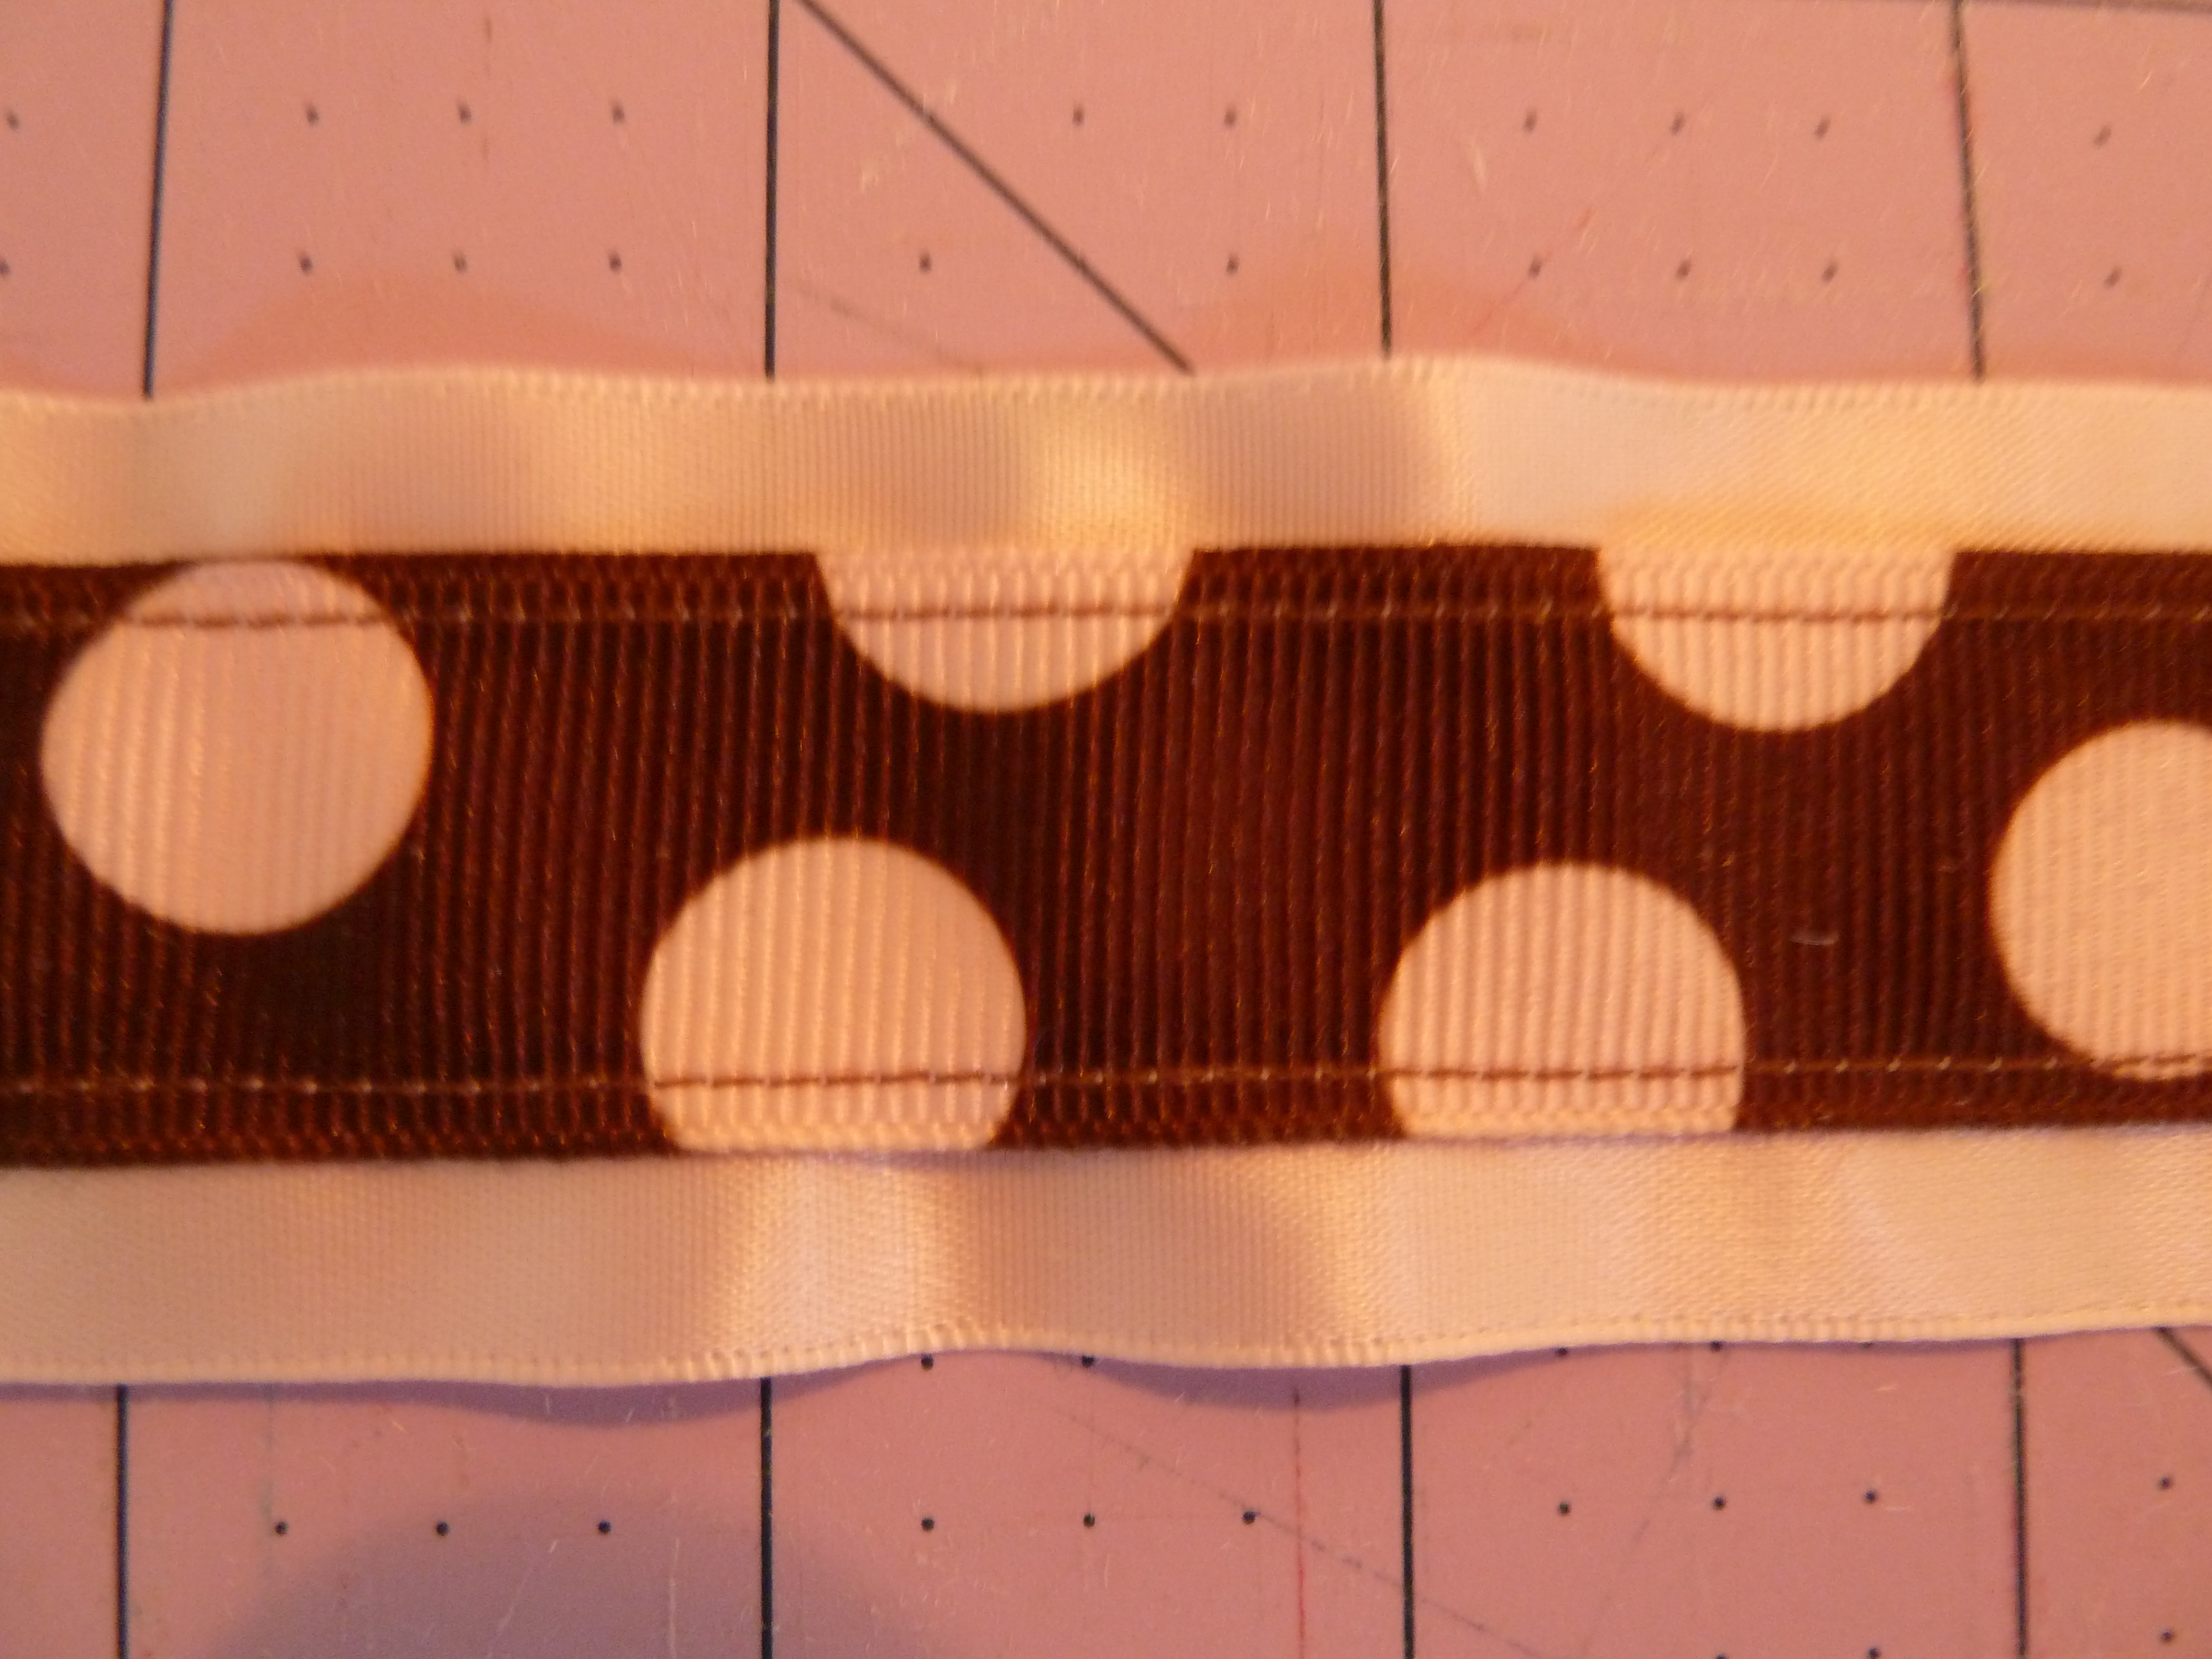
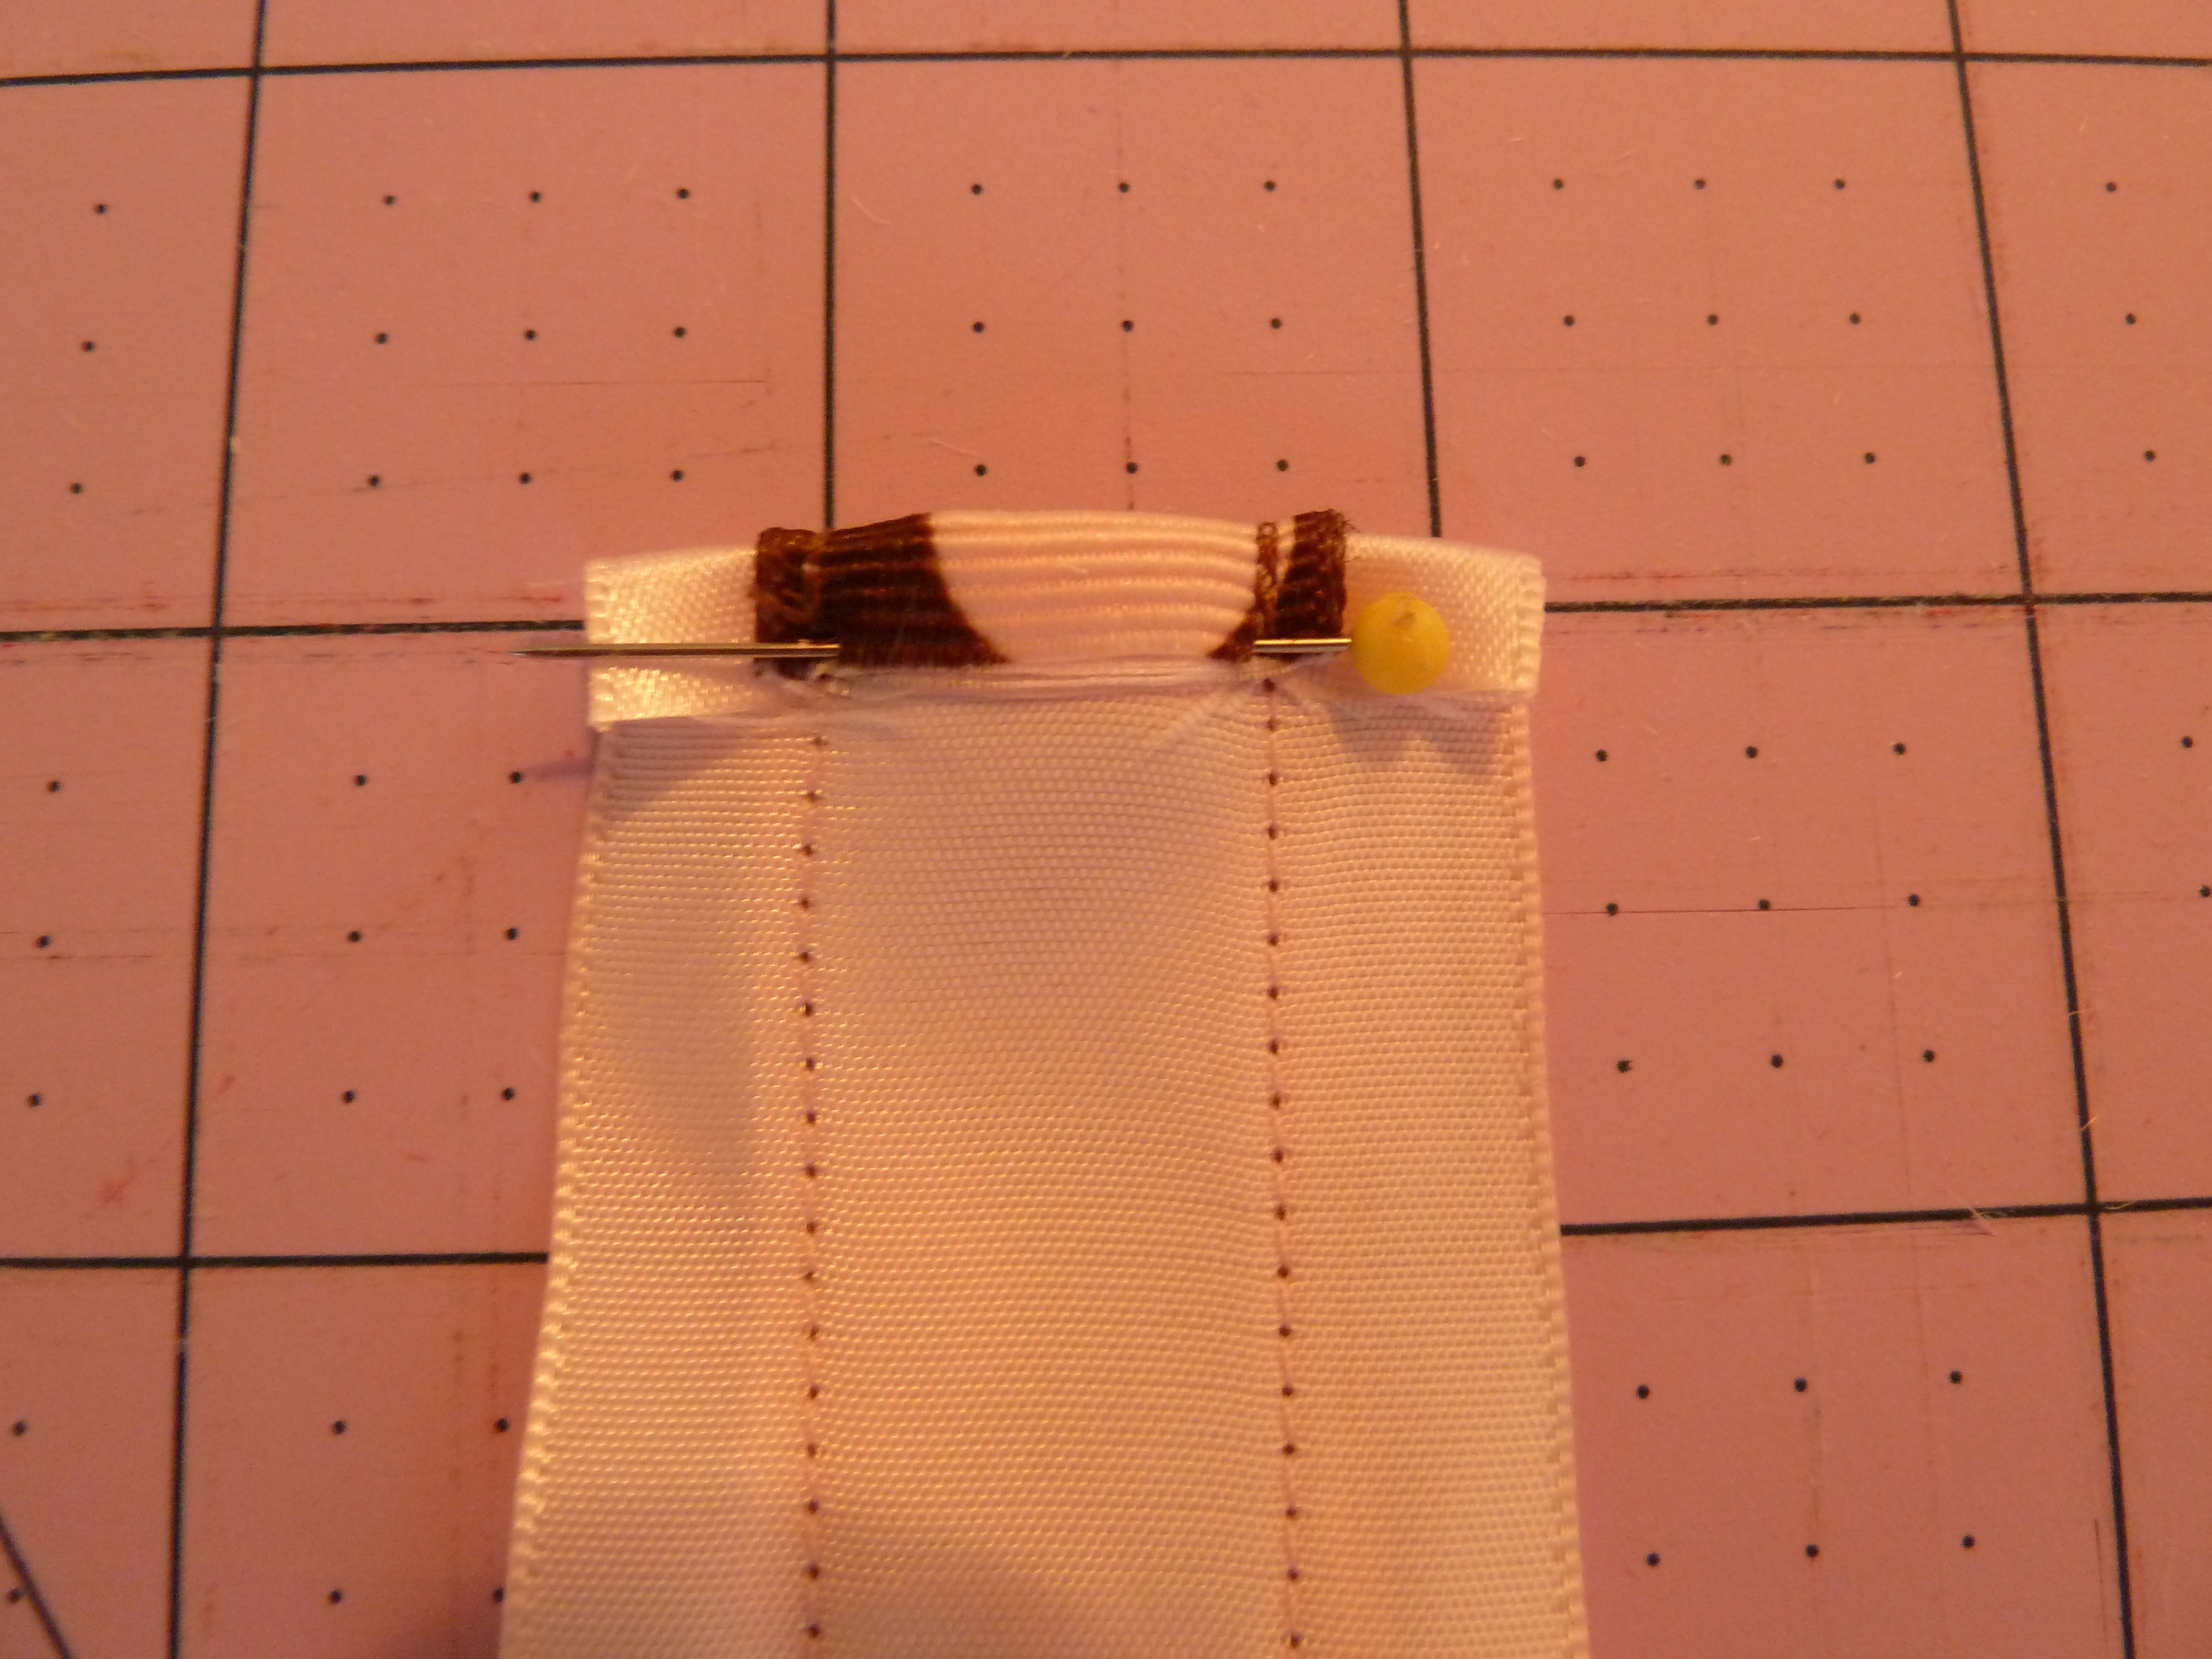
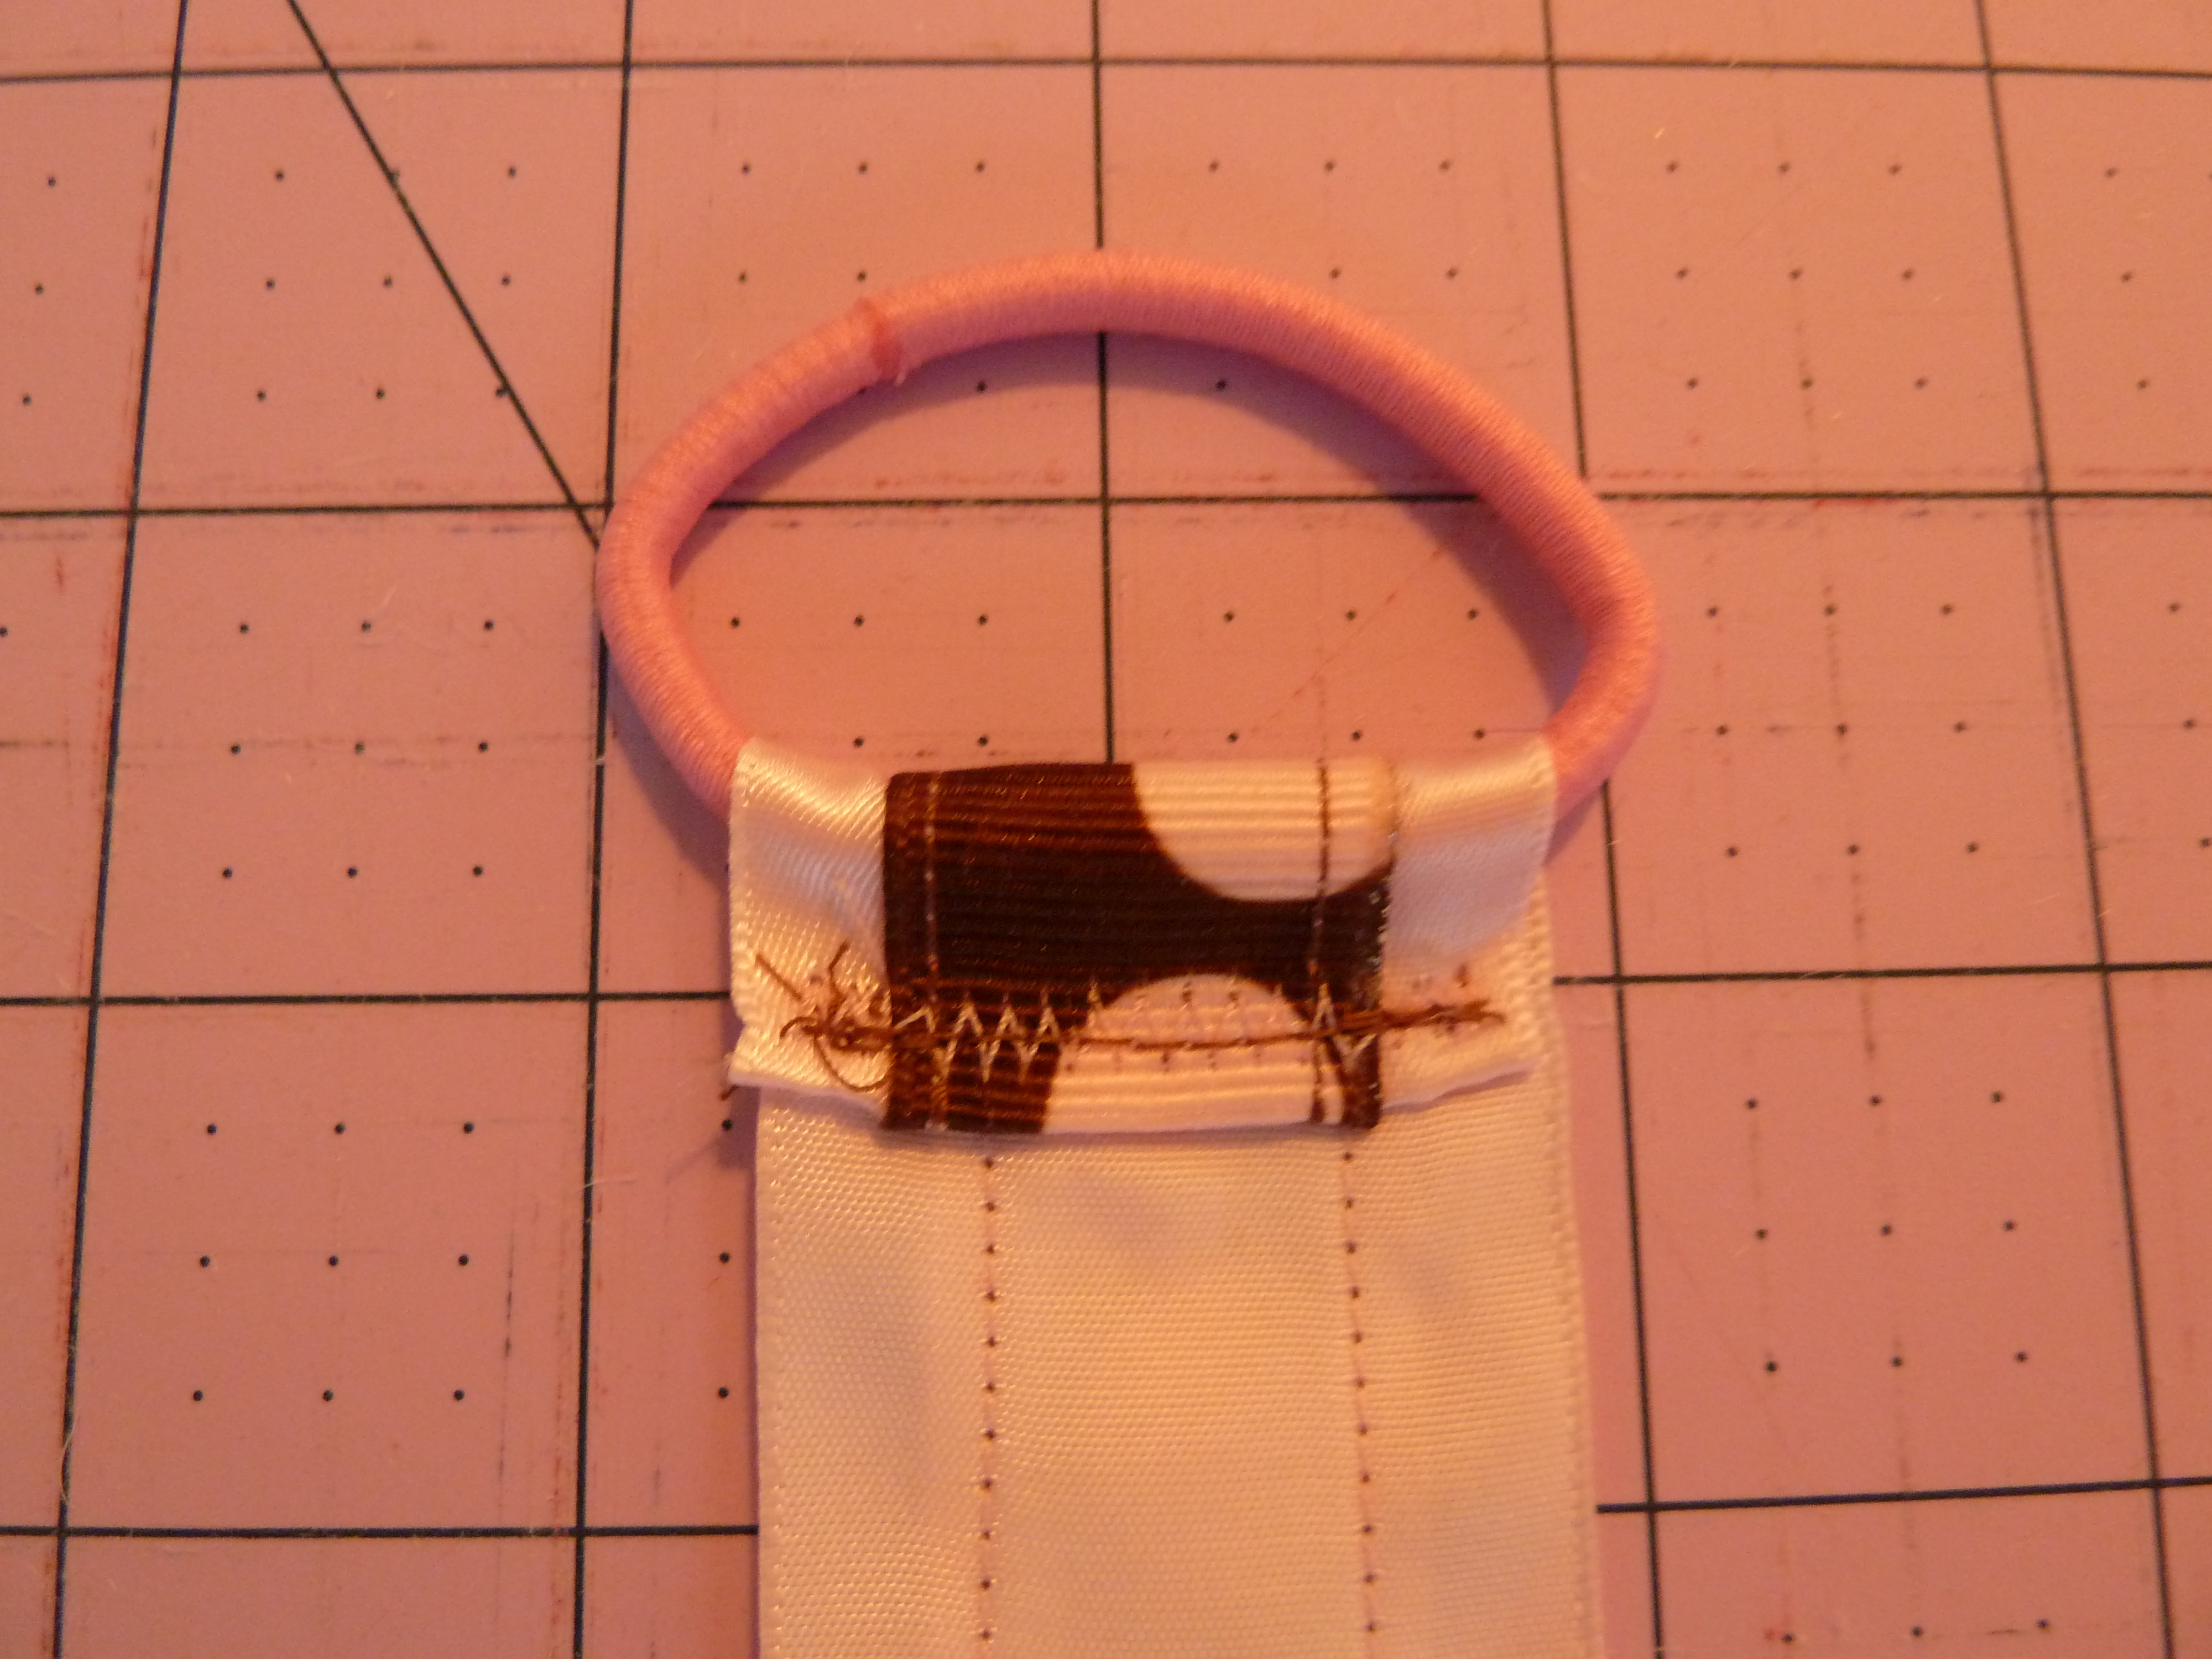
It should look like this!! Now sew small piece of elastic across the bottom of the boot to hold it on the shoe.
The boots are now done!!
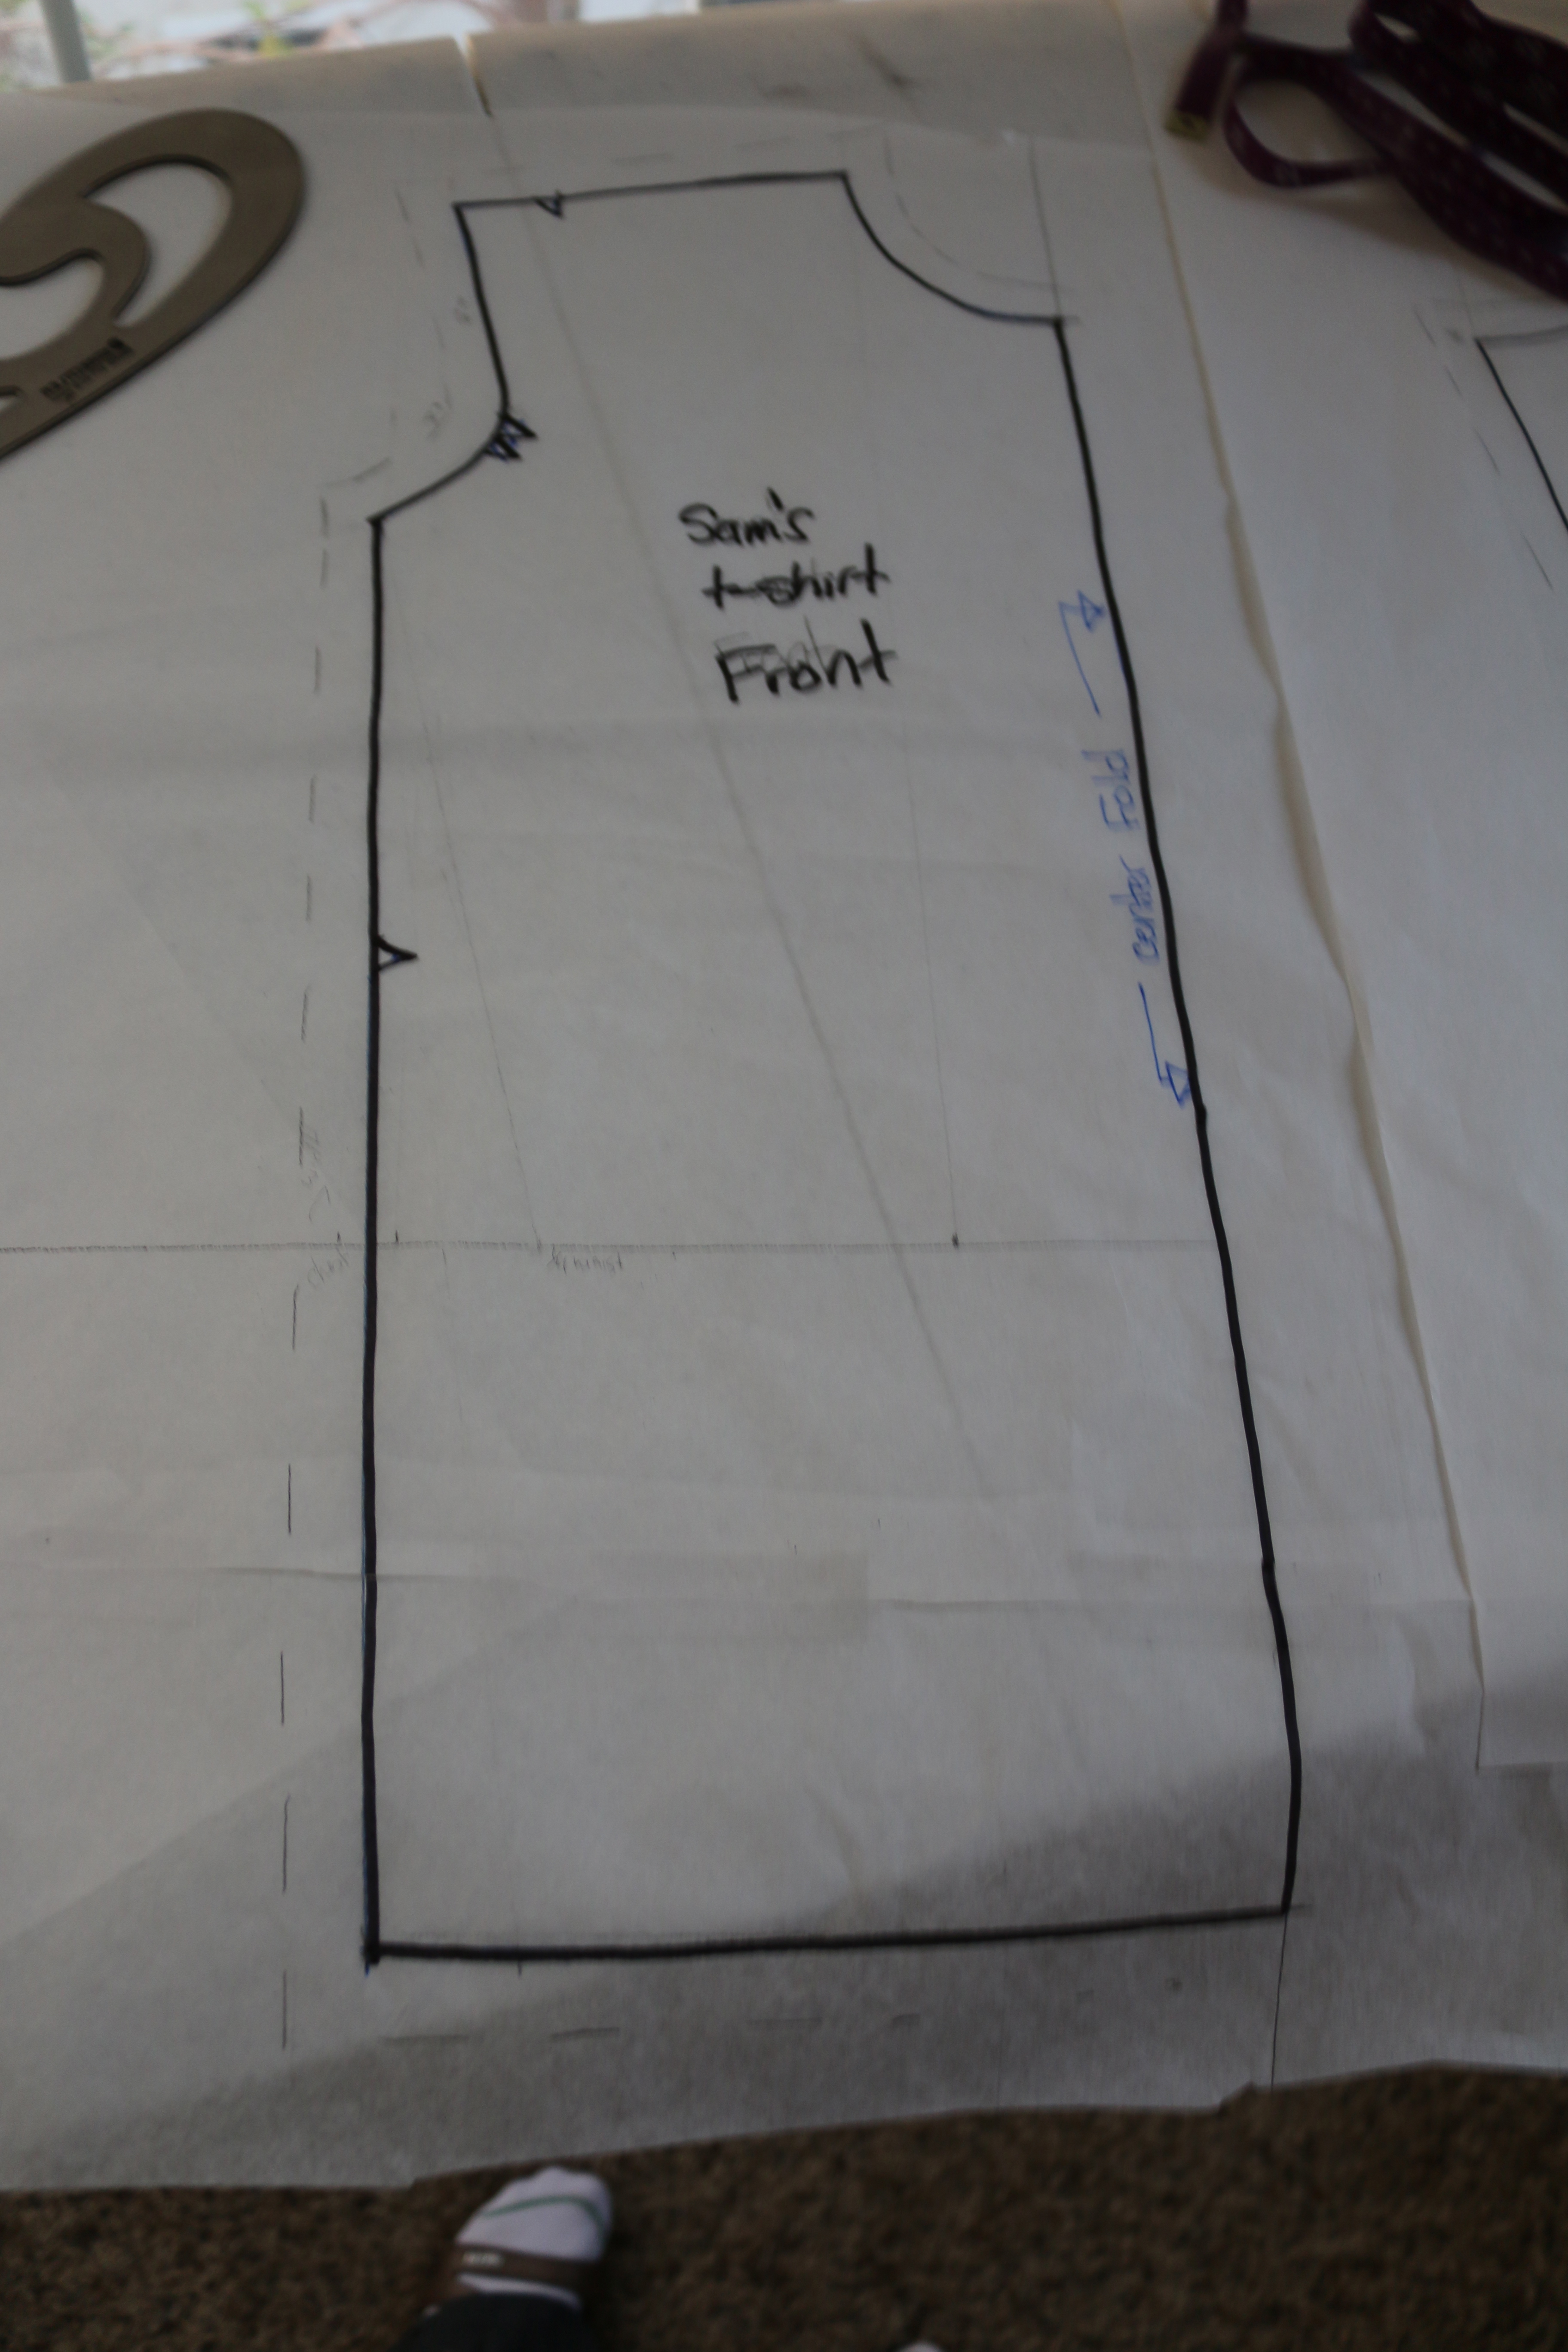
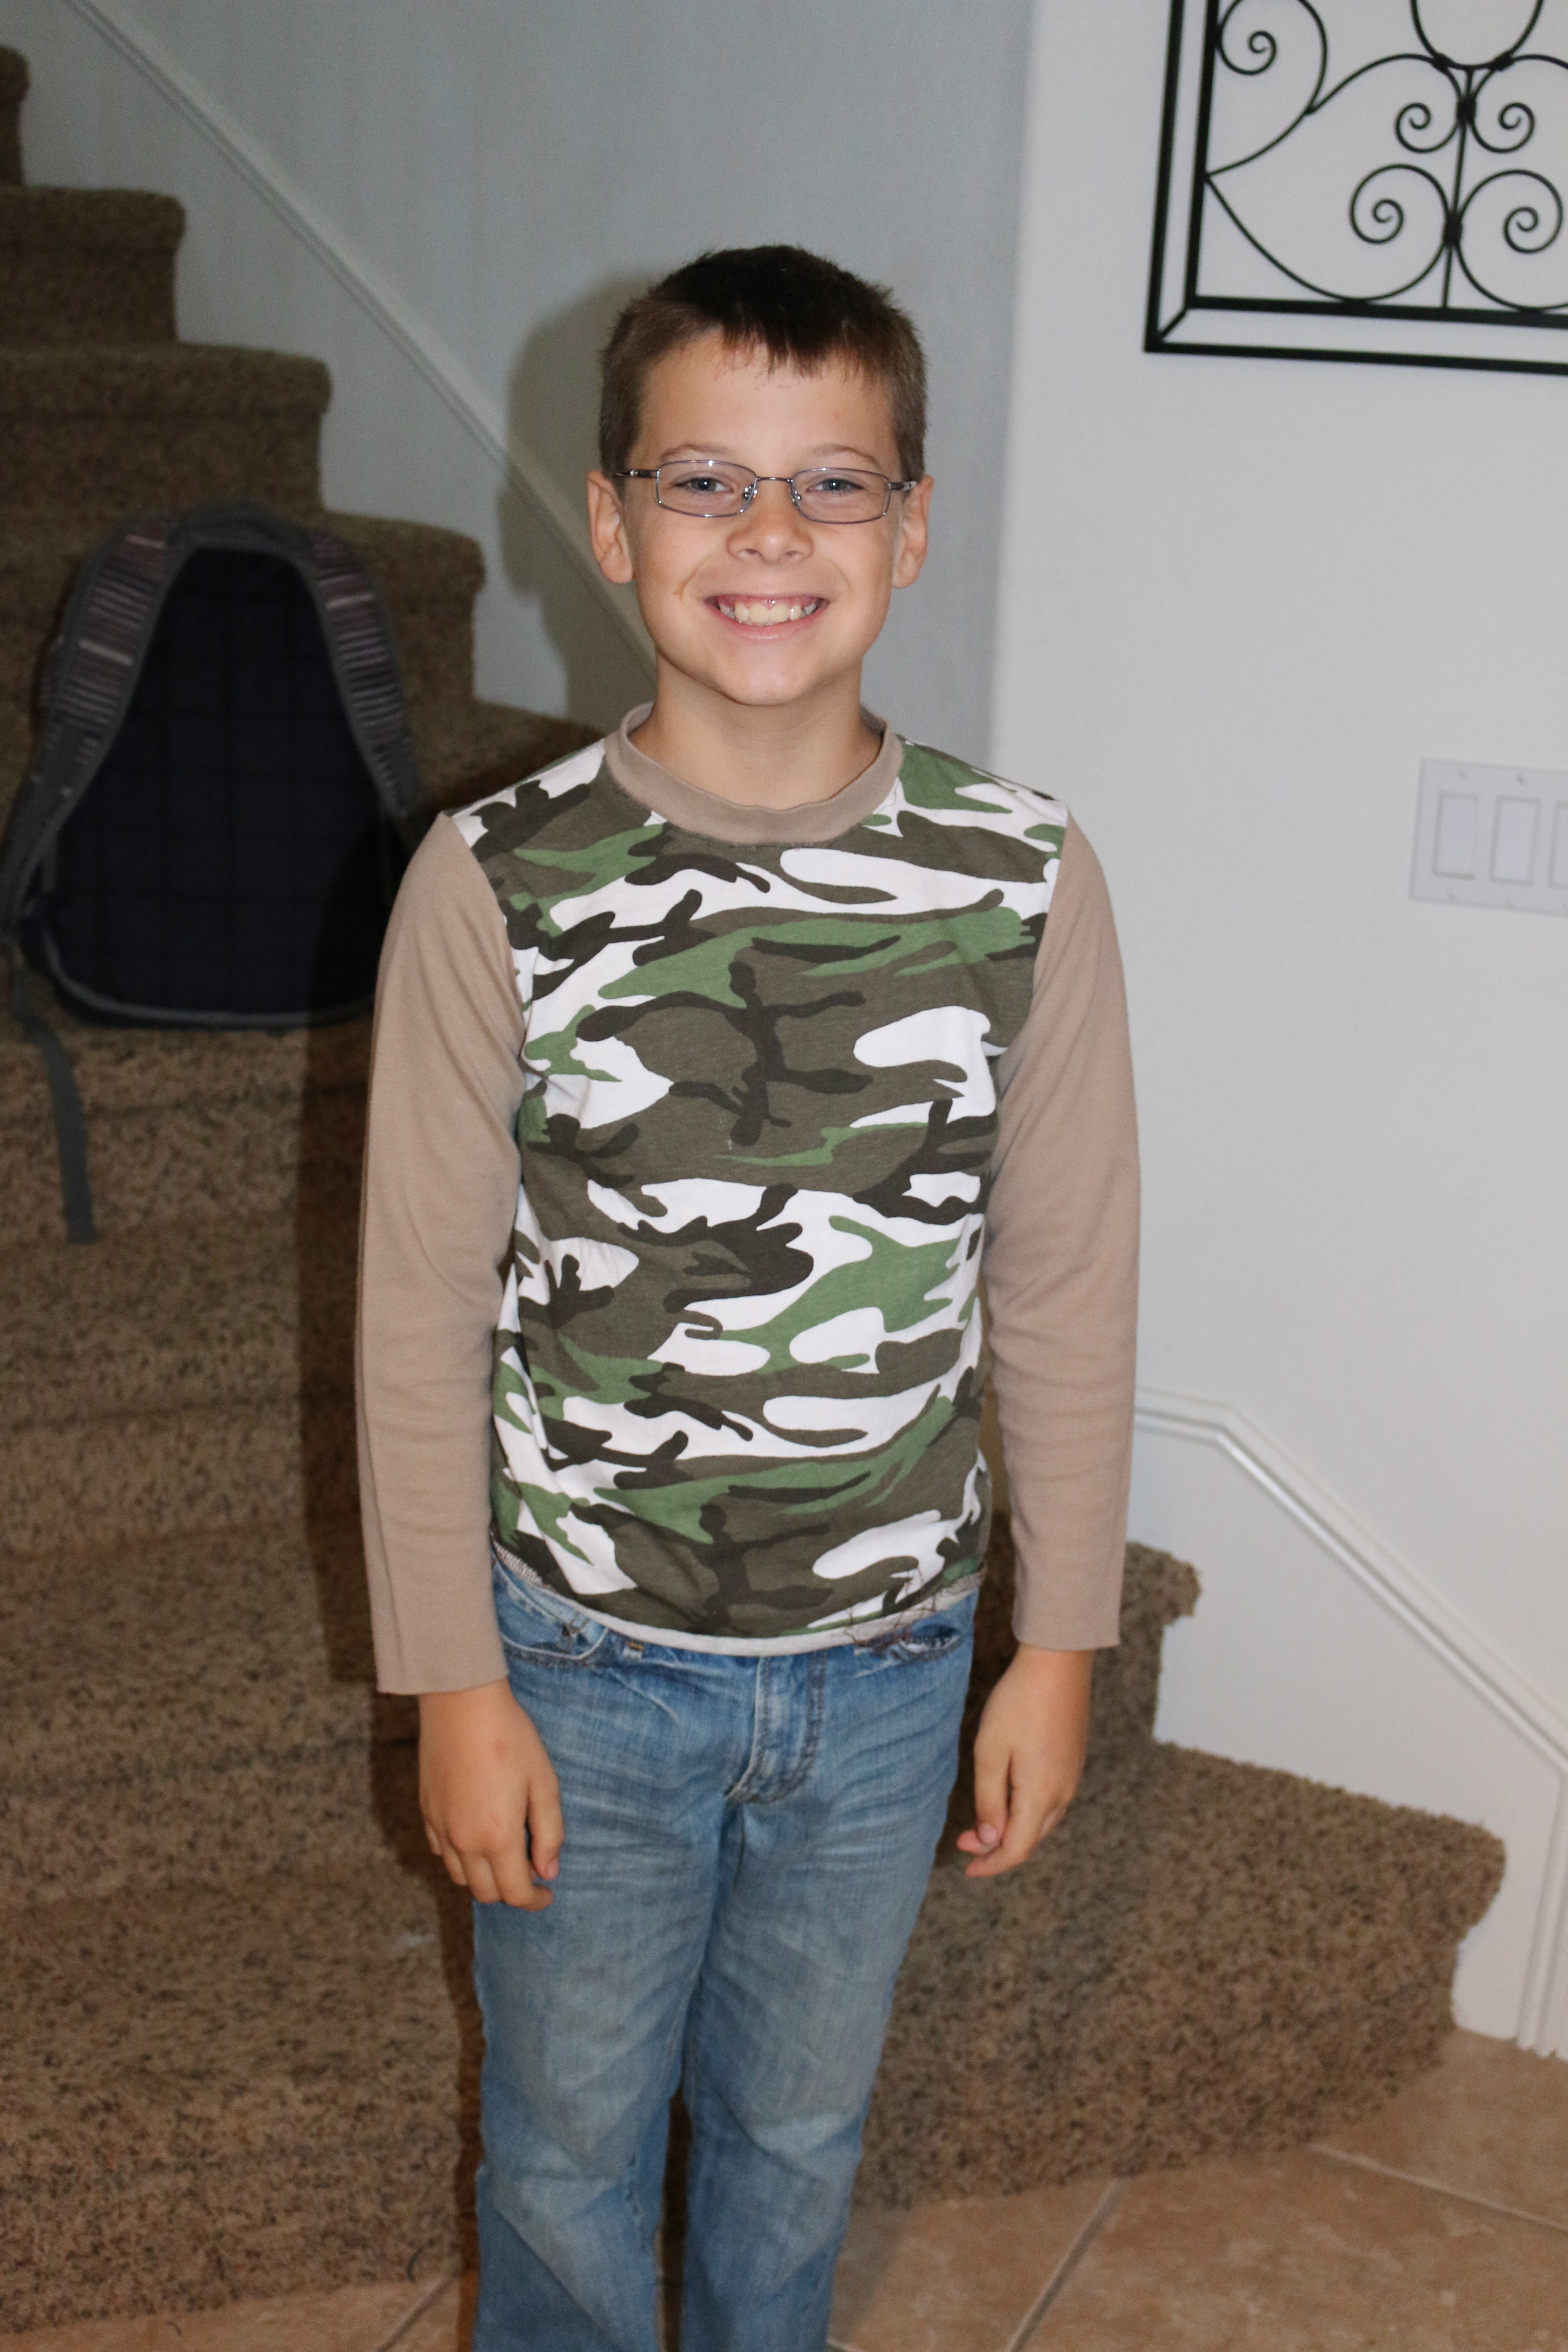
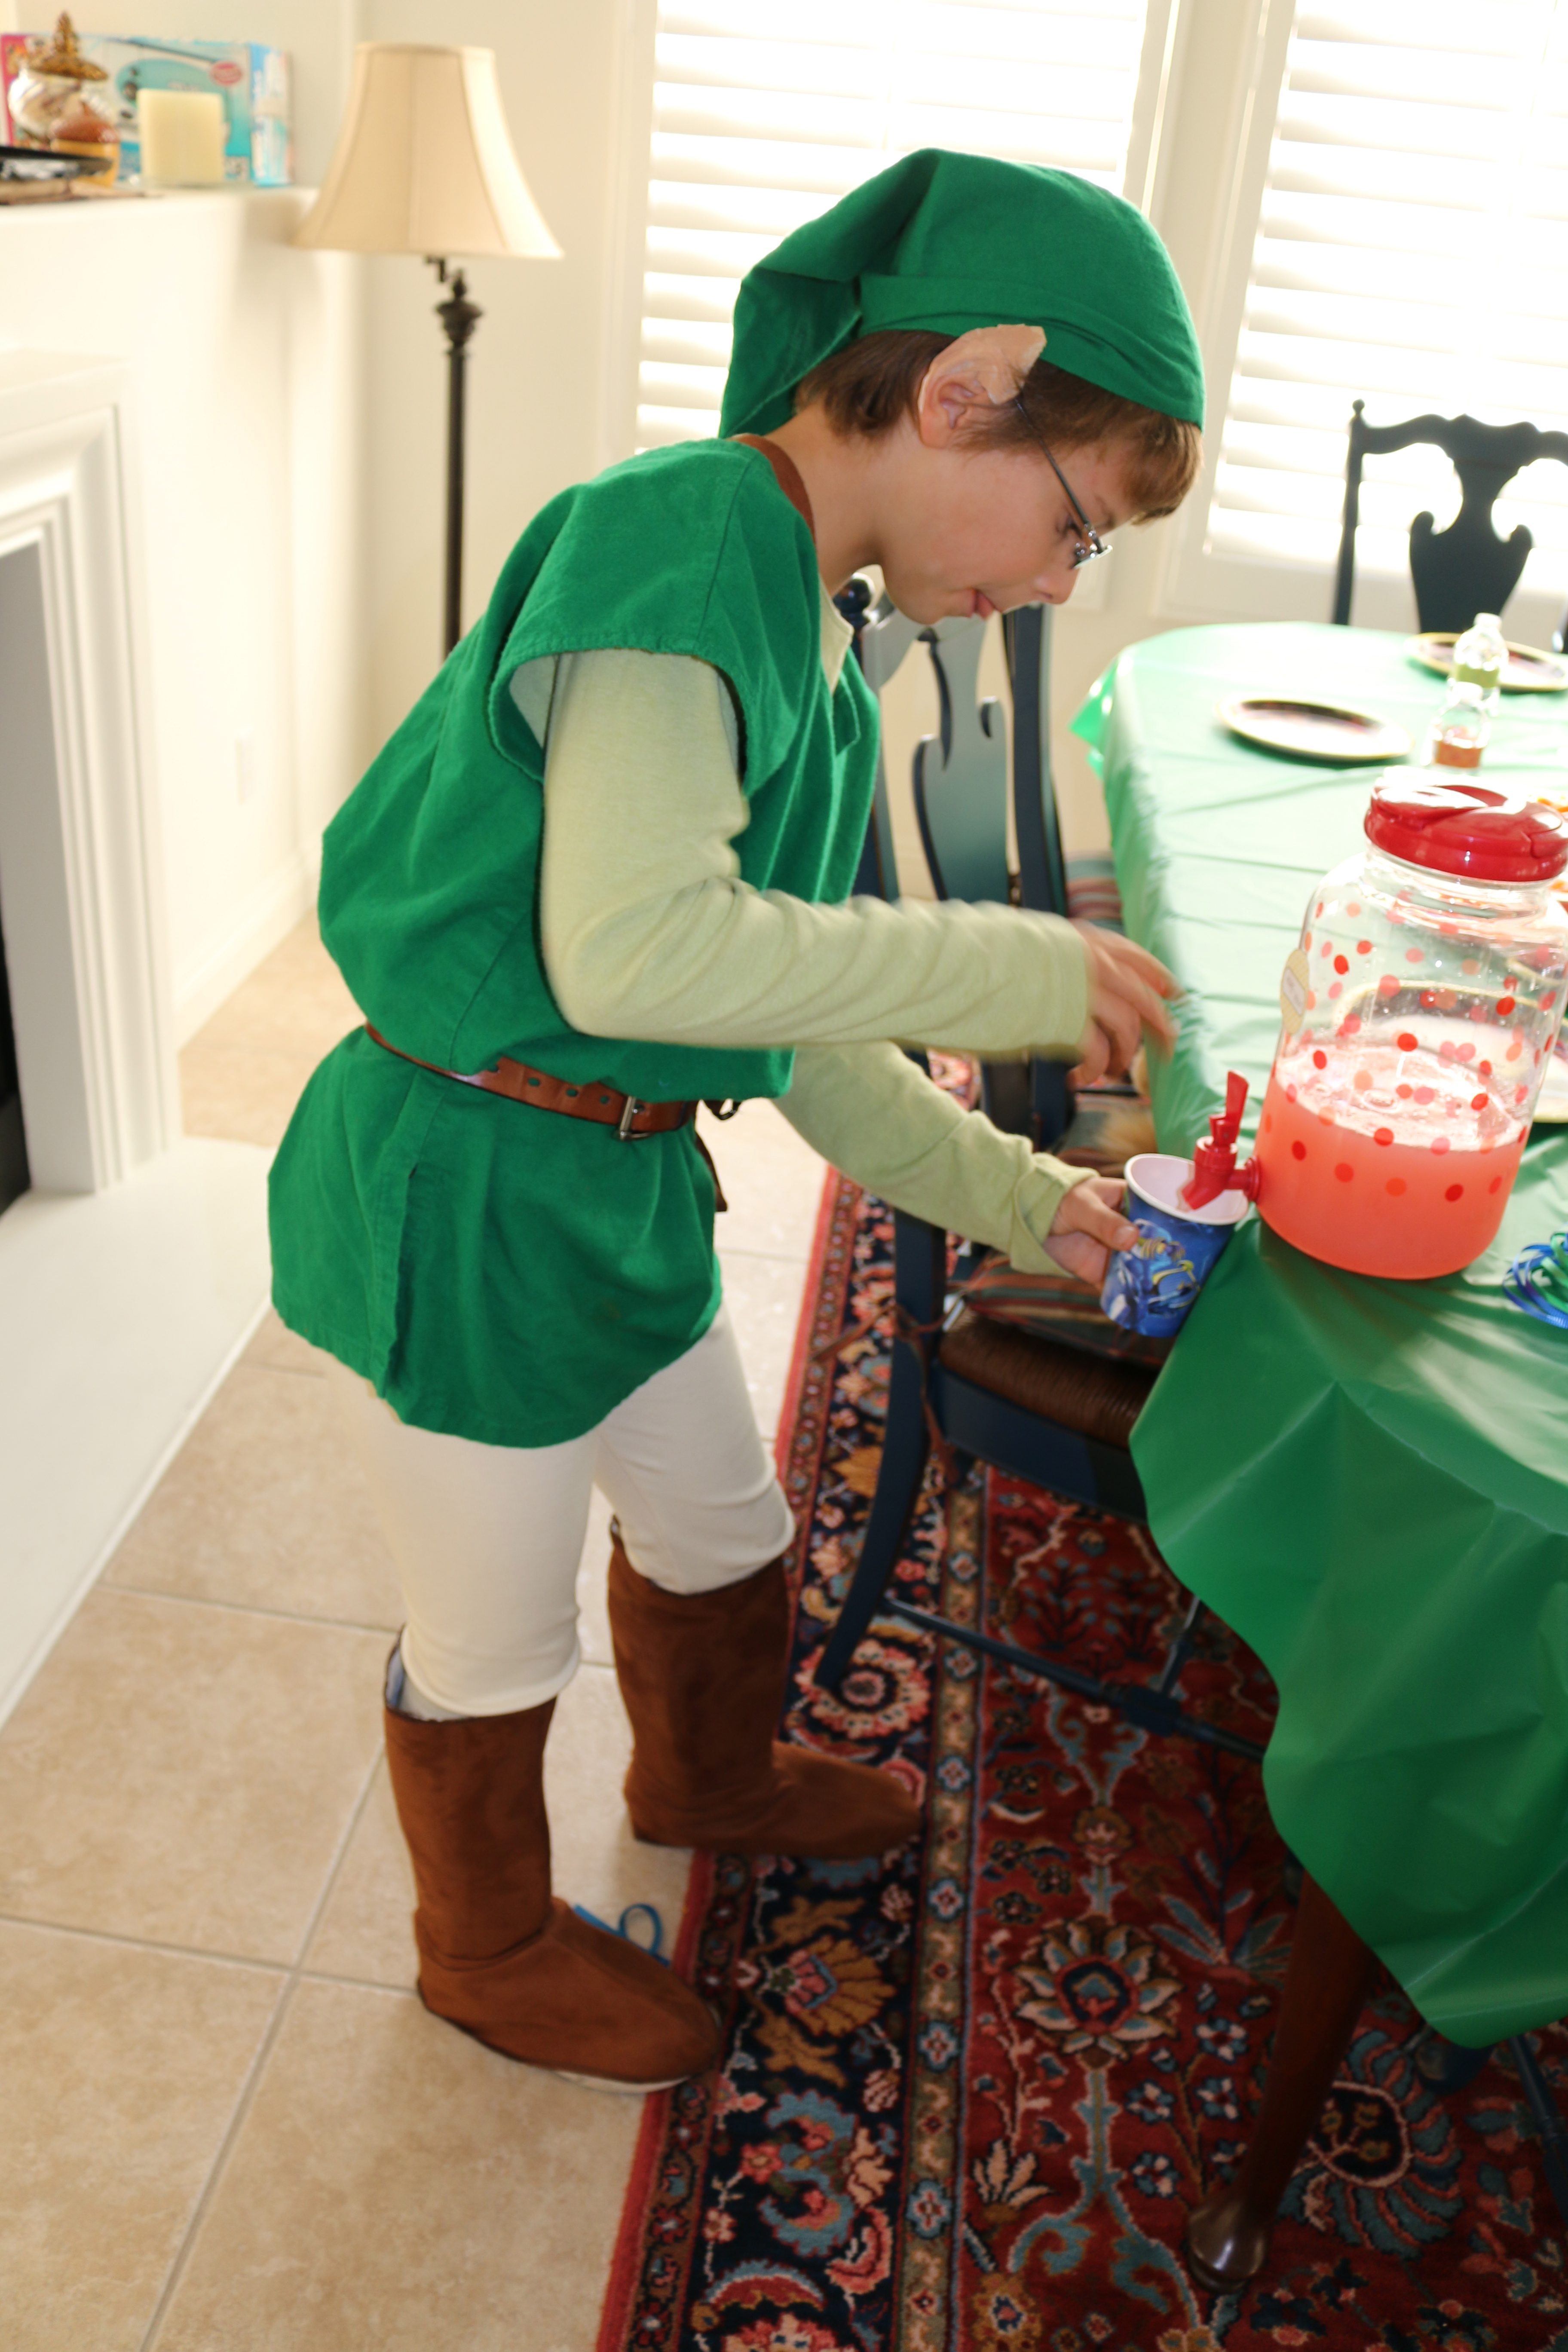
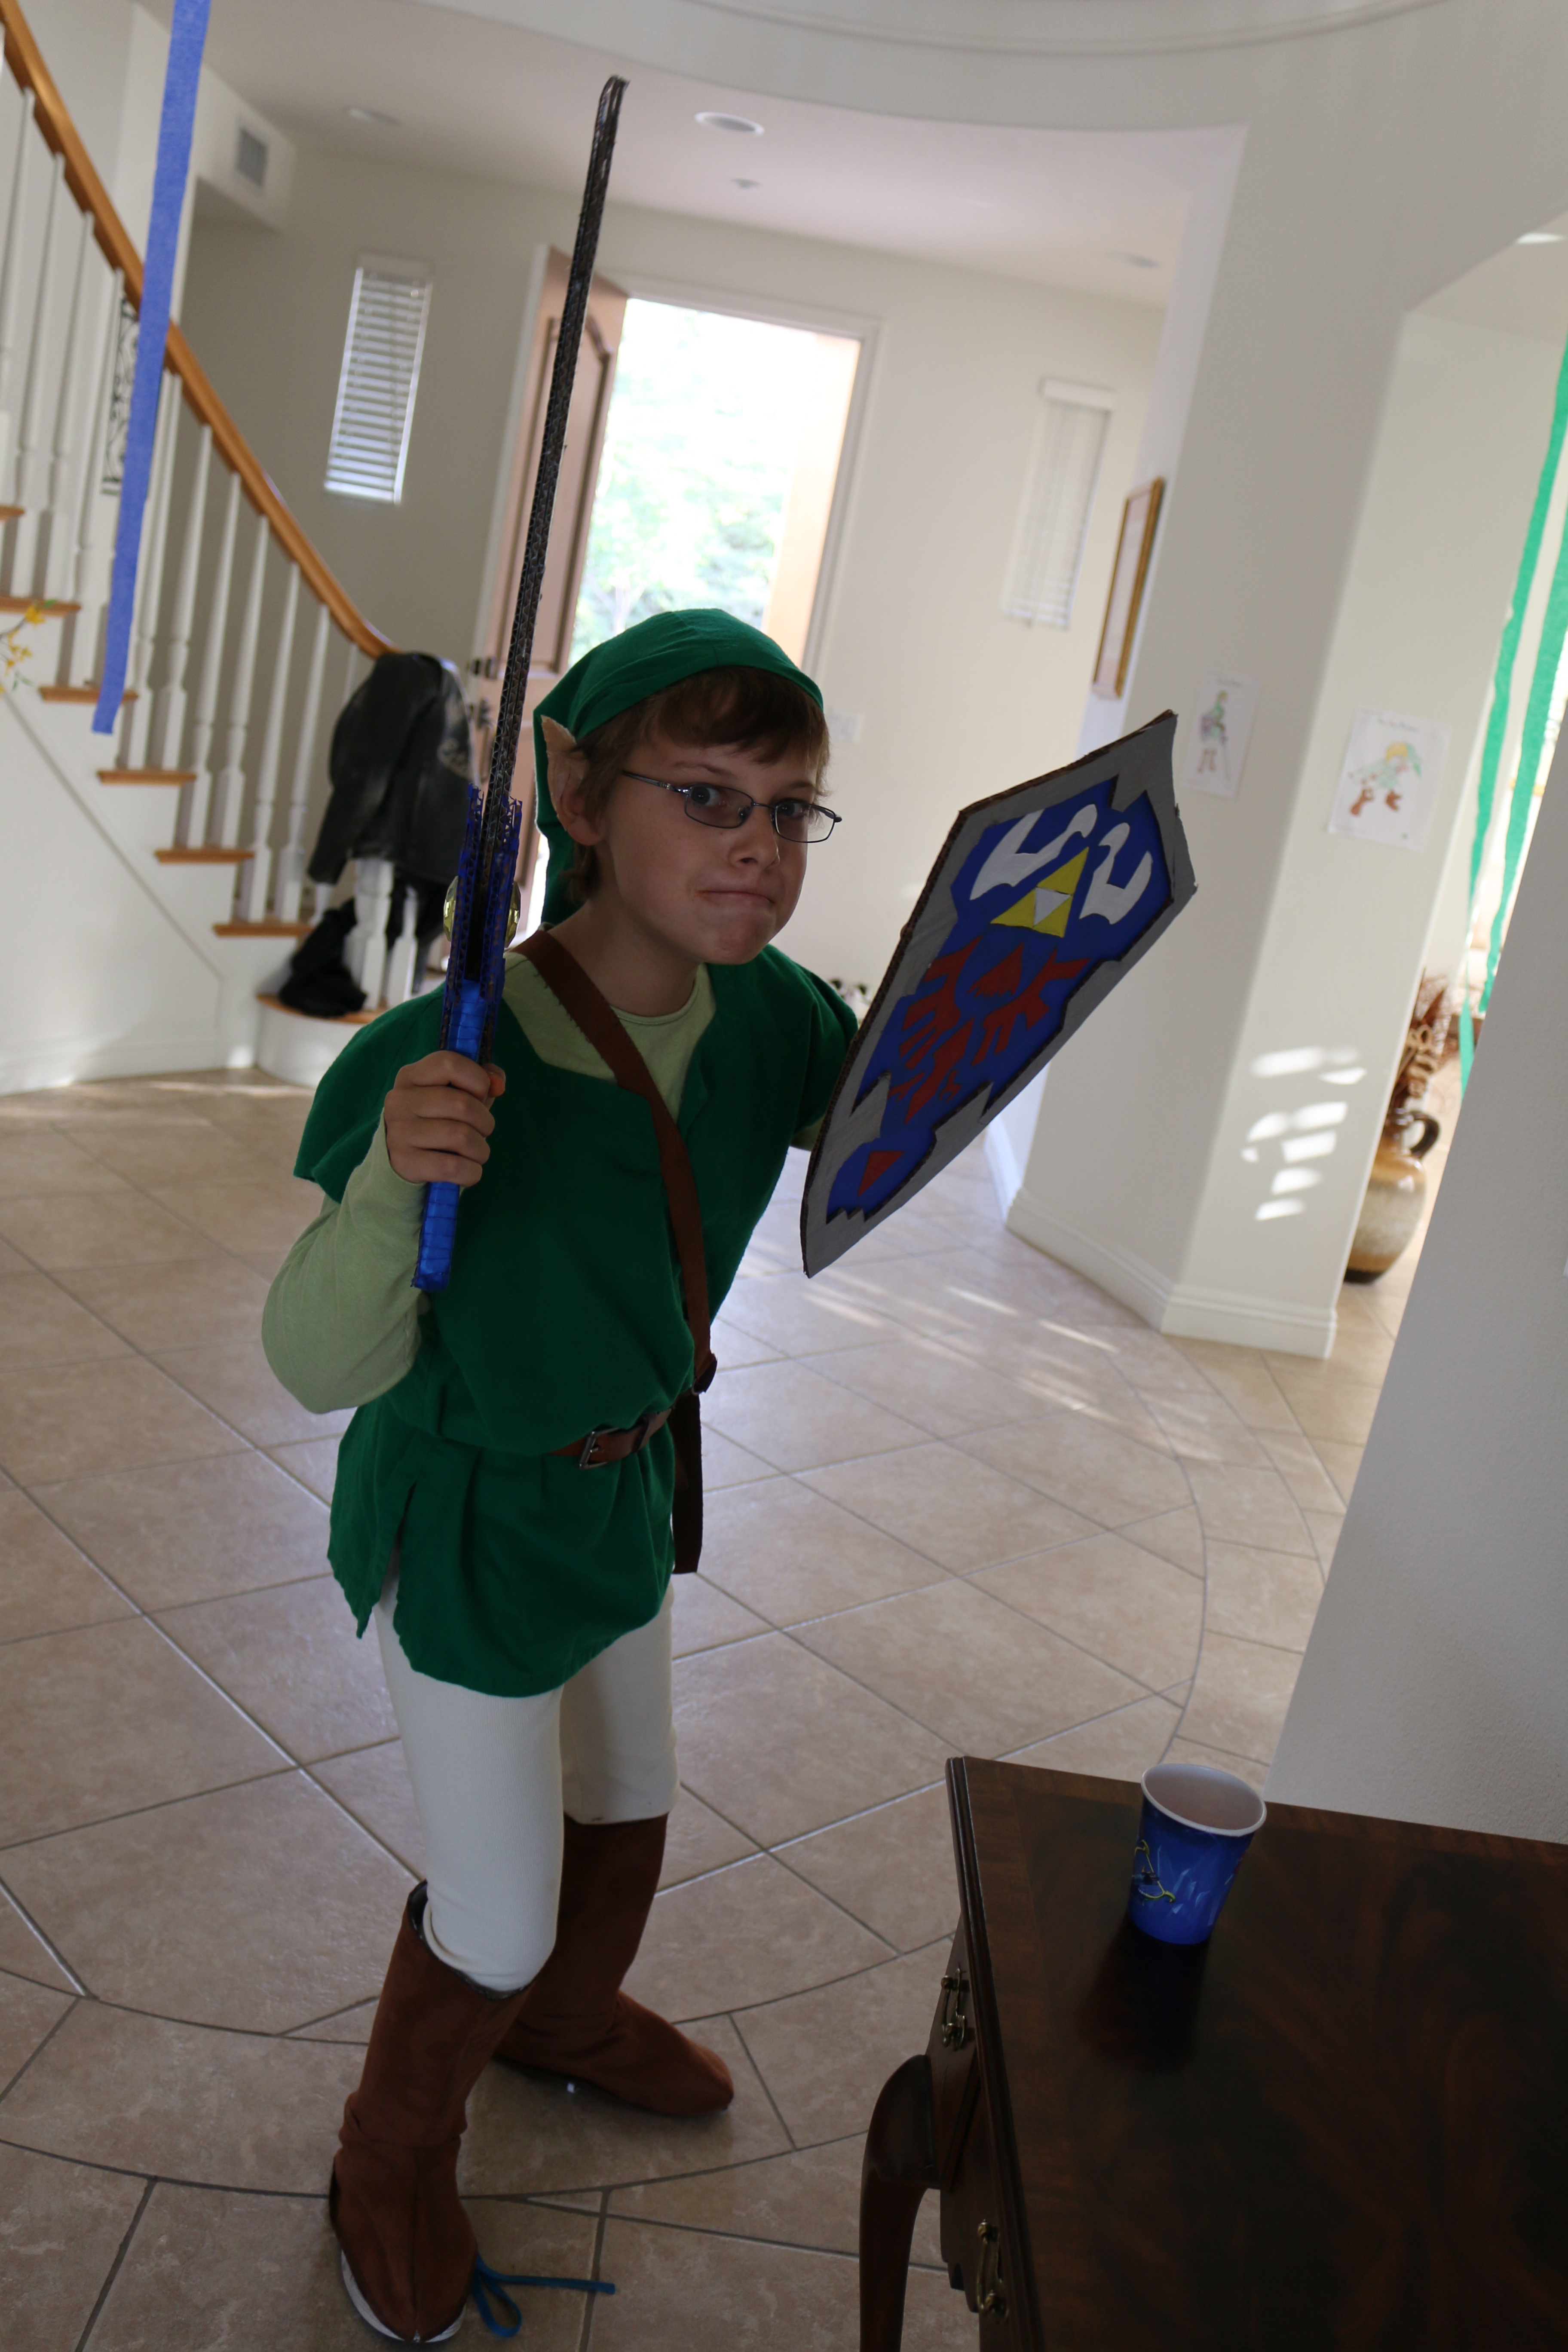
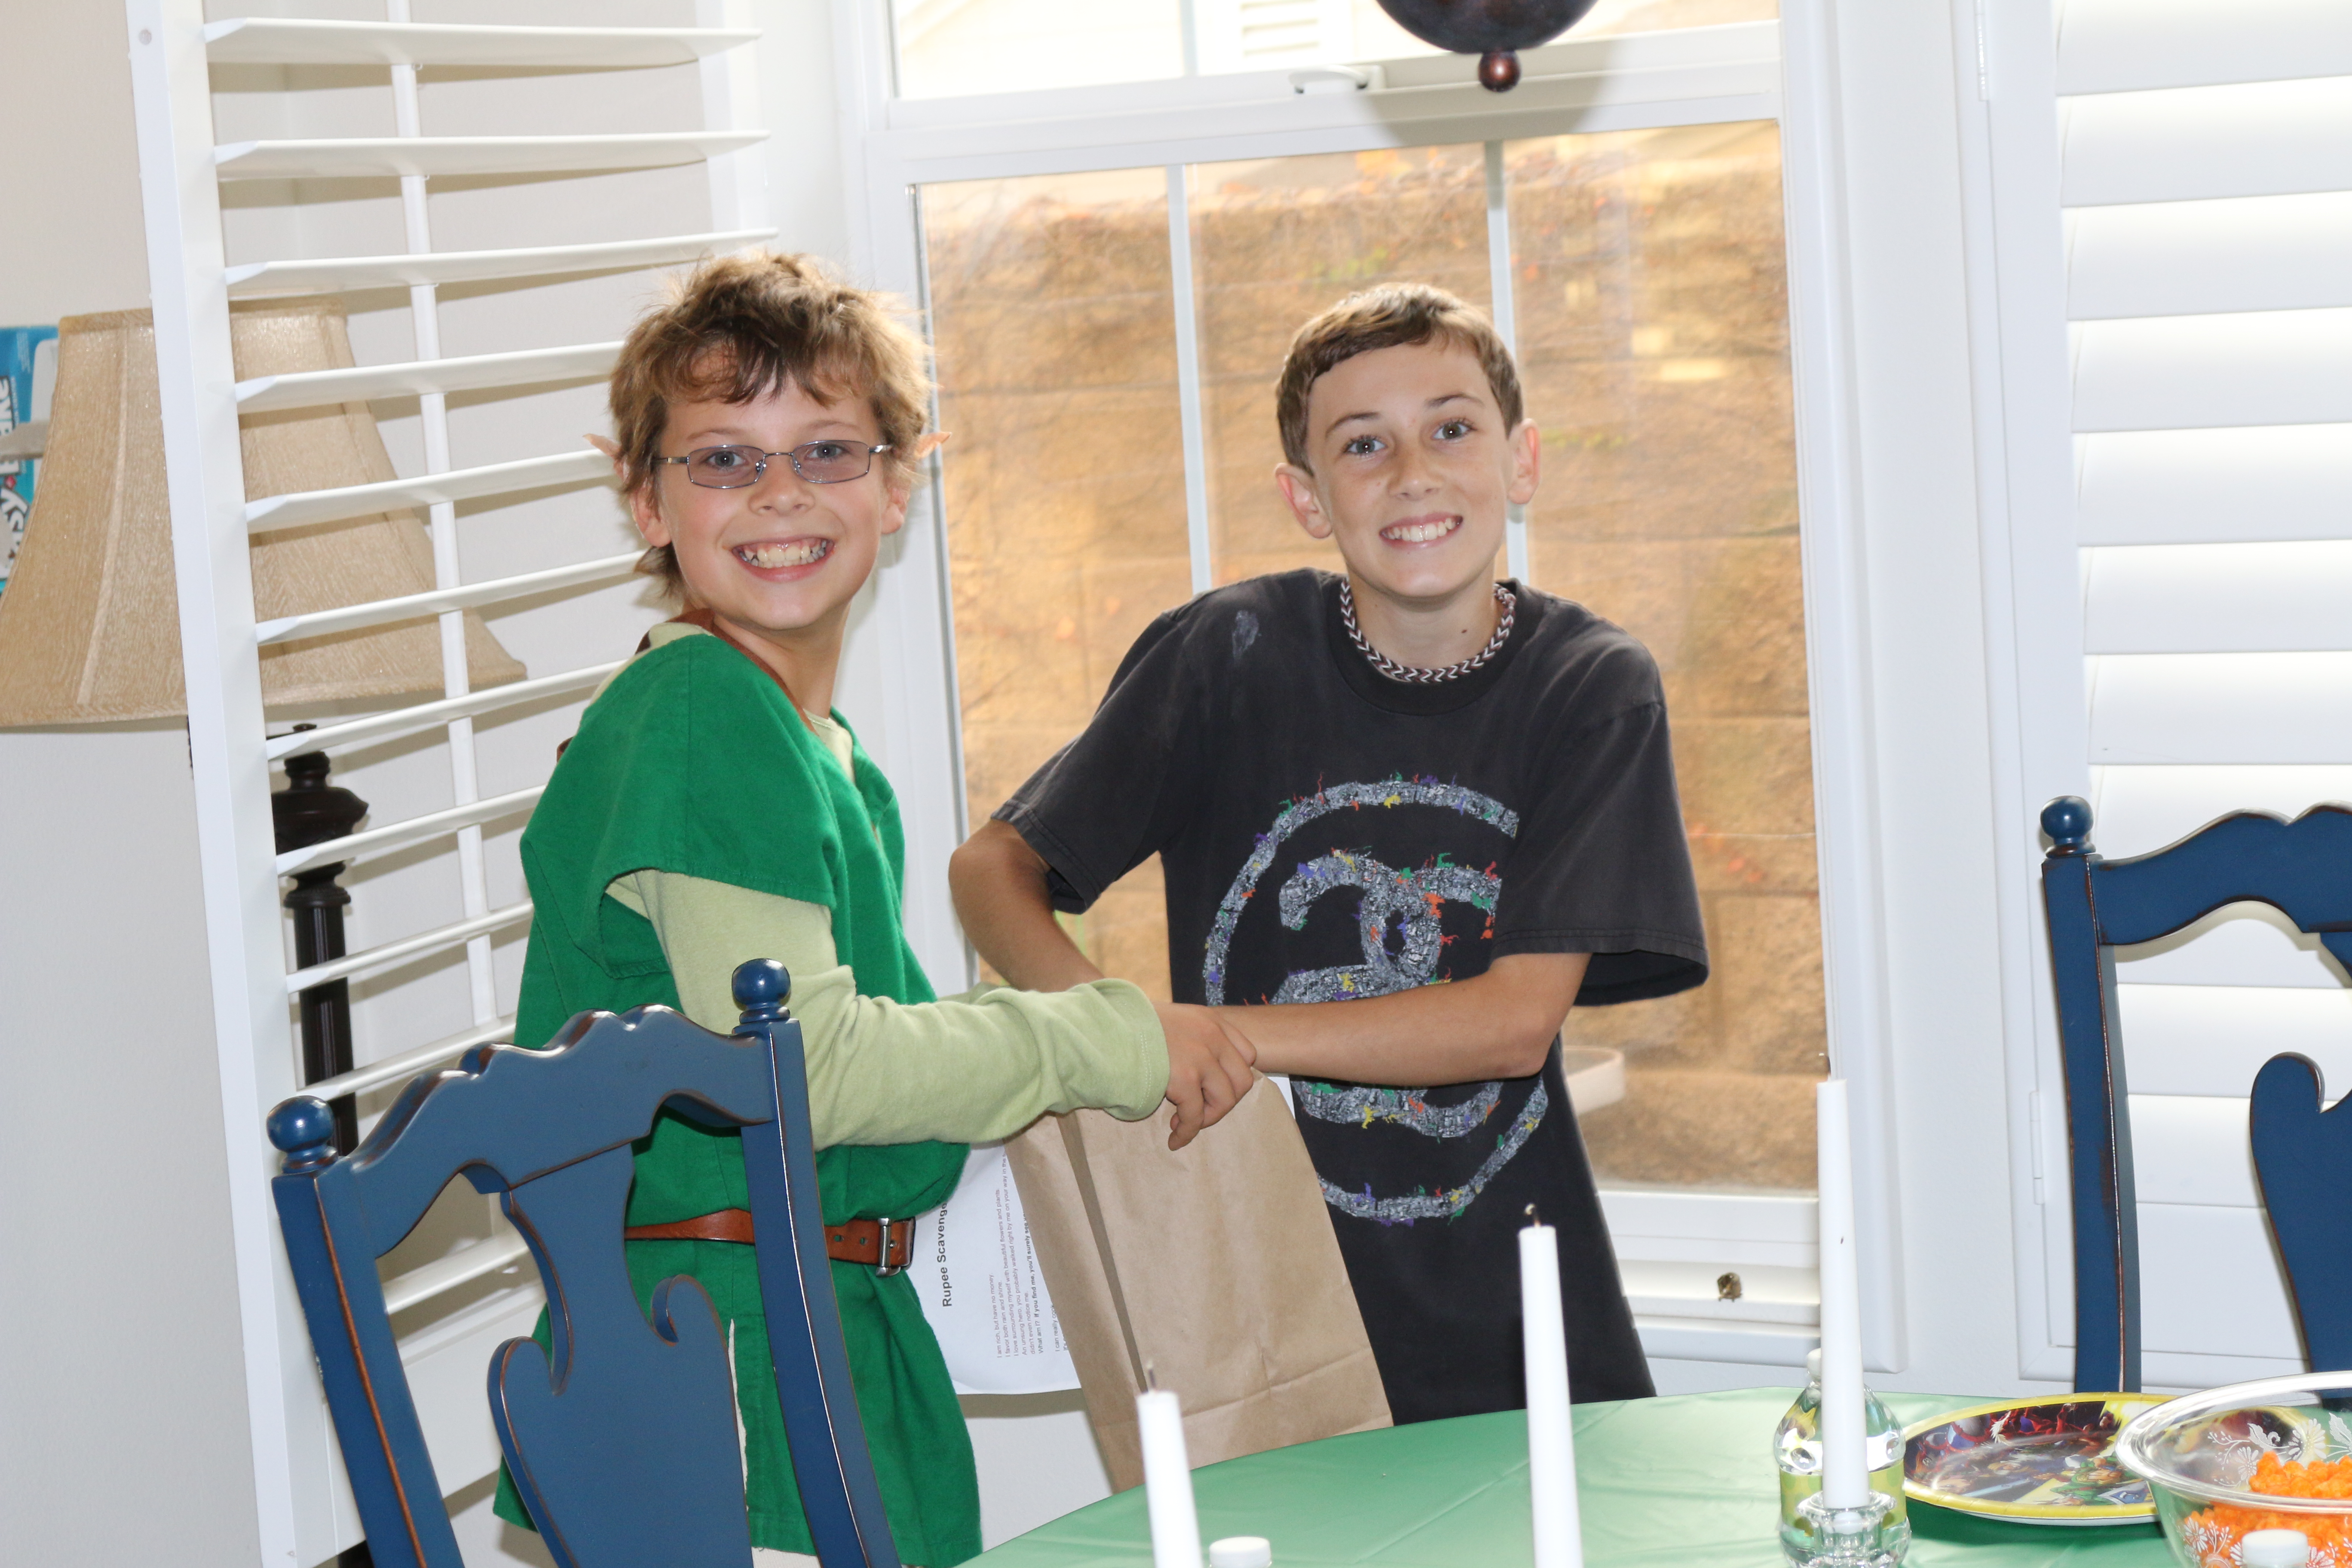
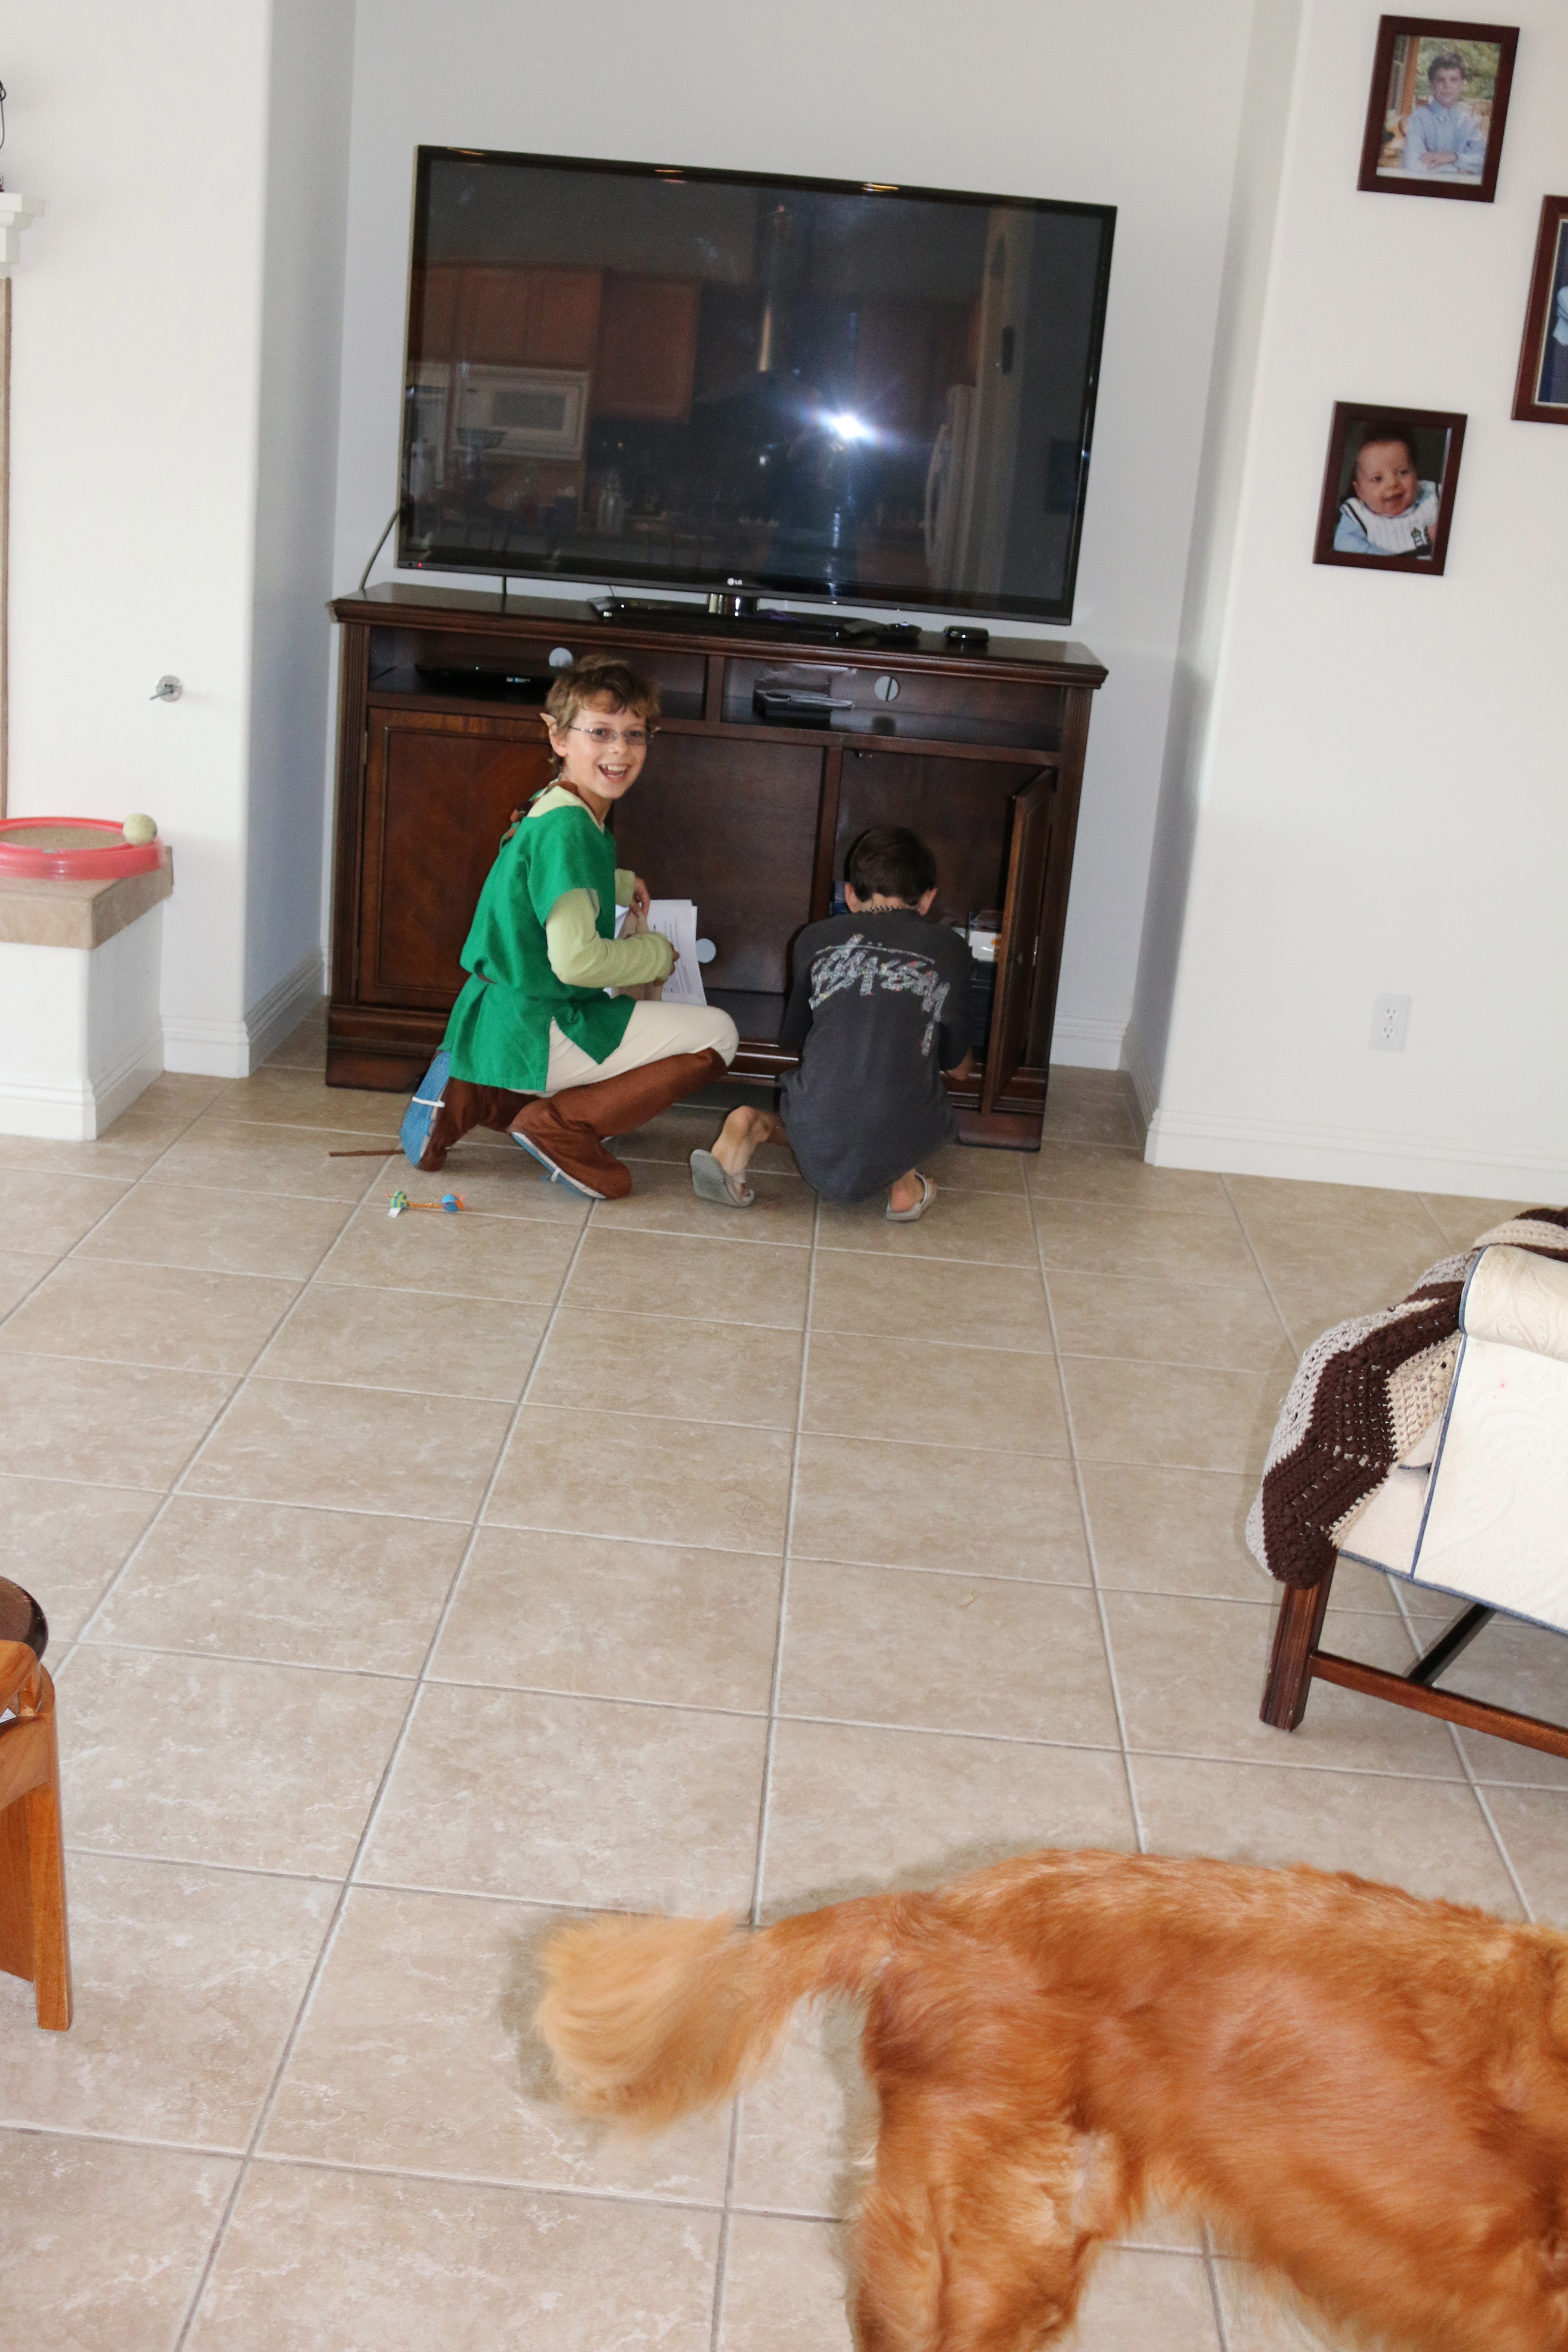
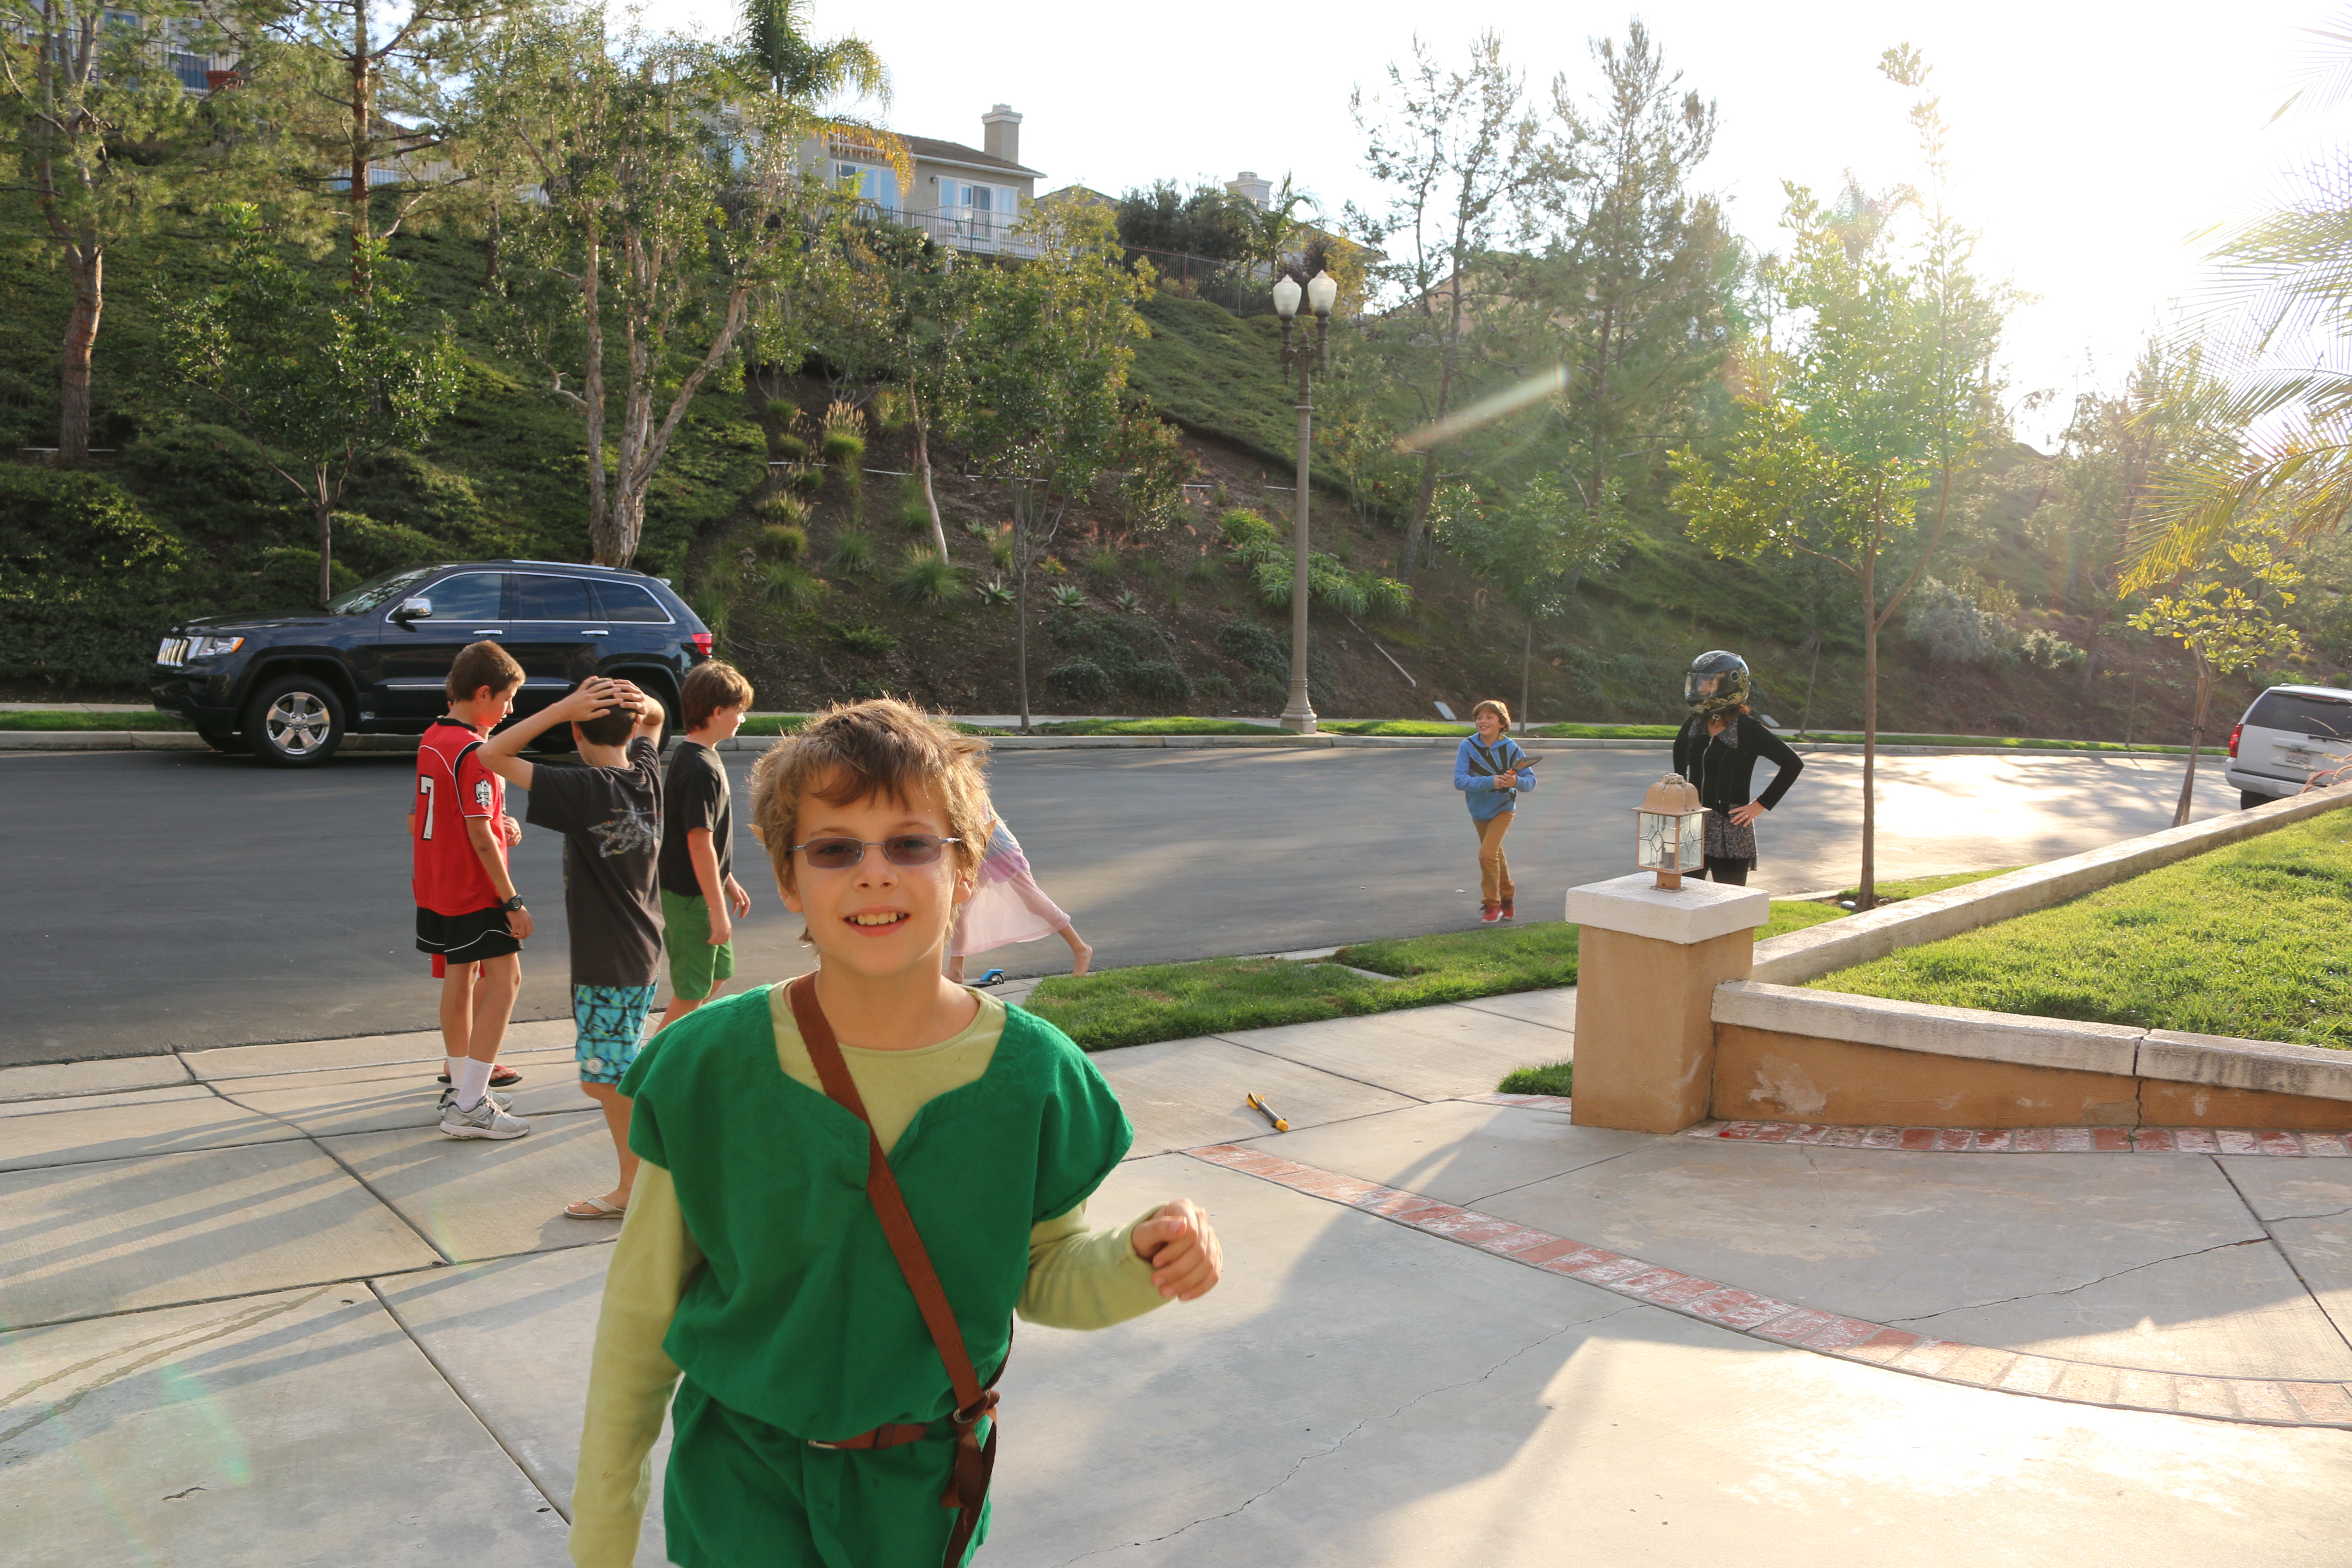
On to the leggings. I bought knits and made him some beige leggings.My friend had made a green tunic and hat which I borrowed from her for this costume. I made Sam’s sword and shield out of cardboard and painted it.
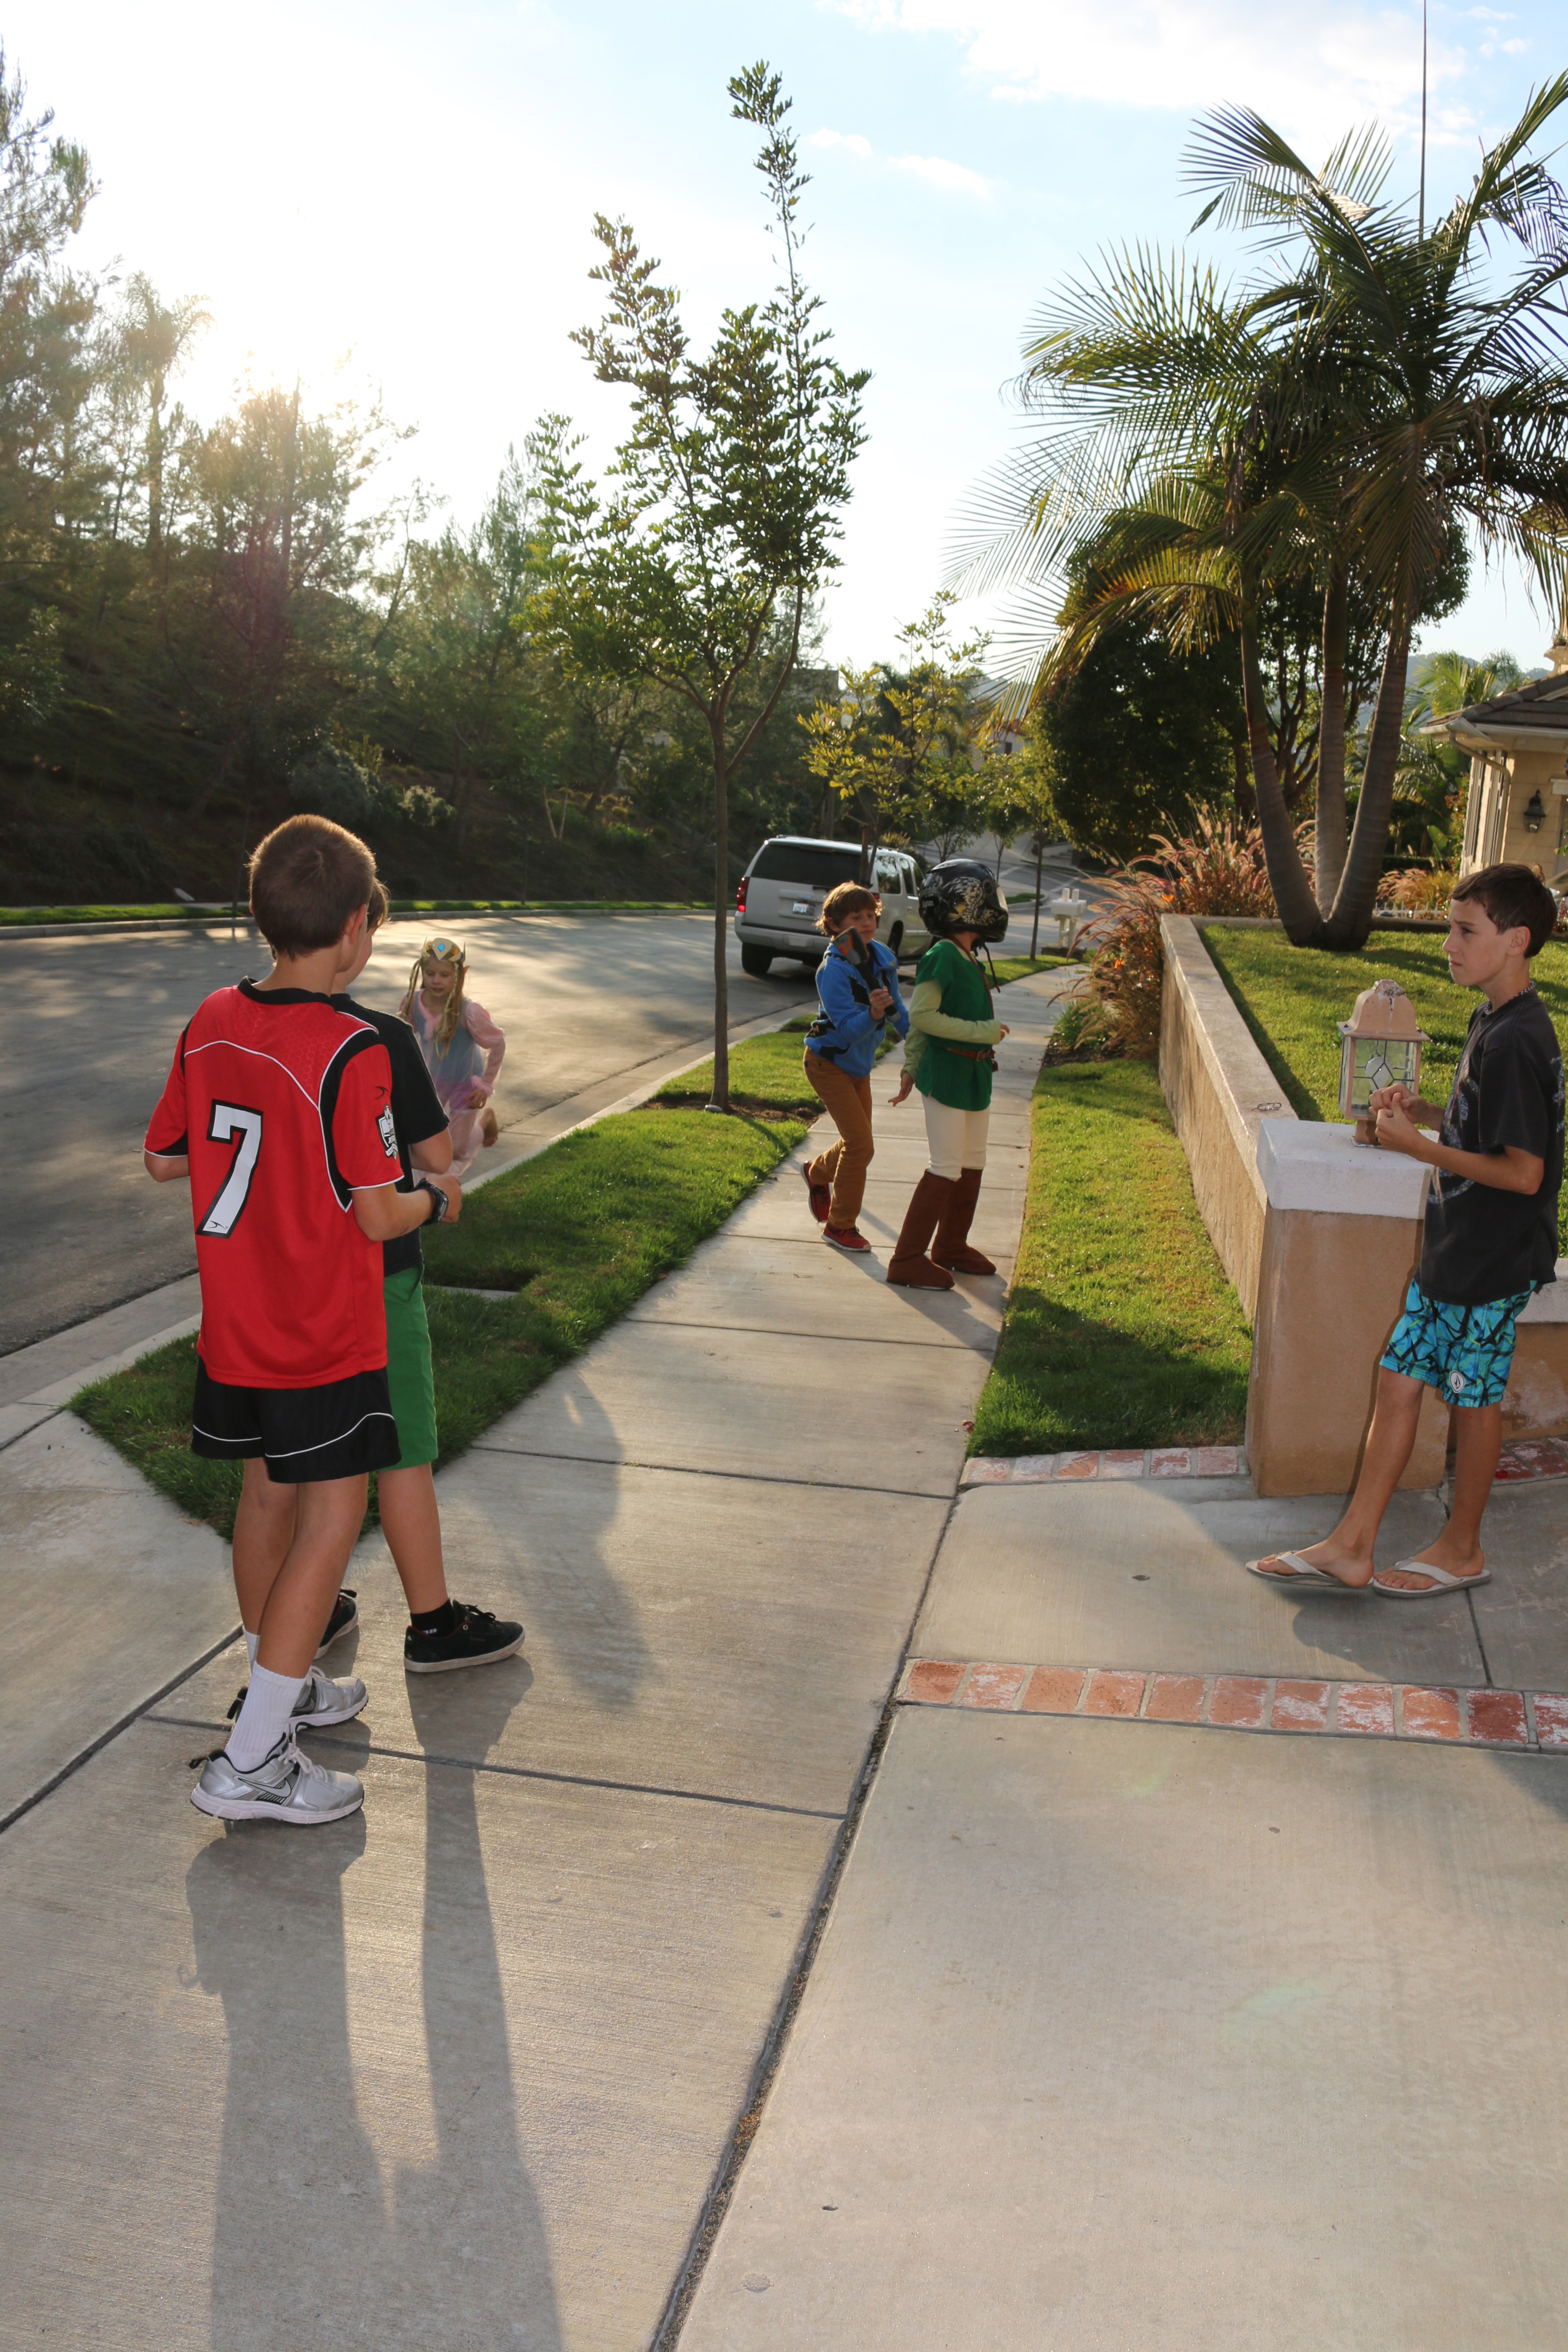
Here is his costume:
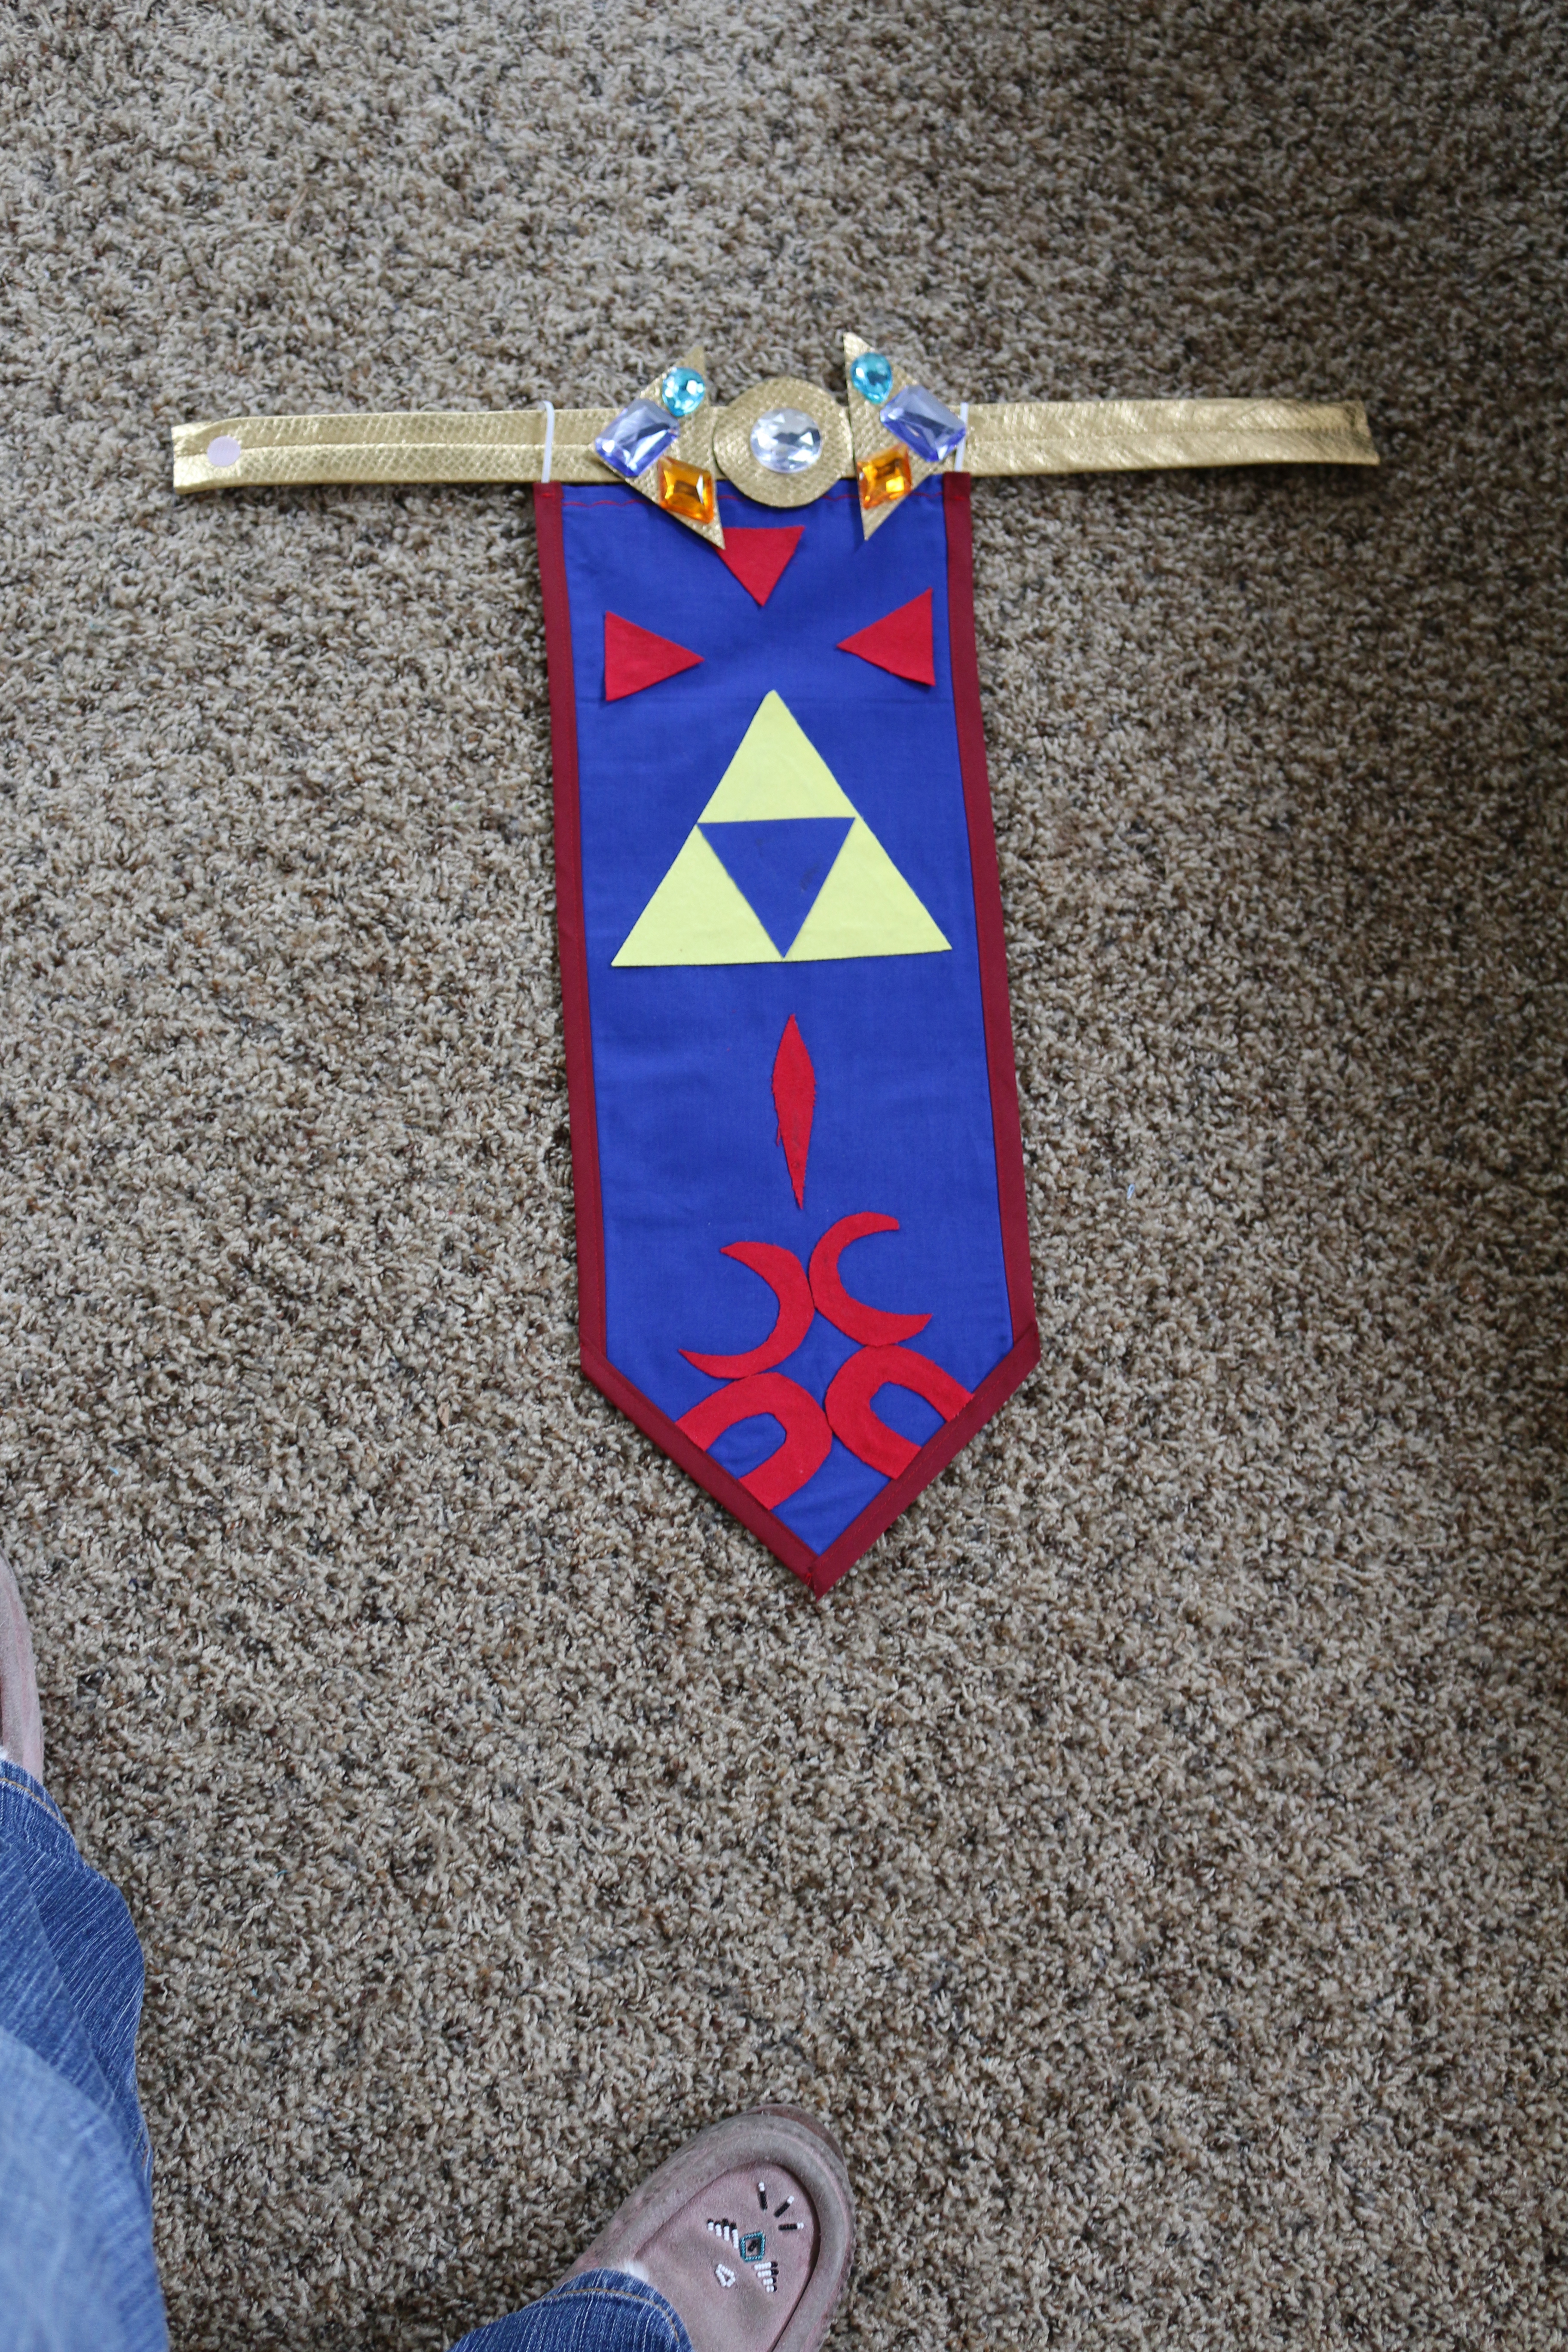
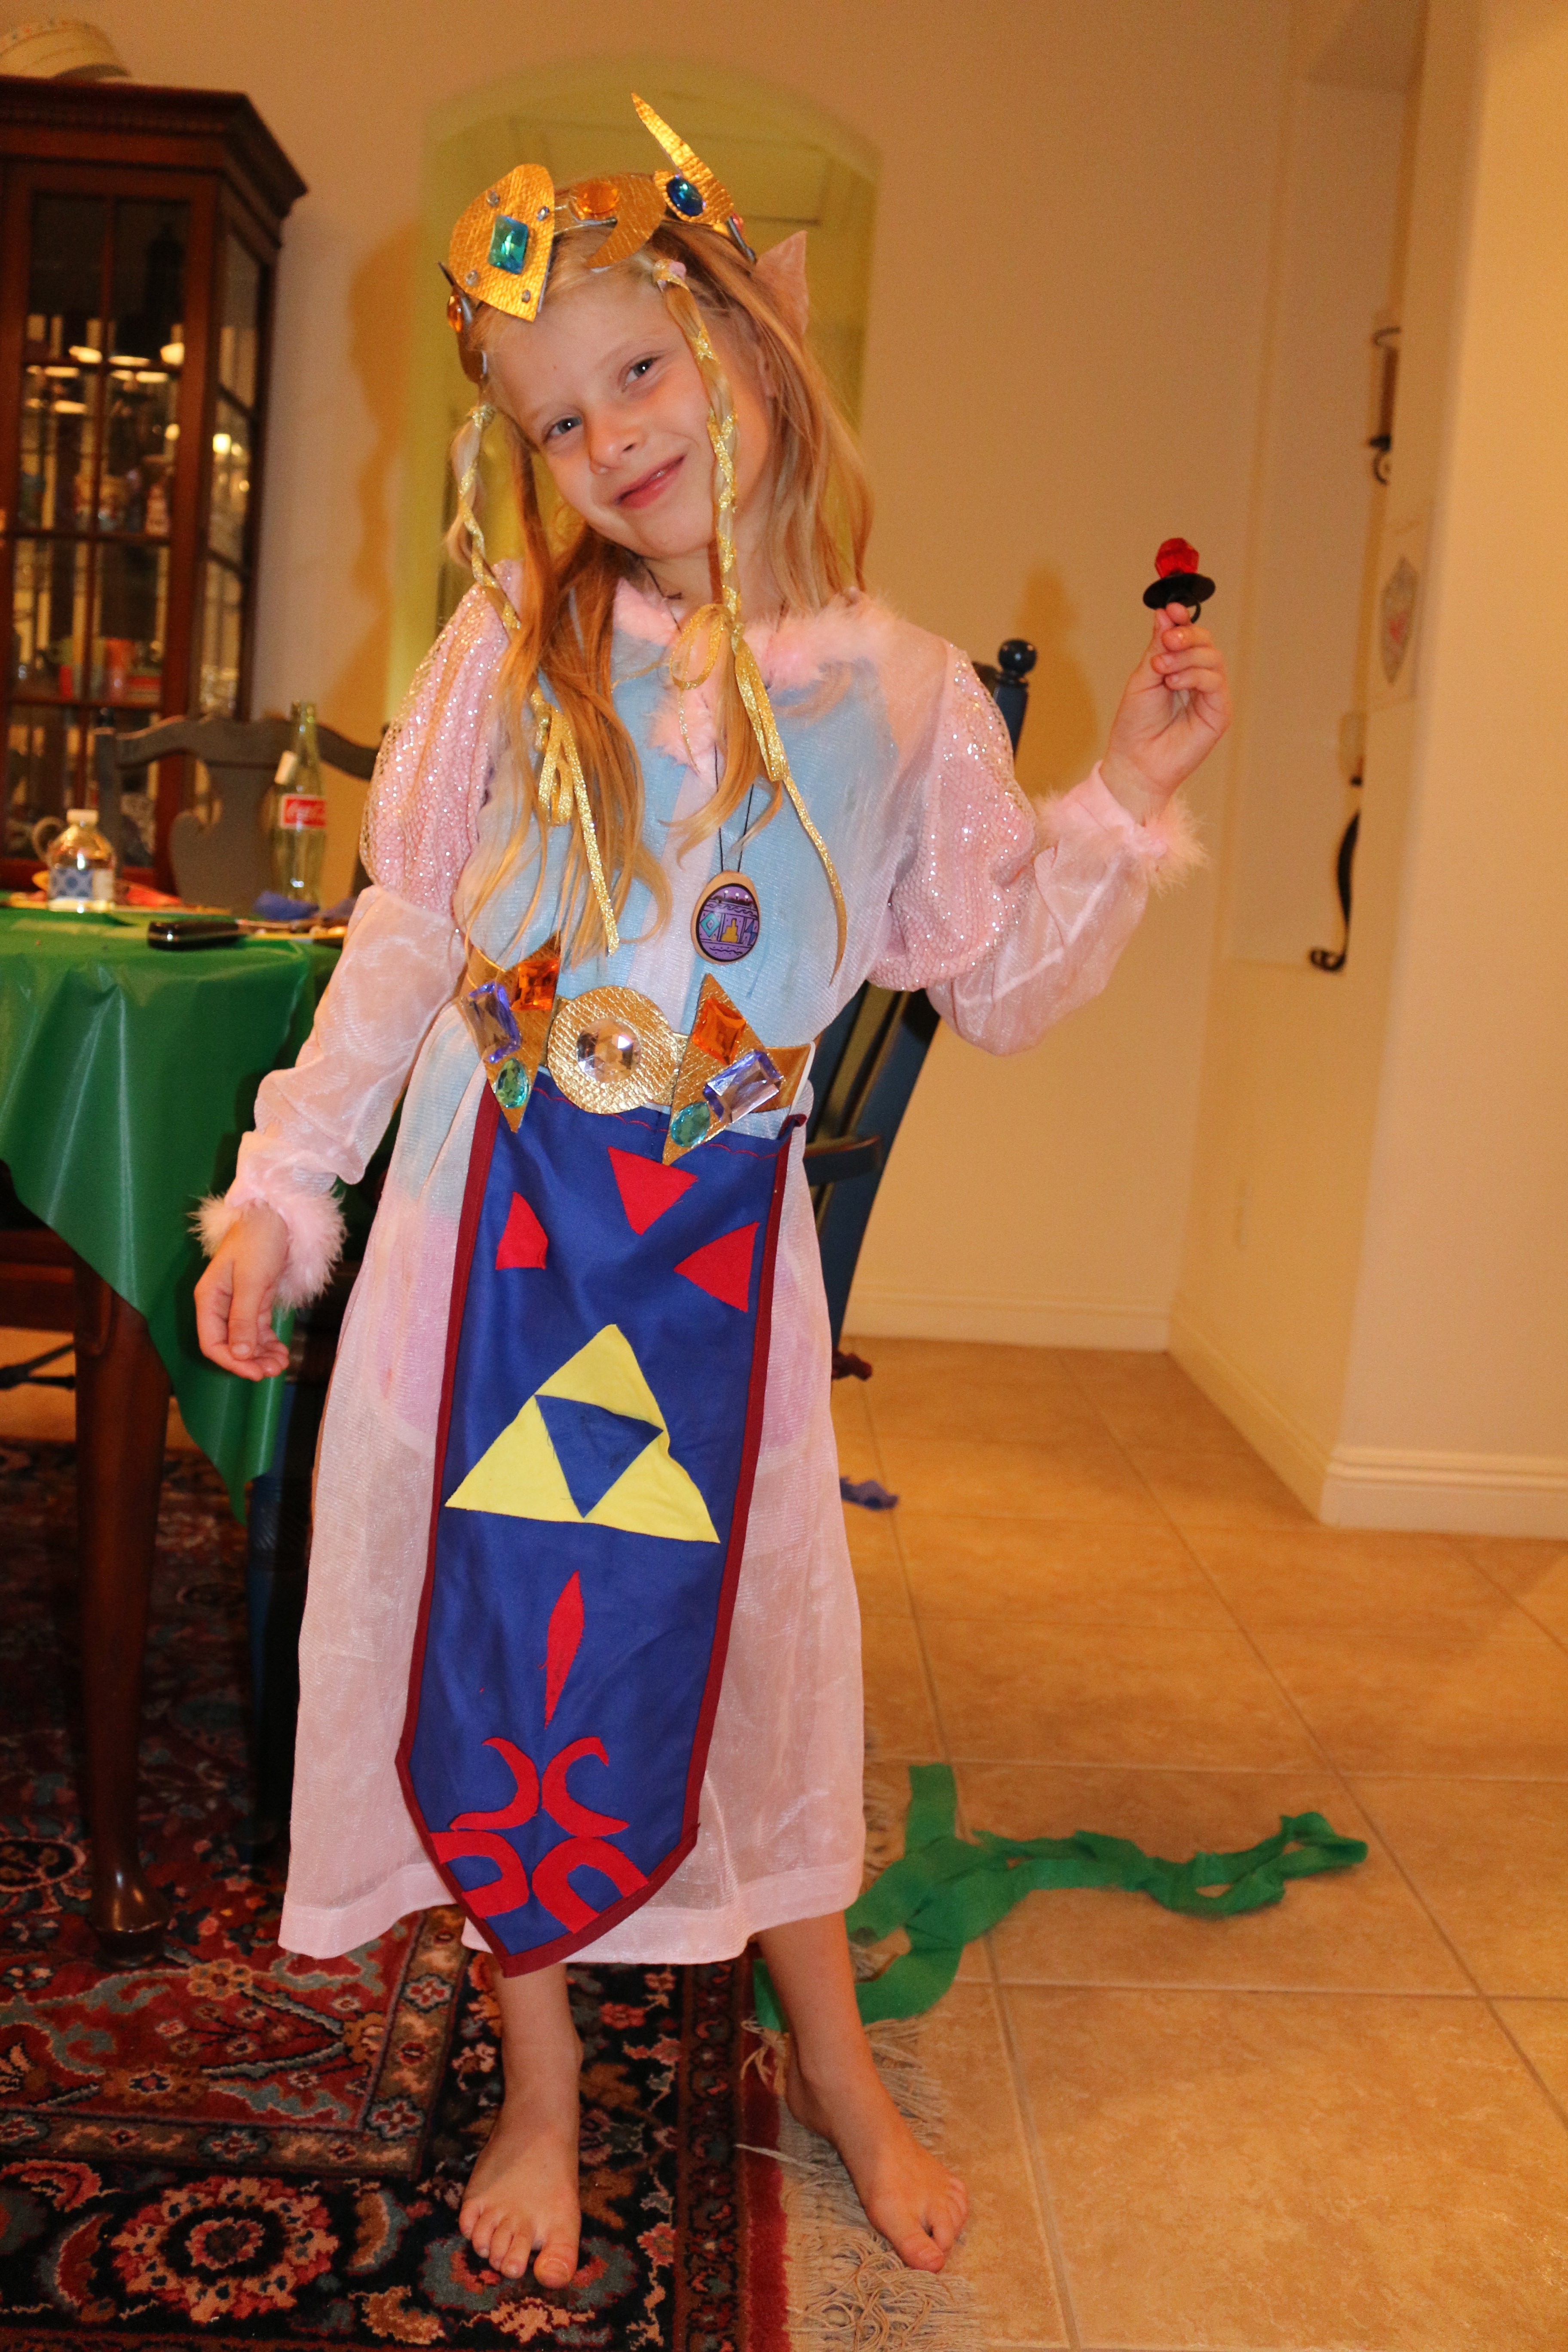
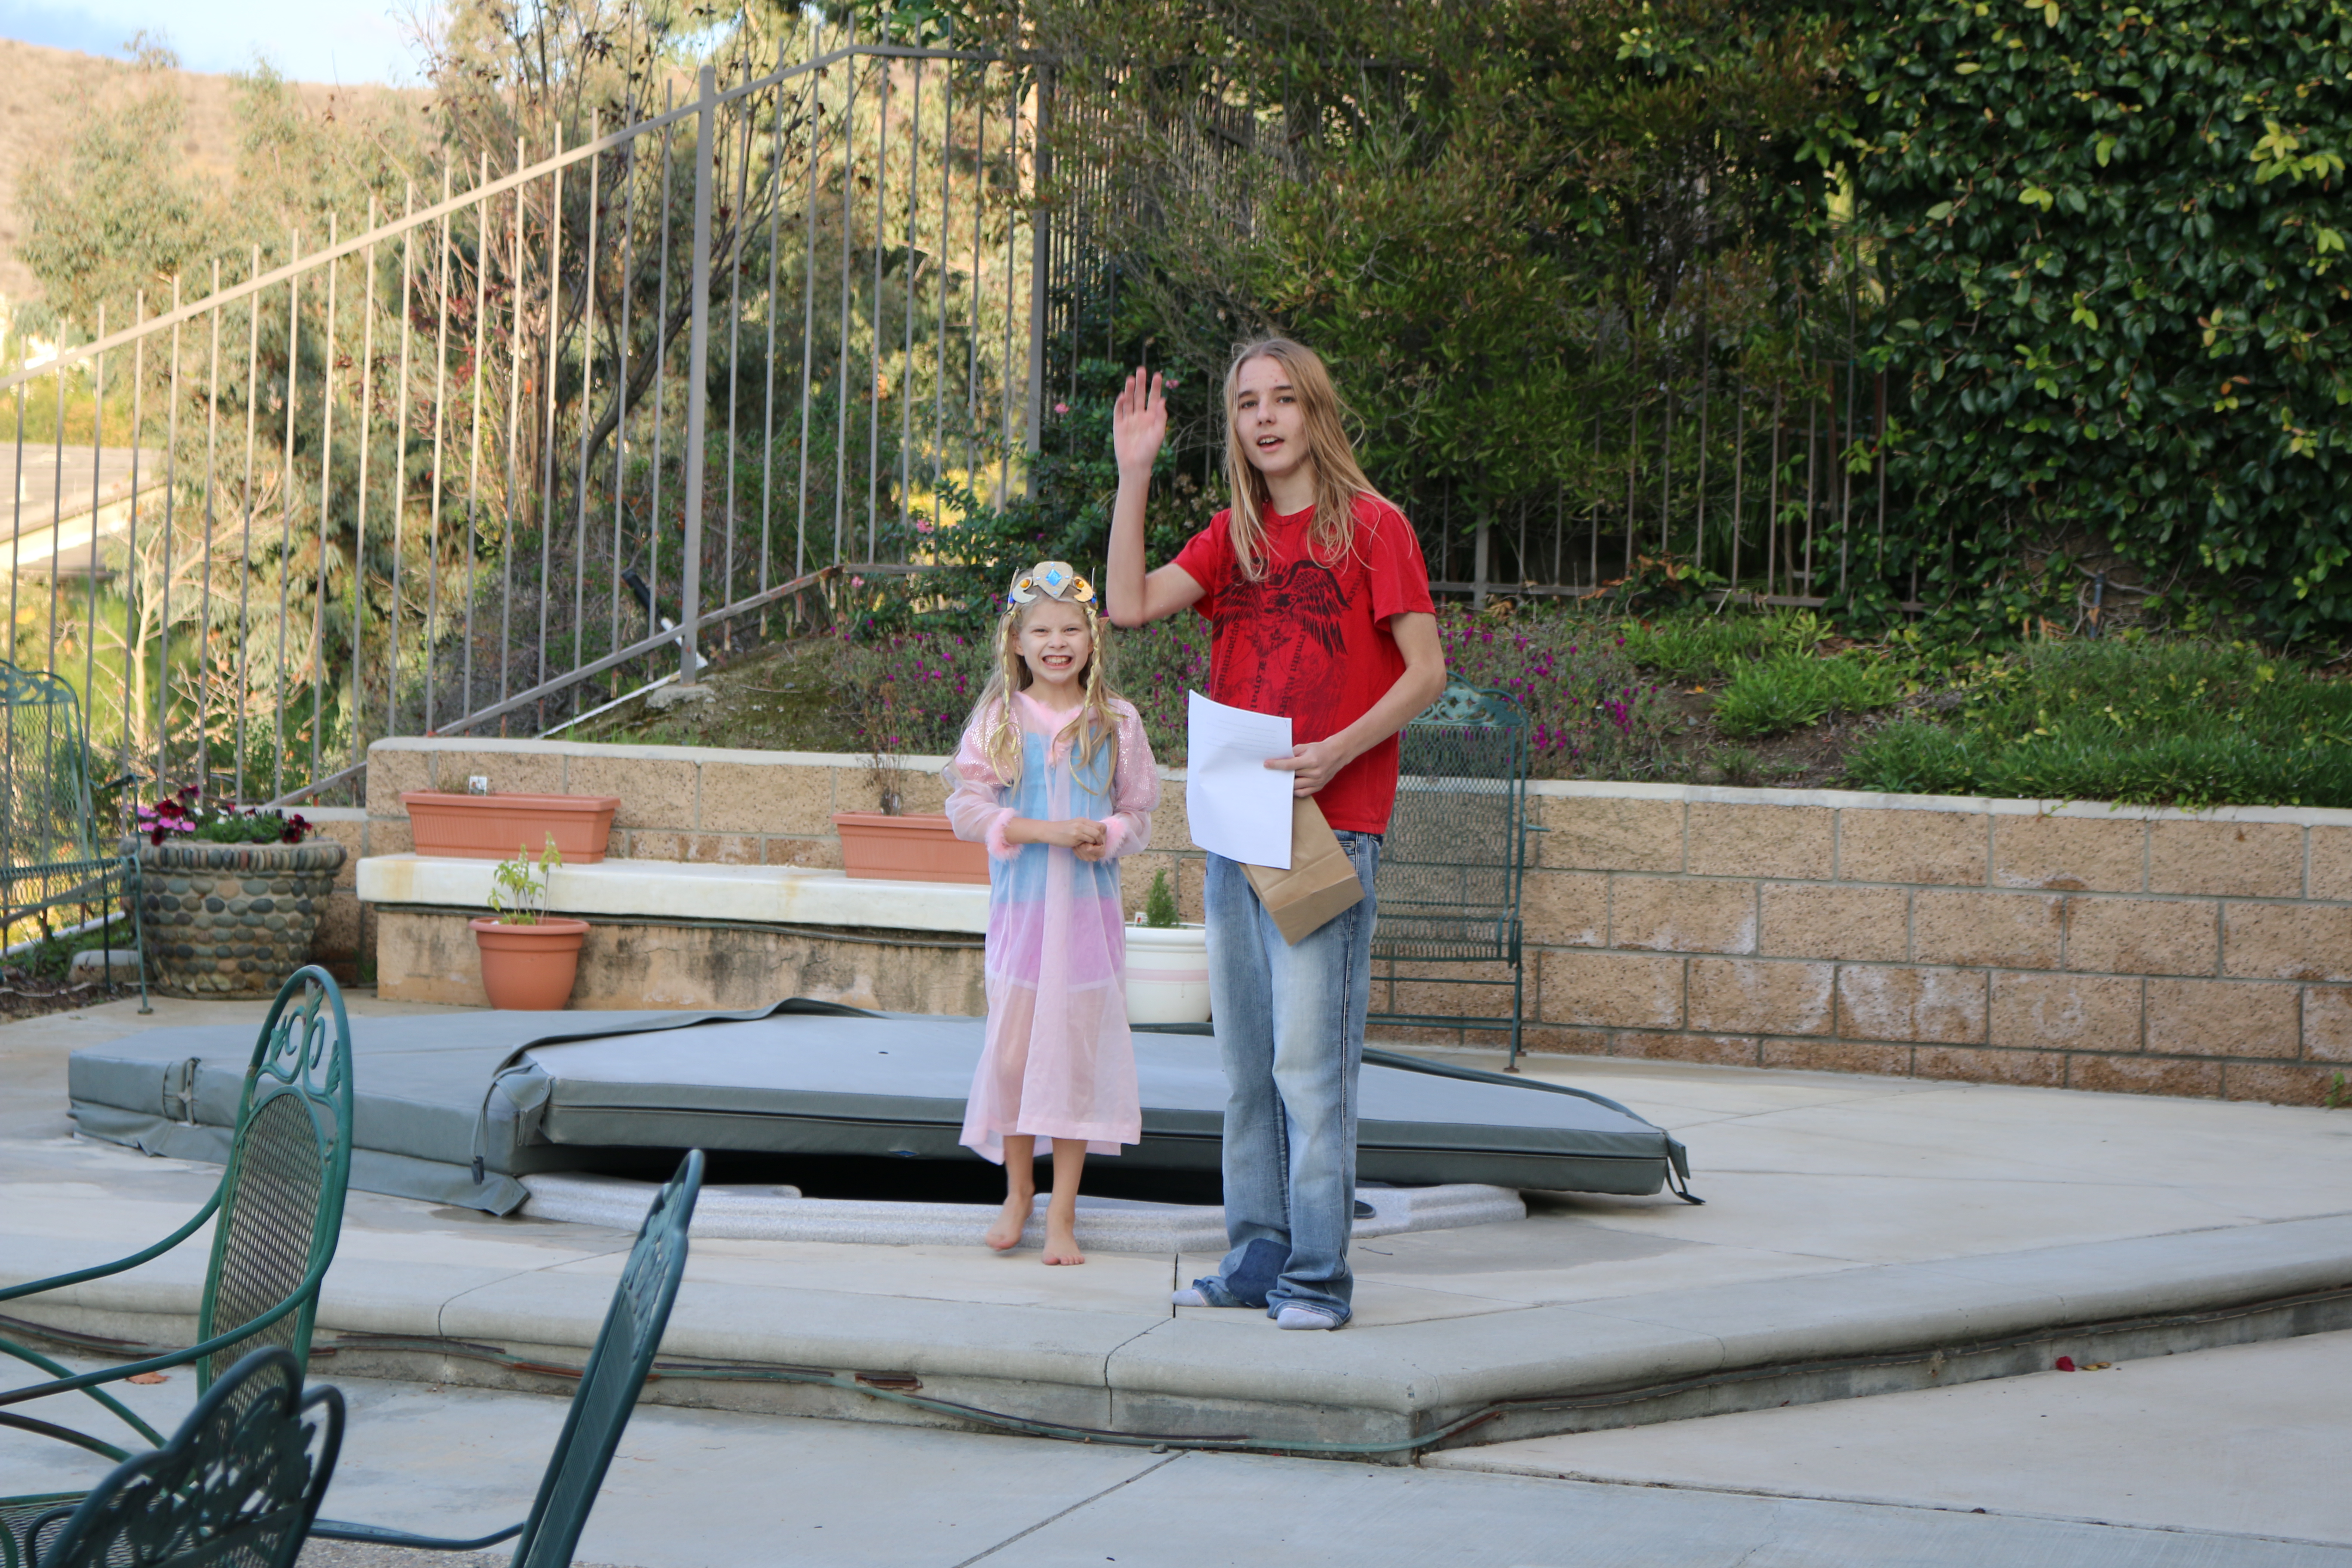
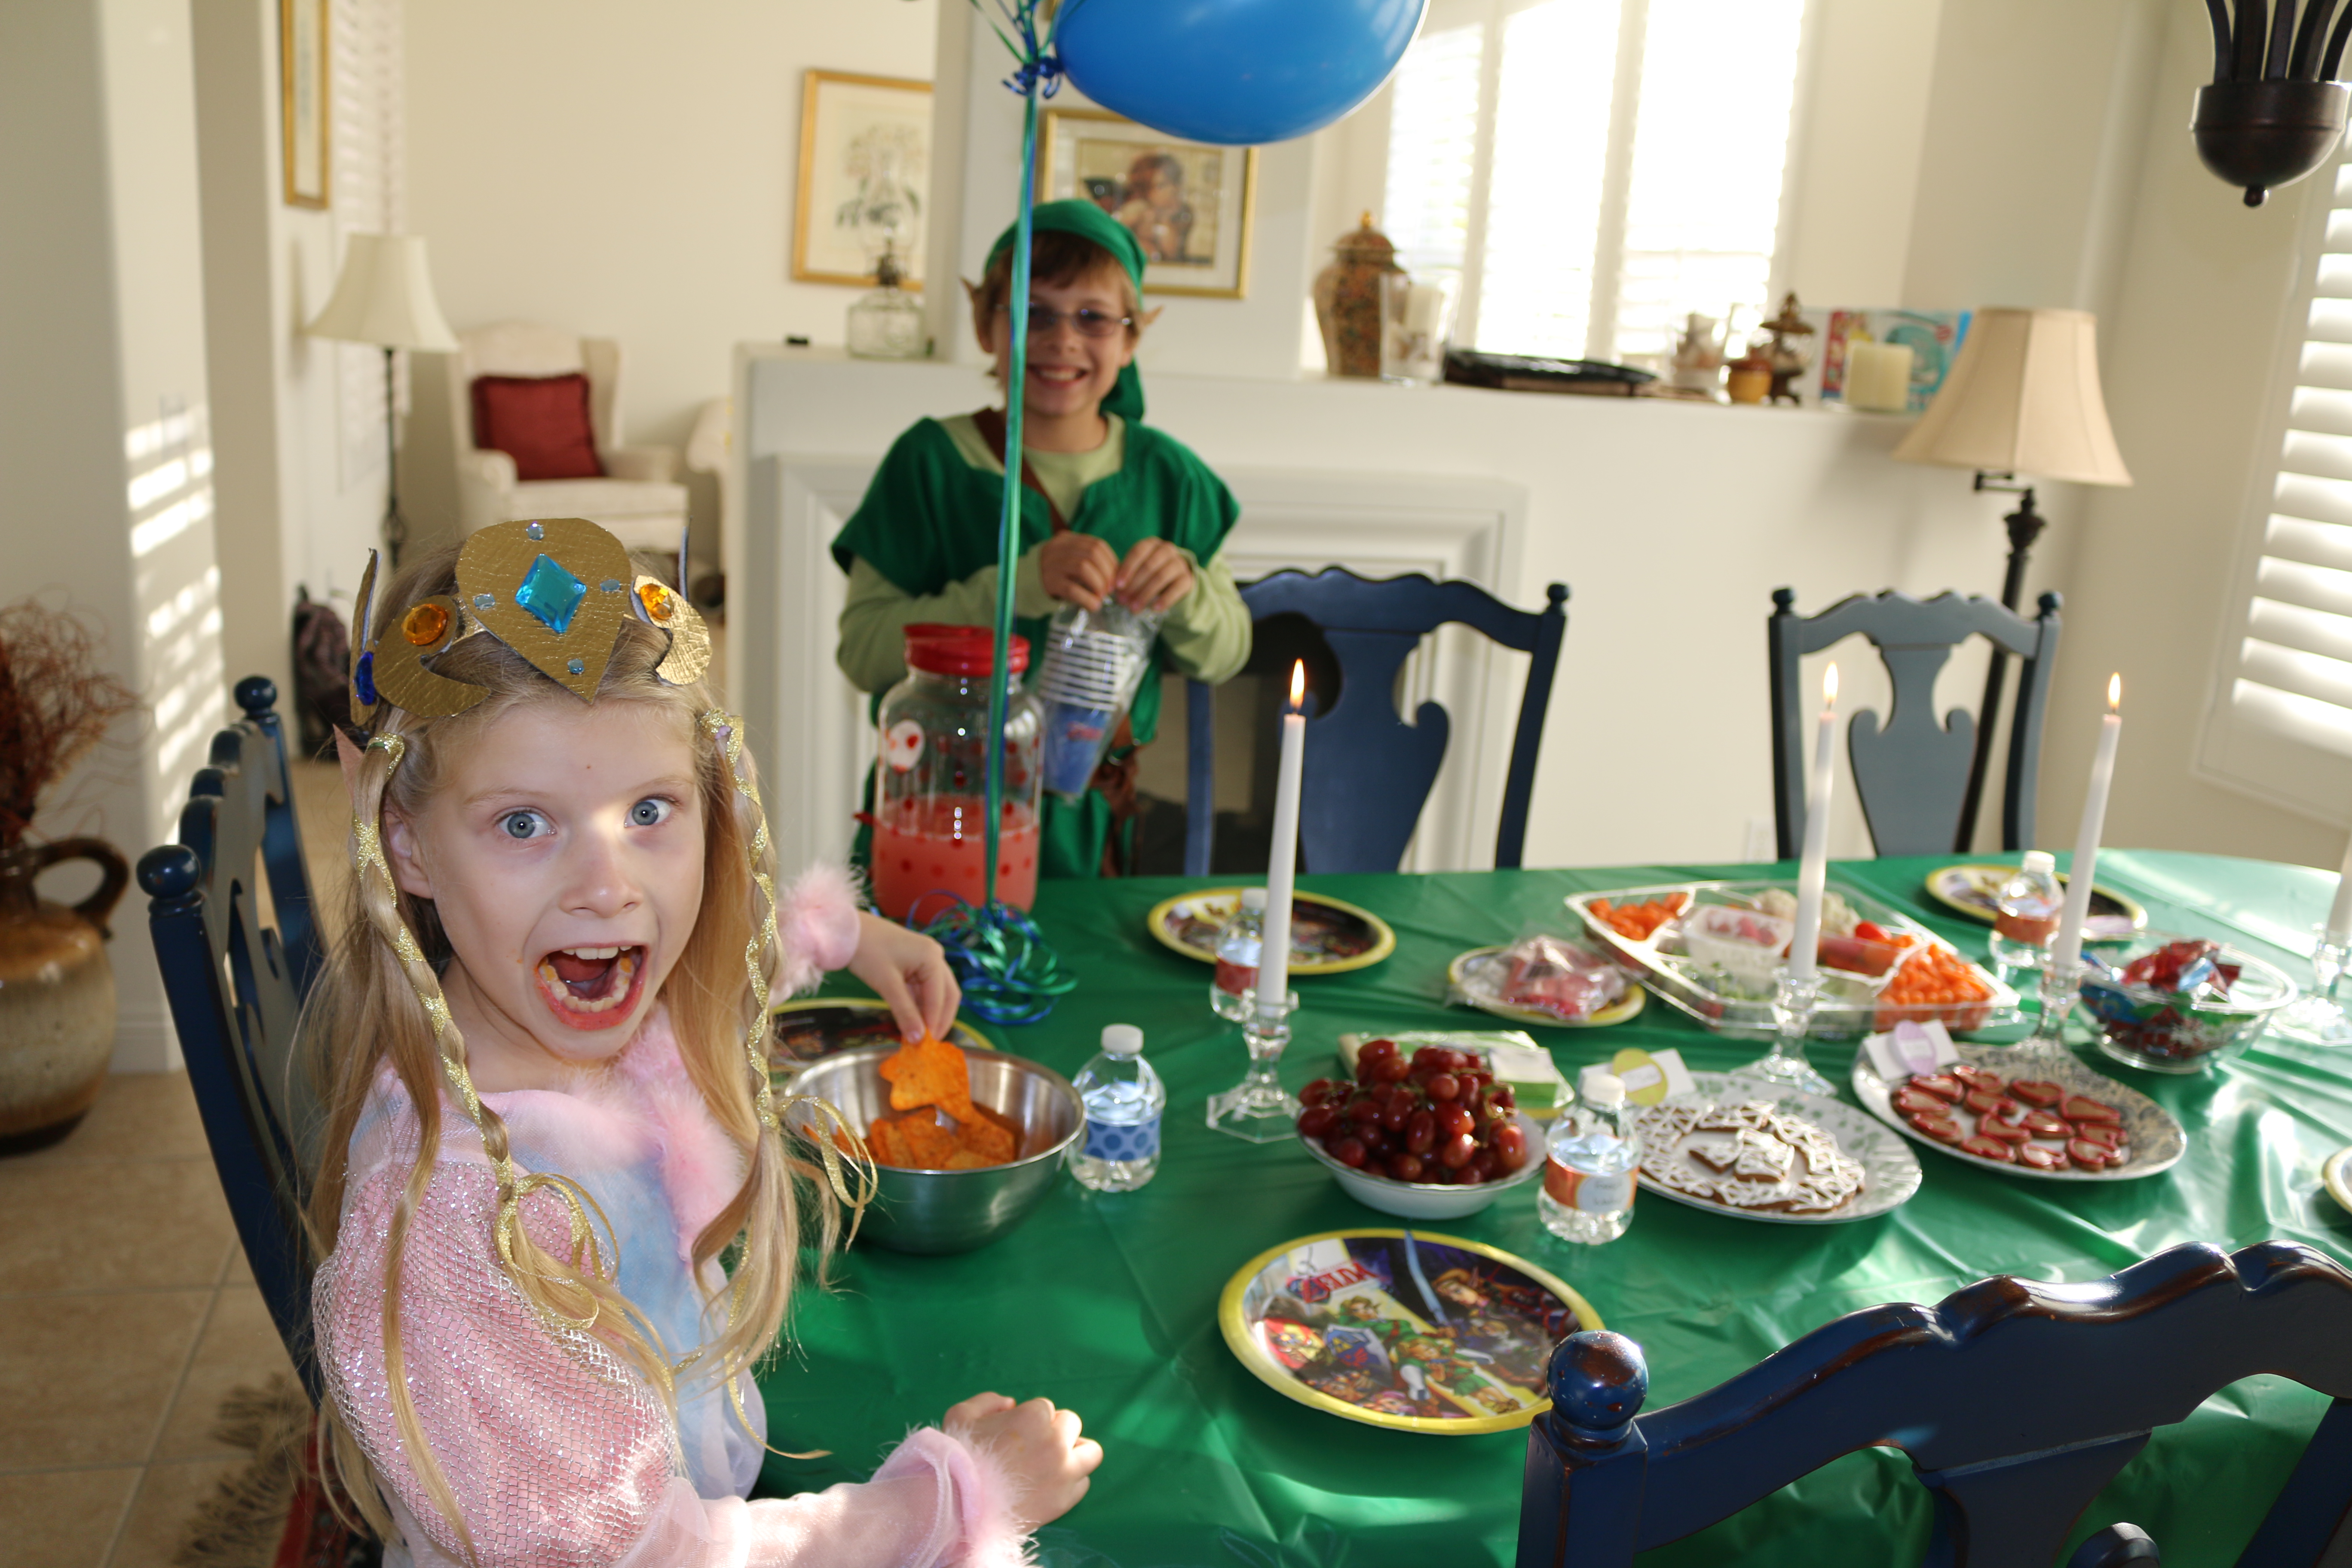
My daughter was Zelda. I borrowed a pink dress from my friend and just needed to make the tiara and belt with sash.
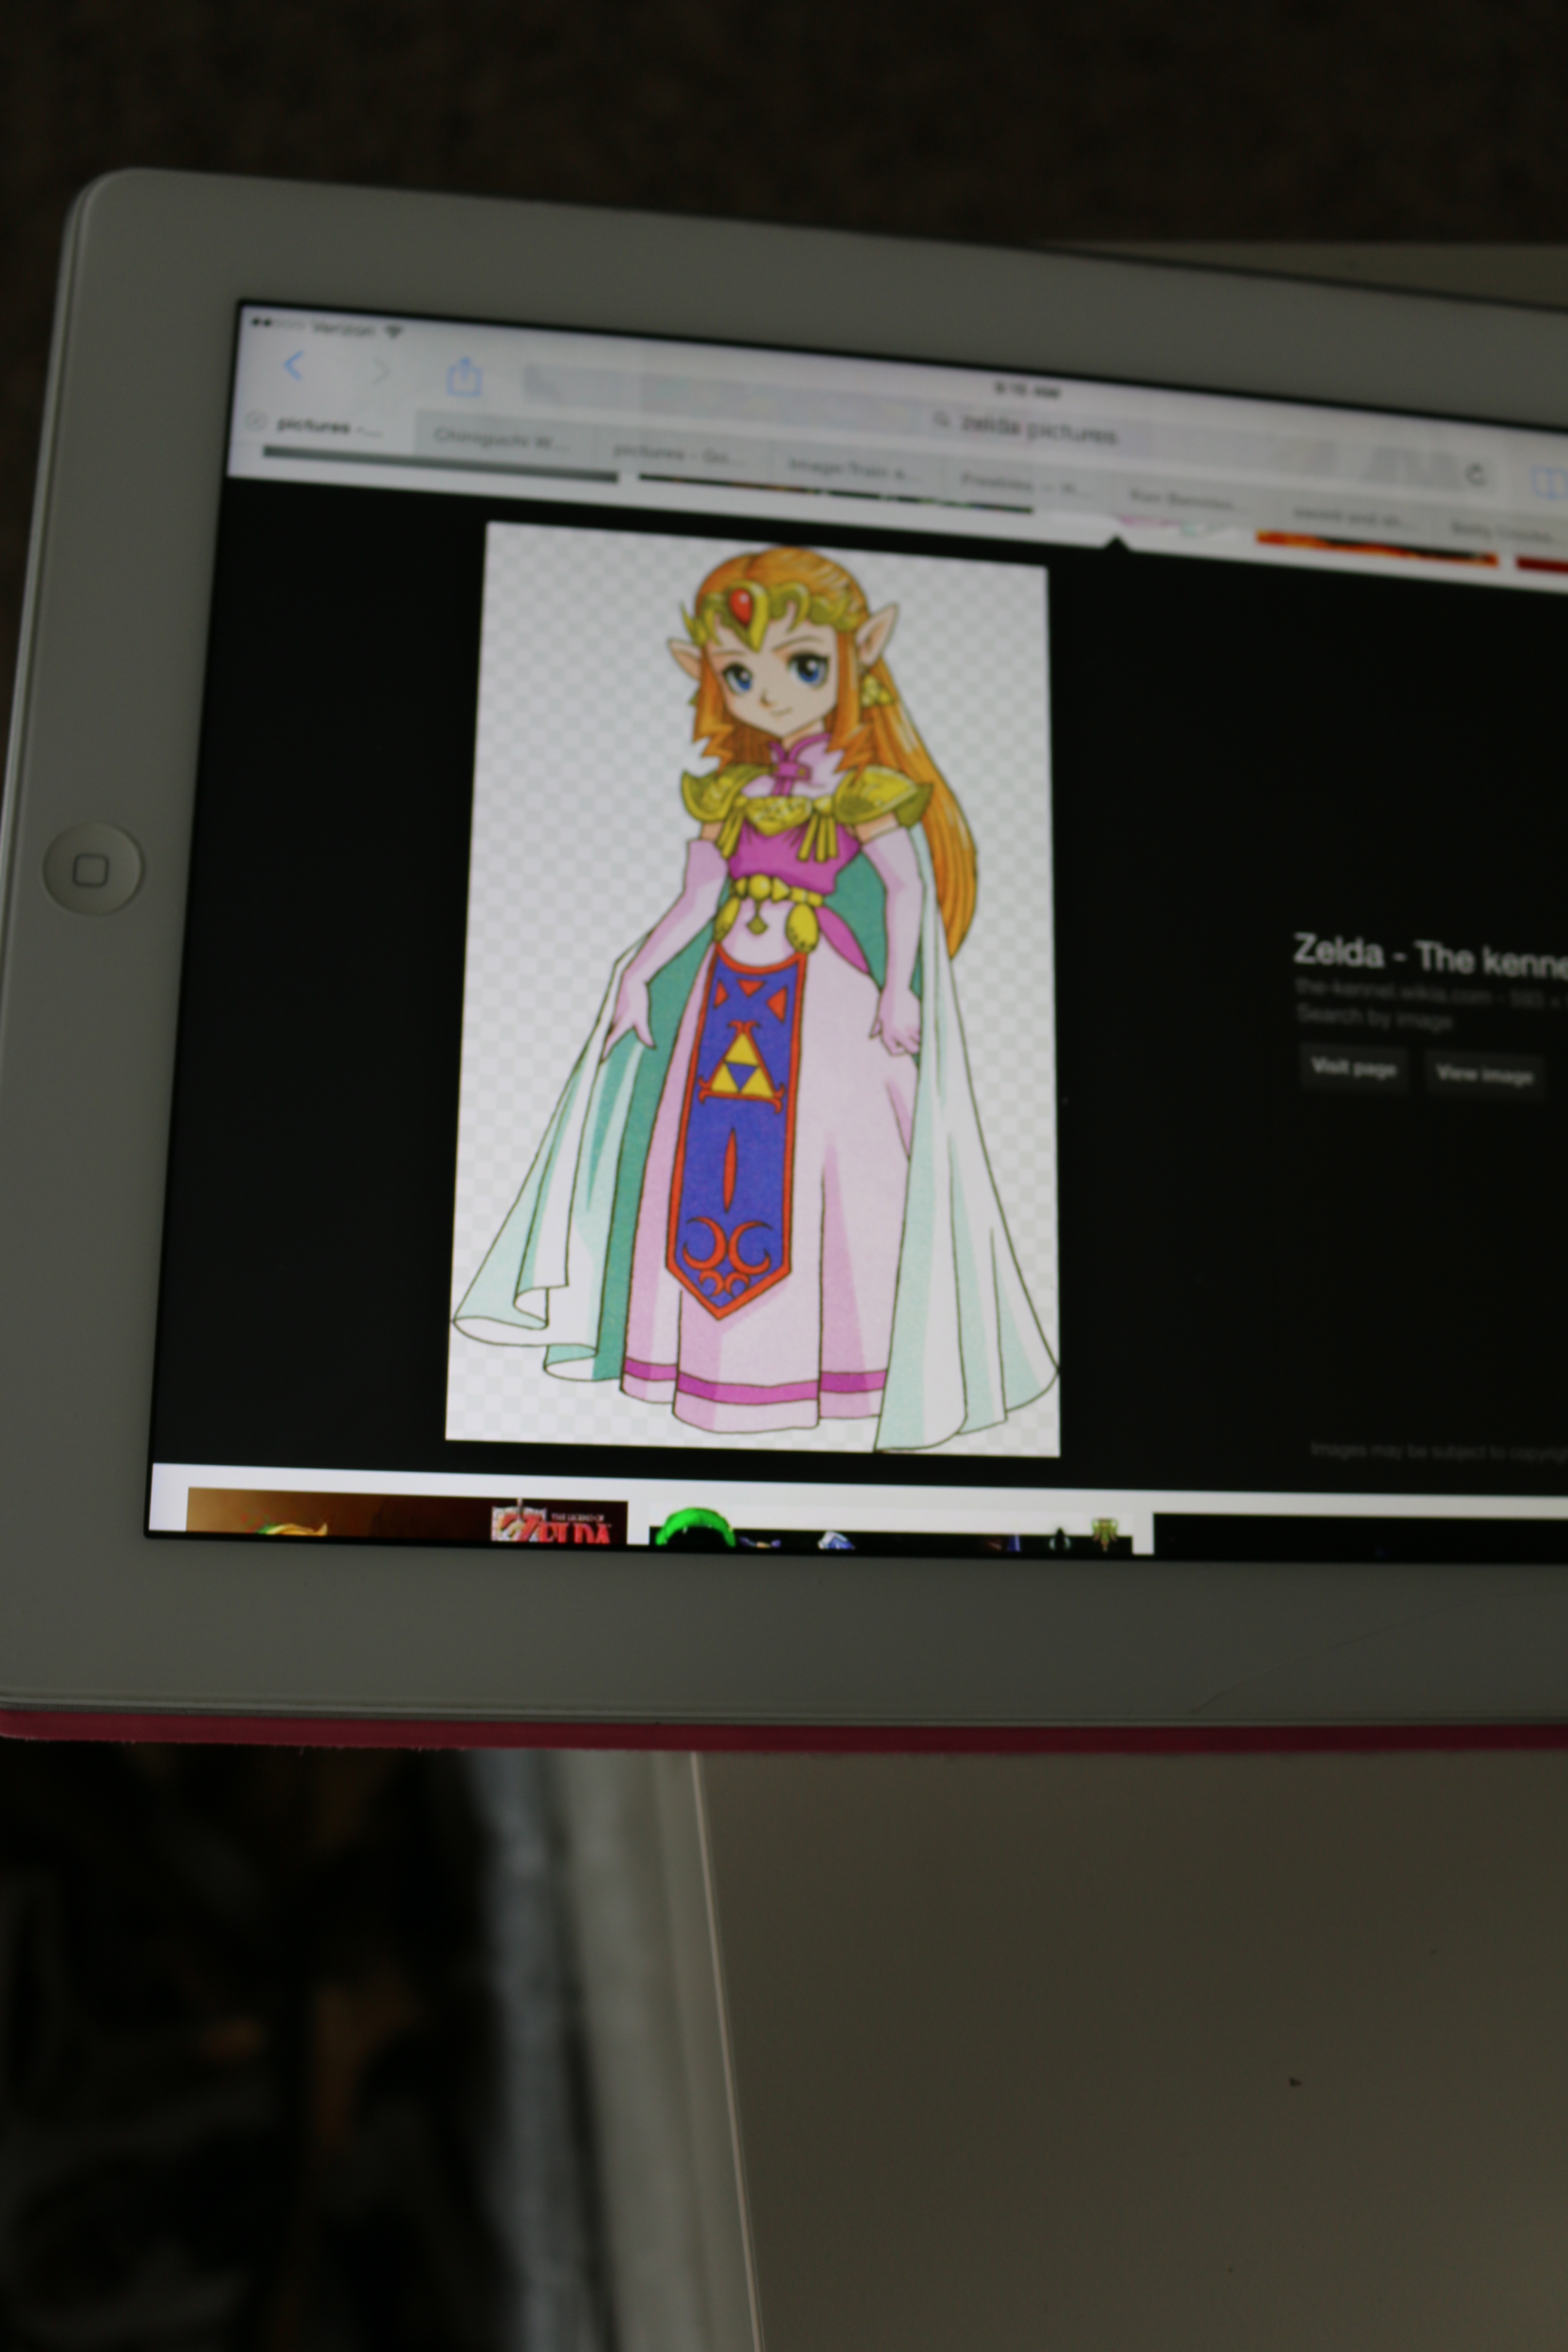
This was my inspiration.
I used the same stiff interfacing and measured her head circumference and waist. I then cut out strips of the stiff interfacing for these measurements and encased these in a gold fabric.
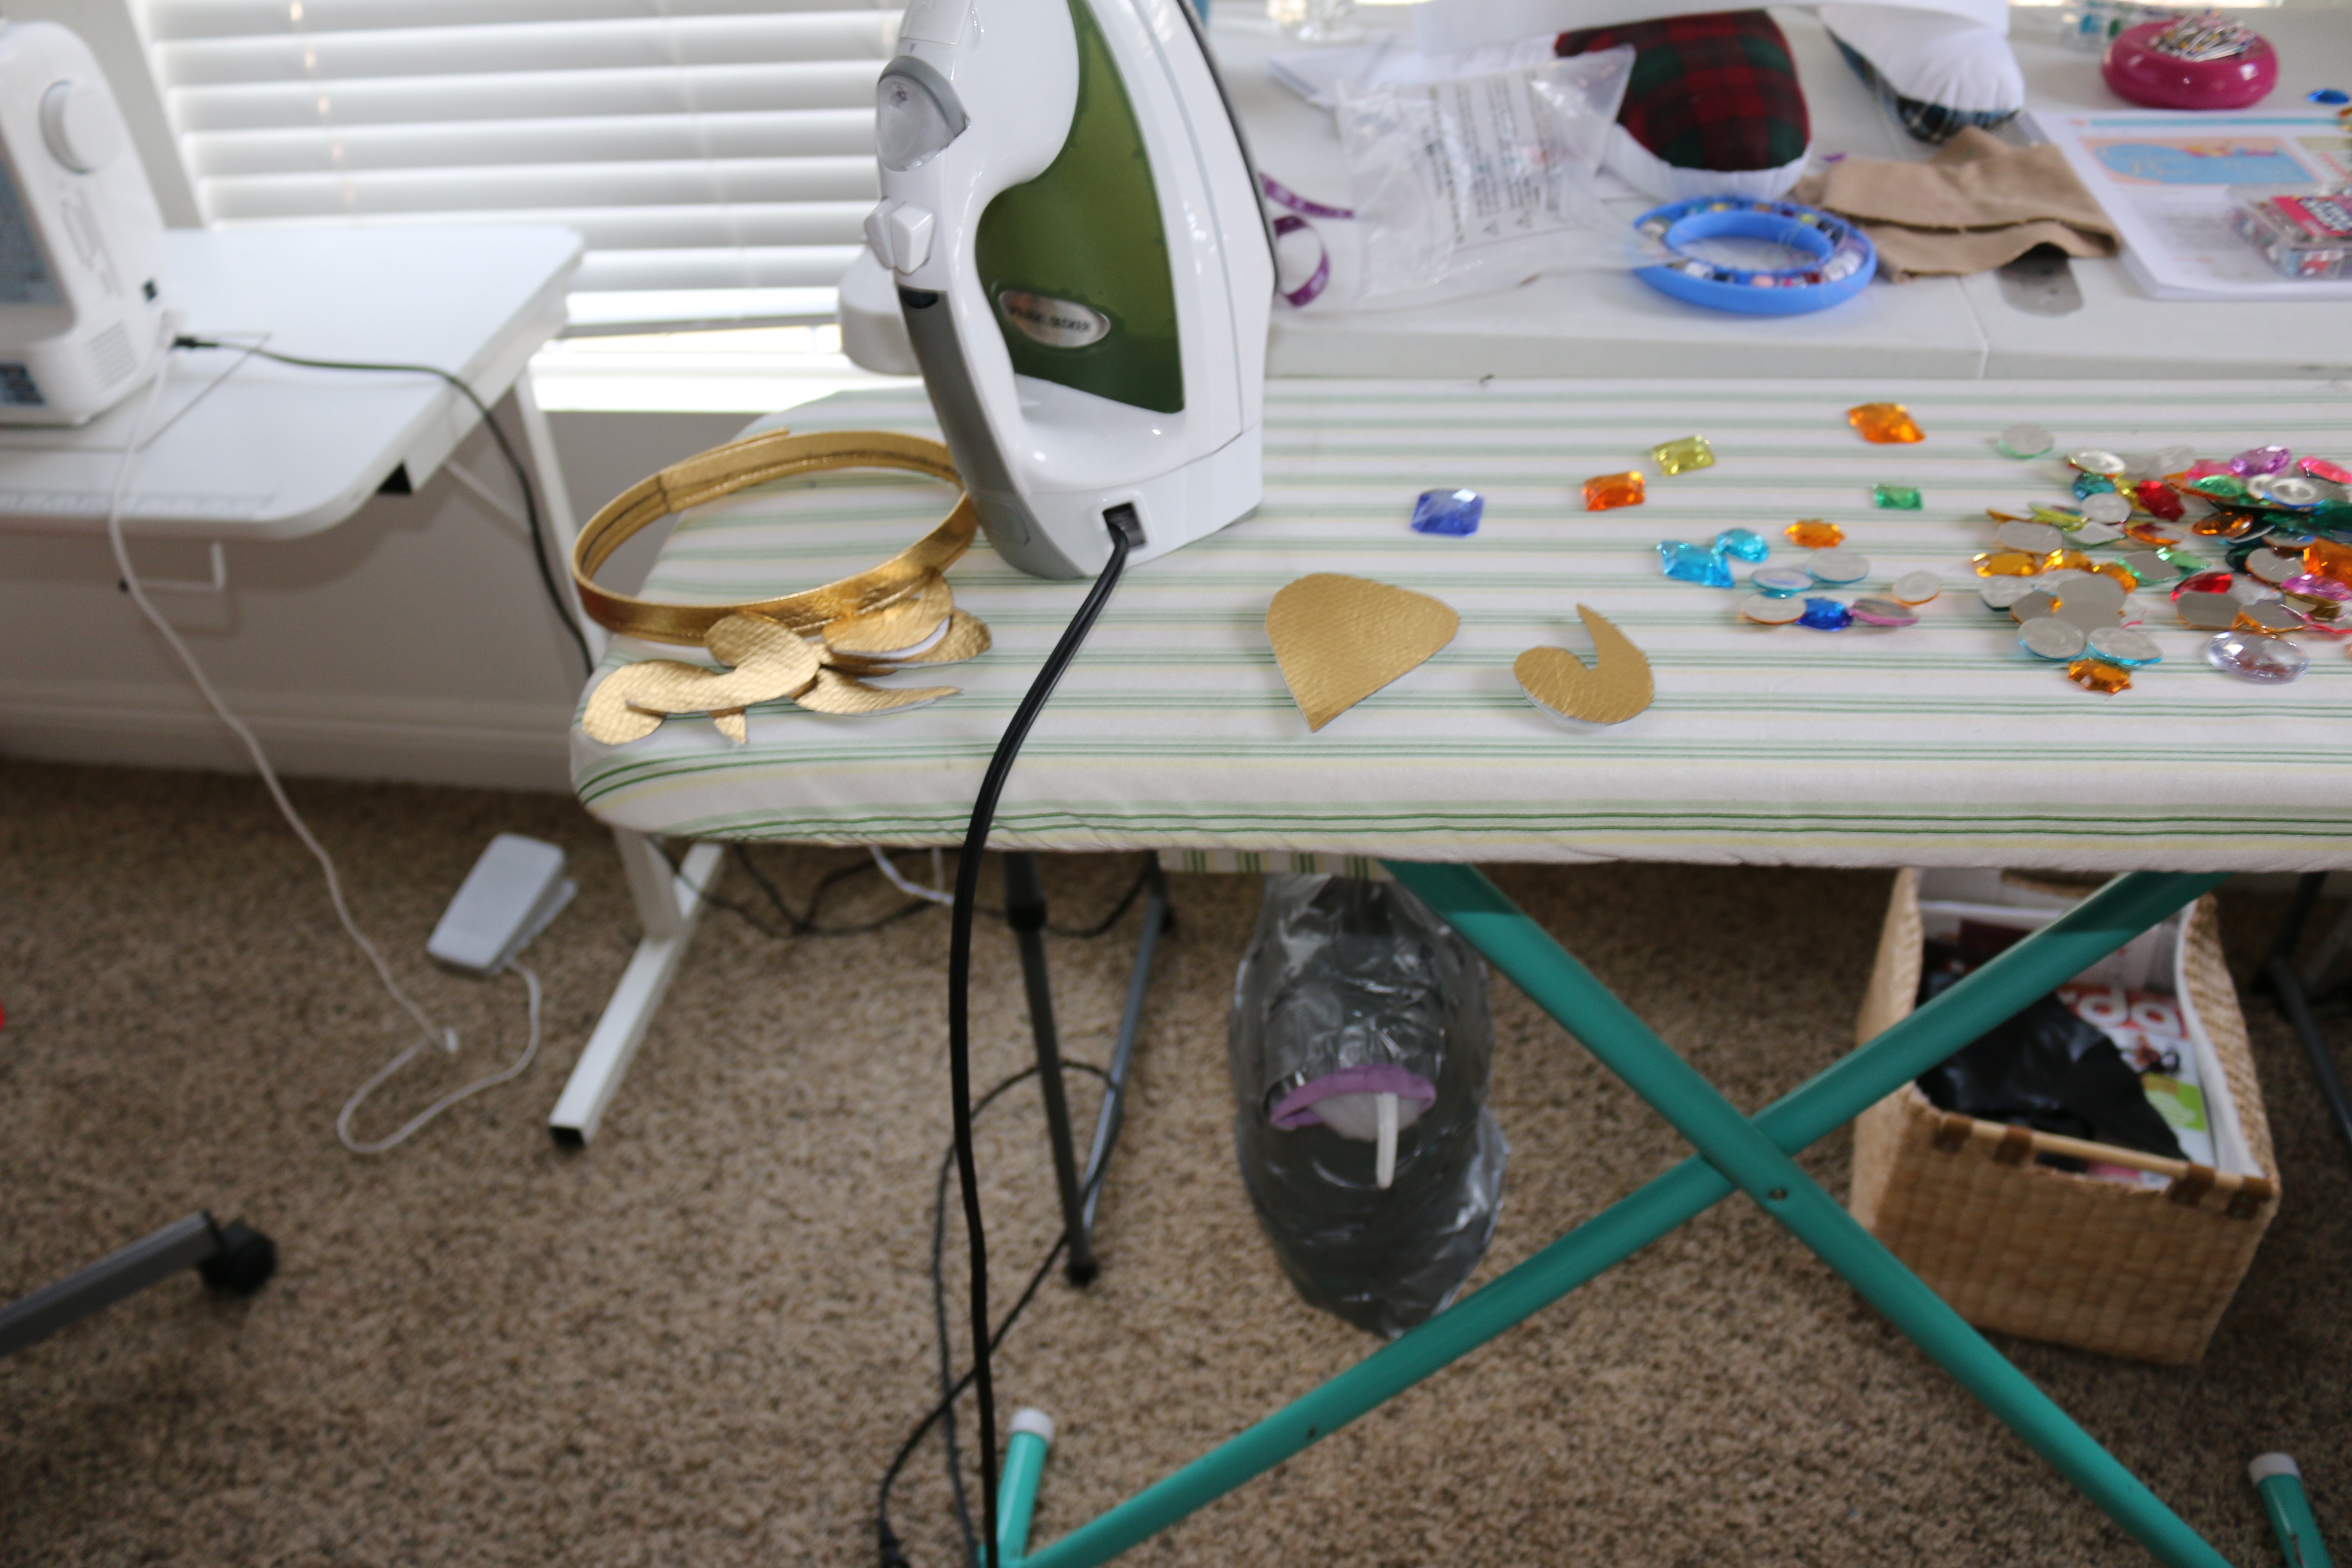
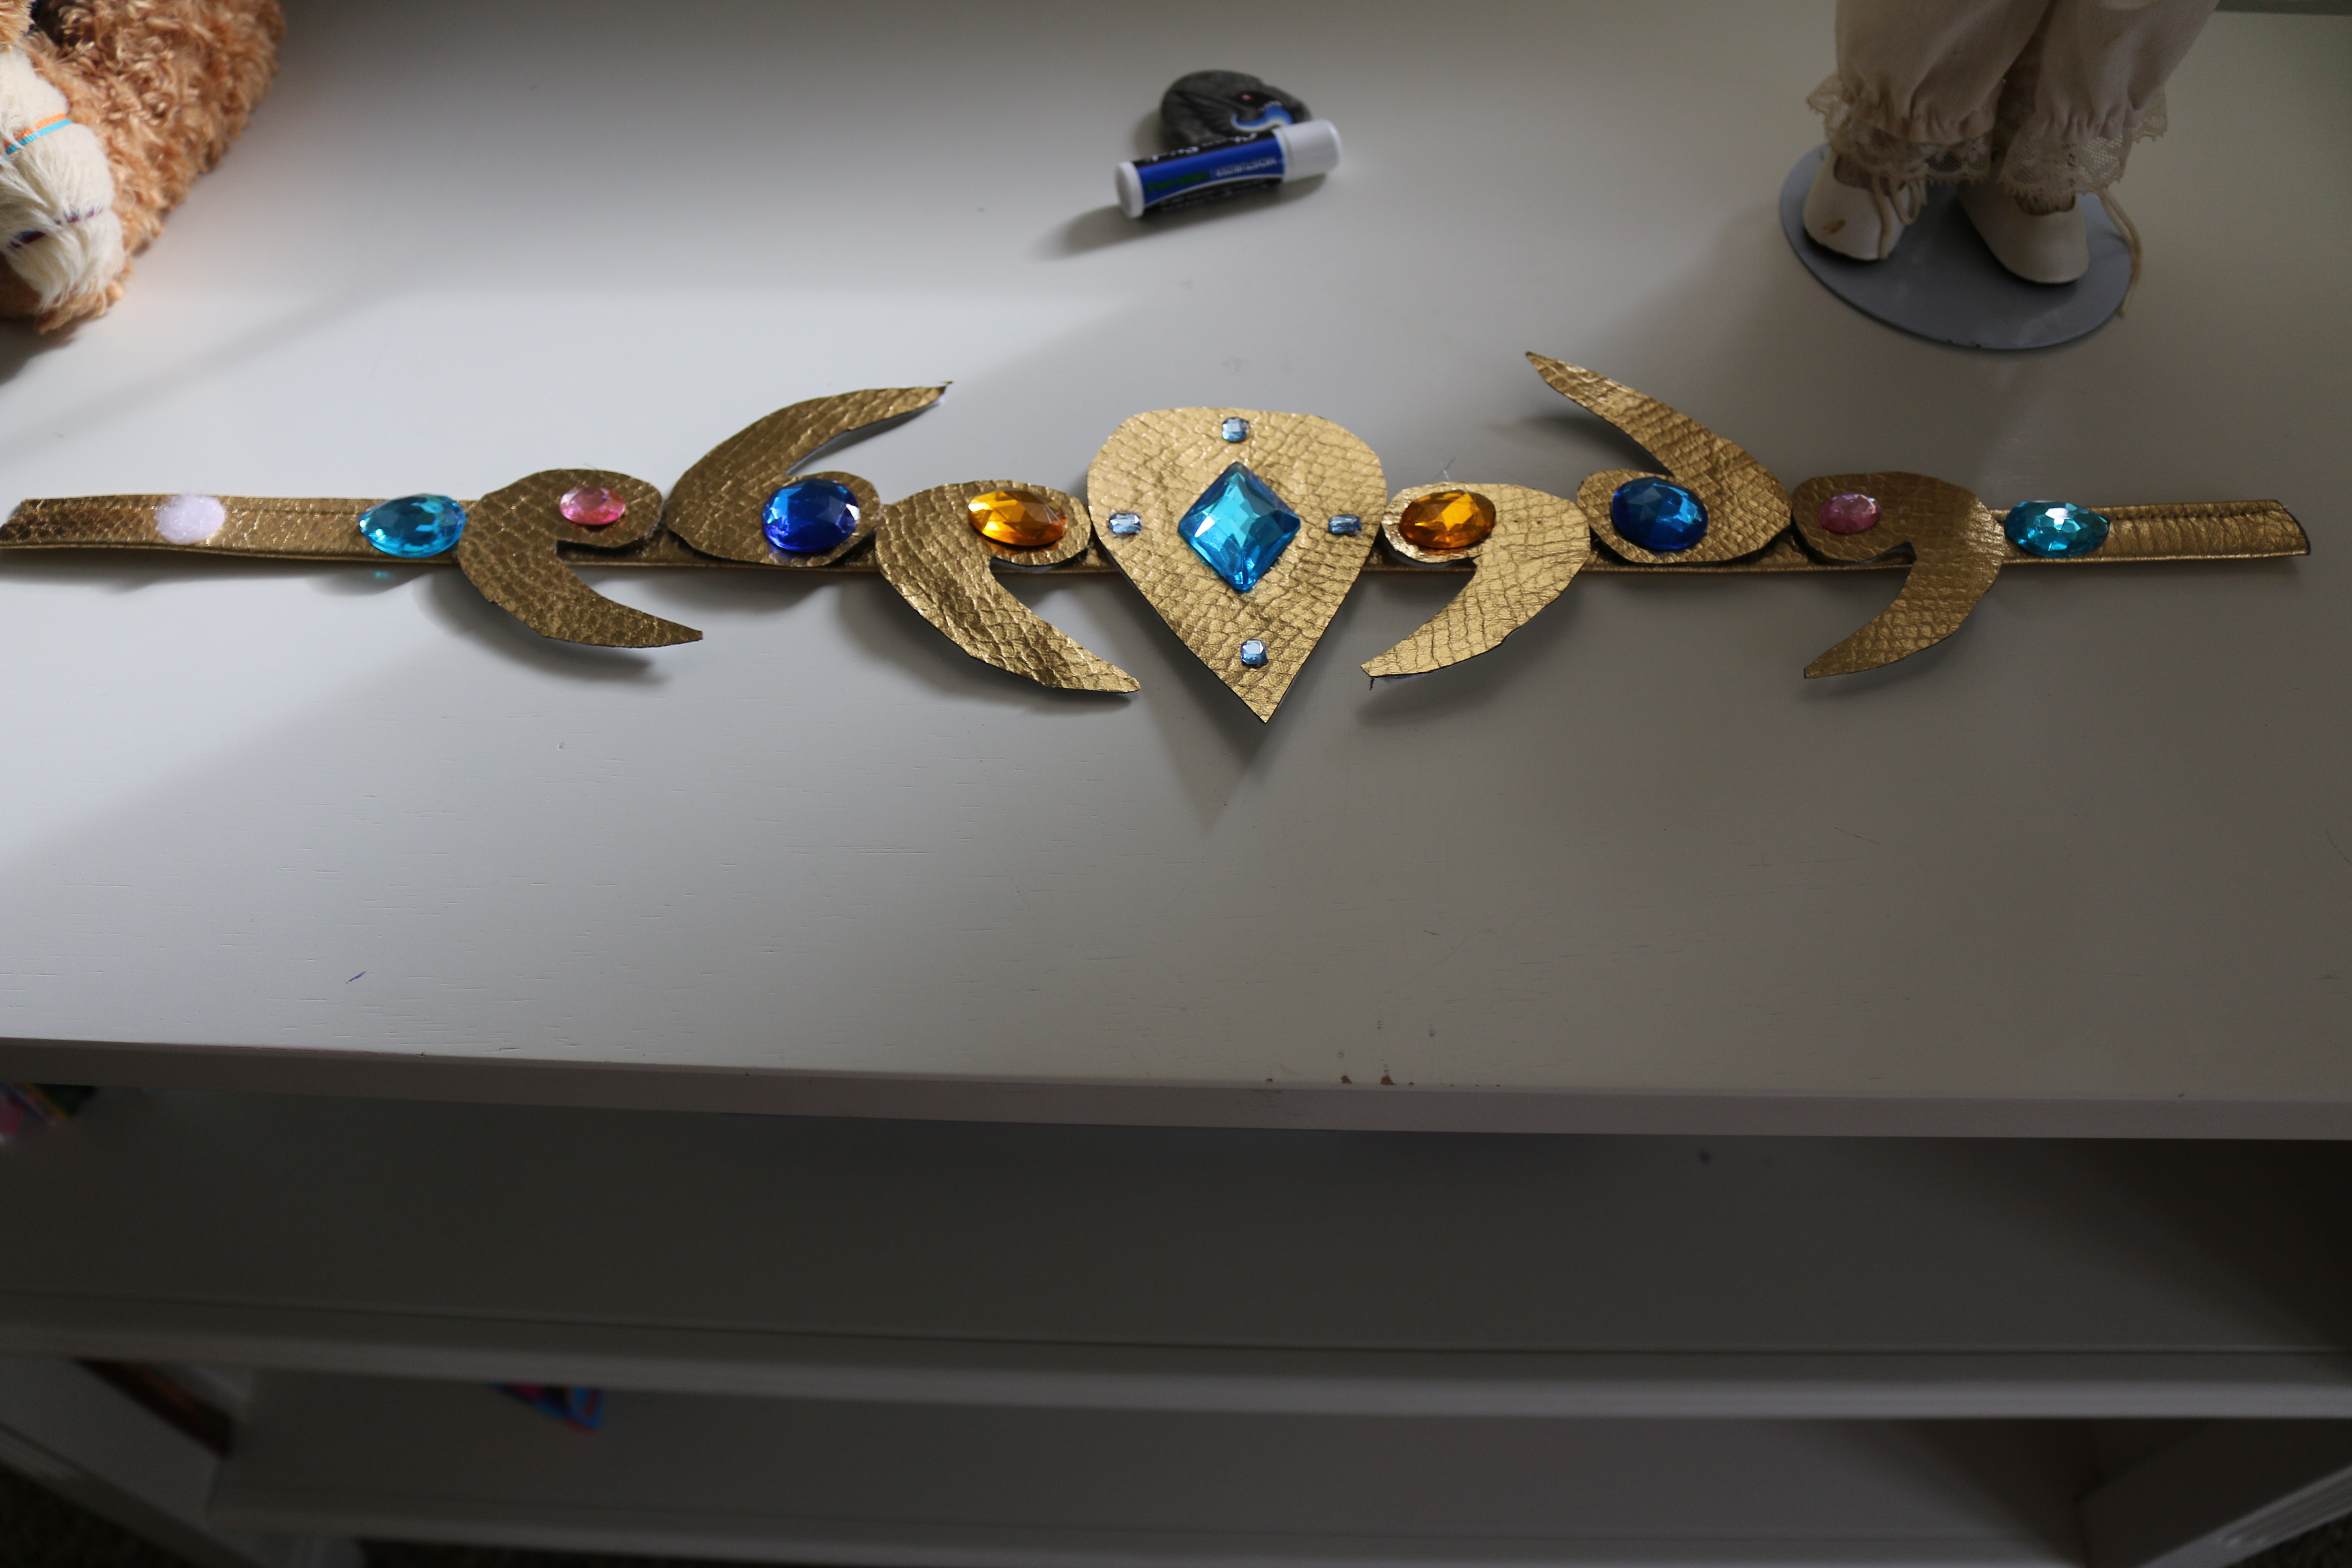
I cut out shapes for the tiara and glued gems on them
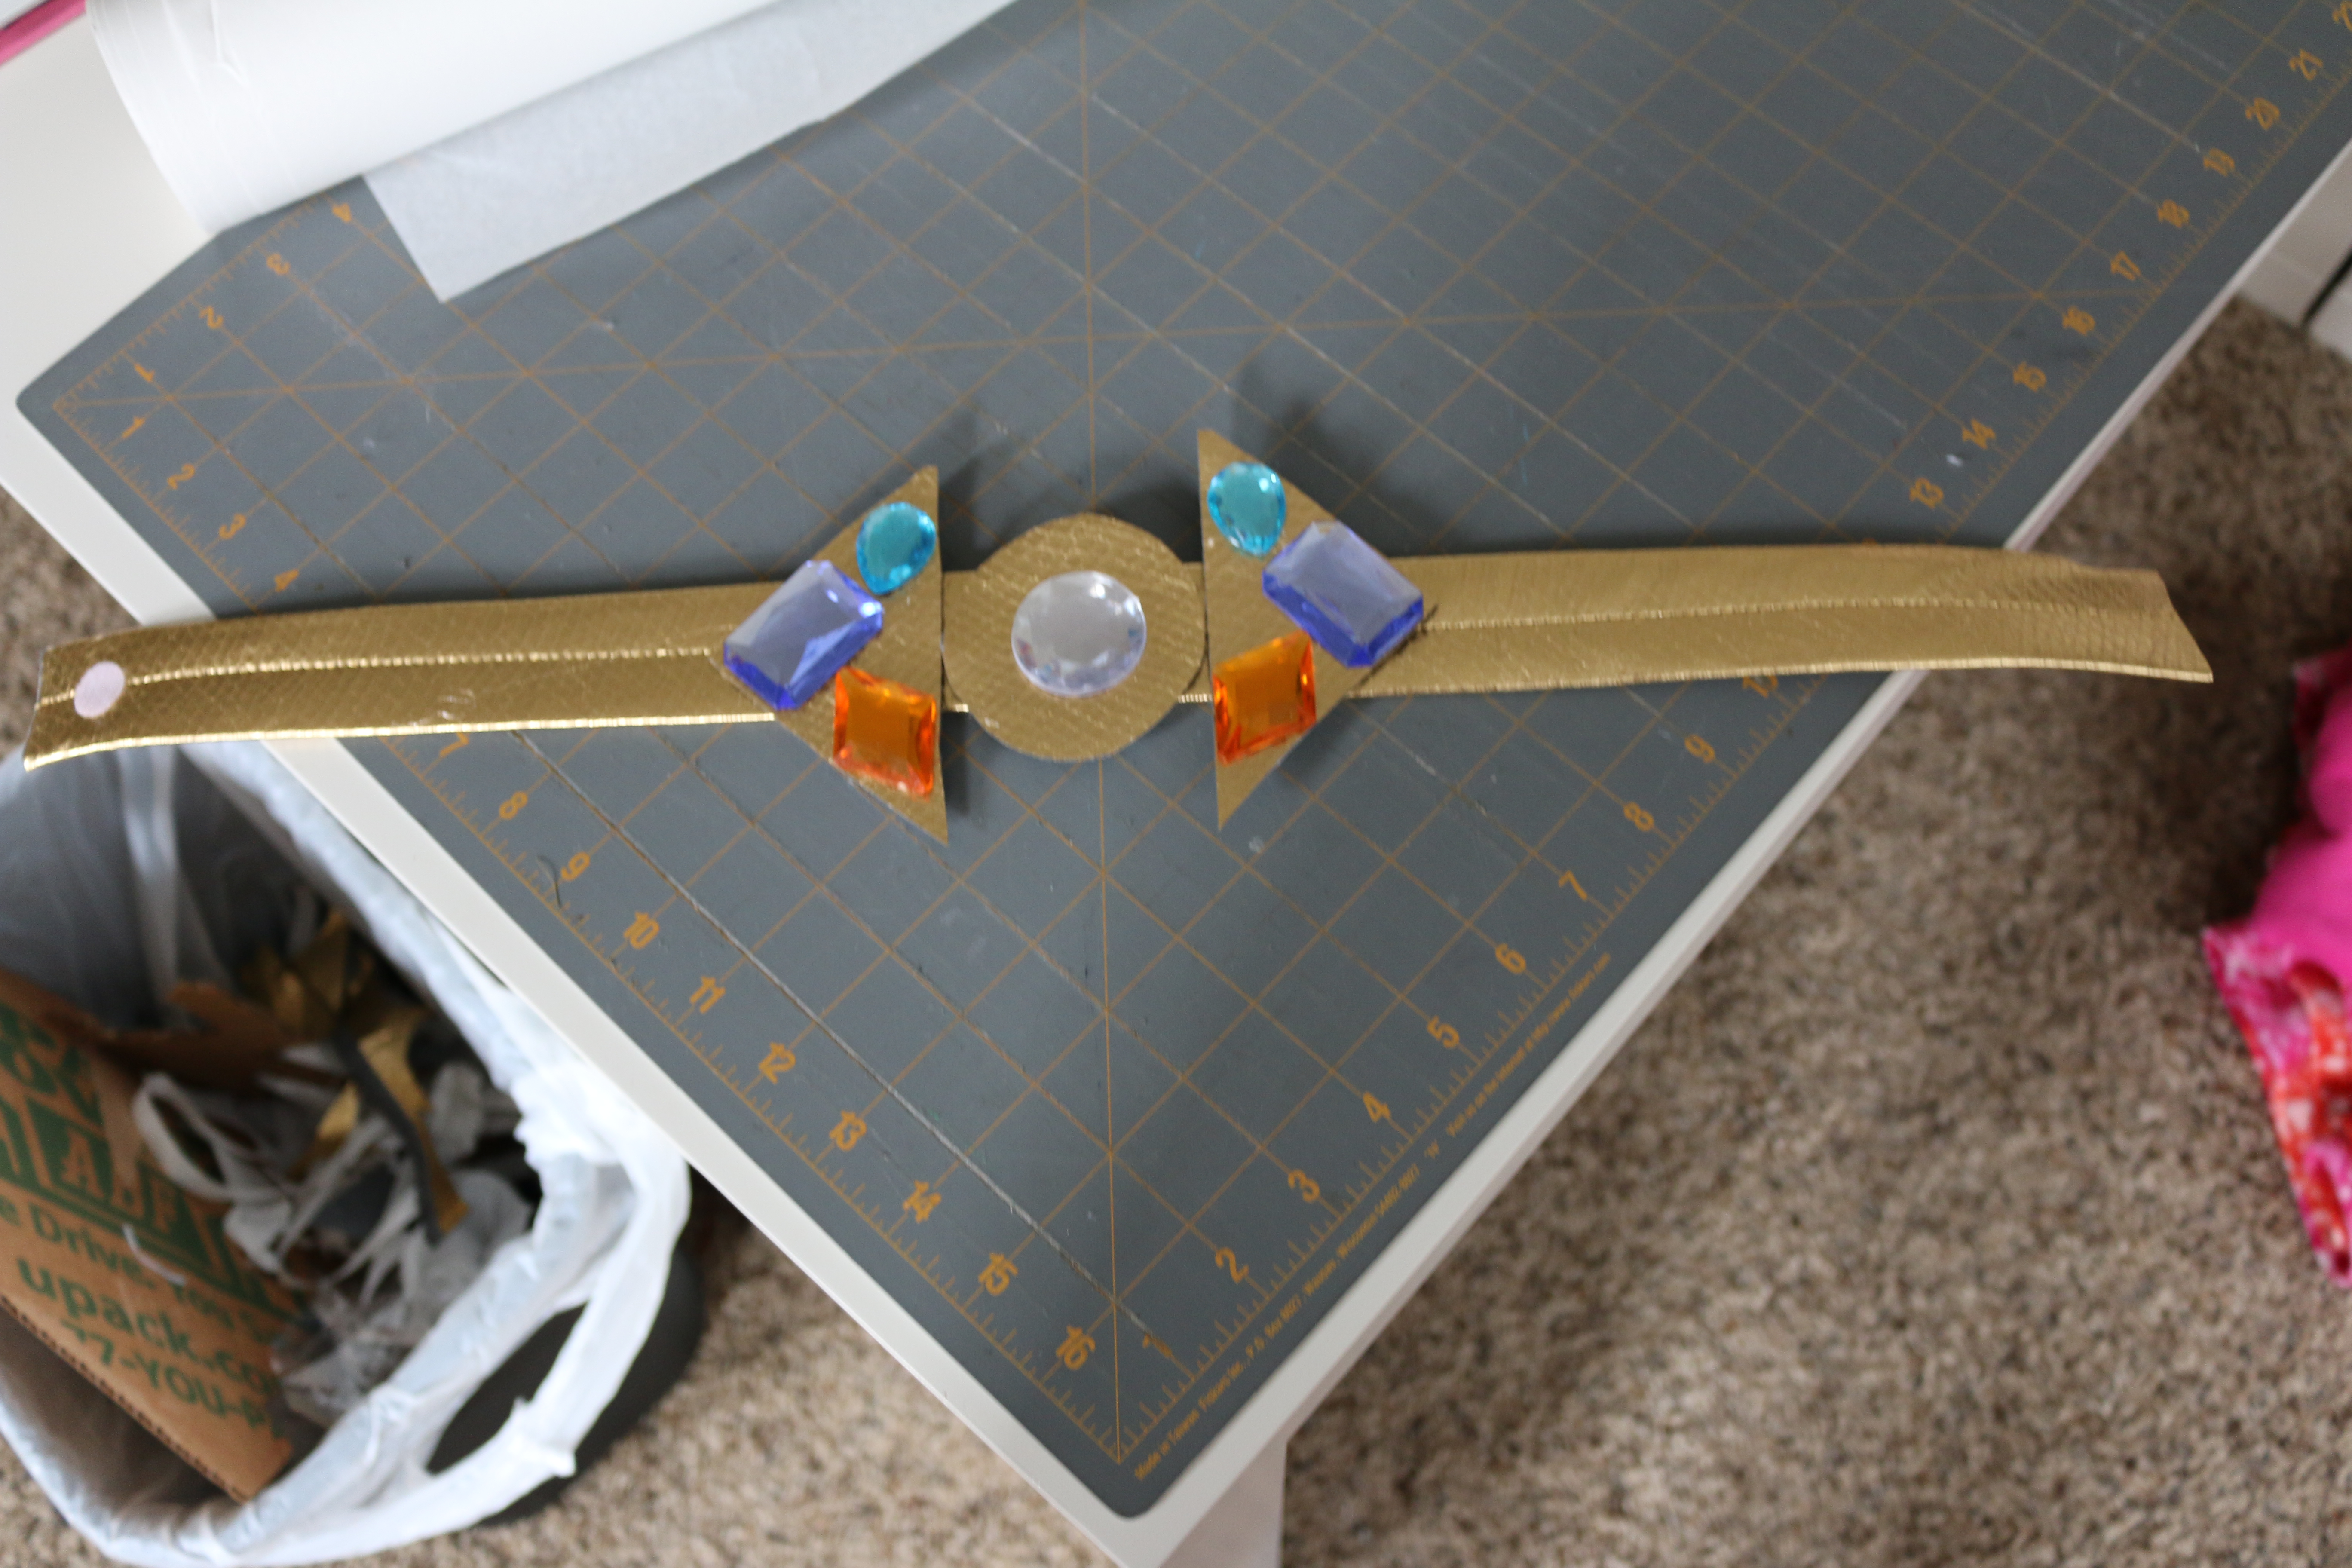
I did the same for her belt
I then drew the design for the sash and cut the shapes and used double-sided interfacing to iron on the material. The edges I used bias binding. I attached a few elastic loops on either side of the sash so I can hang it on the belt.
Here is Abby’s costume:

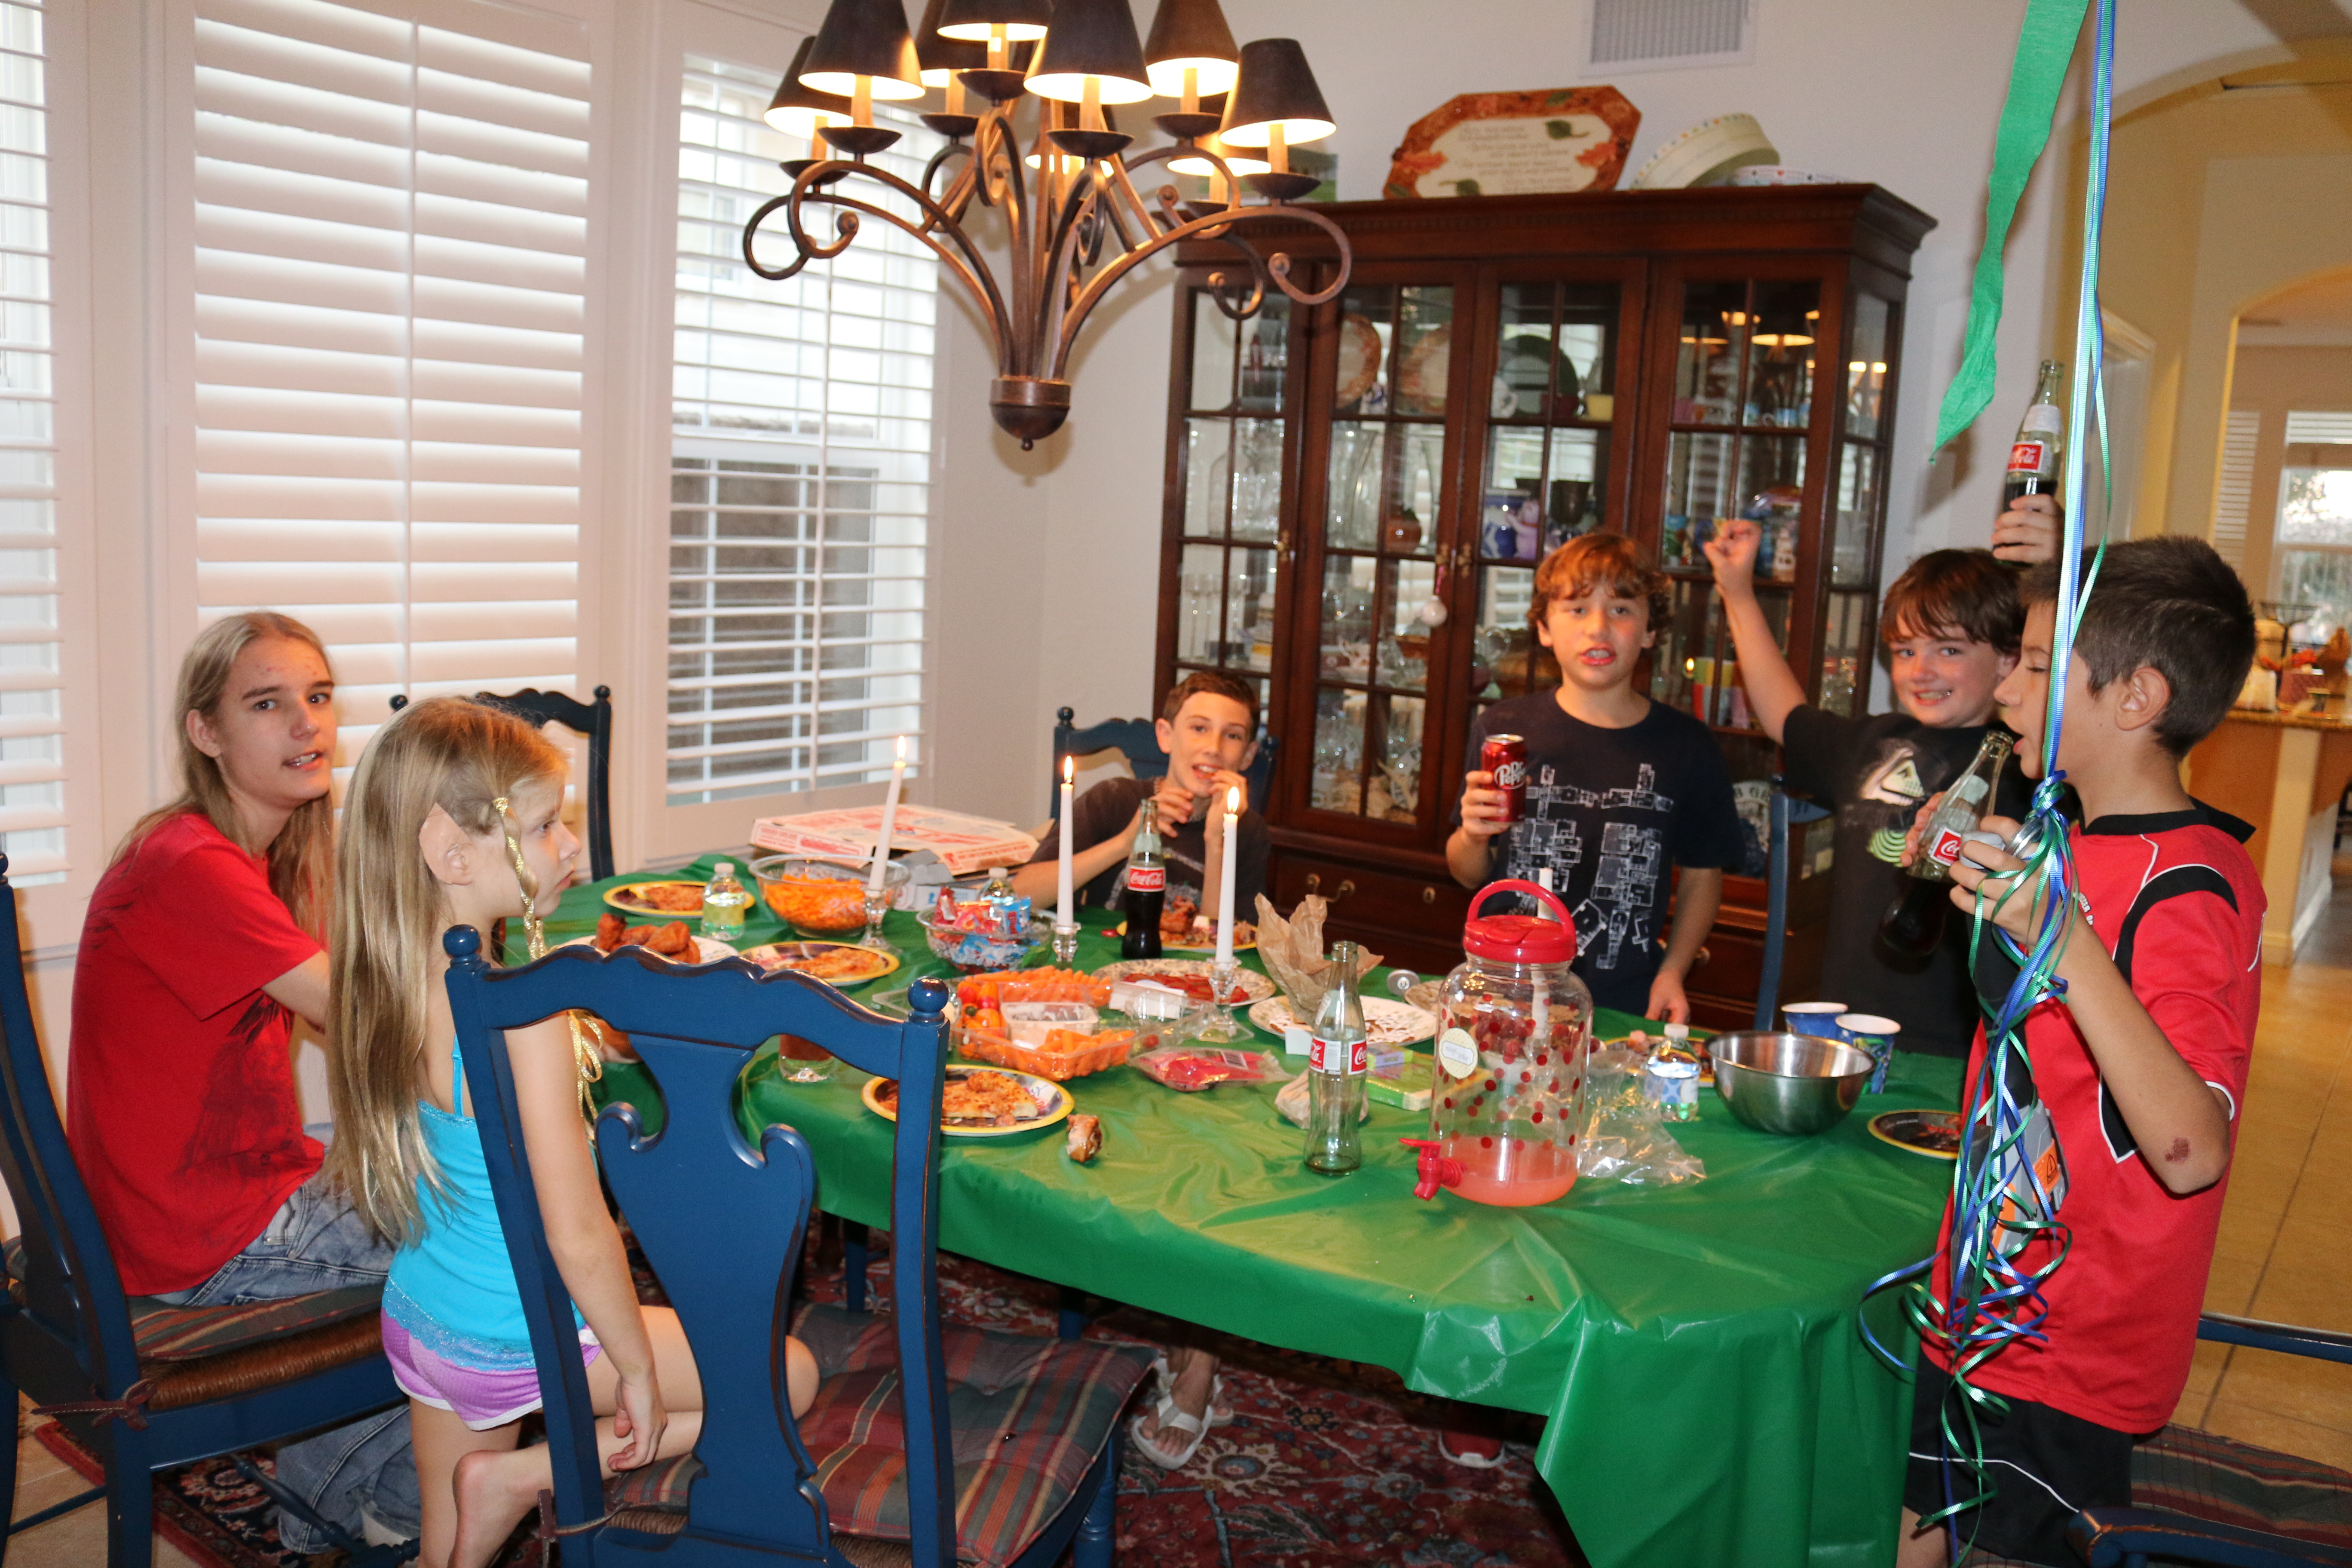
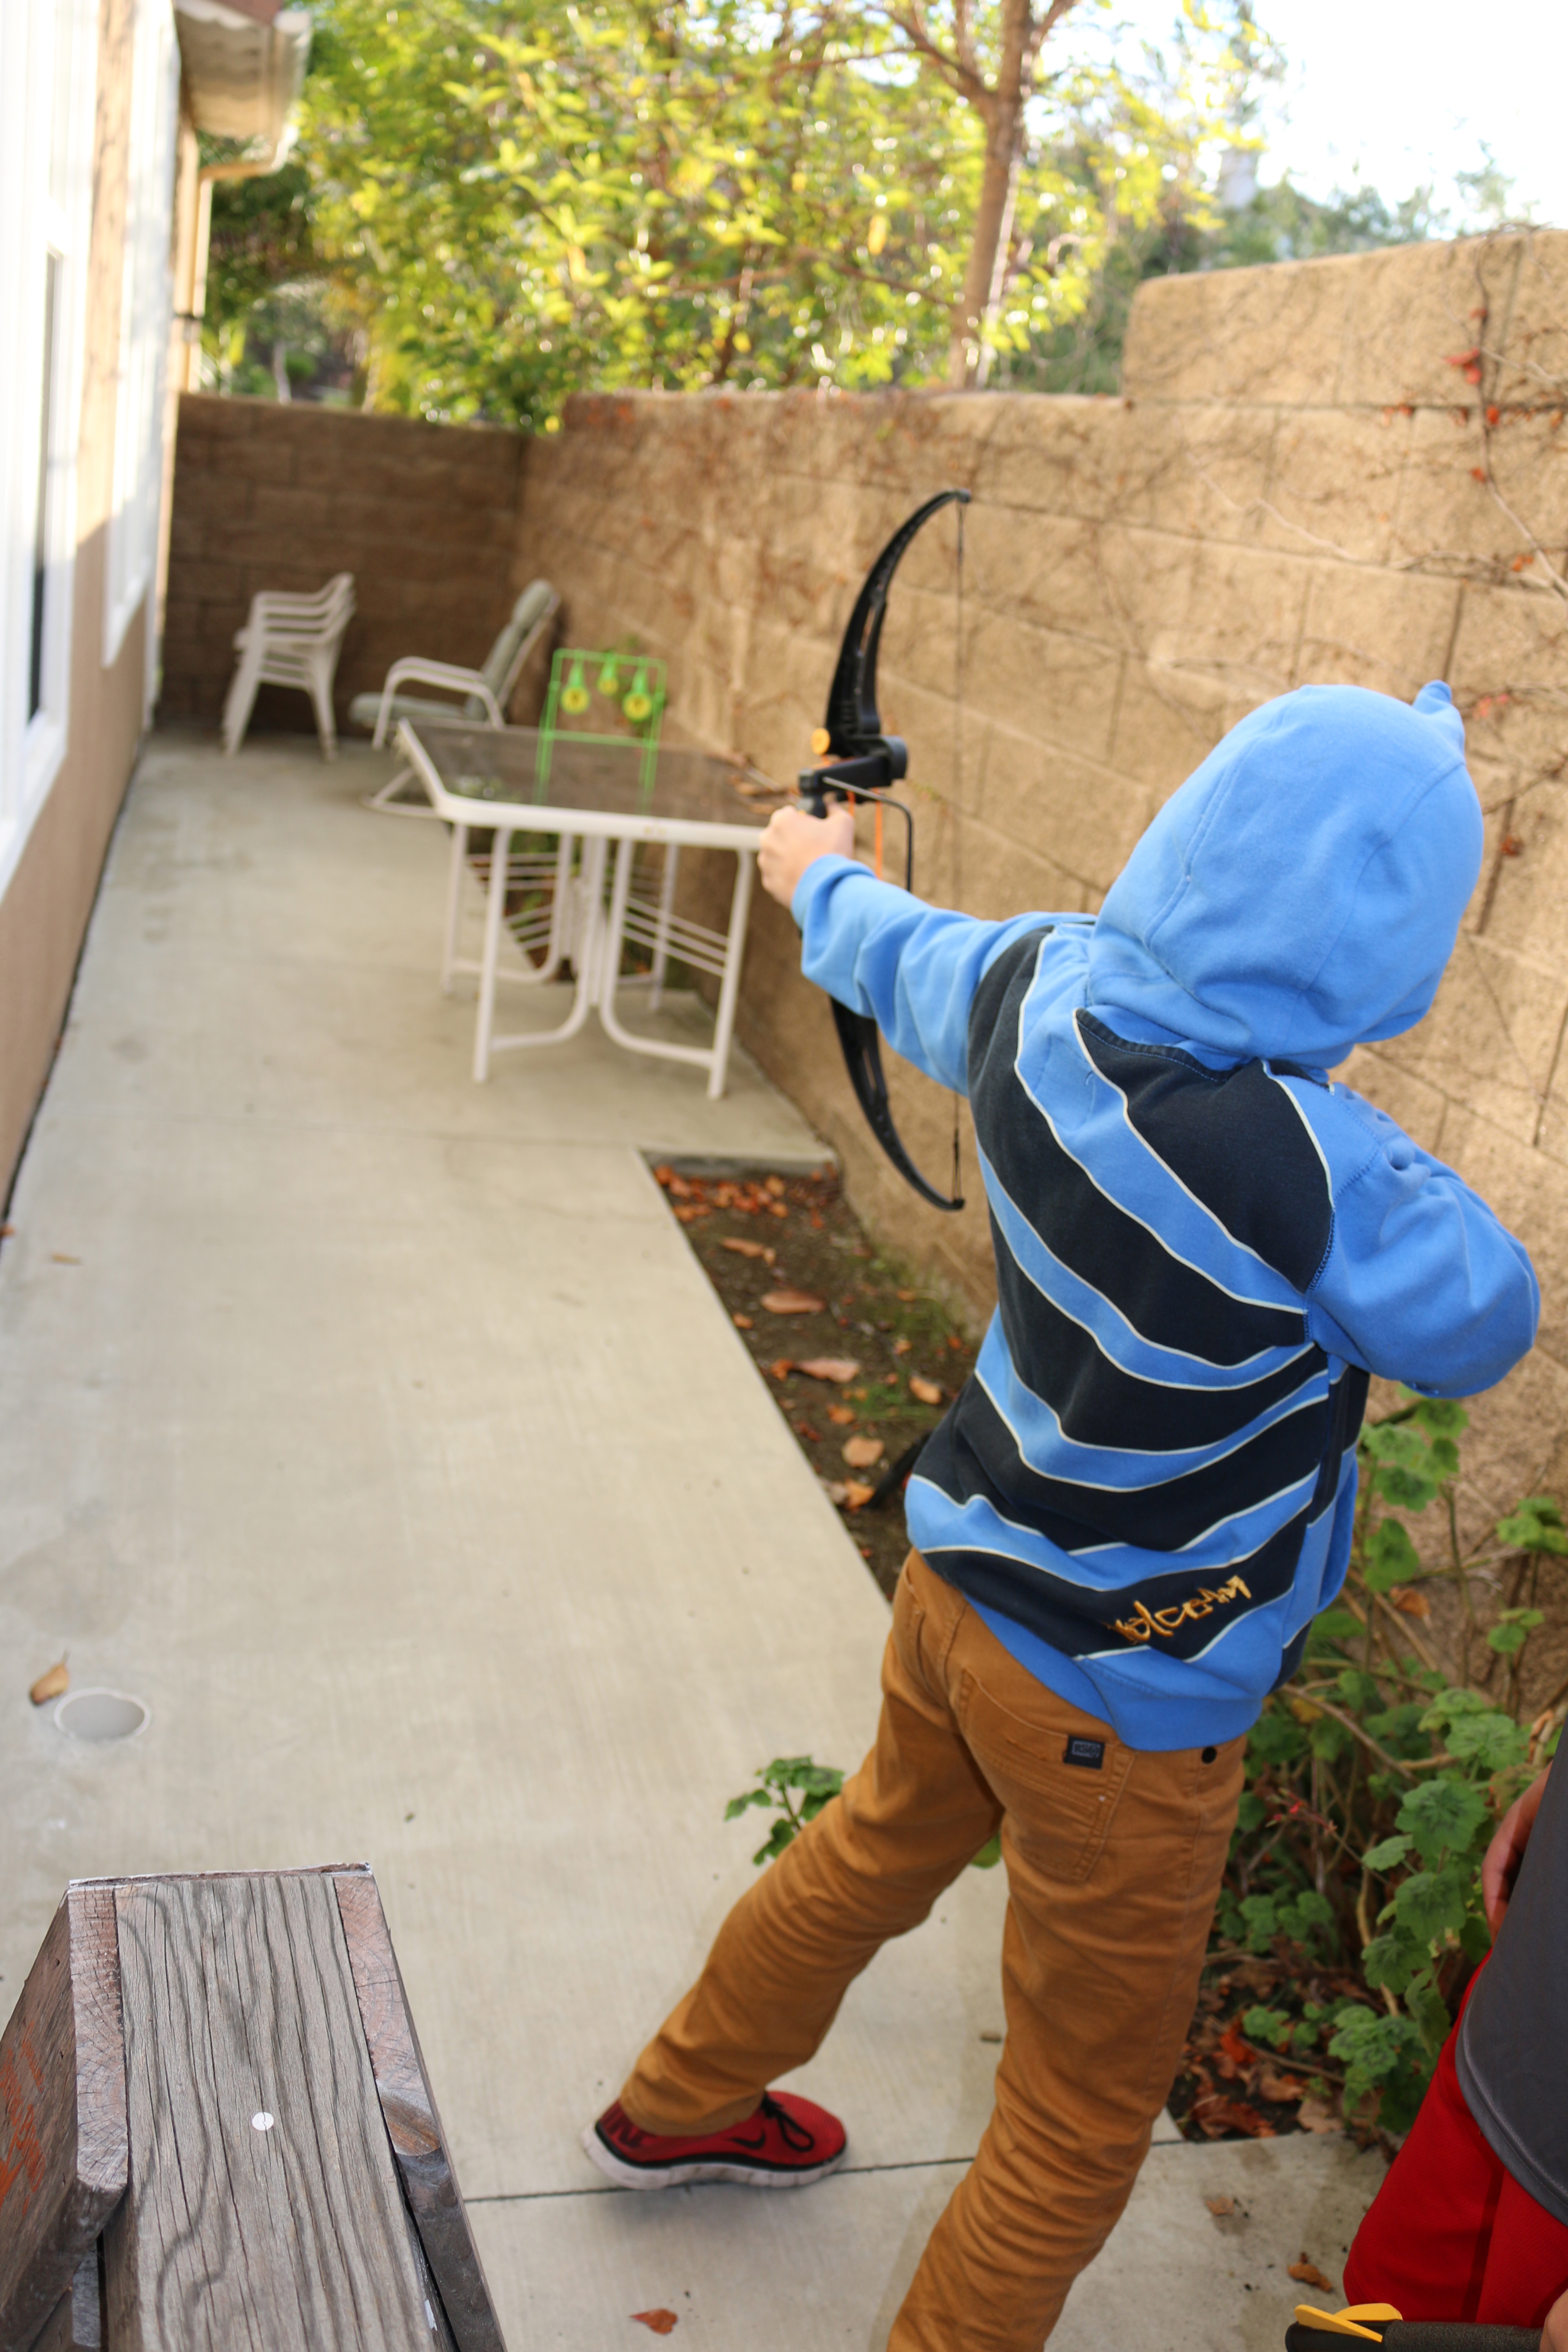
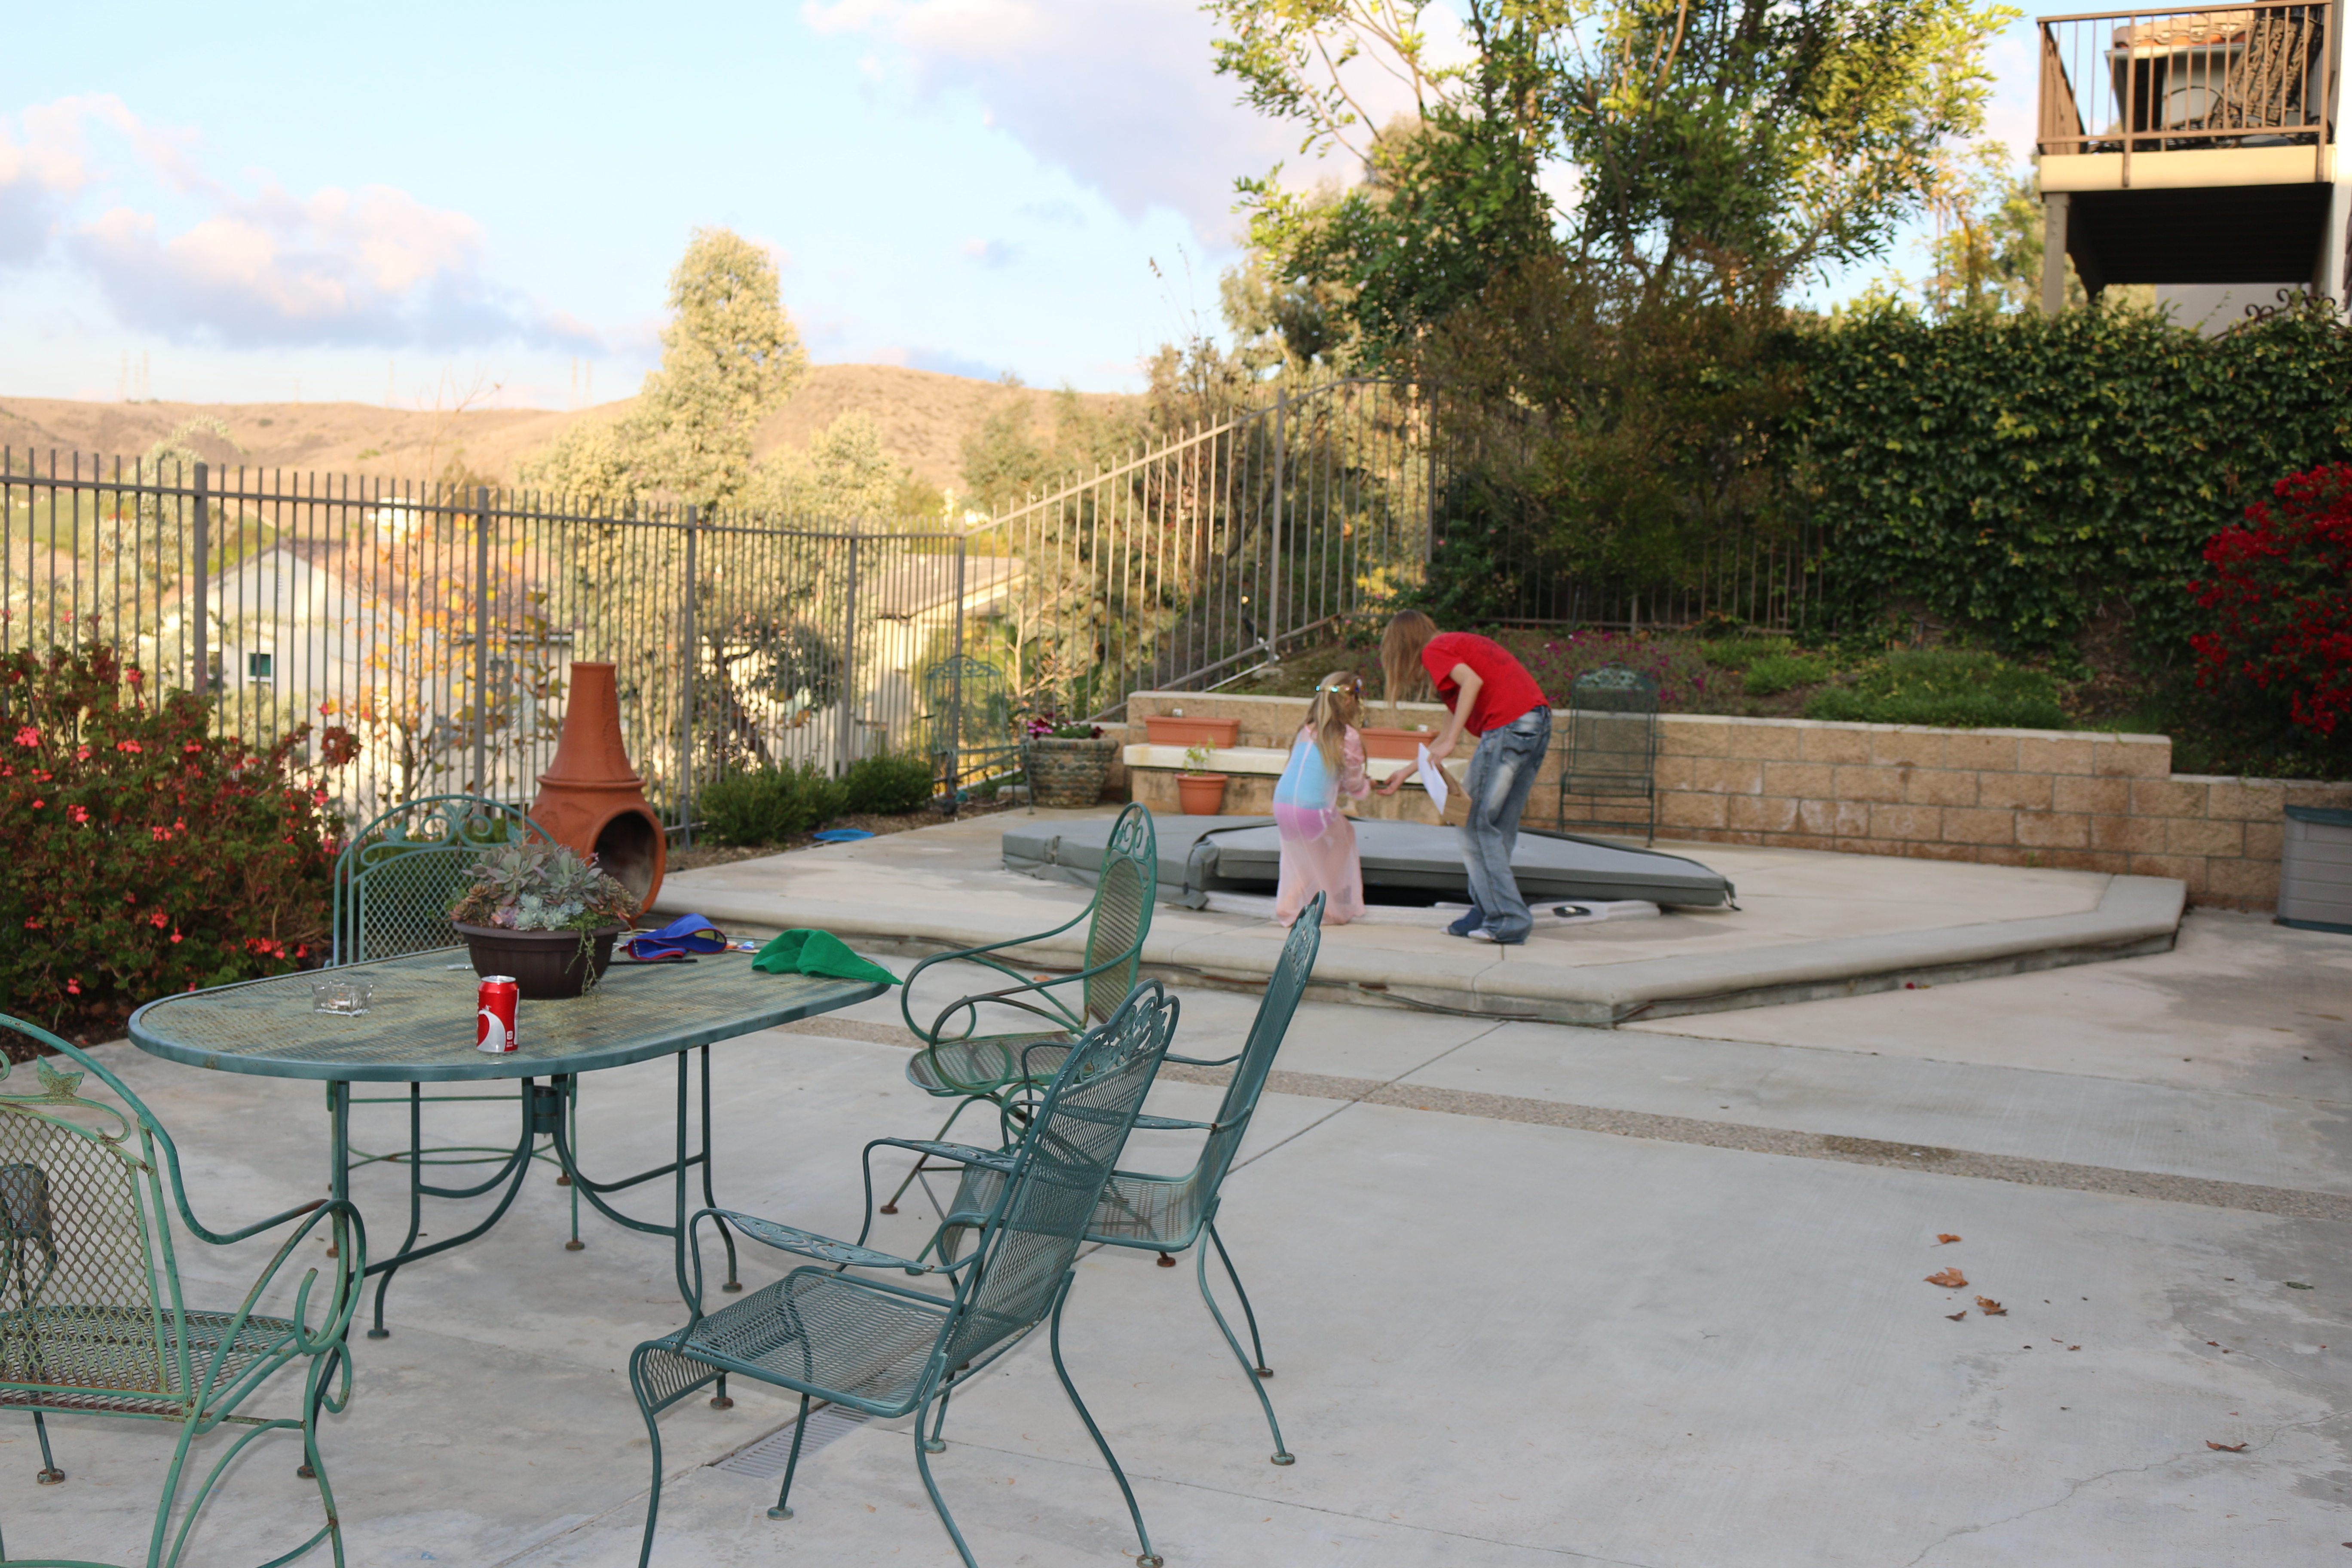
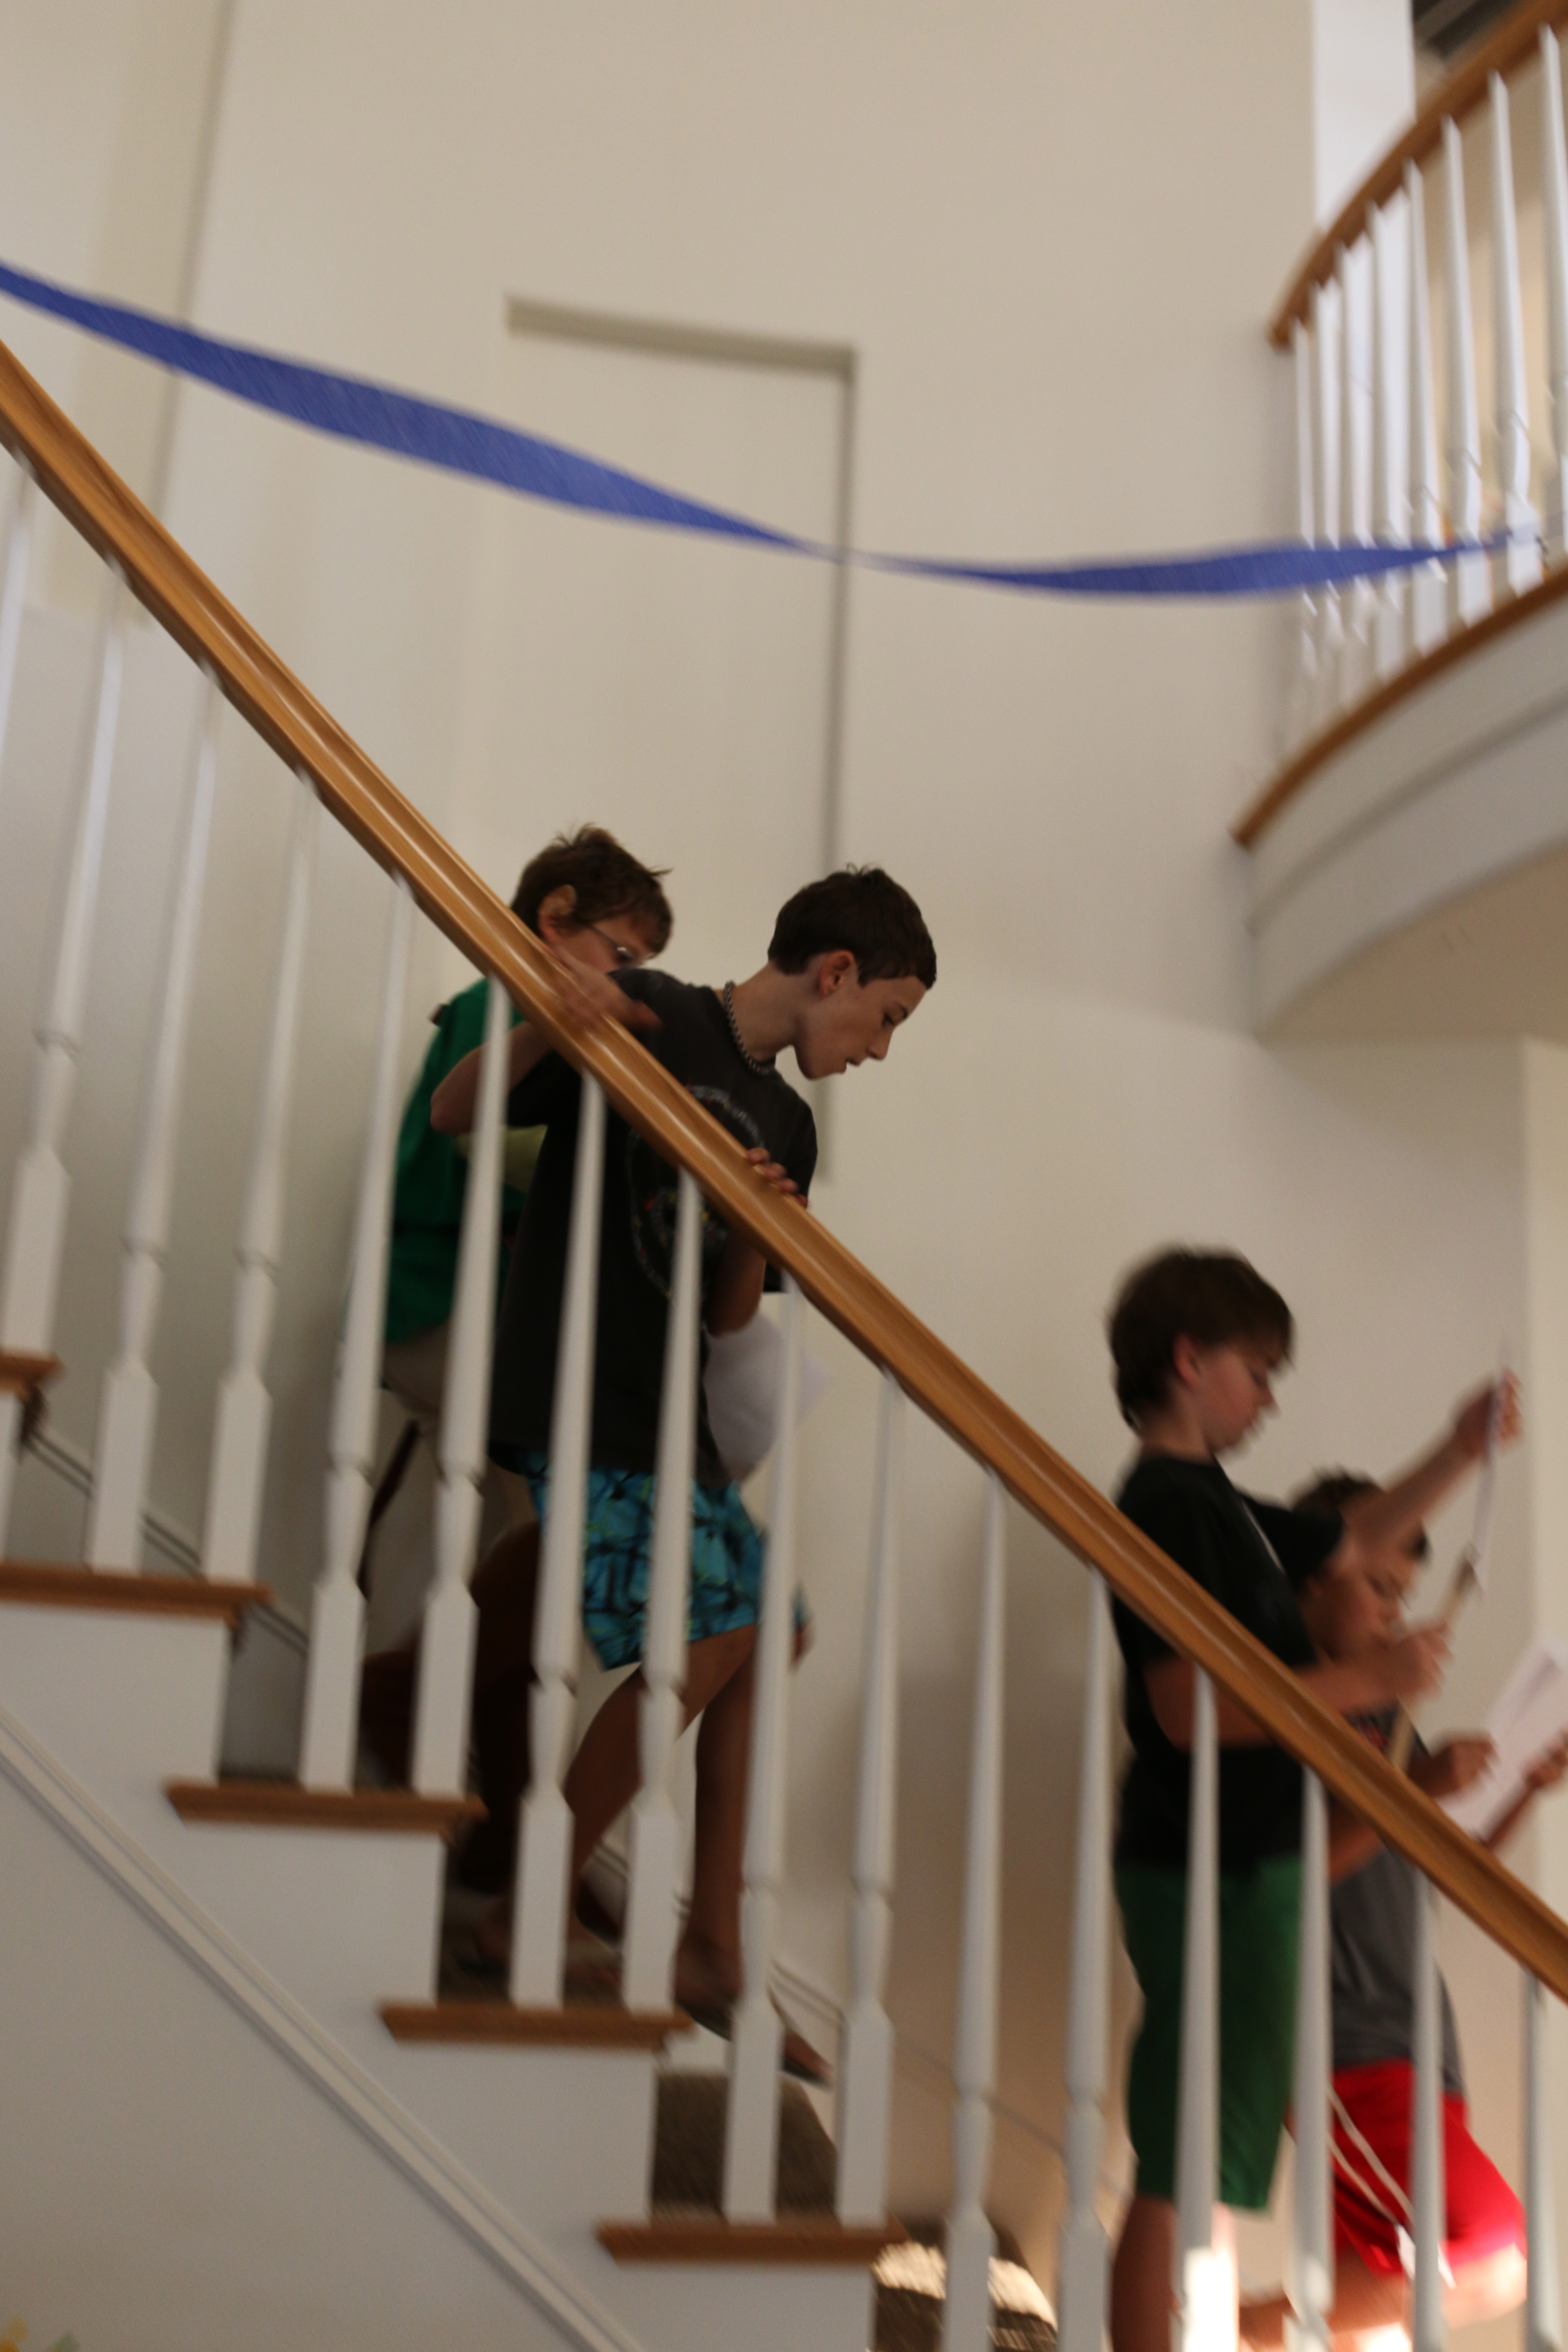
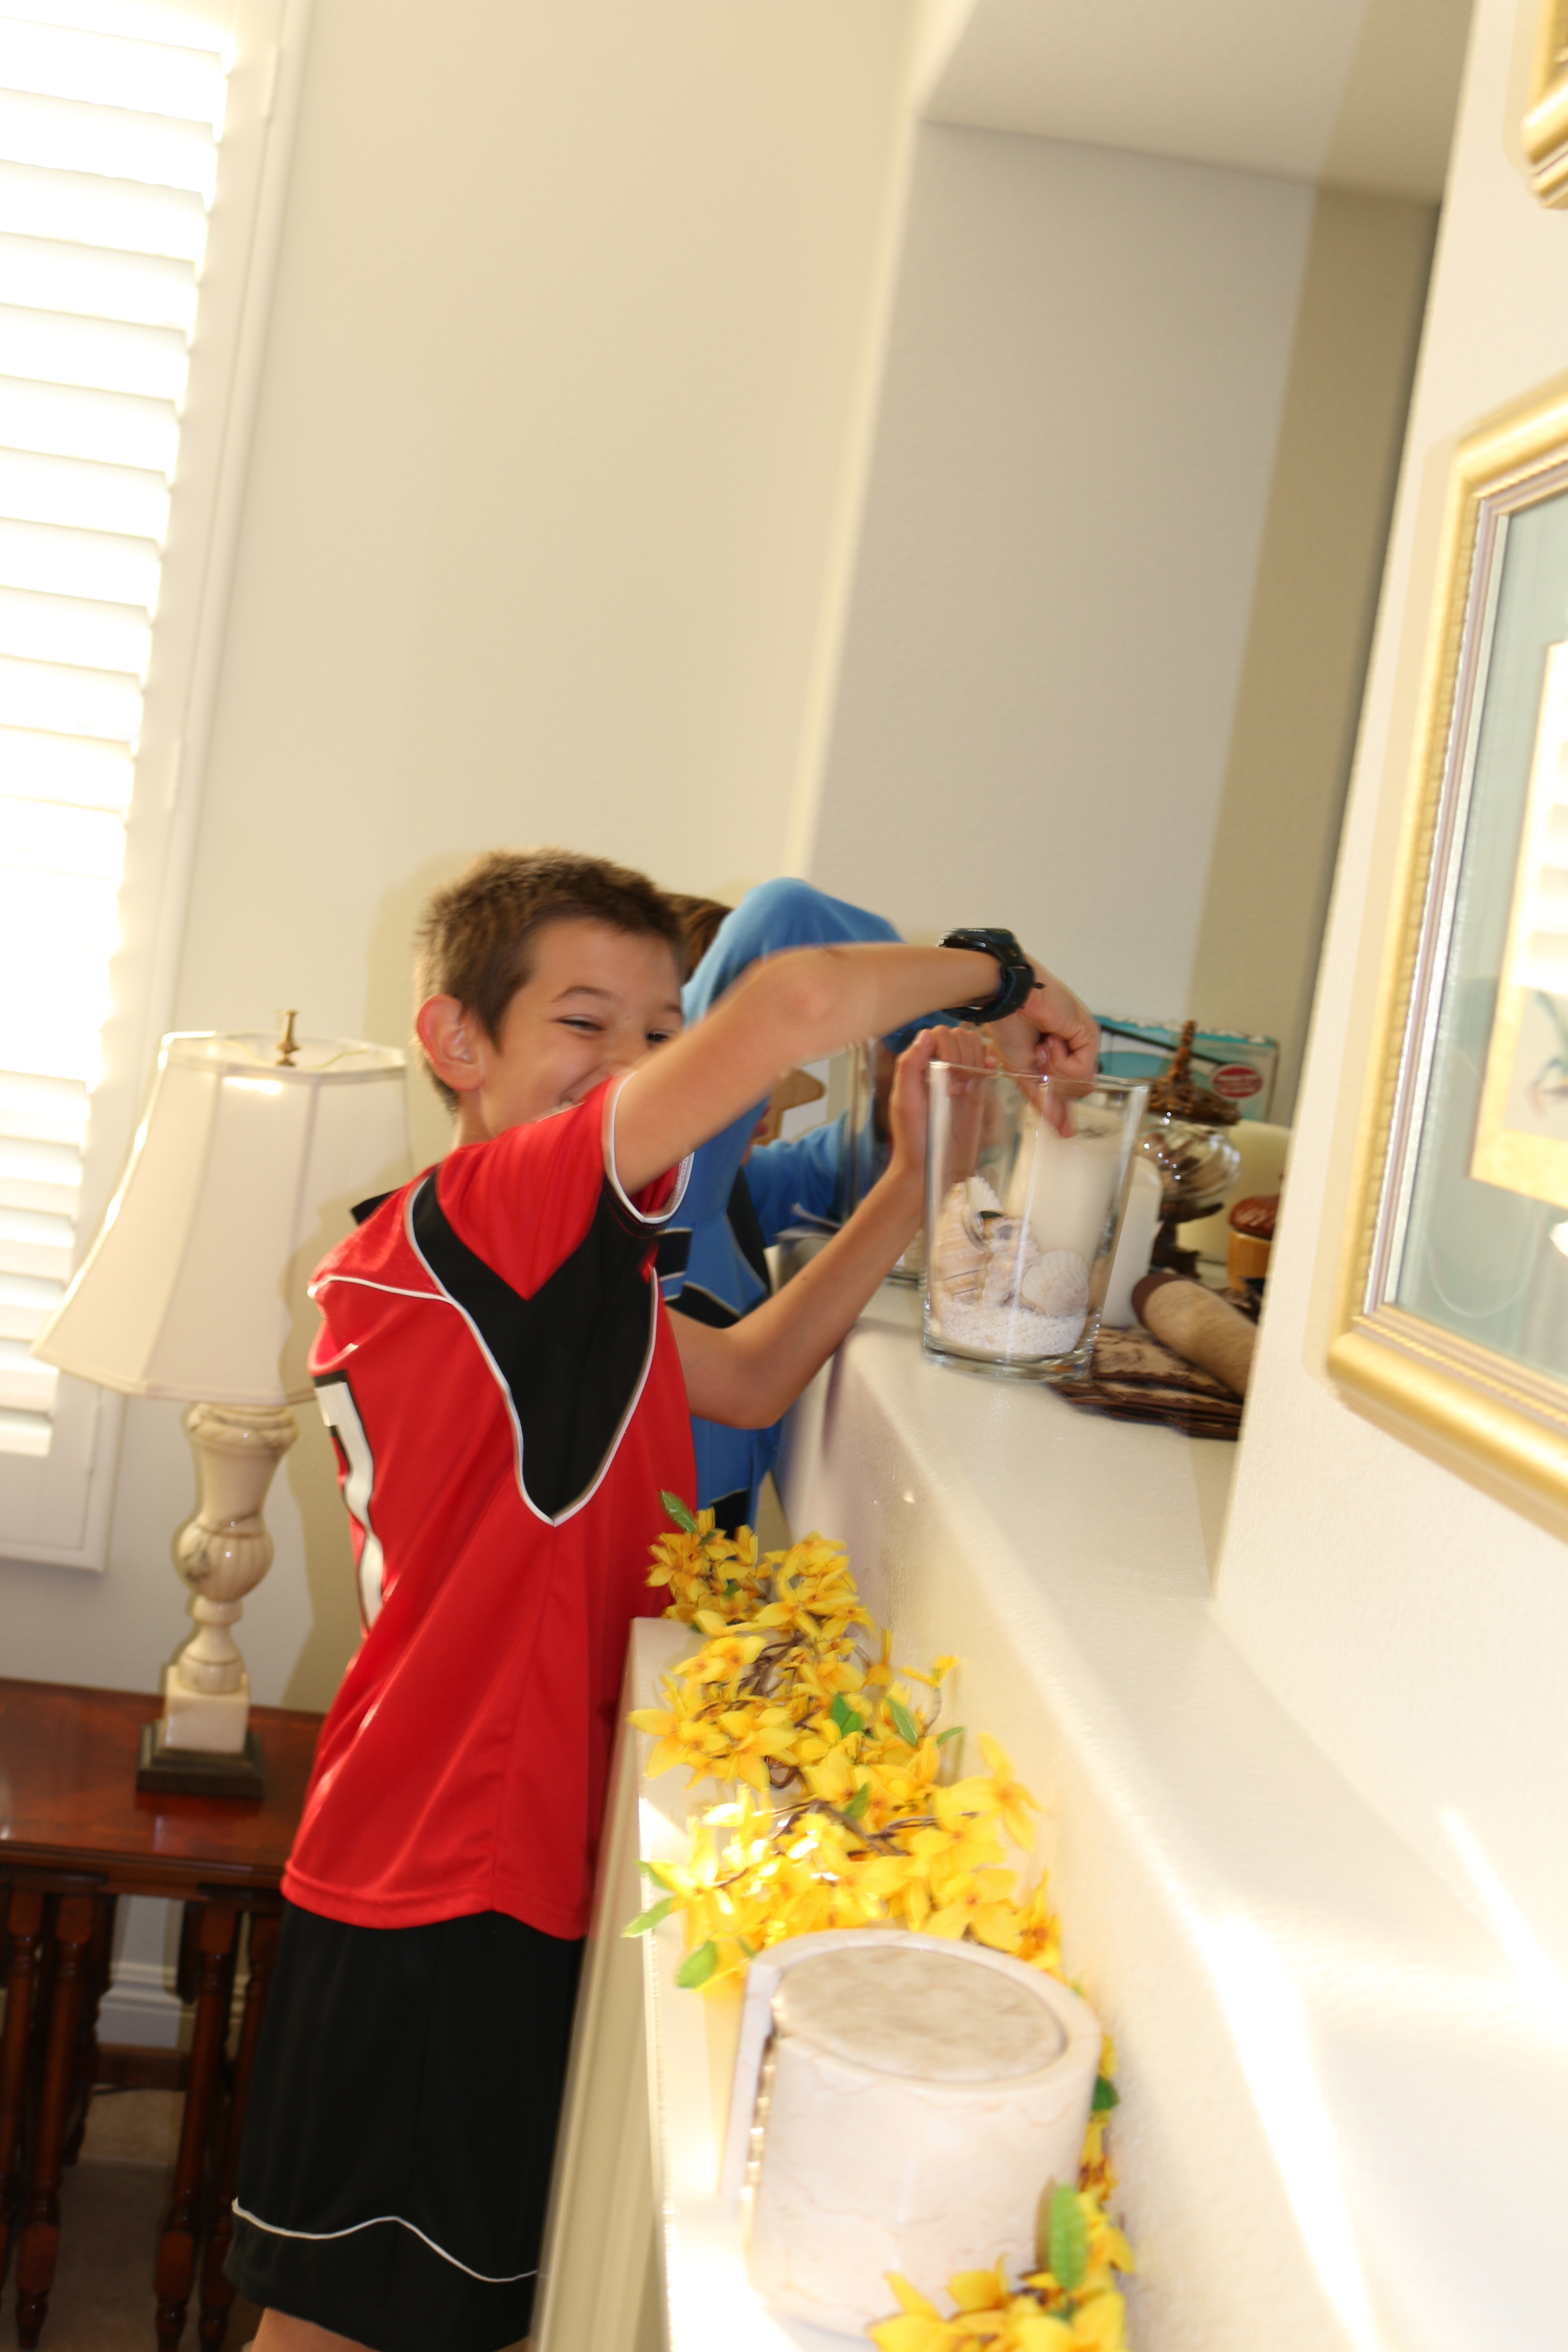
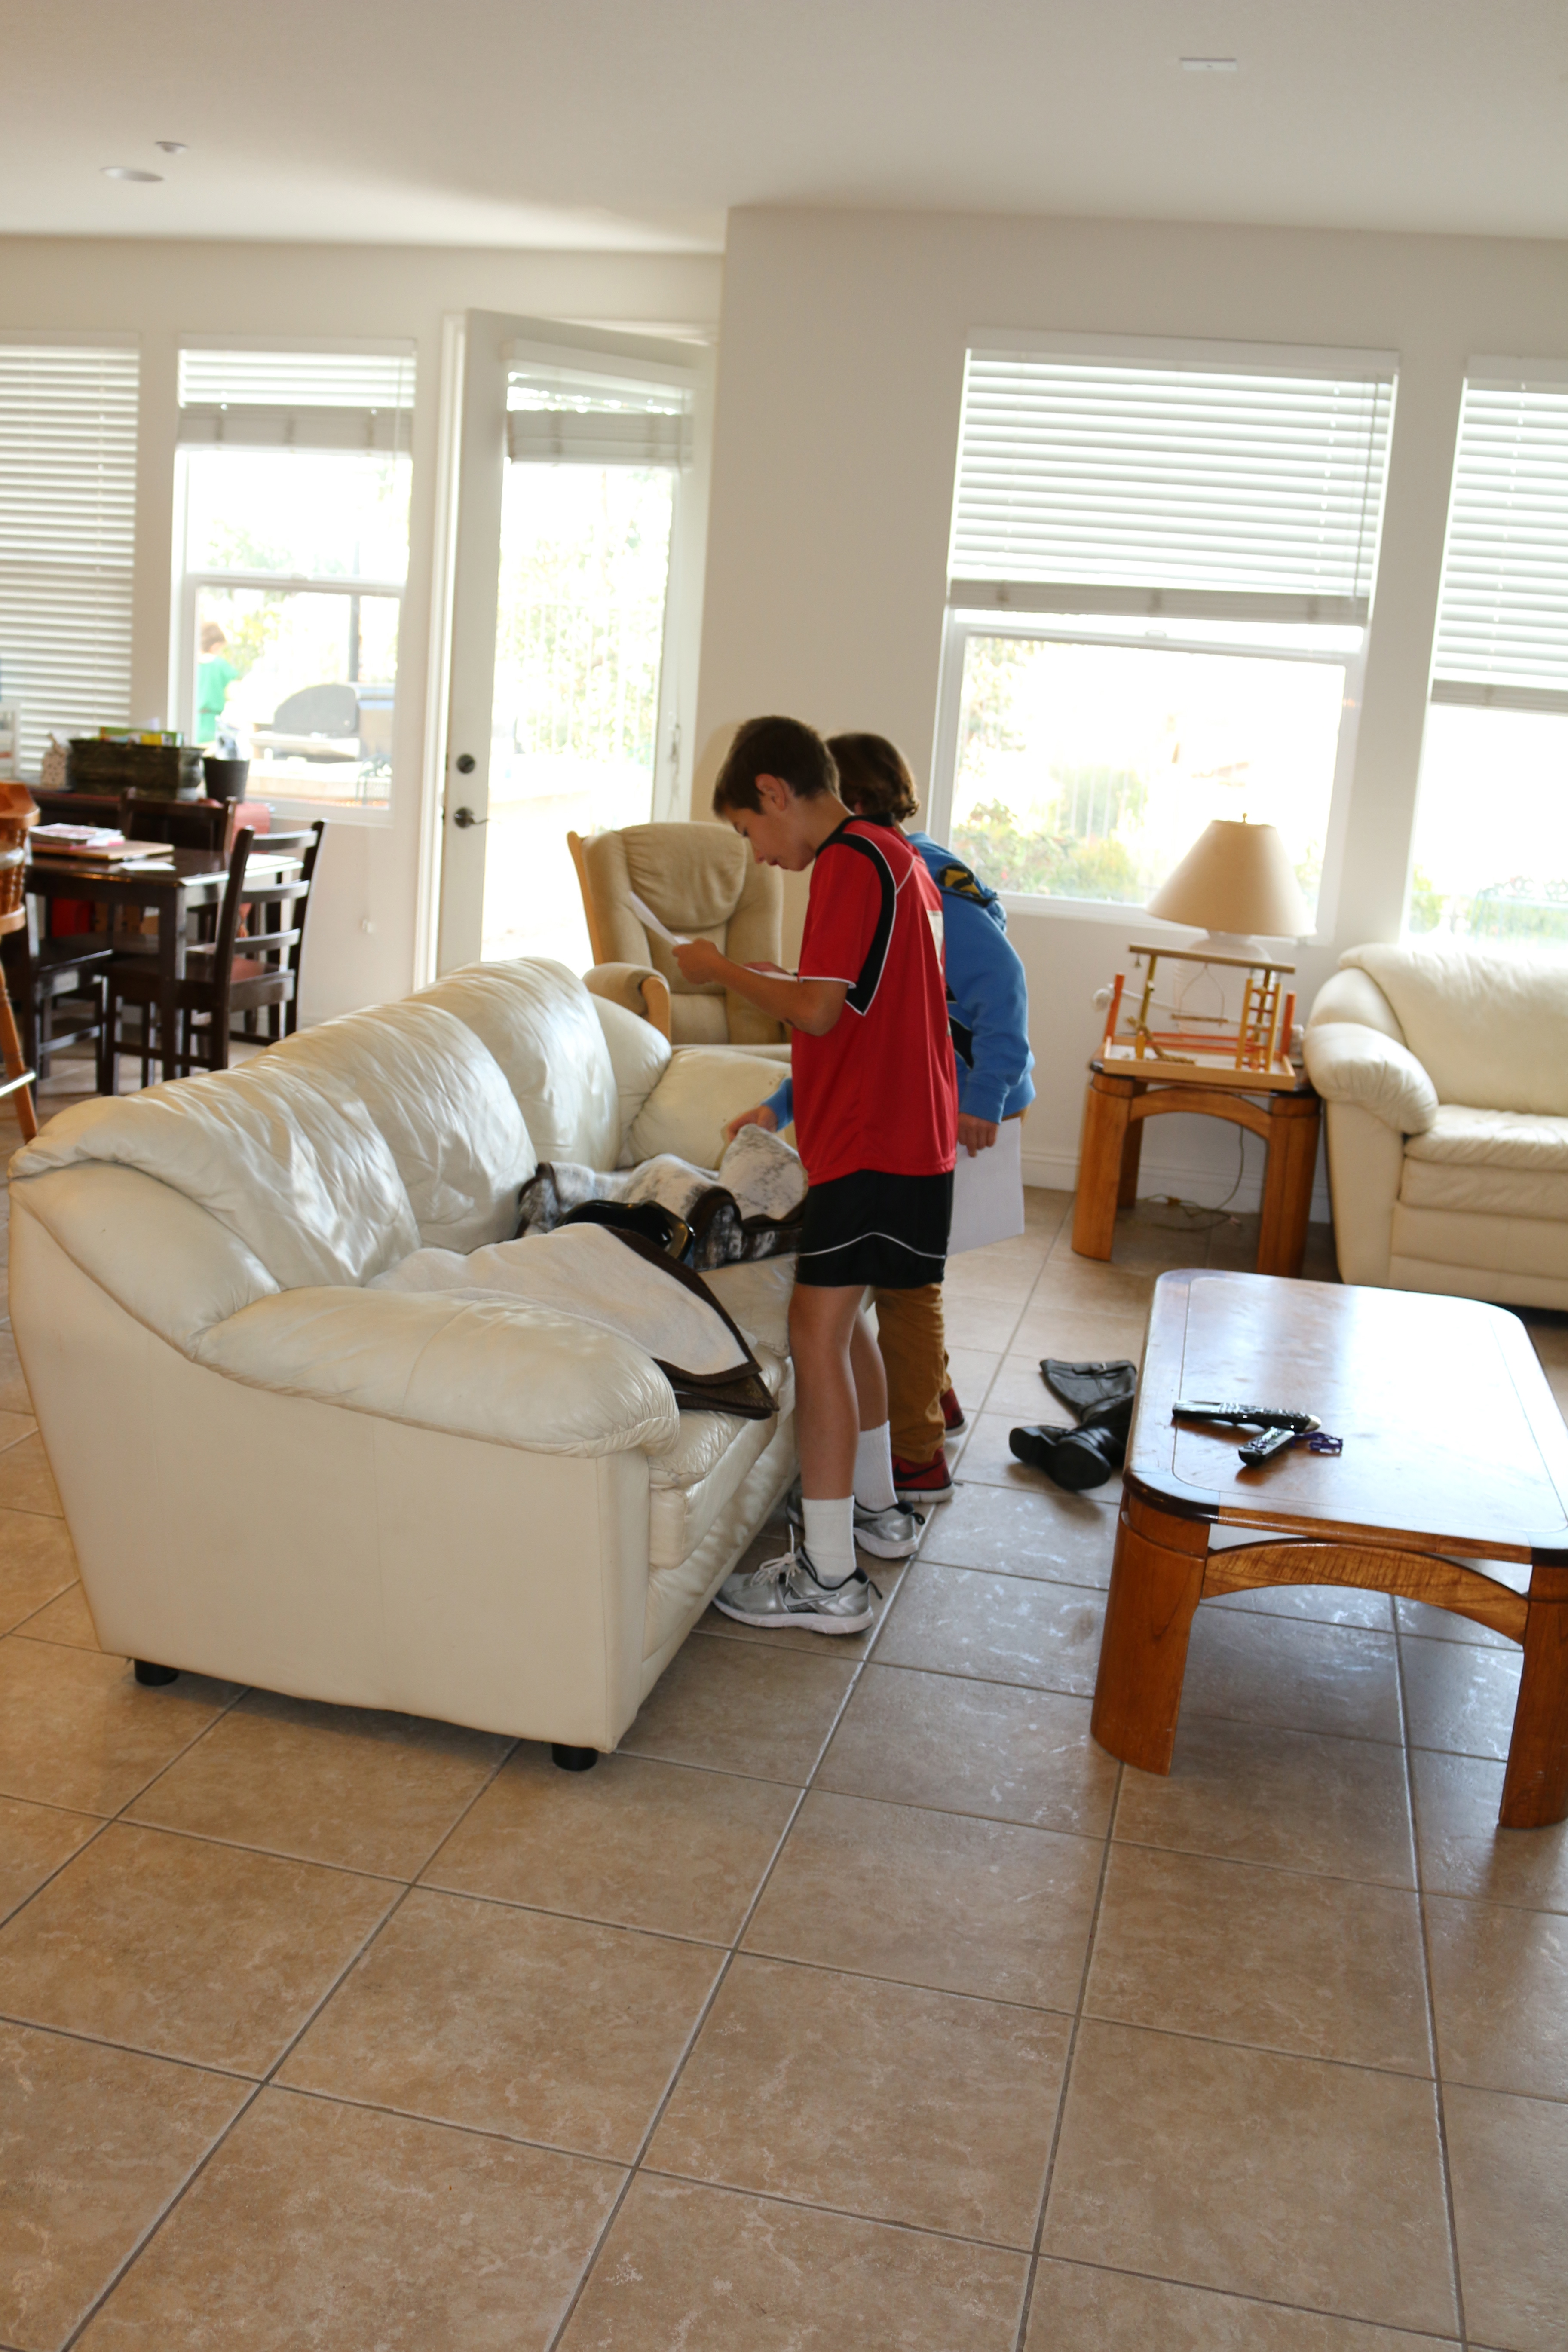
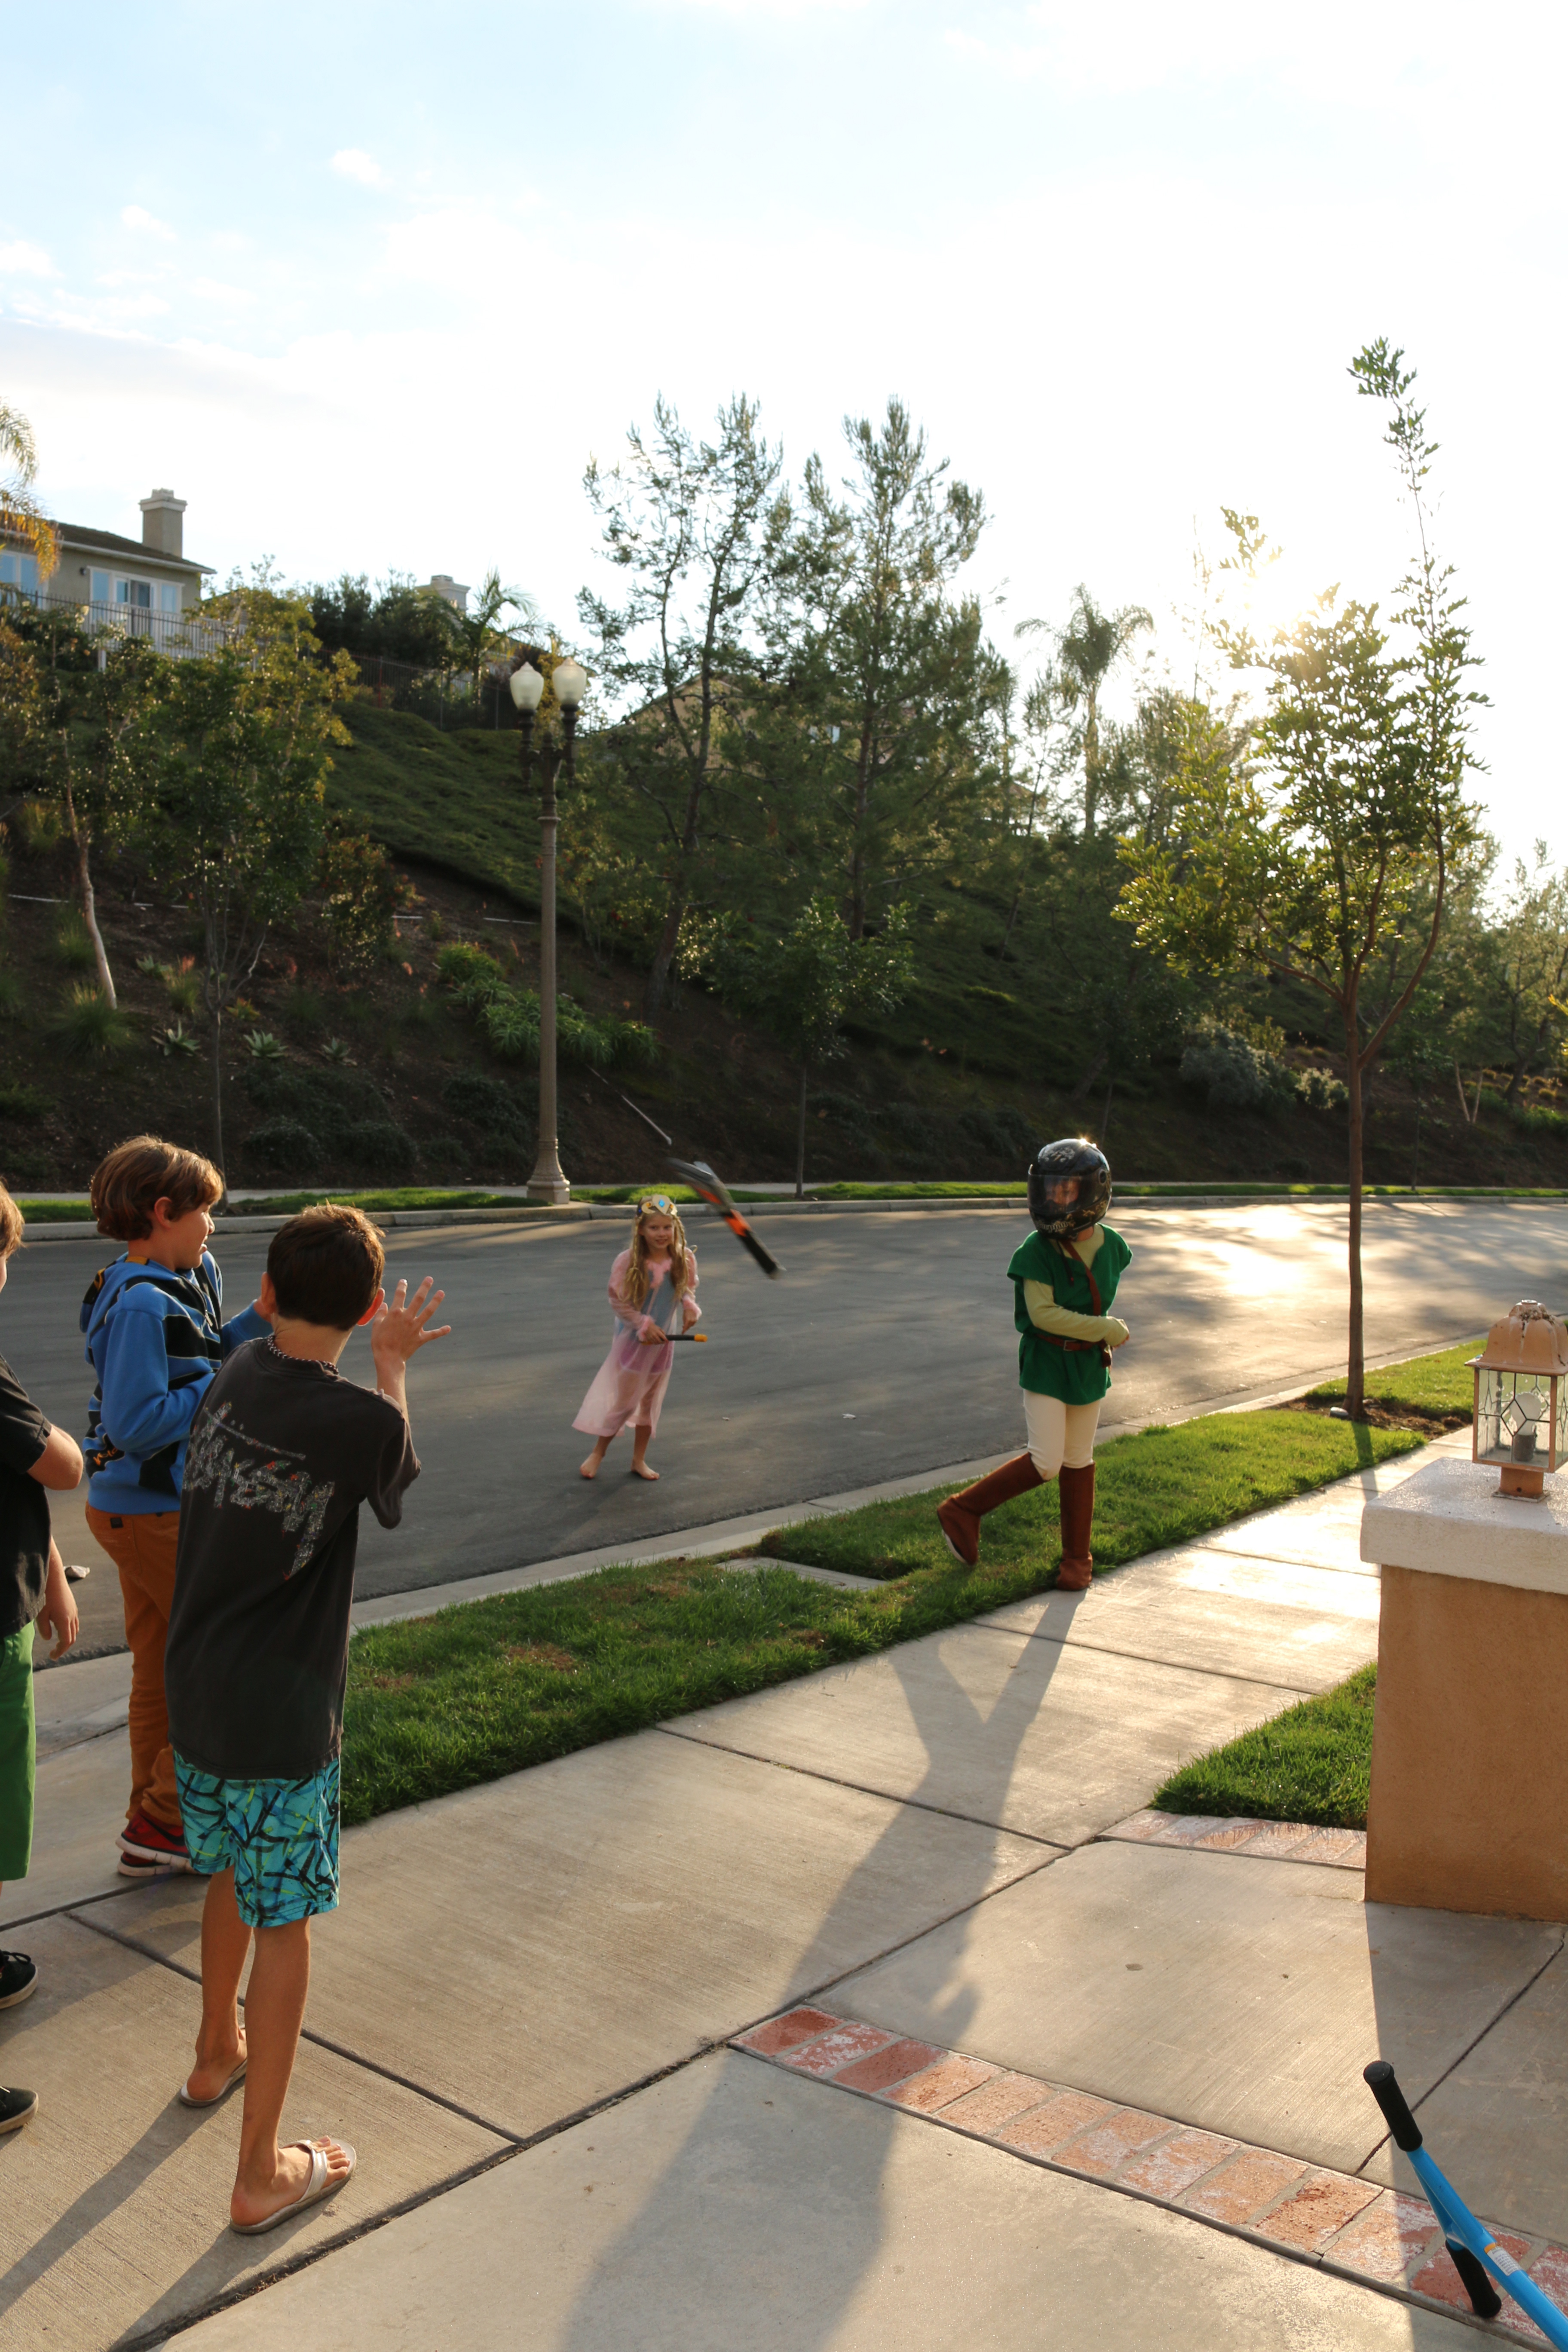
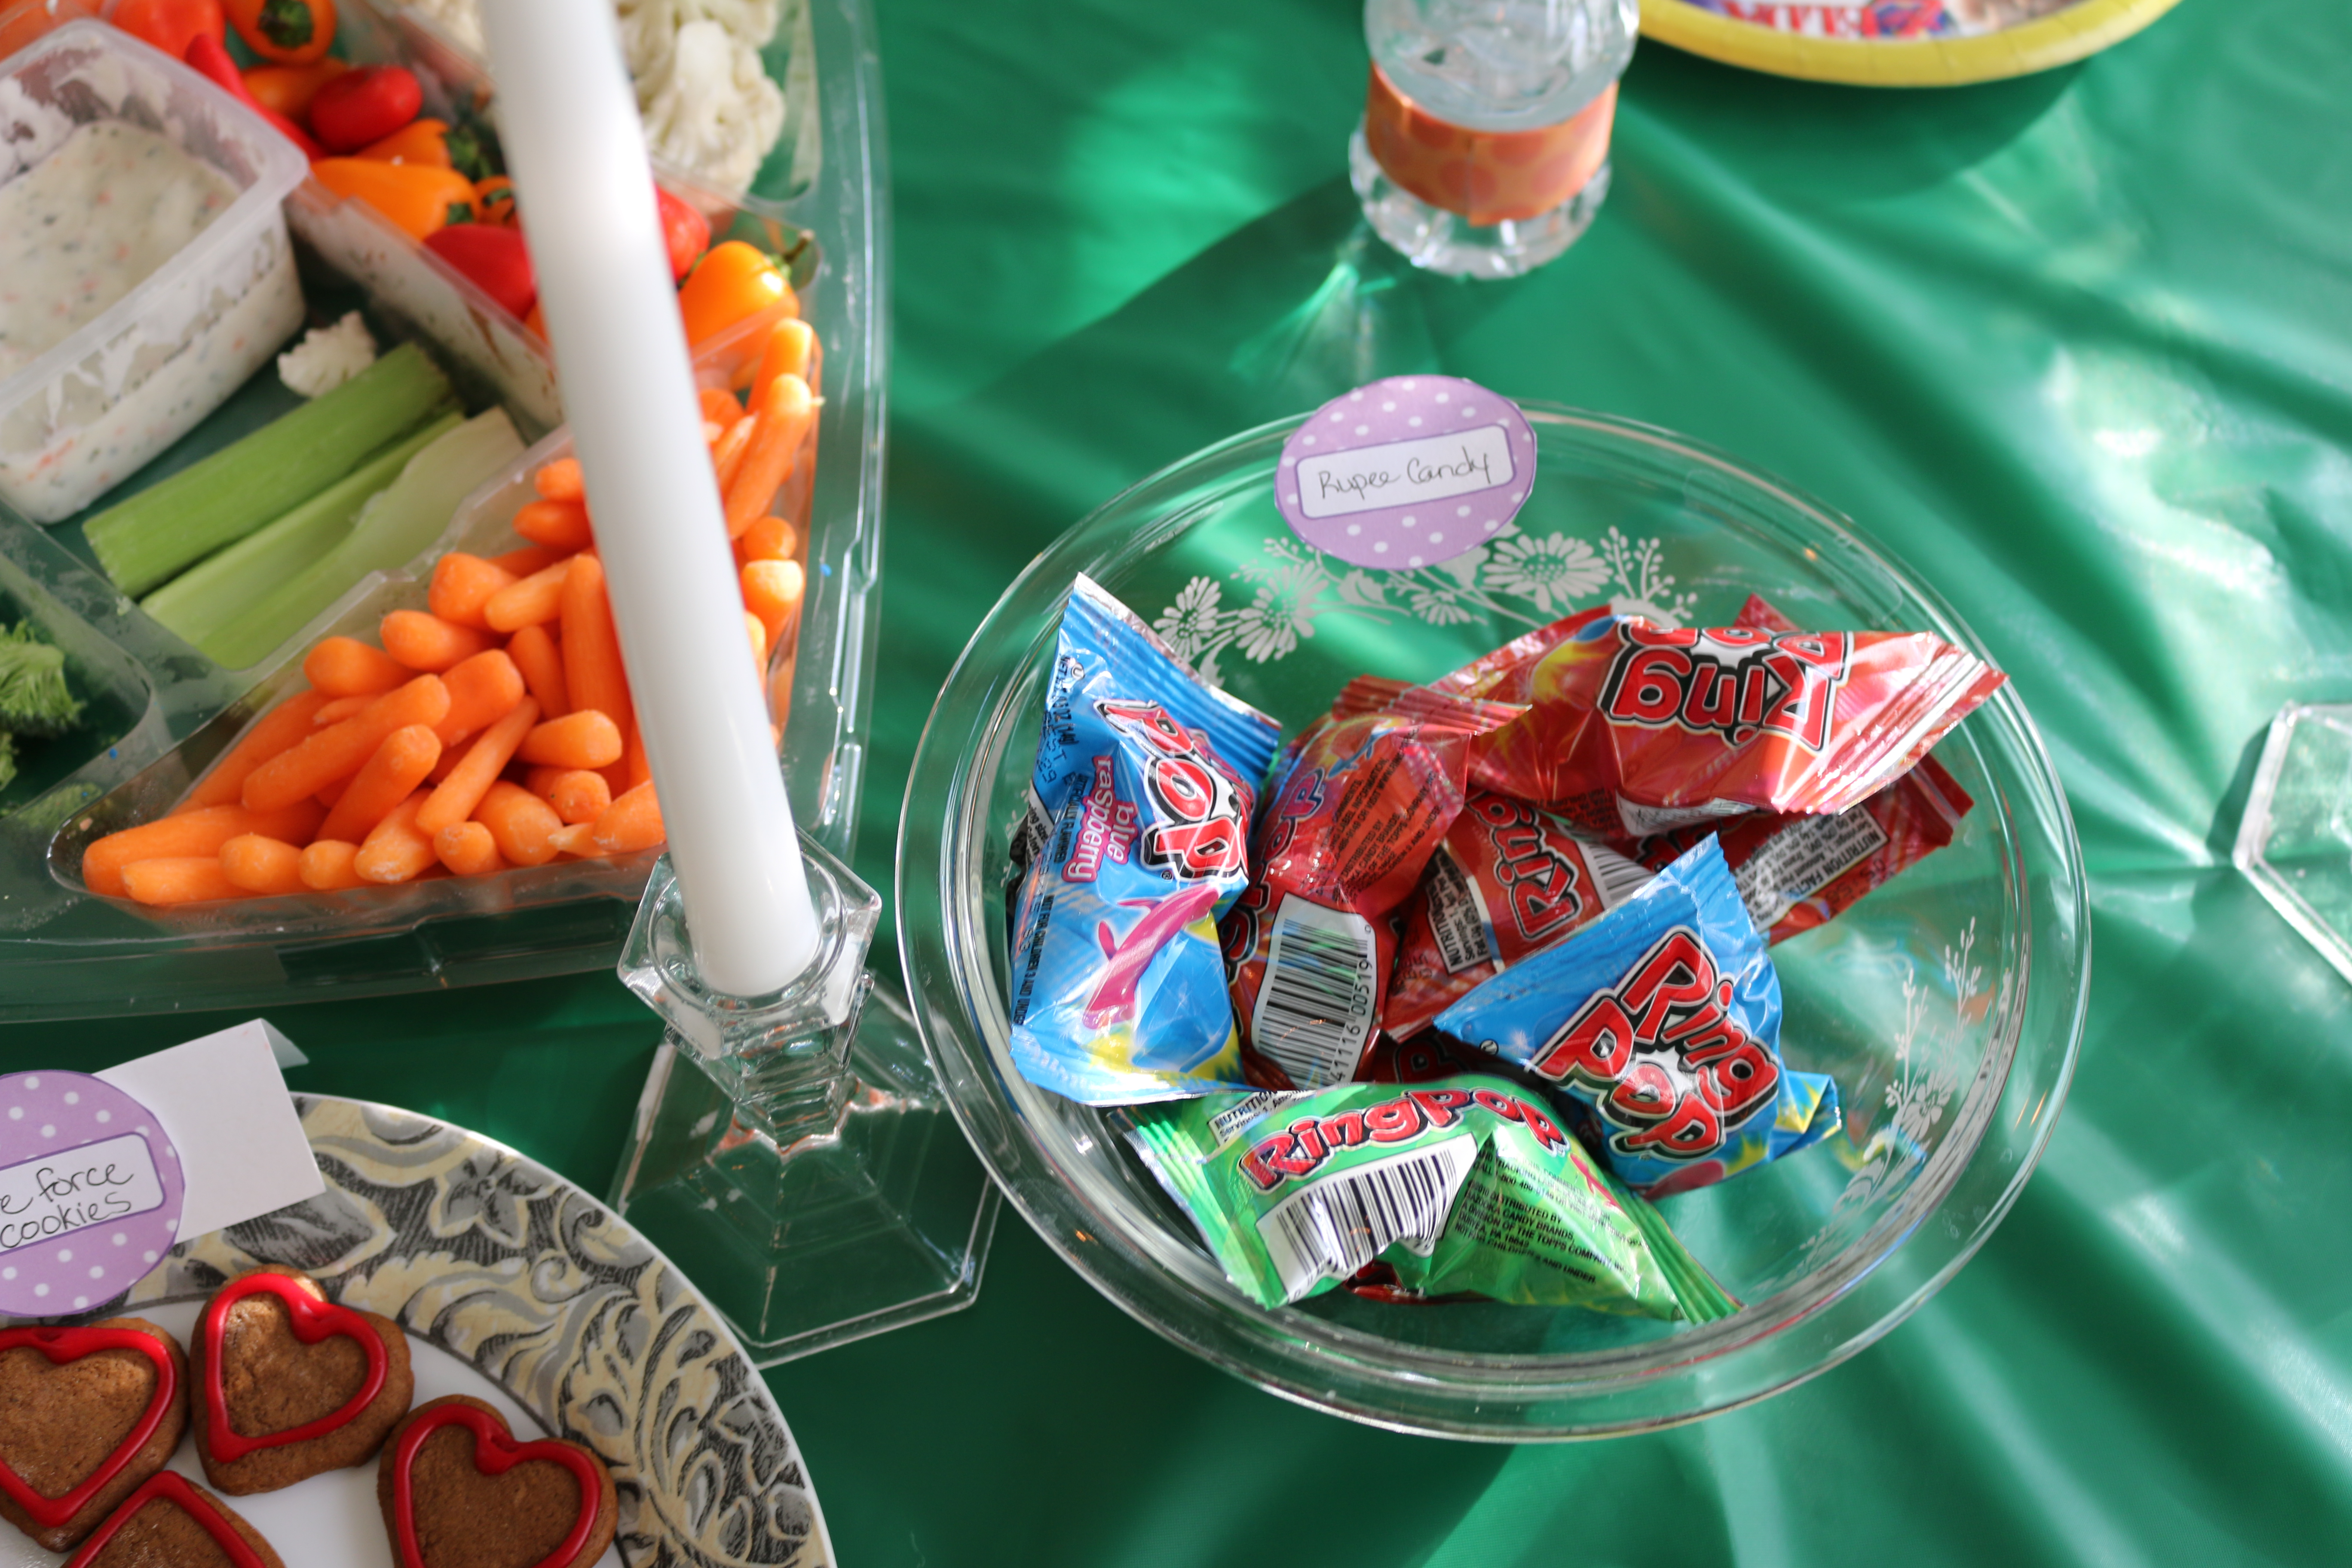
Ok so for the rest of the party I bought a Nerf bow and arrow, sling shot and tomahawk. The boys played target practice in the back yard with these various target practice devices. The funniest part was I was the human target for the tomahawk throwing 🙂 I wore my sons helmet with a face shield just in case lol. I made a very extensive scavenger hunt for the boys that kept them busy for at least a half hour. They had an absolute blast trying to figure out the riddles. In the various places I picked for the riddles I hid “rupees” (gems from Michael’s craft store) who ever collected the most rupees won.

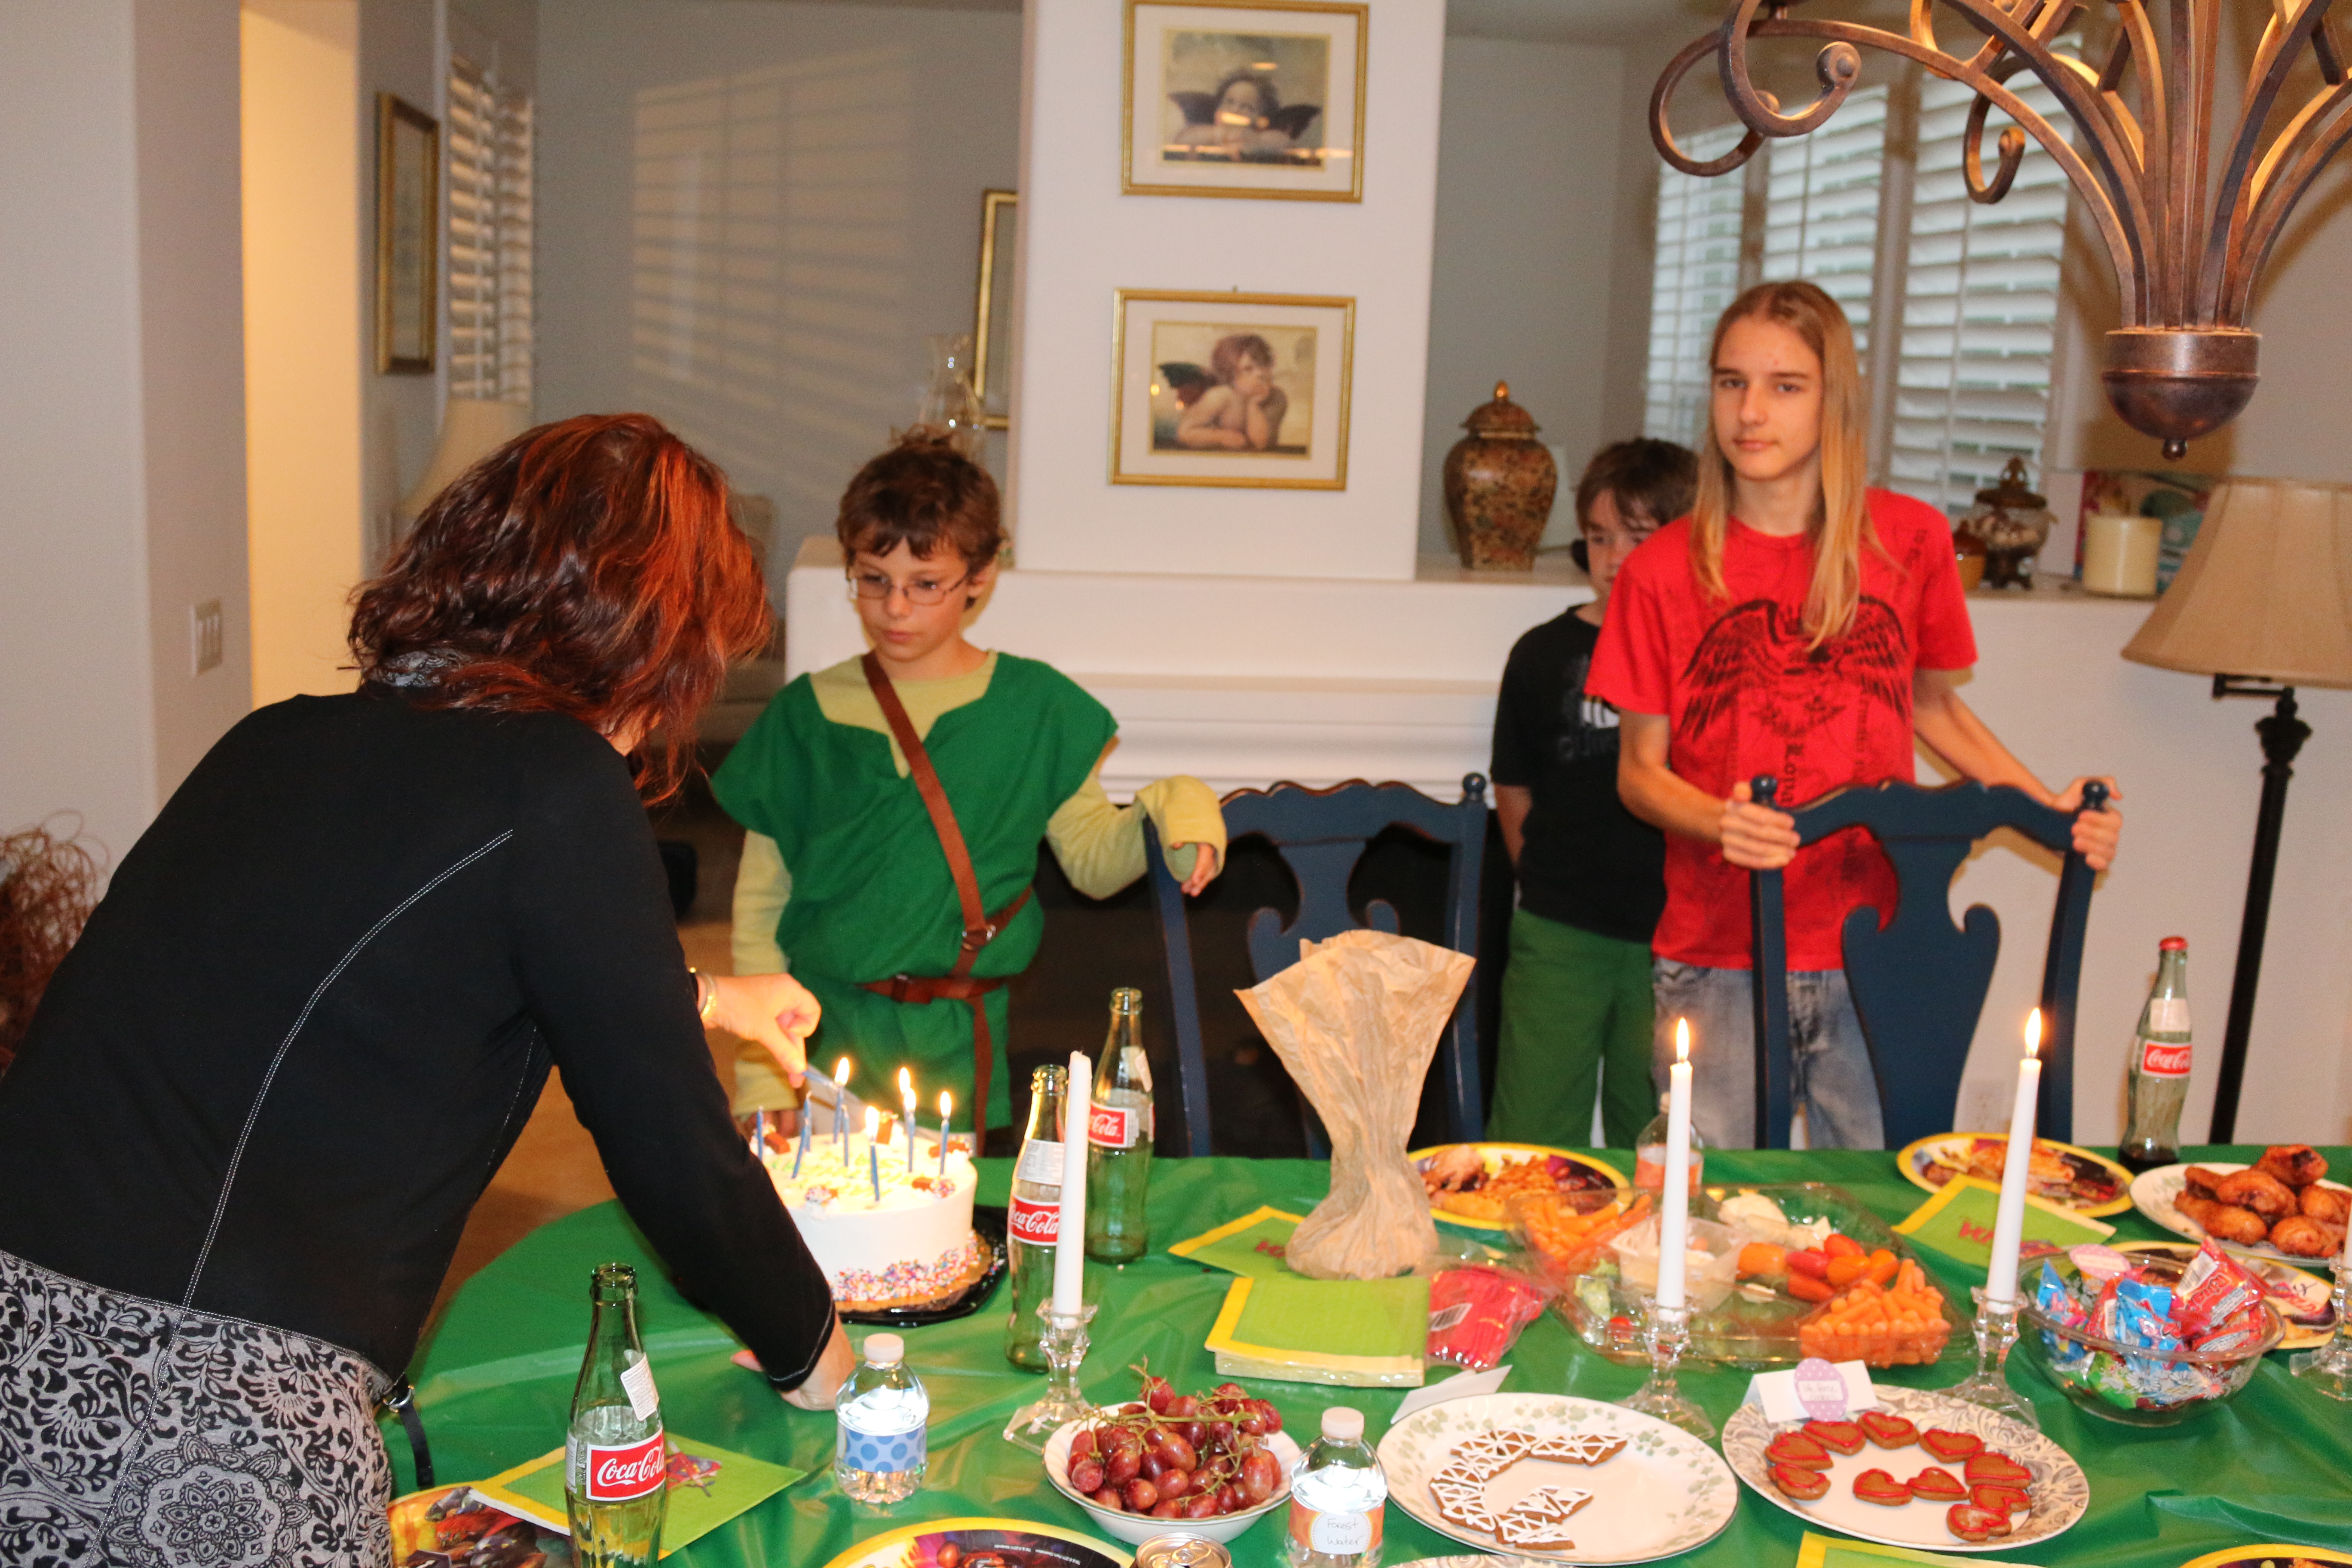
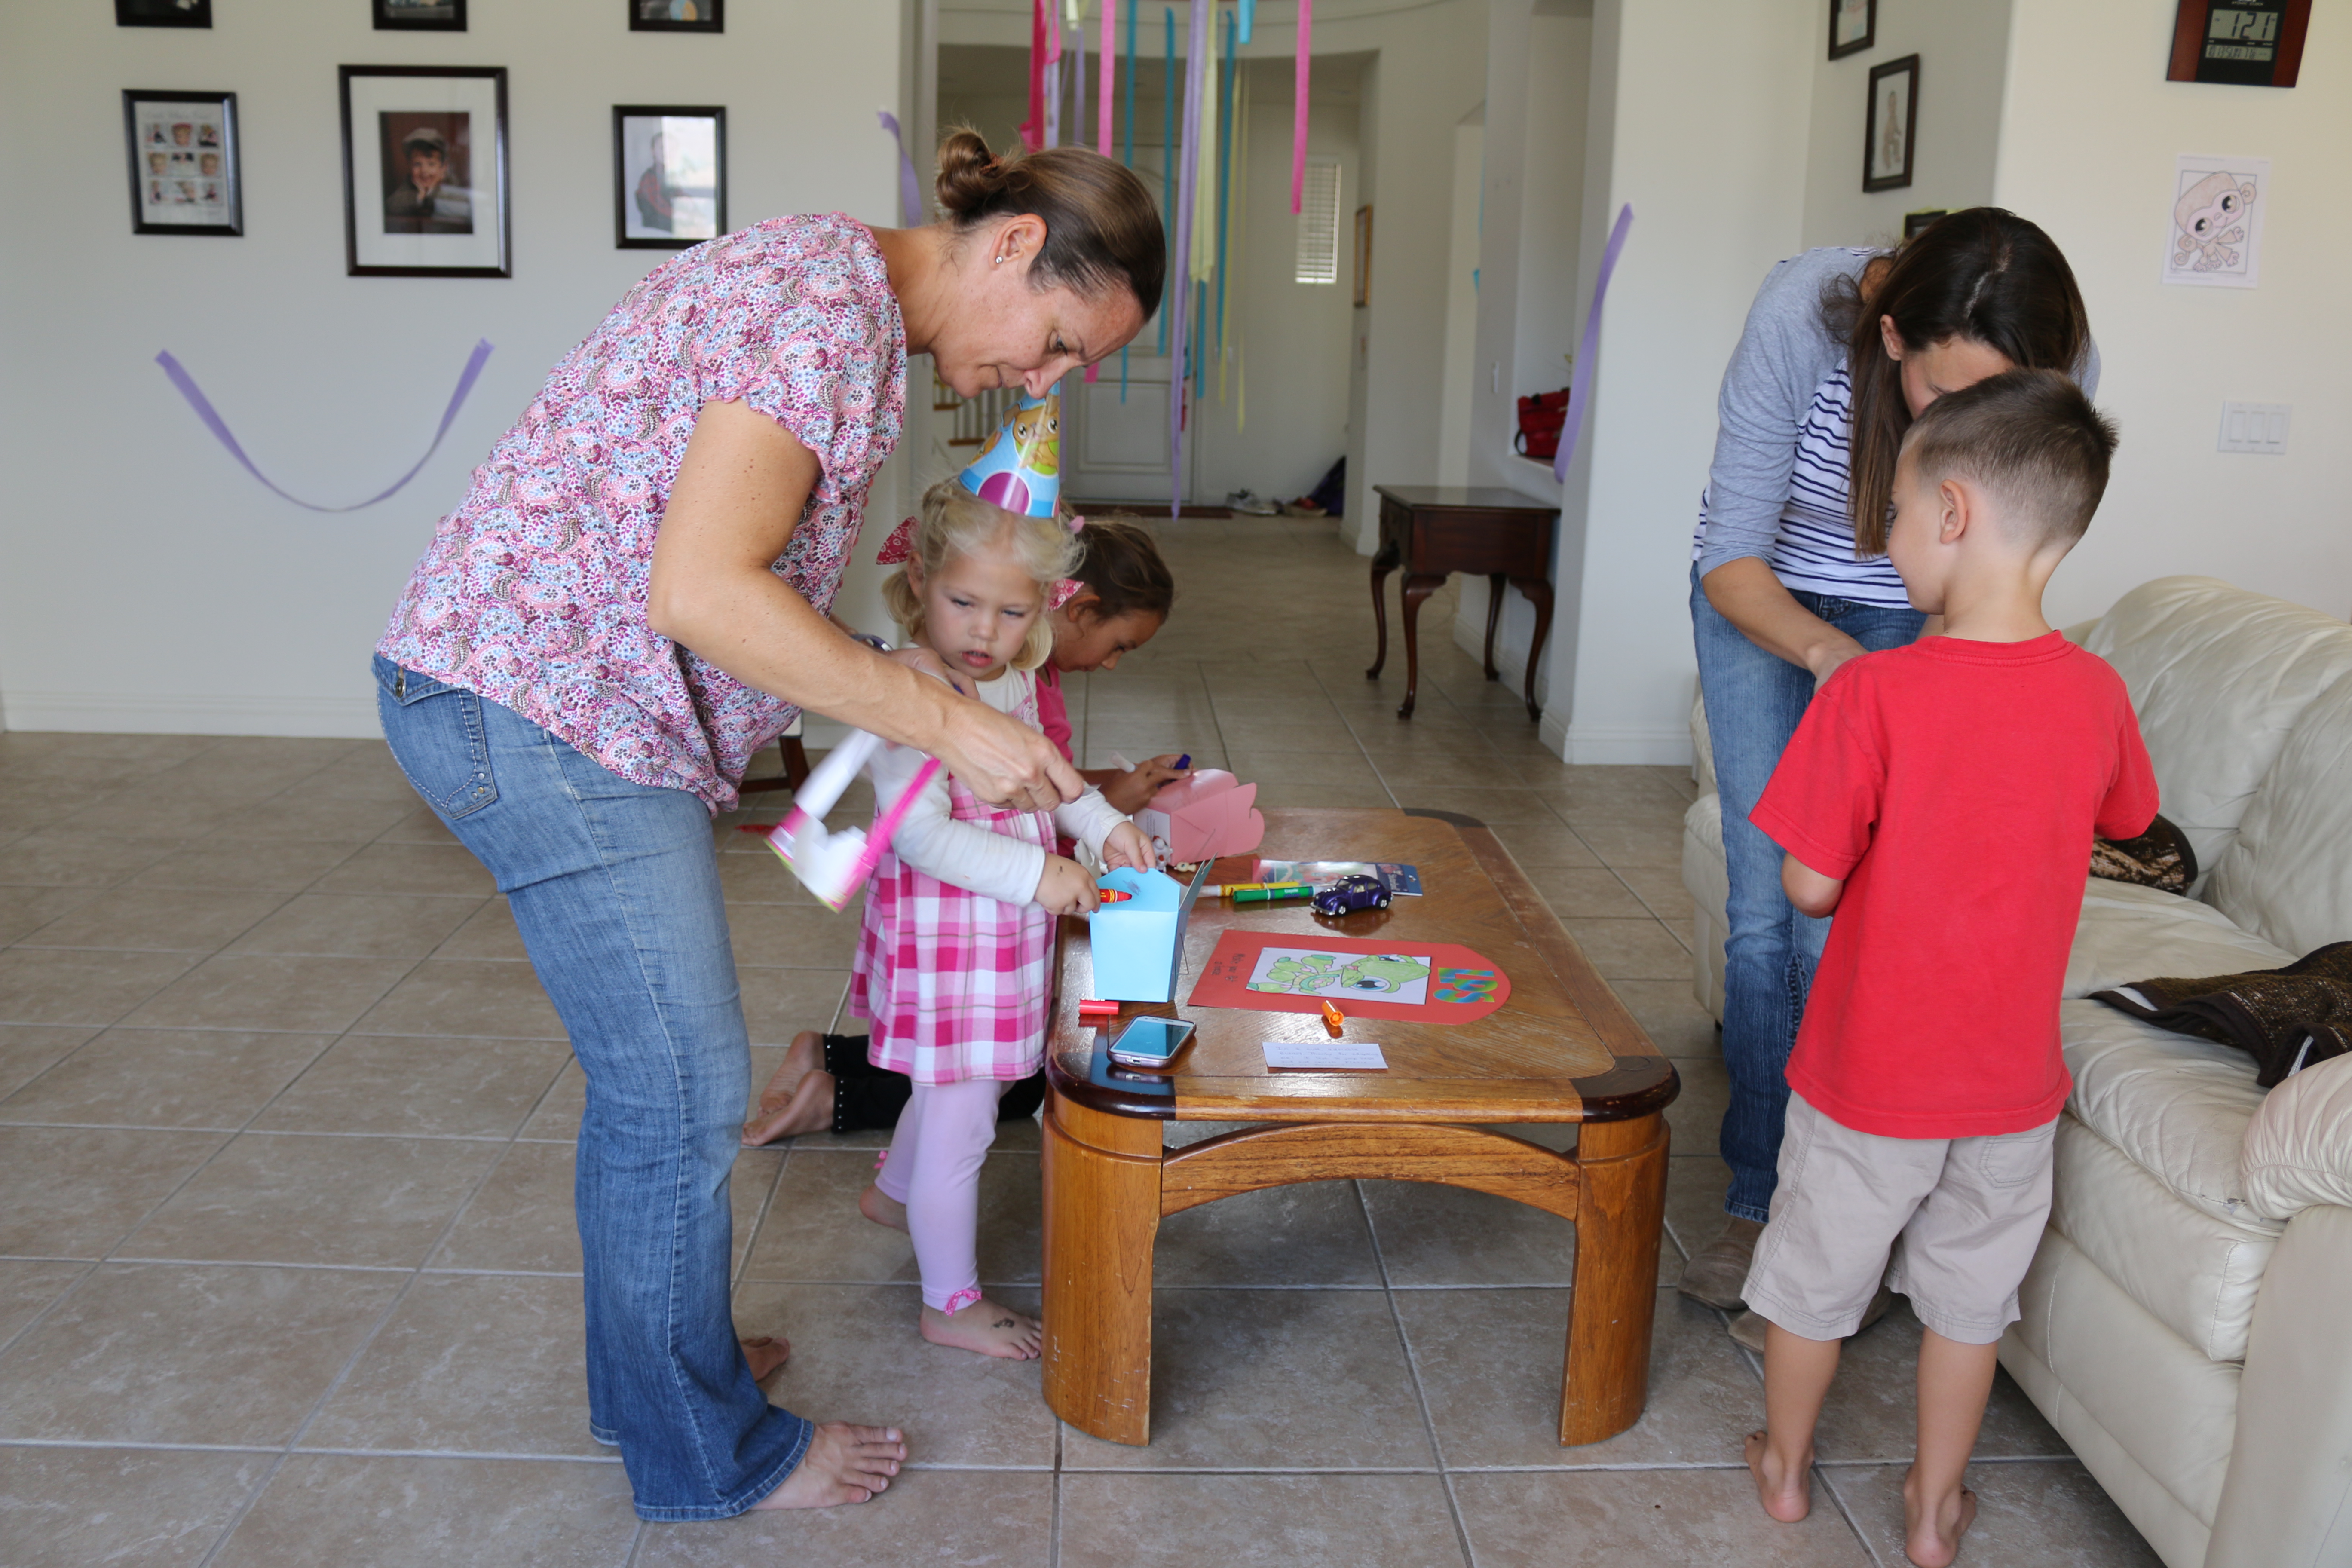
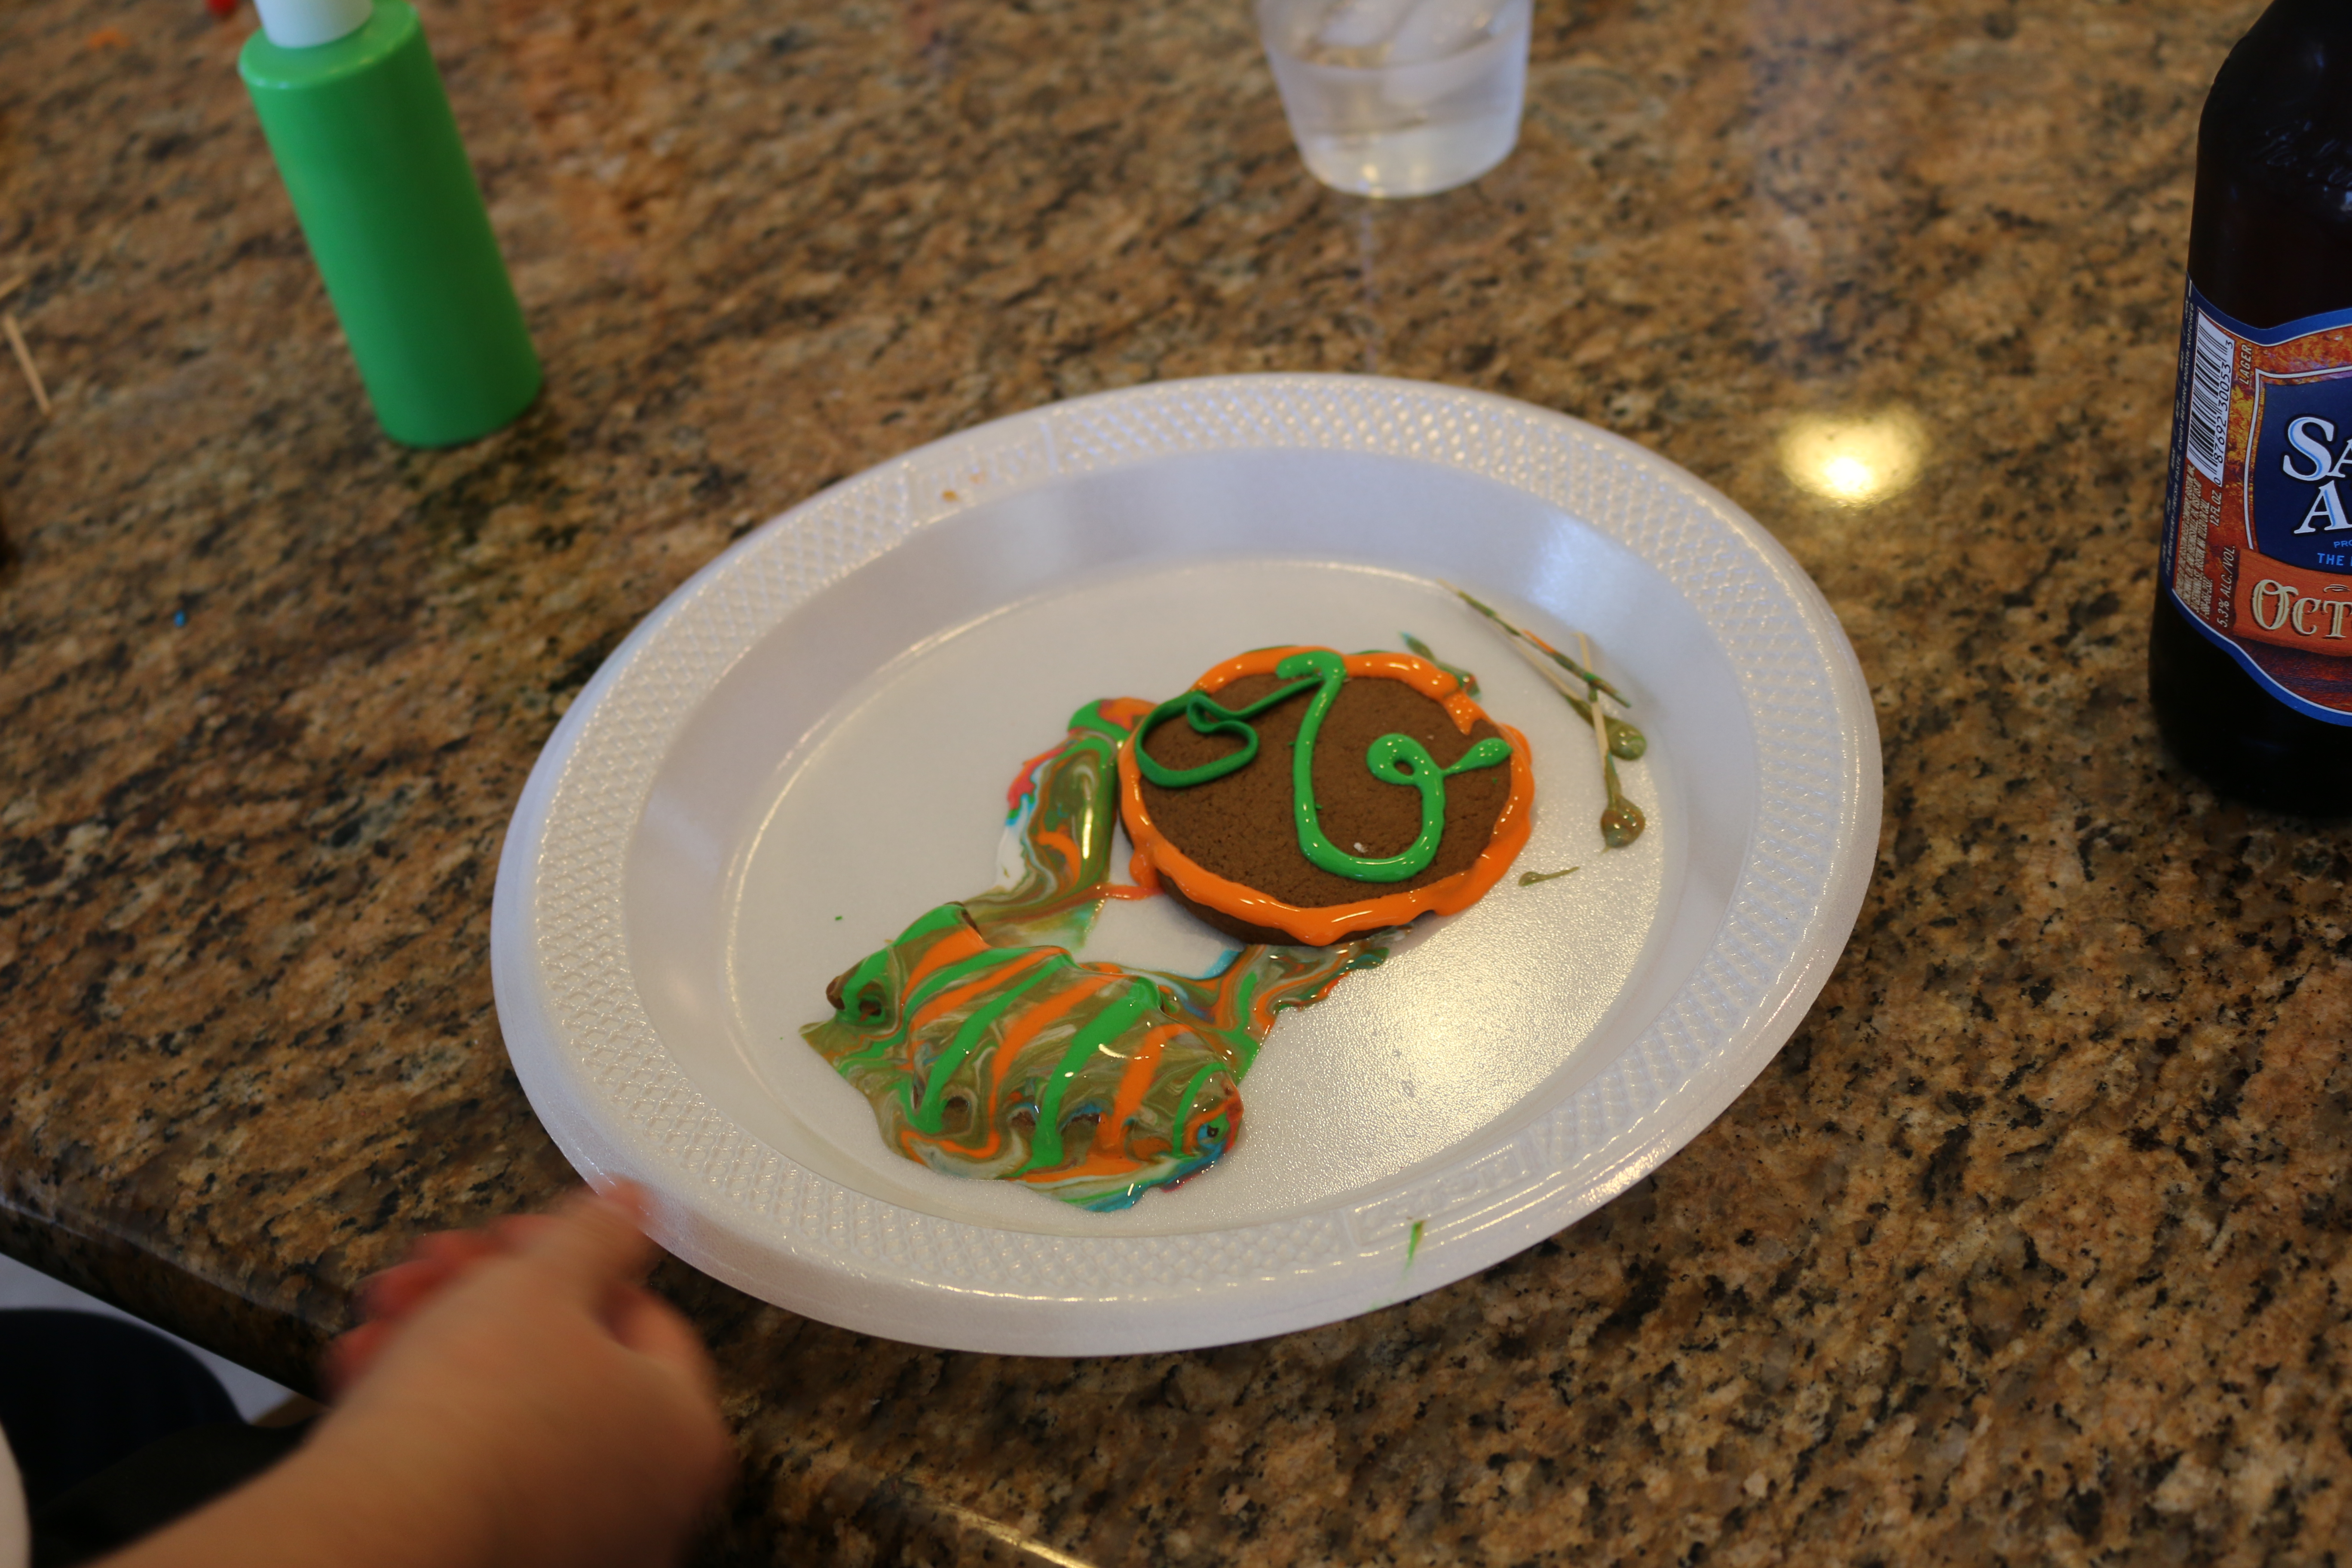
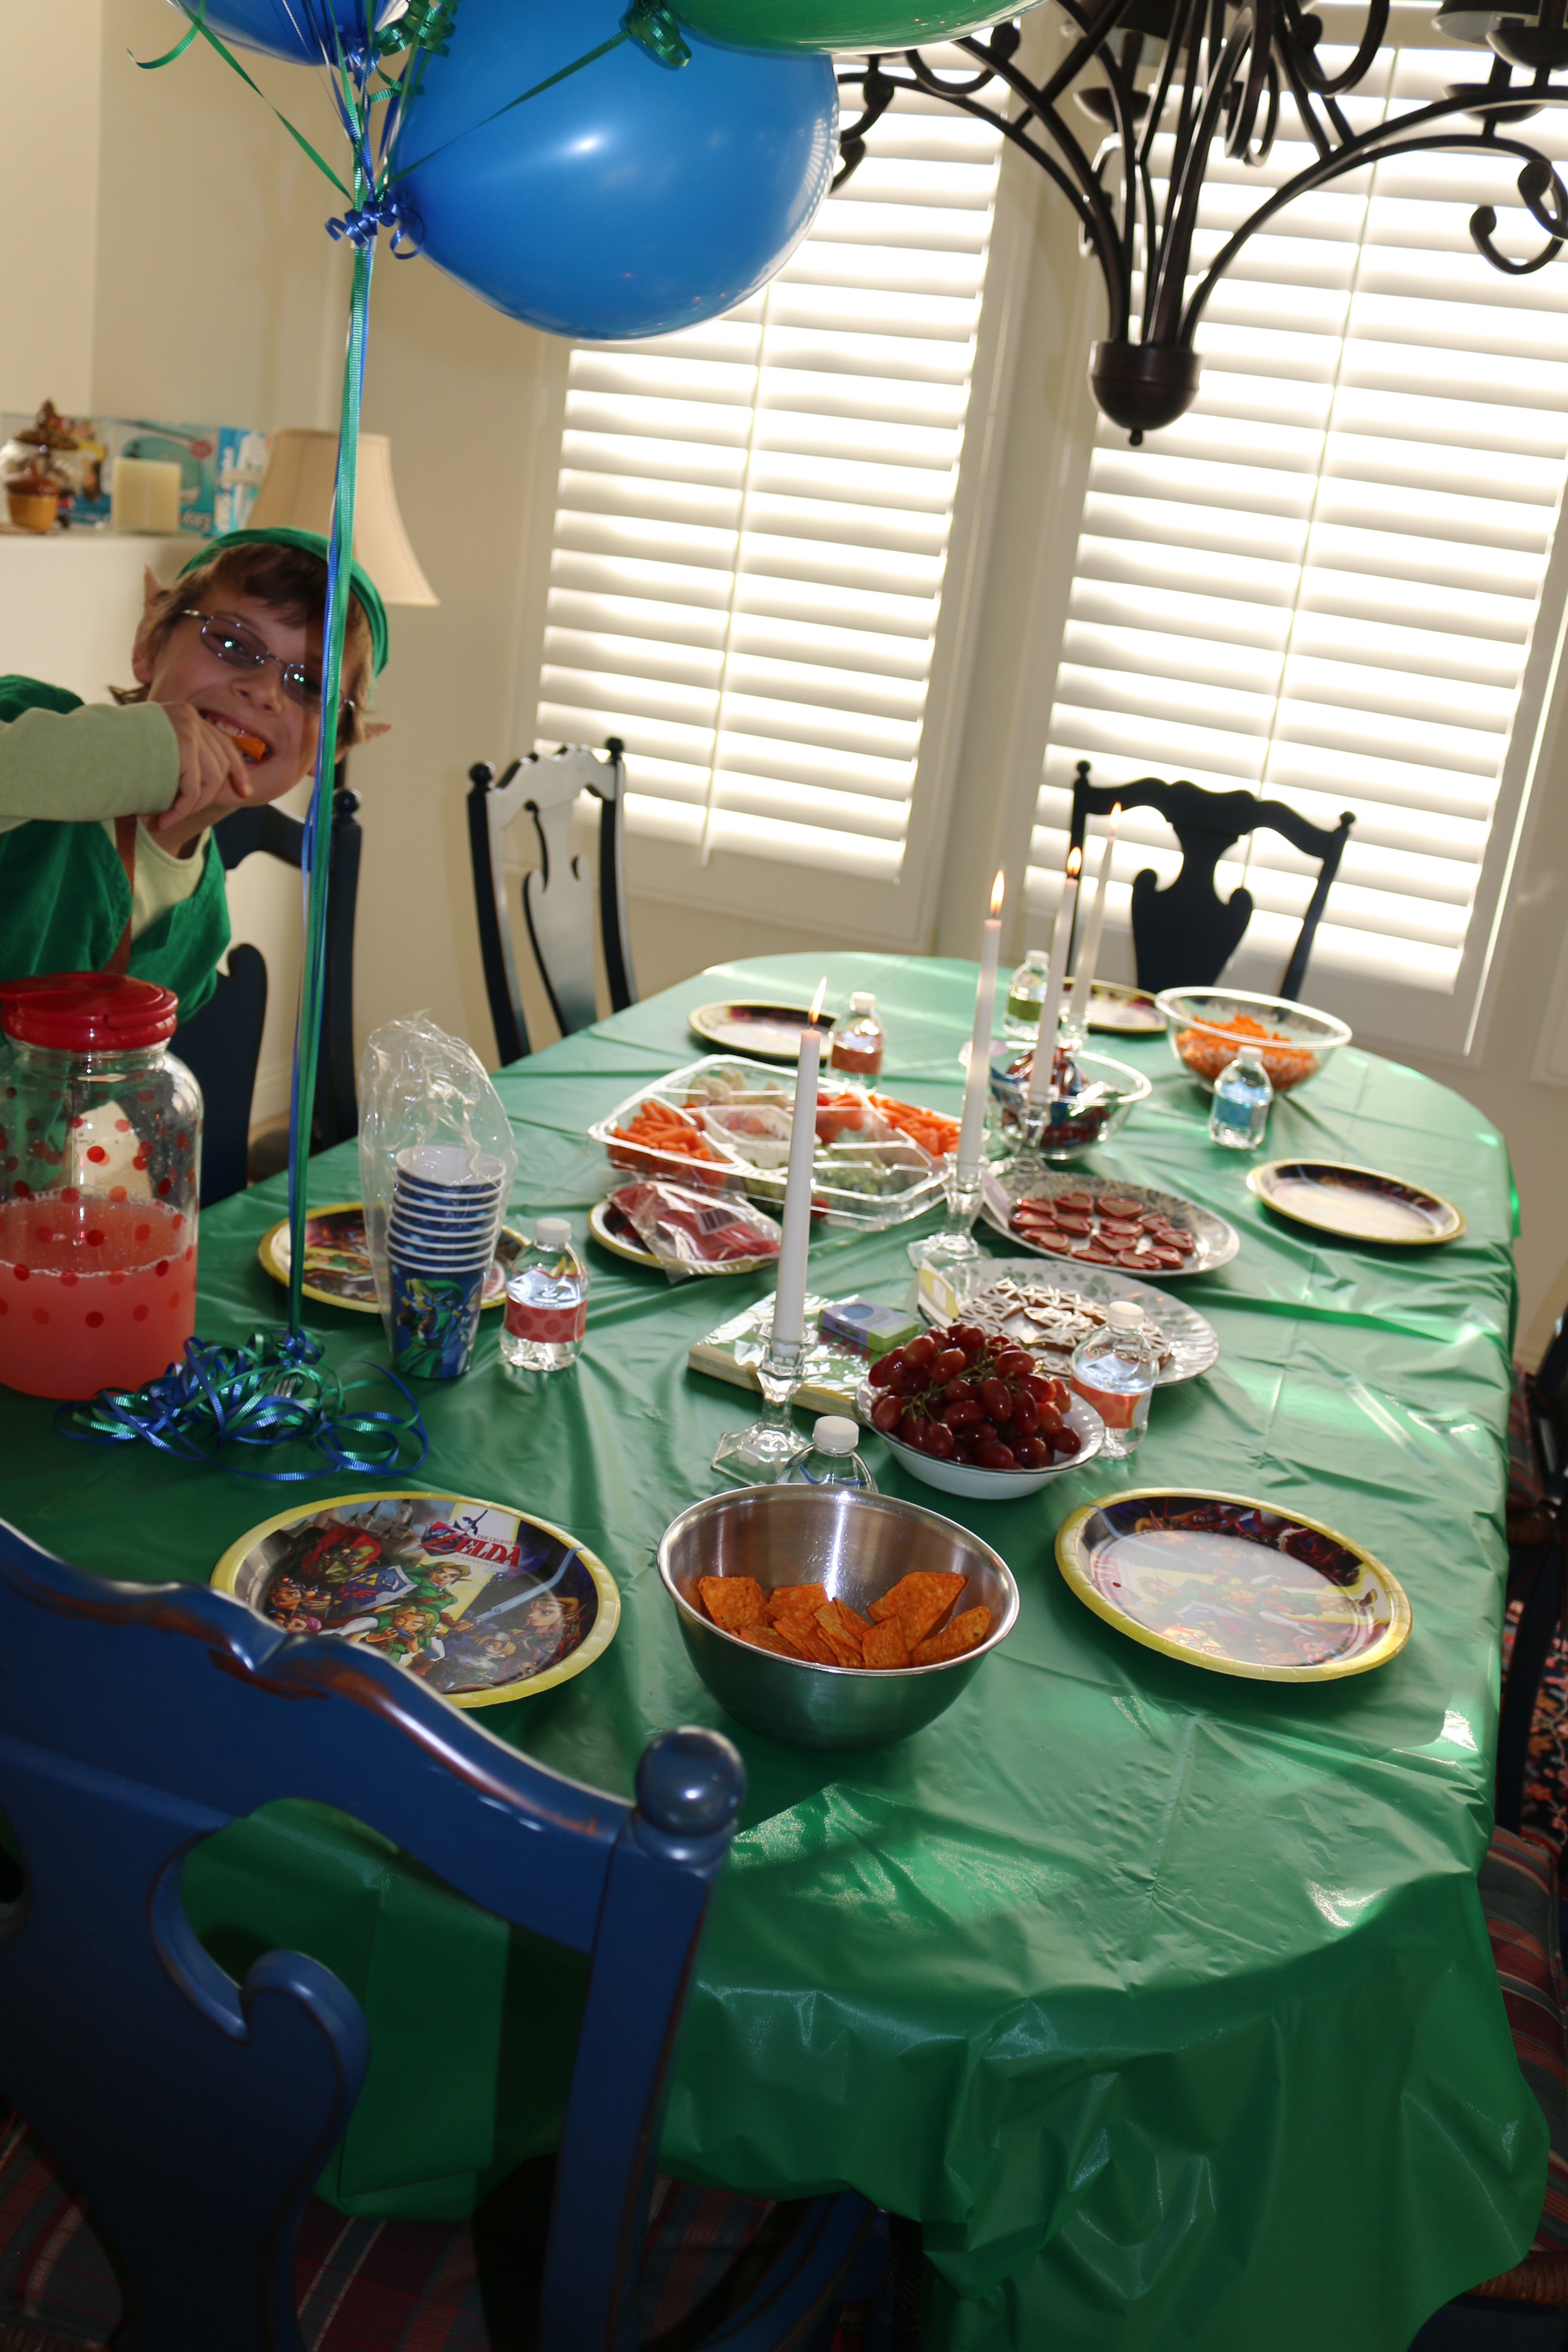
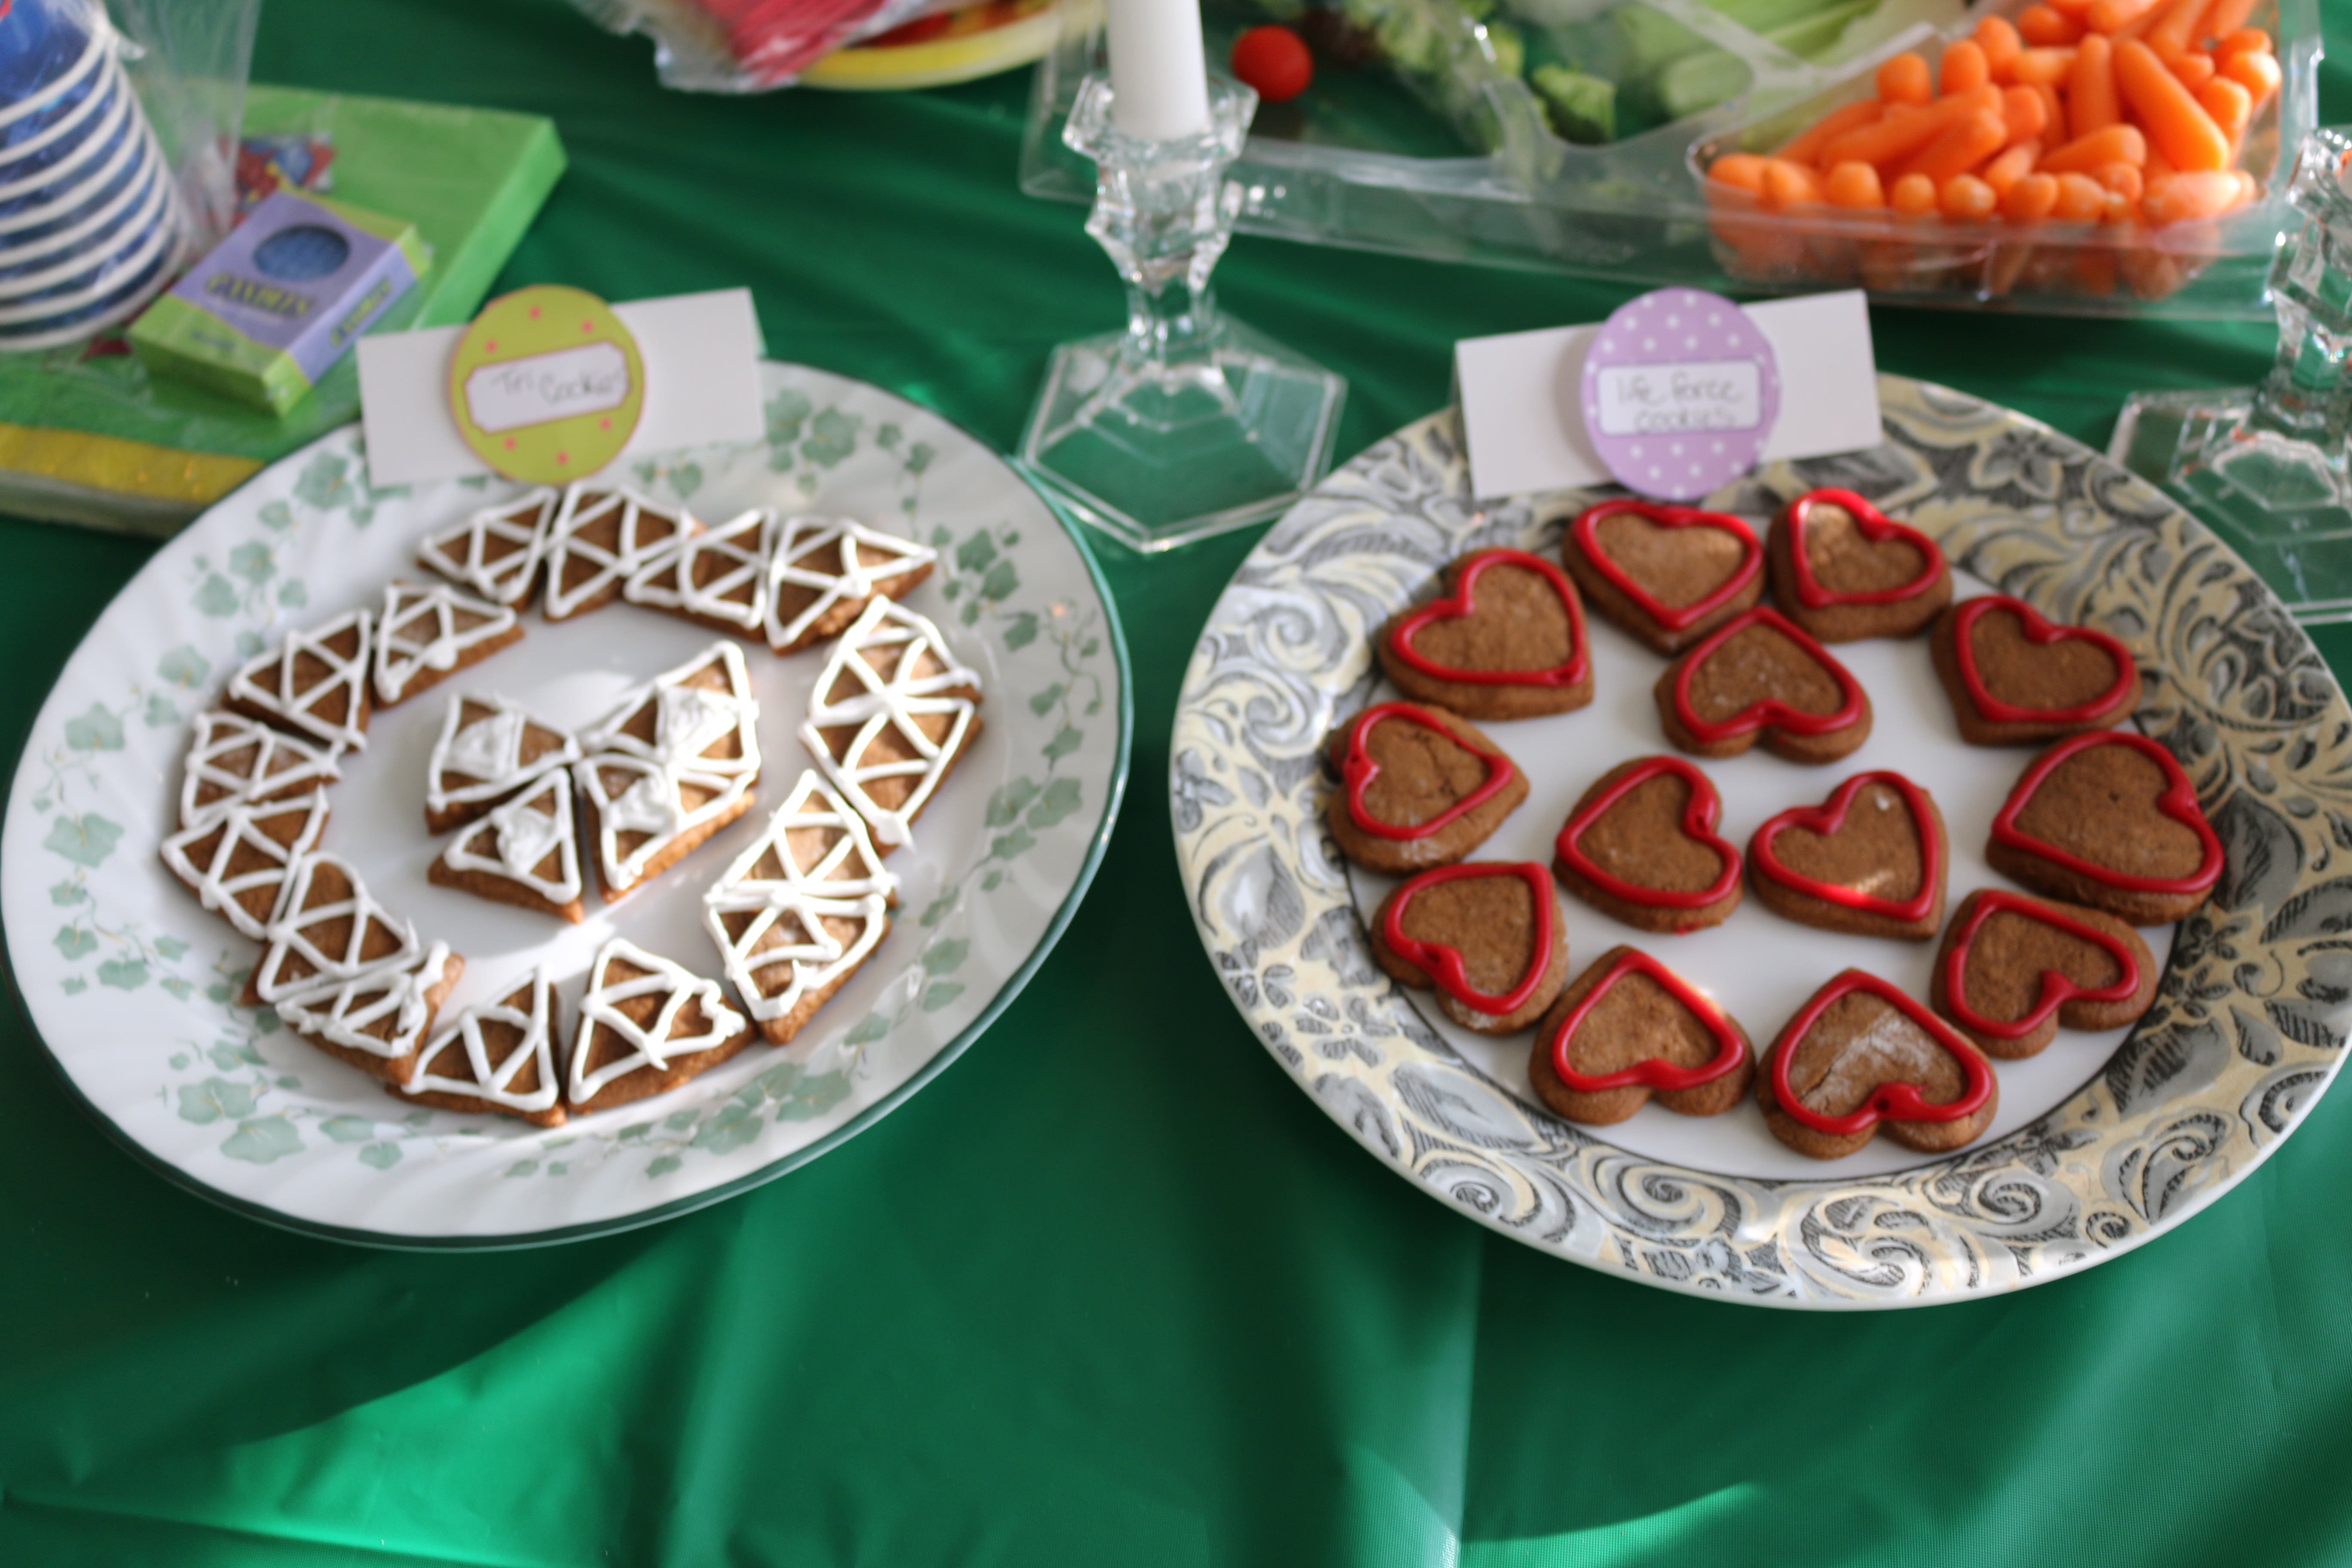
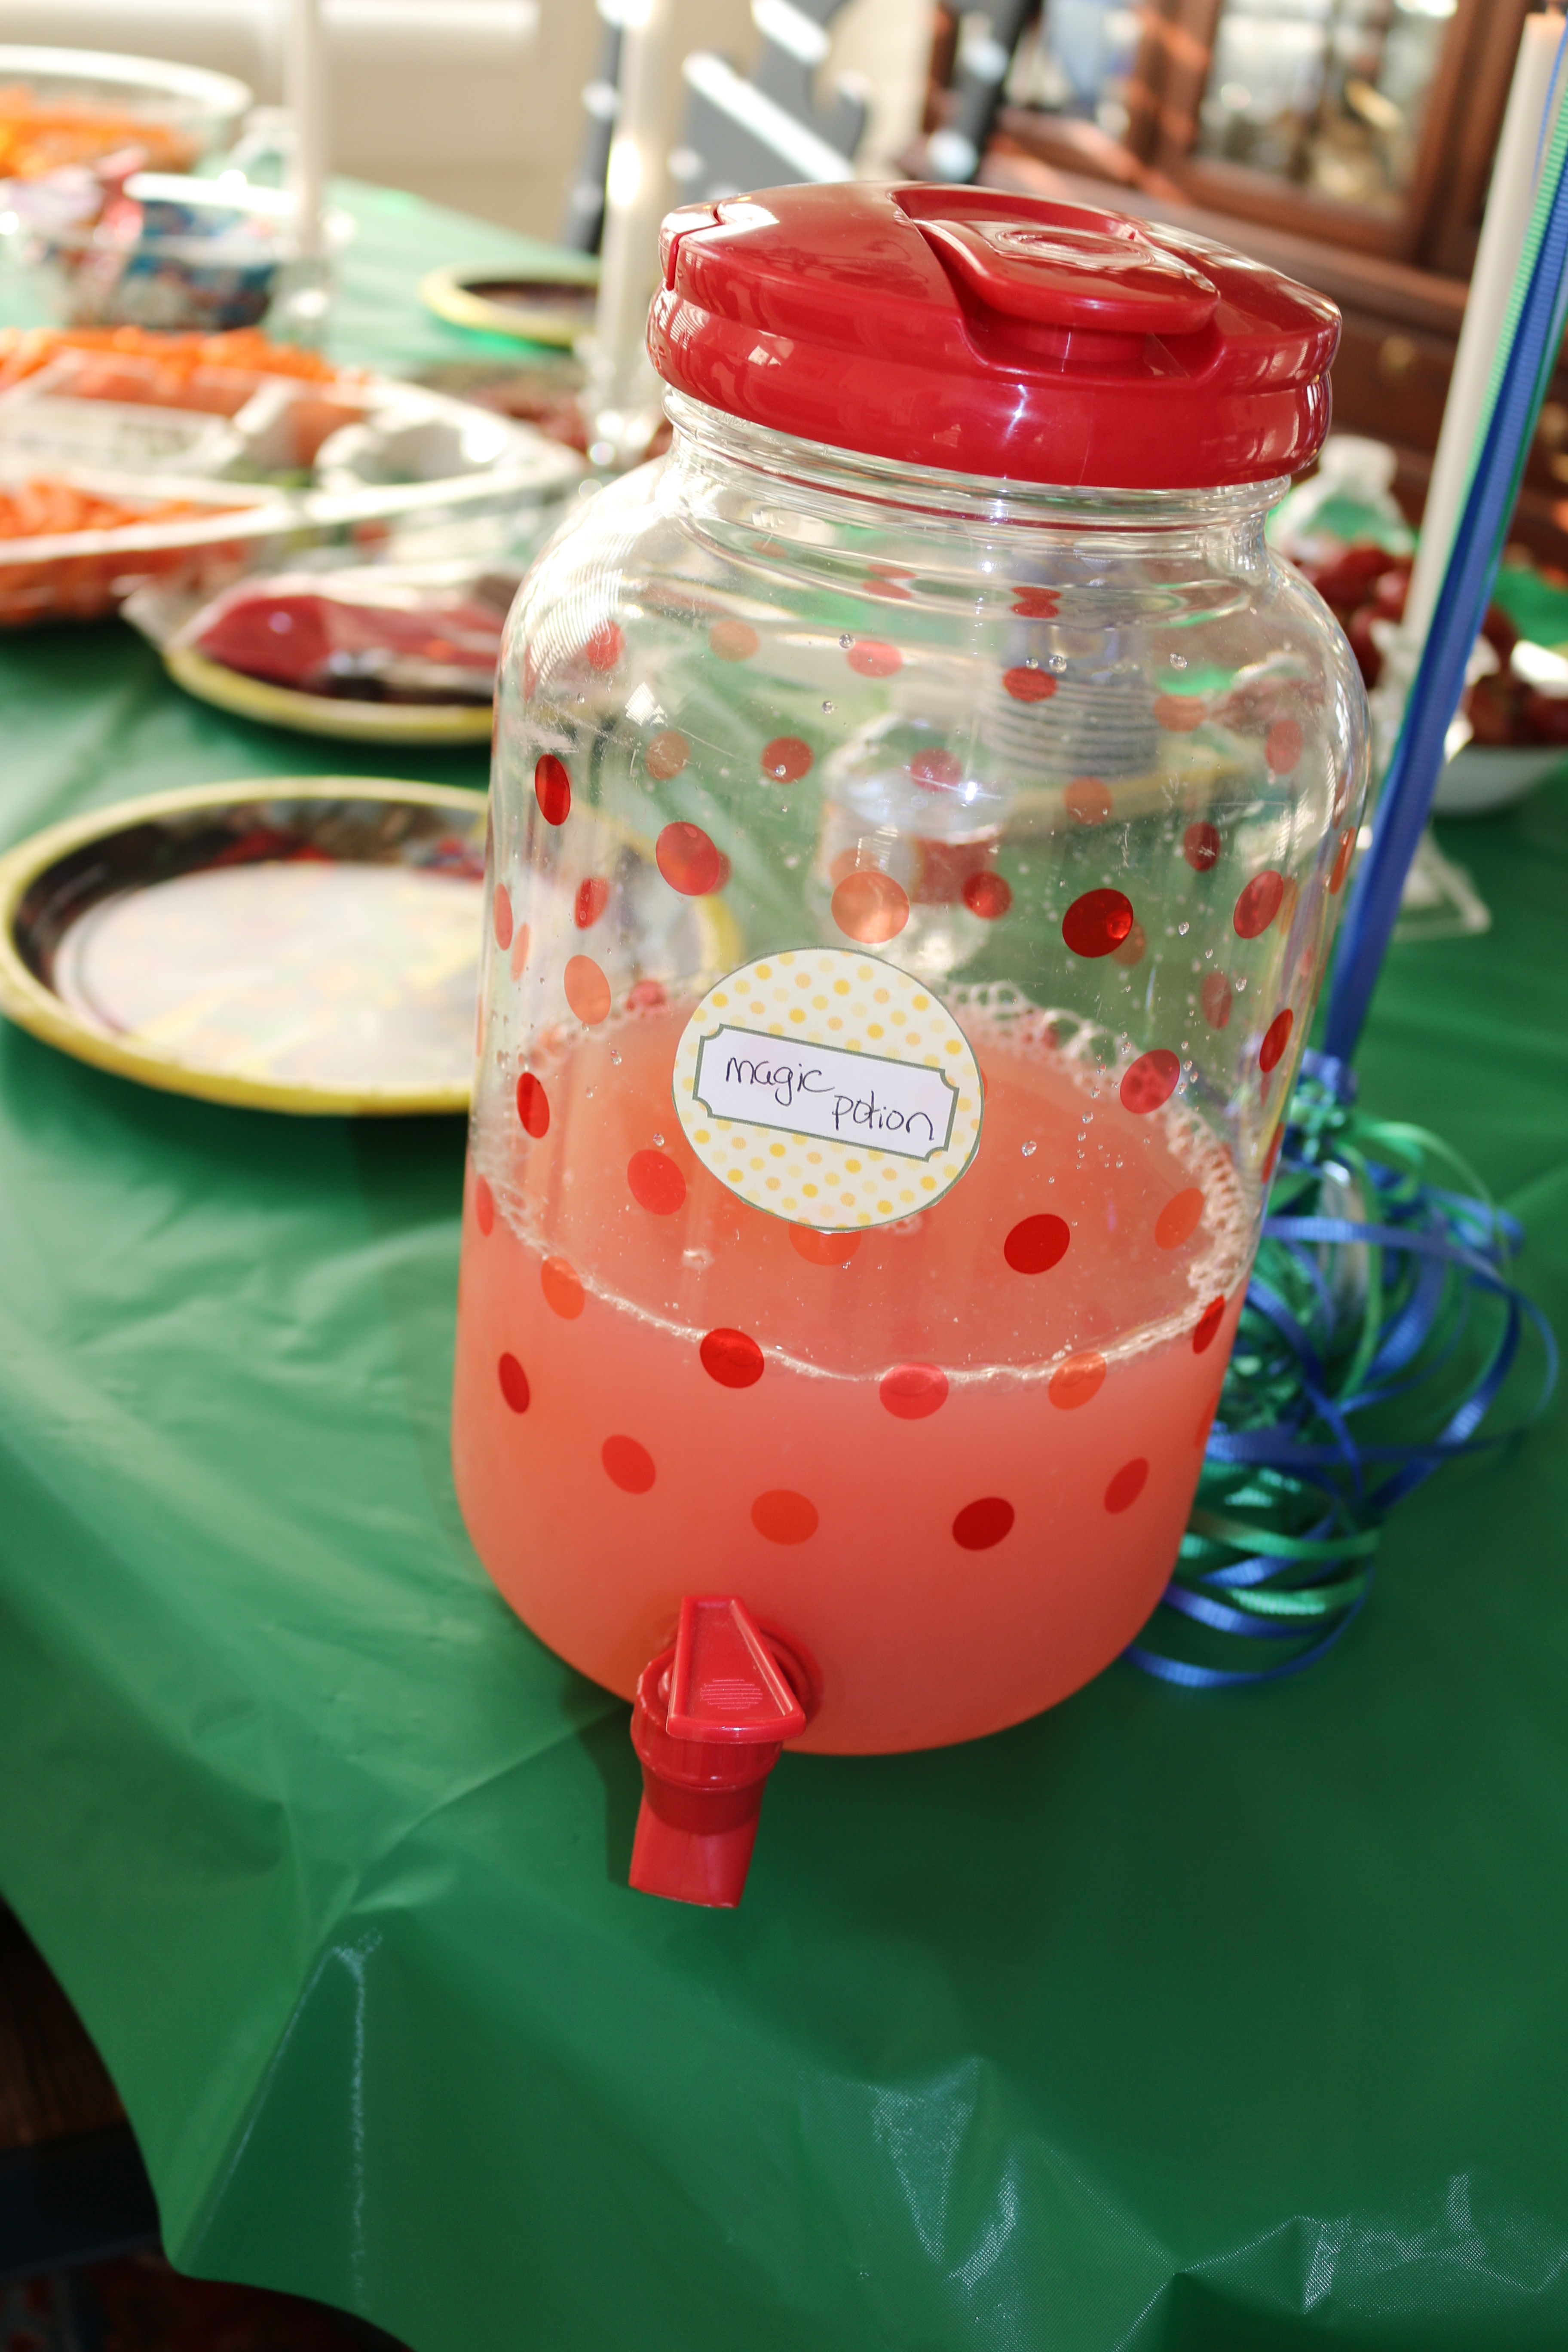
For food I was going for a medieval theme and bought some tall candles from the dollar store, I couldn’t find smoked turkey legs so I made chicken drumsticks on the barbecue (my son’s favorite), pink lemonade was the”magic potion” like in the game, also made my own labels for the bottles of water “forest water”, homemade cookies “triforce and life force hearts”. The kids helped me color Zelda pictures that I put up on the walls.

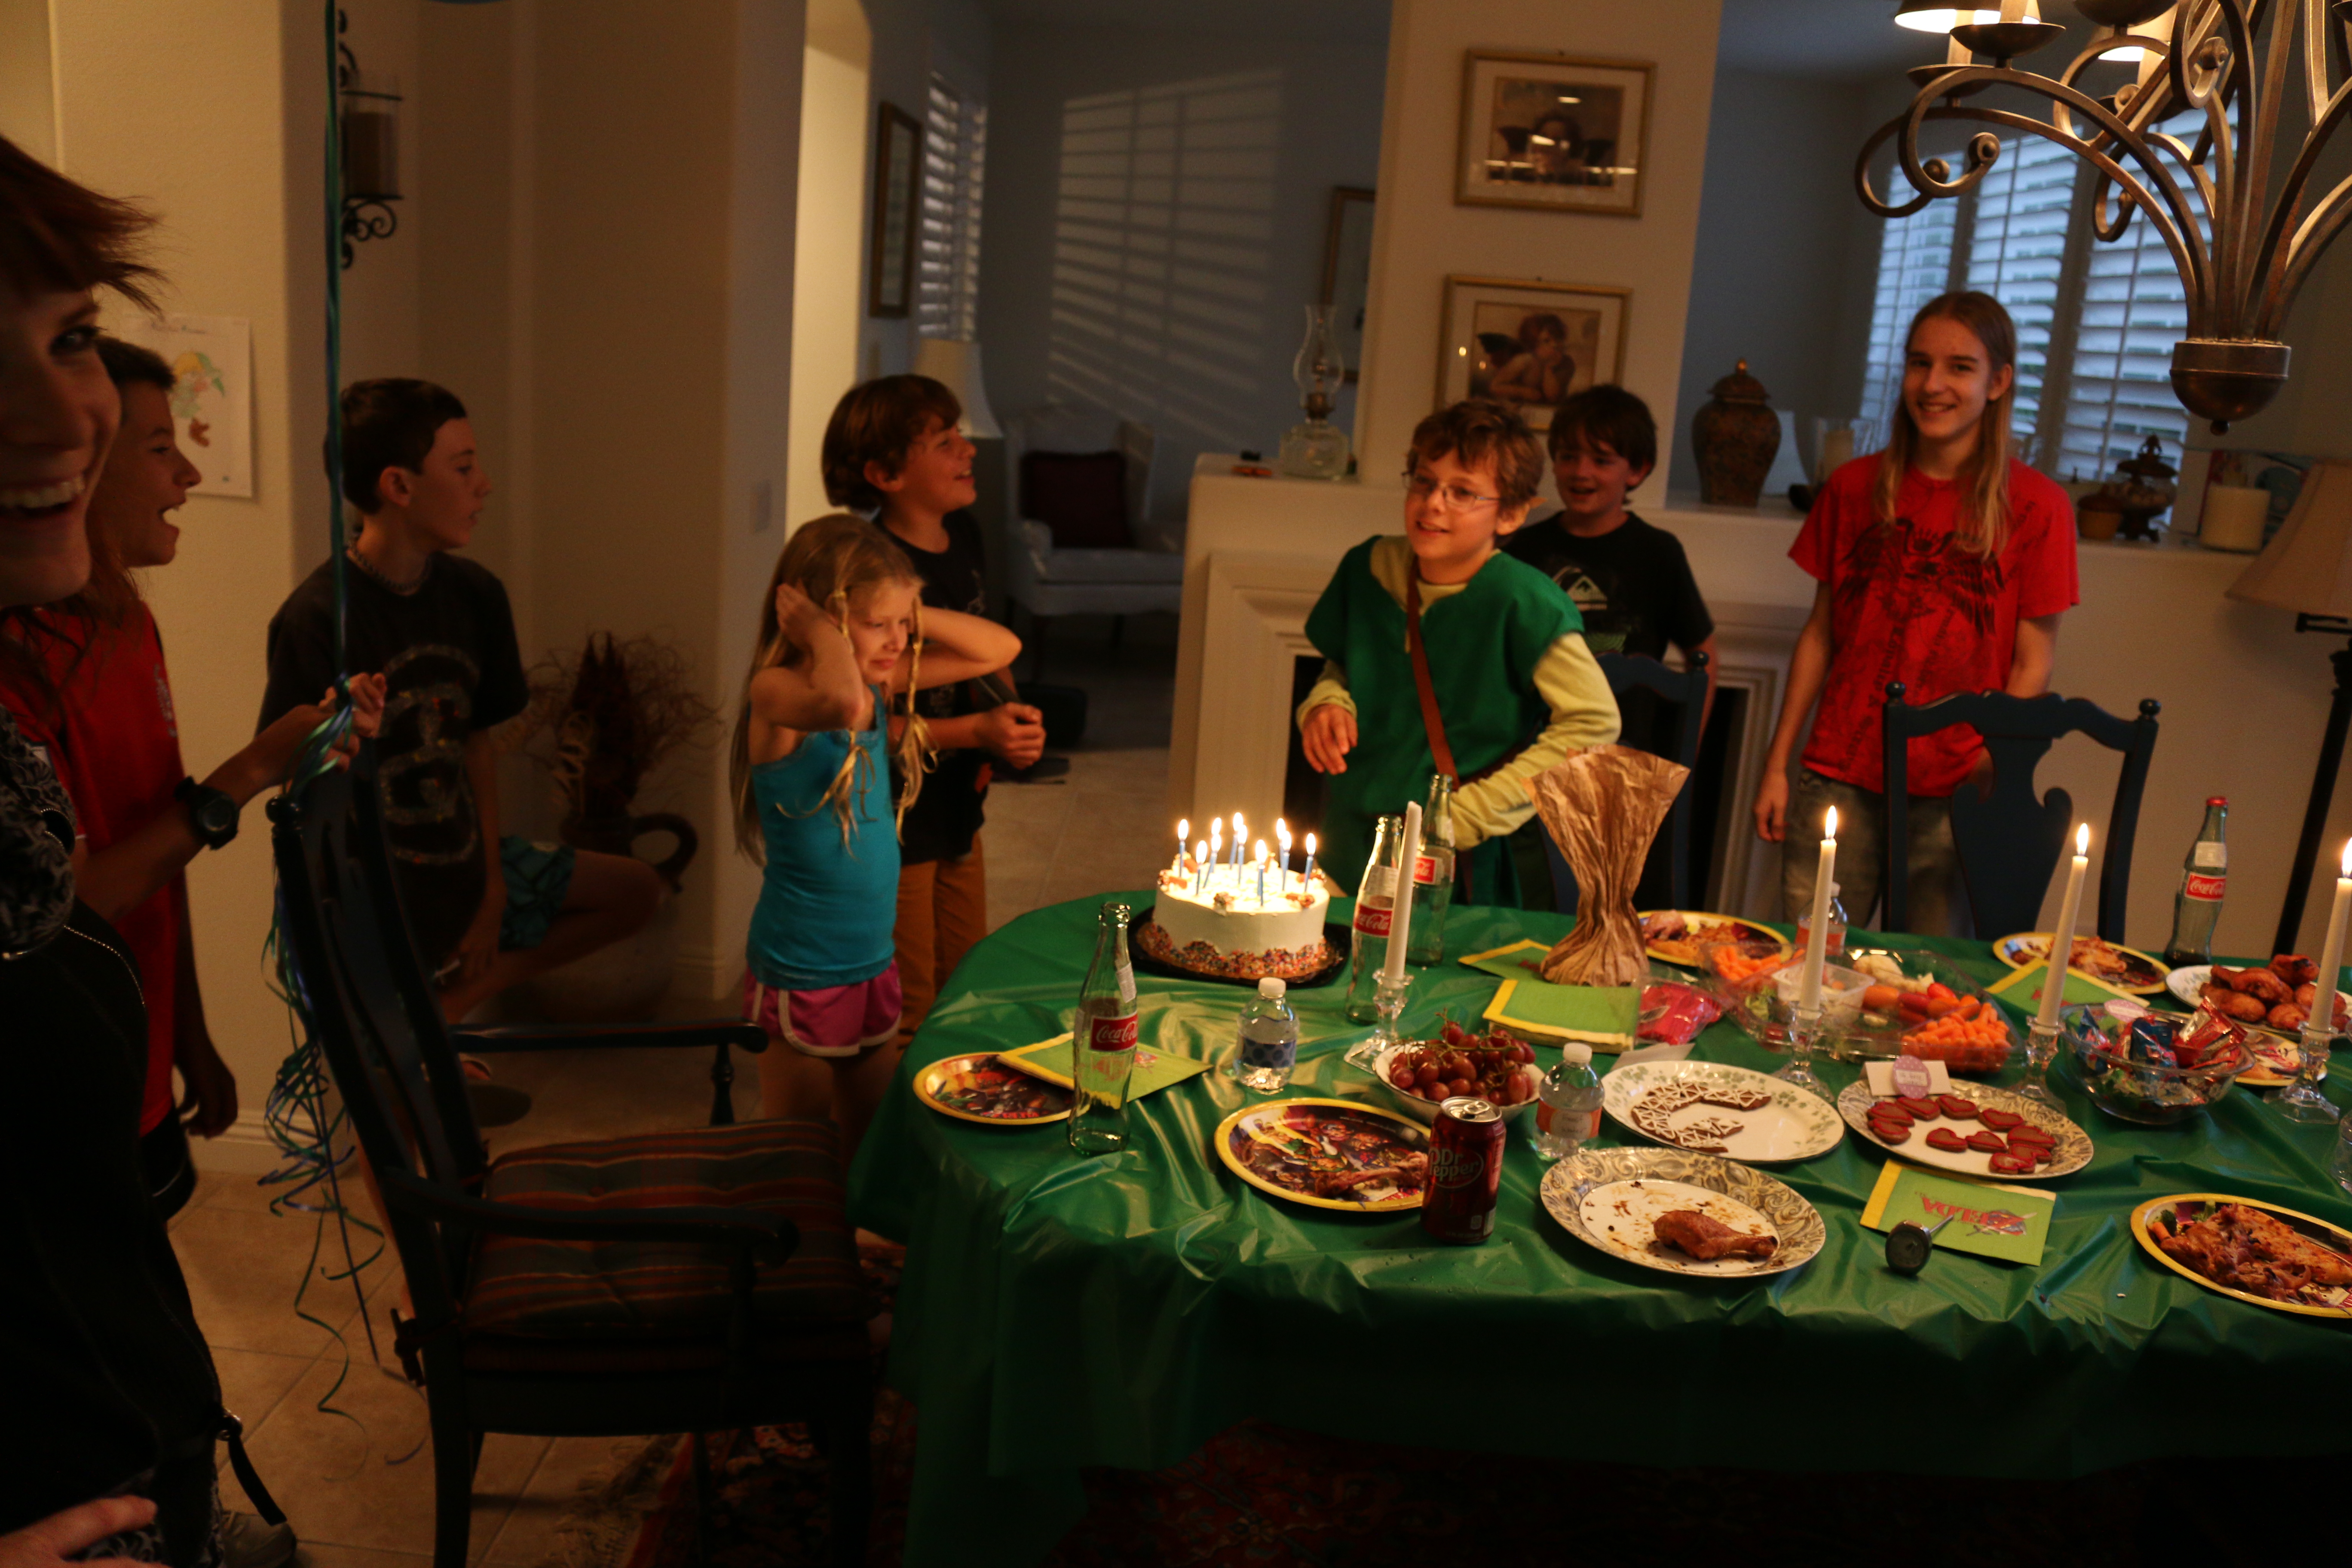
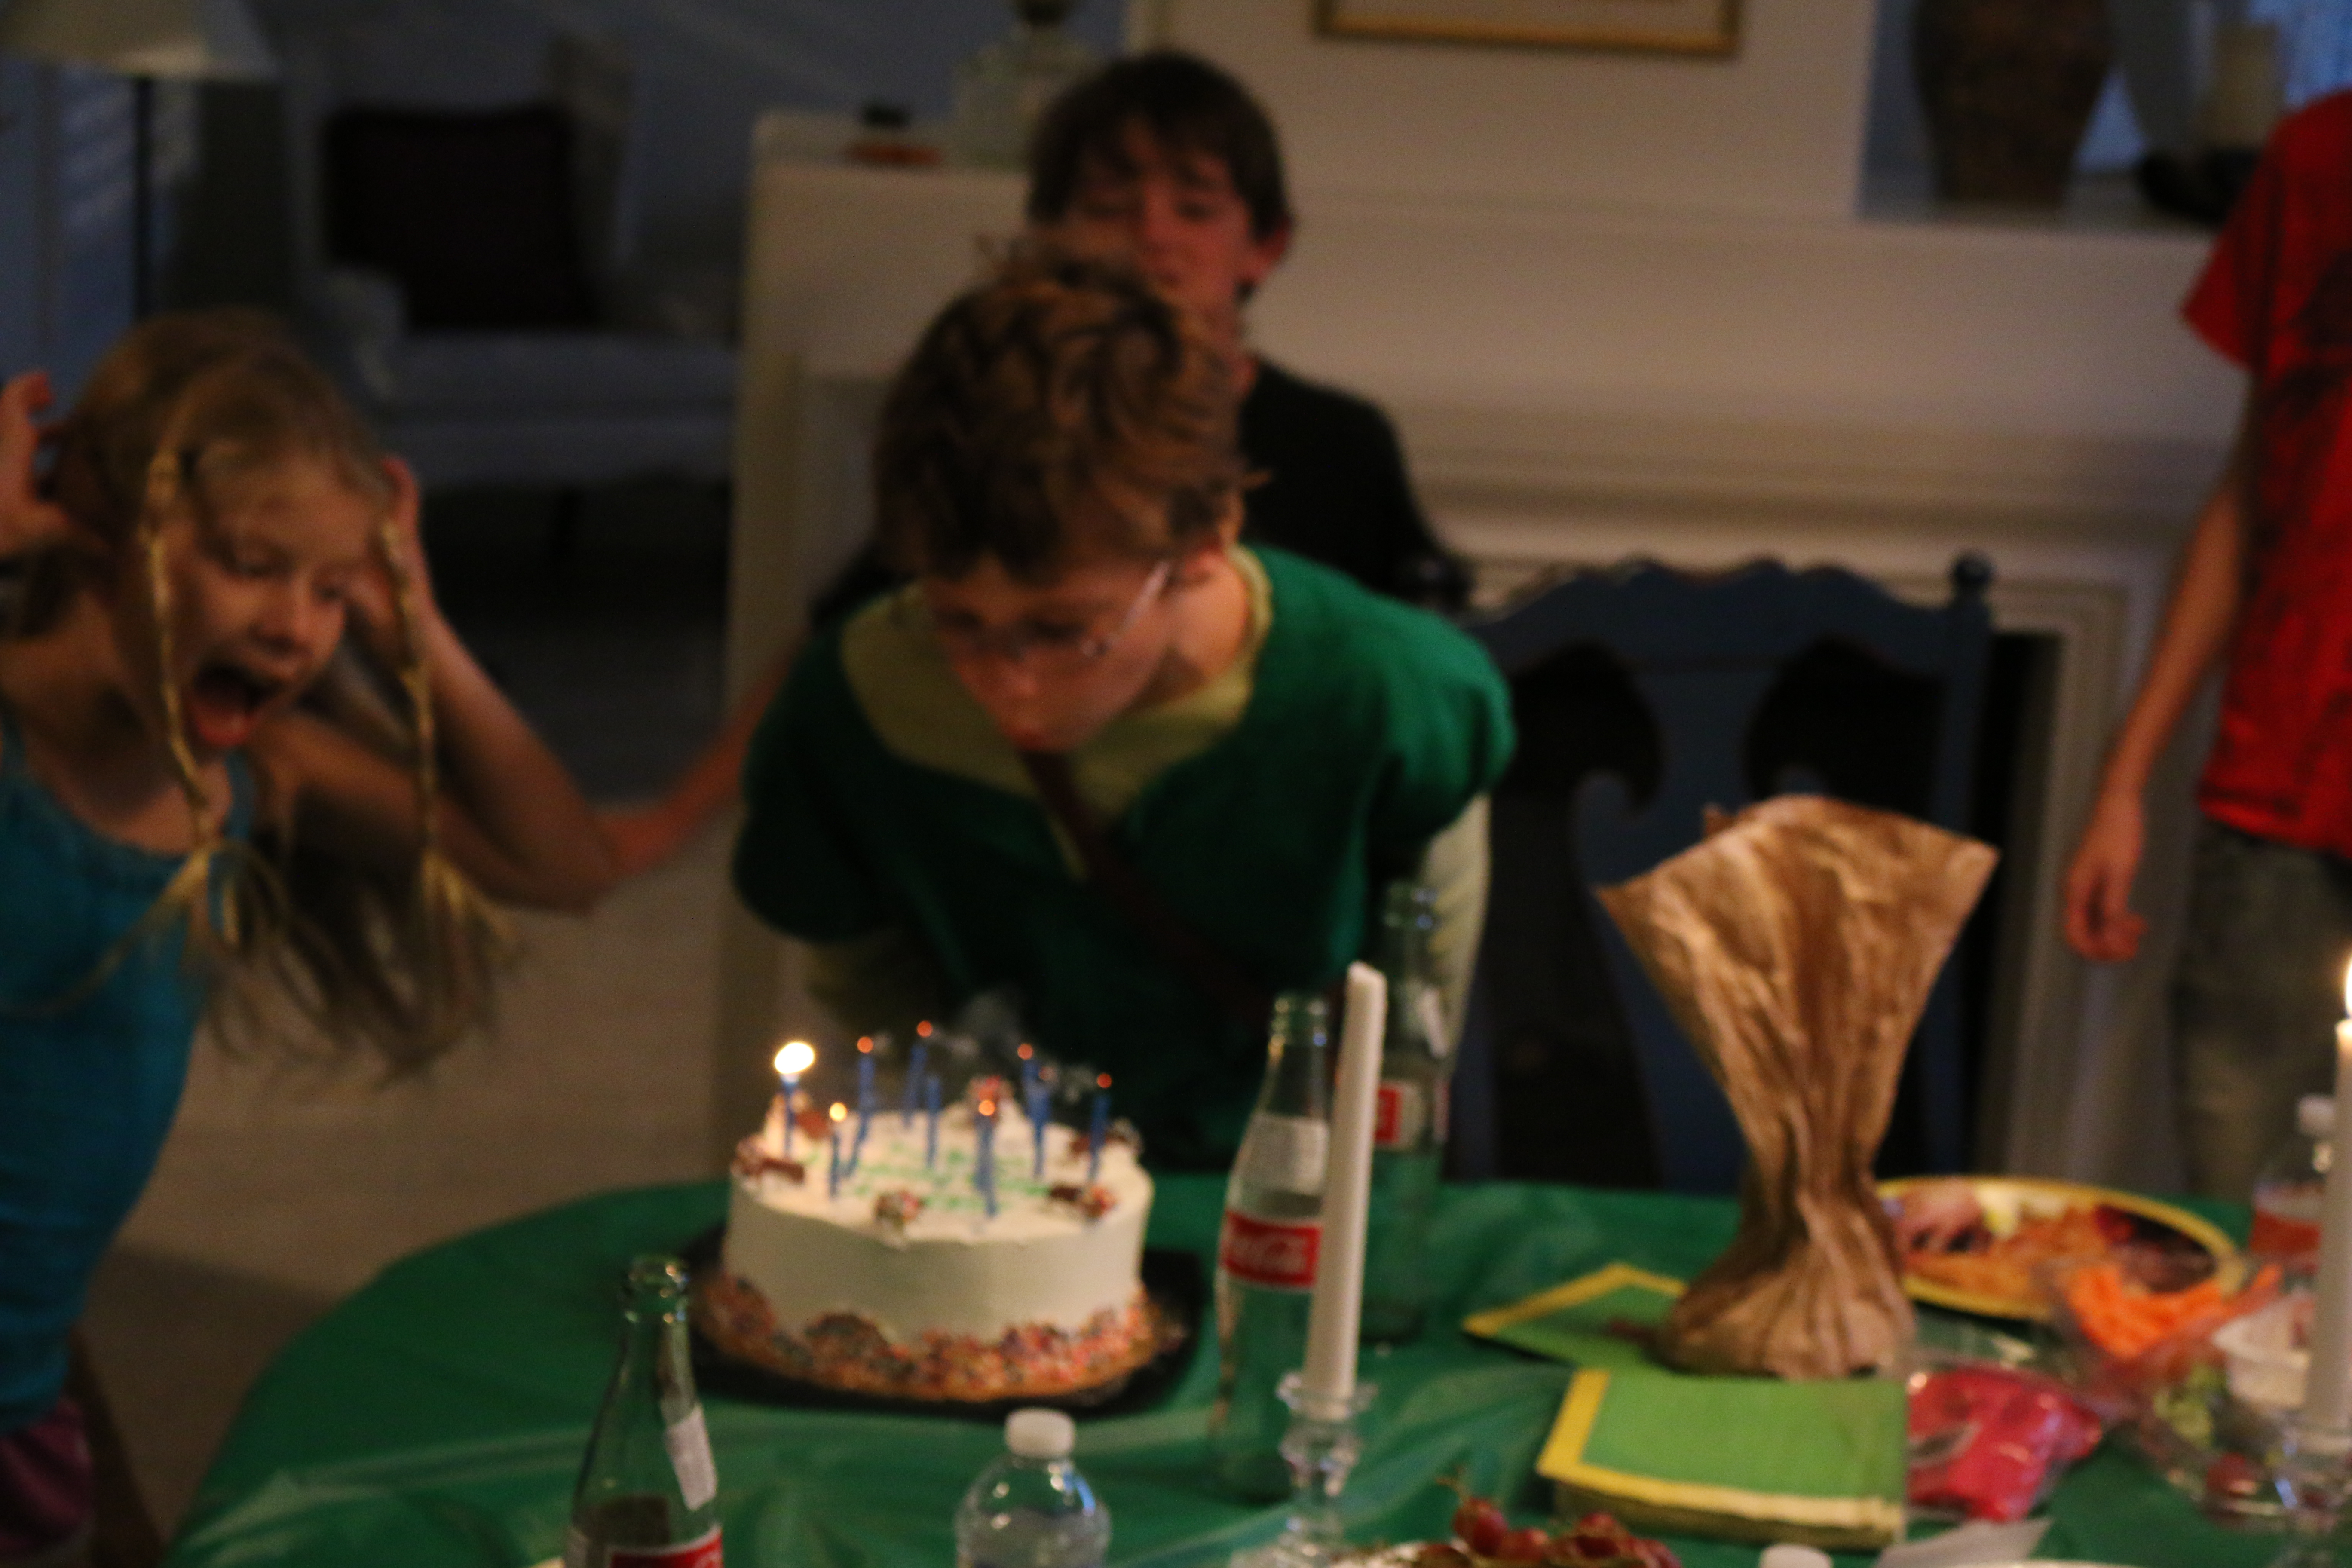
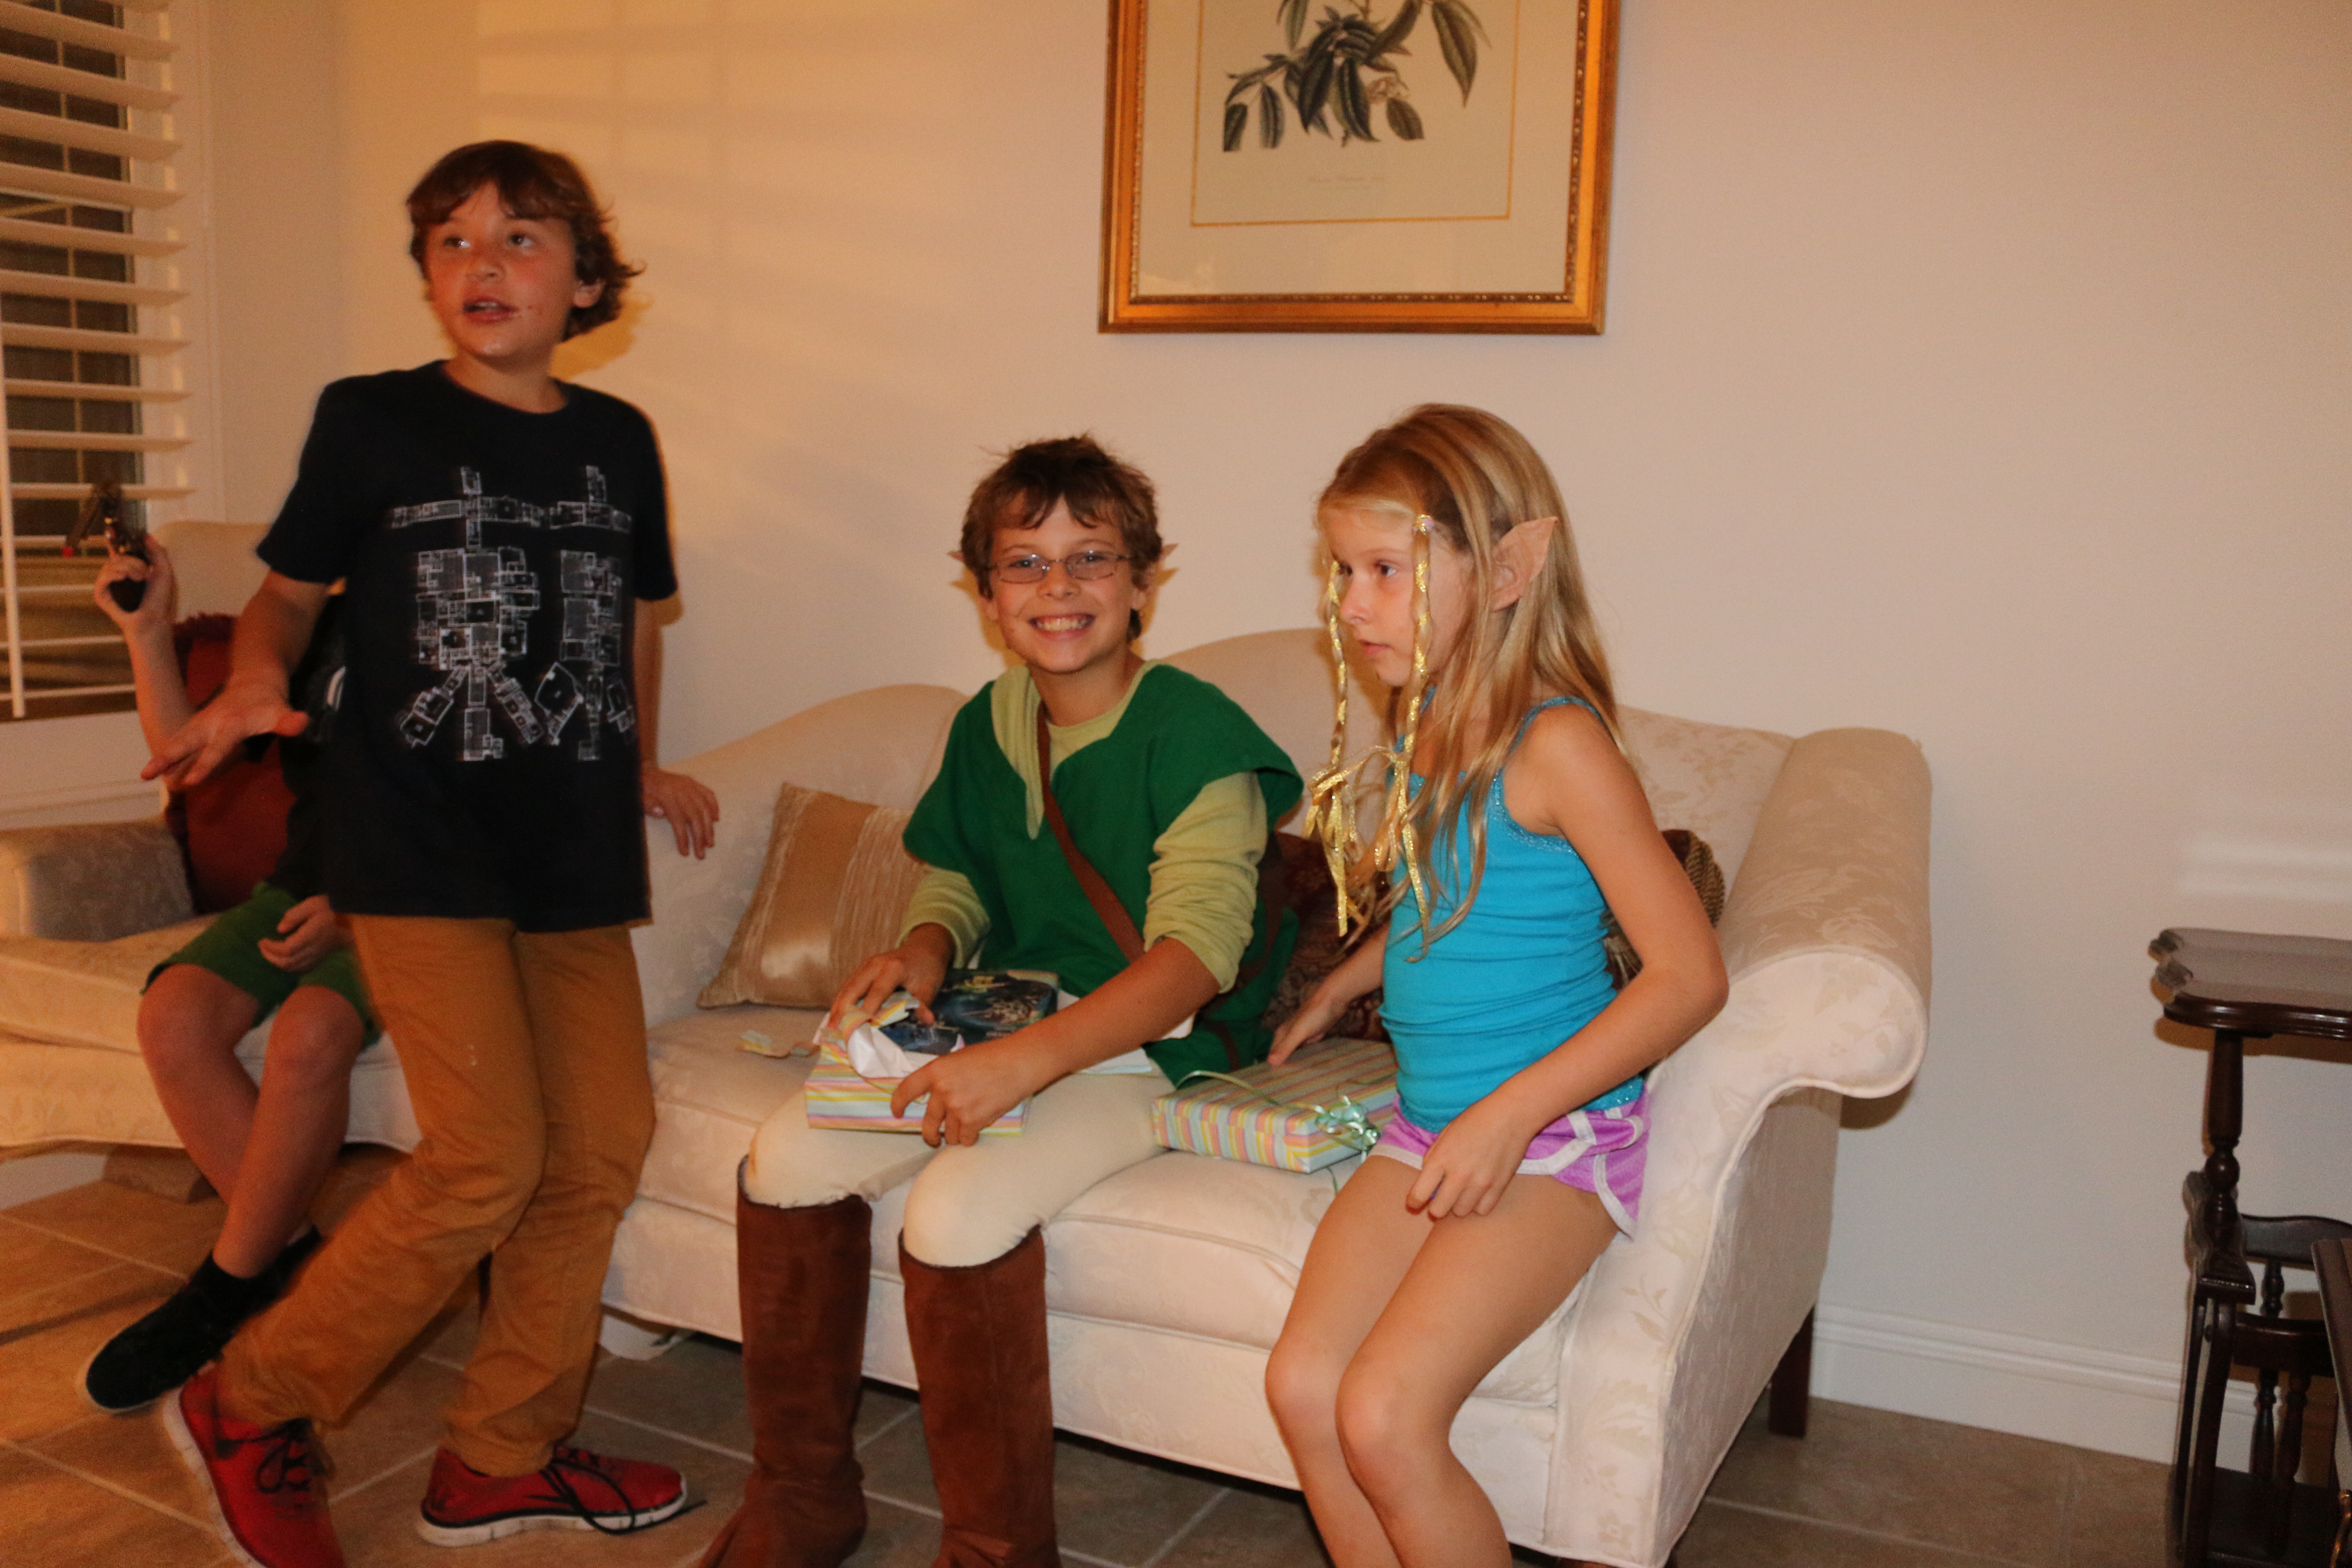
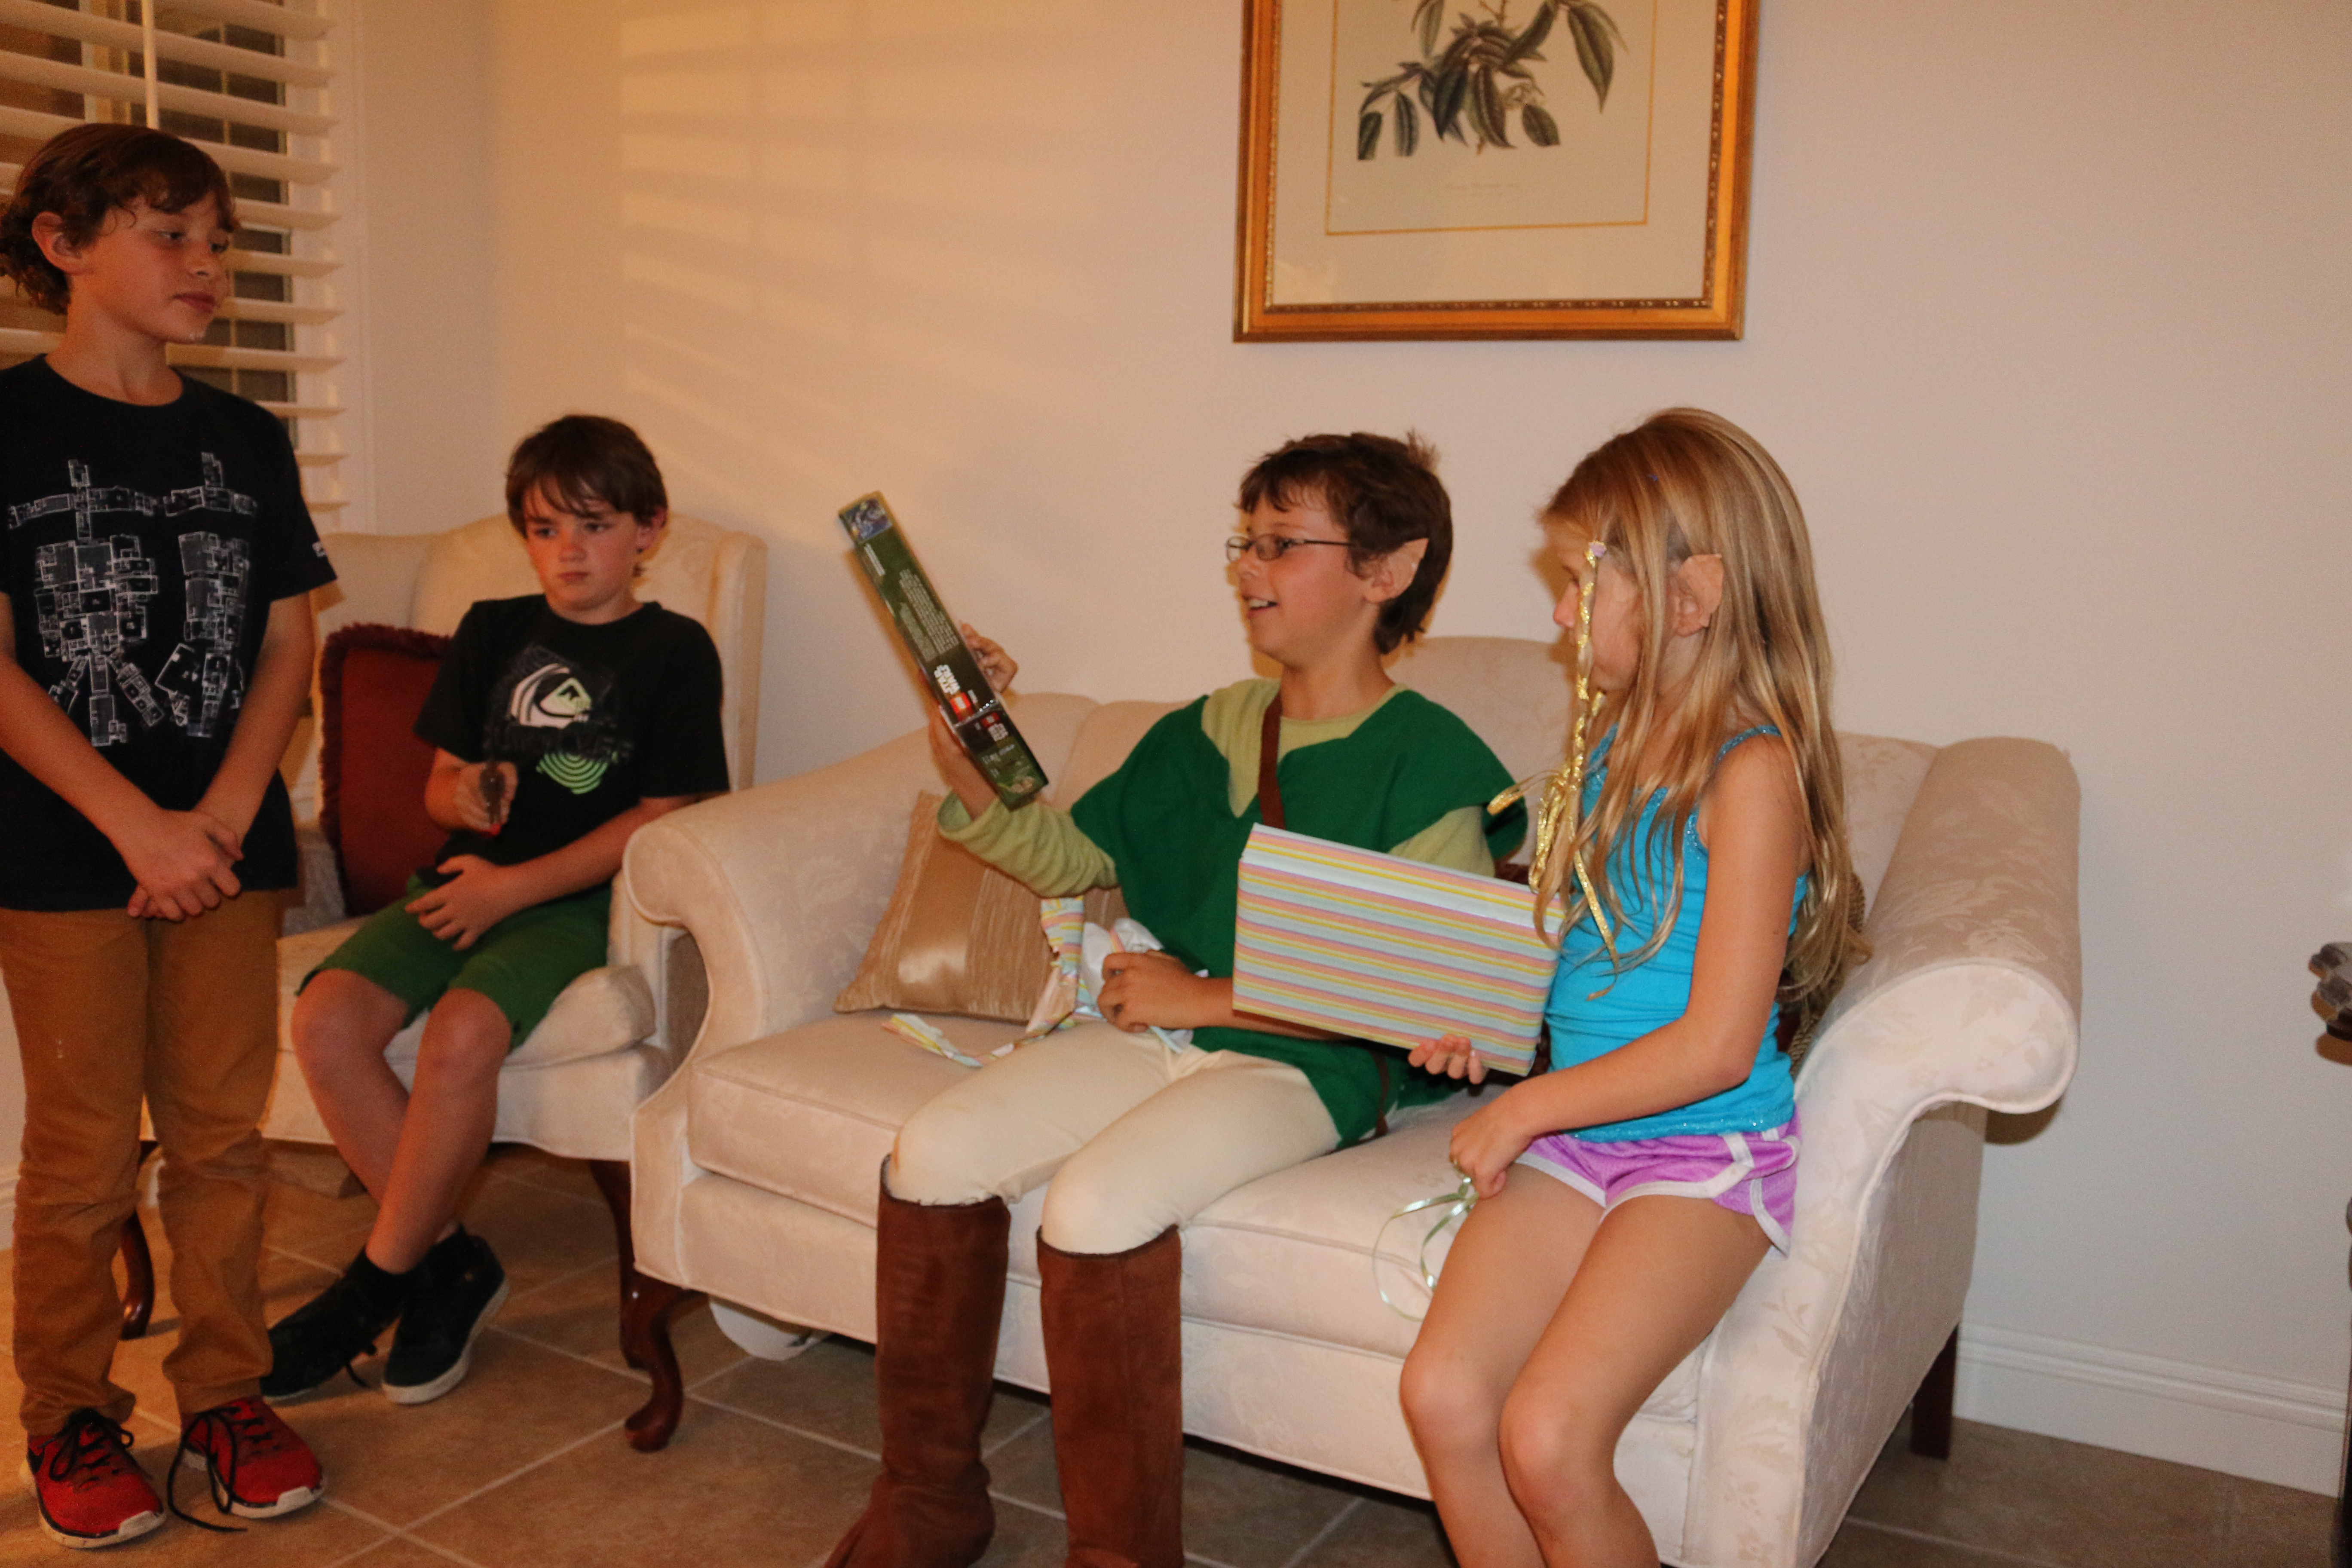
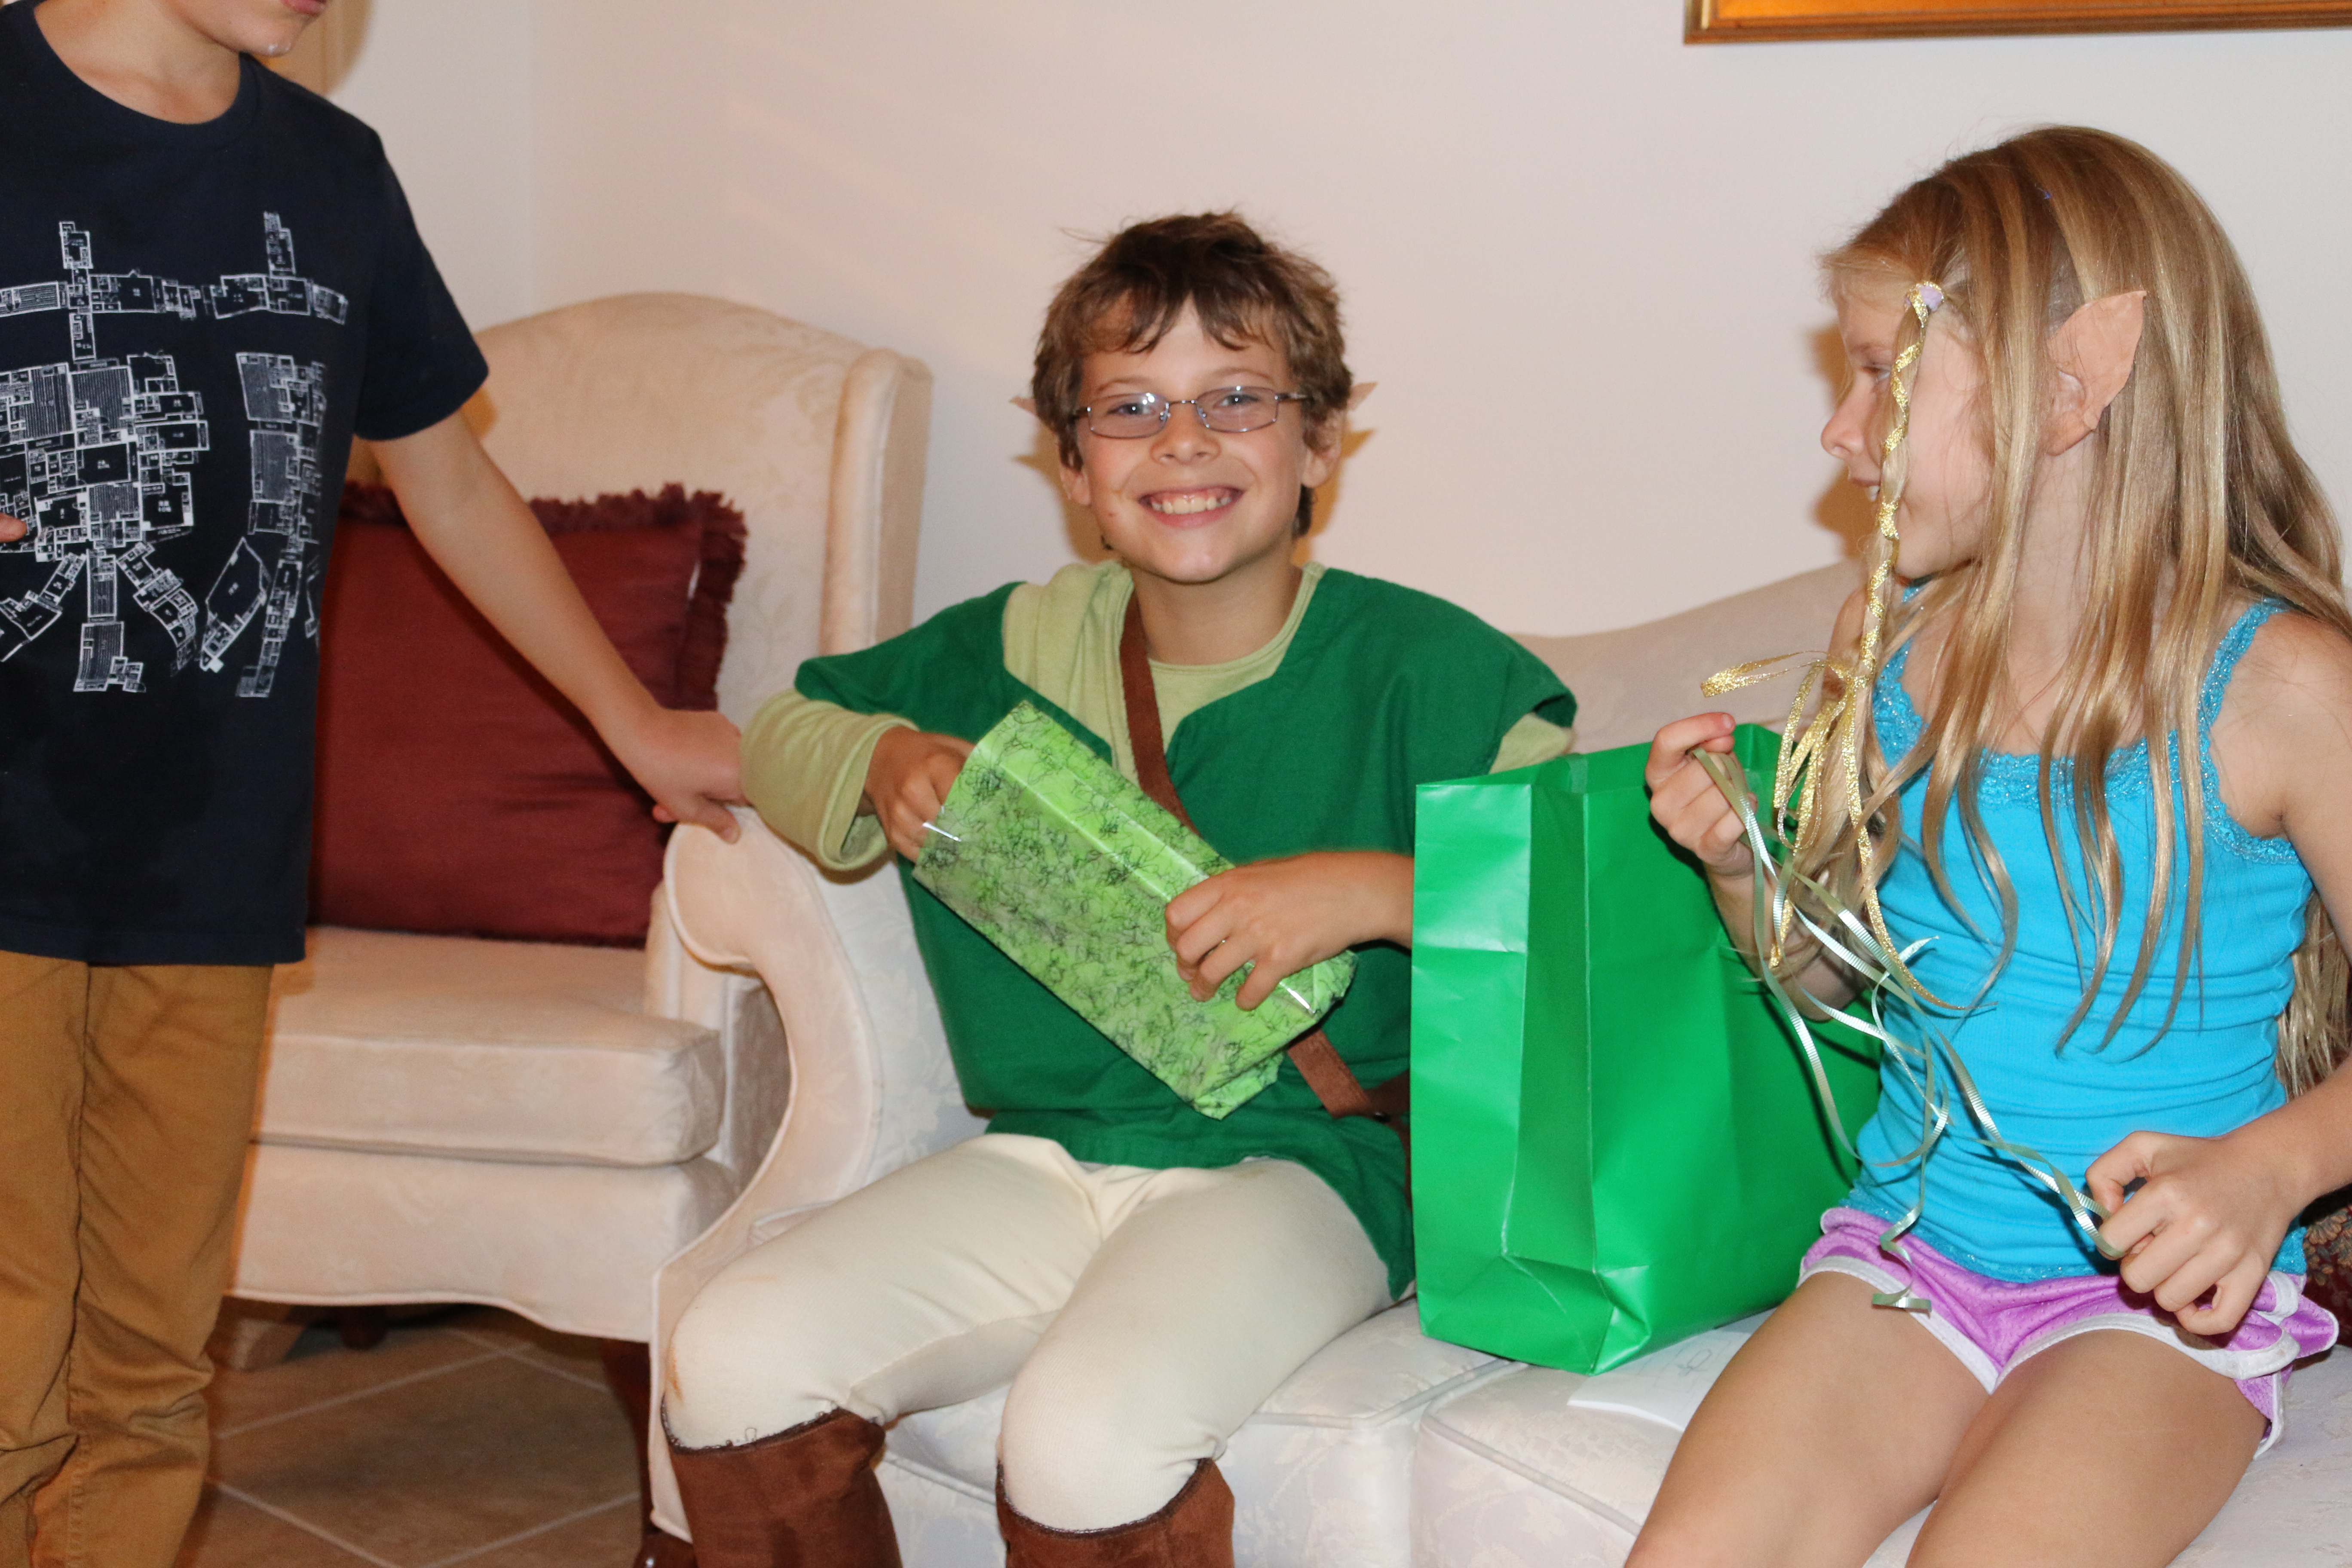
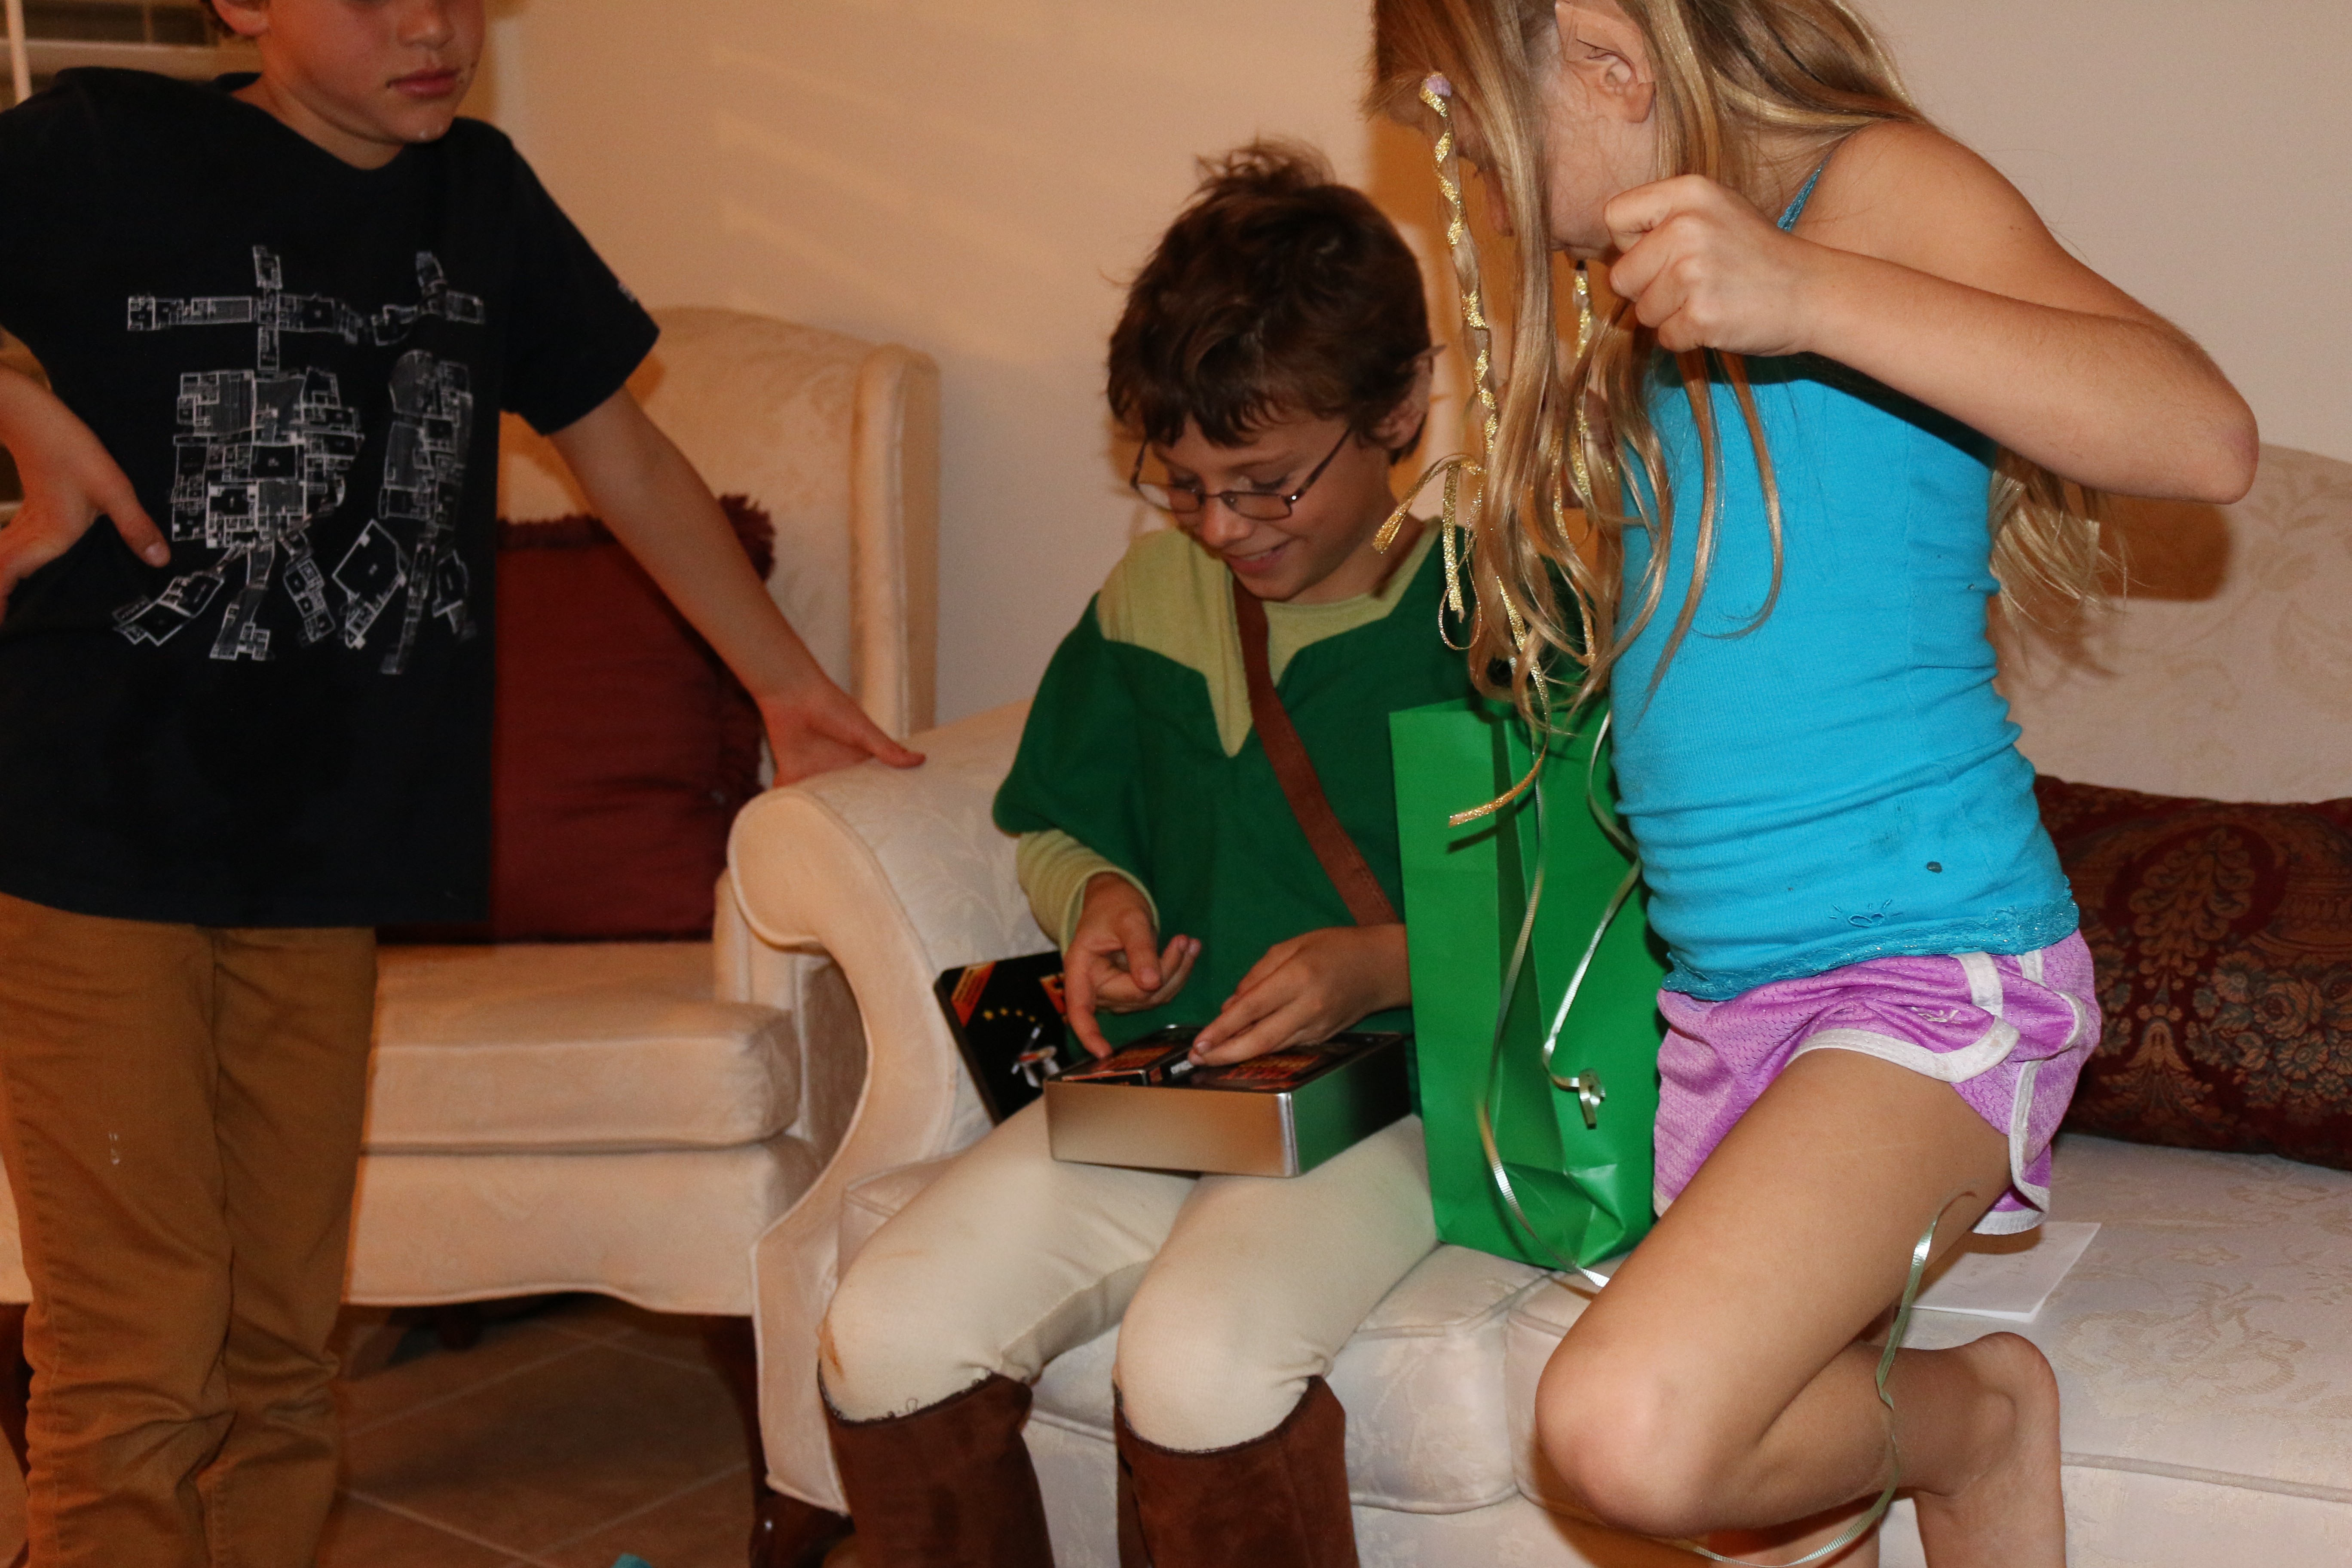
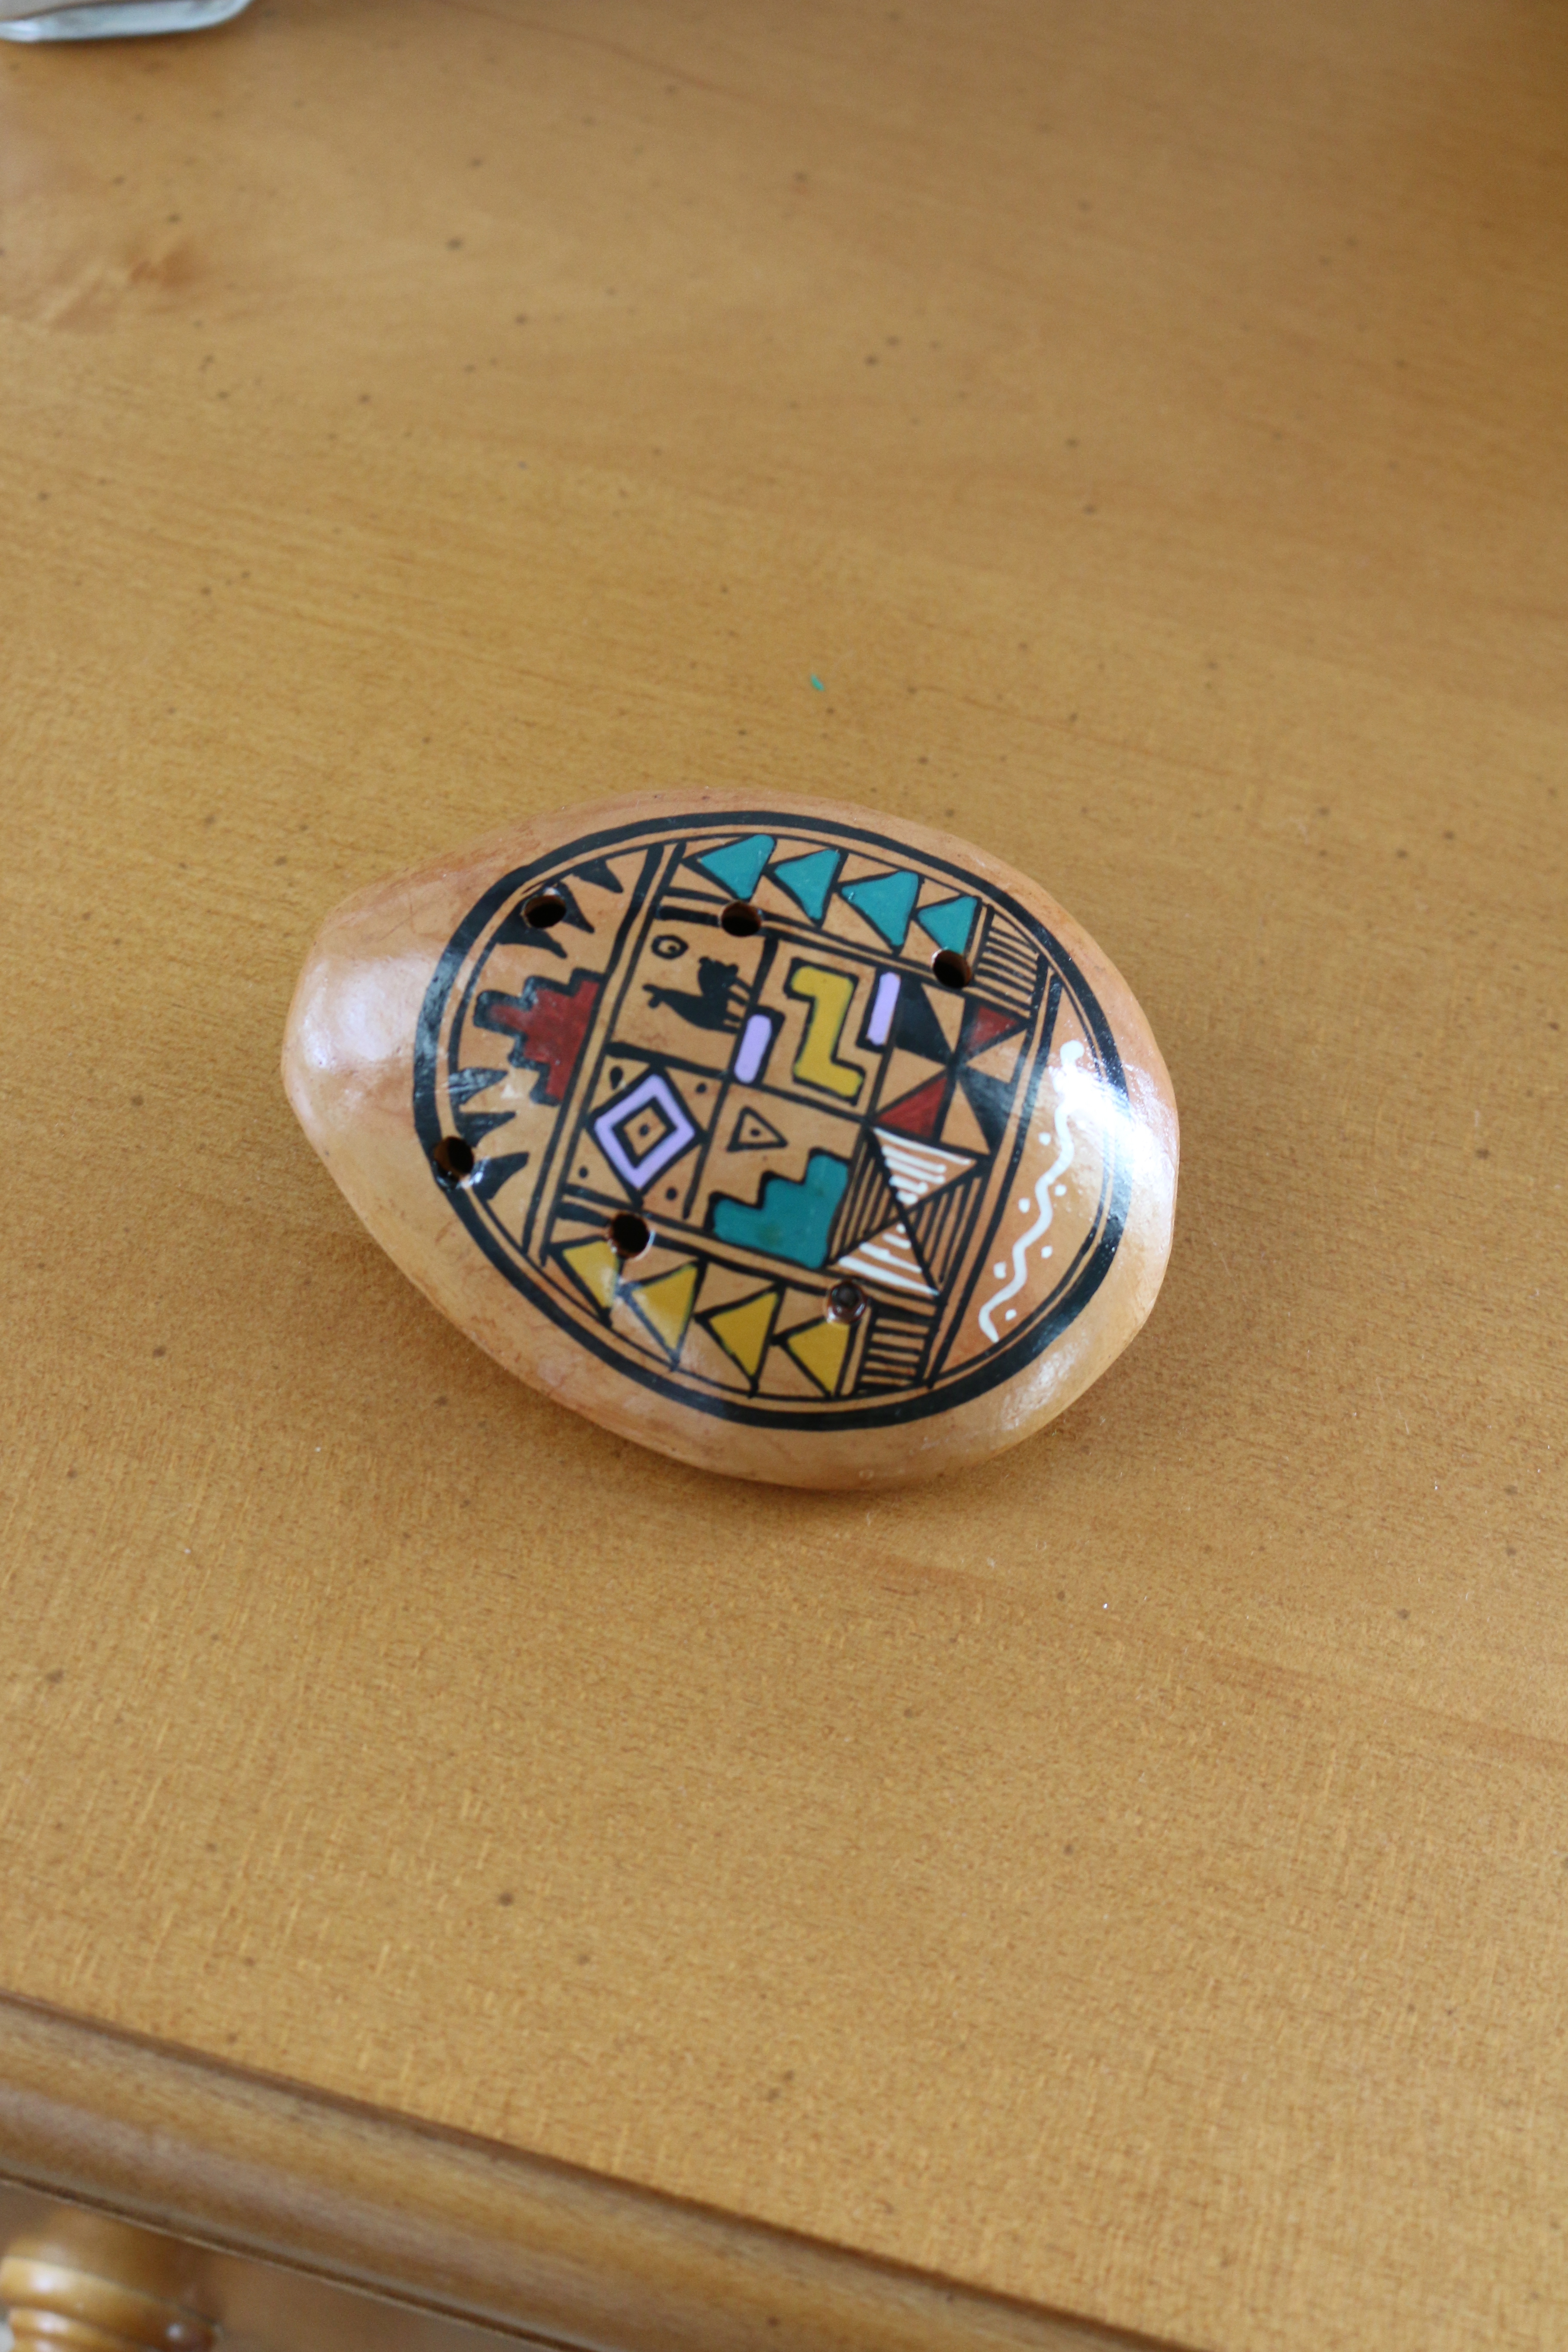
Sam really wanted a ice-cream cake so that was easy peasy he loves Cold Stone Creamery. I played Zelda music and he opened up his gifts. The party bags I printed a rupee and taped it on the bags. Inside I had a small container of “pixie dust”, candy, and a ceramic ocarina (I found beautiful hand painted ocarinas on Amazon.com)